Create a gaming virtual machine (gaming VM) on Unraid 6.9.2
- NAS
- Unraid
- 26 August 2026 at 13:14 UTC
-

- 4/5

10. Partition the second virtual hard disk of your virtual machine
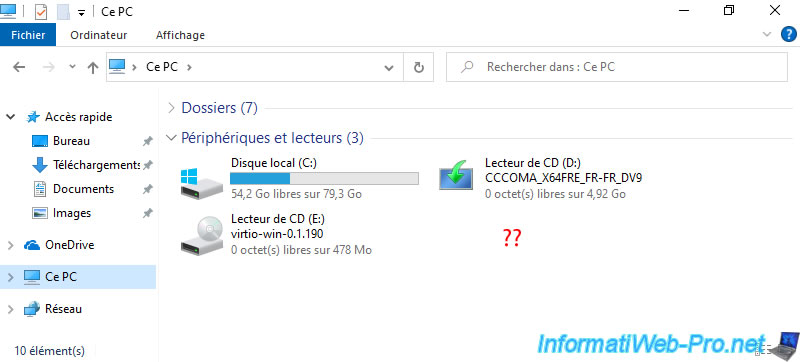
You may have already noticed that your virtual machine's second virtual hard drive isn't appearing in file explorer.
This is normal since it hasn't been partitioned yet.
Right-click "Manage" on "This PC".
Next, go to "Disk Management".
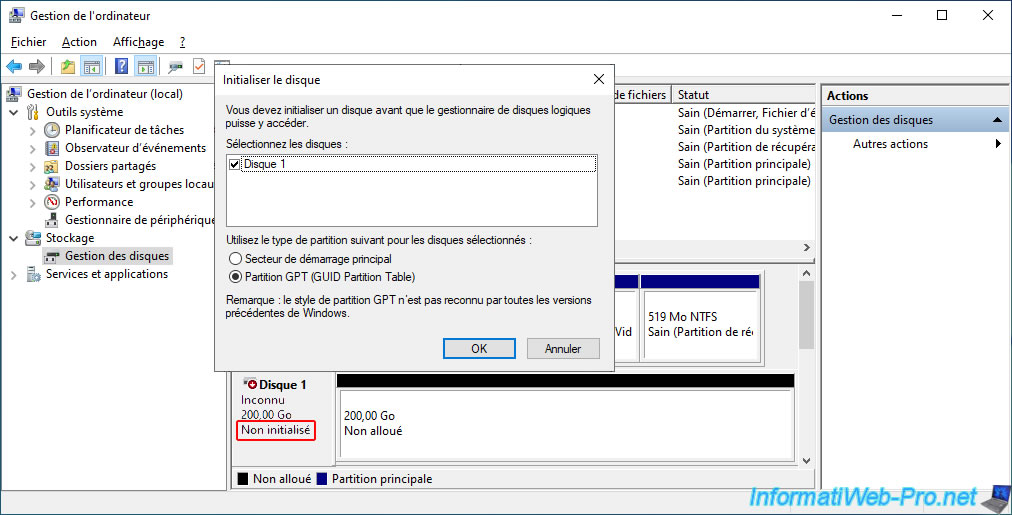
You will see an "Initialize Disk" window appear automatically.
Choose the desired partition type (GPT is required for disks larger than 2 TB) and click OK.
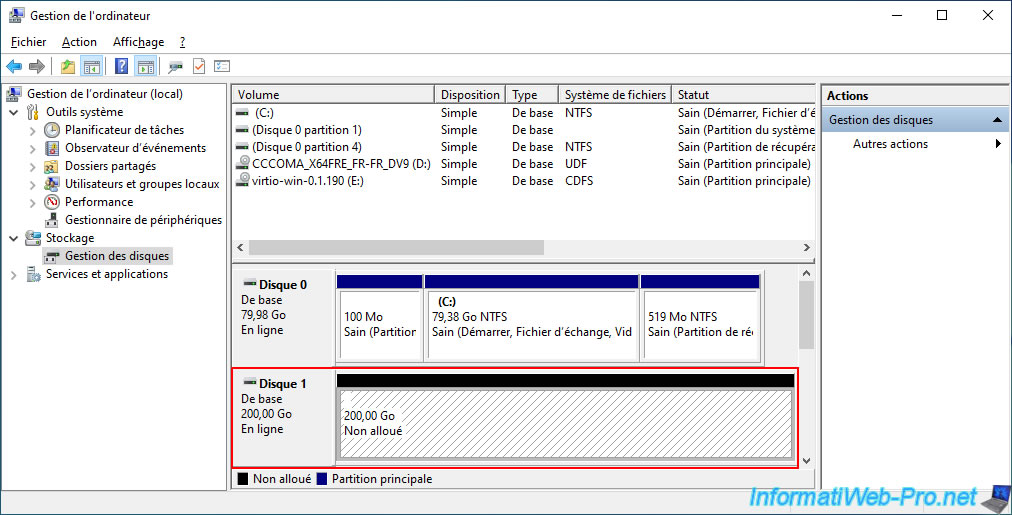
The disk is initialized, but its disk space is not yet partitioned.
Hence the unallocated space appearing on this disk.
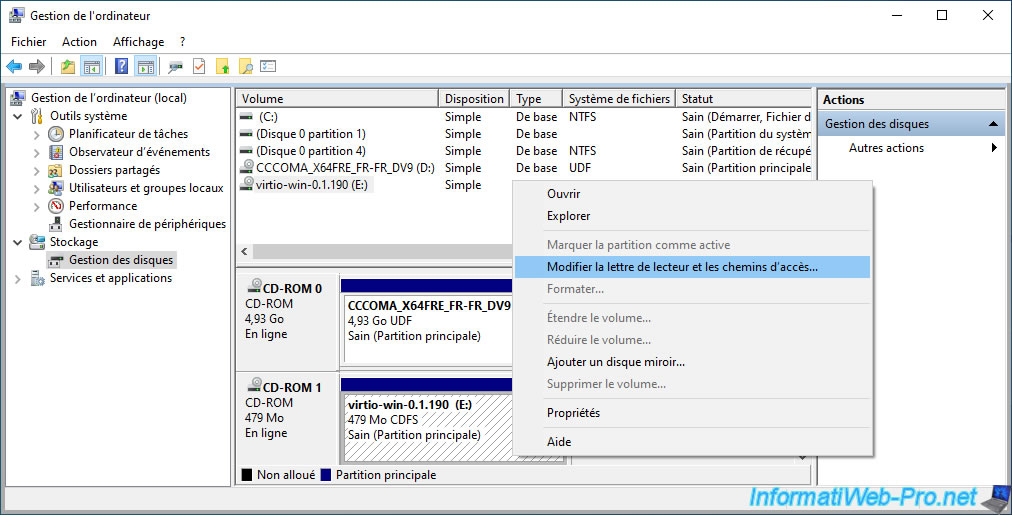
Before partitioning this disk, change the letters of the CD drives used by your virtual machine to free up some letters.
To begin, change the letter of the "virtio-win-..." CD drive by right-clicking on it and selecting "Change drive letter and paths".
Select the currently assigned letter and click Change.
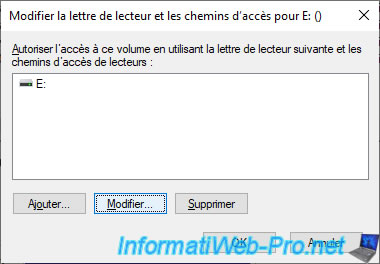
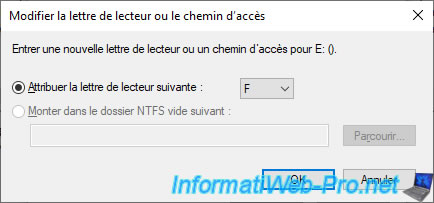
Next, change the letter displayed to the right of "Assign the following drive letter".
In our case, we chose "F" instead of "E" because we only need one letter.
This is because we'll be creating a single partition on our second drive where we'll install our game.
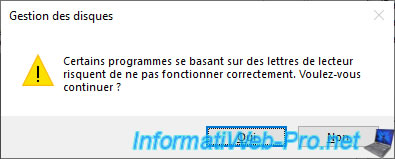
Ignore the warning that appears by clicking Yes.
Do the same for the other CD drive where the Windows 10 ISO file is located.
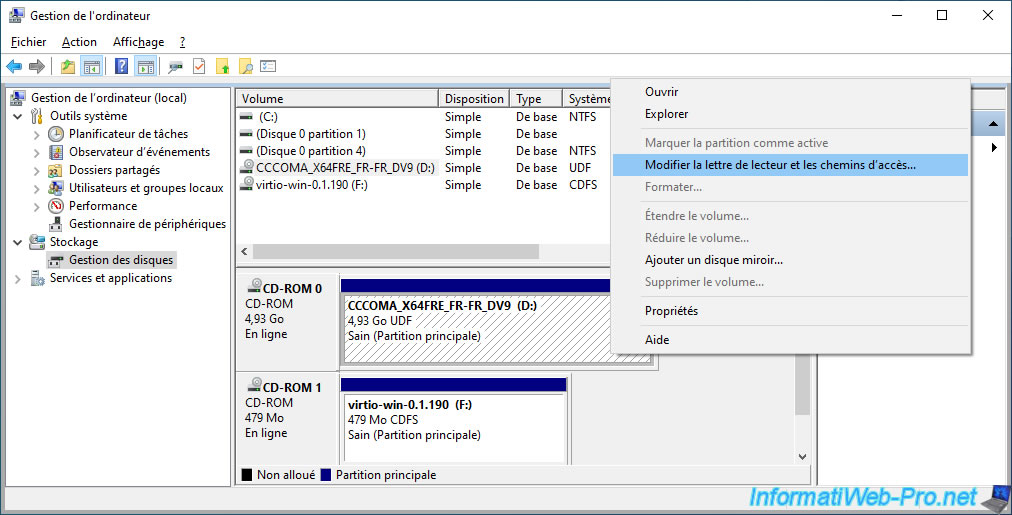
Now that the letter "D" is free, partition your second virtual hard drive by right-clicking "New Simple Volume" on it.
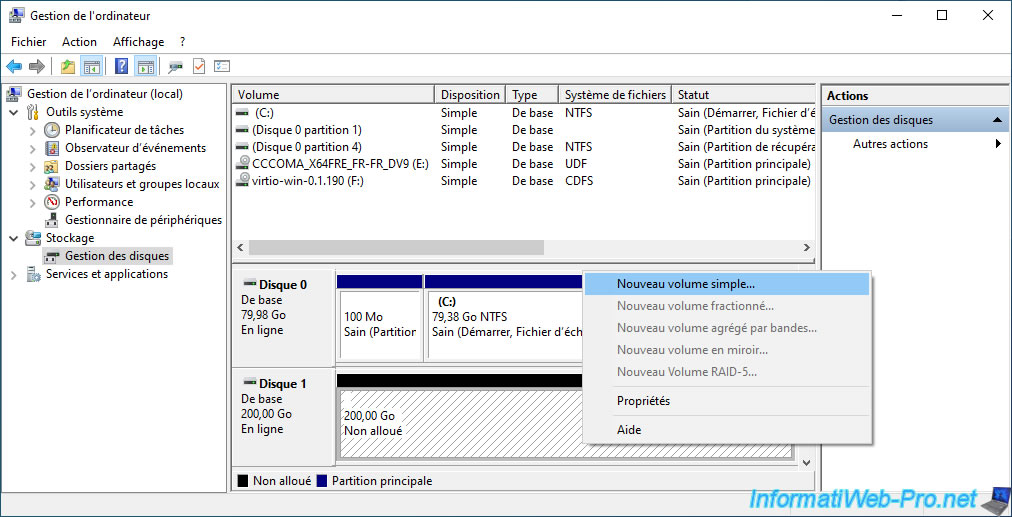
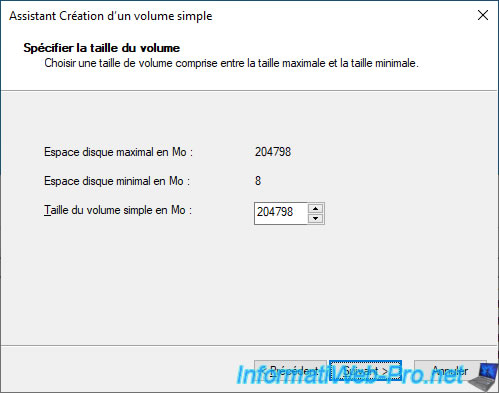
Leave the size specified as default so that the partition takes up all the available space on this virtual hard disk.
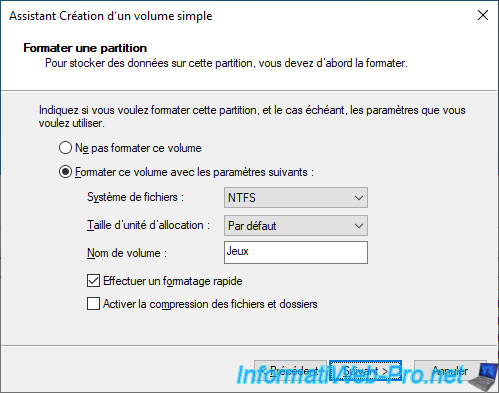
Specify "Games" as the volume name (for example) and leave the "Perform a quick format" box checked.
Then, click Next.
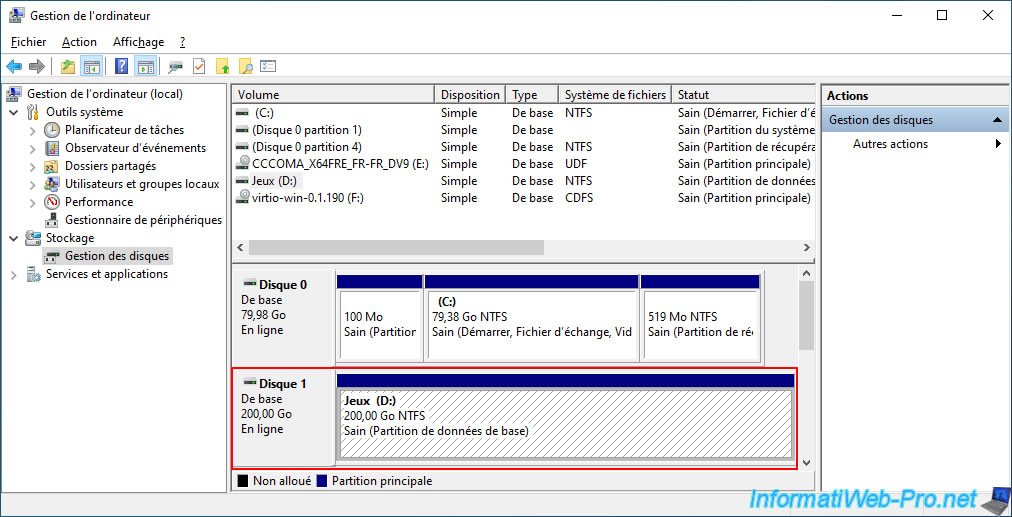
Your 2nd virtual hard drive is partitioned.
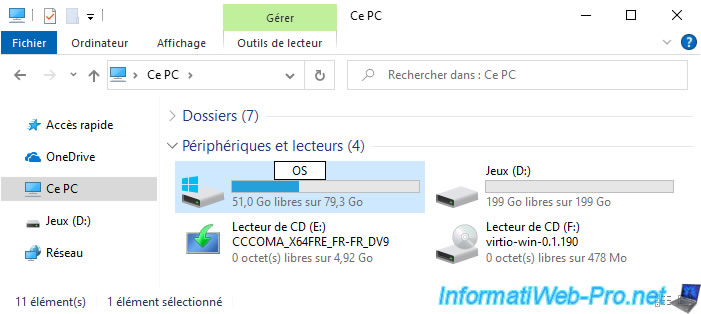
Right-click "Rename" on the partition where Windows is installed, if you wish, and name it "OS".
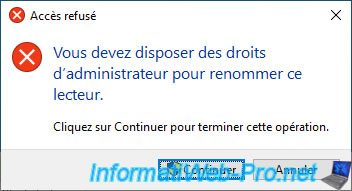
Click "Continue".
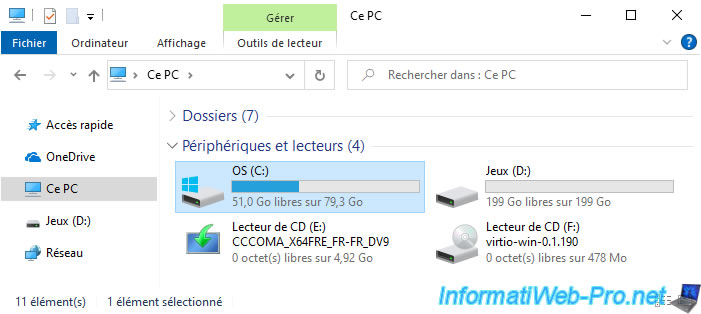
The partition has been renamed successfully.
11. Physical processor seen by the virtual machine
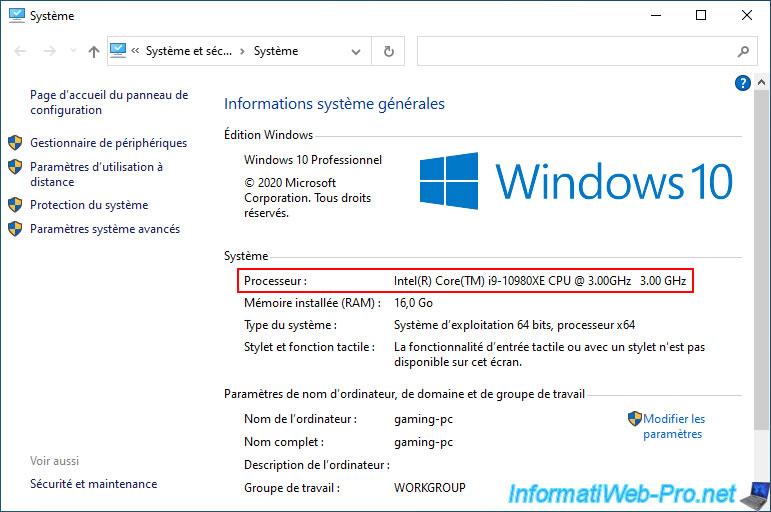
To see how your virtual machine sees the processor, right-click "Properties" on "This PC".
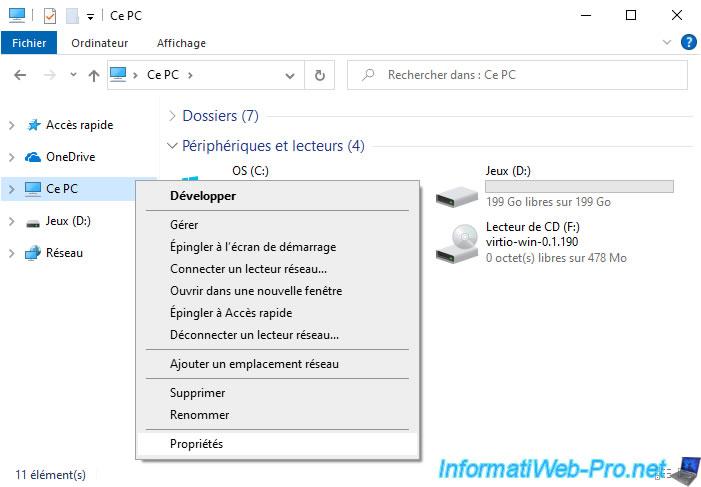
As you can see, your Unraid server's physical processor is visible to your virtual machine.
In our case, it's an Intel Core i9-10980XE processor with a frequency of 3.00 GHz.
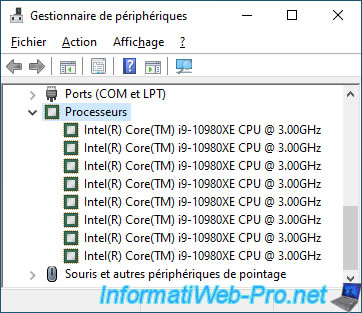
However, your virtual machine only has access to the number of cores previously defined when creating your virtual machine.
To see the number of cores seen by the virtual machine, open Device Manager and expand the "Processors" section.
You can also view the number of cores in Windows Task Manager if you wish.
12. Download and install the latest driver available for your Nvidia graphics card
On the Nvidia website, go to the "Drivers" section and select your graphics card model, operating system, and language.
In our case, we're downloading the driver for our Nvidia RTX 3070 graphics card on Windows 10 64-bit.
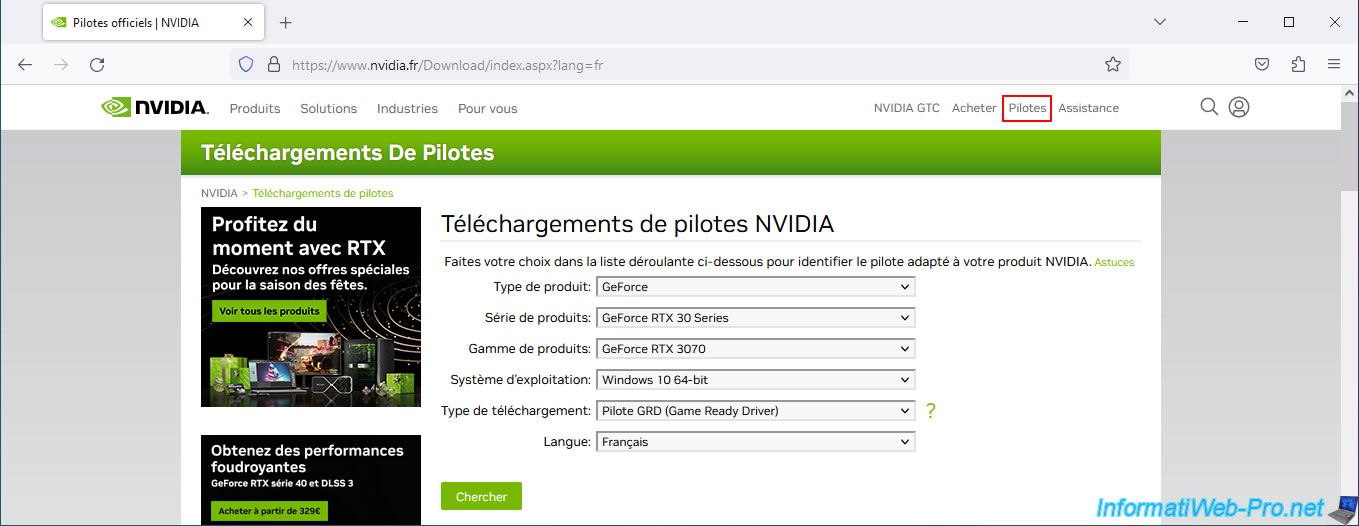
Click on: Download.
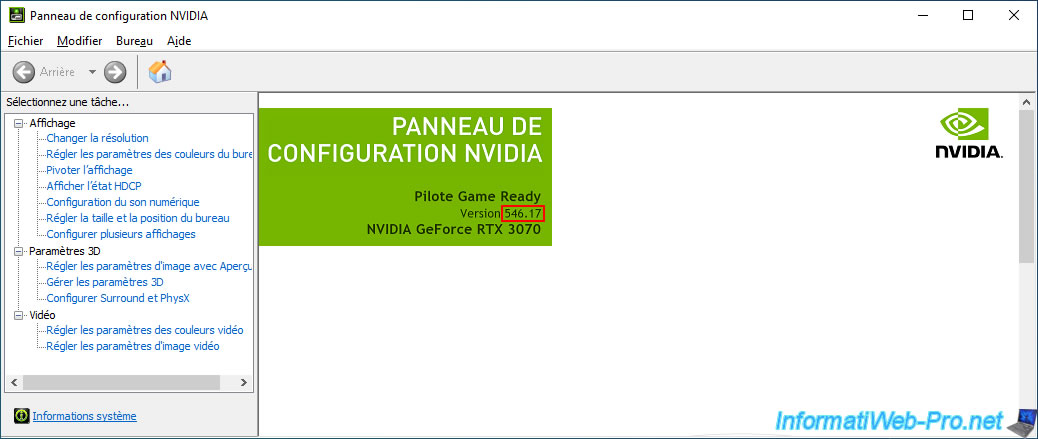
Note: in our case, the currently available driver version is "546.17".
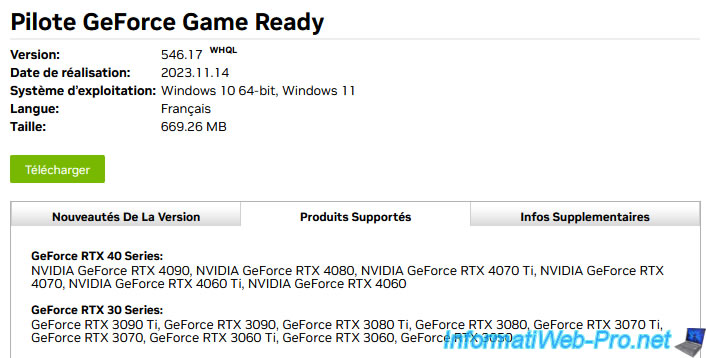
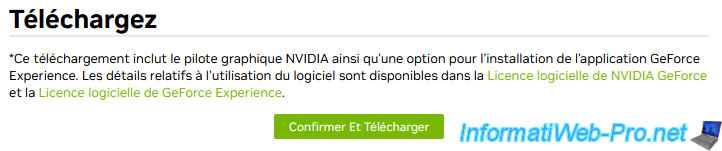
Click on: Confirm and Download.
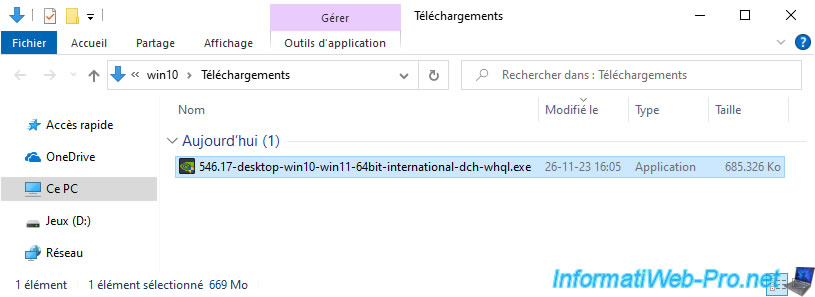
Launch the downloaded file.
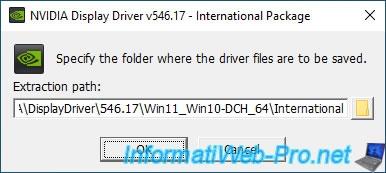
Click OK to unzip the installation files.
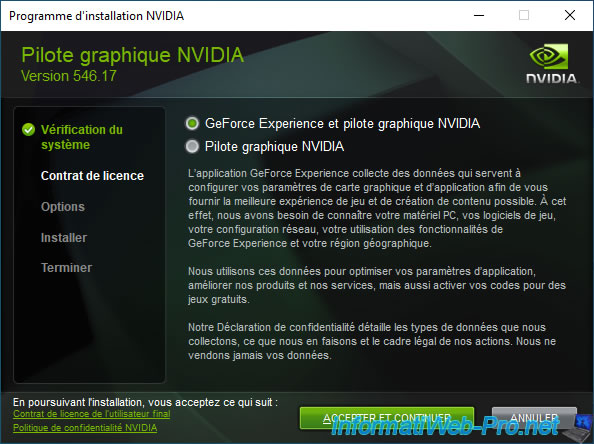
In the NVIDIA installer that appears, leave the default options and simply click: Accept and continue.
Click Next.
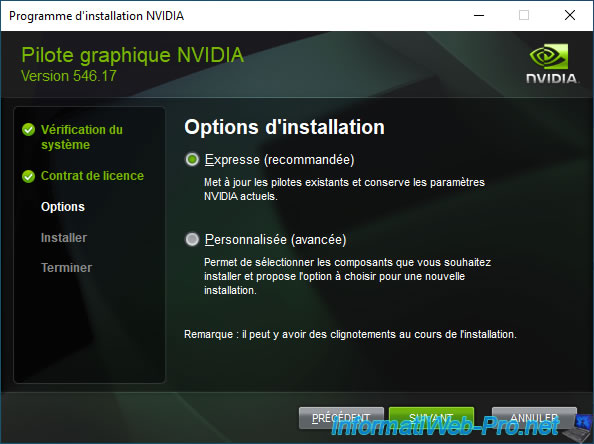
Several drivers, including the Nvidia graphics driver, will be installed.
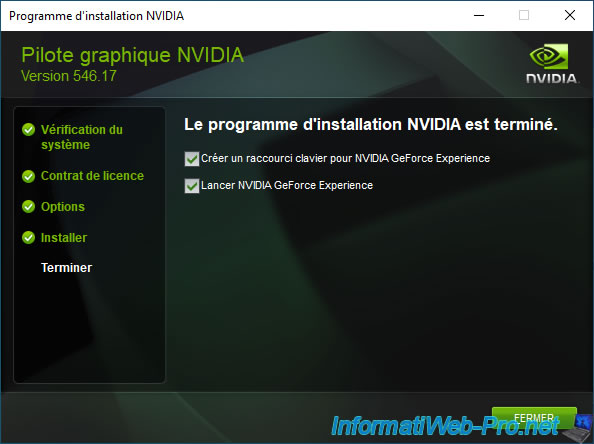
Once the NVIDIA graphics driver installation is complete, click Close.
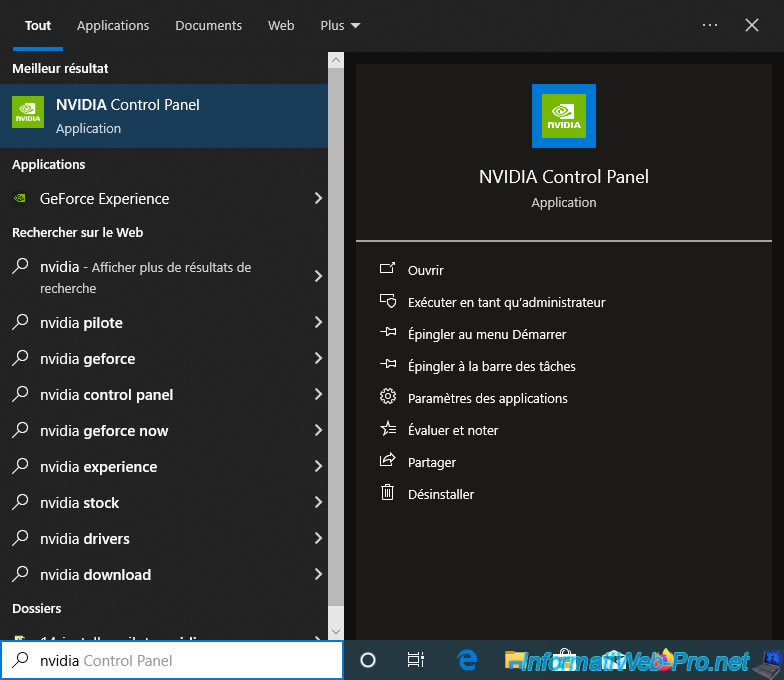
Launch the NVIDIA Control Panel if desired by searching for "nvidia" in the start menu and launching the "NVIDIA Control Panel" program that appears.
The NVIDIA Control Panel will appear.
Accept the NVIDIA license agreement and this will be displayed.
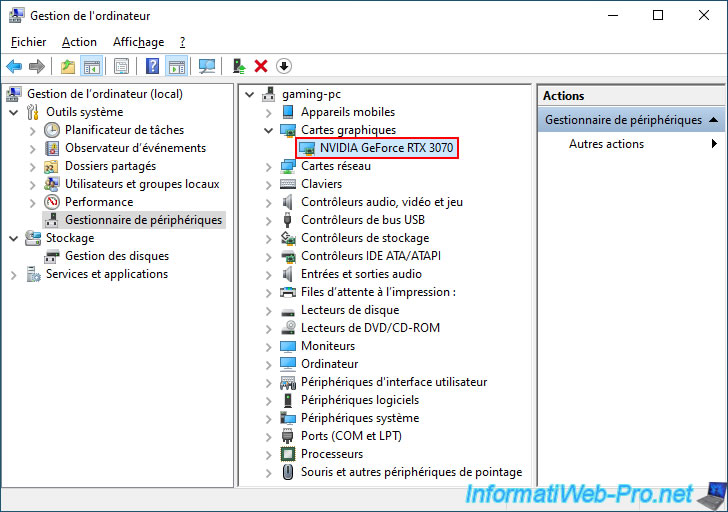
In Device Manager, you will see your graphics card name appear again in the "Display Adapters" section.
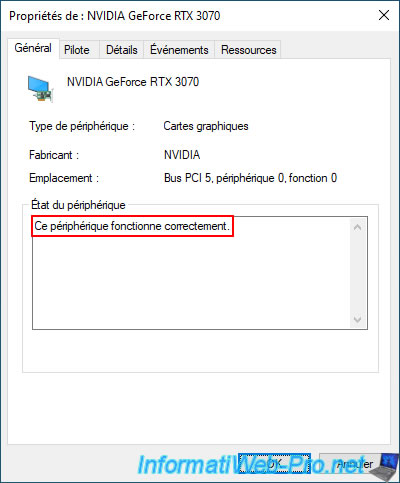
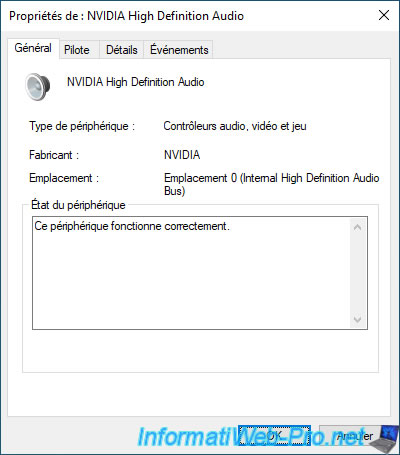
As expected, the device status is "This device is working properly".
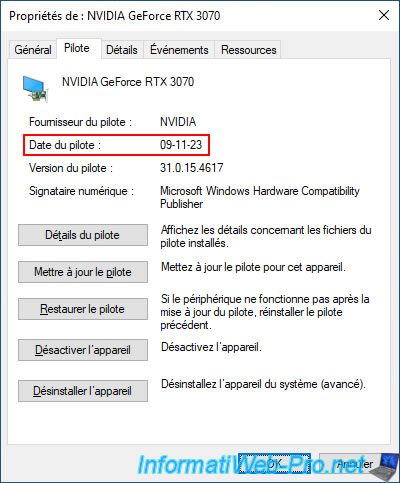
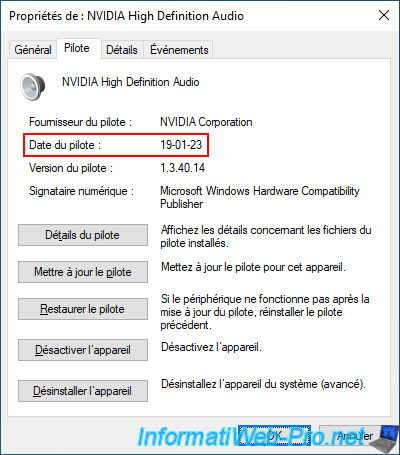
However, you will notice that the installed driver is much newer than the one that was automatically downloaded and installed by Windows 10.
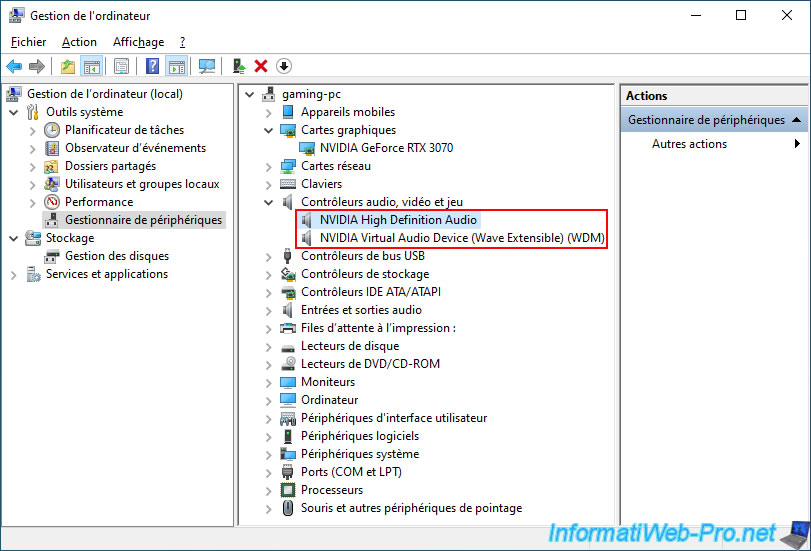
You'll also see one or more audio controllers provided by NVIDIA.
In our case:
- NVIDIA High Definition Audio
- NVIDIA Virtual Audio Device (Wave Extensible) (WDM)
As expected, this device works fine as well.
In the "Driver" tab, you will again see that the installed driver is very recent.
Share this tutorial
To see also
-
NAS 6/24/2026
Unraid 6.9.2 - Docker - Install the office suite (Collabora) for Nextcloud
-
NAS 3/4/2026
Unraid 6.9.2 - Install the "Community Applications" plugin (old version)
-
NAS 3/11/2026
Unraid 6.9.2 - Presentation of Dynamix plugins (sys info, ...)
-
NAS 1/28/2026
Unraid 6.9.2 - Replace the parity disk
No comment