- NAS
- Unraid
- 27 May 2026 at 07:59 UTC
-

- 1/2

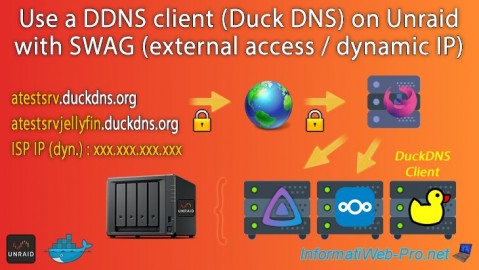
In our "Unraid 6.9.2 - SWAG - Install a reverse proxy (SWAG)" tutorial, we explained to you how to securely access your services hosted on your Unraid server using a secure reverse proxy with a valid and free SSL certificate.
To access your services, you could use subdomains (such as: jellyfin.your-domain.com, nextcloud.your-domain.com, ...).
However, if you do not have domains (which are generally paid for), you can also use this "swag" reverse proxy with dynamic domain names (DDNS).
In the case of Unraid, the simplest is to use the "Duck DNS" provider which is free, compatible with "swag" and for which there is a "duckdns" client which is very simple to install on your Unraid server.
- Add subdomains to your Duck DNS account
- Add your new subdomains in the duckdns client on Unraid
- Install SWAG using free Duck DNS subdomains
- Test access from outside to your reverse proxy using Opera VPN
- Add the configuration for Jellyfin on the reverse proxy (swag)
1. Add subdomains to your Duck DNS account
Before you begin, you need to create an account with Duck DNS and install the "duckdns" client on your Unraid server so that your subdomain created with Duck DNS always points to your current WAN (external) IP address.
To do this, follow our tutorial: ddns-duck-dns.
Then, reconnect to the Duck DNS site (if necessary) by reusing the connection buttons at the top of the Duck DNS site.
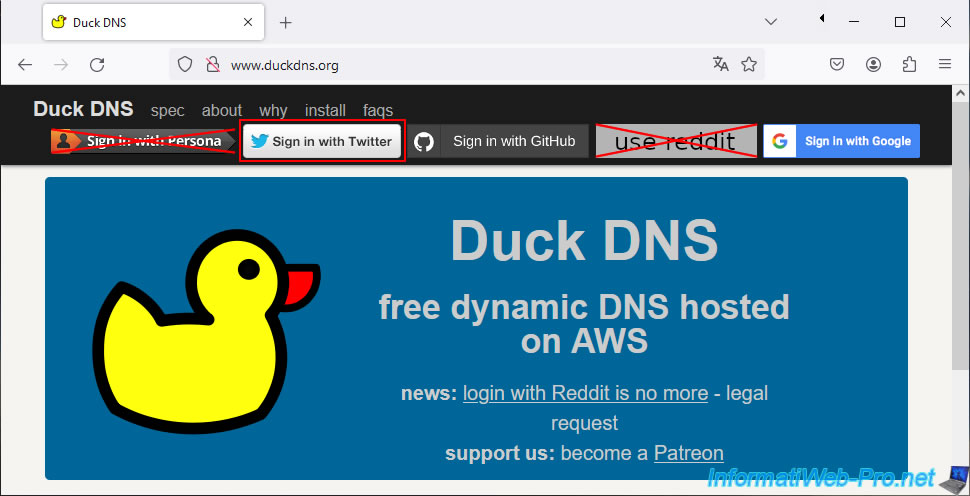
In our case, we registered with Duck DNS using a Twitter account.
So, we reused the "Sign in with Twitter" button at the top of the Duck DNS site.
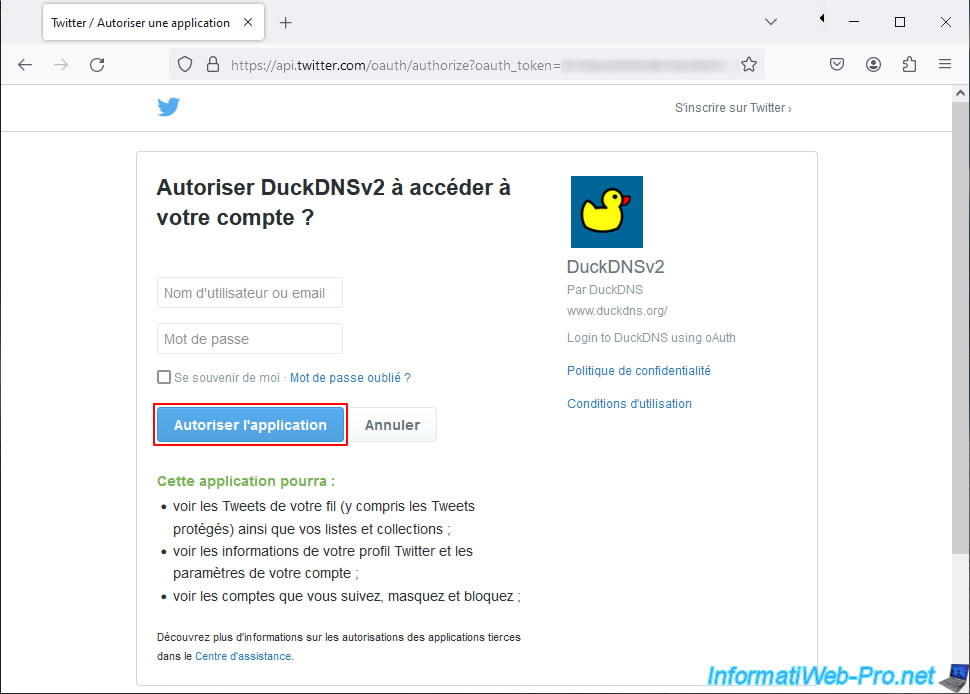
Then, we re-entered our Twitter account credentials and clicked "Authorize Application."
You will be redirected to the Duck DNS site and you will find your token.
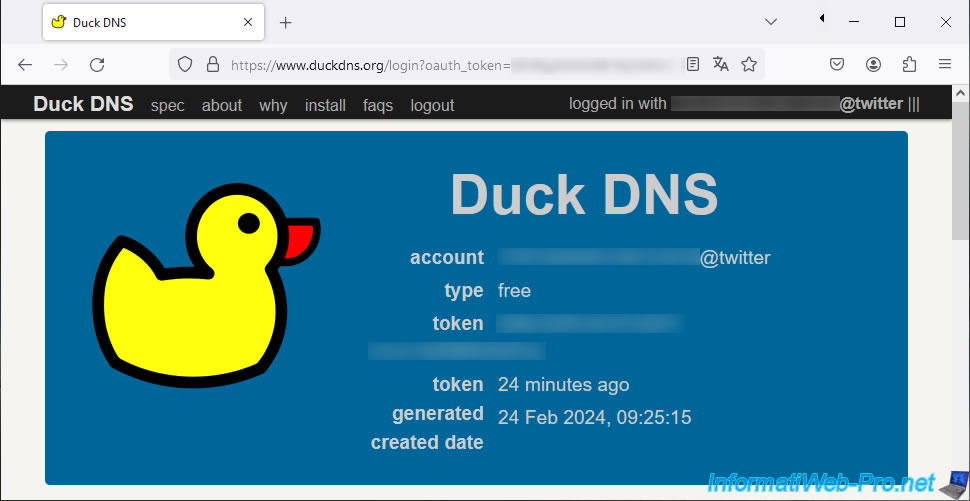
At the bottom of the page, you will find your previously created subdomain (via the tutorial mentioned above).
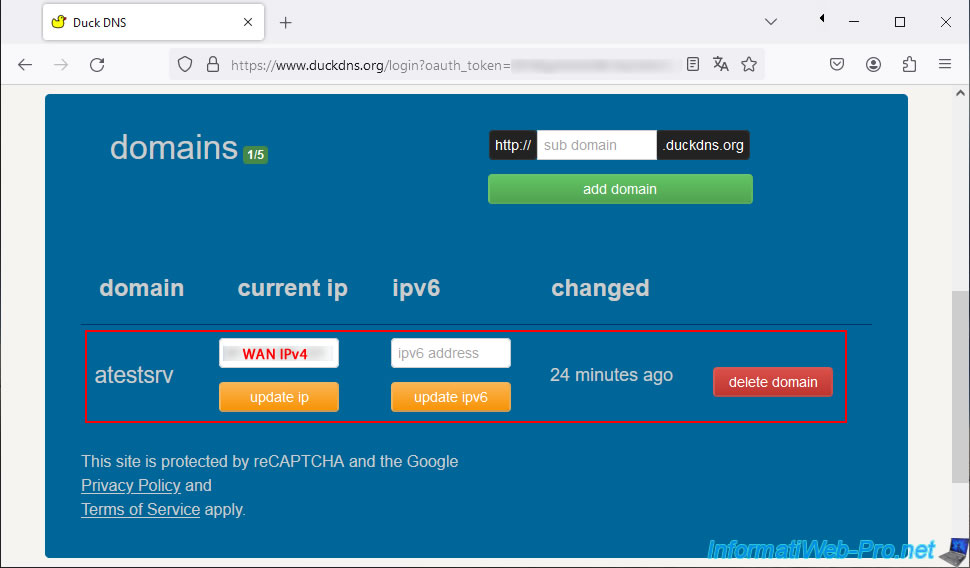
Add the desired subdomains based on the services you want to access remotely on your Unraid server.
For example, a personal subdomain for your "Nextcloud" file server.
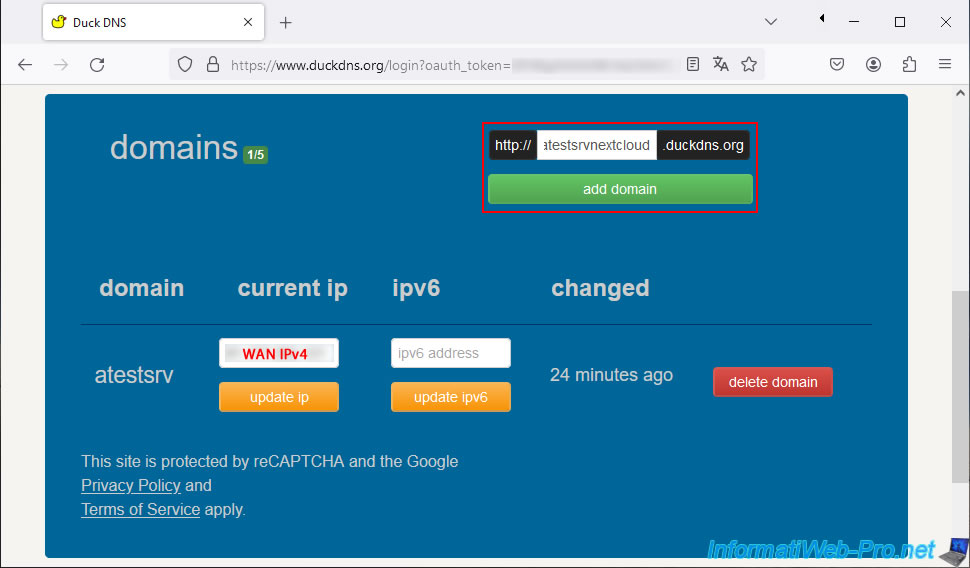
Then, another one for your open-source media server "Jellyfin".
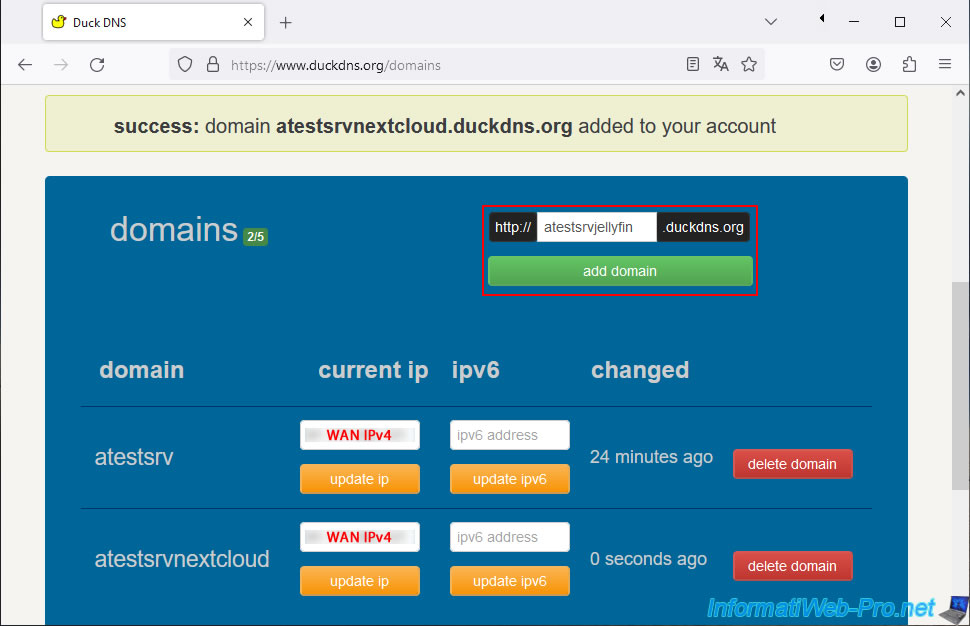
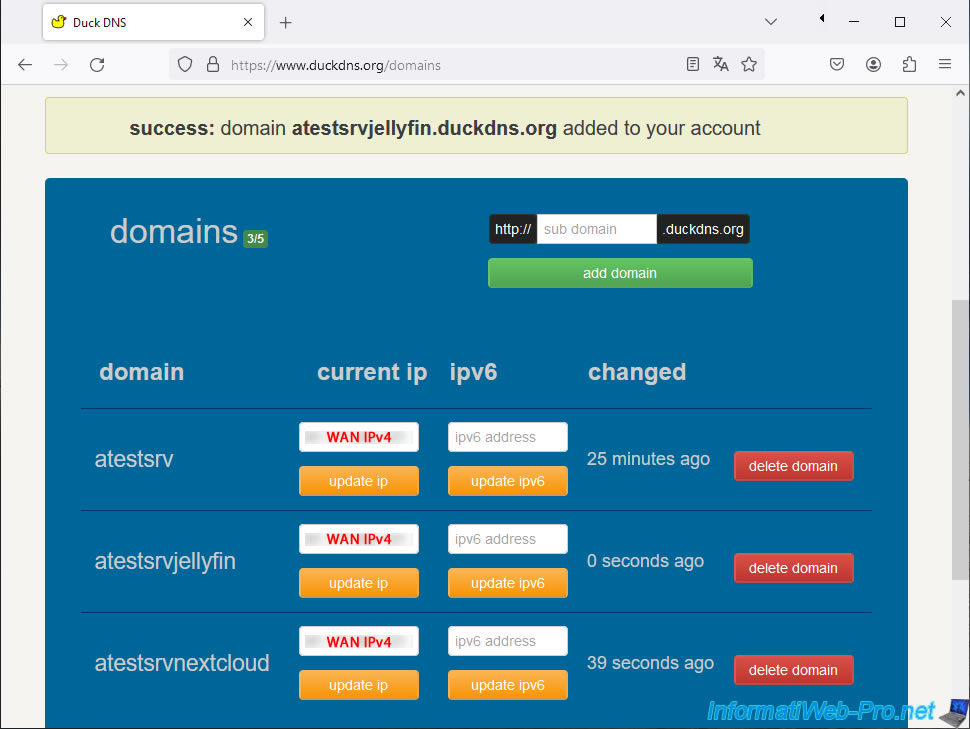
As you can see, for this tutorial we have 3 subdomains "xxxxx.duckdns.org" which all point to our WAN IPv4 address (because Duck DNS puts your IPv4 address there when they create them).
Then, it is the "duckdns" client installed and configured on your Unraid server which will take care of regularly updating the IP address associated with your "xxxxx.duckdns.org" subdomains so that they always point to on the WAN IP address of the Internet connection used by your Unraid server.
Warning : when you add subdomains to your Duck DNS account, it is necessary to also add them in the configuration of the "duckdns" container on your Unraid server.
2. Add your new subdomains in the duckdns client on Unraid
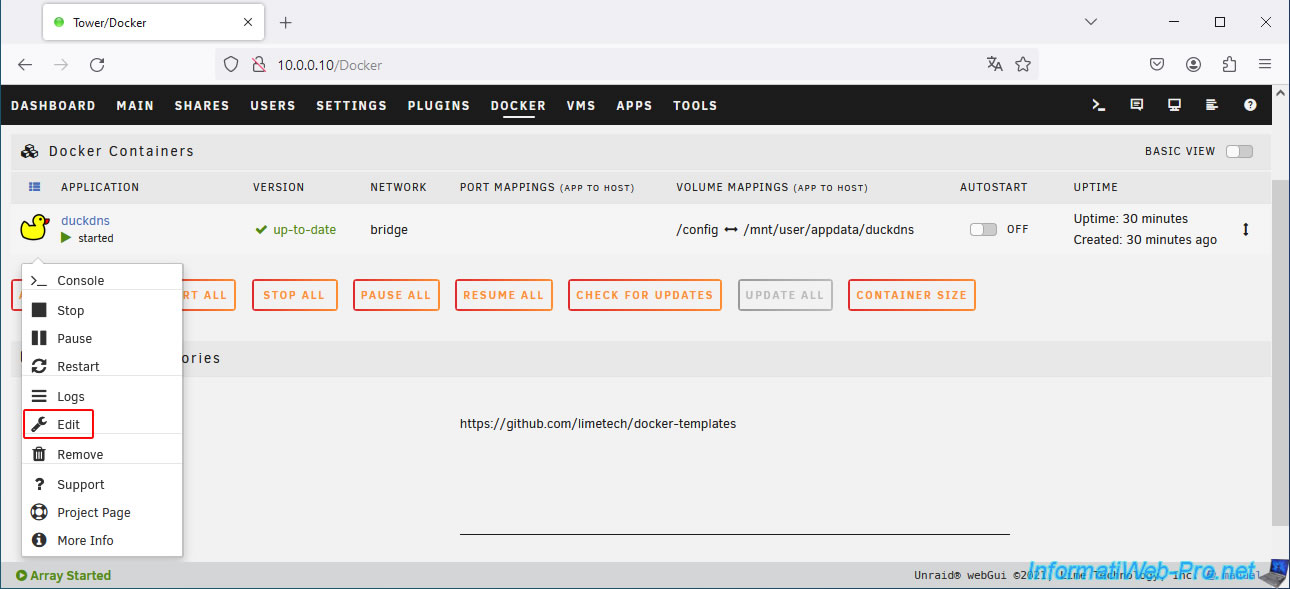
On your Unraid server, go to the "Docker" tab, click on the "duckdns" icon, then click on: Edit.
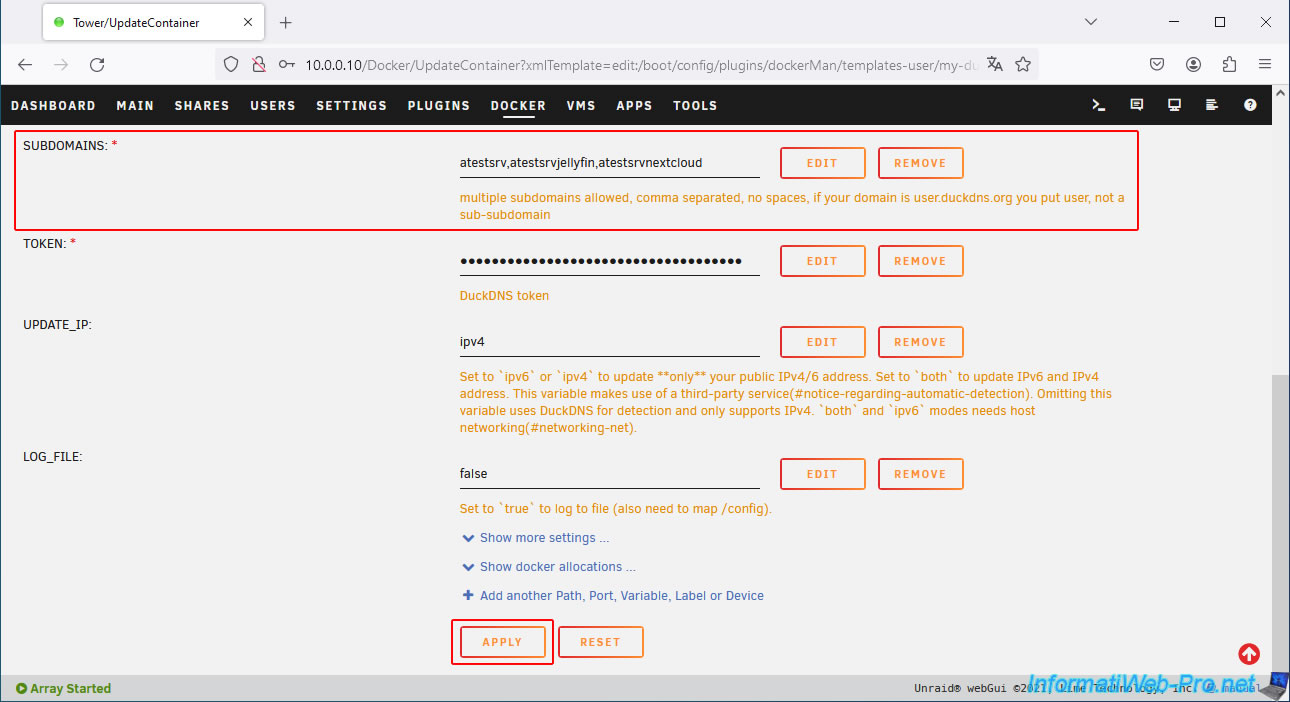
In the "SUBDOMAINS" box, add the subdomains created in your "Duck DNS" account, separating them each time with a comma.
Which gives in our case: atestsrv, atestsrvjellyfin, atestsrvnextcloud.
Then, click "Apply" at the bottom of the page.
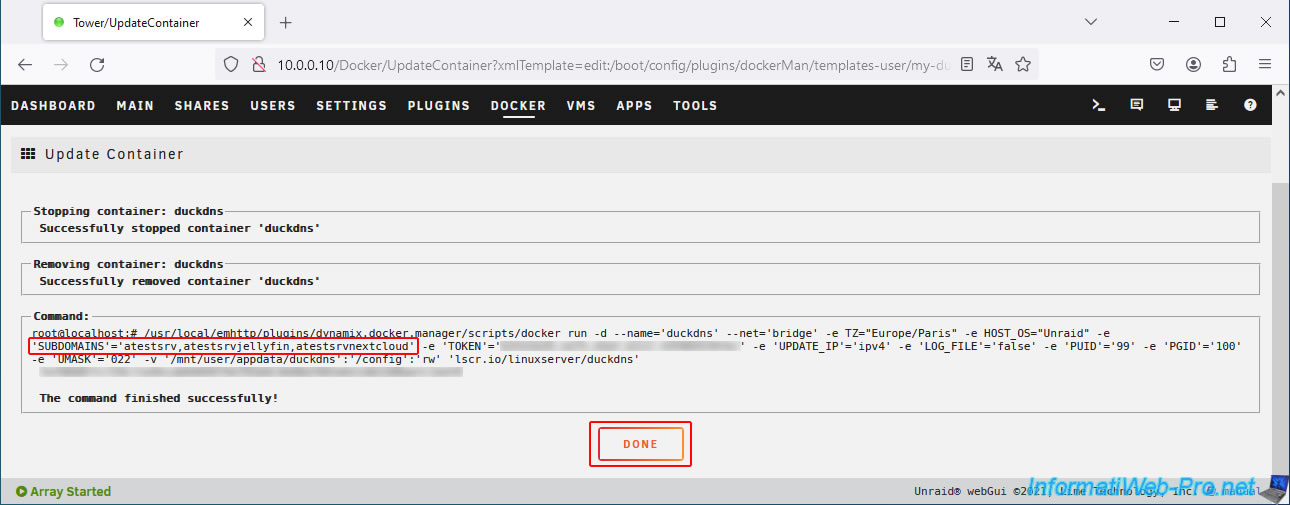
Wait while your "duckdns" container configuration is updated, then click: Done.
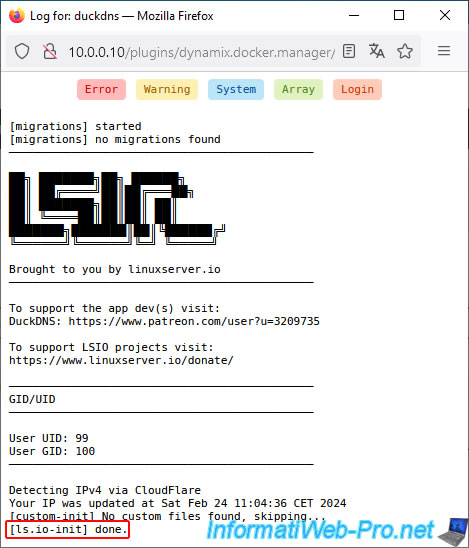
Now, click on the "duckdns" icon, then click on "Logs".
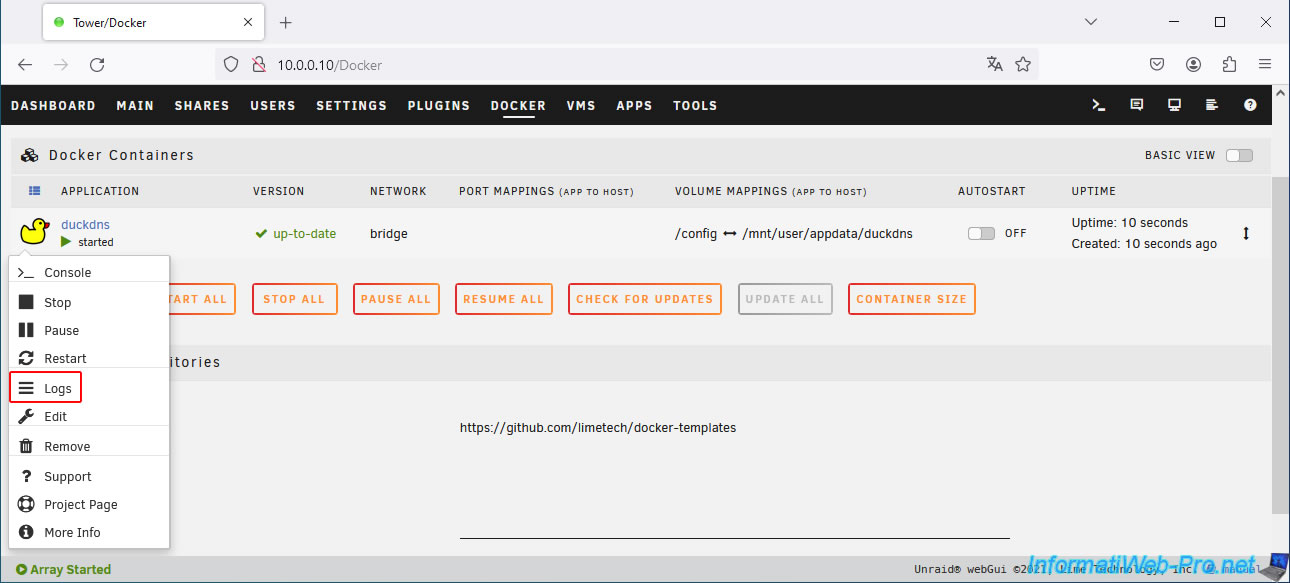
Verify that no errors or warnings are displayed.
Finally, the message "[ls.io-init] done" will be displayed.
Share this tutorial
To see also
-

NAS 1/15/2026
Unraid 6.9.2 - Change the parity disk
-
NAS 4/15/2026
Unraid 6.9.2 - Docker - Install a file server (Nextcloud)
-
NAS 3/11/2026
Unraid 6.9.2 - Presentation of Dynamix plugins (sys info, ...)
-
NAS 7/15/2026
Unraid 6.9.2 - VMs - Create a virtual machine
You must be logged in to post a comment