Back up a virtual machine (VM) manually on Unraid 6.9.2
- NAS
- Unraid
- 22 July 2026 at 07:46 UTC
-

- 2/2

4. Manually back up your virtual machine configuration
Run the "vm settings backup" script by clicking "Run script" next to it.
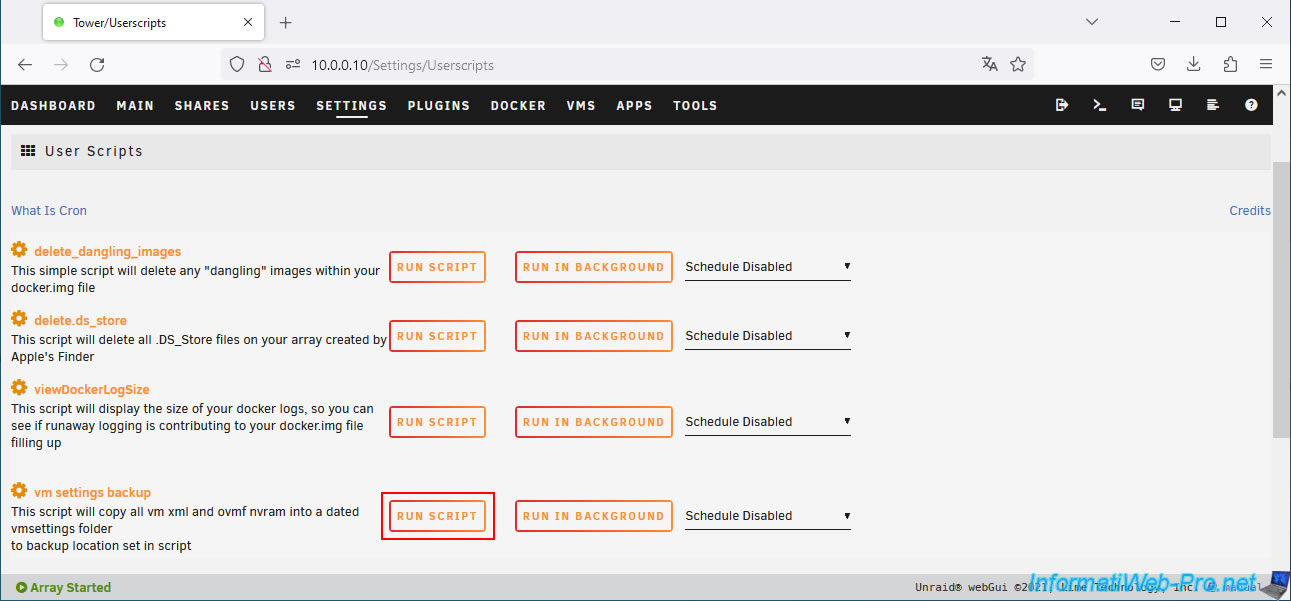
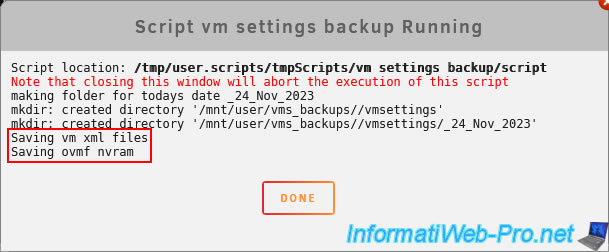
As you can see, this script saves:
- XML files: the configuration files for your virtual machines.
- OVMF files: the BIOS/UEFI firmware configuration for each virtual machine.
Plain Text
mkdir: created directory '/mnt/user/vms_backups//vmsettings'
...
Saving vm xml files
Saving ovmf nvram.
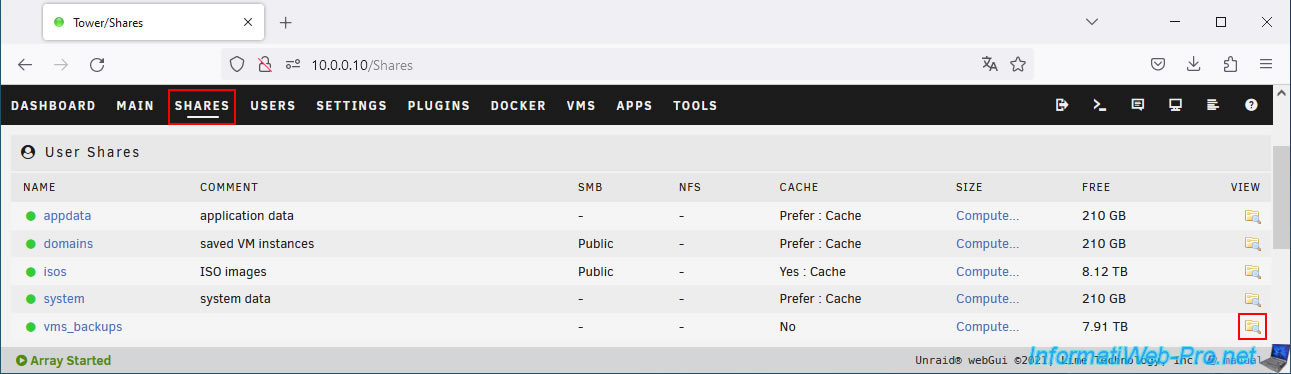
To view your backed up files, go to the "Shares" tab and click the folder icon to the right of your "vms_backups" share.
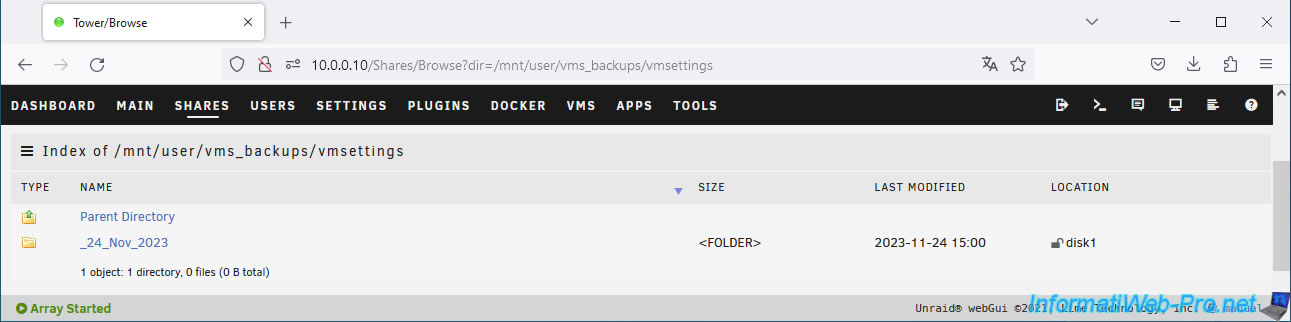
As you can see, in your "vms_backups" share, a "vmsettings" folder has automatically been created.
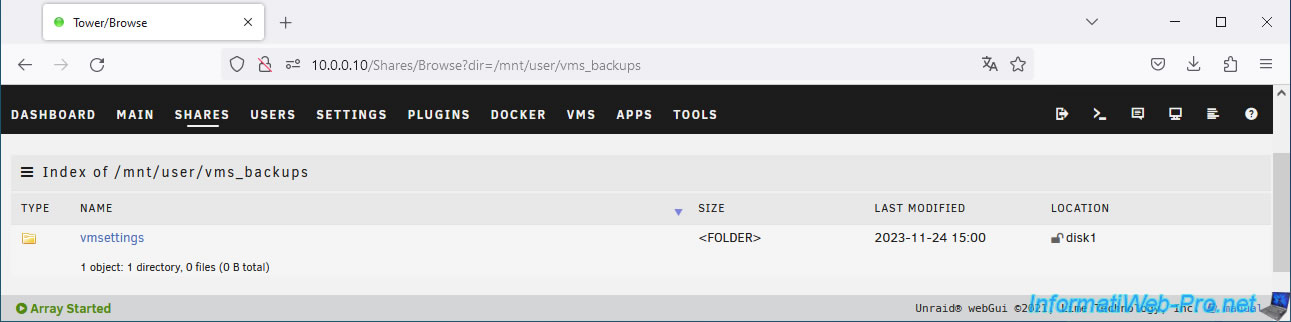
In this "vmsettings" folder, a new folder is created for each day you run the script.
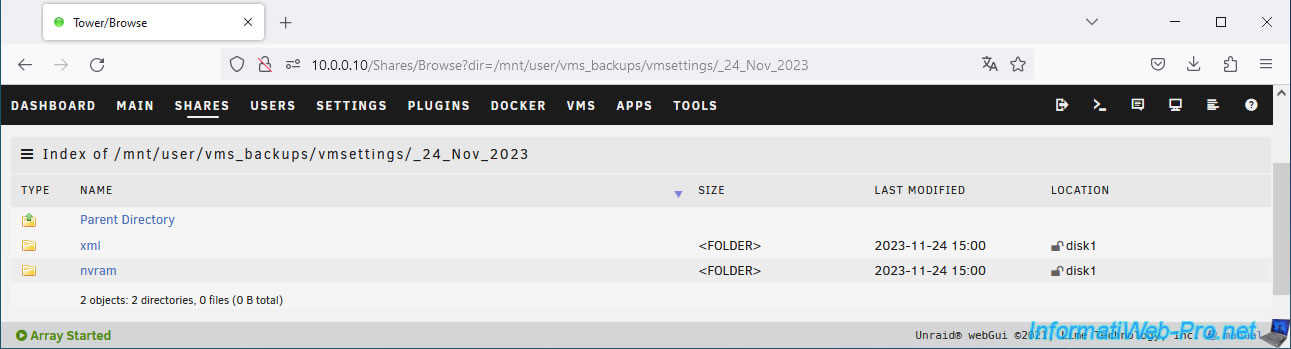
In this dated file, you will find 2 folders:
- xml: for the XML configuration files of your virtual machines.
- nvram: for the BIOS configuration of each of your virtual machines.
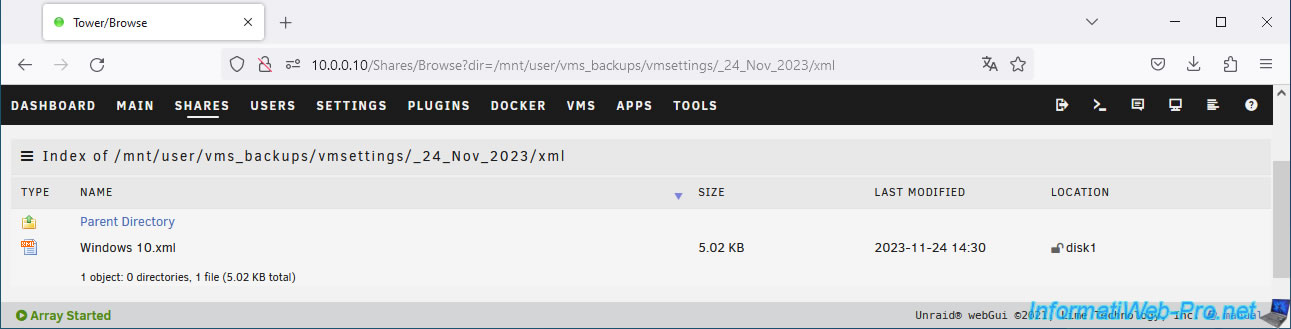
In the "xml" folder, you will find one "[VM name].xml" file per backed up virtual machine.
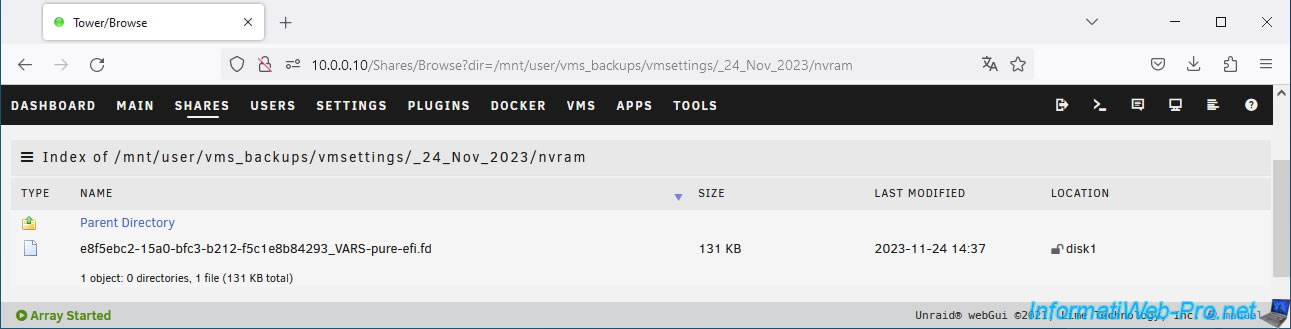
Inside the "nvram" file, you'll find a ".fd" file corresponding to each virtual machine's BIOS configuration.
Note: the name of the ".fd" file used by a virtual machine is found in its XML configuration file.
So, simply use the XML view when modifying a virtual machine's configuration to know which file you need to restore.
5. Manually back up your virtual machines' virtual hard disks
To manually back up the virtual hard disk(s) used by your virtual machines, simply install a file explorer via Docker.
In our case, we'll use "CloudCommander," which we discussed in a previous tutorial: Unraid 6.9.2 - Docker - Install a file explorer (CloudCommander).
To install it, go to the "Apps" tab and type "cloudcommander".
Then, install the "CloudCommander" application from the "cheesemarathon" repository.
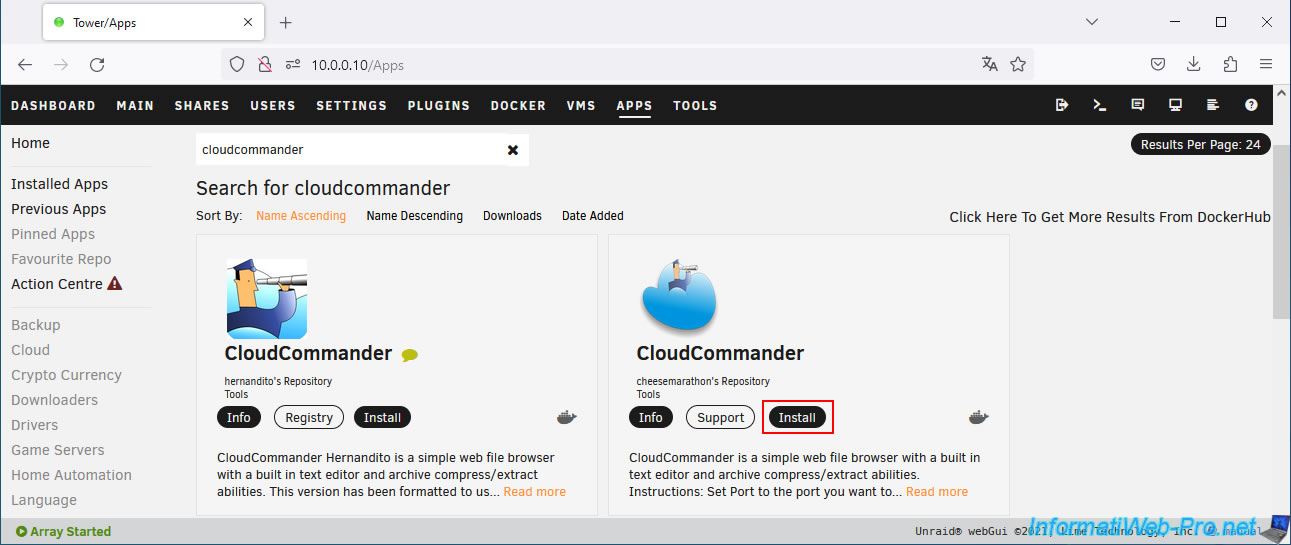
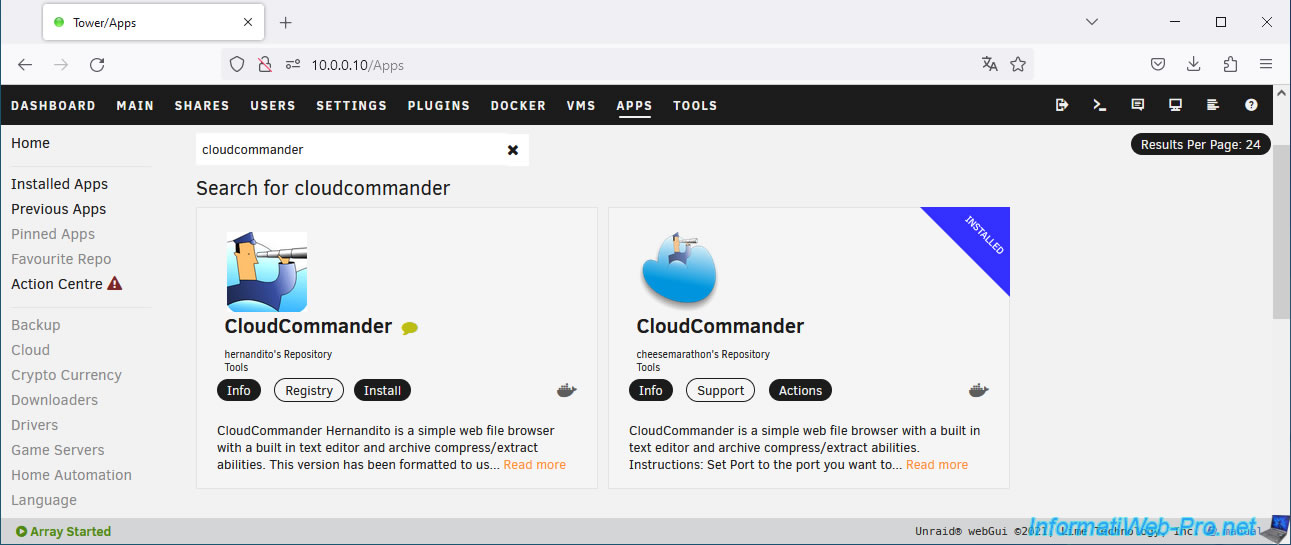
There you have it, the "CloudCommander" file explorer is installed.
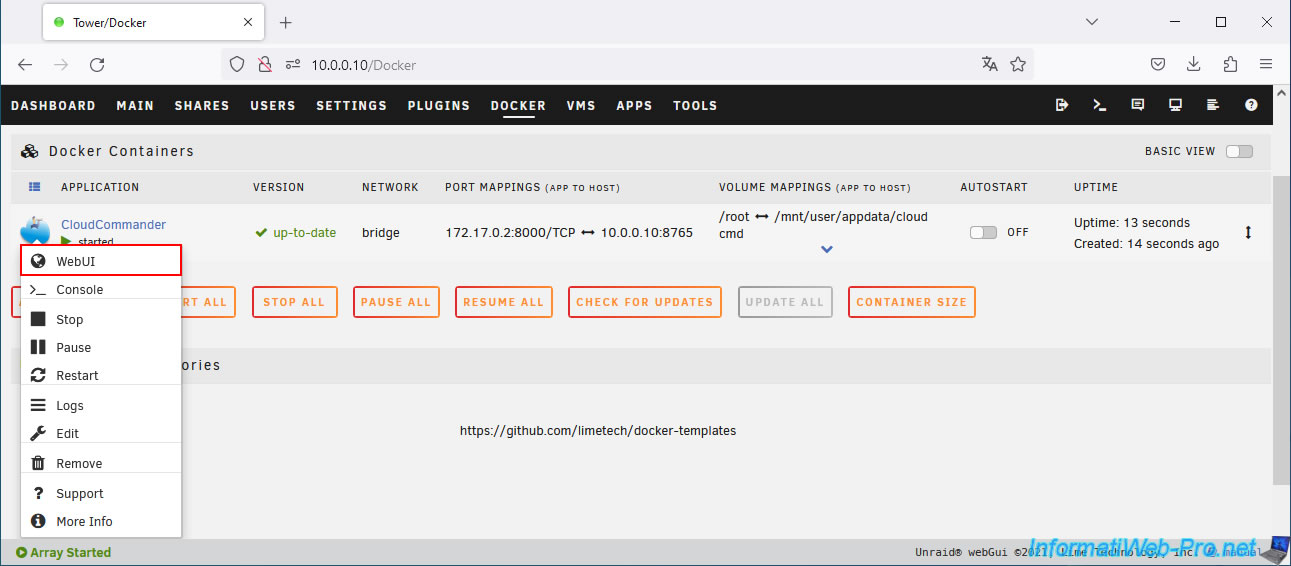
Go to the "Docker" tab, click on the "CloudCommander" icon, then click on "WebUI".
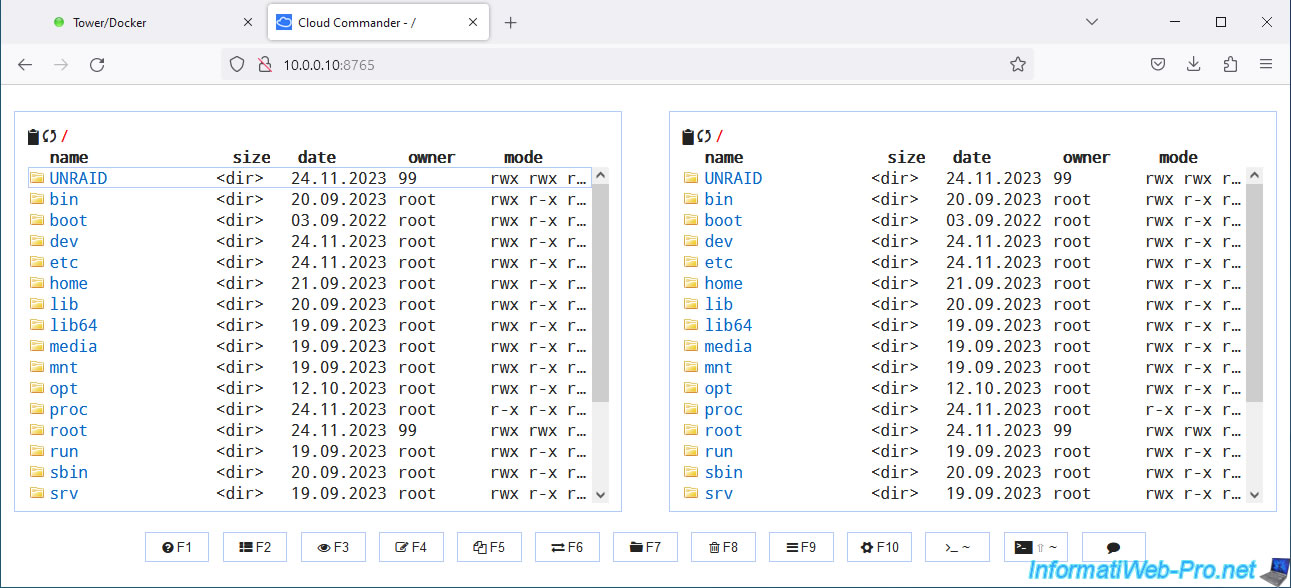
This web interface appears.
As you may have guessed, your server appears on both sides, but this will allow you to move, copy, download, or upload files to certain folders.
Important : the "UNRAID" folder displayed at the top of the list refers to the "/mnt/user/" mount point of your Unraid server.
You will therefore find all your shares created via the "Shares" tab in Unraid in this folder.
In Unraid's "Shares" tab, you can see that, by default, your virtual machines are stored in the "domains" share.
You can also verify this by clicking the icon to its right.
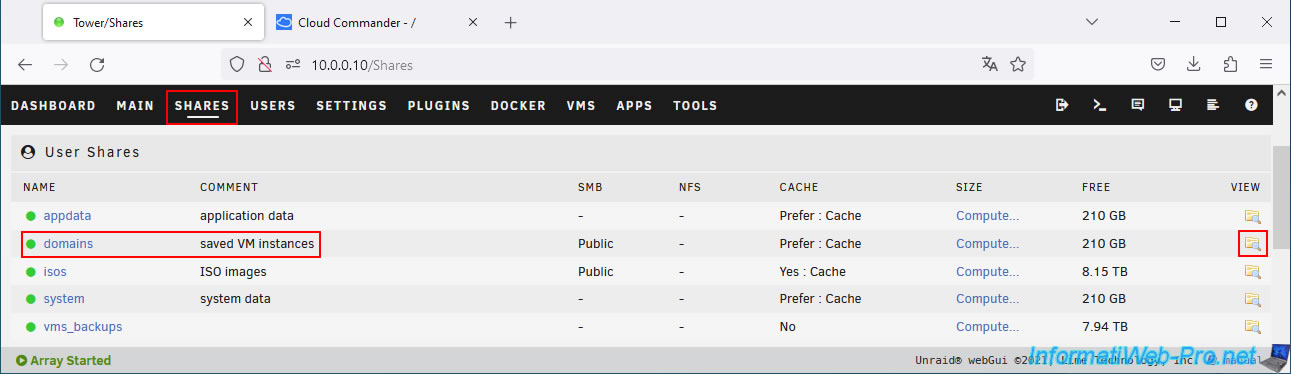
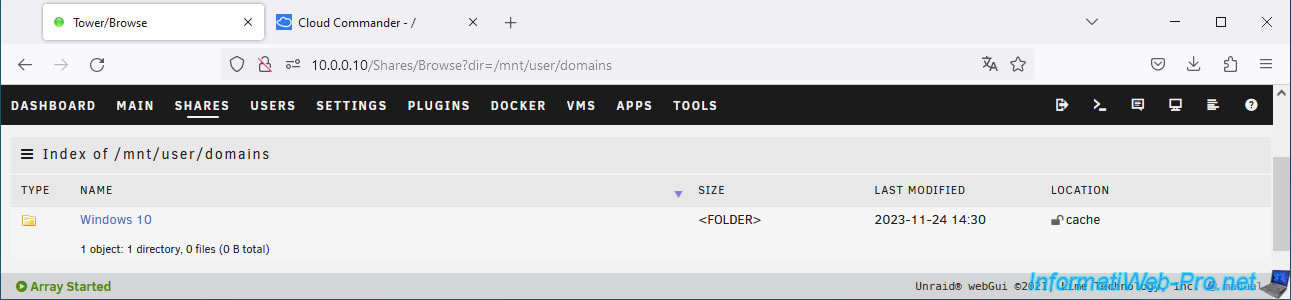
As expected, the "Windows 10" folder of our virtual machine of the same name appears.
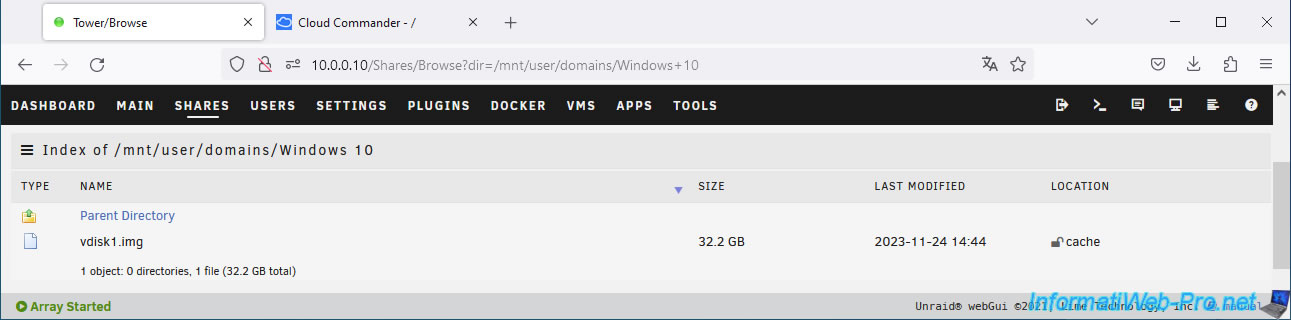
In each "[VM name]" folder, you'll find its hard drive(s).
For example: "vdisk1.img" for the first virtual hard drive where the guest OS is usually installed.
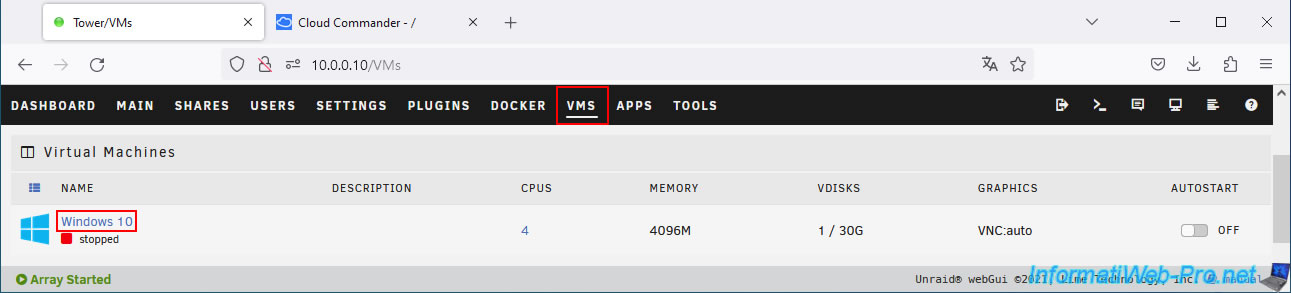
In the "VMS" tab, you will be able to find the name of your virtual machines.
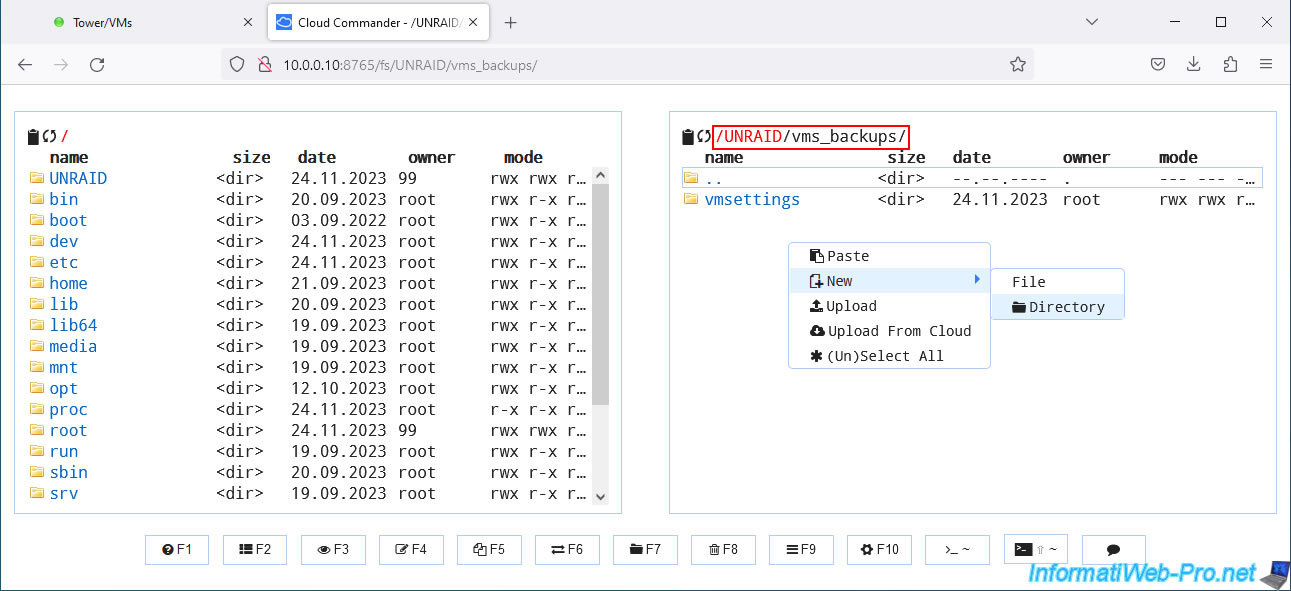
In the Cloud Commander web interface, navigate to the "UNRAID/vms_backups" folder (which corresponds to the "vms_backups" share created at the beginning of this tutorial) on the right side.
Then, right-click "New -> Directory" in the empty space.
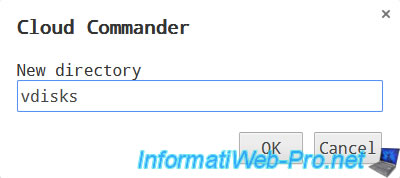
Enter vdisks (or another name if you wish), then click OK.
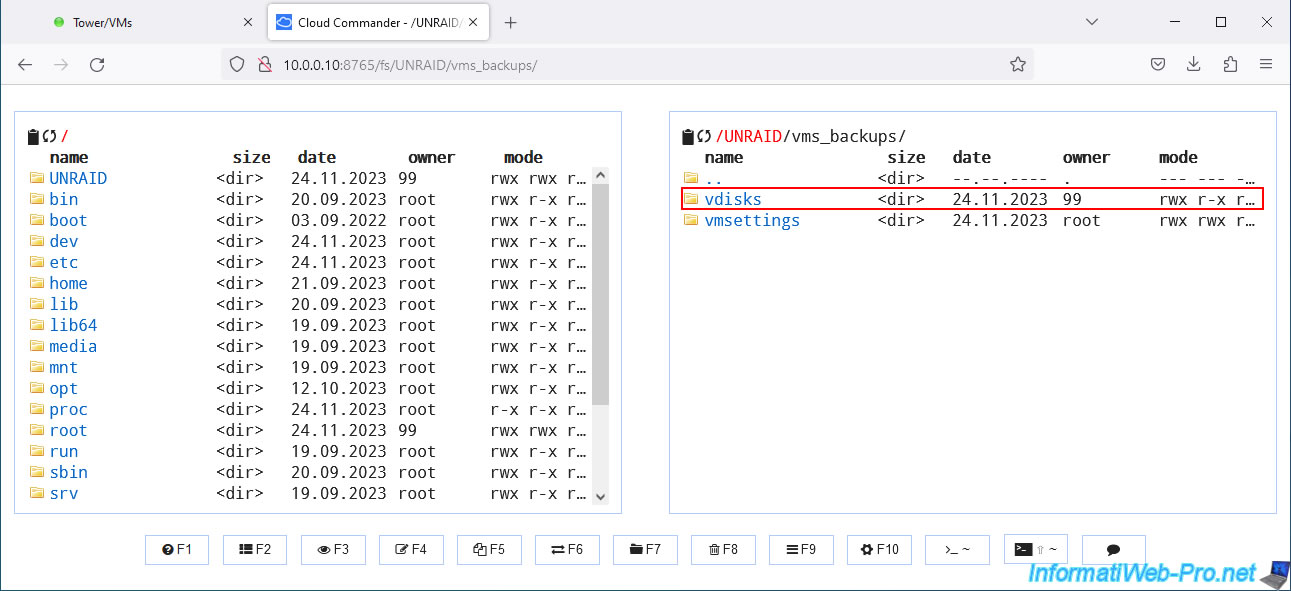
Your new "vdisks" folder appears.
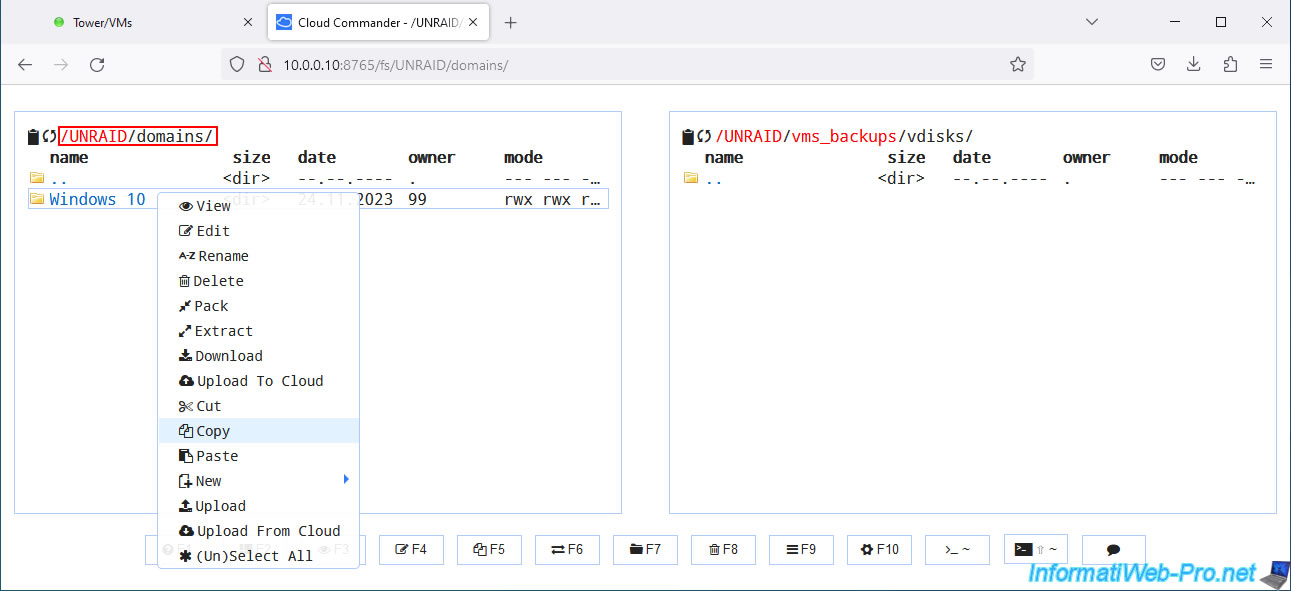
On the left side, navigate to the "UNRAID/domains" folder (which, as you may have guessed, corresponds to the "domains" share mentioned above and created by default in Unraid).
Then, right-click on a folder whose name corresponds to the virtual machine whose virtual hard drive you want to back up and click "Copy".
In the right part, right click "Paste".
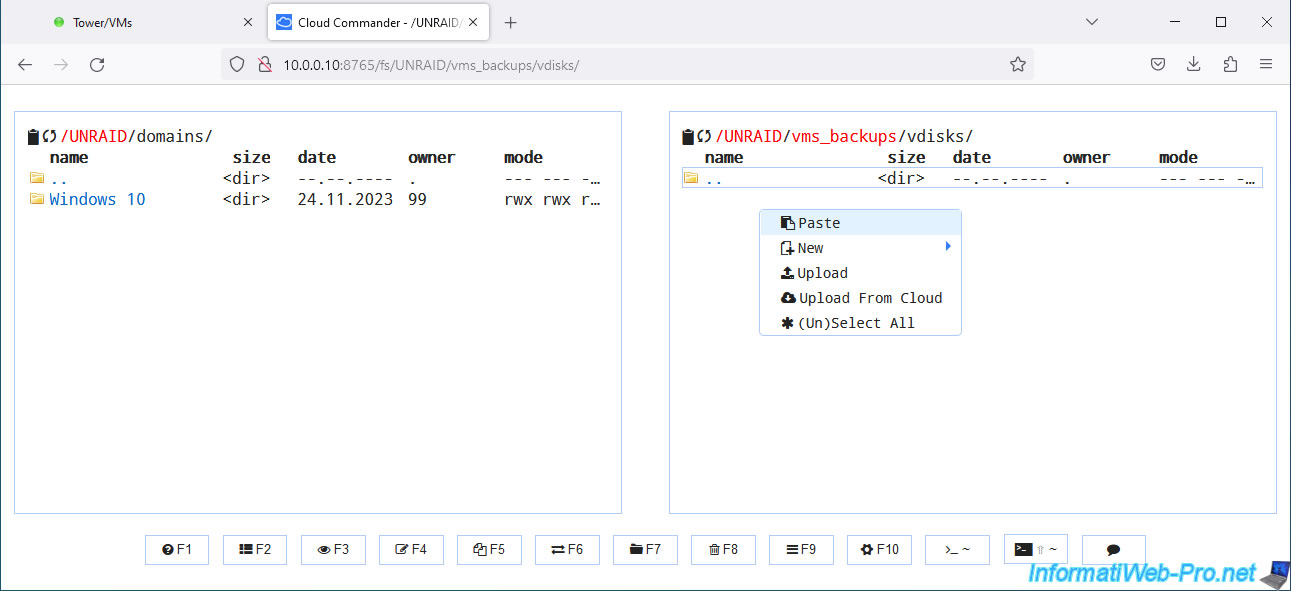
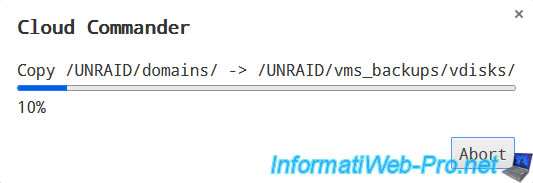
Please wait while your virtual machine's virtual hard disk is copied.
Plain Text
Copy /UNRAID/domains -> /UNRAID/vms_backups/vdisks/
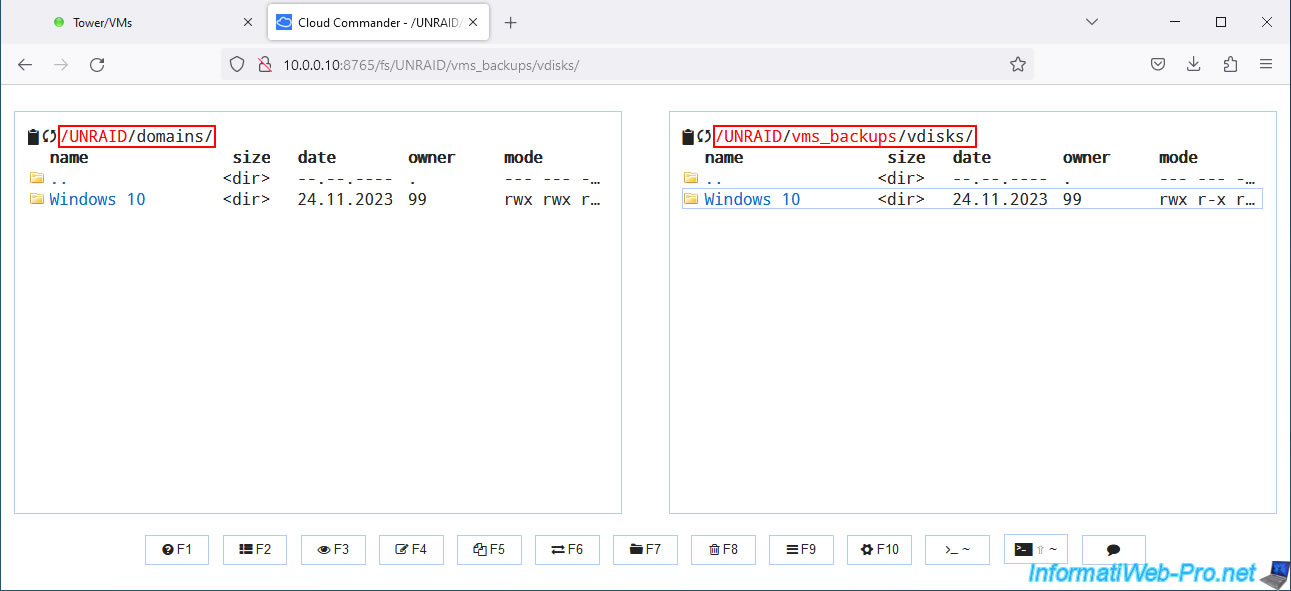
The fodler has been copied.
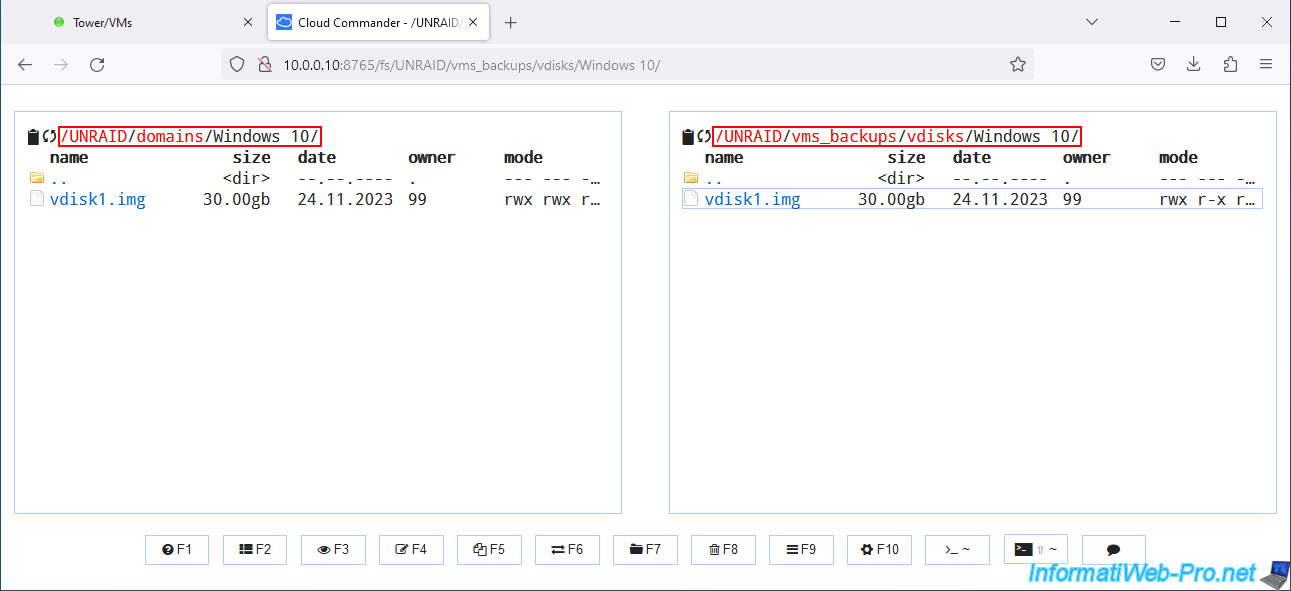
In the copied folder, you will find the copied virtual disk (usually: vdisk1.img).
Share this tutorial
To see also
-
NAS 4/1/2026
Unraid 6.9.2 - Docker - Install a file explorer (CloudCommander)
-
NAS 3/4/2026
Unraid 6.9.2 - Install the "Community Applications" plugin (old version)
-
NAS 1/21/2026
Unraid 6.9.2 - Replace a storage disk
-
NAS 8/13/2026
Unraid 6.9.2 - VMs - Guest not initialized display (solution)
No comment