- NAS
- Unraid
- 29 July 2026 at 15:05 UTC
-

- 1/2

Previously, we explained how to manually back up your virtual machines.
In this tutorial, you'll see how to automatically back up your virtual machines (XML configuration files and virtual hard disks).
- Create a share
- Download the script to automatically backup your VMs
- Edit the downloaded script
- Add the backup script for your VMs to your Unraid server
- Start backup of a virtual machine
- Schedule automatic backup of your VMs
1. Create a share
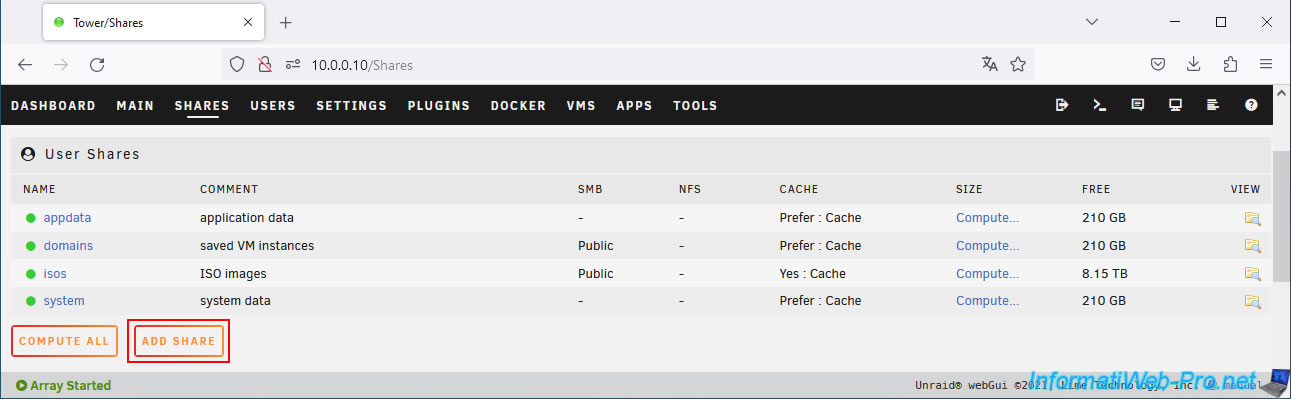
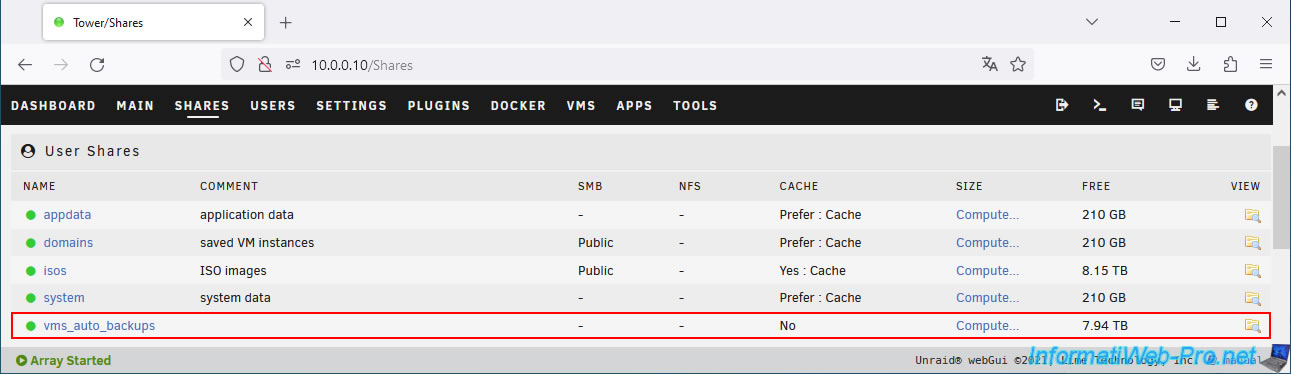
To begin, go to the "Shares" tab and click on: Add share.
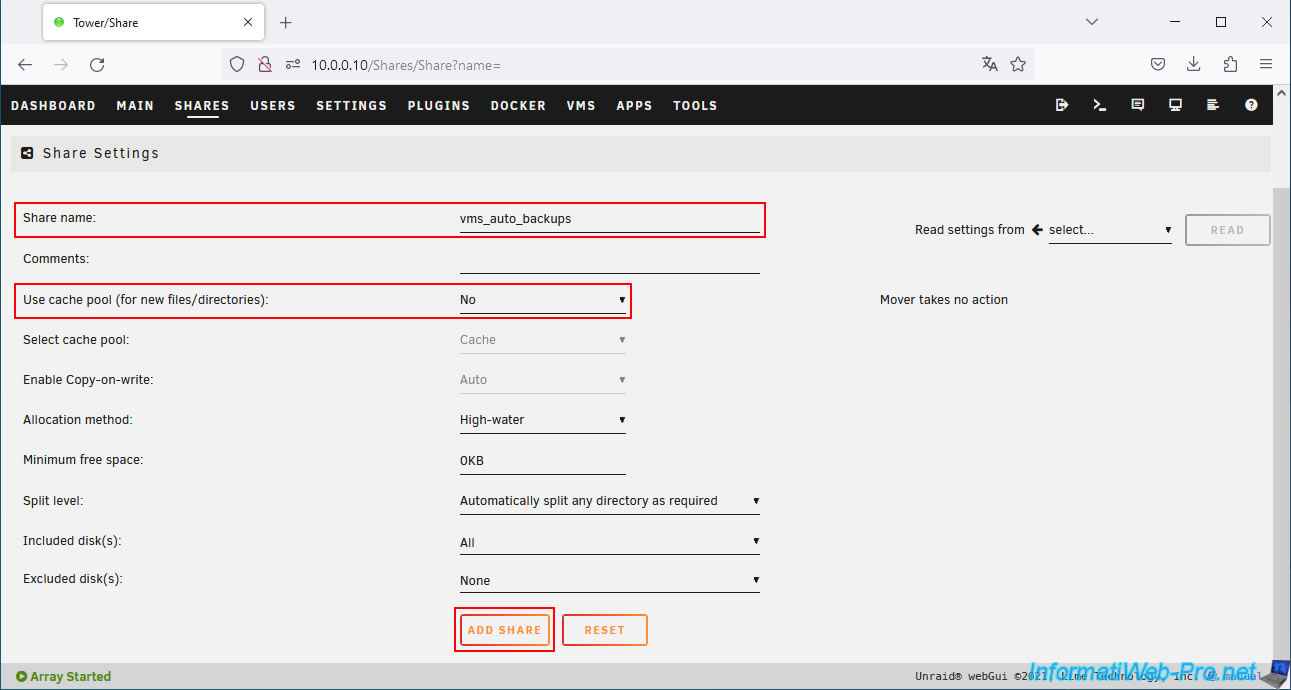
Configure these settings:
- Share name: vms_auto_backups.
- Use cache pool (for new files/directories): No.
This allows backups to be stored only on your hard drives and NOT on the cache (normally composed of SSDs) of your Unraid server.
Then, click on: Add share.
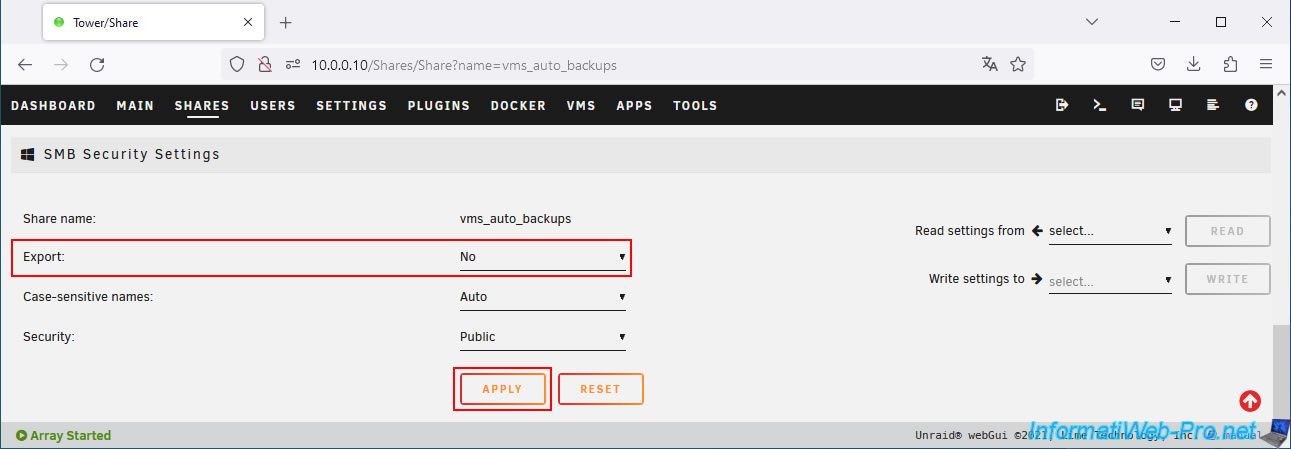
Then, at the bottom of the page, select "Export: No" and click Apply.
This will prevent this share from being accessible over the network.
The script will run locally on your Unraid server, so this share does not need to be accessible over the network.
Your new "vms_auto_backups" share appears.
2. Download the script to automatically backup your VMs
On the Unraid forum, you'll find a thread titled "unraid-autovmbackup: automate backup of virtual machines in unRAID - v0.4".
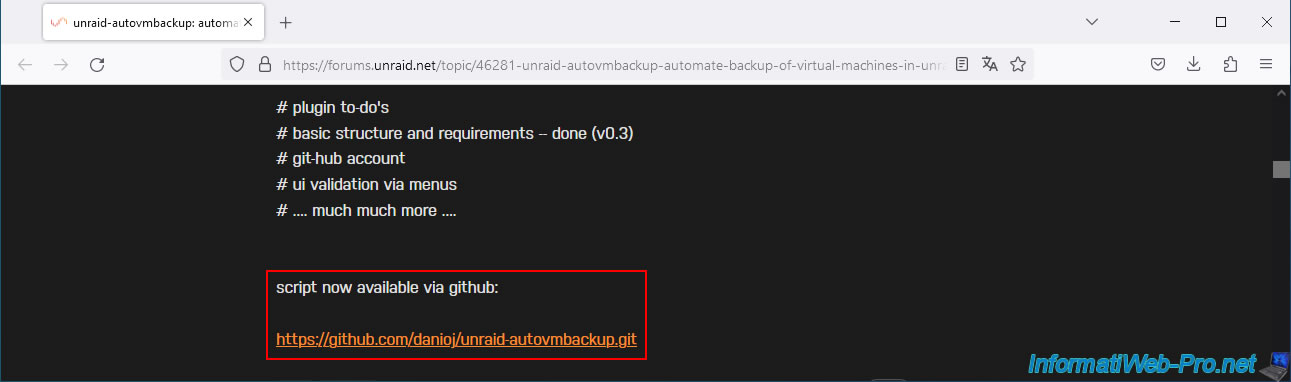
In this thread, you'll find information about the script used, as well as a download link at the end of the post.
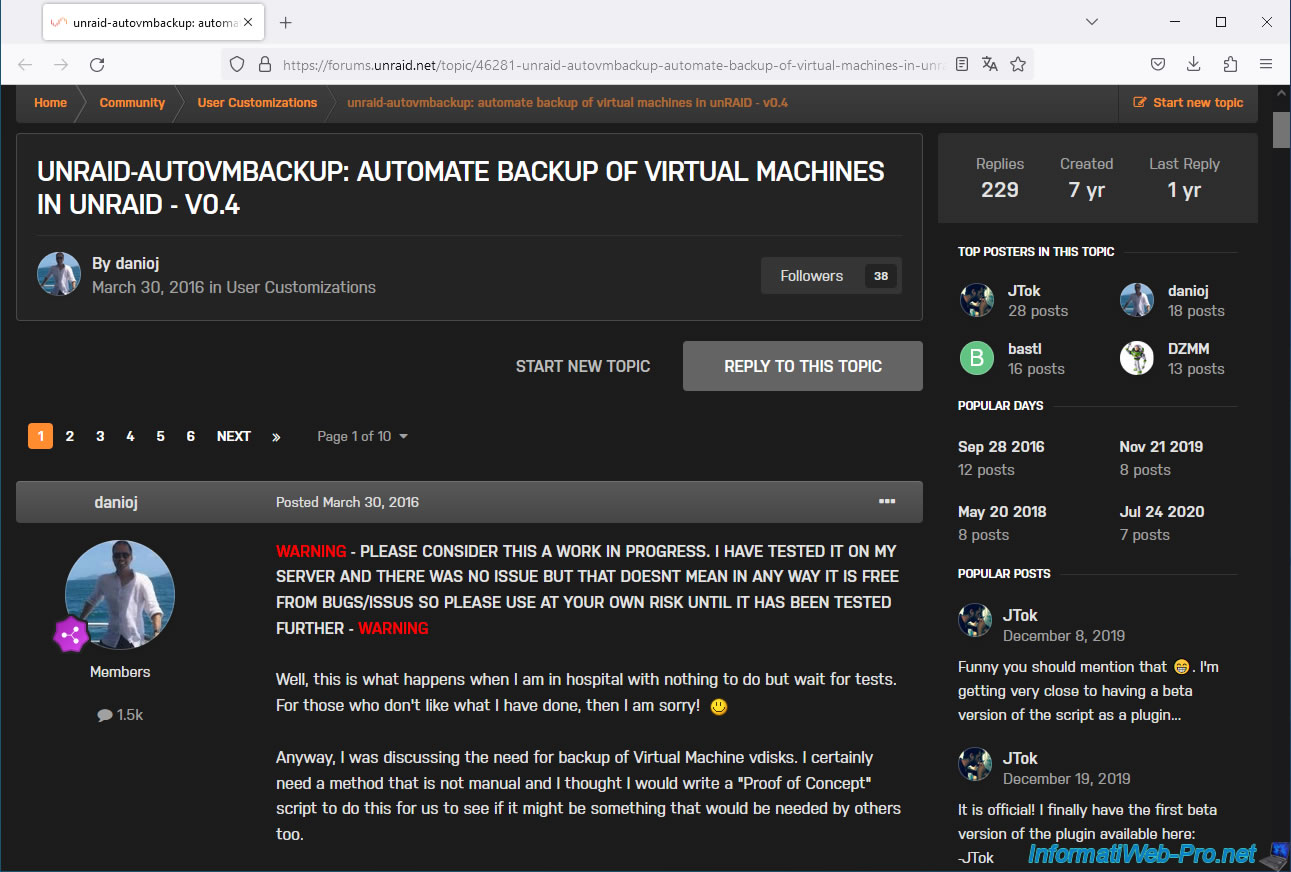
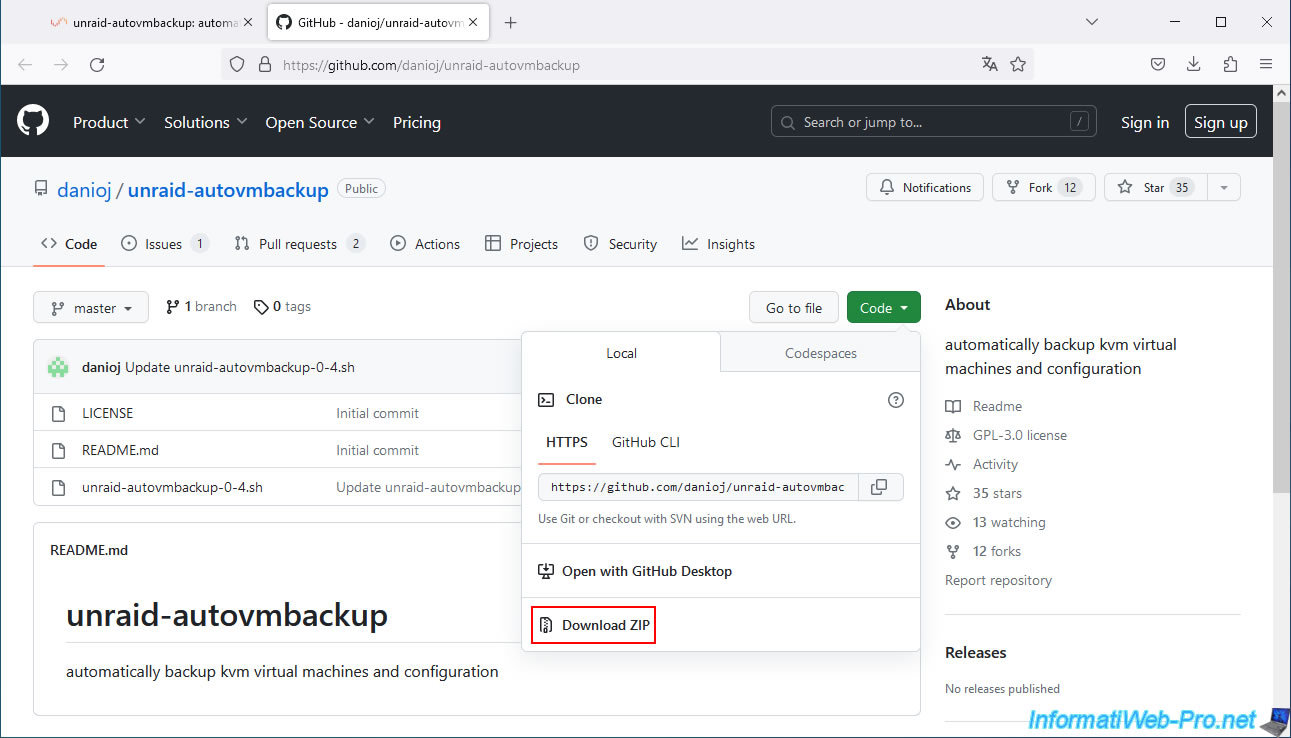
Click on the GitHub link at the end of this post and you will arrive at the page : GitHub - danioj/unraid-autovmbackup: automatically backup kvm virtual machines and configuration.
On the GitHub site that appears, click on: Code -> Download ZIP.
Unzip the downloaded file.
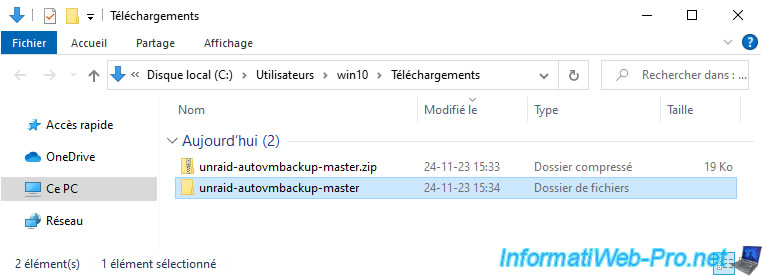
In the "unraid-autovmbackup-master" folder, you will find the script to use: unraid-autovmbackup-0-4.sh.
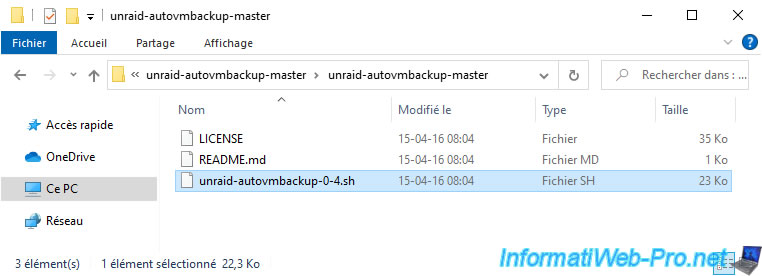
3. Edit the downloaded script
Open this file "unraid-autovmbackup-0-4.sh" with notepad and you will see that it is a Linux script (using BASH).
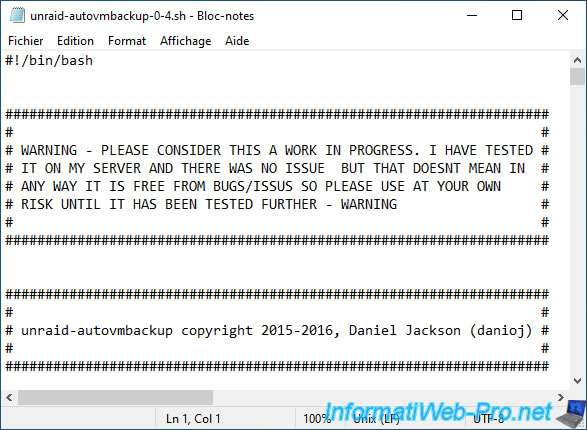
In this script you will first find these variables:
- official_script_name: indicates that the script will be named "script".
- enabled: simply enables this script. Otherwise, nothing happens.
Modify these like this:
Plain Text
official_script_name="script"
enabled="1"
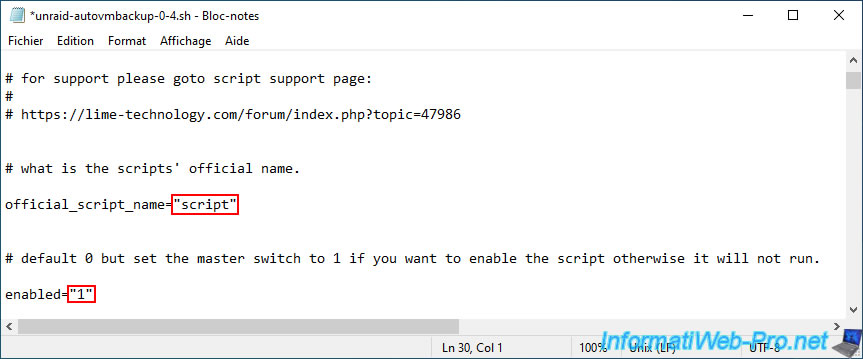
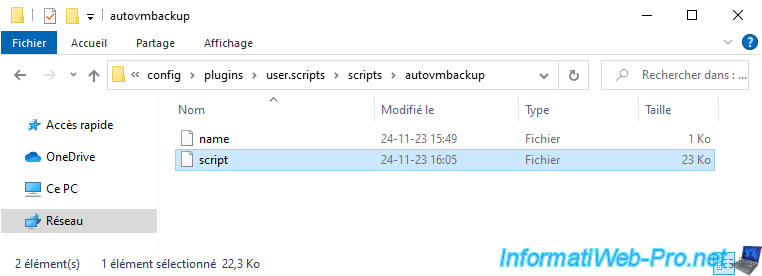
Note that all script files for all scripts managed via the "User Scripts" plugin are always named "script" (without an extension).
Hence the name "script" indicated in the script above.
Note: you will add this script to your server later.
It is therefore normal that the "autovmbackup" folder does not yet exist on your Unraid server.
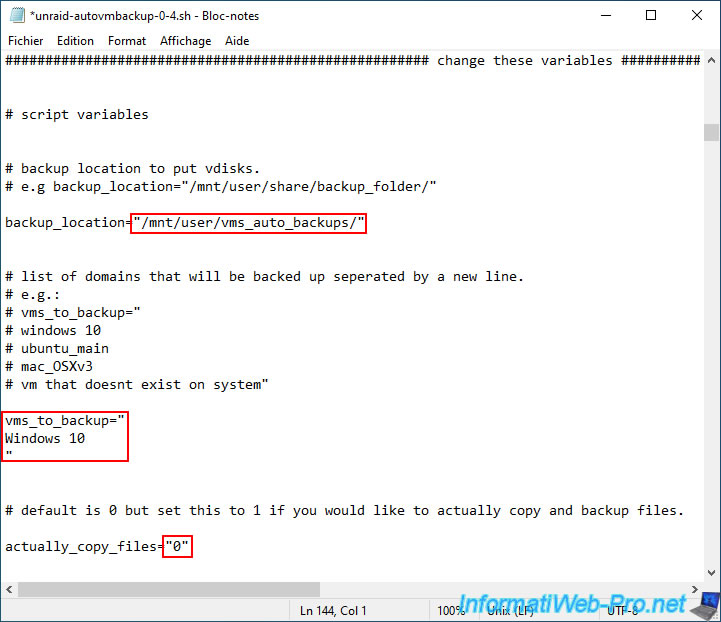
Further in this "unraid-autovmbackup-0-4.sh" script, you will find a "change these variables" section where you can indicate:
- backup_location: the path to the folder where automatic backups of your virtual machines will be stored.
- vms_to_backup: the list of virtual machines you want to automatically back up using this script.
- actually_copy_files: allows you to perform a test only (leaving the default value "0") or enable file copying (setting the value "1") so that the files are actually backed up.
Change these variables like this:
Plain Text
backup_location="/mnt/user/vms_auto_backups/"
vms_to_backup="
Windows 10
"
actually_copy_files="0"
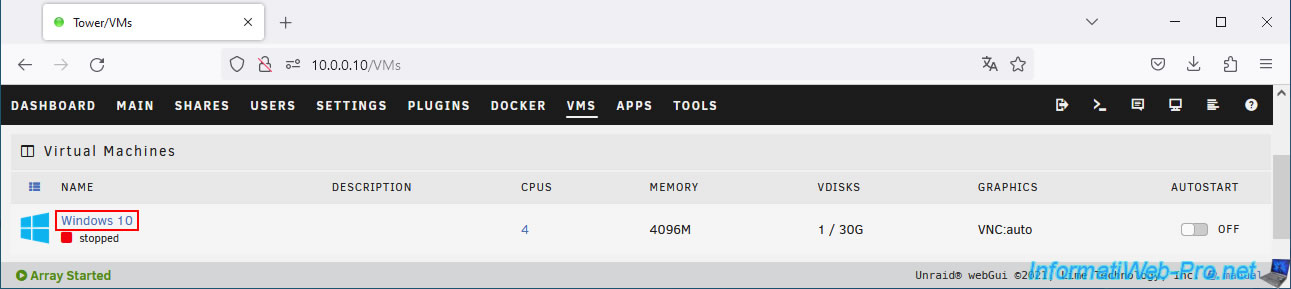
Note: in our case, we want to automatically backup our virtual machine named "Windows 10".
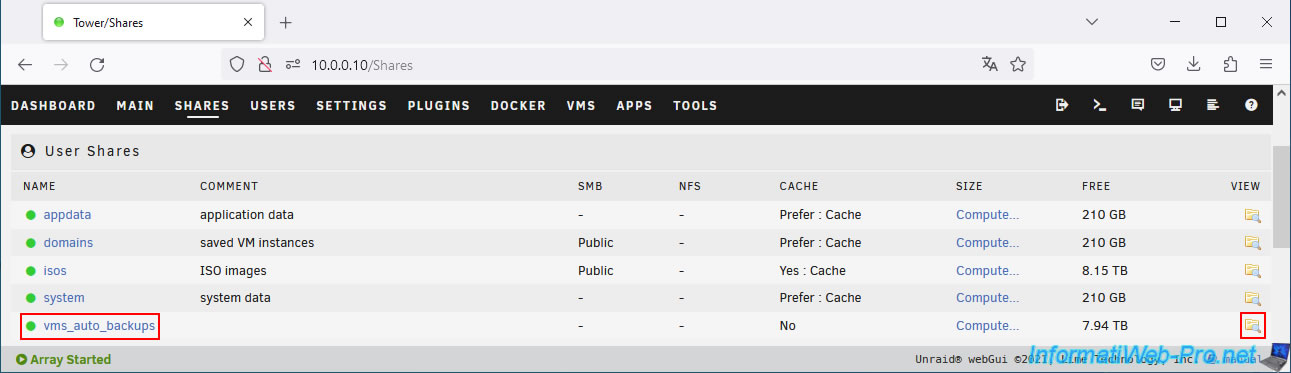
Note: the path "/mnt/user/vms_auto_backups/" specified in the script above refers to the "vms_auto_backup" share you previously created in the "Shares" tab of your Unraid server.
To view the path to this share, click the icon to the right of it.
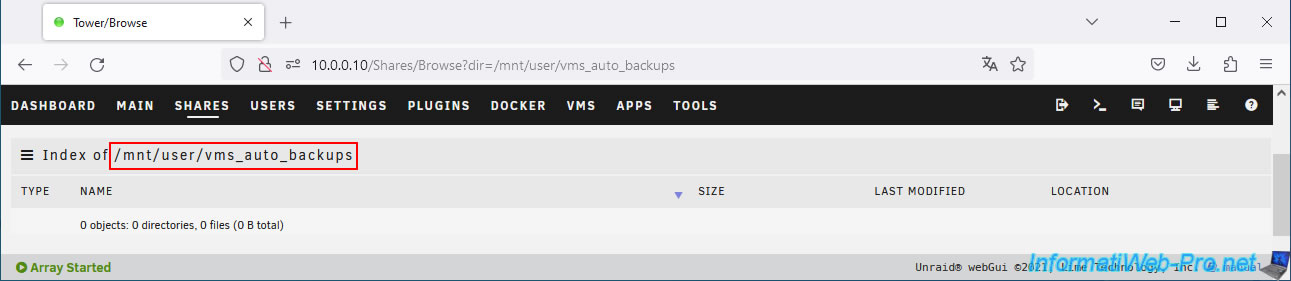
The path to this sharing appears.
For the name of the virtual machine you want to backup, just look at its name in the "VMS" tab of Unraid.
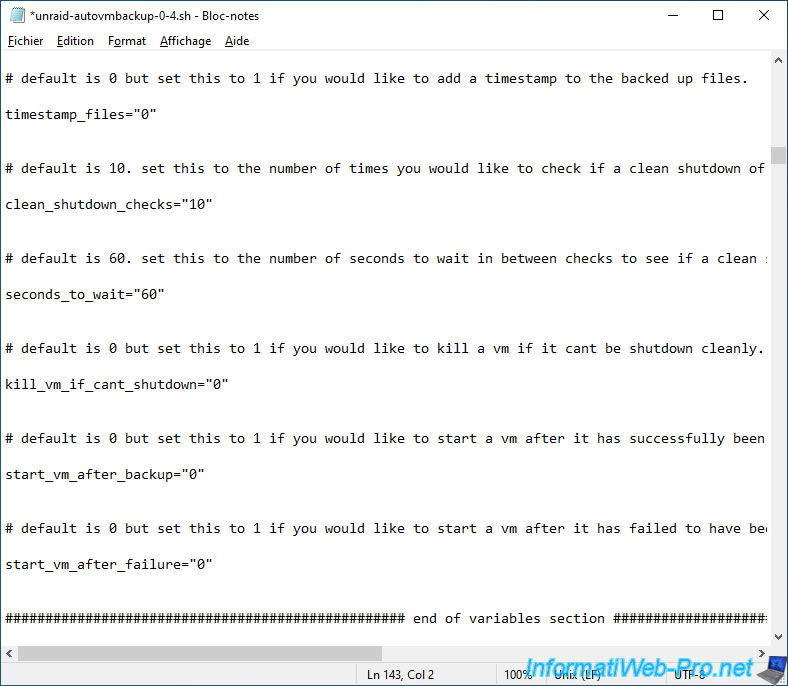
In this script, you will also find other variables that you can modify if you wish:
- timestamp_files: if you specify the value "1", this will add the date and time to the backed up files.
This allows you to create different backups each time the script is run. However, this may take up a lot of space if the script is run regularly.
If you leave the default value "0", the previous backup will always be overwritten by the new one. - clean_shutdown_checks: specifies the number of times (default: 10) the script should check that a clean shutdown of the guest operating system (OS) has completed.
- second_to_wait: specifies the number of seconds to wait between each check for a clean shutdown of the guest OS.
- kill_vm_if_cant_shutdown: to back up a virtual machine, it must be shut down.
If a clean shutdown doesn't work, which can happen with some operating systems or depending on its state, this allows you to force a hard shutdown of the virtual machine (if desired). - start_vm_after_backup: allows you to start the backed up virtual machine after its backup is complete.
- start_vm_after_failure: similar to the previous option, but when the backup fails.
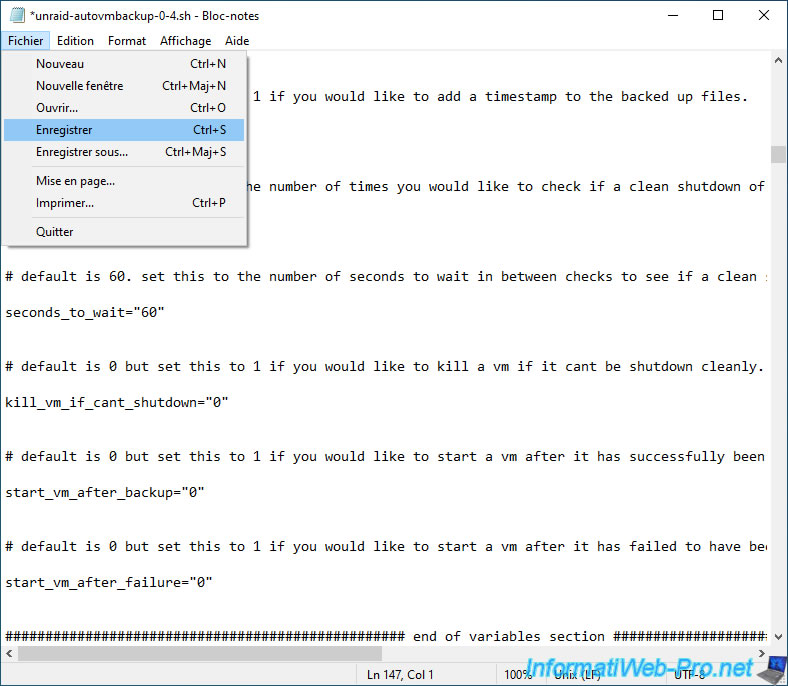
Once you have edited this script, save the changes.
Share this tutorial
To see also
-

NAS 7/8/2026
Unraid 6.9.2 - Docker - Install a password manager (Vaultwarden)
-
NAS 7/22/2026
Unraid 6.9.2 - VMs - Backing up a VM manually
-

NAS 9/16/2026
Unraid 6.9.2 - VMs - Hotplug USB devices (Libvirt Hotplug USB plugin)
-

NAS 8/5/2026
Unraid 6.9.2 - VMs - Manage your VMs with virt-manager (on Debian)
You must be logged in to post a comment