Automatically back up a virtual machine (VM) on Unraid 6.9.2
- NAS
- Unraid
- 29 July 2026 at 15:05 UTC
-

- 2/2

4. Add the backup script for your VMs to your Unraid server
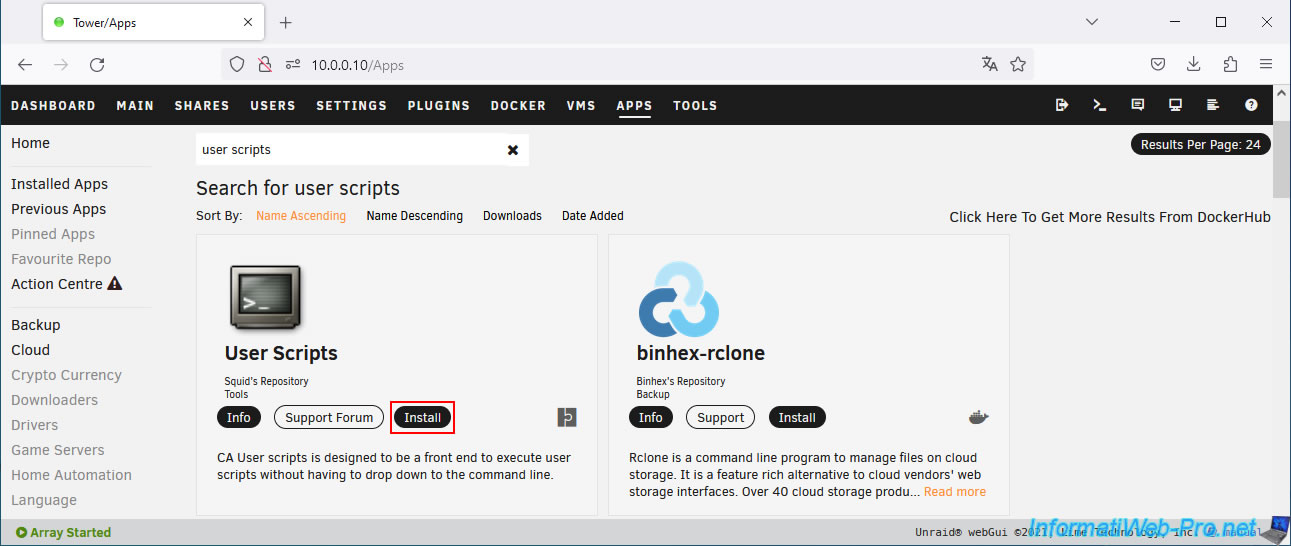
To add this script to your Unraid server, you'll first need to install the "User Scripts" plugin.
To do this, go to the "Apps" tab, then type "user scripts".
Next, install the "User Scripts" plugin that appears.
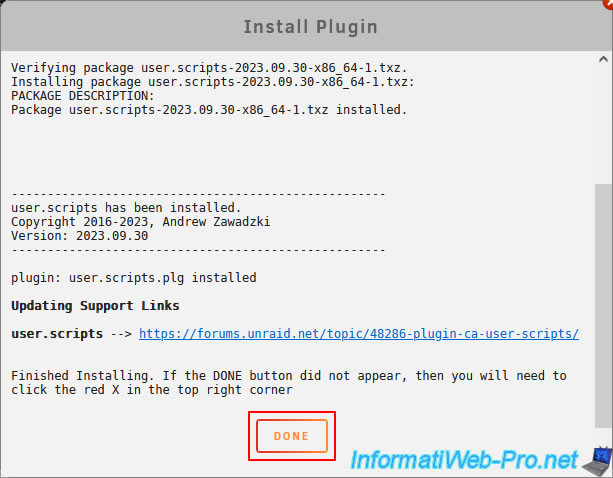
Once this plugin is installed, click on: Done.
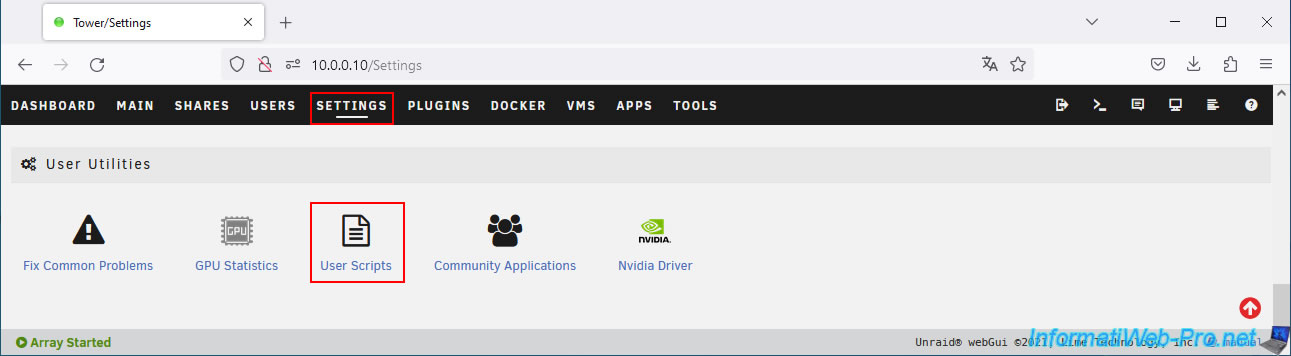
Then, go to: Settings -> User Utilities -> User Scripts.
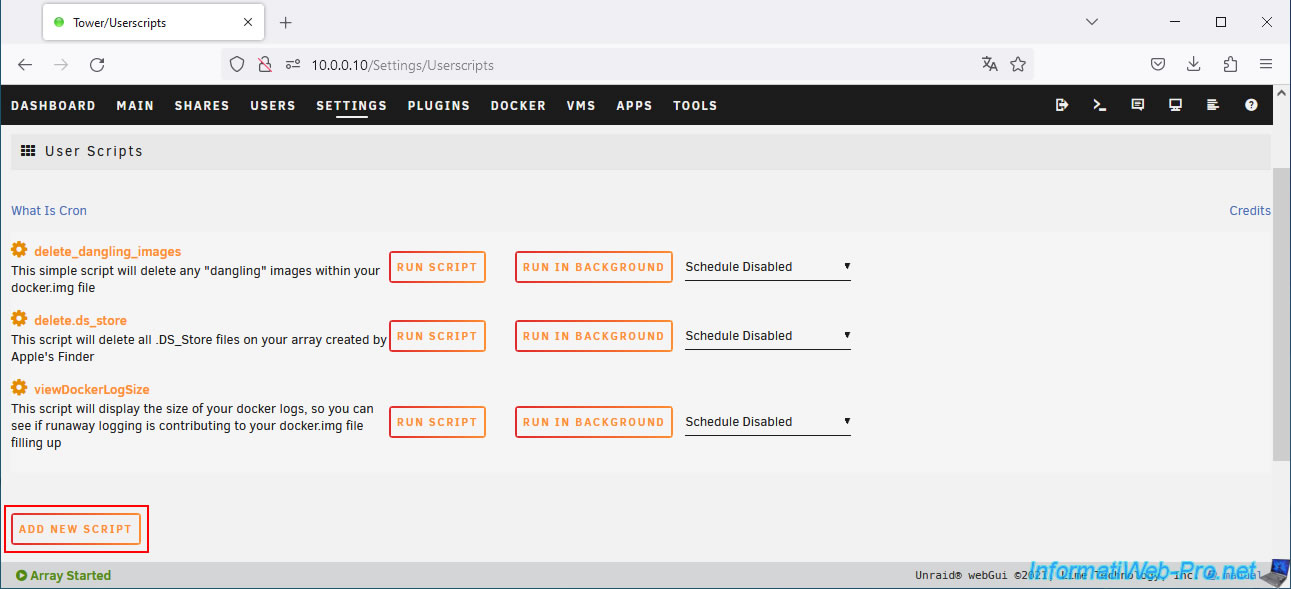
On the "User Scripts" page that appears, click the "Add new script" button.
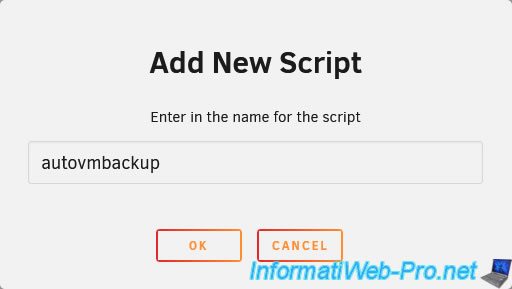
In the "Add New Script" window that appears, enter "autovmbackup" and click OK.
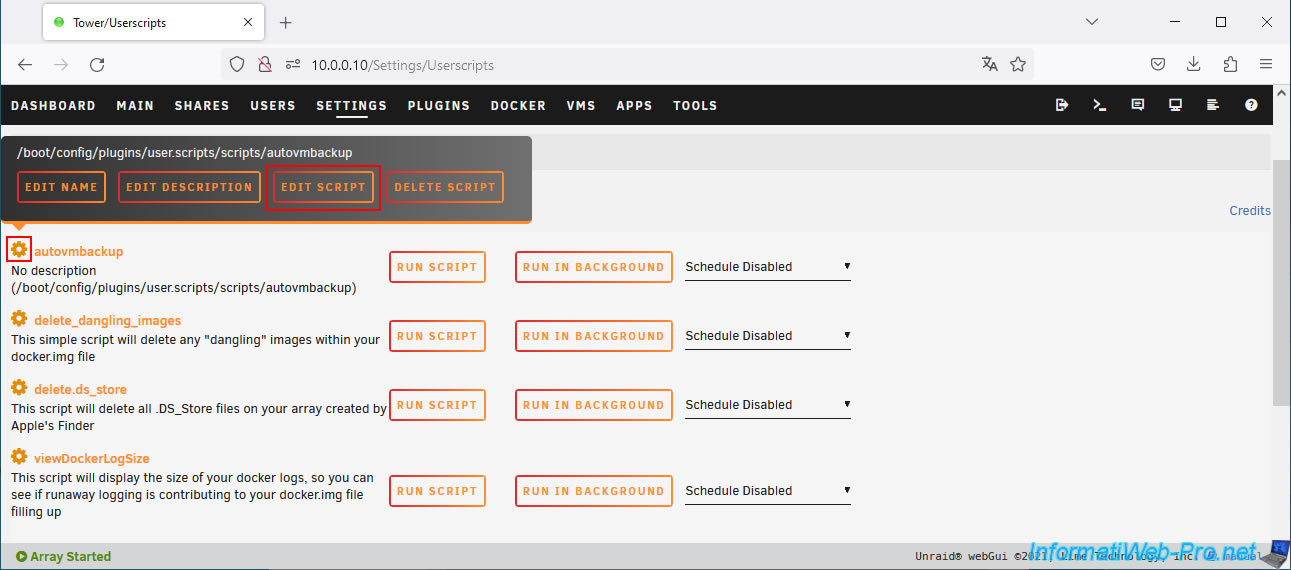
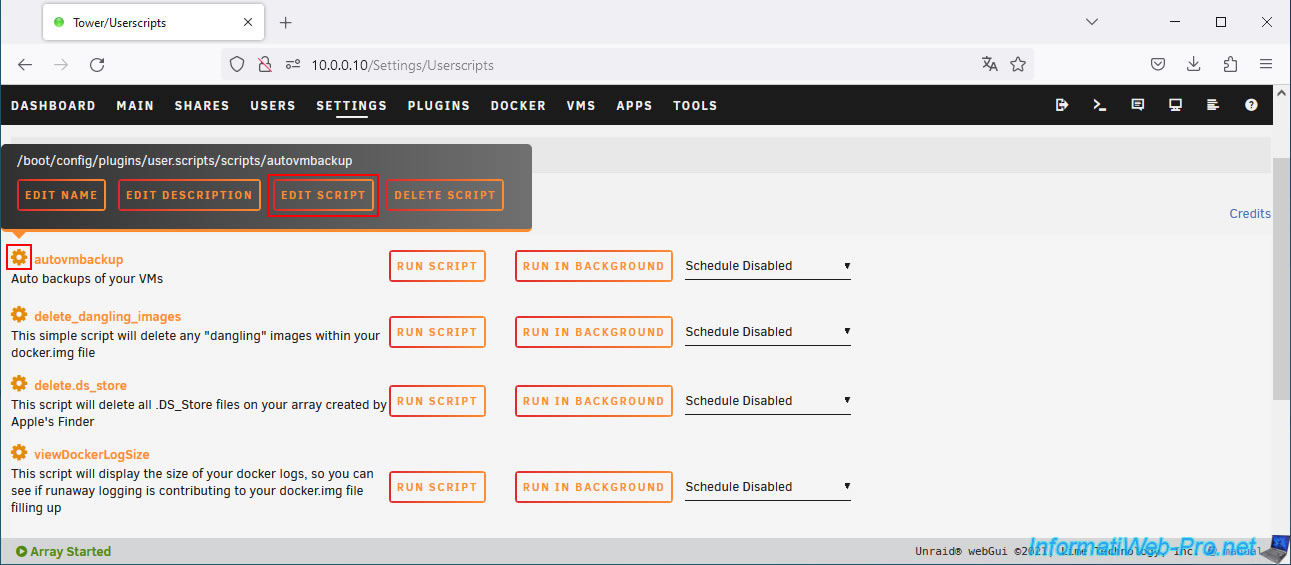
Click the gear icon to the left of the "autovmbackup" script (which is currently blank), then click "Edit script".
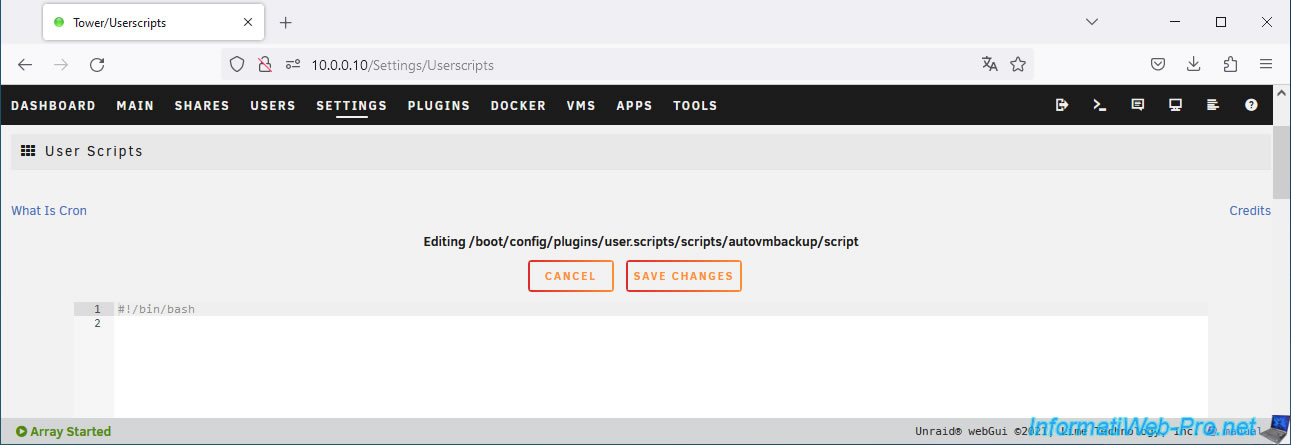
As you can see, the script is blank by default.
In fact, it only contains the instruction telling Linux how to execute it.
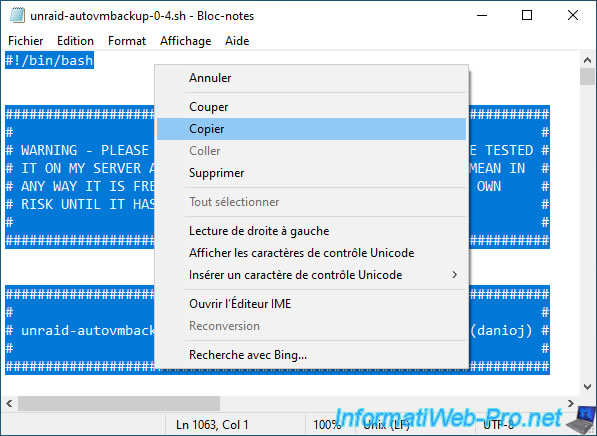
Copy the contents of the "unraid-autovmbackup-0-4.sh" script.
Delete the line of code that was written on the "User Scripts" page and paste the script you just copied.
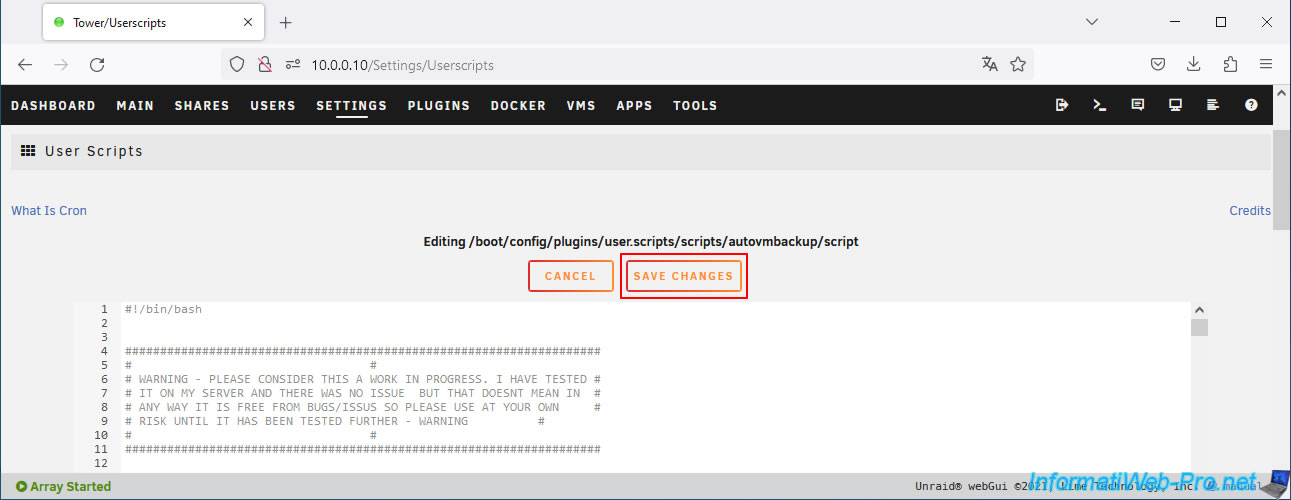
Then, click Save Changes.
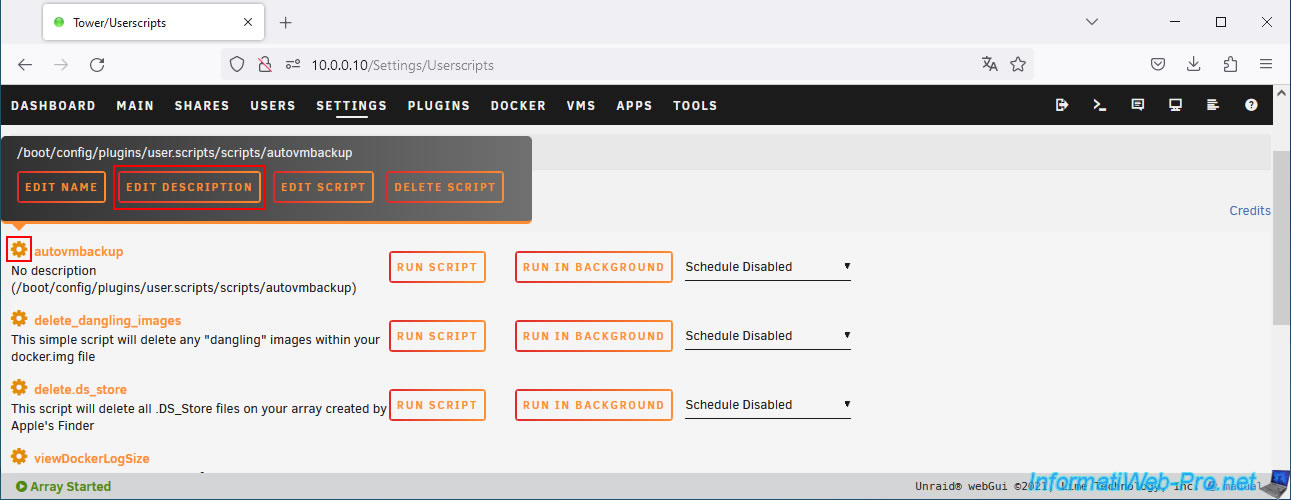
Now, click again on the orange icon to the left of the "autovmbackup" script and click on: Edit description.
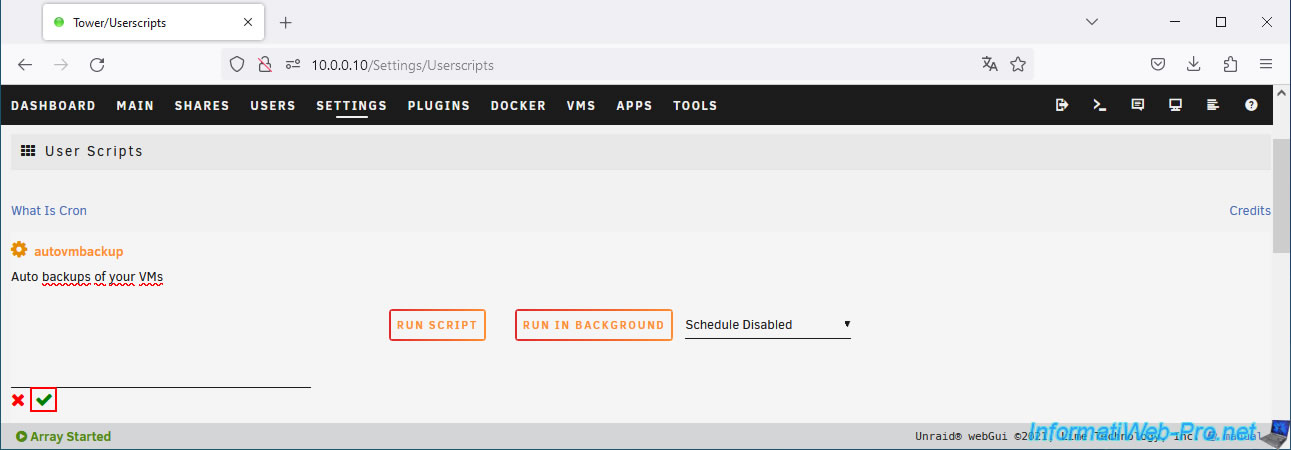
For example, specify this: Auto backups of your VMs.
Then, click the "V" icon to save this new description.
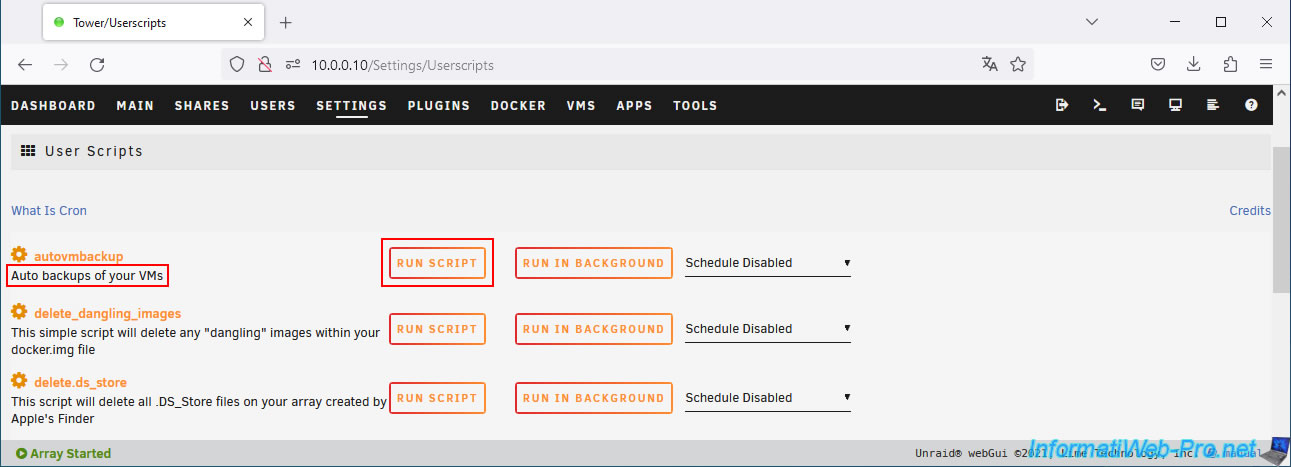
The new description for this script appears.
Click "Run script" to launch this script.
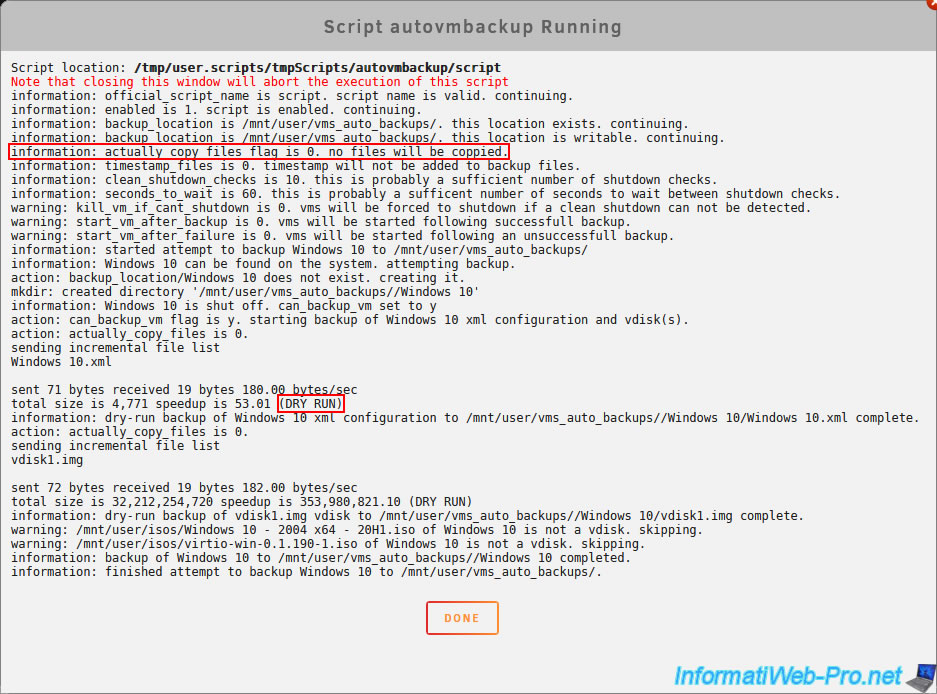
If you left the default value of the "actually_copy_files" variable at 0, you will see that no files were copied.
You will also see the message "DRY RUN" appear.
Plain Text
information: actually_copy_files flag is 0. no file will be copied.
...
total size is ... (DRY RUN)
This allows you to test whether the configuration is correct. If no errors are displayed, you can continue with this tutorial.
Otherwise, resolve any issues encountered.
5. Start backup of a virtual machine
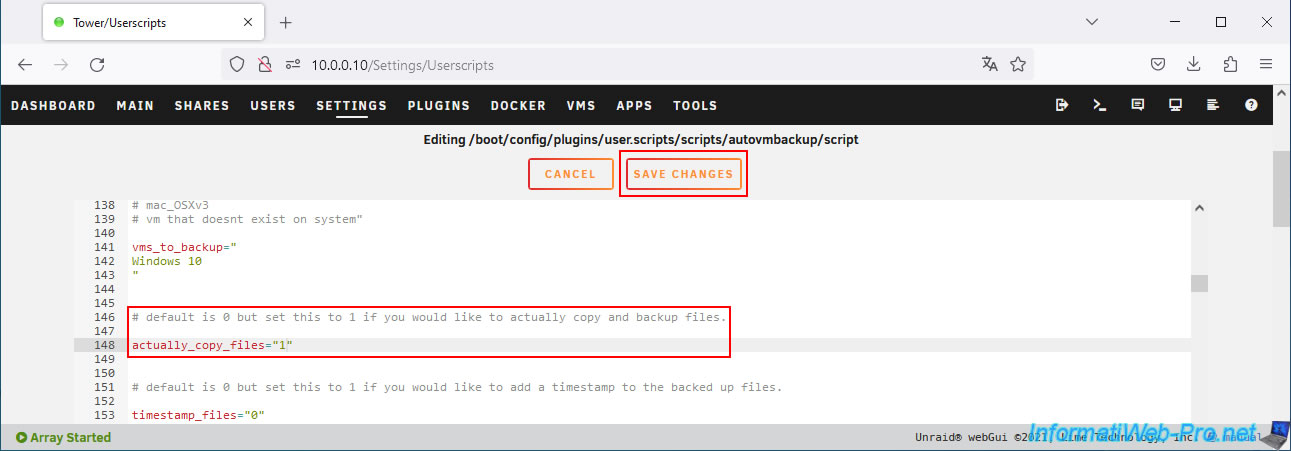
To enable the script to back up your virtual machines, modify the "autovmbackup" script.
On line 148, enter "1" as the value for the "actually_copy_files" variable.
Then, click Save Changes.
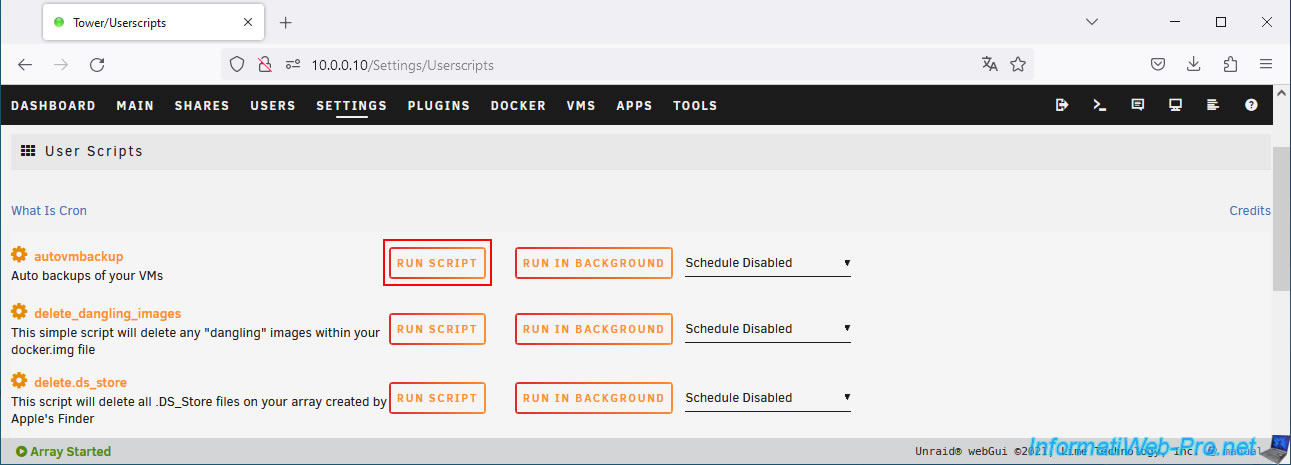
Then, relaunch this script by clicking on "Run script".
Now, you'll notice that the script is copying a virtual hard disk (usually named "vdisk1.img").
Wait while this copy completes, which may take some time depending on the size of the virtual hard disk being copied.
Plain Text
action: actually_copy_files is 1.
sending incremental file list.
vdisk1.img
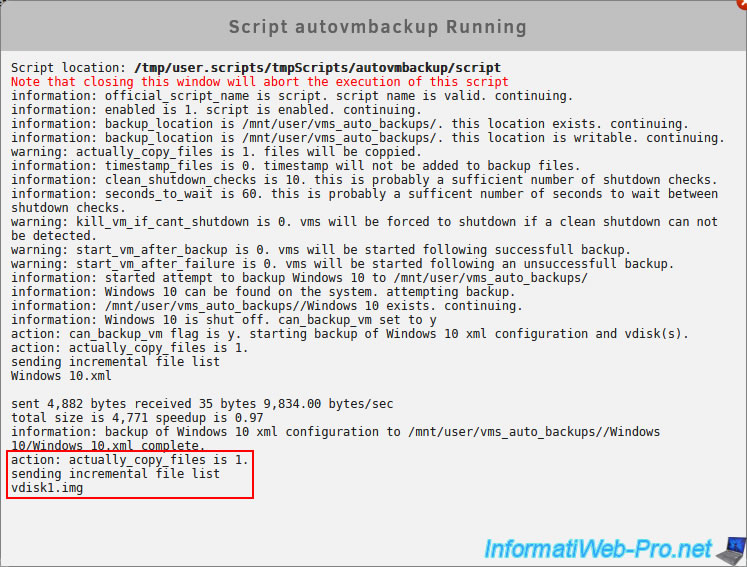
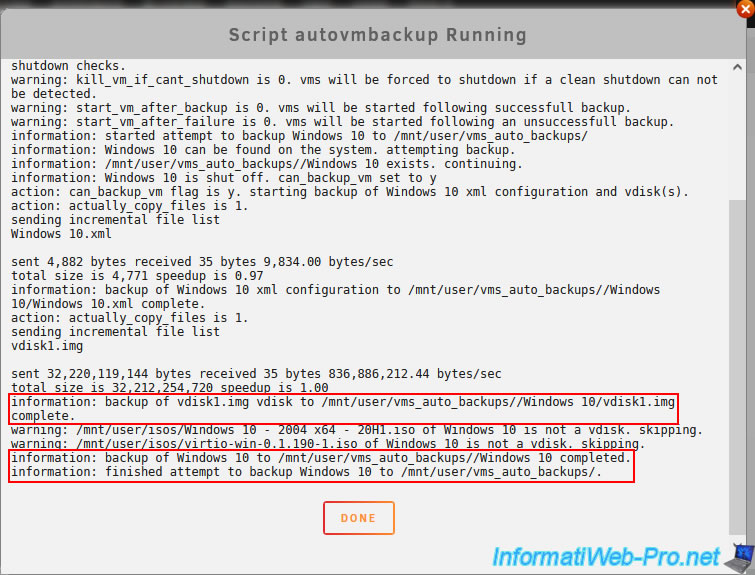
Once your virtual machines have finished backing up, the "Done" button will appear.
Plain Text
information: backup of Windows 10 xml configuration to /mnt/user/vms_auto_backups//Windows 10/Windows 10.xml complete.
...
information: backup of vdisk1.img vdisk to /mnt/user/vms_auto_backups//Windows 10/vdisk1.img complete.
...
information: backup of Windows 10 to /mnt/user/vms_auto_backups//Windows 10 completed.
information: finished attempt to backup Windows 10 to /mnt/user/vms_auto_backups/.
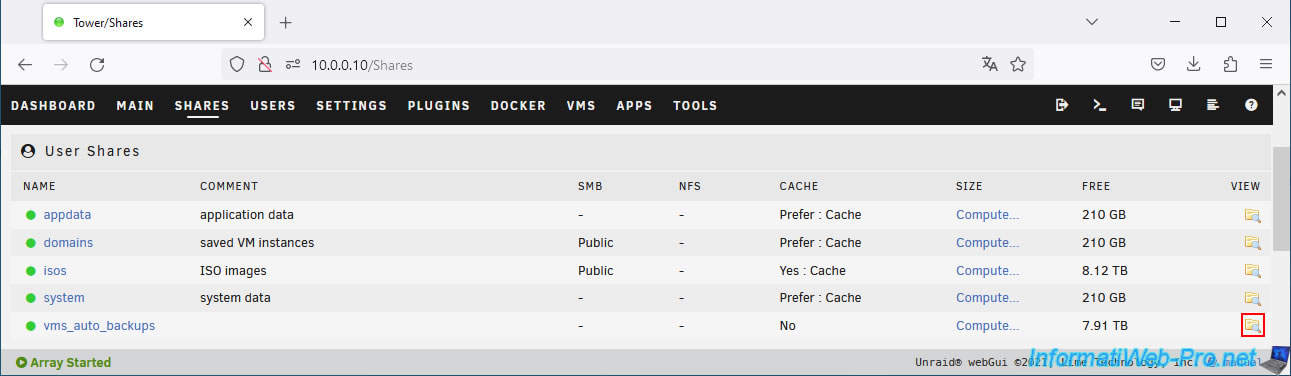
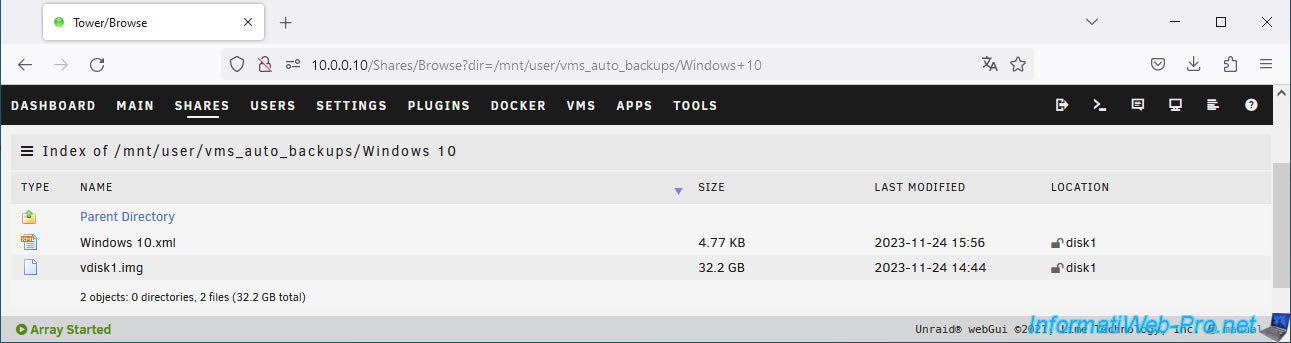
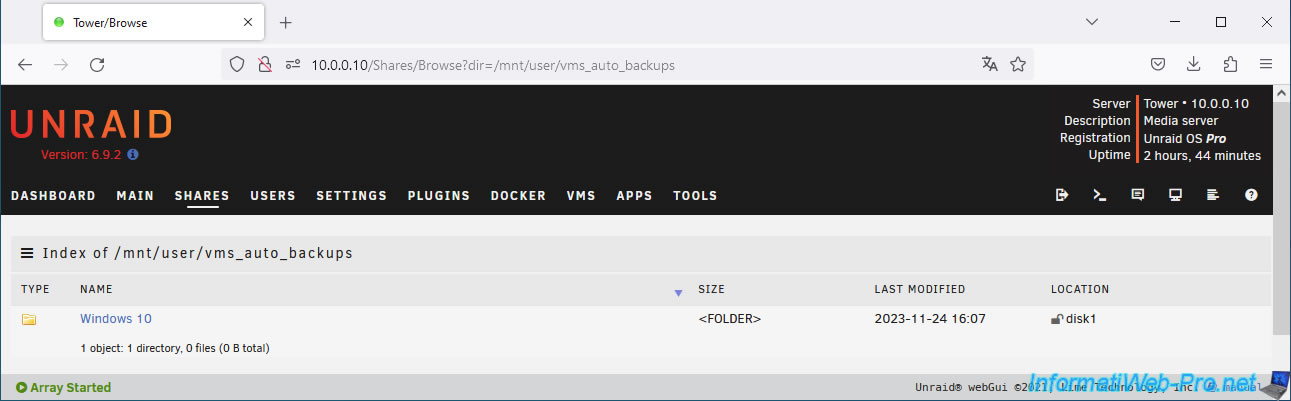
Once the backup is complete, go to the "Shares" tab and click on the icon to the right of the "vms_auto_backups" share.
As expected, a folder was created for each backed up virtual machine.
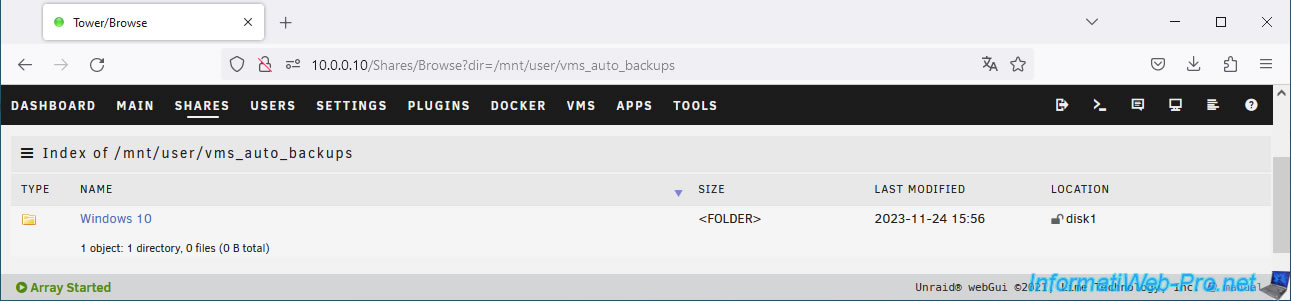
In each folder, you will find:
- An XML file: the configuration file of the backed-up virtual machine.
In our case: Windows10.xml. - One or more IMG files: its virtual hard disk(s).
In our case: vdisk1.img.
6. Schedule automatic backup of your VMs
To automatically and regularly back up your virtual machines, simply schedule the script you just configured and used to run.
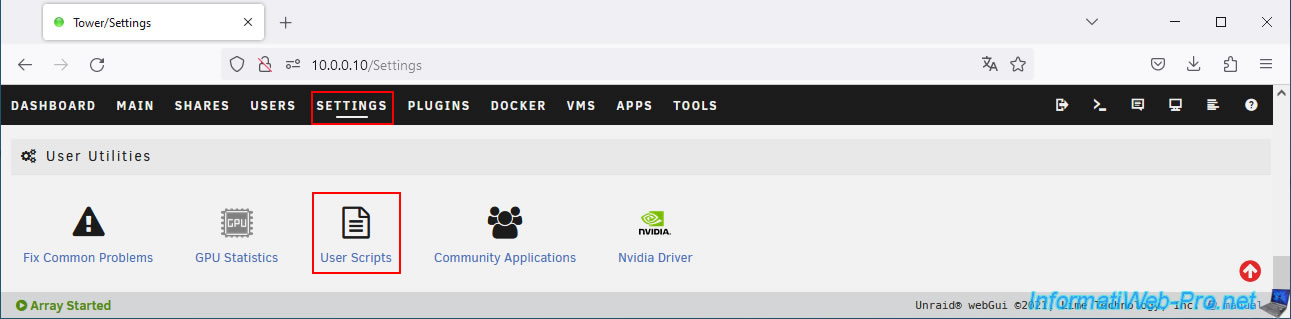
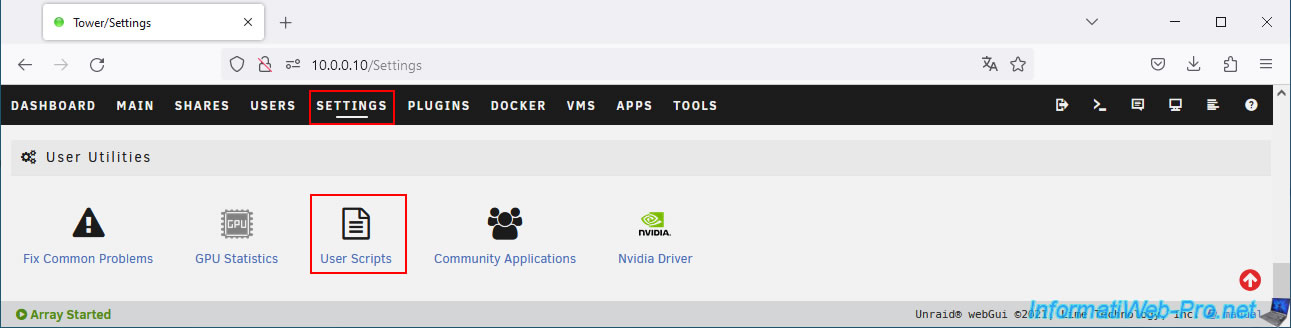
To do this, go to: Settings -> User Utilities -> User Scripts.
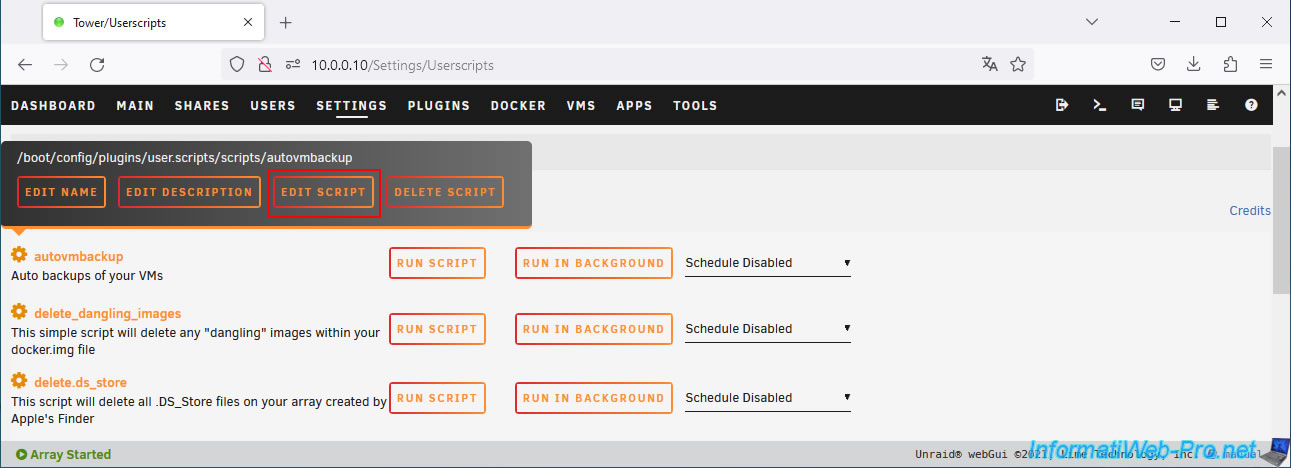
Click the gear icon to the left of the "autovmbackup" script and click "Edit script".
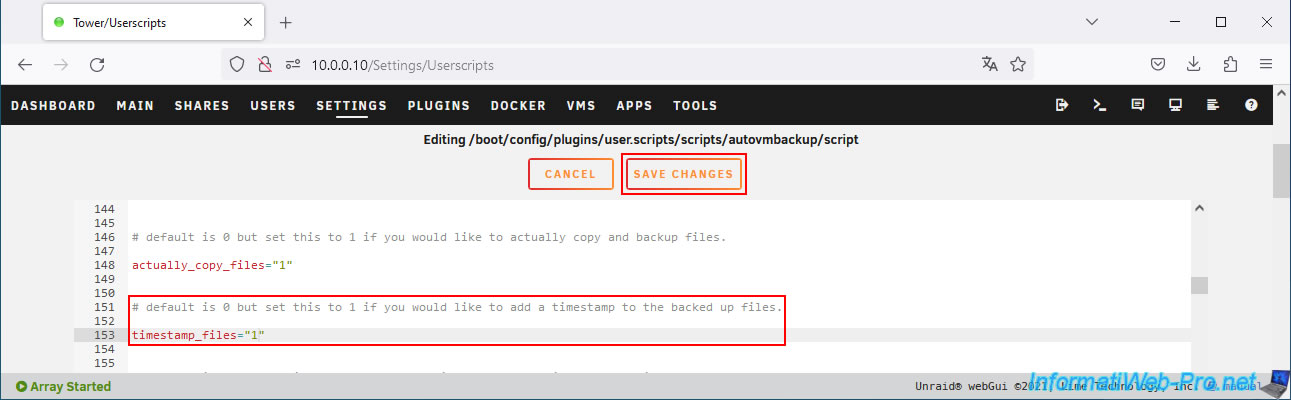
In this script, you'll find a variable called "timestamp_files" that allows you to add the date and time to the names of the created files.
By default, this variable is set to 0. This means that the script overwrites the old backup each time it runs.
To keep all backups (which can take up a lot of space over time), simply specify "1" as the value for this variable called "timestamp_files".
Then, click "Save changes" to save this change.
Run the "autovmbackup" script again by clicking on "Run script".
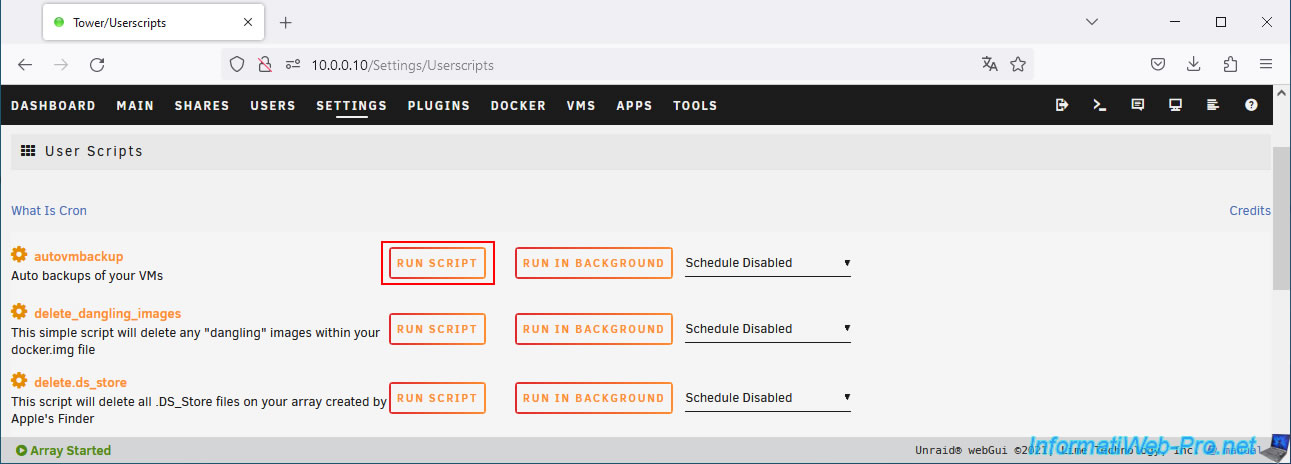
As you can see, the script adds the date and time to the names of the files it creates.
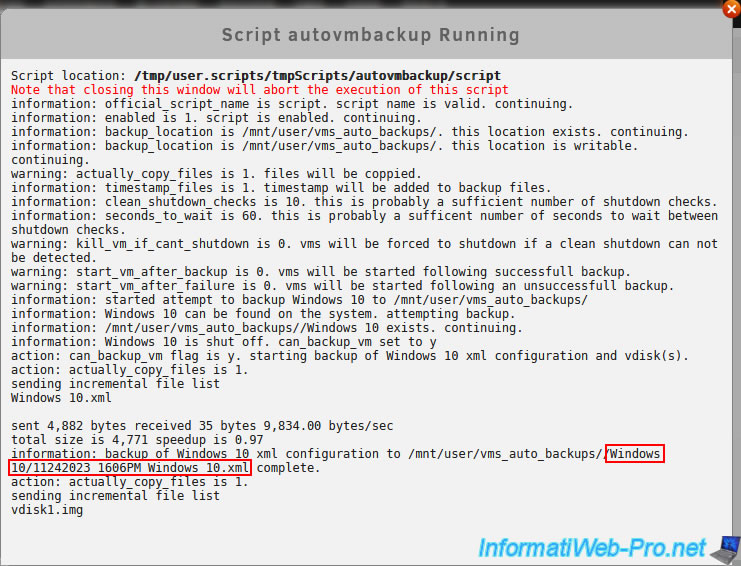
Once the backup is complete, click on: Done.
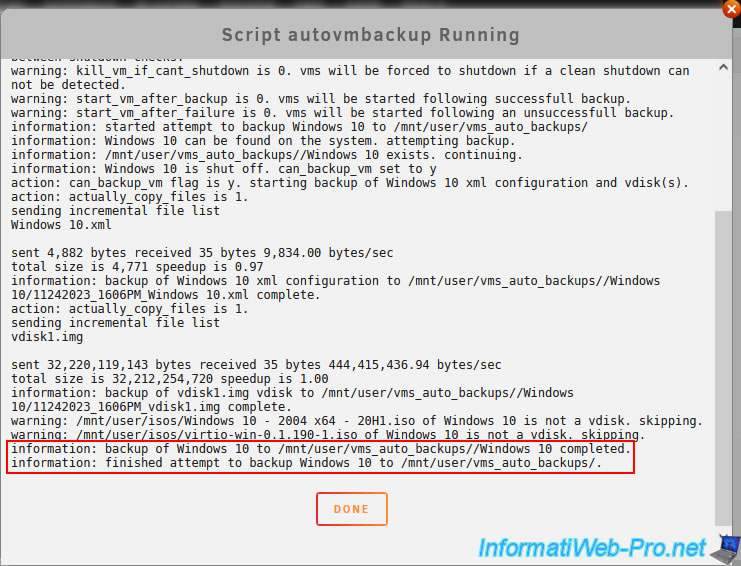
In the "Shares" tab, click the folder icon to the right of your "vms_auto_backups" share to view its contents.
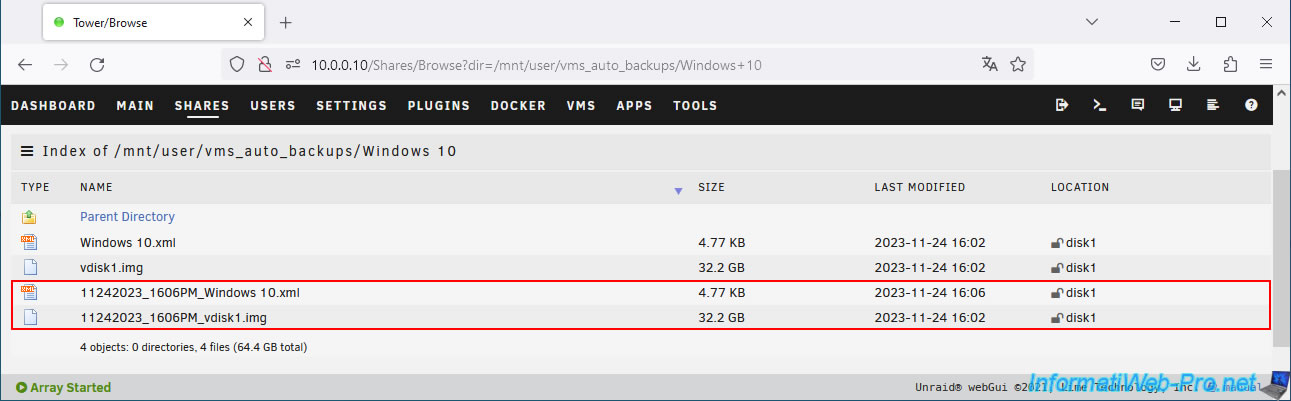
In this share, you will find a folder whose name is the same as the saved virtual machine.
This time, the names of the created files are preceded by the date and time the script was executed.
Specifically, this script adds the date and time in this format: MMDDYYYY_HHMM (AM or PM).
Finally, schedule this script to run by going back to "Settings -> User Utilities -> User Scripts".
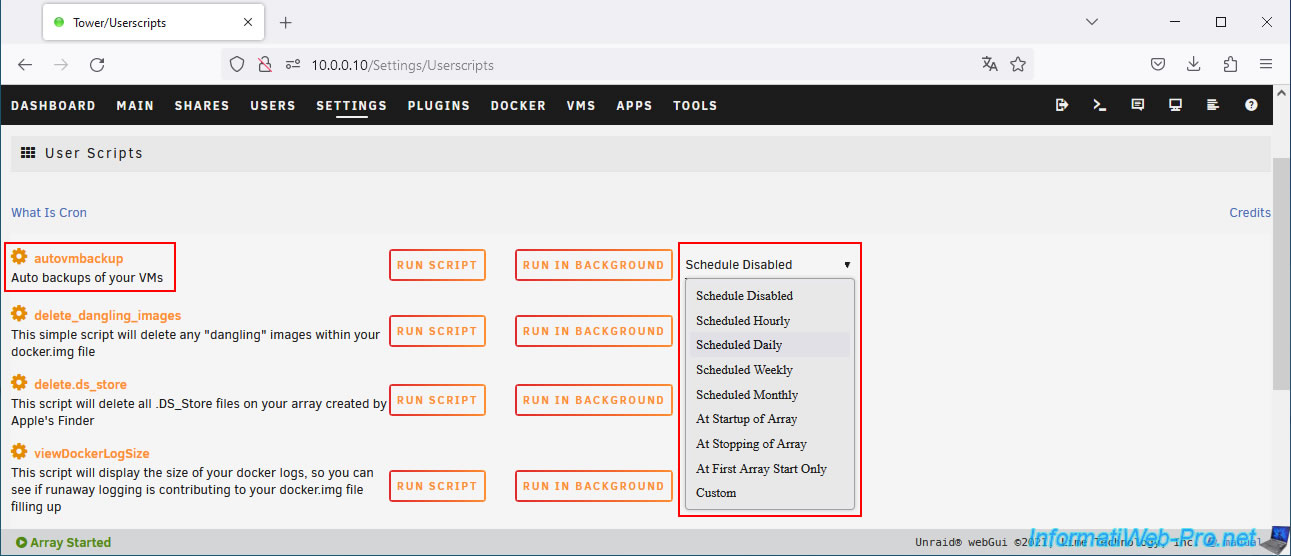
In the list to the right of the "autovmbackup" script, select how often you want your VMs to be backed up:
- Schedule Disable: Automatic execution disabled.
You can still run the script manually if you wish. - Schedule Hourly: Run the backup every hour.
- Schedule Daily: Run the backup every day.
- and more: Weekly (every week), Monthly (every month), ...
Share this tutorial
To see also
-
NAS 2/18/2026
Unraid 6.9.2 - Change temperature thresholds
-

NAS 1/15/2026
Unraid 6.9.2 - Change the parity disk
-
NAS 6/3/2026
Unraid 6.9.2 - SWAG - Access Jellyfin via reverse proxy and Duck DNS (DDNS)
-
NAS 10/14/2026
Unraid 6.9.2 - VMs - Virtualize Hyper-V (nested virtualization)
No comment