Accessing the reverse proxy (SWAG) locally on Unraid 6.9.2
- NAS
- Unraid
- 13 May 2026 at 08:17 UTC
-

- 3/4

6.3. Manually specify the IP address of your local DNS server (option 1)
6.3.1. Manually specify the IP address of your local DNS server (on Windows)
Again, to use your local DNS server to use split-DNS, you have 2 options:
- manually specify the IP address of your local DNS server in your network card settings on your computers and smartphone.
- send the IP address of your local DNS server to your network devices using your DHCP server or Pi-hole's (which is not active by default).
Here's the first (manual) solution.
For the second (automatic) solution, skip directly to steps 9 or 10 of this tutorial.
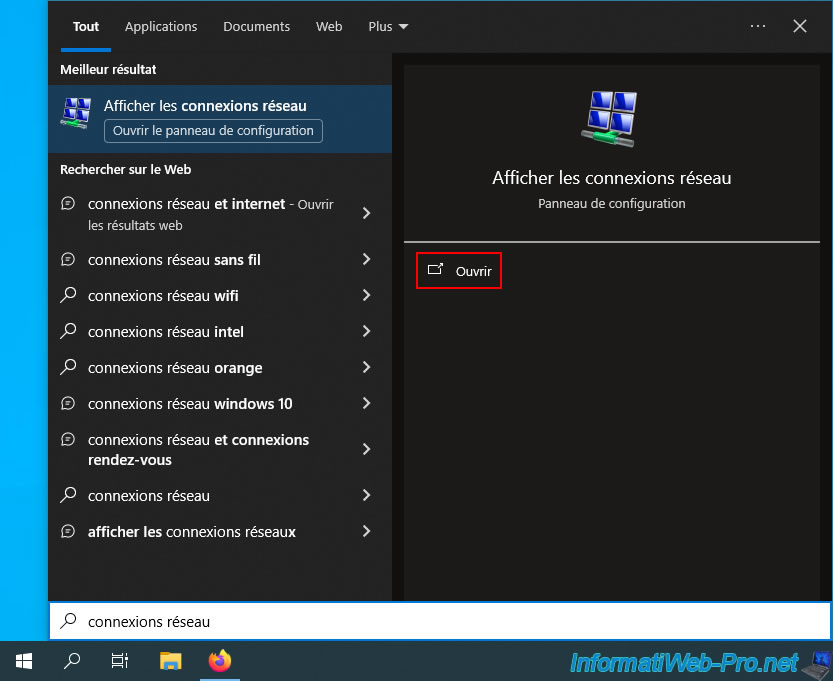
In the start menu, look for the "Network Connections" setting. This may have different names depending on your version of Windows.
However, in all cases, a "Network Connections" window will appear.
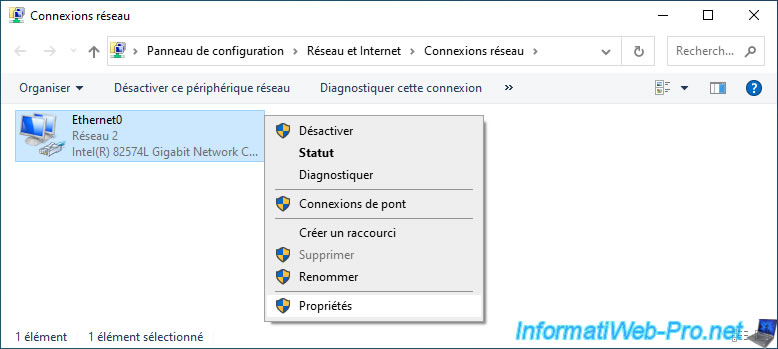
Right click "Properties" on your network card.
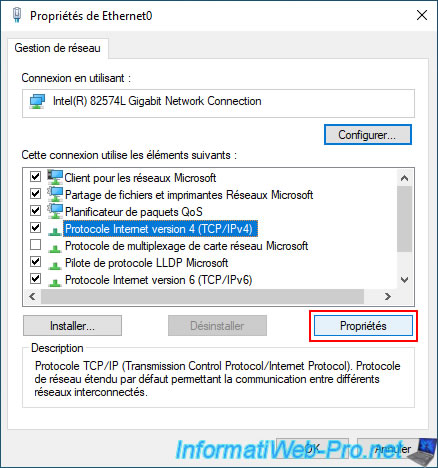
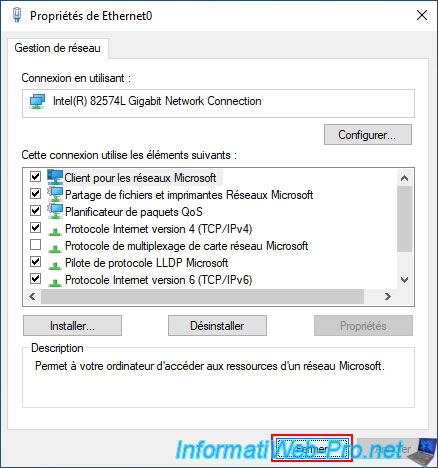
Select "Internet Protocol Version 4 (TCP/IPv4)" and click "Properties".
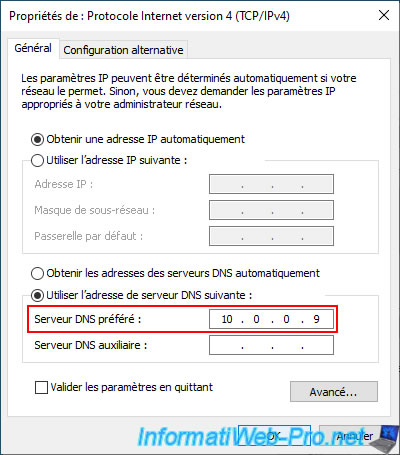
Select "Use the following DNS server address" and specify only Pi-hole's IP address as the "Preferred DNS server".
Then, click OK.
Important : do not specify anything as the alternate DNS server.
This is because if your Pi-hole DNS server is temporarily unavailable, Windows may only use the alternate DNS server (which is unaware of the local IP address assigned to your domain used with SWAG).
Click Close.
Open a command prompt.
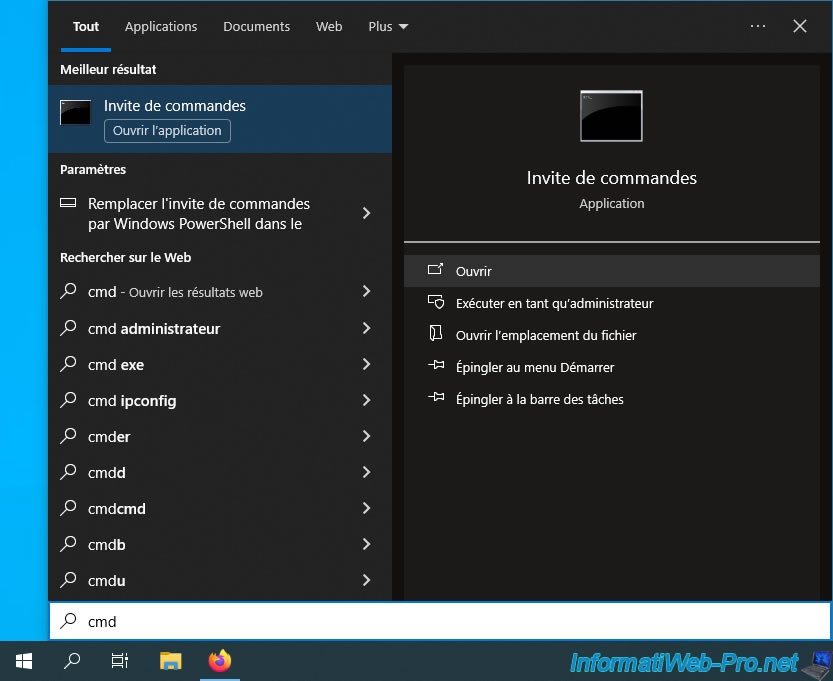
Flush the DNS cache, then display the IP address associated with your domain using the commands below.
Batch
ipconfig /flushdns
nslookup www.informatiweb-tuto.net
As you can see, Windows is using our local DNS server "pi.hole," whose IP address (in our case) is "10.0.0.9."
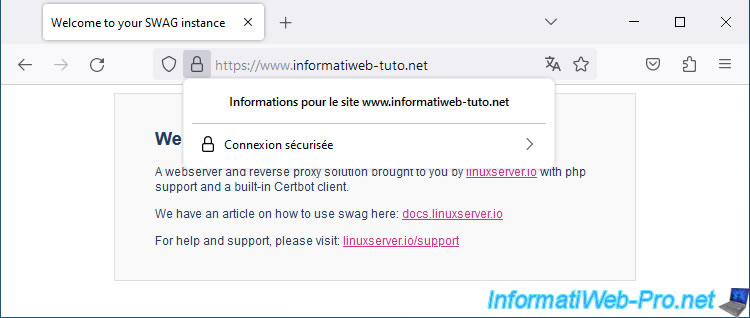
As expected, on our computer, the IP address associated with this domain corresponds to the local IP address of our Unraid server (while the external (WAN) IP address is defined in the real DNS zone of our "informatiweb-tuto.net" domain).

As expected, you can access your reverse proxy locally using the same domain (as the one you were using from outside).

Of course, the connection is also secure since it is the domain that is verified and NOT the associated IP address.
6.3.2. Manually specify your local DNS server IP address (on Android)
On Android, connect to your home Wi-Fi network, then press and hold the "Wi-Fi" icon for a few seconds.

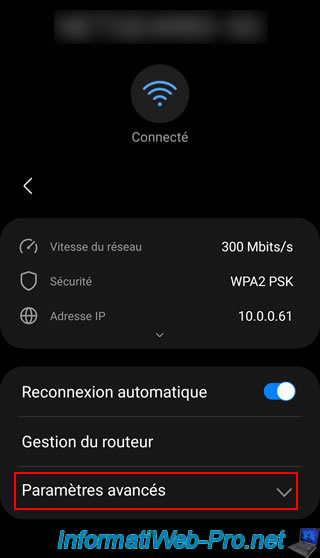
You will arrive at your smartphone's Wi-Fi settings.
Tap the gear icon to the right of your Wi-Fi network.
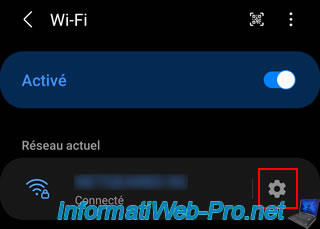
Then, tap on "Advanced Settings".
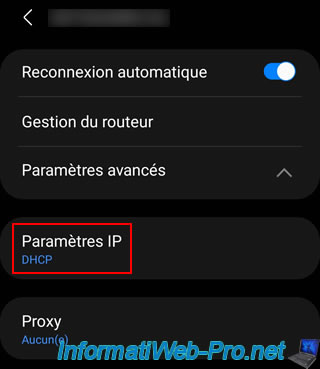
As you can see, by default, your smartphone obtains its network configuration by contacting the DHCP server on your network.
Tap "IP Settings" and select "Static".
A form appears with the network information currently in use.
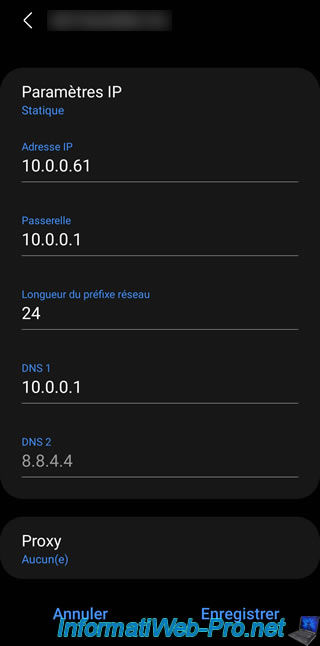
Warning : you must change the IP address you entered to one that is not distributed by your DHCP server (most often found in your box or router).
Otherwise, an IP address conflict will occur today or another day.
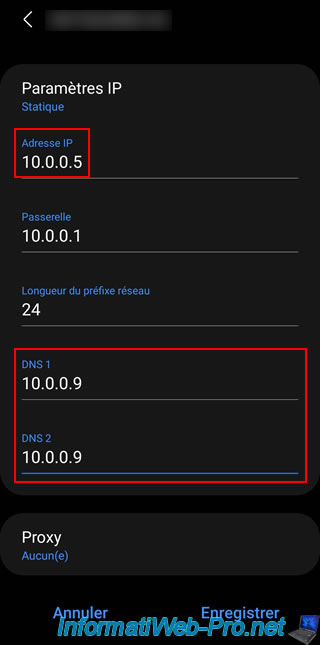
Next, enter the IP address of your local DNS server (Pi-hole) as "DNS 1" and "DNS 2".
On Android, you must enter the IP address of your local DNS server twice. Otherwise, it would use the IP address of a Google public DNS server as the second DNS server.
This would be problematic because Google's DNS server would return the external (WAN) IP address associated with your domain instead of the local IP address you need at home.
Once the network settings are correctly configured, tap Save.
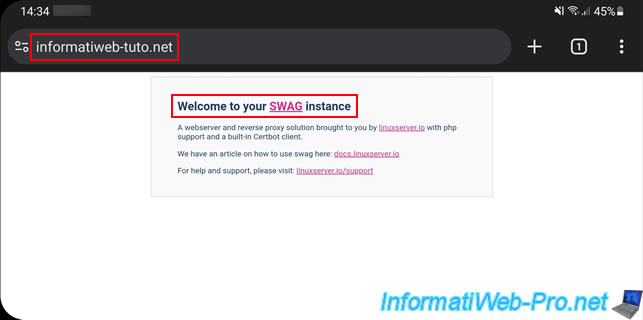
Try accessing your root domain from a web browser installed on your smartphone and you should see the SWAG page appear.
If you click on the icon to the left of the address, you will see that the connection is secure.
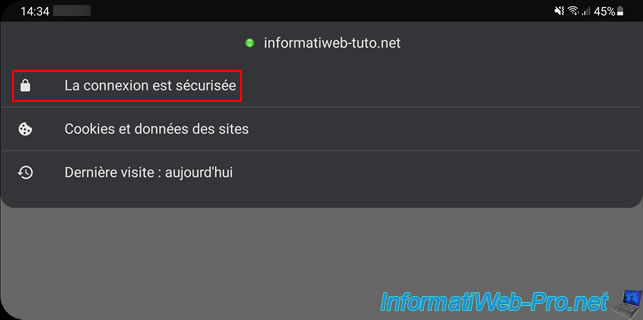
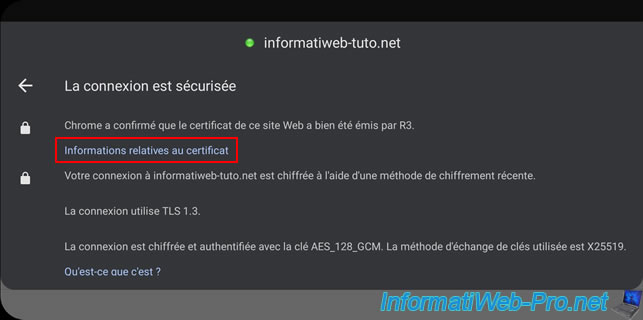
Click on this message, then on: Certificate information.
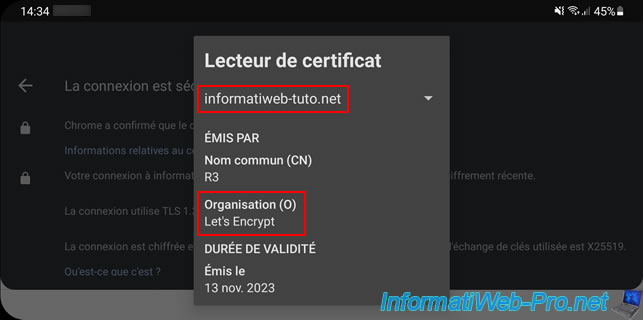
As expected, the certificate is issued by "Let's Encrypt" and is valid for domain name.
Share this tutorial
To see also
-

NAS 2/4/2026
Unraid 6.9.2 - Change or reset root password
-
NAS 1/1/2026
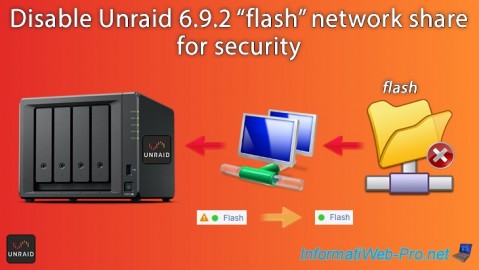
Unraid 6.9.2 - Disable flash network sharing
-

NAS 1/21/2026
Unraid 6.9.2 - Replace a storage disk
-
NAS 5/27/2026
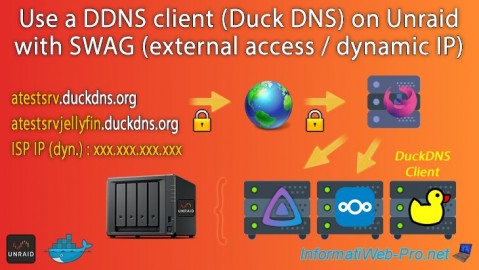
Unraid 6.9.2 - SWAG - Use a DDNS client (Duck DNS)
No comment