Accessing the reverse proxy (SWAG) locally on Unraid 6.9.2
- NAS
- Unraid
- 13 May 2026 at 08:17 UTC
-

- 2/4

6. Solution 2: split-DNS via a local DNS server (Pi-hole) to be installed on Unraid
6.1. Install a local DNS server (Pi-hole) on Unraid
To solve the problem on all devices (computers, smartphones, etc.) on your local network, the easiest way is to install a local DNS server at home, which you can use to perform split DNS.
In this case, on Unraid, you can use "pihole," which is very popular and also allows you to block ads. But avoid doing this; free sites rely on advertising. Without it, we'd have to charge you a subscription to pay for our web hosting.
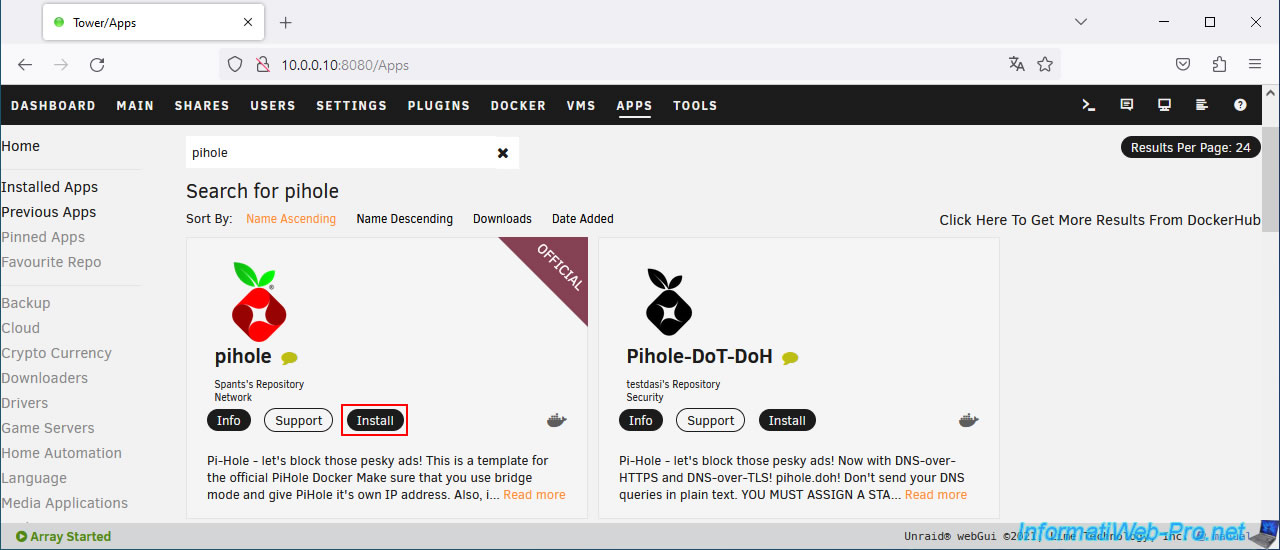
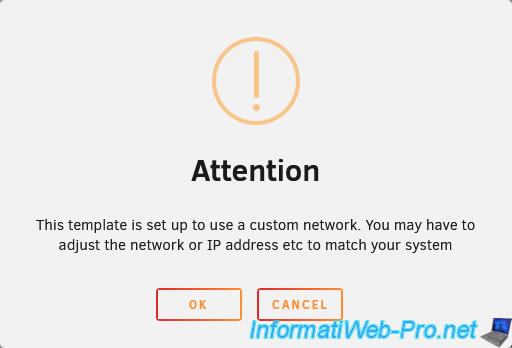
Ignore the warning that appears by clicking OK.
On the "Add Container" page that appears, select "Custom: br0" for the Network Type and set a fixed IP address for pihole.
This IP address will be the one you will use to access the pihole web interface, as well as the primary DNS server on your various network devices.
Note: this IP address must not conflict with an IP address already present on your local network and must NOT be within the range of IP addresses distributed by your current DHCP server (usually located in your router or box).

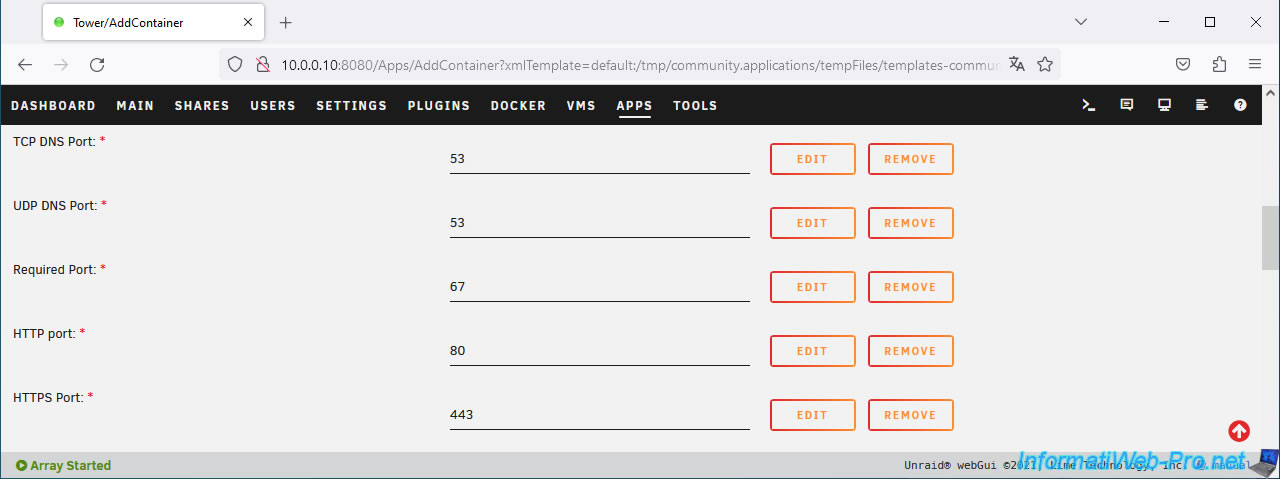
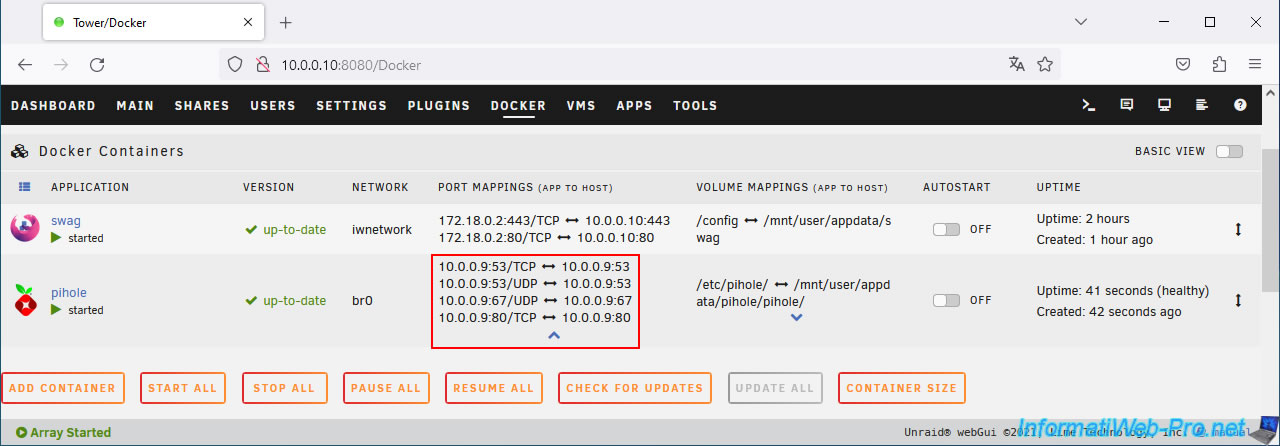
As you will have quickly understood, pihole can act as a DNS server (port 53), as a DHCP server (port 67) and has a web interface (ports 80 and 443) so you can configure it easily.
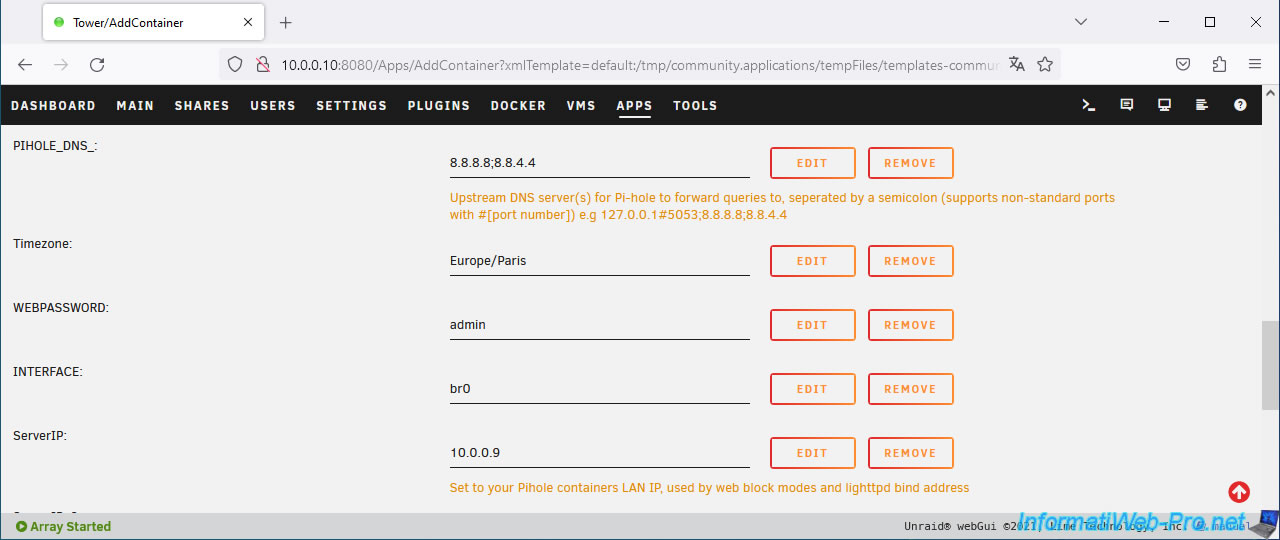
Among the proposed settings, you will find these:
- PIHOLE_DNS_: the list of DNS servers that Pi-hole will use to resolve domains on the Internet.
By default, these are Google's public DNS servers. - Timezone: allows you to choose your time zone.
Examples: "Europe/Paris" for France, "Europe/Brussels" for Belgium, ...
You can find the complete list on the PHP website (for example): PHP: List of Supported Timezones - Manual. - WEBPASSWORD: the default password for the Pi-hole administration page is "admin."
However, you should change this for security reasons. - INTERFACE: leave the default value. This refers to the name of the network interface used by Pi-hole.
- ServerIP: as indicated in the comment for this field, you must specify Pi-hole's local IP address (which you defined above via the "Fixed IP address (optional)" field).
At the bottom of the page, click on: Apply.
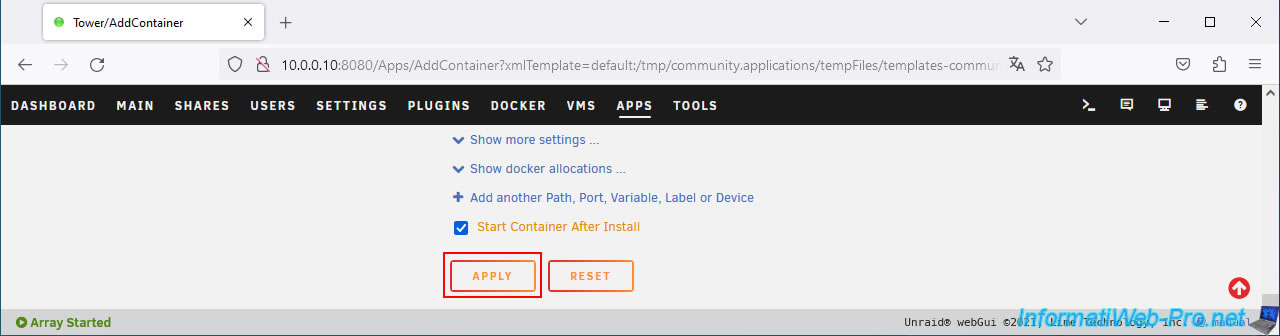
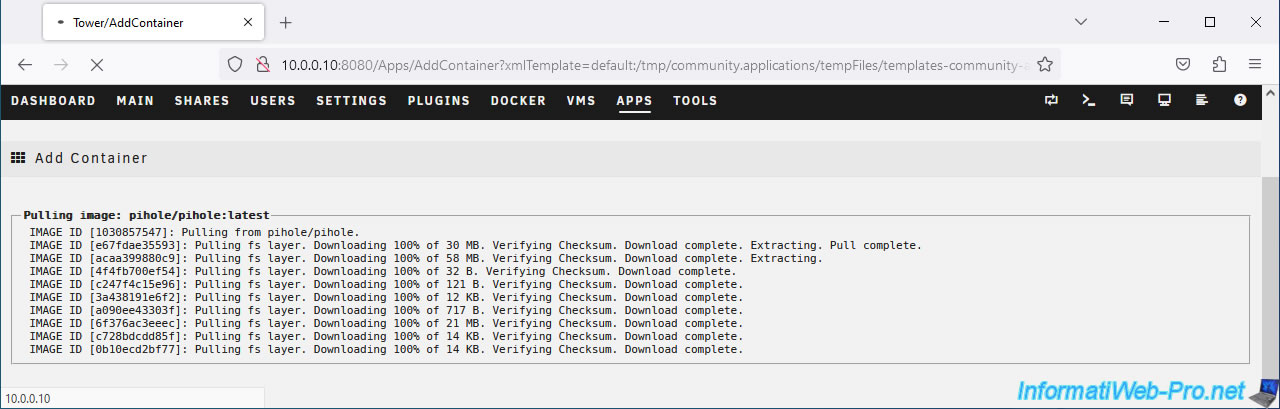
Please wait while Pi-hole downloads.
Once Pi-hole is downloaded and installed, click the "Done" button.
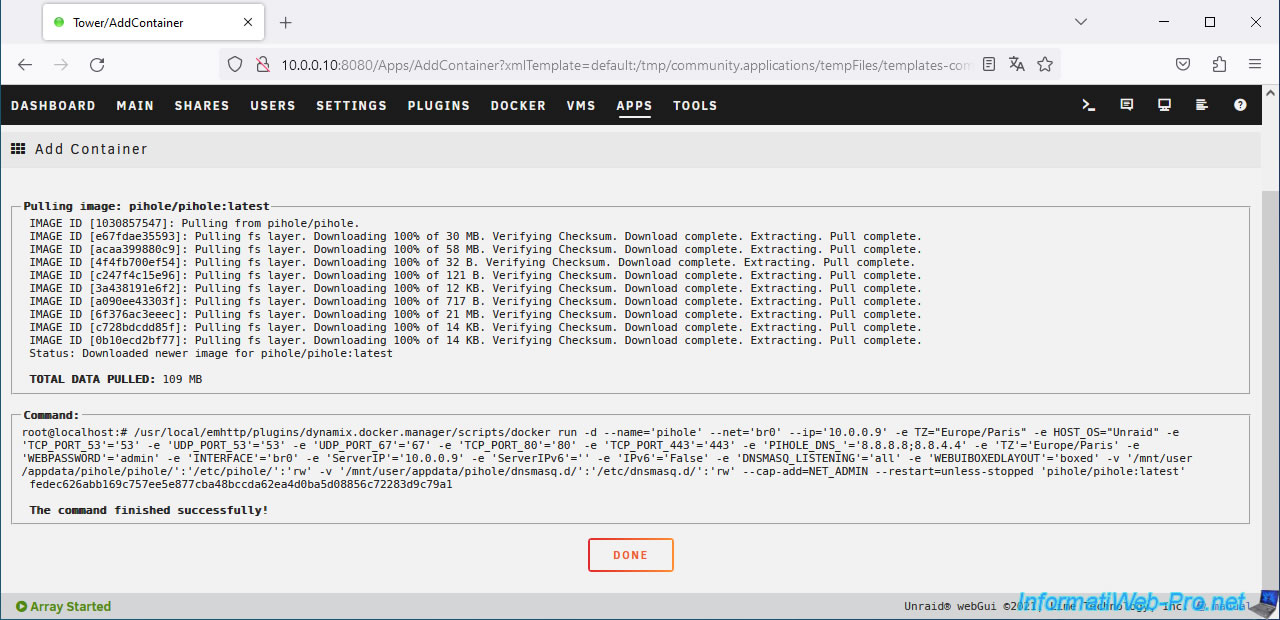
There you go, Pi-hole is installed.
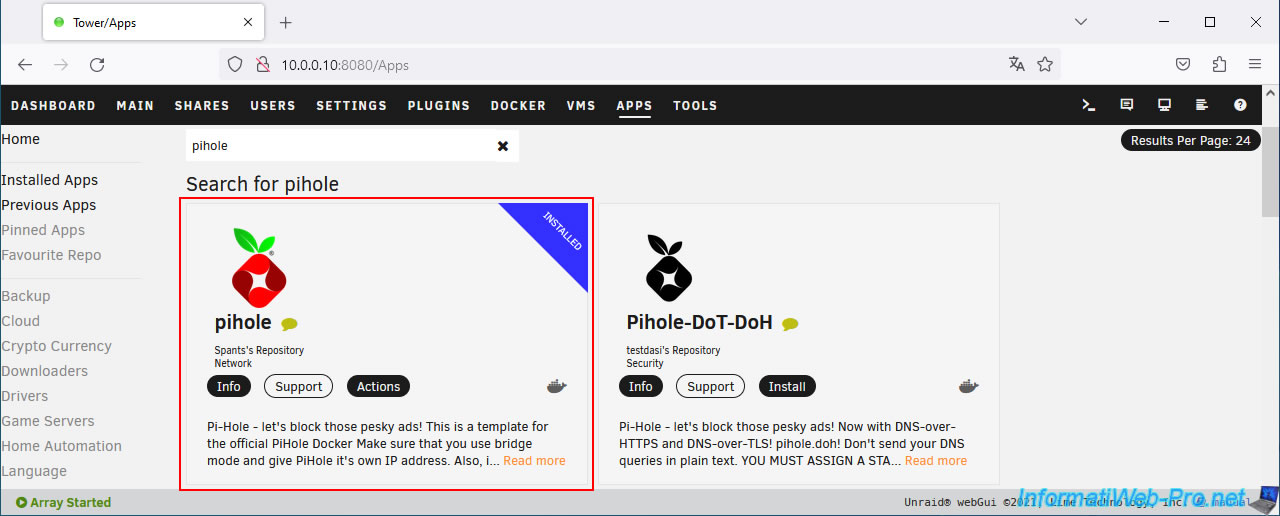
Pi-hole appears in your Docker container list.
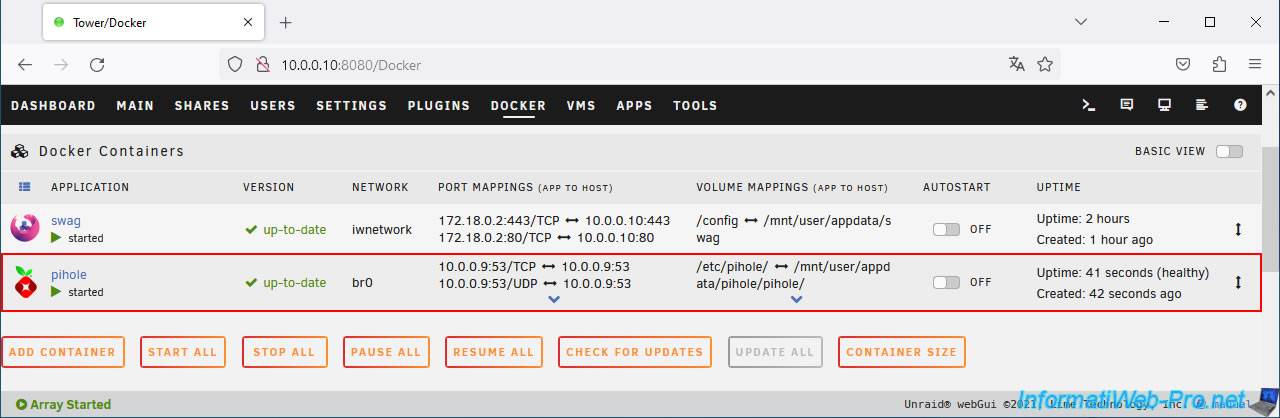
As you can see, it listens on ports 53 (DNS), 67 (DHCP) and 80 (HTTP for the web interface).
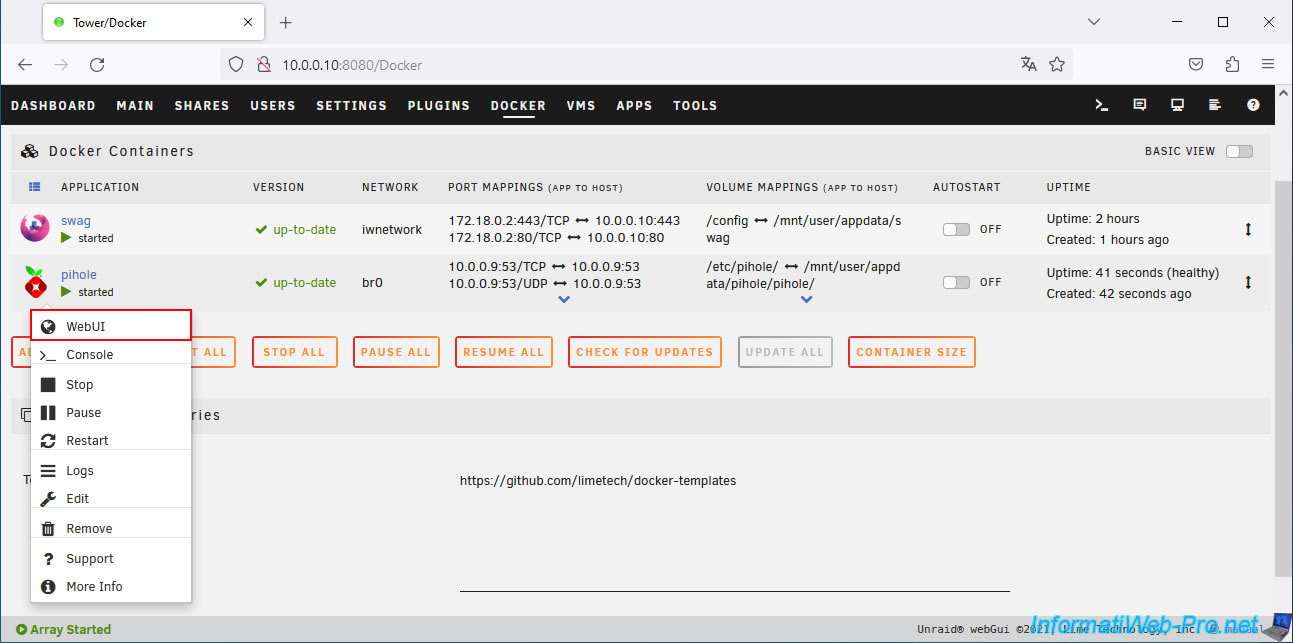
6.2. Configure local DNS records in Pi-hole on Unraid
To configure Pi-hole, click on its icon, then click on "WebUI".
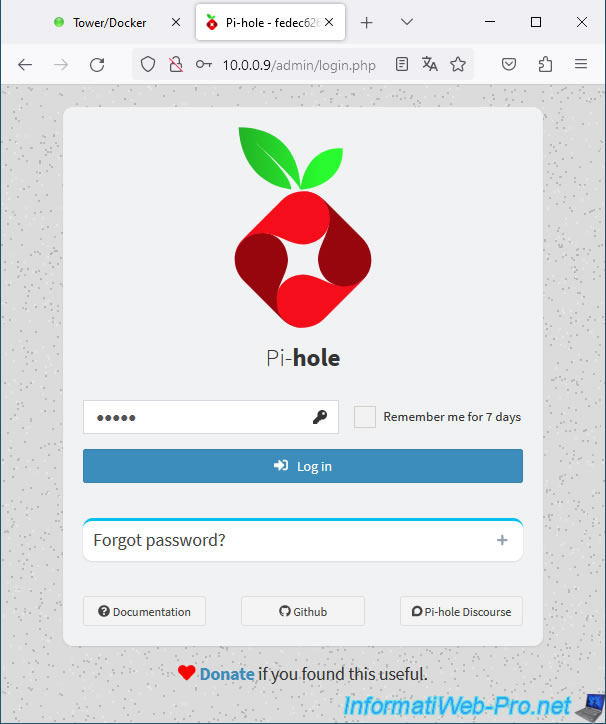
Log in with the password you set when you installed the "Pi-hole" Docker container.
The default password for Pi-hole is "admin".
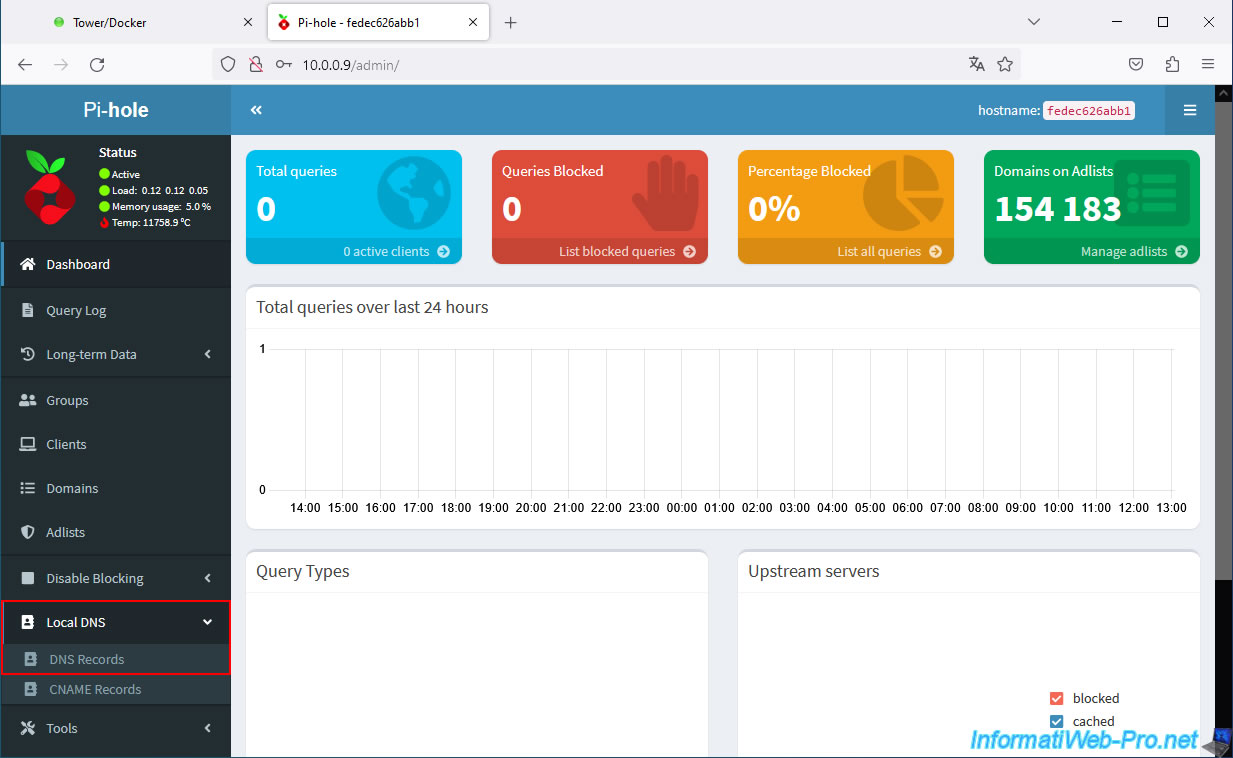
To add DNS records to your Pi-hole local DNS server, go to the "Local DNS -> DNS Records" section (visible in the left menu).
Important : support webmasters of sites that offer quality content for free by disabling ad blocking.
In our case, this allows us to pay for web hosting and other costs related to our websites.
To do this, click "Disable Blocking -> Indefinitely".
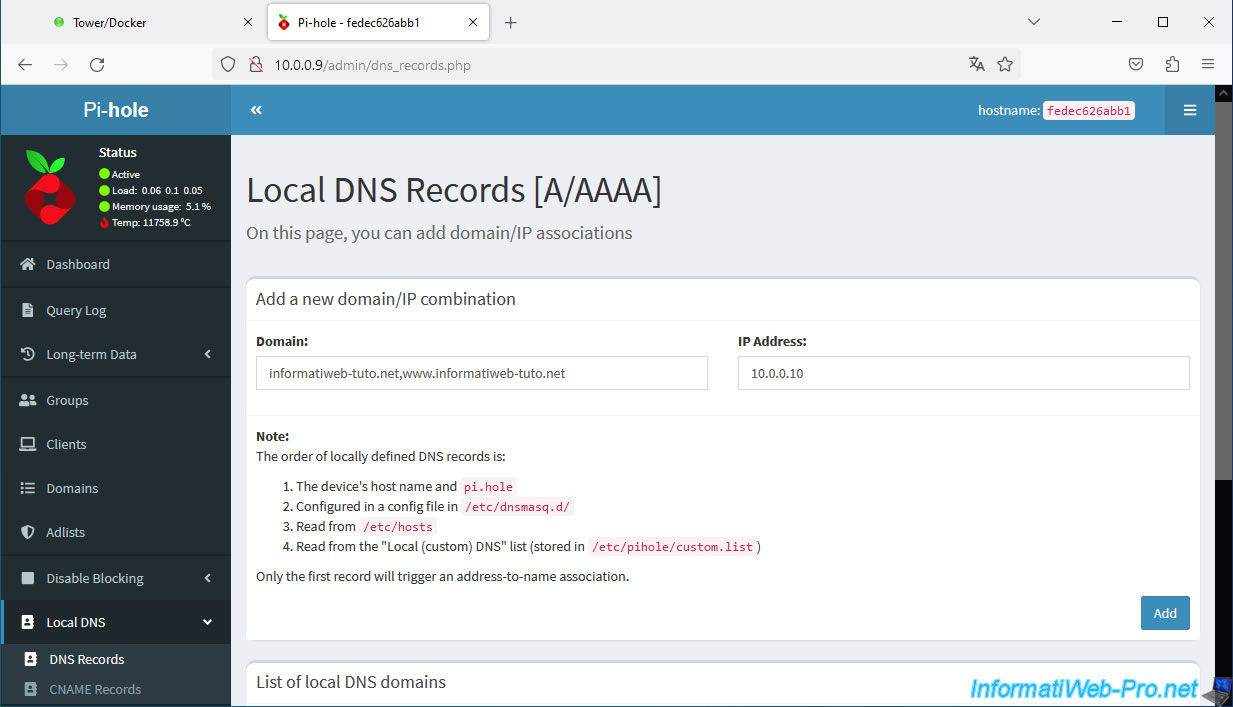
Enter your root domain, as well as the subdomains used with your reverse proxy (SWAG), separating them with a comma, and enter the local IP address of your Unraid server.
Then, click "Add".
Note: another, more flexible solution is to enter only the root domain here with the local IP address of your Unraid server, then create "CNAME" records pointing to this root domain using the "Local DNS -> CNAME Records" menu.
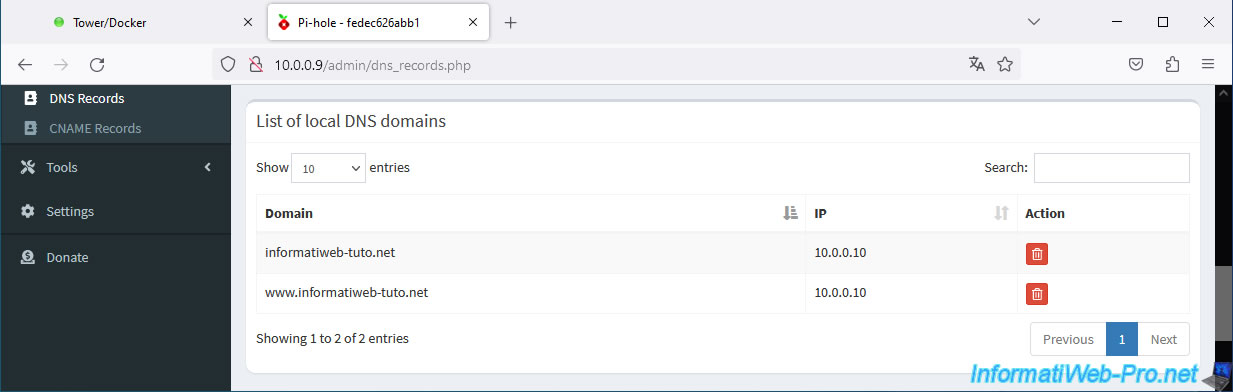
The list of added domains appears in the "List of local DNS domains" list located just below.
Share this tutorial
To see also
-

NAS 7/8/2026
Unraid 6.9.2 - Docker - Install a password manager (Vaultwarden)
-

NAS 11/26/2025
Unraid 6.9.2 - Manually install Unraid 6.9.2
-

NAS 6/10/2026
Unraid 6.9.2 - SWAG - Access Jellyfin via reverse proxy and personal domain
-
NAS 5/27/2026
Unraid 6.9.2 - SWAG - Use a DDNS client (Duck DNS)
No comment