Install a reverse proxy (SWAG) on Unraid 6.9.2 for external access to your services
- NAS
- Unraid
- 06 May 2026 at 13:20 UTC
-

- 3/3

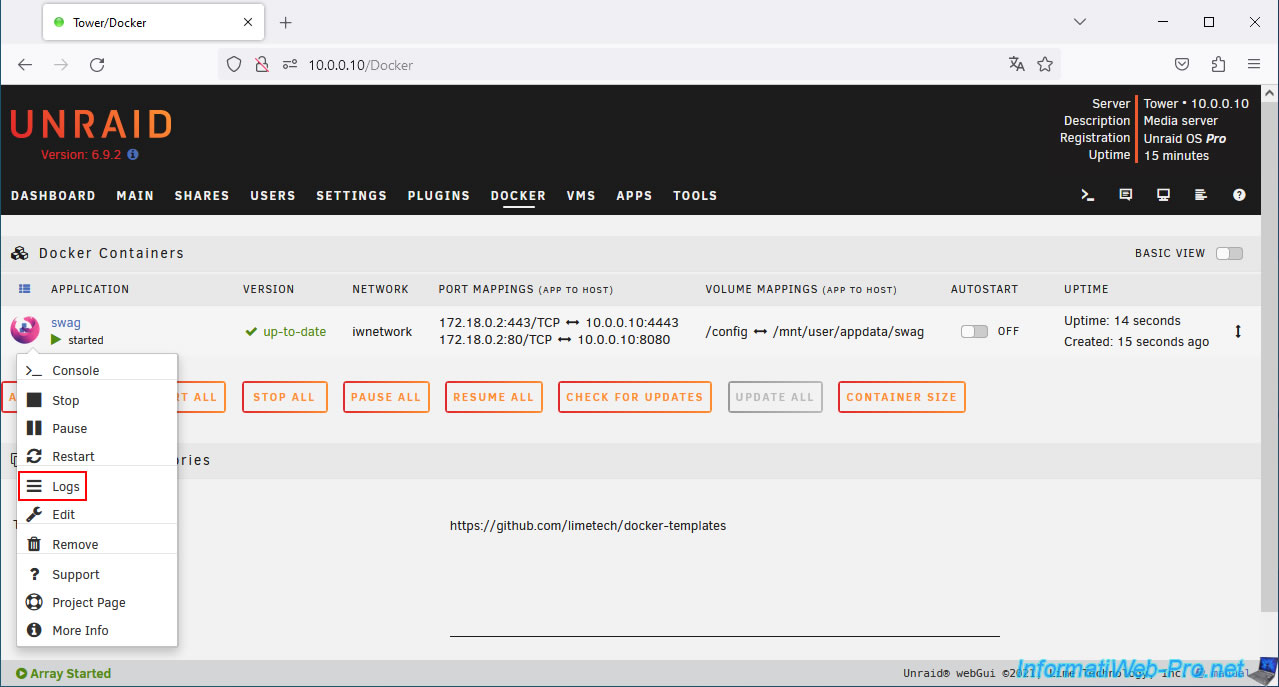
8. Swag installed and configured correctly
Check your swag logs again to make sure everything is running smoothly.
To do this, click the swag icon, then click Logs.
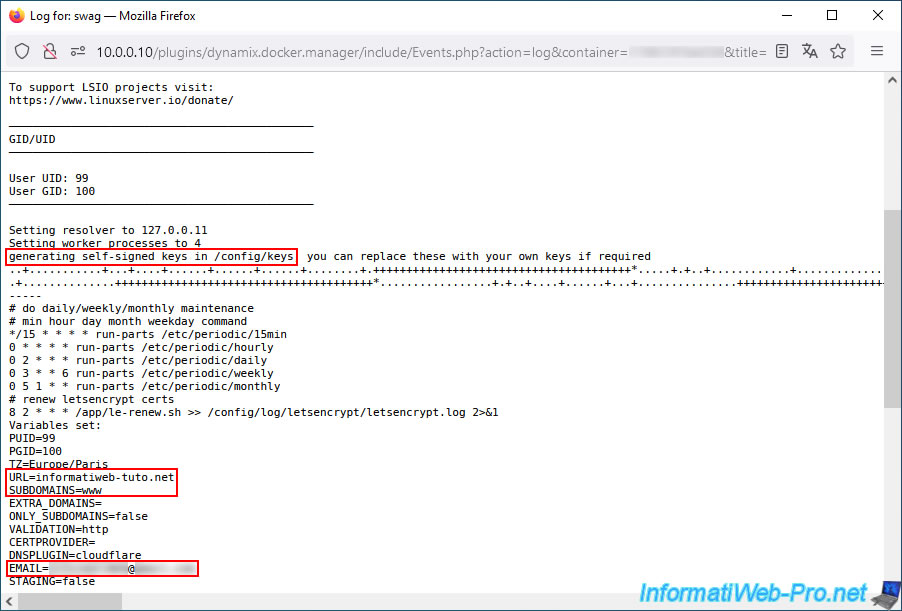
In this case, keys have been generated in the "/config/keys" folder of your "swag" container.
You will see the values of the parameters specified previously, including:
Plain Text
URL=informatiweb-tuto.net (your root domain)
SUBDOMAINS=www (the subdomain(s) for which your SSL certificate must also be valid).
...
EMAIL=[your email address, if specified]
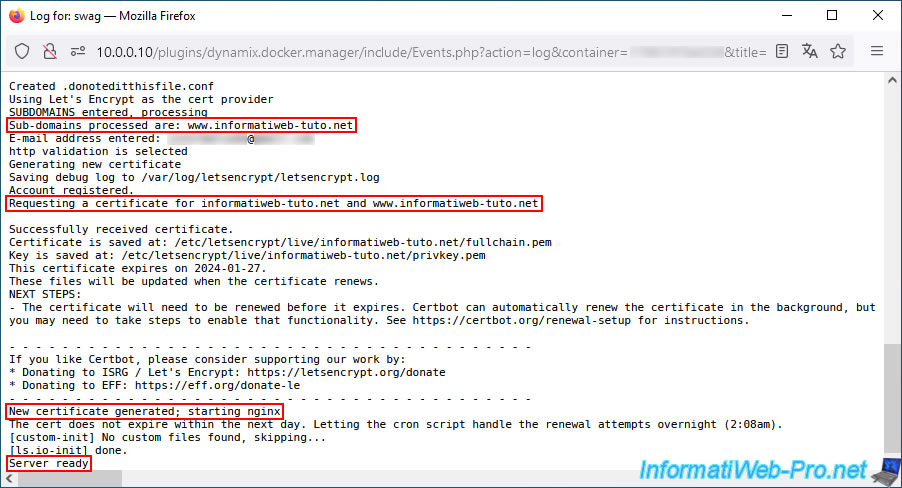
You will also see the domain and subdomain(s) for which your certificate will be valid:
Plain Text
Sub-domains processed are: www.informatiweb-tuto.net
...
Requesting a certificate for informatiweb-tuto.net and www.informatiweb-tuto.net
At the bottom of the page, you'll also see that a new certificate has been generated.
Note: a new certificate will be generated each time you change the list of subdomains in the "swag" container configuration.
This will happen each time you want to secure a new service via swag.
Plain Text
New certificate generated; starting nginx.
If everything is good, you will see the message "Server ready" appear on the last line.
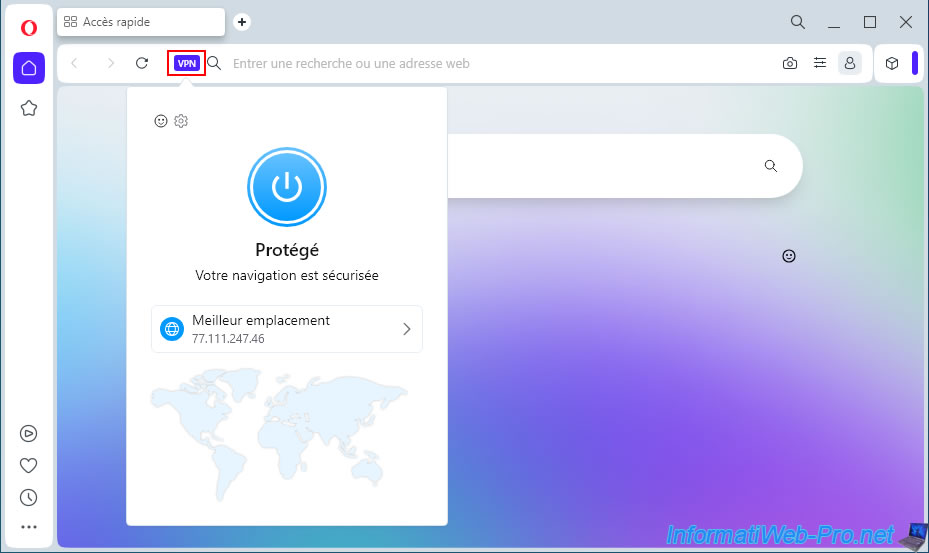
9. Test external access to your reverse proxy using Opera's VPN
To test your swag configuration, try accessing your domain from outside the network (the Internet).
To do this, download the Opera web browser (which is free) and enable its VPN. Alternatively, you can use another VPN service or your 3G connection (if you have a mobile data plan).
Important : you can't access your external (WAN) IP address from your local network, as loopback is blocked by default in routers.
This is why you need to be outside your network to perform this test. This is possible via a VPN or a 3G connection.
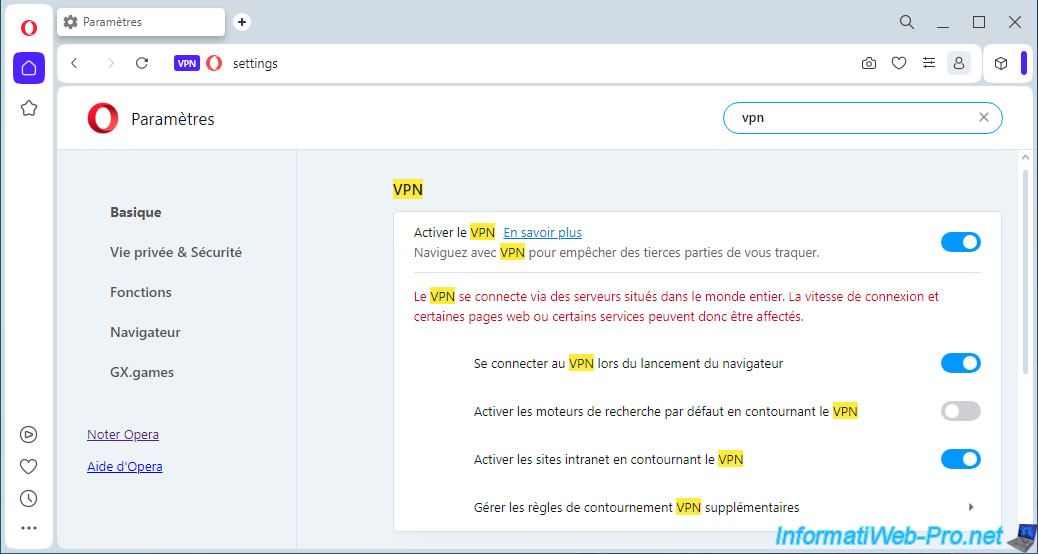
With this VPN, your connection will pass through an Opera VPN server.
Swag will therefore see this IP address instead of yours as the source IP address.
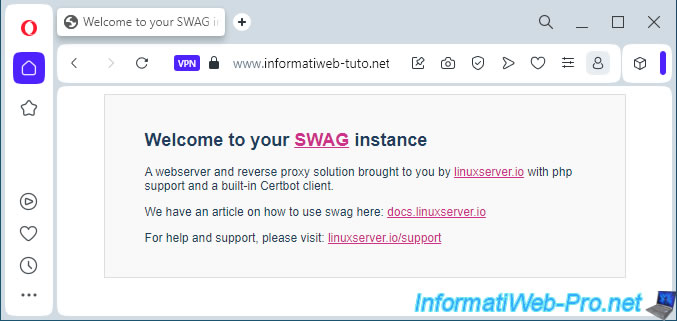
If your configuration is correct, you will see the SWAG page by typing your root domain or your subdomain "www" (using HTTPS protocol).
Plain Text
Welcome to your SWAG instance.

A webserver and reverse proxy solution brought to you by linuxserver.io with php support and a built-in Certbot client.
If you click on the small padlock, you will see that the connection is secure.
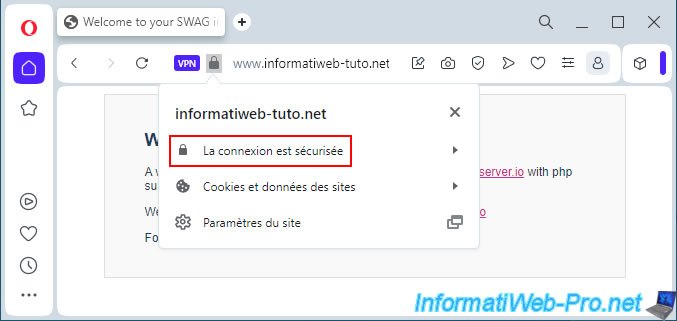
If you click on the "Connection is secure" status, you will see your root domain name appear.
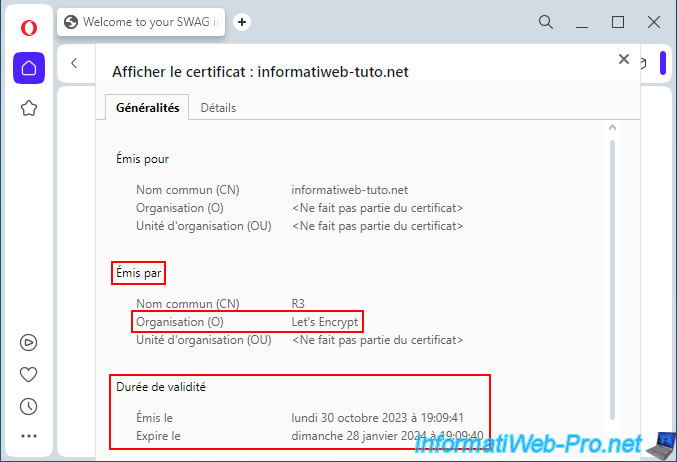
Click on "Valid Certificate" (below) to view its information.
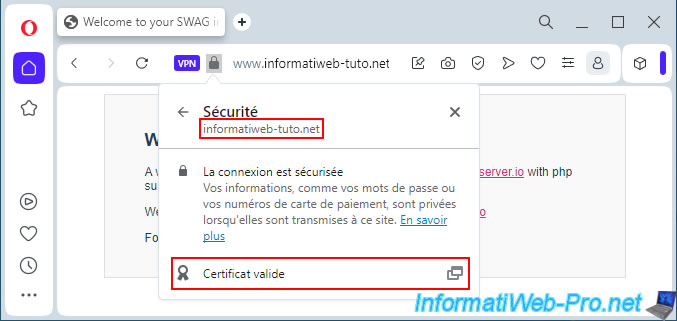
As you can see, your SSL certificate is issued (generated) by "Let's Encrypt" and is valid for approximately 3 months.
Of course, it will be renewed free of charge shortly before its expiration. This is as long as "Let's Encrypt" has access to SWAG via the Internet (to verify that you still own your domain).
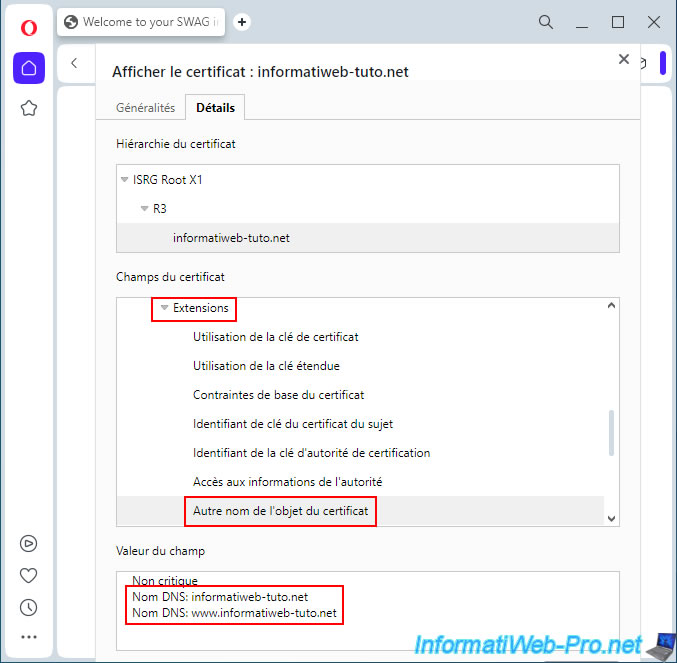
In the "Details" tab, go to "Extensions -> Certificate Subject Alternative Name."
At the bottom of the page, you'll see the DNS names corresponding to your root domain name, as well as the subdomains specified when configuring your "swag" container.
In our case:
Plain Text
DNS name: informatiweb-tuto.net
DNS name: www.informatiweb-tuto.net
10. Models for reverse proxy
To make a service hosted on Unraid accessible via your reverse proxy, you'll need to add a configuration file to nginx.
To do this, you can usually use an existing file for the desired service (otherwise, use the configuration file for a similar service).
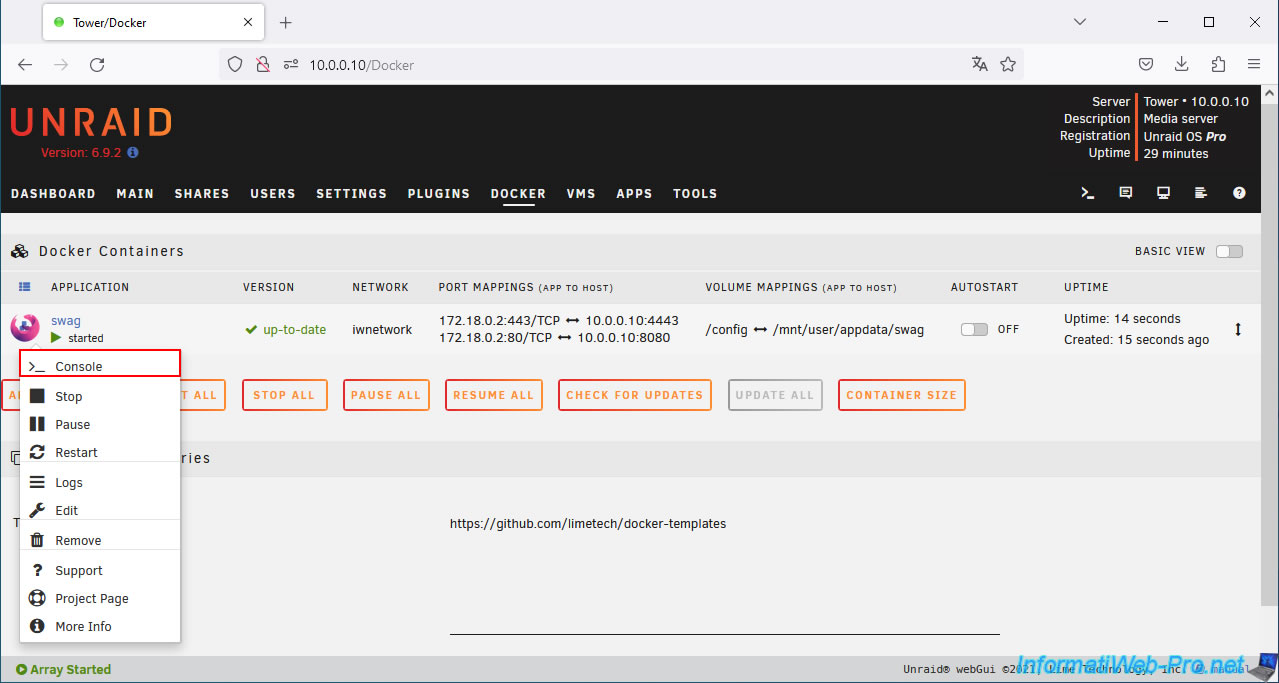
To do this, click on the swag icon, then on Console.
Important : you must access the console of your "swag" container and NOT open the Unraid terminal.
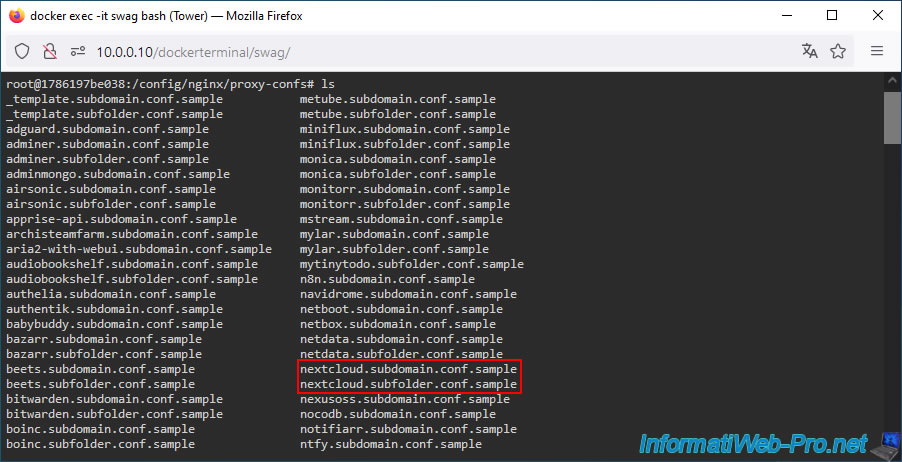
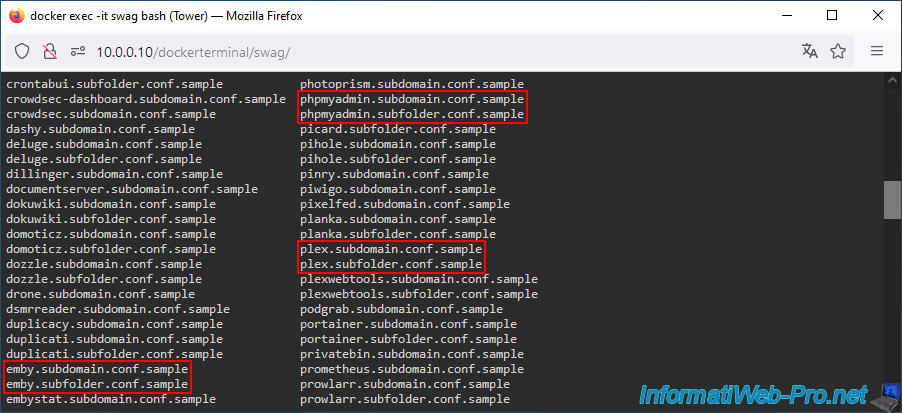
In the console that appears, type the following commands to see the list of templates available for the nginx reverse proxy.
Bash
cd /config/nginx/proxy-confs/
ls

As you can see, many templates are available for different known services (emby, nextcloud, phpmyadmin, plex, ...) to be able to access them via your reverse proxy using a subdomain (eg: plex.my-domain.com) or a subfolder (eg: my-domain.com/plex/).
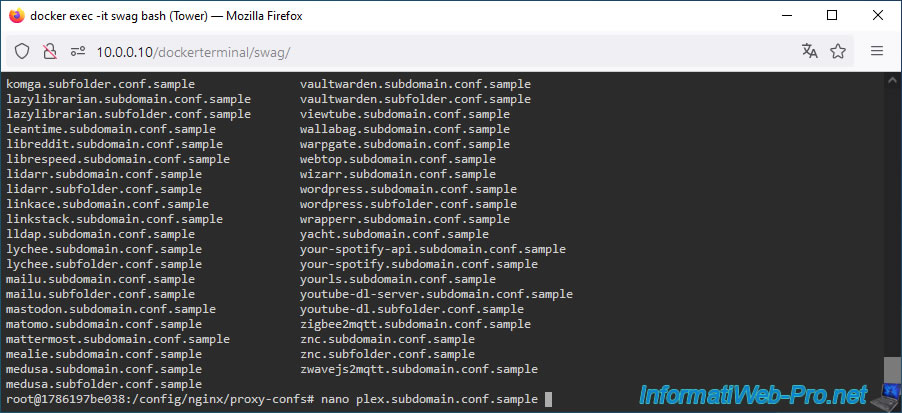
To see what these files look like, open, for example, the one provided for "plex".
Plain Text
nano plex.subdomain.conf.sample
Note: ".sample" files are not used by "nginx."
To use them, simply create a copy of the desired file and remove the ".sample" extension.
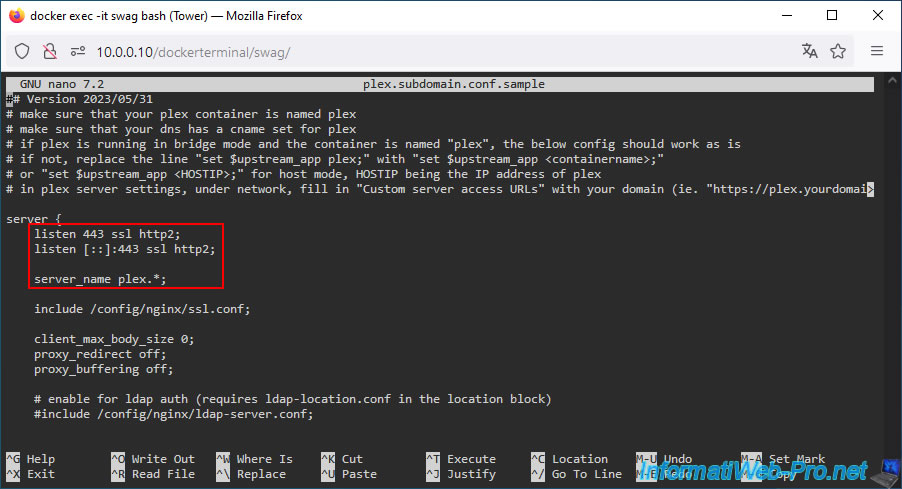
As you can see, access to the desired service will be secure (via SSL on port 443 (HTTPS)).
Note: "http2" simply indicates that version 2 of the HTTP protocol will be used instead of the older version "1.0" or "1.1".
In the case of "plex", you will be able to access it from the Internet via the "plex" subdomain.
Plain Text
listen 443 ssl http2;
listen [::]:443 ssl http2;

server_name plex.*;
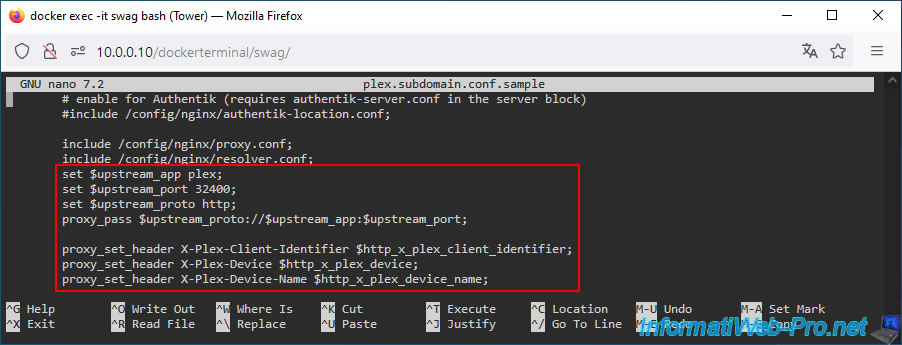
Further down, you'll notice lines that will also appear for other Unraid services.
In summary:
- the "set upstream... ...;" lines indicate the name of the target Docker container, the port you would connect to locally for this service, and the protocol to use (default: http).
- the "proxy_set_header" lines are HTTP headers required to access the desired service hosted on your Unraid server.
Usually, everything is already configured correctly.
However, if you change the default name of a Docker container or the port it primarily listens on, you may need to modify one of the "$upstream_..." variables.
Plain Text
set $upstream_app plex;
set $upstream_port 32400;
set $upstream_proto http;

proxy_pass $upstream_proto://$upstream_app:$upstream_port;
proxy_set_header X-Plex-Client-Identifier $http_x_plex_client_identifier;
proxy_set_header X-Plex-Device $http_x_plex_device;
proxy_set_header X-Plex-Device-Name $http_x_plex_device_name;
Share this tutorial
To see also
-
NAS 3/25/2026
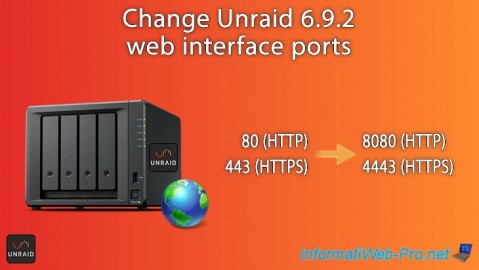
Unraid 6.9.2 - Change web interface ports
-
NAS 11/21/2025
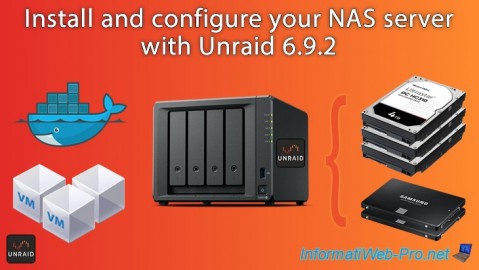
Unraid 6.9.2 - Install and configure Unraid 6.9.2
-

NAS 1/21/2026
Unraid 6.9.2 - Replace a storage disk
-
NAS 7/1/2026
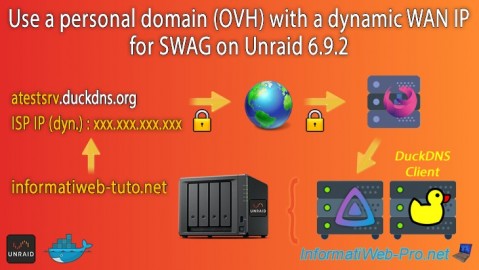
Unraid 6.9.2 - SWAG - Use a personal domain with a dynamic WAN IP
No comment