Dynamix plugins (sys info, temperatures, ...) overview on Unraid 6.9.2
- NAS
- Unraid
- 11 March 2026 at 17:13 UTC
-

- 3/4

4. Dynamix System Temp (temperature probe information)
To better monitor the temperature of your various components (including the different cores of your processor), you will need the plugin: Dynamix System Temp.
4.1. Download and install the Dynamix System Temp plugin
Search for and install the "Dynamix System Temp" plugin.

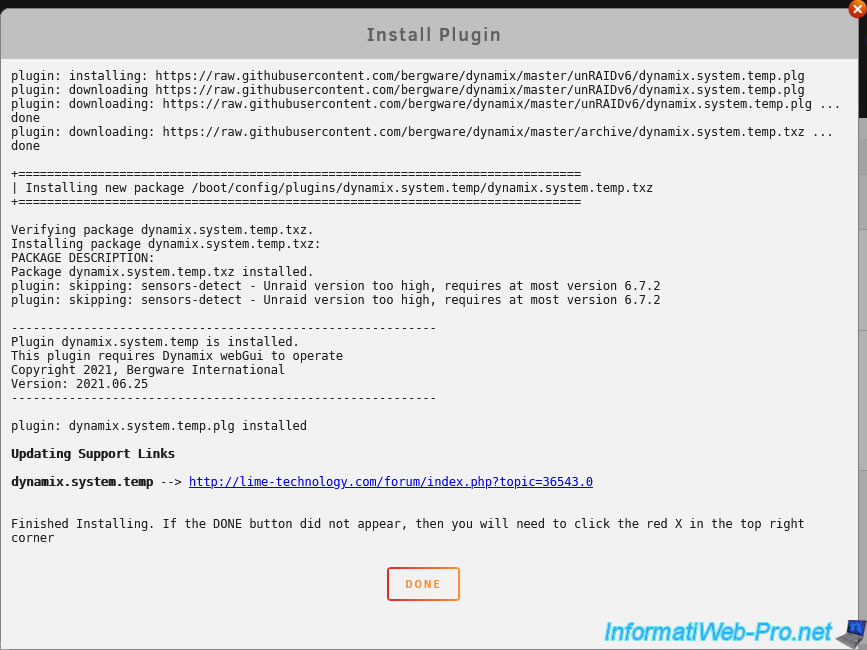
Please wait while this "Dynamix System Temp" plugin is downloaded and installed.
Once this plugin is installed, click on the gear icon of it.

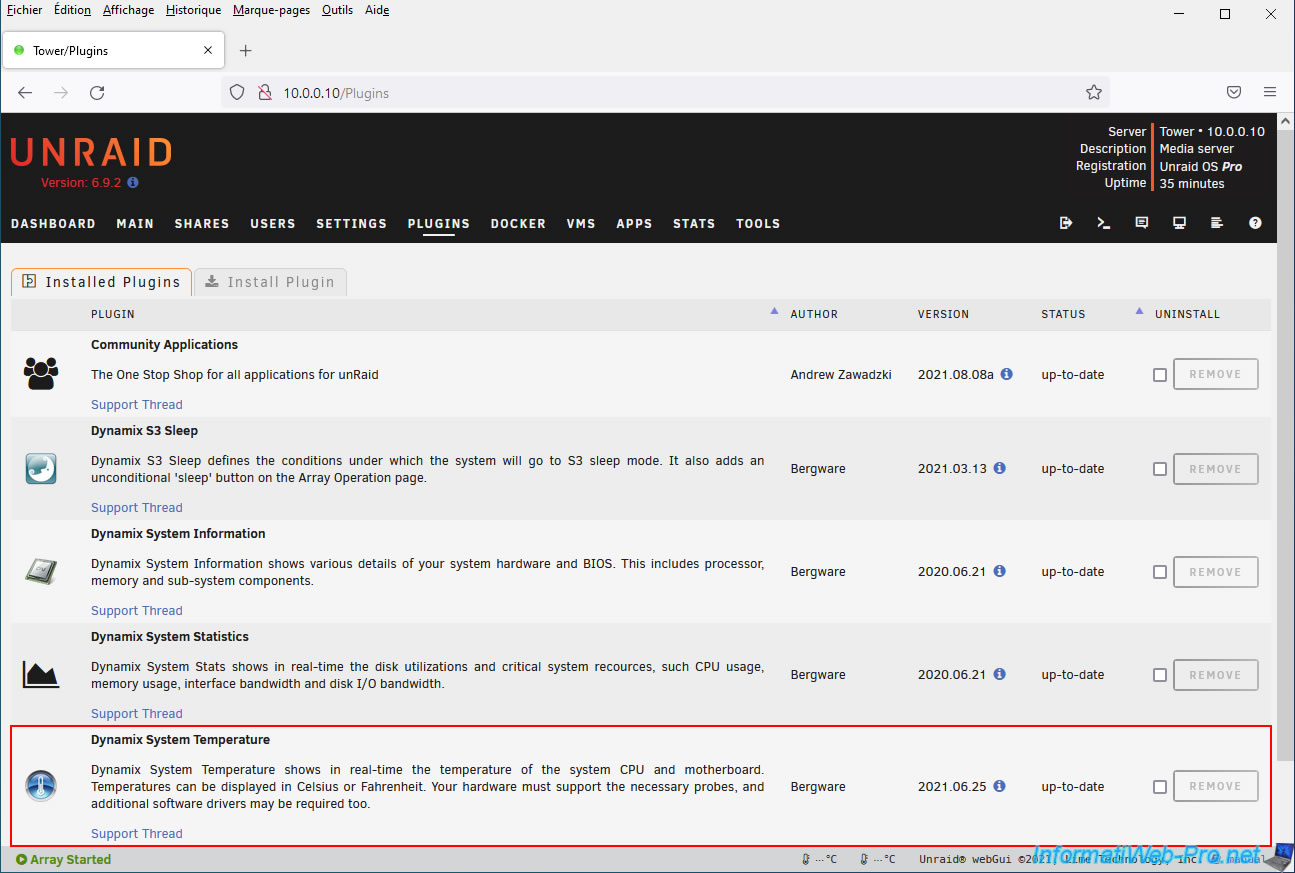
In the "Plugins" tab, you will see it appear under the name "Dynamix System Temperature".
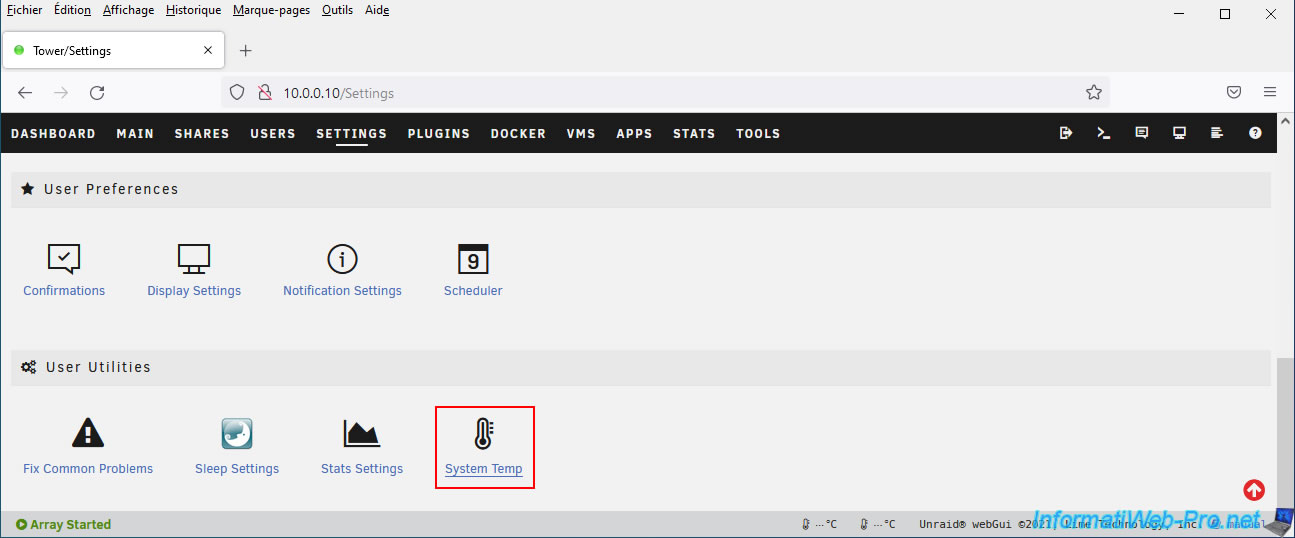
In the "Settings" tab, you can also access this plugin's settings by clicking on the "System Temp" utility in the "User Utilities" section.
In the status bar (at the bottom of the page), you may have noticed that two thermometers have appeared, but no temperature readings are currently displayed.
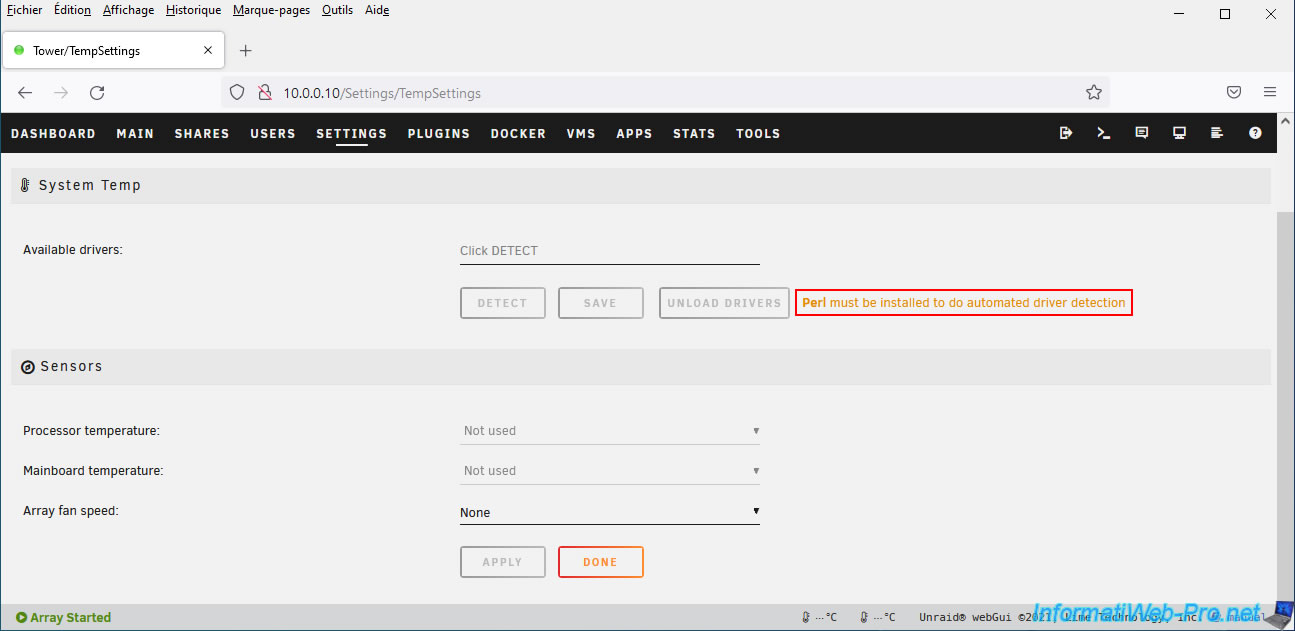
Indeed, as you can see, to work correctly, this "Dynamix System Temp" plugin needs Perl.
Plain Text
Perl must be installed to do automated driver detection.
However, it's important to remember that once your Unraid server boots, Unraid runs only in RAM.
This means you won't be able to install the "perl" package via a simple "apt-get install perl" command, as this package would disappear when you shut down or restart your server.
4.2. Install the Perl package on Unraid
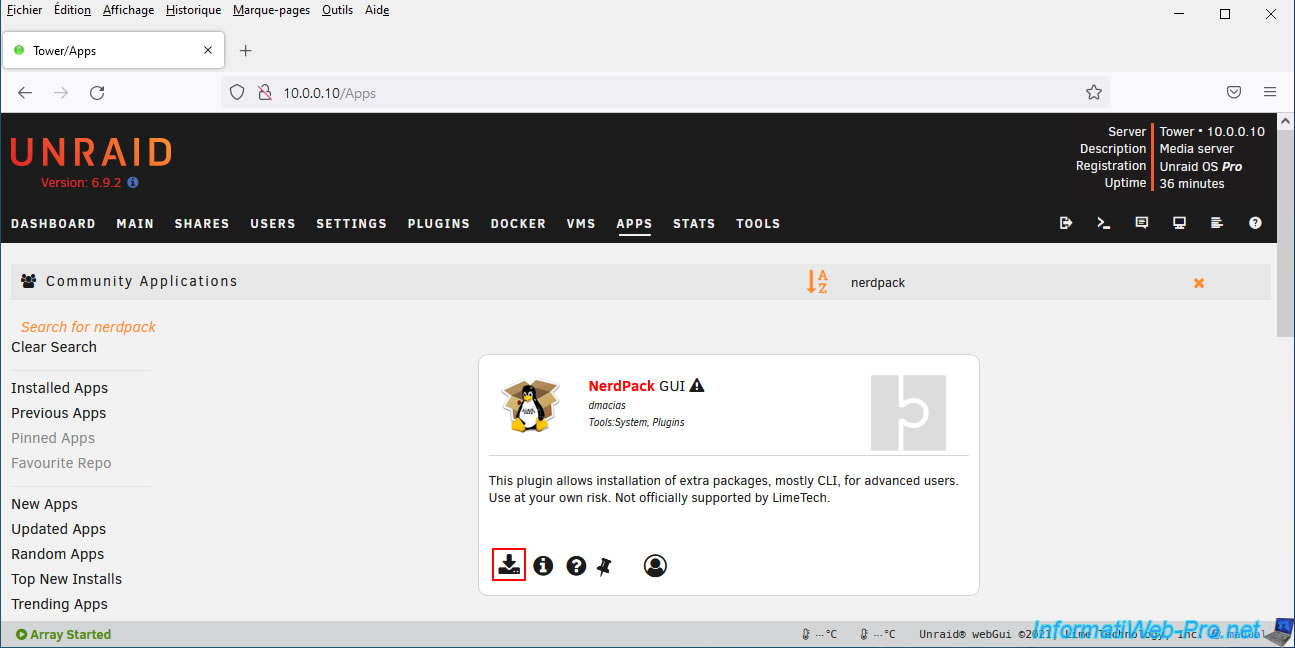
To install the Linux "Perl" package on Unraid, you'll need to use an additional plugin called "NerdPack GUI".
Search for this plugin and install it.
Once the "NerdPack GUI" plugin is installed, go to Unraid's "Plugins" tab and you'll find it under the name "Nerd Tools".
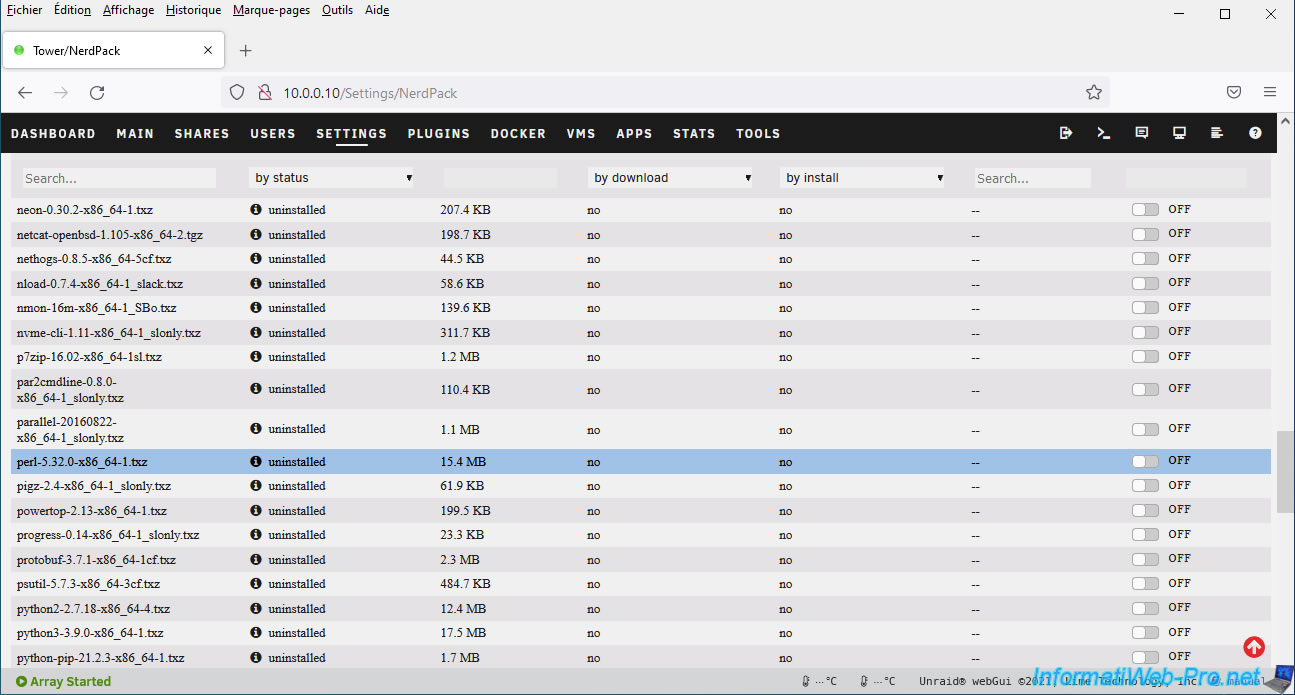
Click on the "Nerd Tools" plugin icon to access the list of Linux packages it supports.

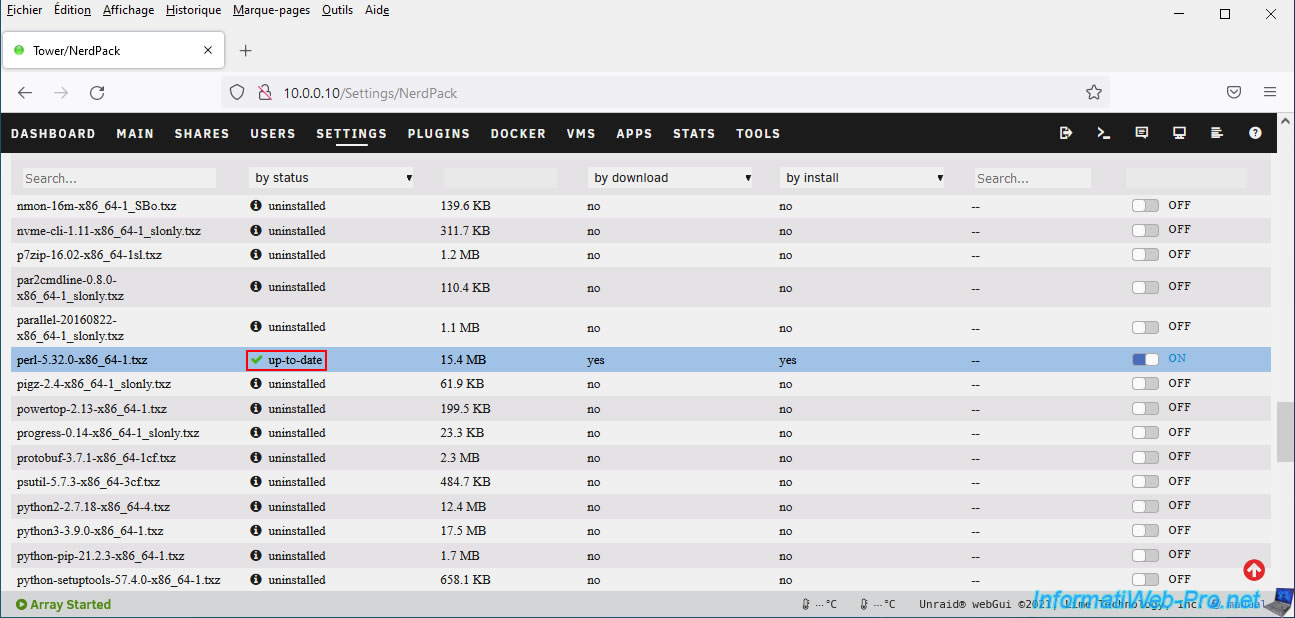
In the list, locate the "perl-..." package.
Note that the Linux package list is sorted by name by default.
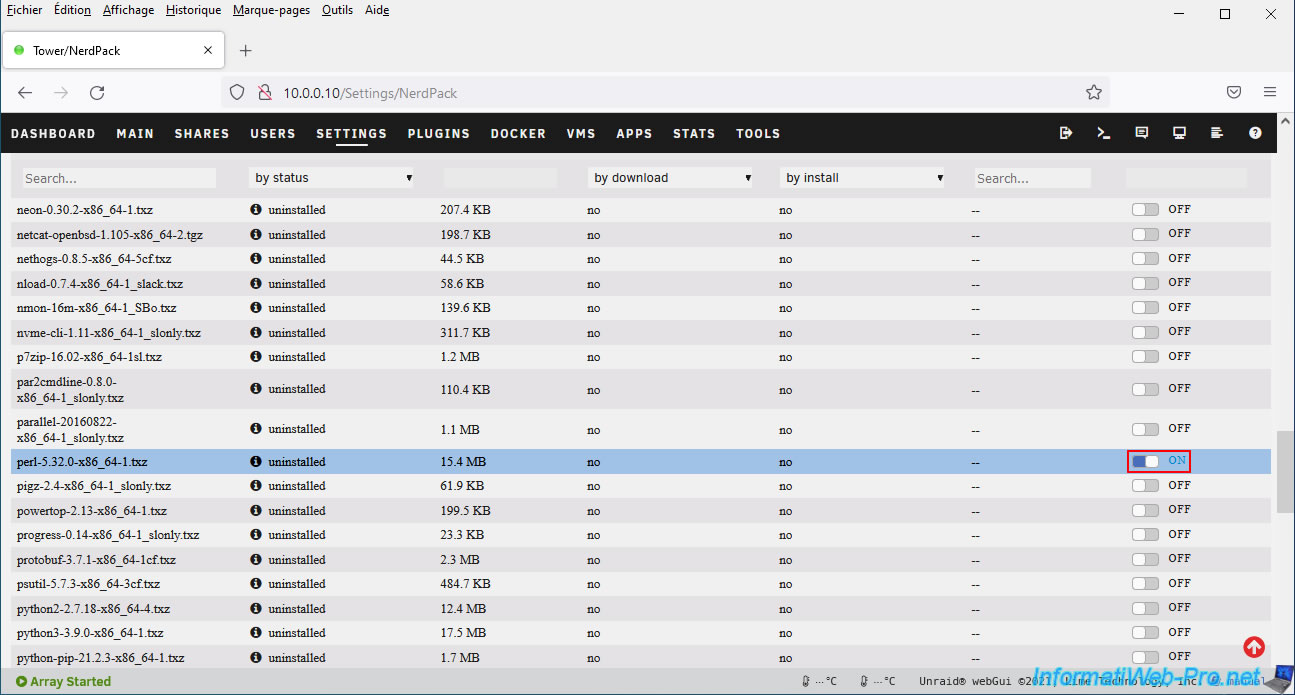
Activate this package by setting the switch to "ON" (right).
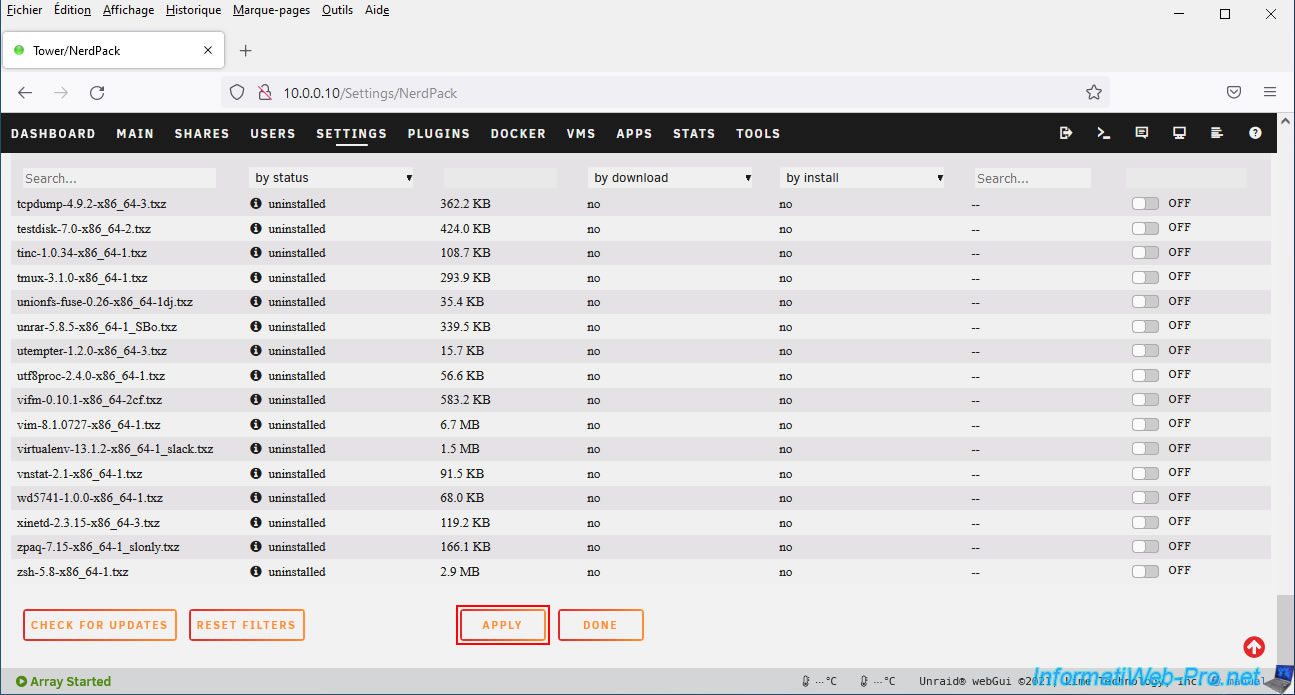
Then, at the bottom of the page, click on: Apply.
A "Package Manager" window appears, informing you that the previously selected "perl-..." package is being downloaded and installed.
Next, click Done.

Now, the status of the "perl-..." package (in our case: perl-5.32.0-x86_x64-1.tzx) is up-to-date.
This means that this package is installed and up-to-date.
Share this tutorial
To see also
-

NAS 1/15/2026
Unraid 6.9.2 - Change the parity disk
-

NAS 11/21/2025
Unraid 6.9.2 - Install and configure Unraid 6.9.2
-

NAS 1/21/2026
Unraid 6.9.2 - Replace a storage disk
-

NAS 5/6/2026
Unraid 6.9.2 - SWAG - Install a reverse proxy (SWAG)
No comment