Install the free office suite (Collabora CODE) for Nextcloud on Unraid 6.9.2
- NAS
- Unraid
- 24 June 2026 at 07:56 UTC
-

- 4/6

8. Configure Nextcloud to get the LAN IP address to contact your Collabora server
To resolve the communication issue between Nextcloud and Collabora (in this direction only, for now), Nextcloud needs to obtain a LAN (local) IP address when it attempts to determine the IP address associated with your "collabora.[your domain]" subdomain.
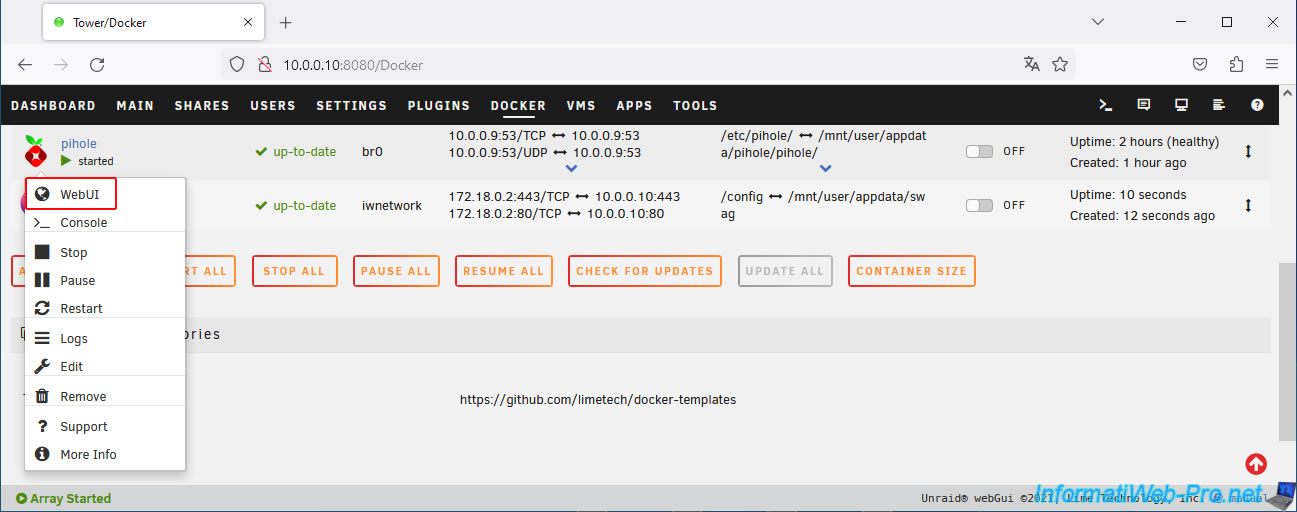
To do this, access the web interface of your local "Pi-hole" DNS server by clicking on the icon of your "pihole" container, then on: WebUI.
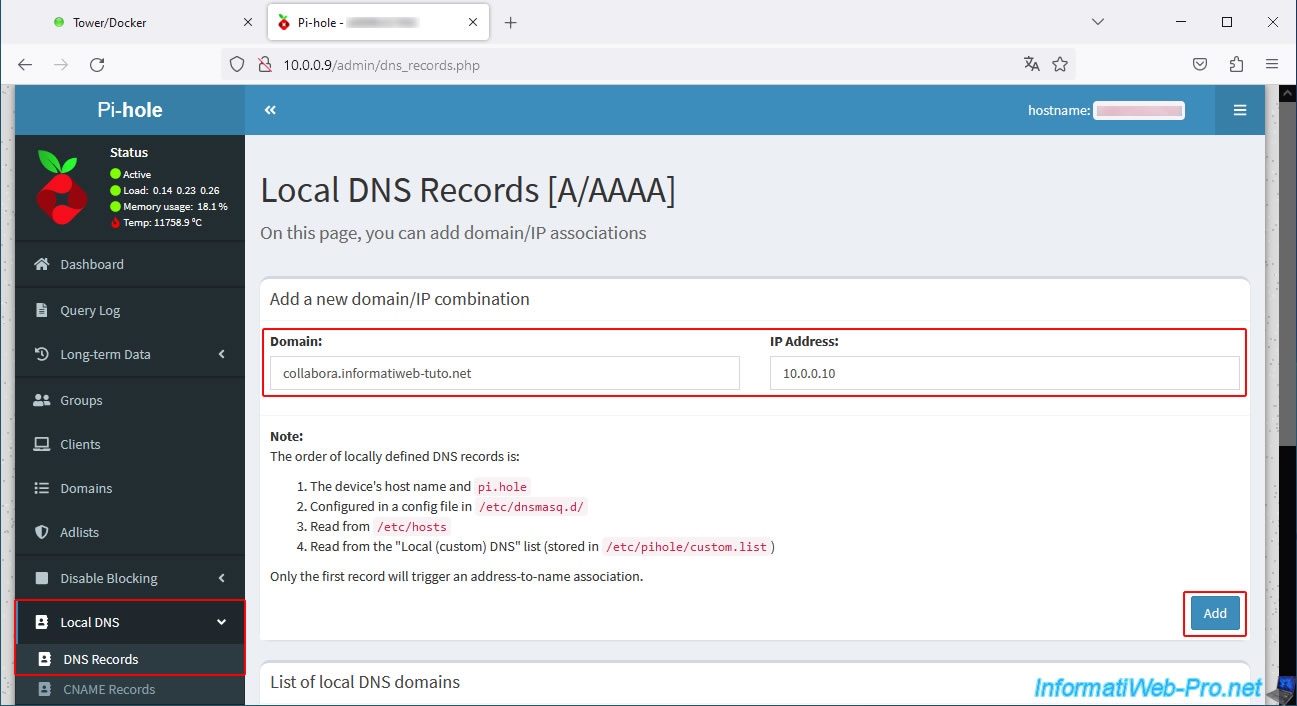
In the "Local DNS -> DNS Records" section, specify:
- Domain: your subdomain "collabora.[your domain]".
In our case: collabora.informatiweb-tuto.net. - IP Address: the LAN IP address of your Unraid server.
Then, click on: Add.
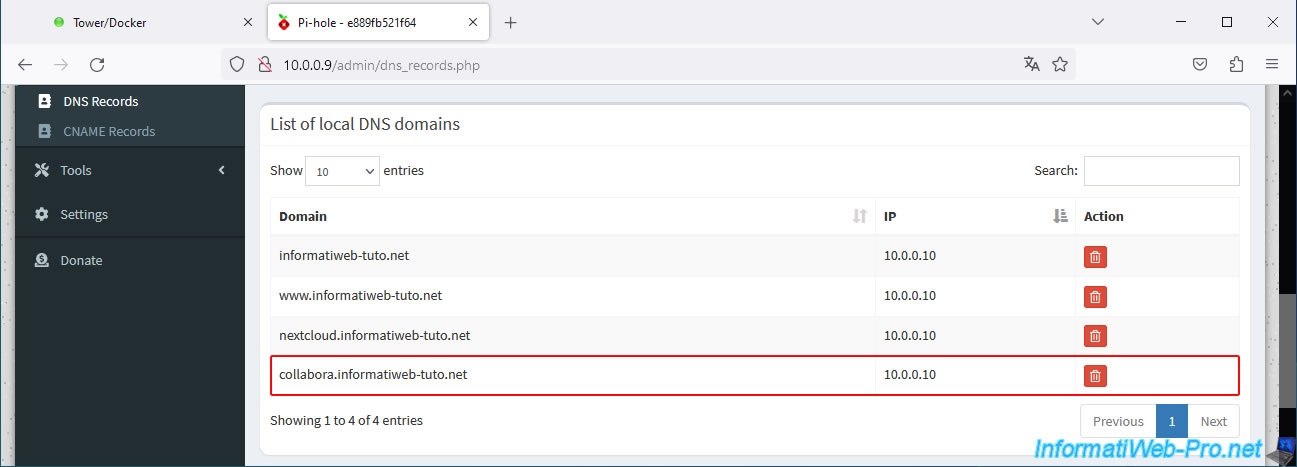
Your subdomain "collabora.informatiweb-tuto.net" appears in the "List of local DNS domains" list.
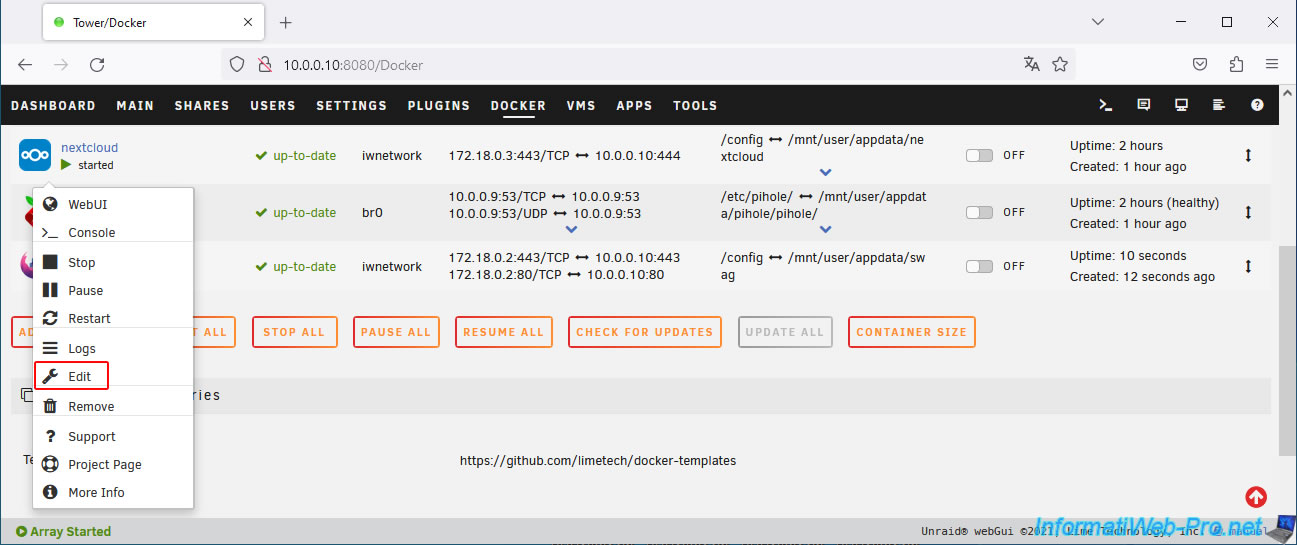
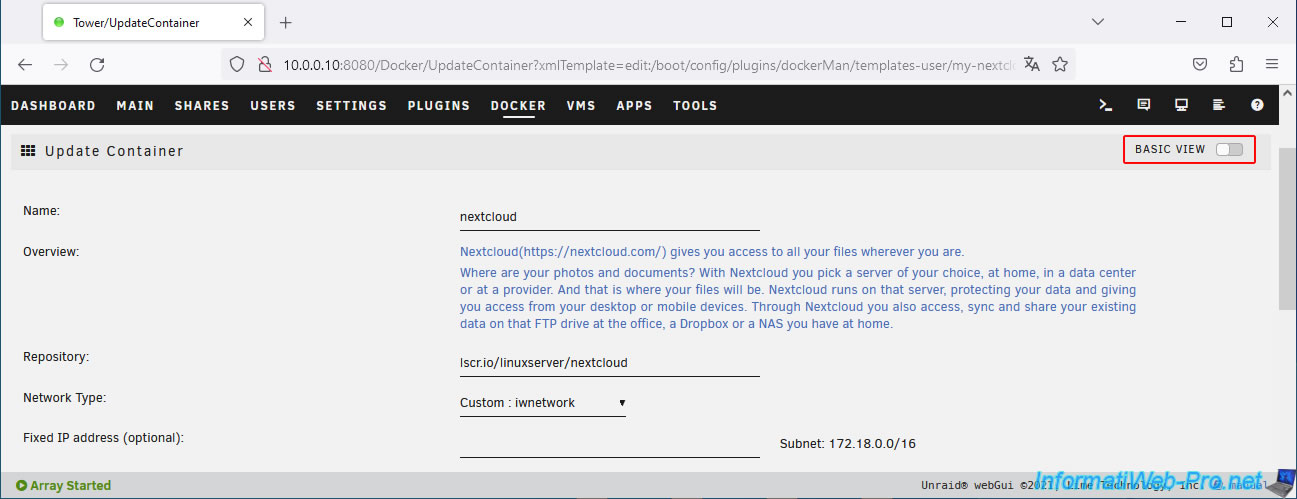
Now, edit the configuration of your "nextcloud" container by clicking on its icon, then on: Edit.
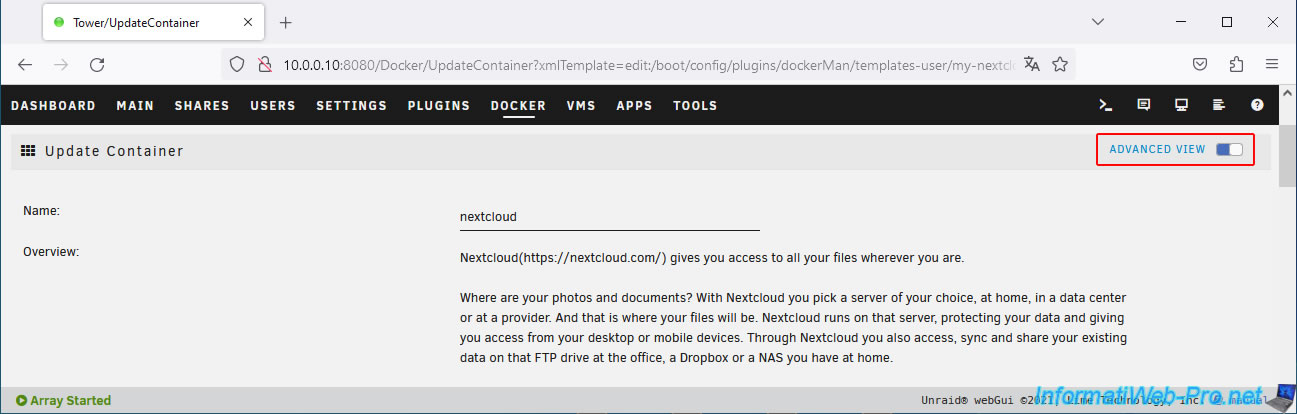
Click on the "Basic view" selector located at the top right of the page.
The Advanced view appears.
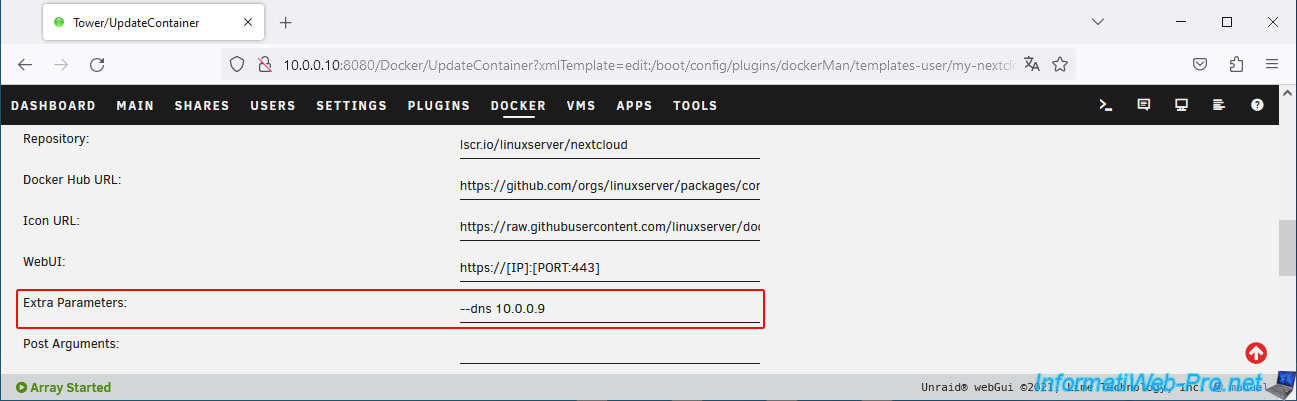
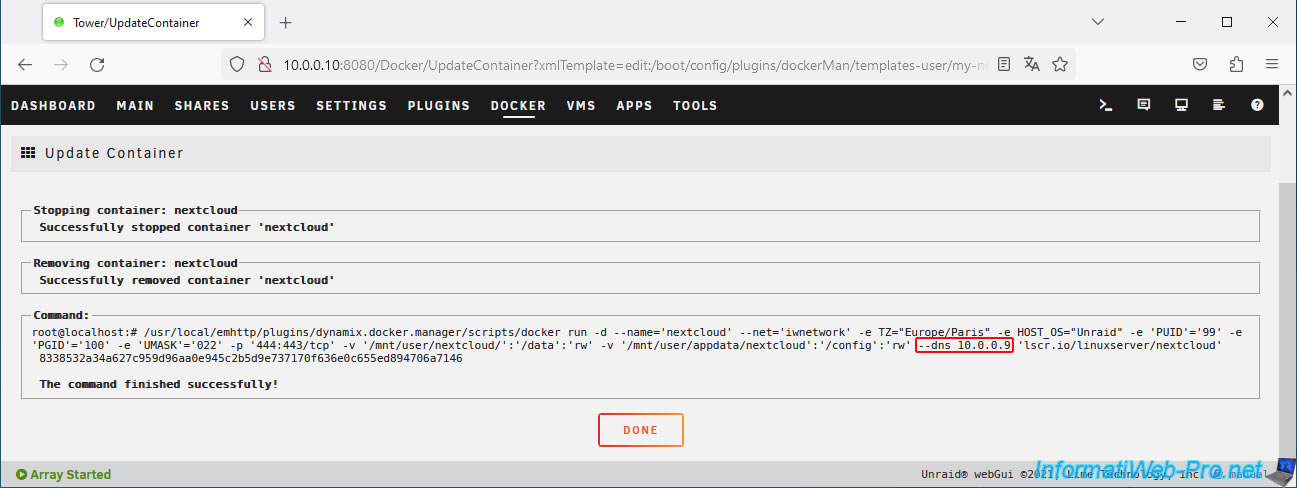
In the "Extra Parameters" box, add the parameter "--dns 10.0.0.9" (where "10.0.0.9" is the IP address of your local "Pi-hole" DNS server).
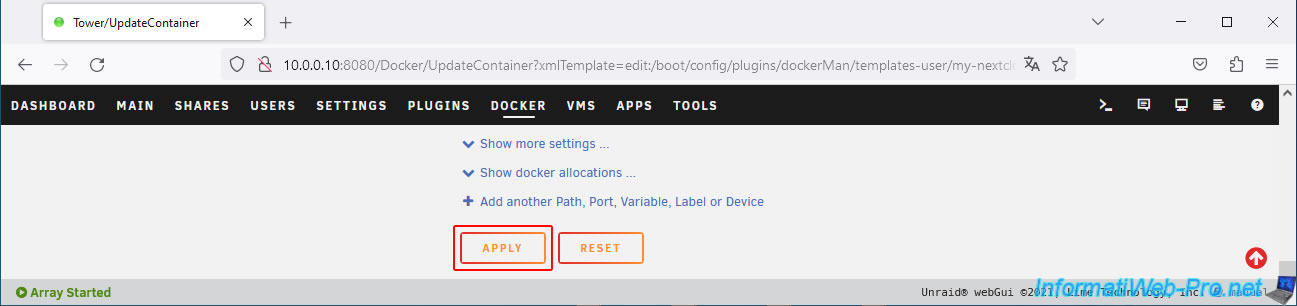
At the bottom of the page, click on: Apply.
As you can see, the extra parameter "--dns 10.0.0.9" has been added to the Docker command executed for your "nextcloud" container.
Click Done.
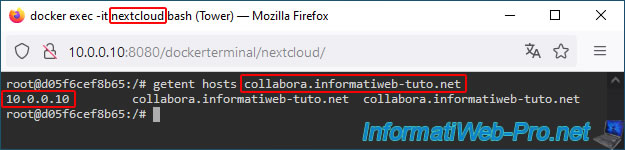
Click on your "nextcloud" container icon, then click on Console.
Run the command below again.
Bash
getent hosts collabora.informatiweb-tuto.net
As you can see, this time, Nextcloud receives the LAN (local) IP address of your Unraid server when it tries to find the IP address of the "collabora.[your domain]" domain.
In other words, when Nextcloud tries to access "collabora.informatiweb-tuto.net," it will communicate with your "swag" reverse proxy on port 443 (HTTPS).
Since it sends your "collabora.[your domain]" domain name to "swag," the reverse proxy will know to return the response from your Collabora server using the default port 9980 (defined in "swag's" "collabora.subdomain.conf" configuration file).
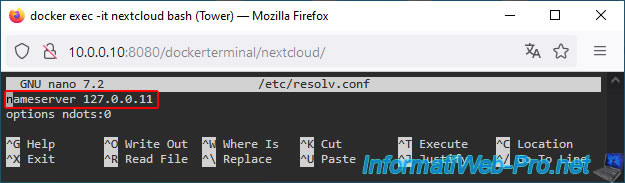
Just for your information, if you reopen the "nextcloud" container's "/etc/resolv.conf" file, you'll see that the DNS server used is still "127.0.0.11".
However, since your "nextcloud" Docker container is launched with the "--dns 10.0.0.9" parameter, this container is communicating with your local DNS server "10.0.0.9" instead of your Unraid server's, as is the default.
Bash
nano /etc/resolv.conf
Plain Text
nameserver 127.0.0.11
Access the Nextcloud web interface by clicking on your "nextcloud" container icon, then clicking on: WebUI.
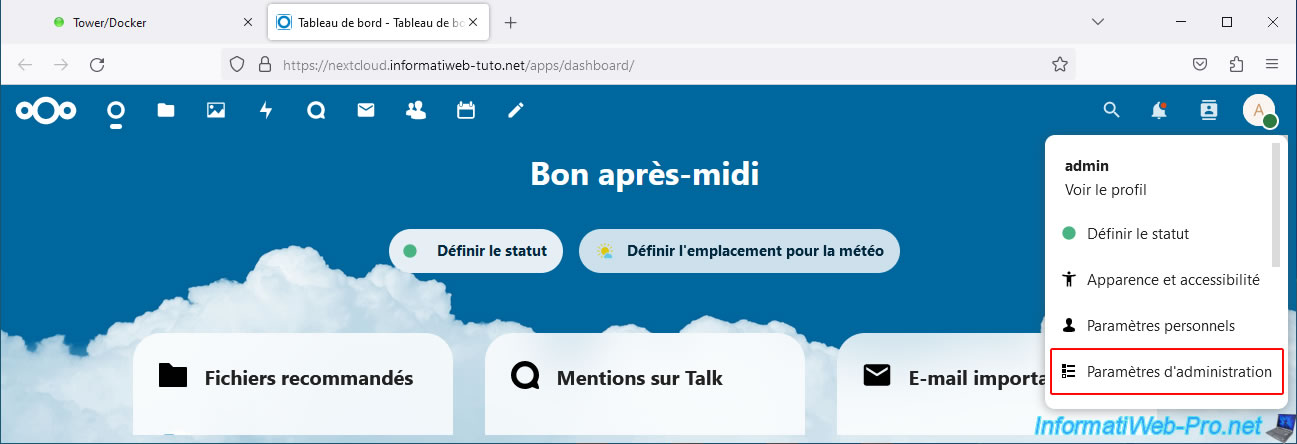
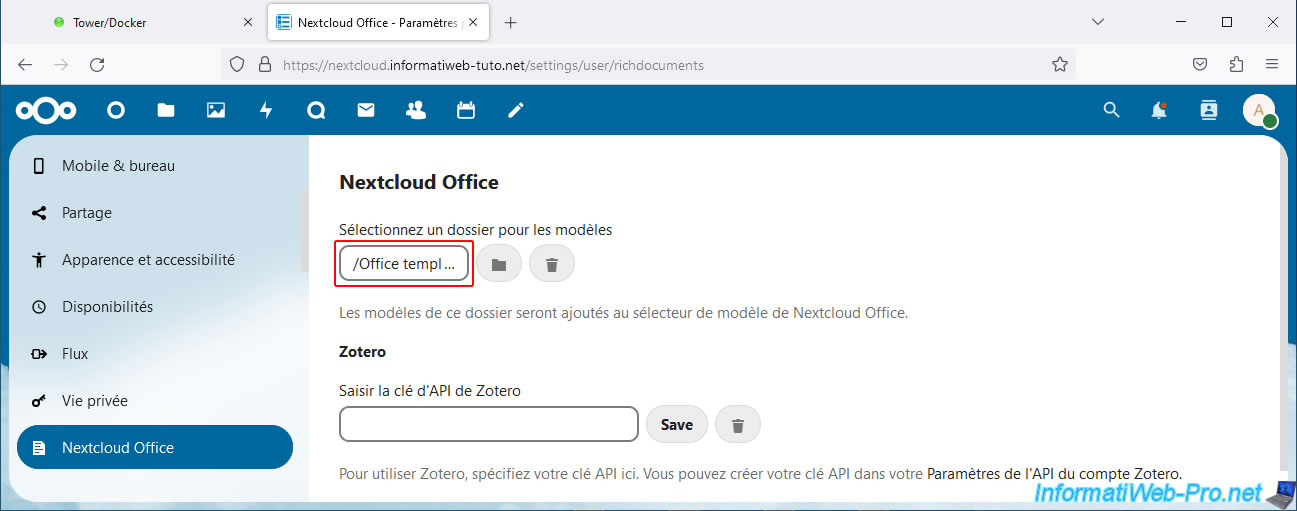
Then, click on the icon at the top right, then on: Administration settings.
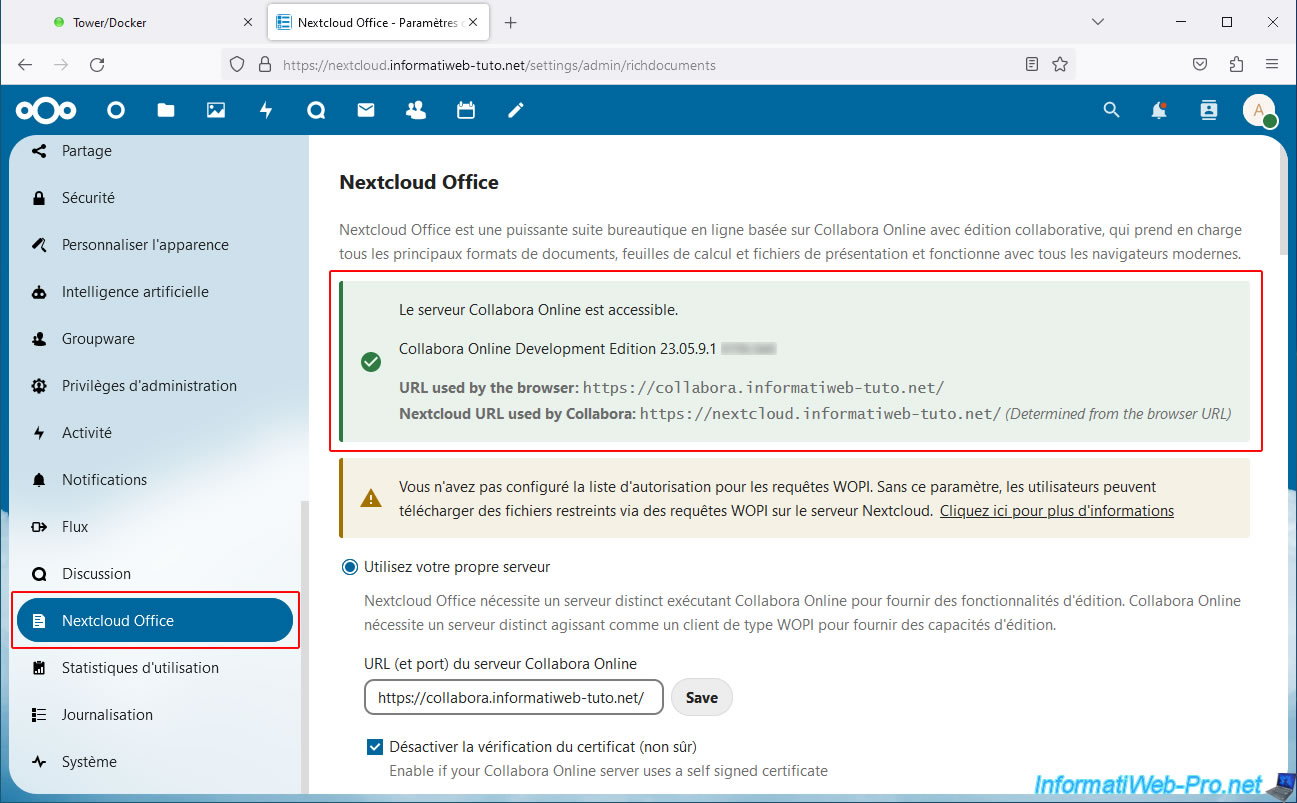
In the "Administration" section of the menu visible on the left, go to "Nextcloud Office" and this time you will see that a message appears in green.
Plain Text
The Collabora Online server is accessible.

Collabora Online Development Edition 23.05.9.1 xxxxx.

URL used by the browser: https://collabora.informatiweb-tuto.net/
Nextcloud URL used by Collabora: https://collabora.informatiweb-tuto.net/ (Determined from the browser URL)
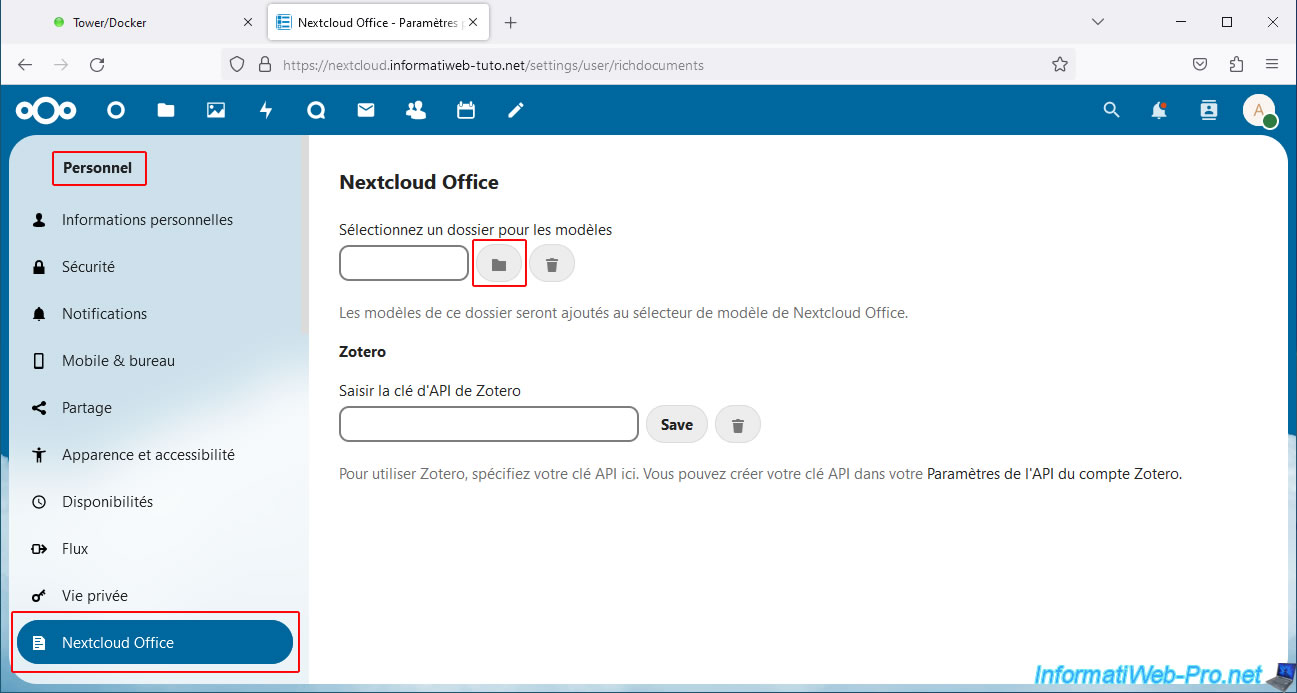
In the "Personal" section of the left menu, click "Nextcloud Office" and you will be taken to another page where you can select a folder for the templates.
Click the folder icon.
Click on the "Office templates" folder created previously.
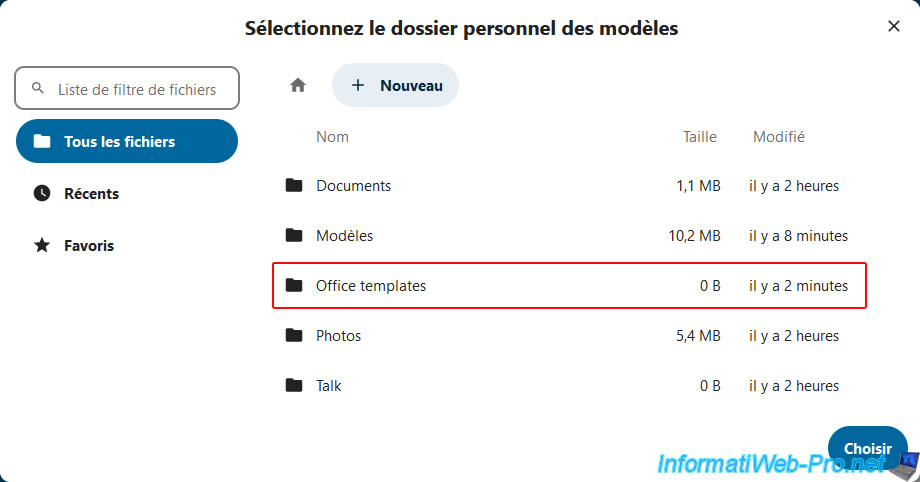
Then, click on: Choose.
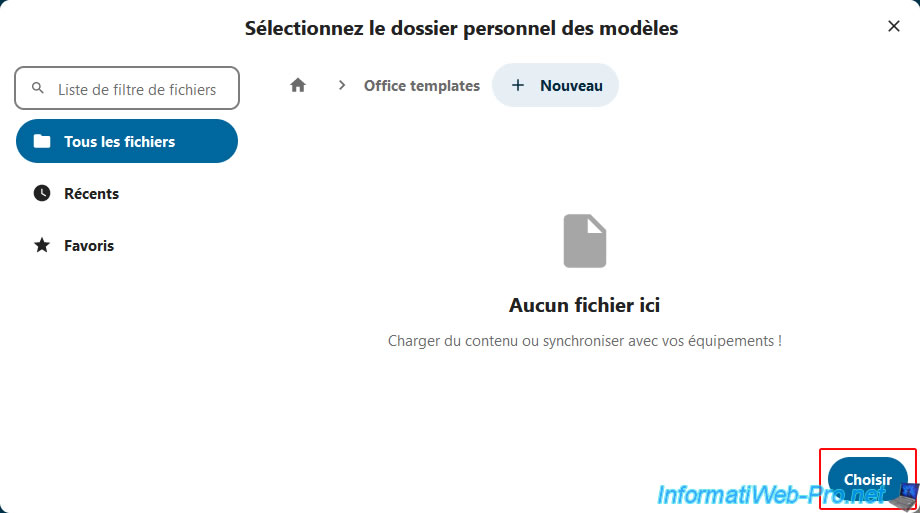
The selected folder appears in the box.
Share this tutorial
To see also
-
NAS 3/25/2026
Unraid 6.9.2 - Change web interface ports
-
NAS 1/1/2026
Unraid 6.9.2 - Disable flash network sharing
-

NAS 4/23/2026
Unraid 6.9.2 - Docker - Install a media server (Plex)
-

NAS 3/4/2026
Unraid 6.9.2 - Install the "Community Applications" plugin (old version)
No comment