Install the free office suite (Collabora CODE) for Nextcloud on Unraid 6.9.2
- NAS
- Unraid
- 24 June 2026 at 07:56 UTC
-

- 2/6

4. Install the independent Collabora server on Unraid
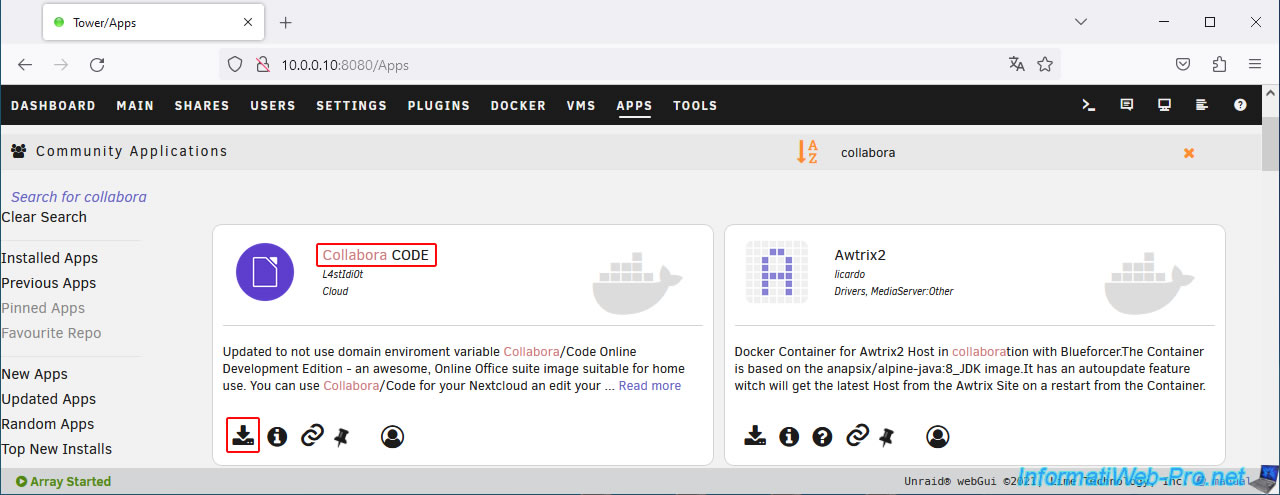
On your Unraid server, go to the "Apps" tab and search for "collabora".
Then, install the "Collabora CODE" application that appears.
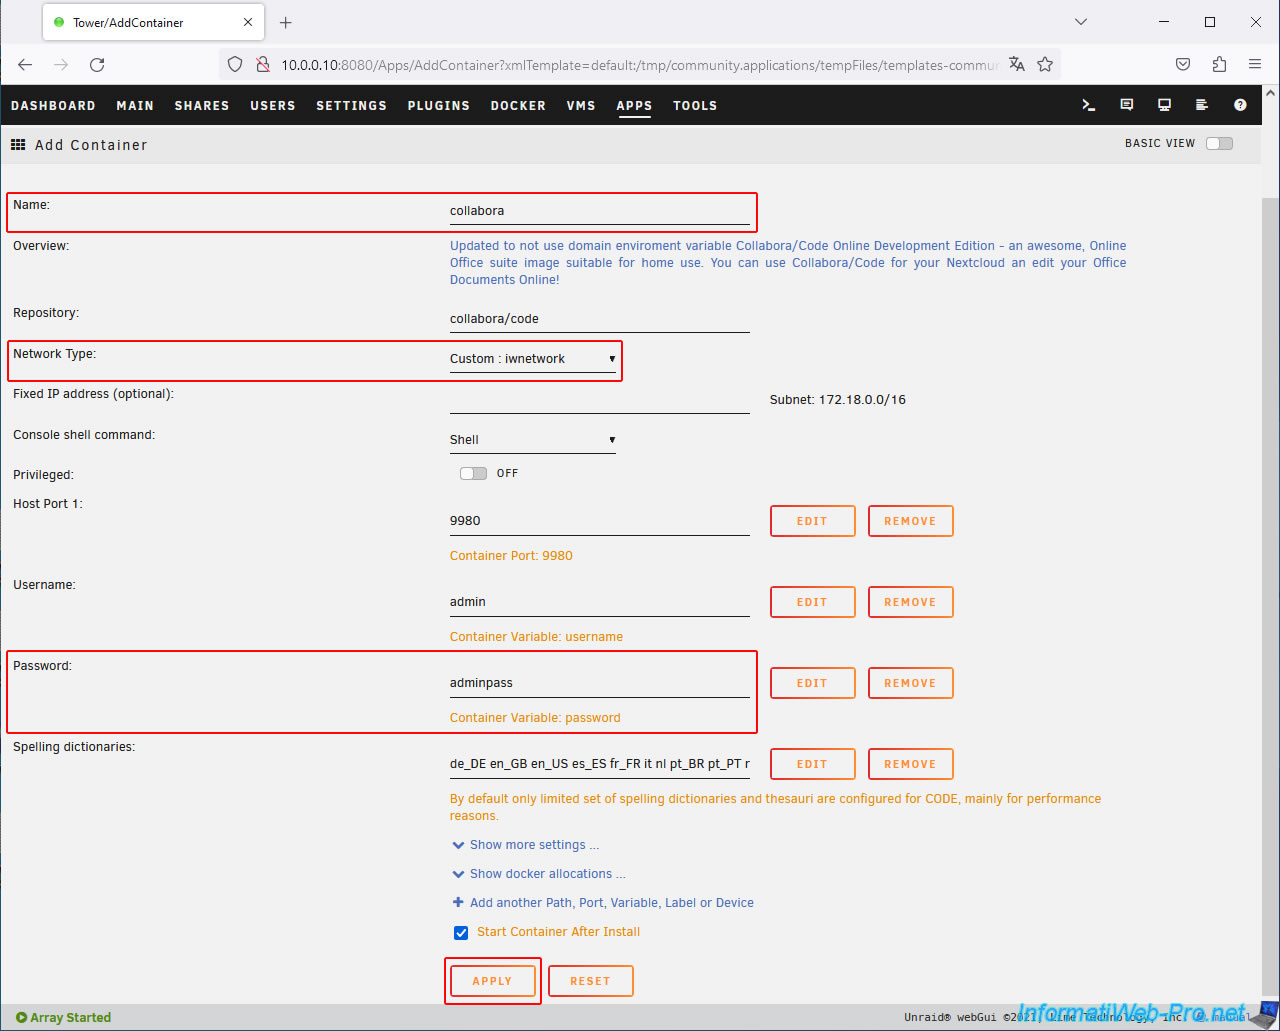
In this form, configure these 3 settings:
- Name: Collabora.
- Network Type: Custom: iwnetwork (your custom network used by your swag container).
- Password: change the administrator password for your Collabora server.
Then, click "Apply" at the bottom of the page.
Note: to access your Collabora server via your reverse proxy (swag), this container must be named "collabora" (and not "Collabora CODE" as is the case since the application available on Unraid has changed its name).
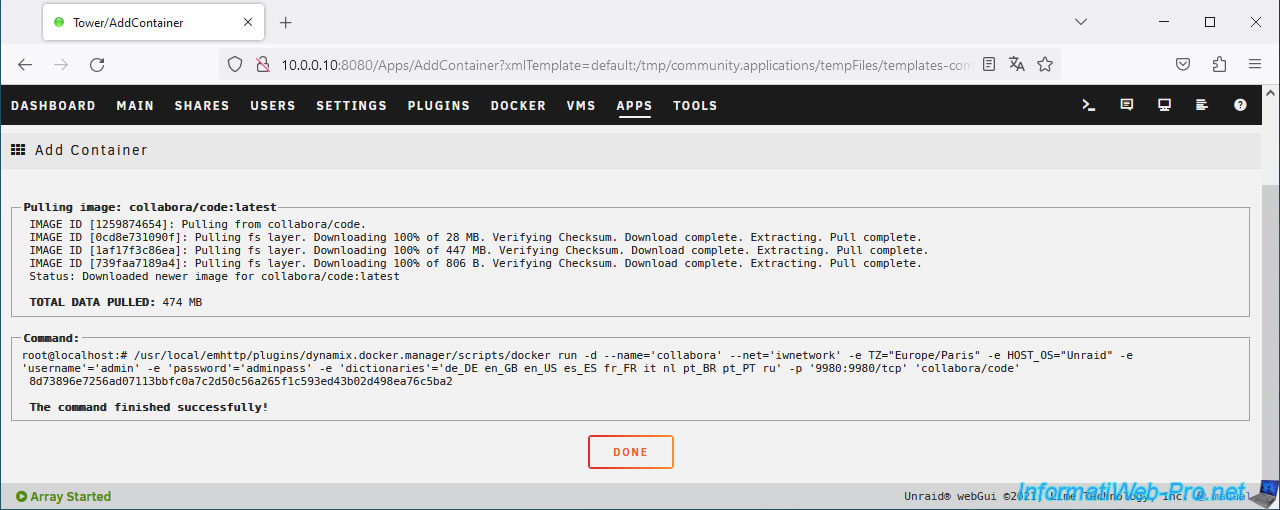
Wait while this Collabora container downloads and installs.
Then, click Done.
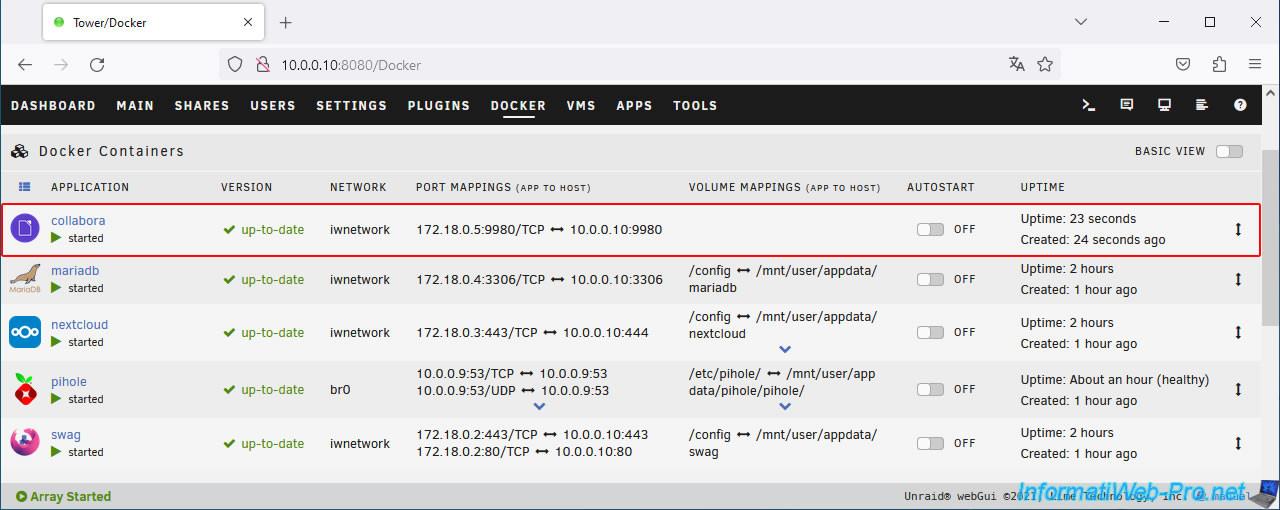
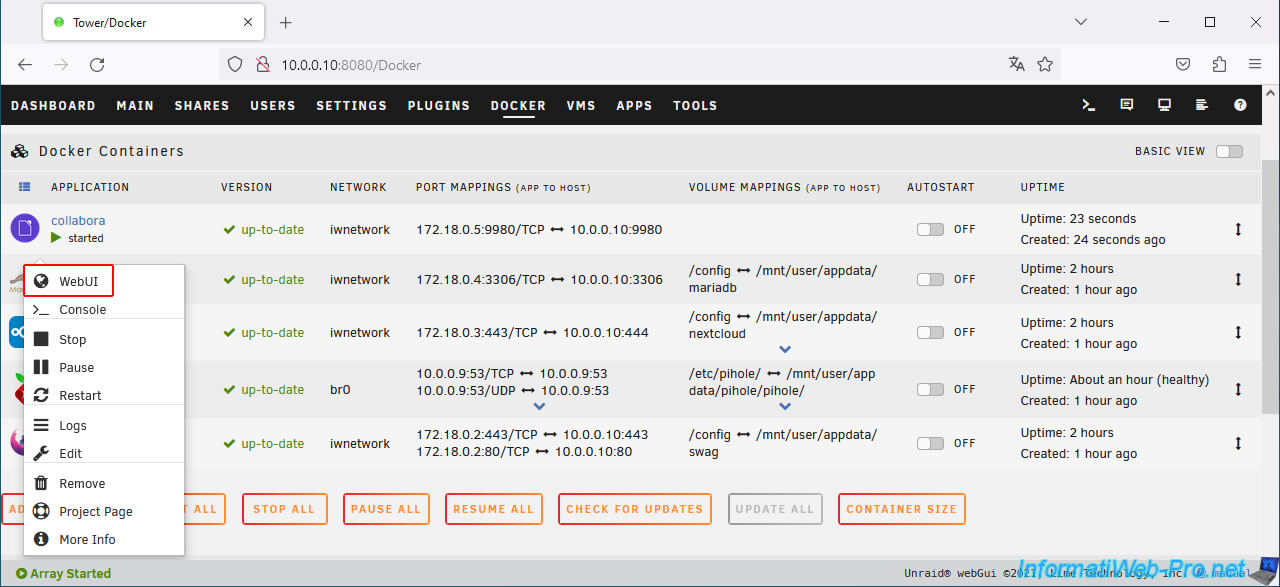
In the "Docker" tab of your Unraid server, the "Collabora CODE" application appears on the name "collabora" and uses the same custom network as your "swag" container.
Access the Collabora web interface by clicking on its icon, then on: WebUI.
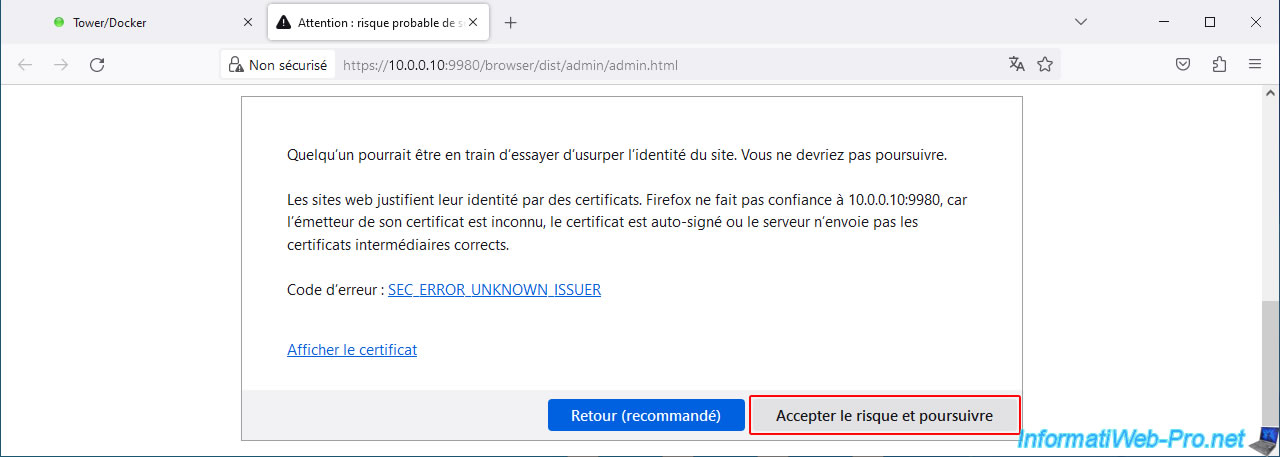
Ignore the warning that appears due to the use of a self-signed certificate.
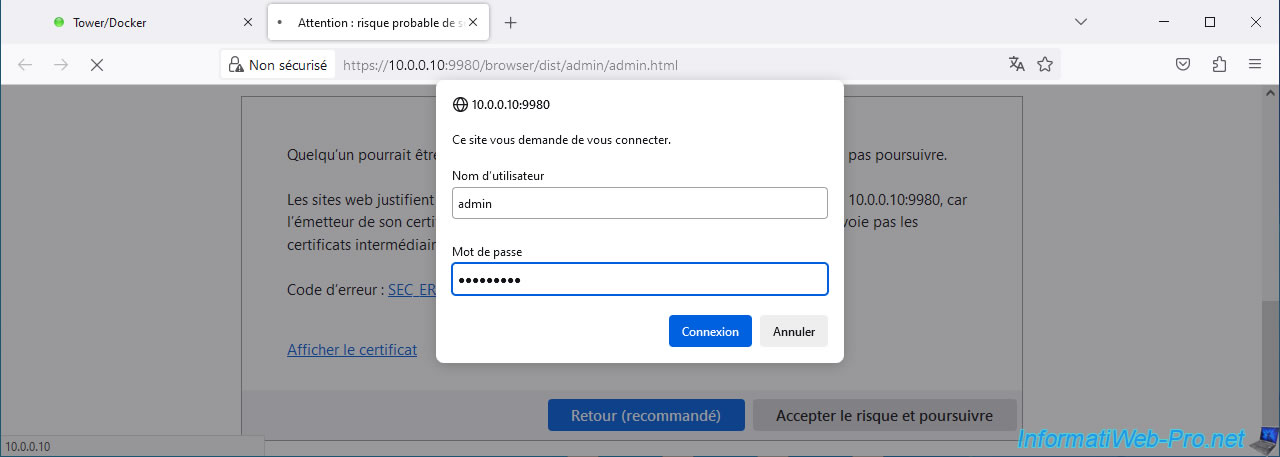
Log in as admin with the username (default: admin) and password defined when installing your "collabora" container.
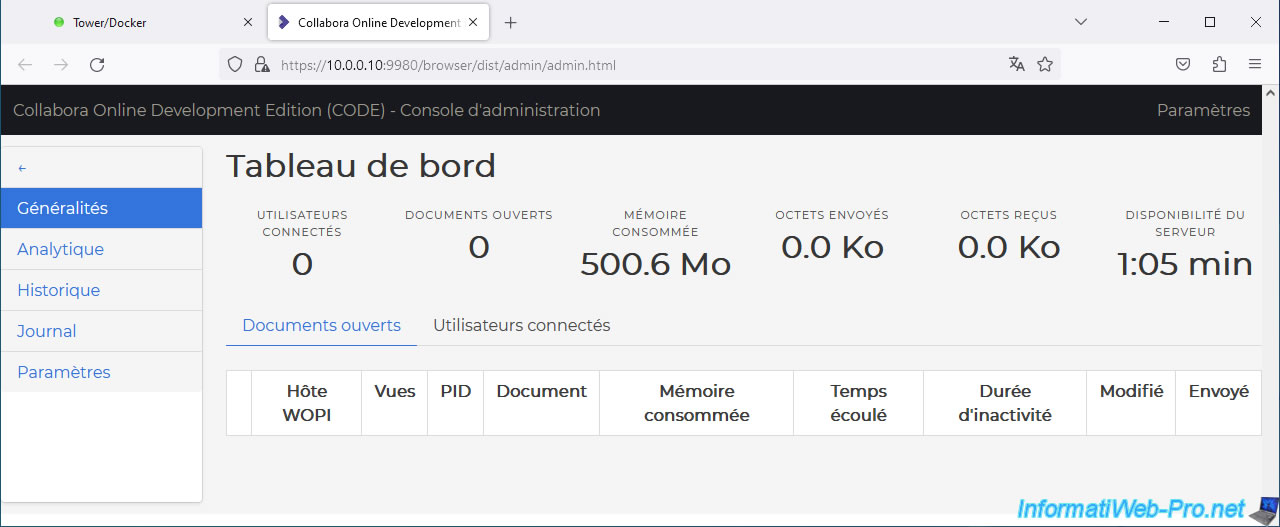
The "Collabora Online Development Edition (CODE) - Administration Console" page appears.
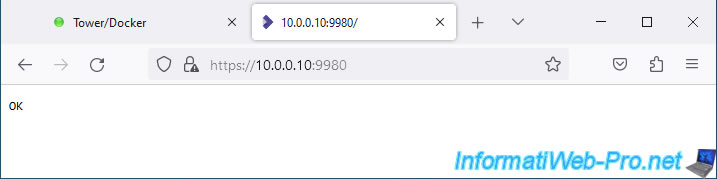
If you access the root of this Collabora server (i.e., port 9980), you'll see the word "OK" appear on a blank page.
This means that the Collabora server itself is running.
5. Add configuration for Collabora on reverse proxy (swag)
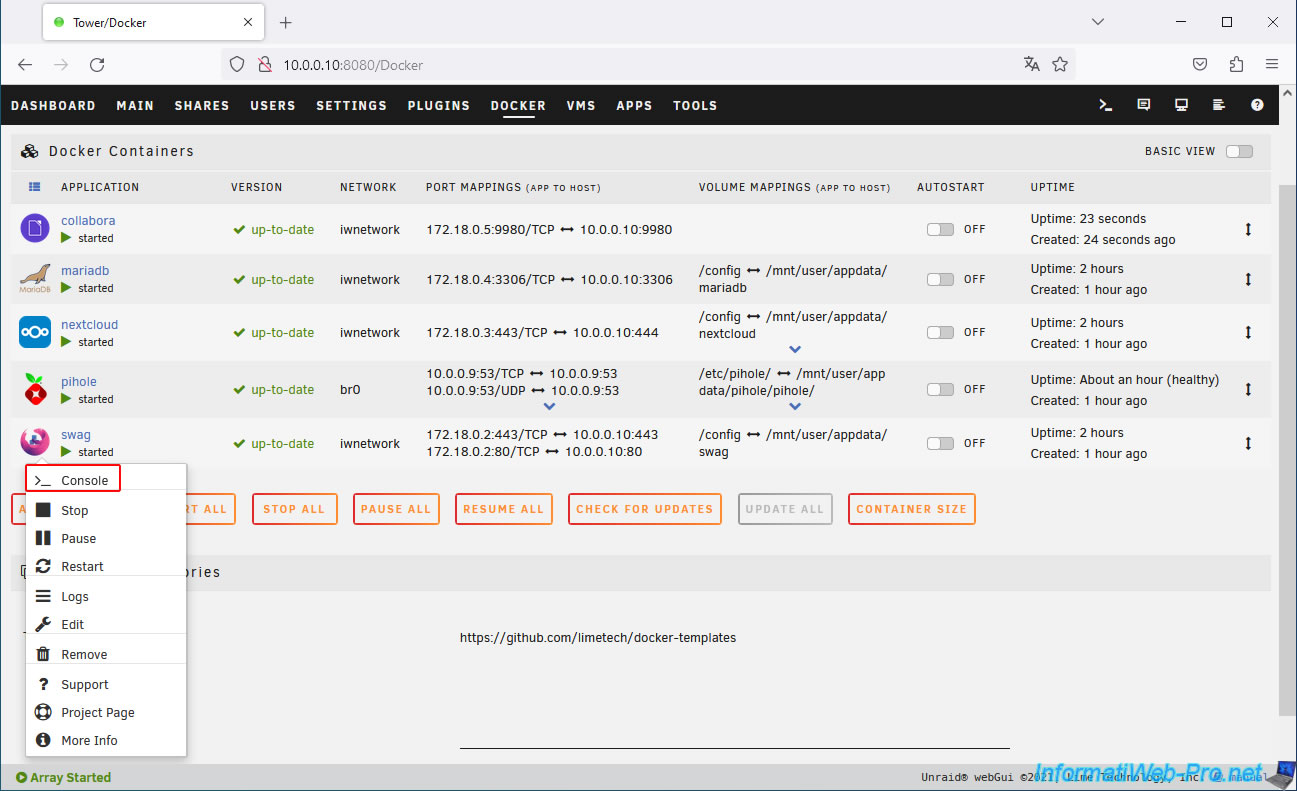
To use Collabora via your previously configured "collabora" subdomain with your web host, you must open the swag console.
To do this, click on the "swag" icon, then click on: Console.
Go to the "/config/nginx/proxy-confs" folder.
Bash
cd /config/nginx/proxy-confs/
ls
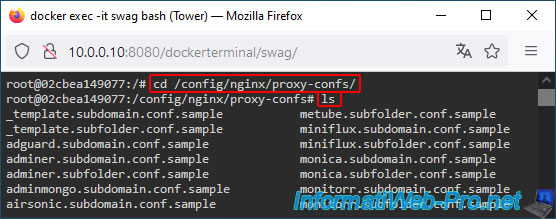
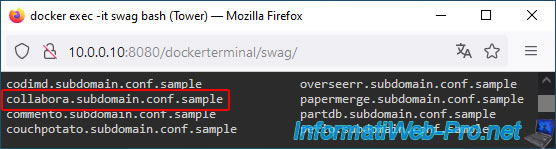
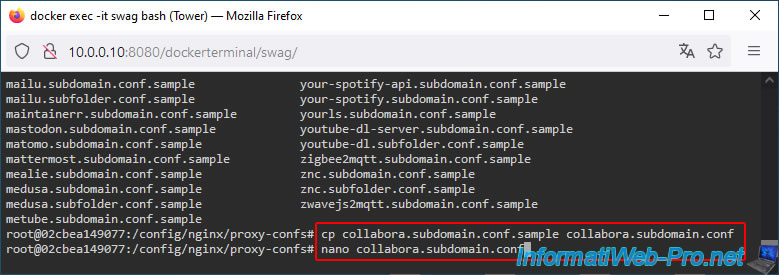
In this folder, you will find a template named "collabora.subdomain.conf.sample".
Create the configuration file "collabora.subdomain.conf" from this template and open it with the "nano" text editor.
Bash
cp collabora.subdomain.conf.sample collabora.subdomain.conf
nano collabora.subdomain.conf
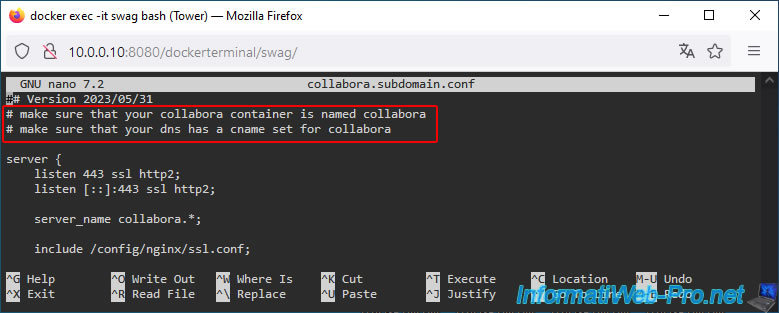
At the top of this configuration file "collabora.subdomain.conf", you will see that swag tells you that:
- your Collabora container must be named "collabora".
- a "collabora" subdomain must be configured on your domain (with your hosting provider) used with Swag.
Which is good in our case.
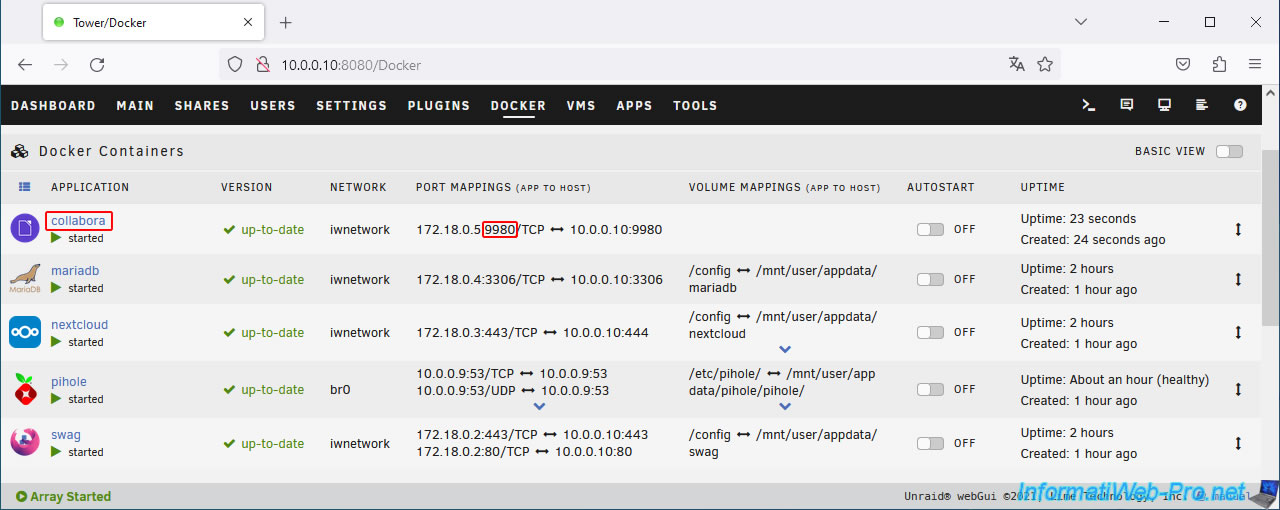
Indeed, swag uses the container name "collabora" and its default port (9980) to communicate with it.
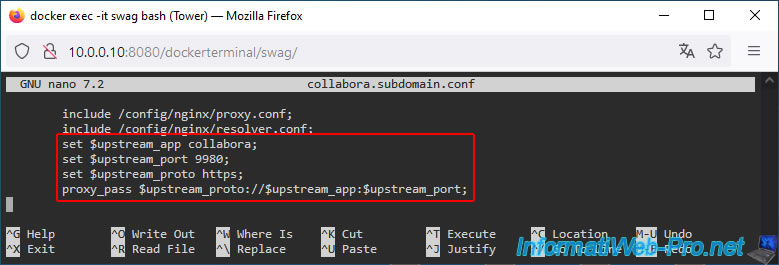
You can find this information in the "Docker" tab of your Unraid server.
6. Add the subdomain for Collabora in the certificate generated via the swag container
Now that the necessary configuration file has been added to your "swag" container, you need to modify the container's configuration so that the generated certificate is also valid for your new "collabora.[your domain]" subdomain.
To do this, click the "swag" icon, then click Edit.
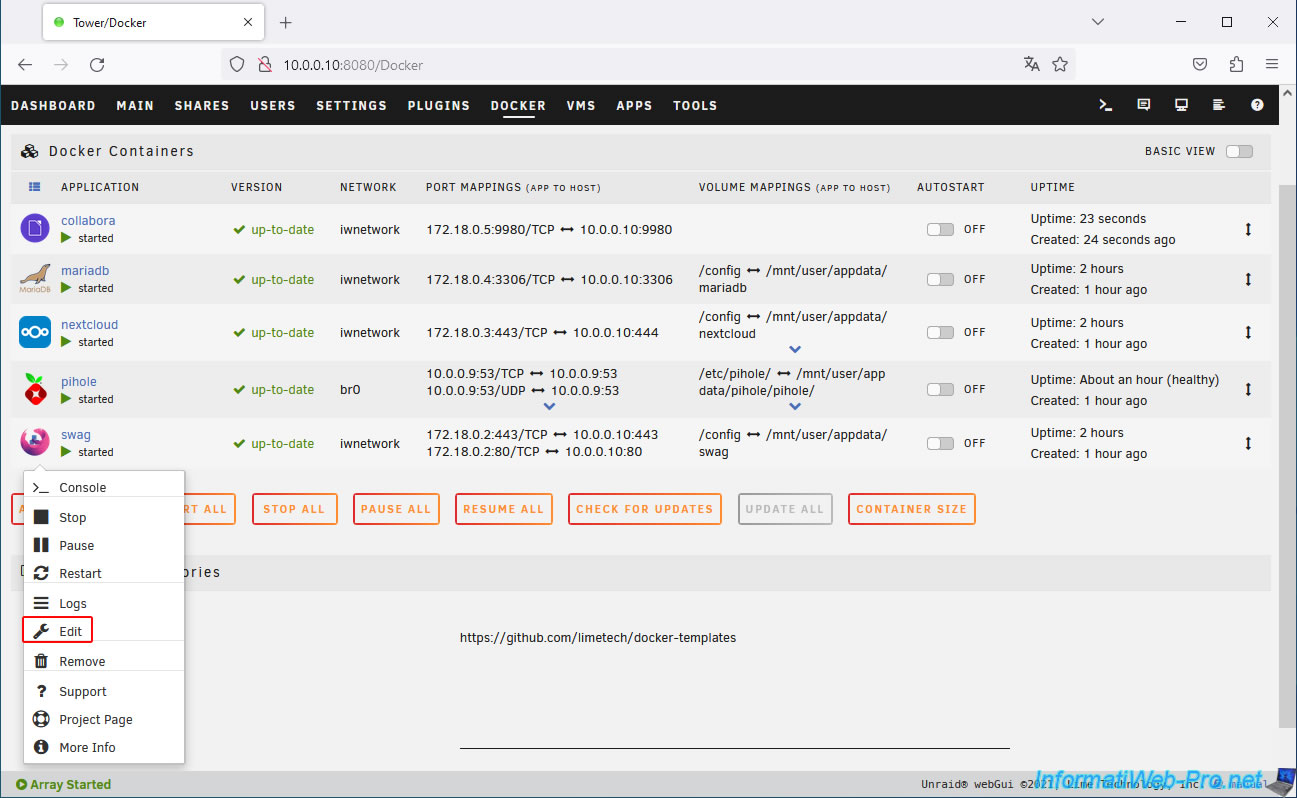
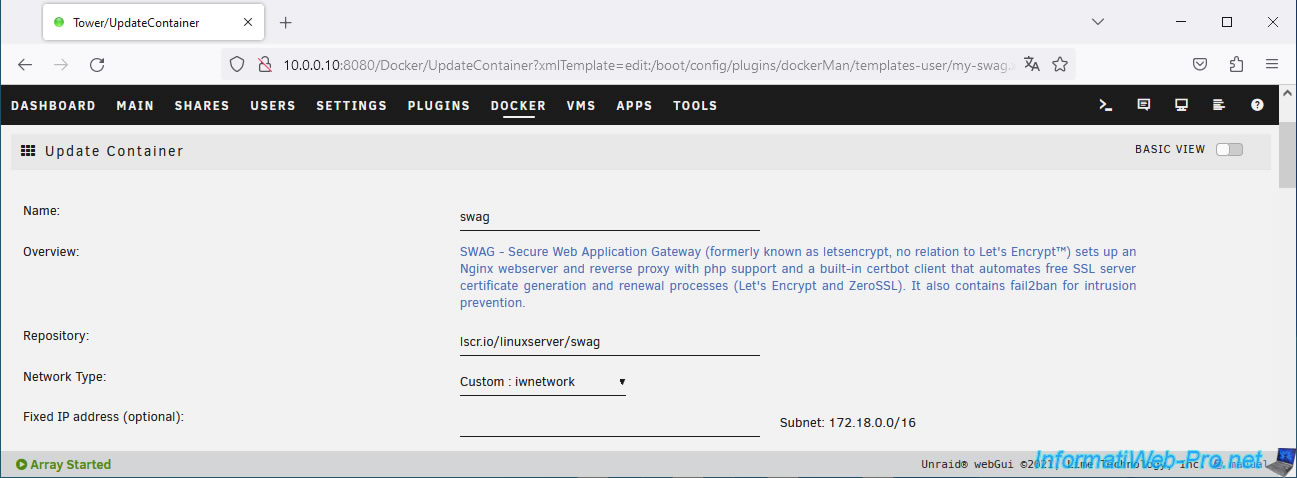
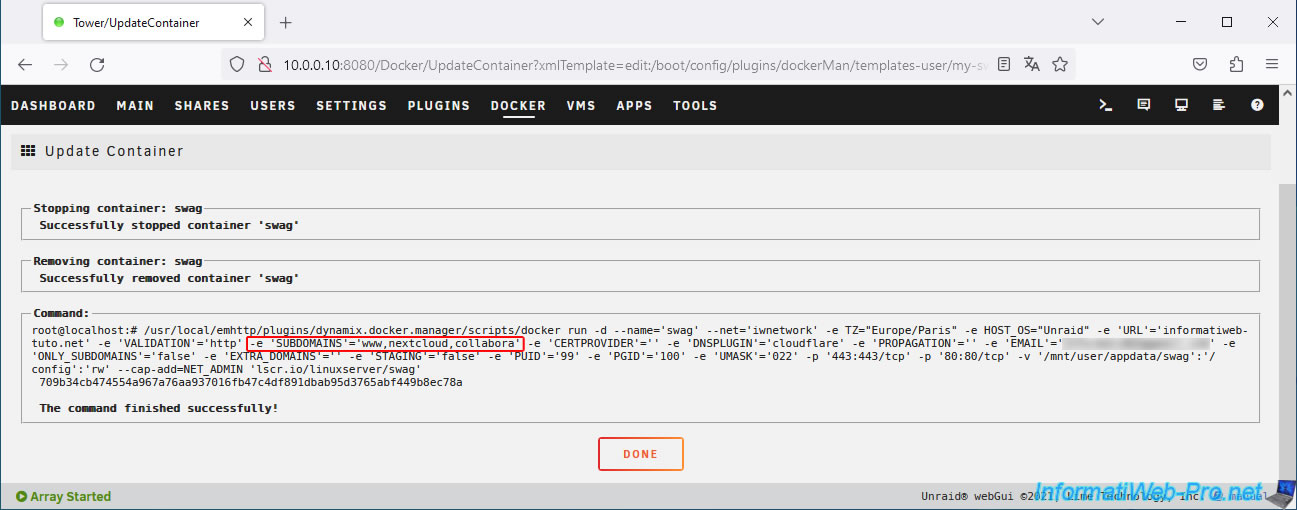
The "Update Container" page for "swag" appears.
Add the subdomain "collabora" to the list of desired subdomains in the "SUBDOMAINS" box.
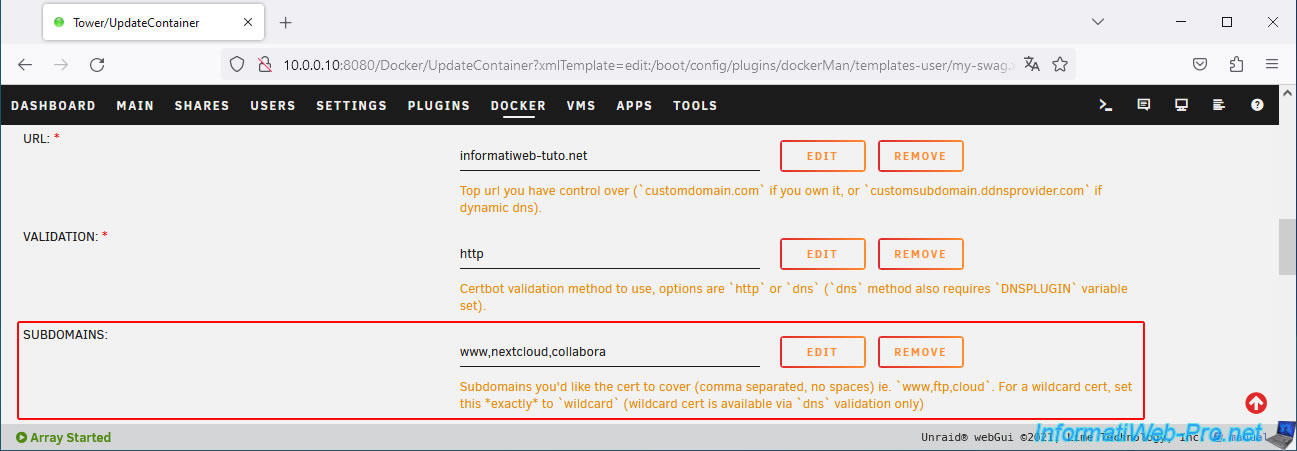
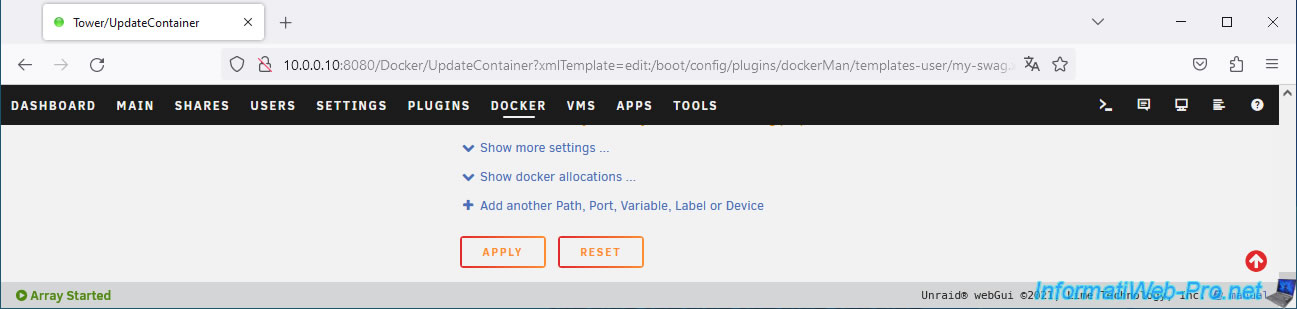
Then, at the bottom of the page, click on: Apply.
Wait while your "swag" container configuration is updated.
Then, click Done.
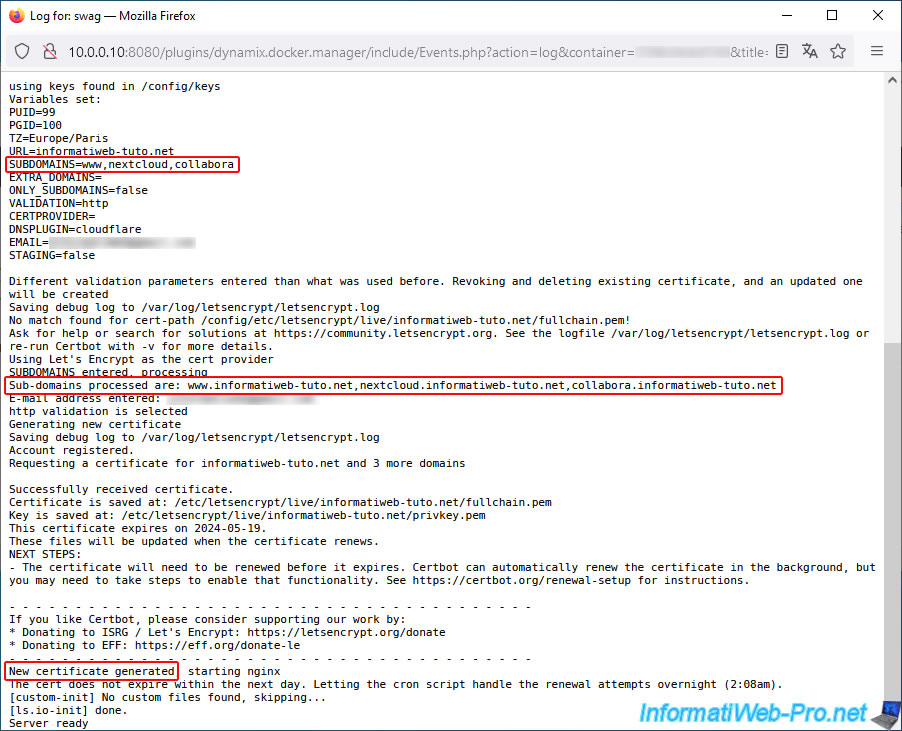
Check the logs of your "swag" container by clicking on its icon, then on: Logs.
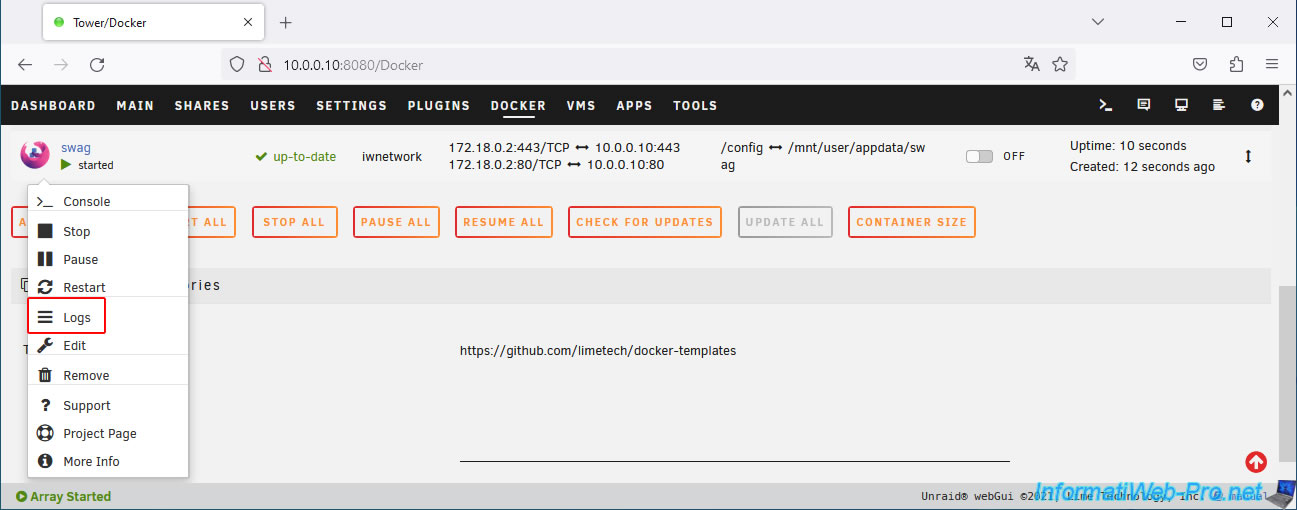
As you can see, a new certificate has been generated so that it is also valid for your new "collabora" subdomain.
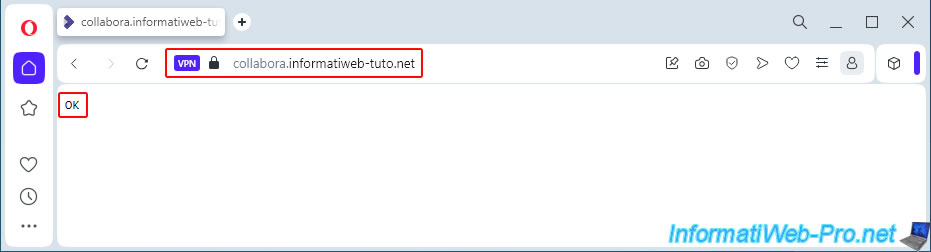
Try accessing your subdomain "collabora.[your domain]" from outside (or via your Opera web browser's VPN).
You should see an "OK" message. This means that "swag" is correctly configured for Collabora.
Share this tutorial
To see also
-
NAS 12/4/2025
Unraid 6.9.2 - Define a private static IP address
-

NAS 4/1/2026
Unraid 6.9.2 - Docker - Install a file explorer (CloudCommander)
-

NAS 3/18/2026
Unraid 6.9.2 - Fixing common problems
-
NAS 3/11/2026
Unraid 6.9.2 - Presentation of Dynamix plugins (sys info, ...)
No comment