Install a password manager (Vaultwarden / Bitwarden) on Unraid 6.9.2
- NAS
- Unraid
- 08 July 2026 at 07:44 UTC
-

- 2/6

5. Use the same virtual network as the reverse proxy (SWAG)
As with other containers that need to be accessible from the outside, make sure the network used is the same for "vaultwarden" and the "swag" reverse proxy.
This should already be the case by following this tutorial.
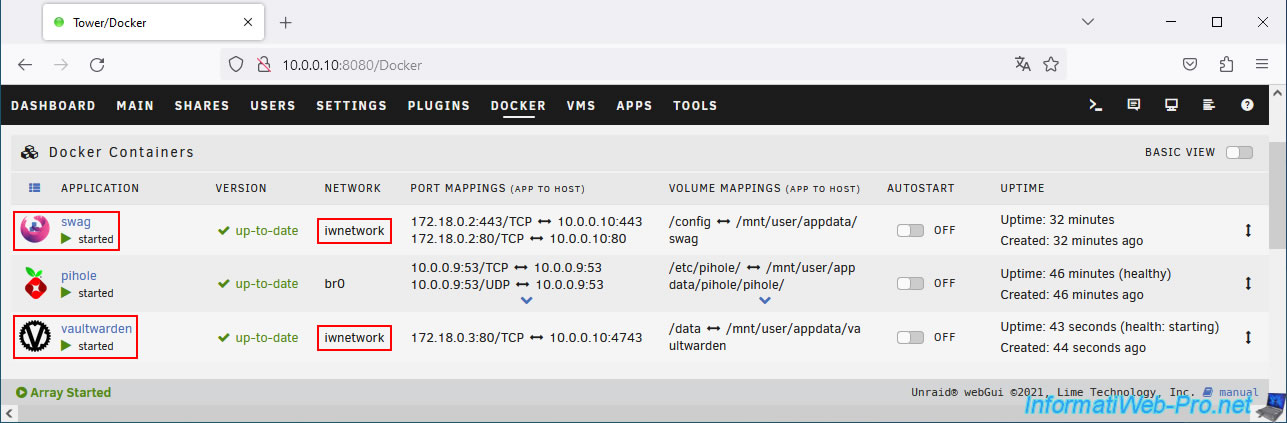
6. Add configuration for Vaultwarden on reverse proxy (swag)
To access your Vaultwarden server through your reverse proxy (swag), open the "swag" console.
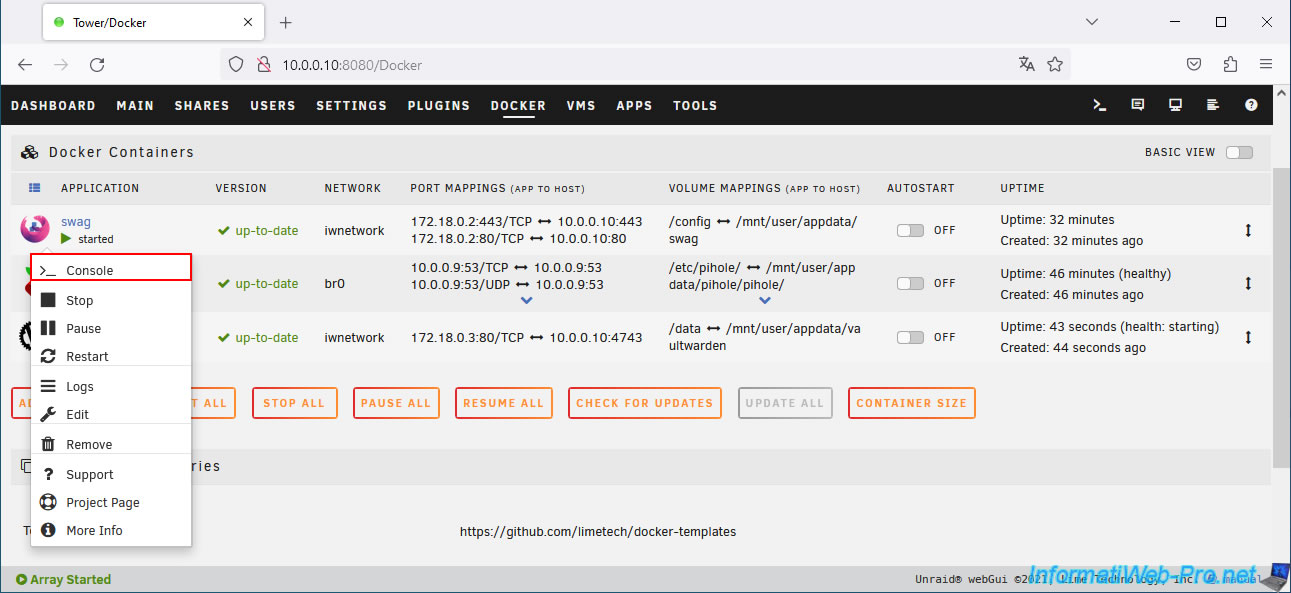
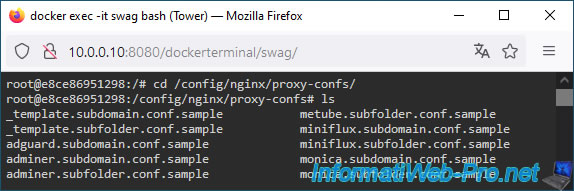
Go to the "/config/nginx/proxy-confs/" folder.
Batch
cd /config/nginx/proxy-confs/
ls
In this folder, you will find configuration files for Vaultwarden.
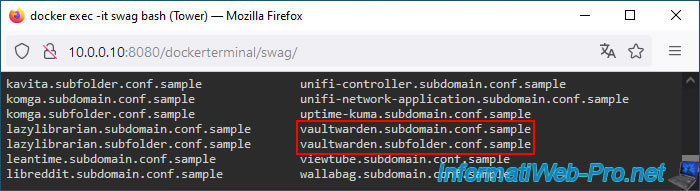
Copy the configuration file for Vaultwarden (for access via a subdomain).
Bash
cp vaultwarden.subdomain.conf.sample vaultwarden.subdomain.conf
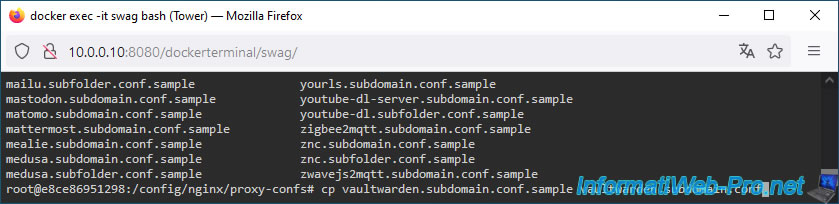
Open this configuration file.
Bash
nano vaultwarden.subdomain.conf
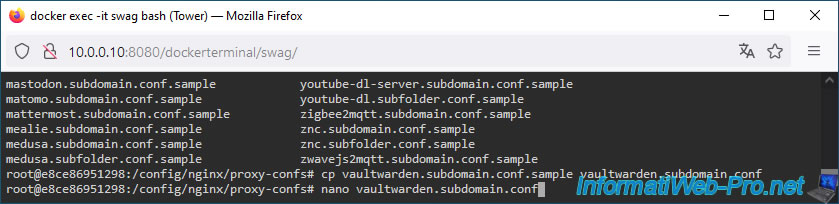
As you can see, the subdomain should be named "vaultwarden".
Plain Text
server_name vaultwarden.*;
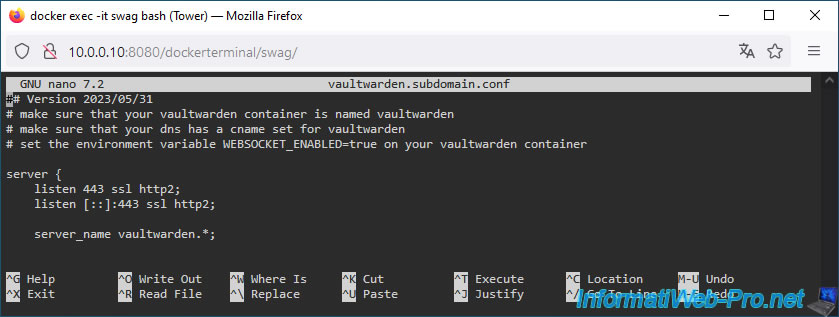
This configuration file is based on the application name "vaultwarden" and the port used is port "80".
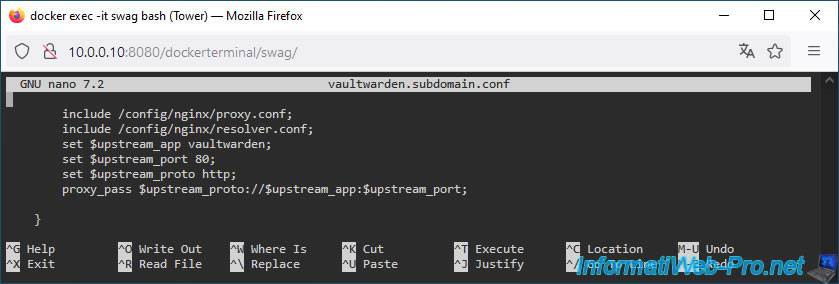
These values are also visible in the "Docker" tab.
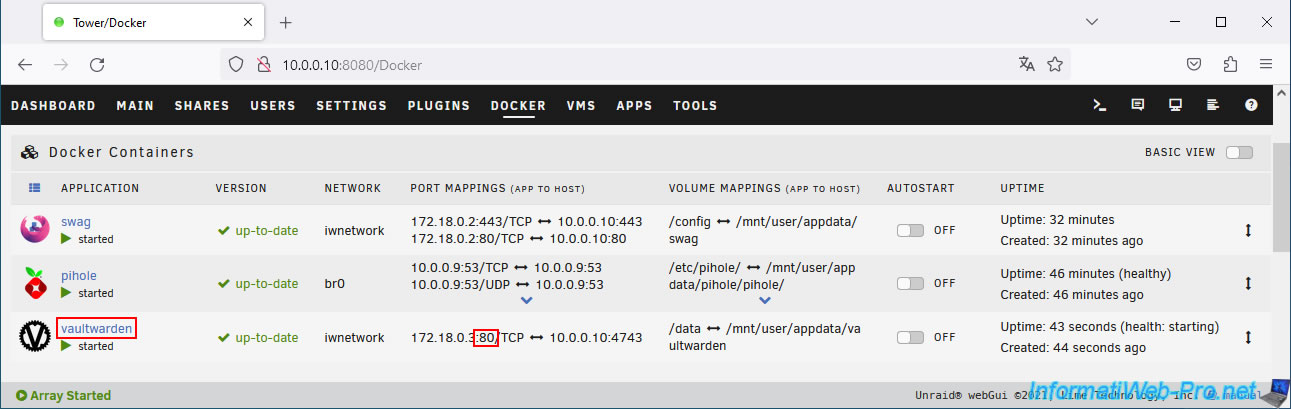
7. Add the subdomain for Vaultwarden in the certificate generated via the swag container
Now that the configuration file for Vaultwarden is present in the swag configuration, modify the configuration of the "swag" container.
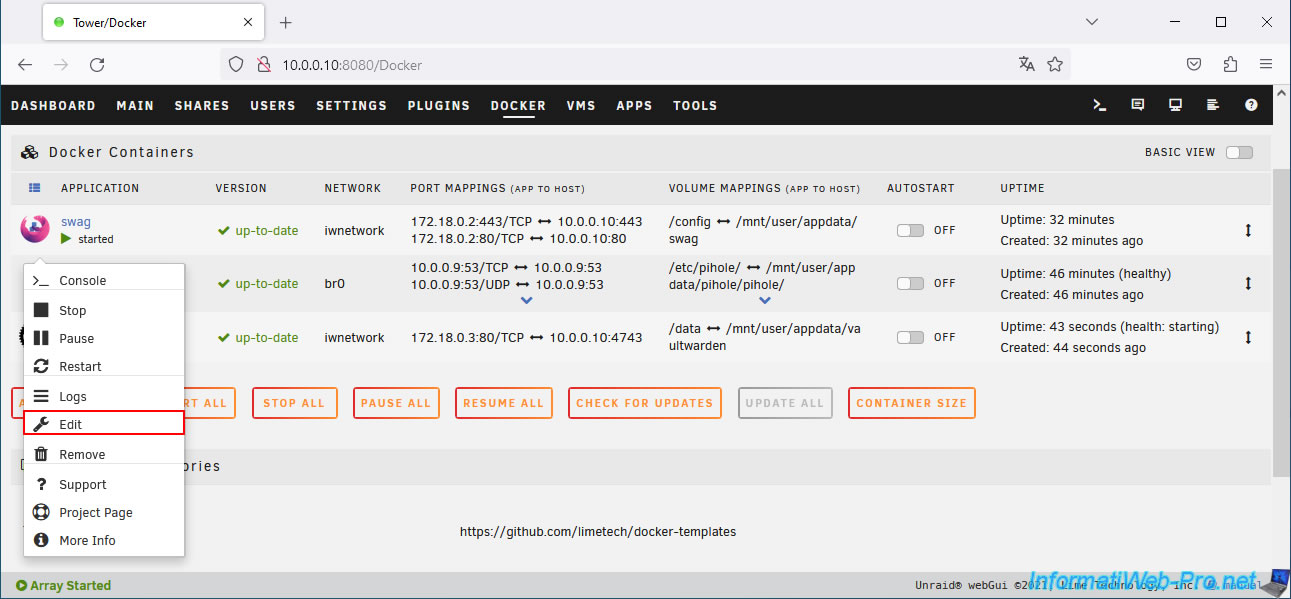
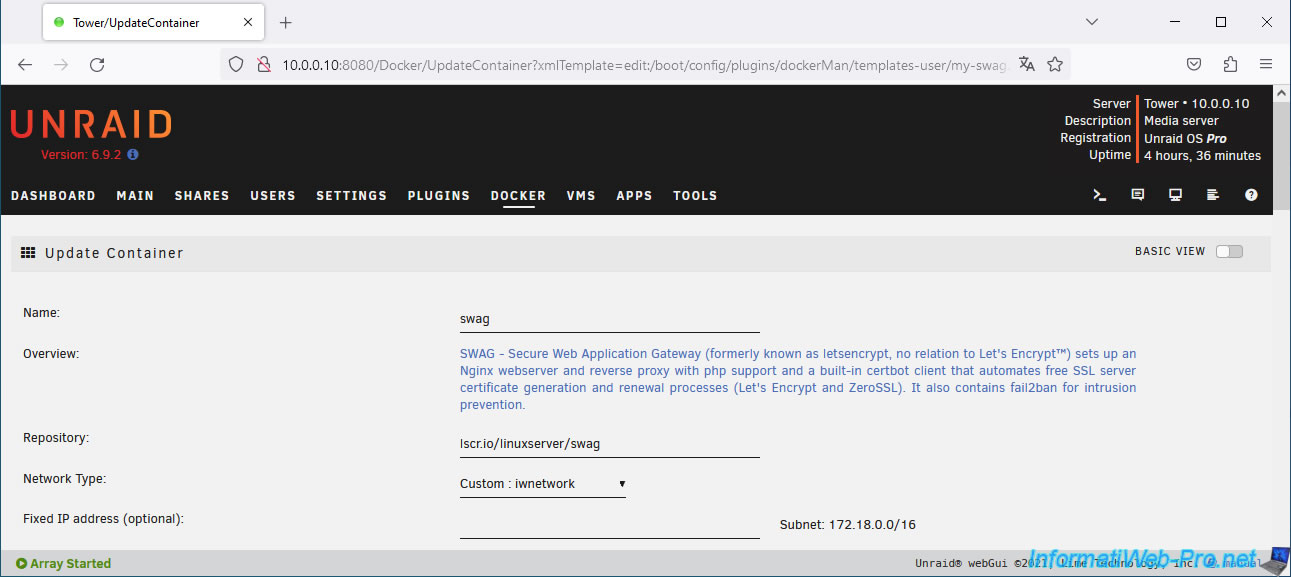
The "swag" configuration page appears.
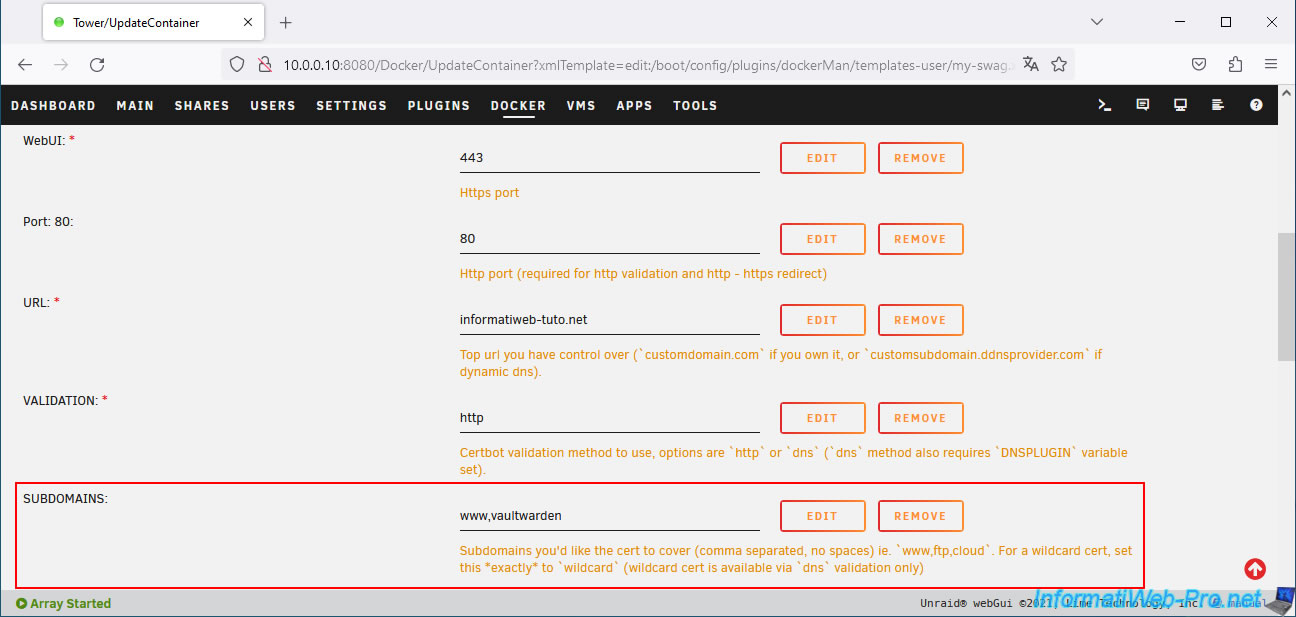
Add the subdomain "vaultwarden" in the "SUBDOMAINS" field.
At the bottom of the page, click on: Apply.
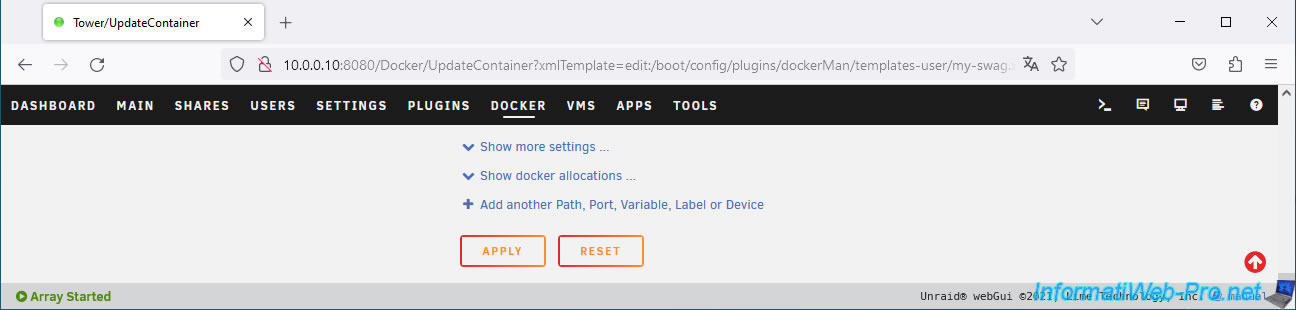
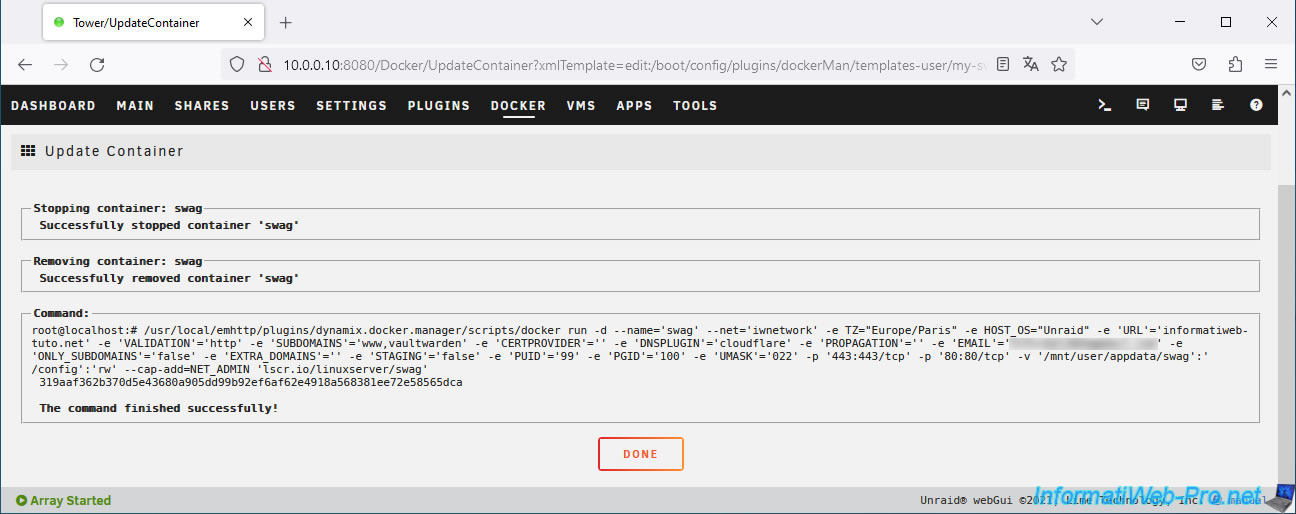
The swag configuration has been updated.
Click Done.
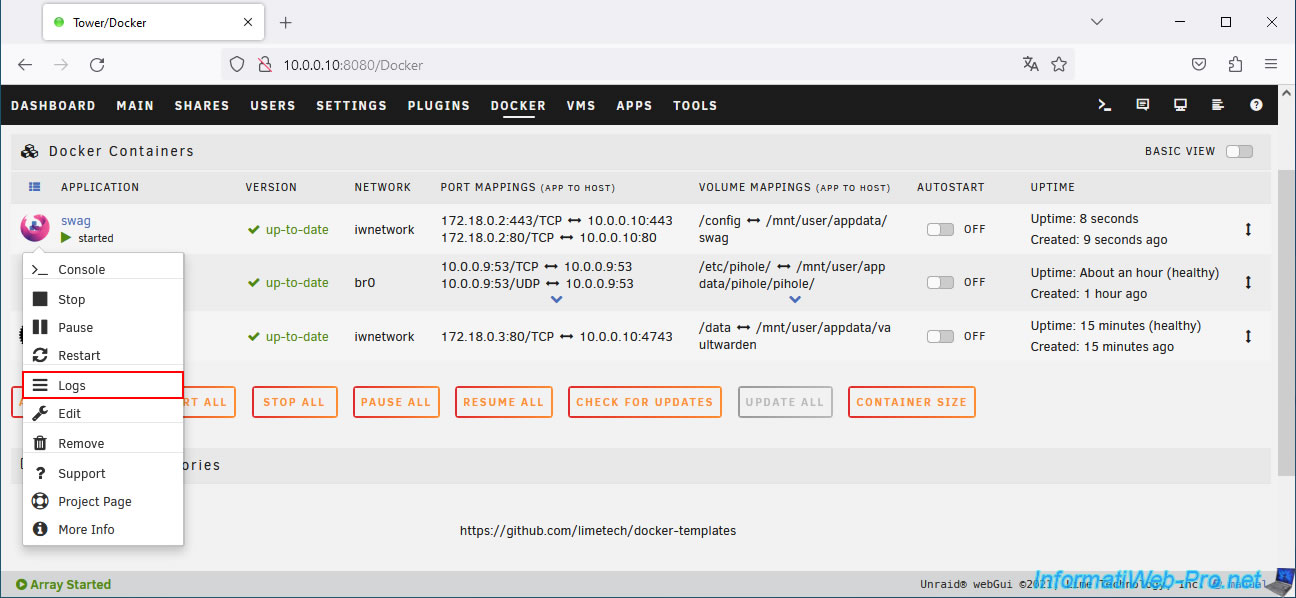
Check that swag is still running by clicking on the swag icon, then on: Logs.
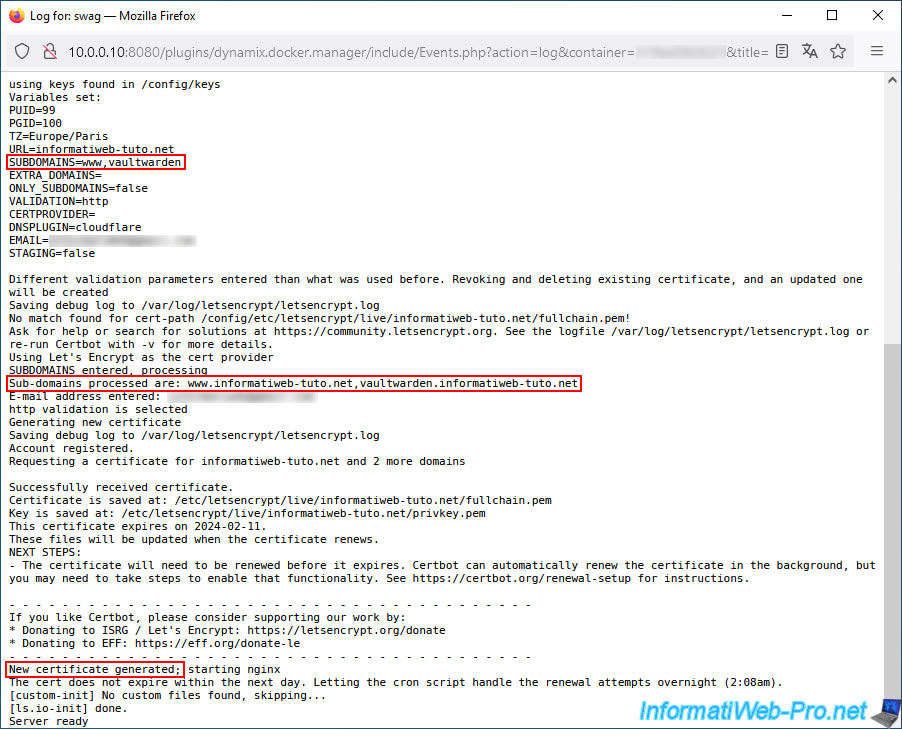
As expected, the new domain "vaultwarden.informatiweb-tuto.net" appears in the history and a new certificate has been generated.
8. Remotely access Vaultwarden via swag reverse proxy
From a computer outside your home or via a 3G connection, try to access your new "vaultwarden" subdomain.
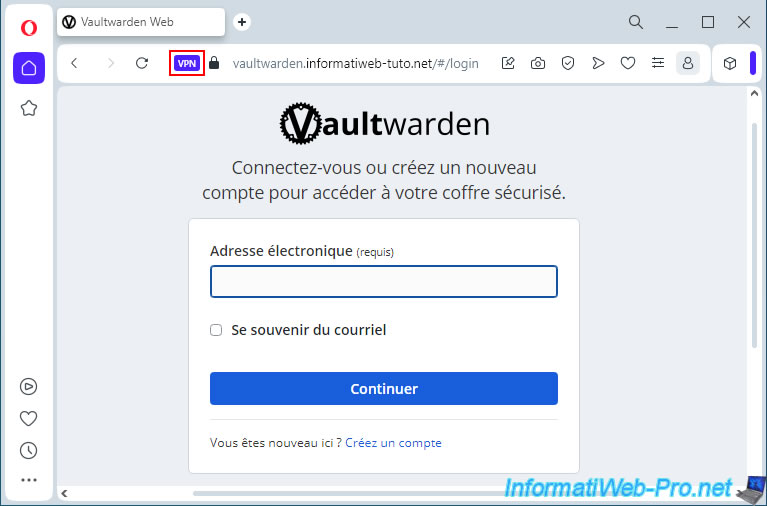
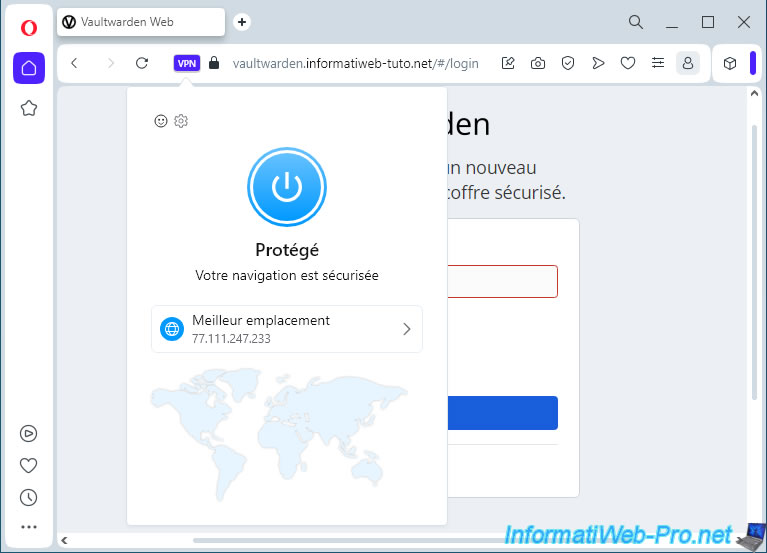
In our case, we used the Opera web browser with its built-in VPN, which allows you to test access from outside without leaving your home.
Share this tutorial
To see also
-
NAS 4/15/2026
Unraid 6.9.2 - Docker - Install a file server (Nextcloud)
-
NAS 4/23/2026
Unraid 6.9.2 - Docker - Install a media server (Plex)
-
NAS 3/11/2026
Unraid 6.9.2 - Presentation of Dynamix plugins (sys info, ...)
-
NAS 7/1/2026
Unraid 6.9.2 - SWAG - Use a personal domain with a dynamic WAN IP
No comment