Install a media server (Jellyfin) with hardware transcoding on Unraid 6.9.2 via Docker
- NAS
- Unraid
- 08 April 2026 at 16:39 UTC
-

- 3/5

6. Initial setup of Jellyfin
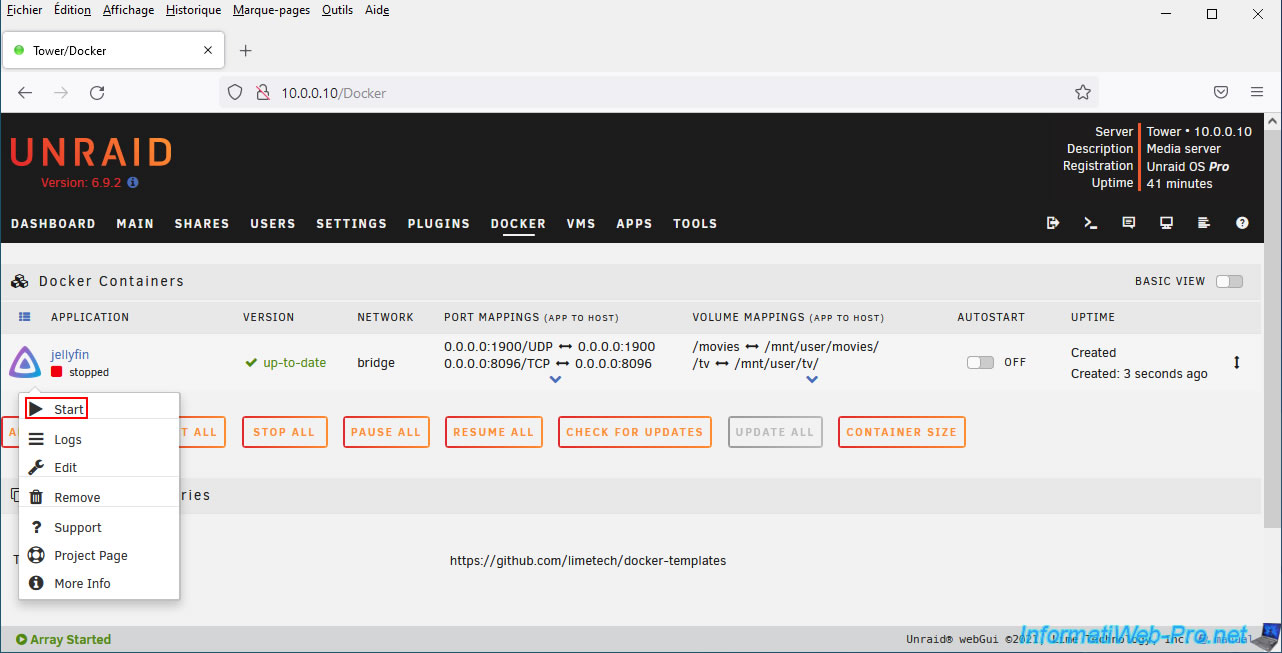
To configure Jellyfin on first launch, click on the Jellyfin icon and start this Docker container by clicking "Start".
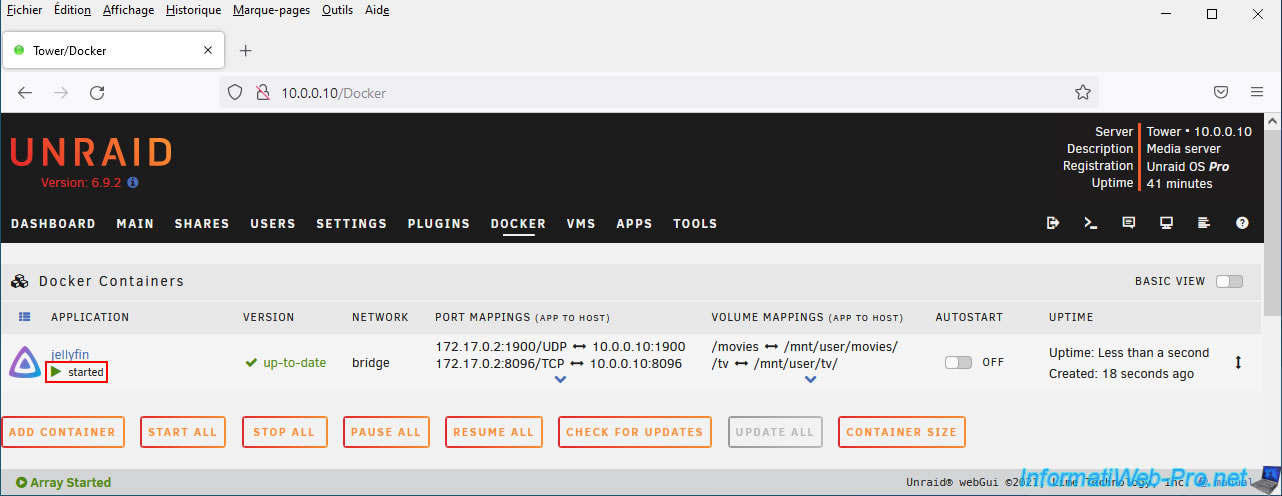
The "started" status appears.
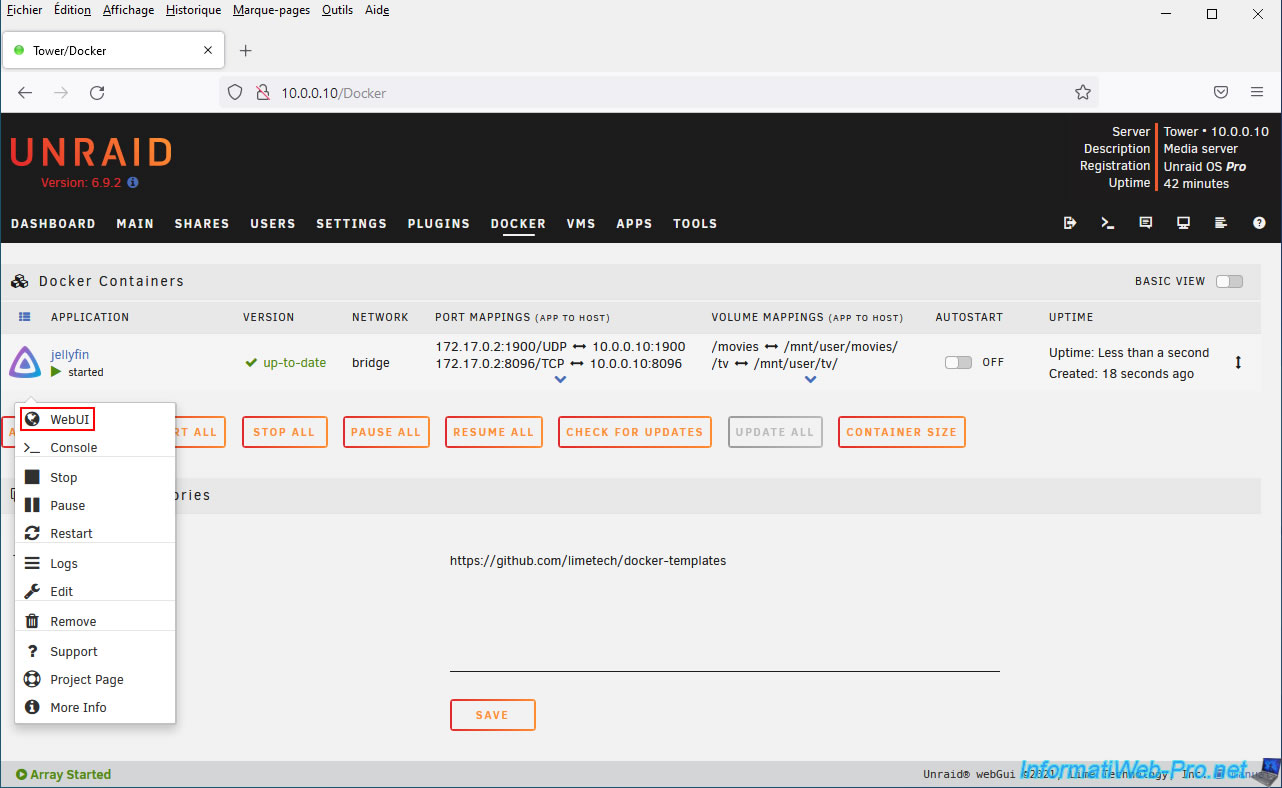
Now click on the Jellyfin icon again and click: WebUI.
The Jellyfin configuration wizard appears.
As you can see, the default display language is: English (United States).
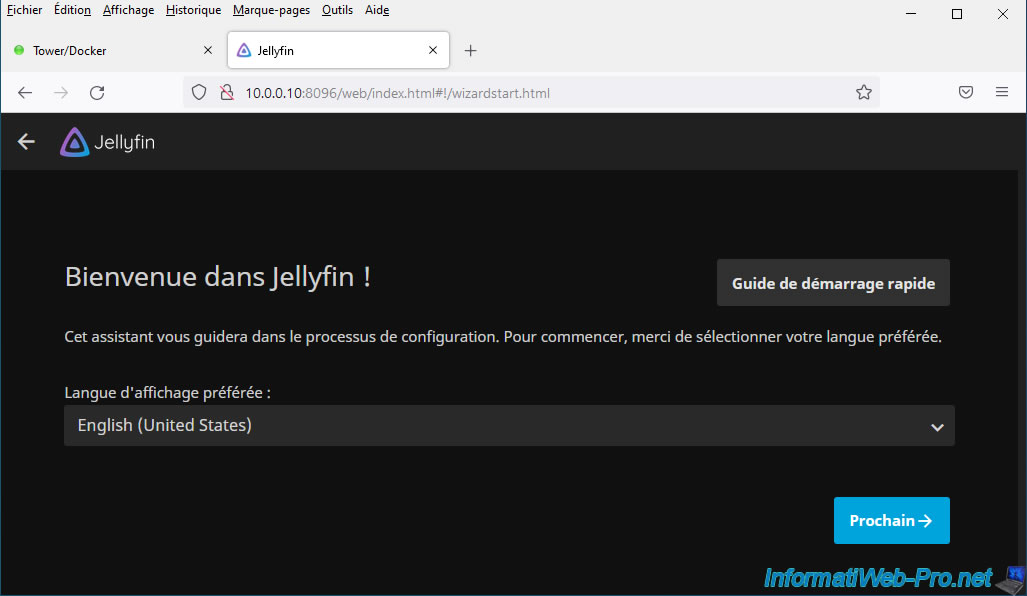
Choose "French" from the list for French, then click Next.

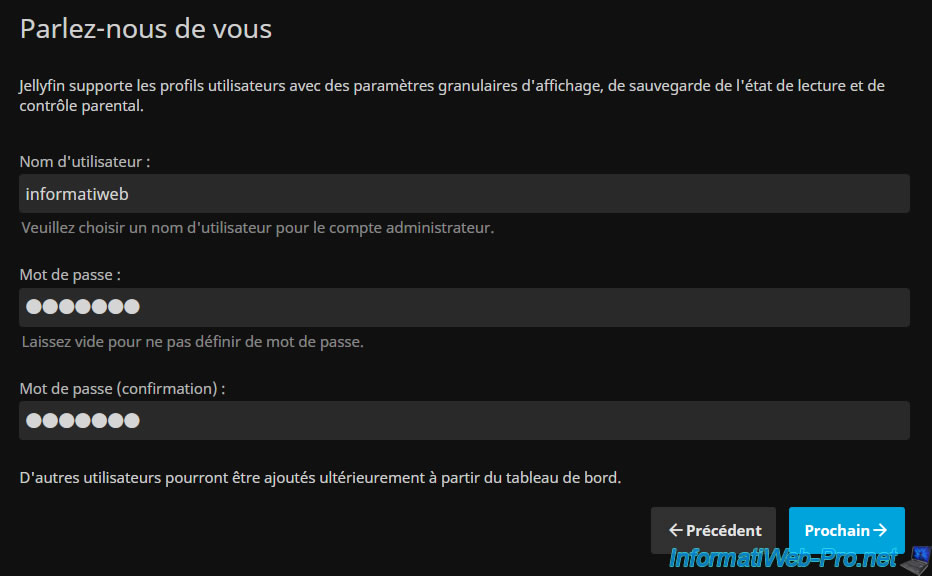
To connect to your Jellyfin server, you will need a local account.
To do this, enter a username and twice a password for it.
Then, Next.
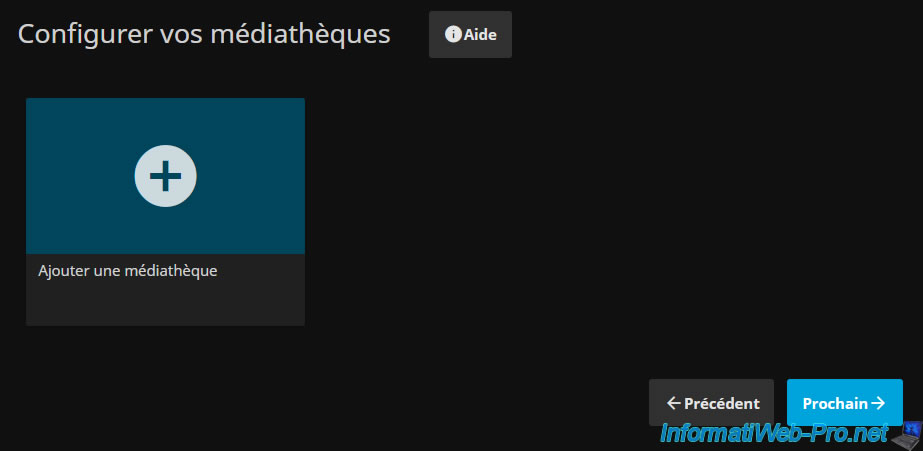
Next, you will need to configure your media libraries (movies, TV series, ...).
To do this, click on the big "+" button (Add media library).
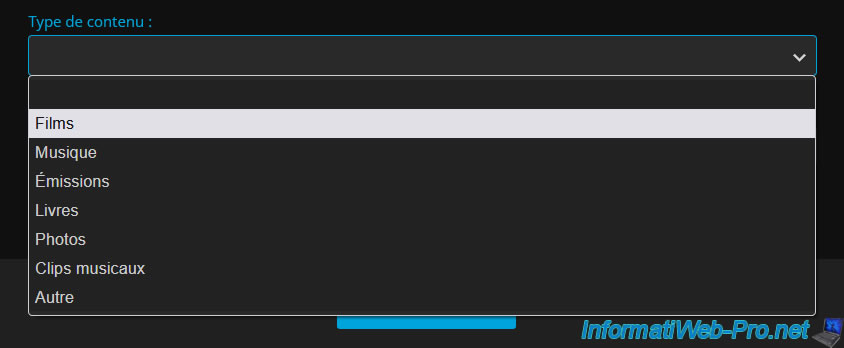
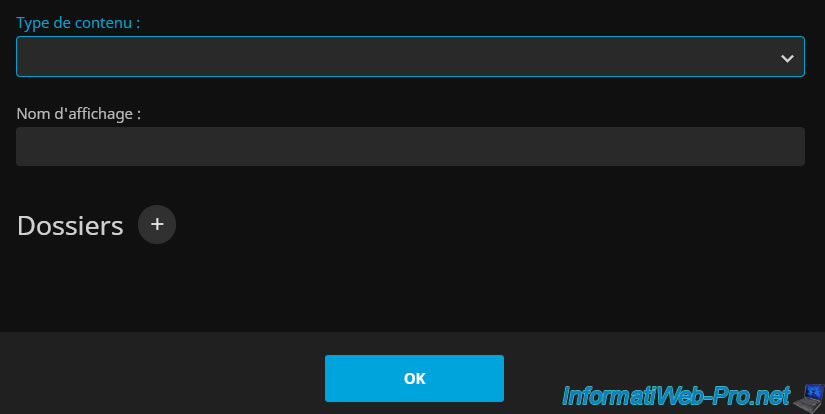
For each media library, this wizard will ask you to select a content type.
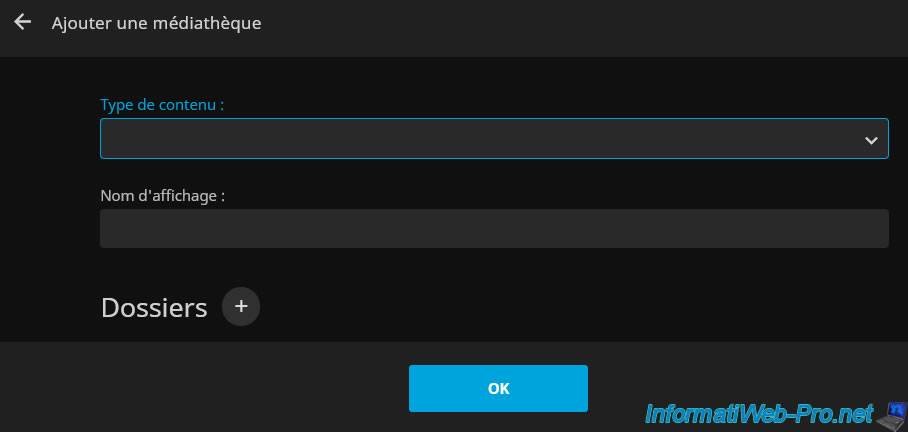
To get started, select "Movies".
Next, click the "+" icon next to "Folders".

Select the folder where the files to display for this library are stored.
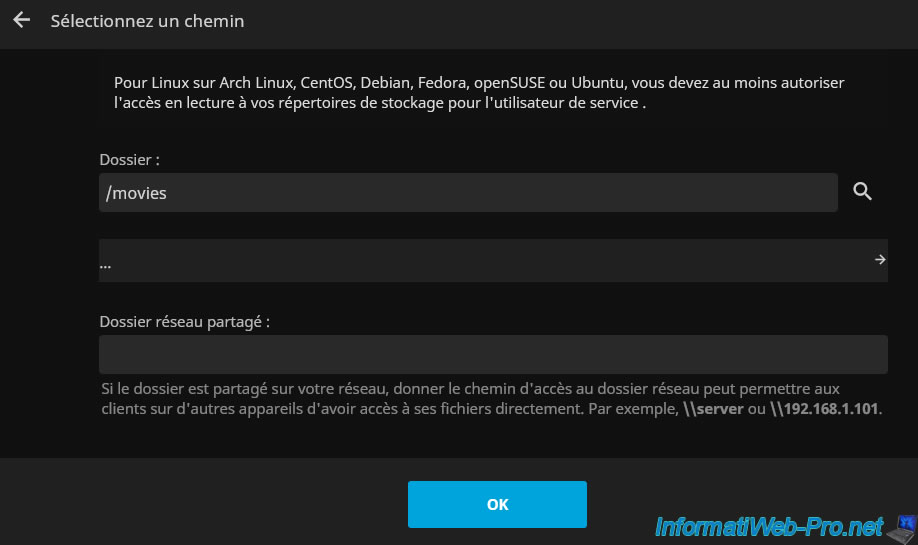
In this case, the "/movies" folder.
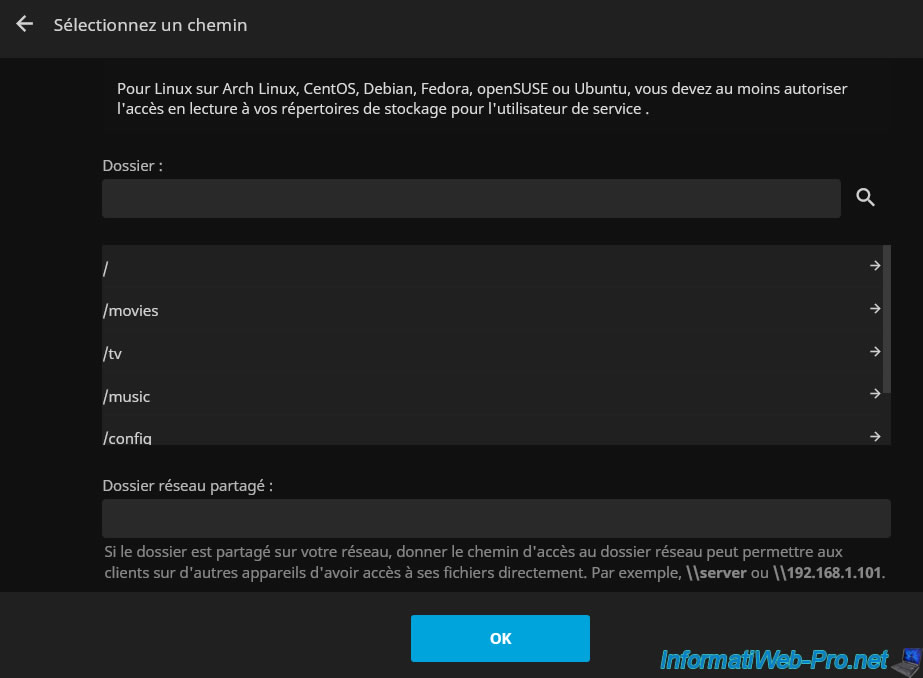
Click OK.
Additional settings will appear below.
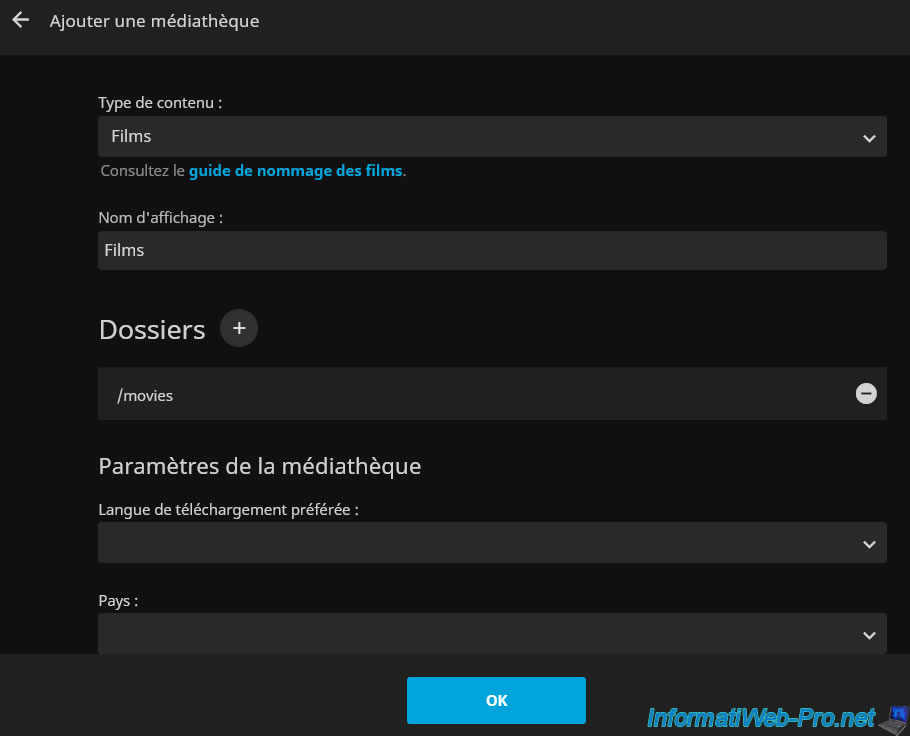
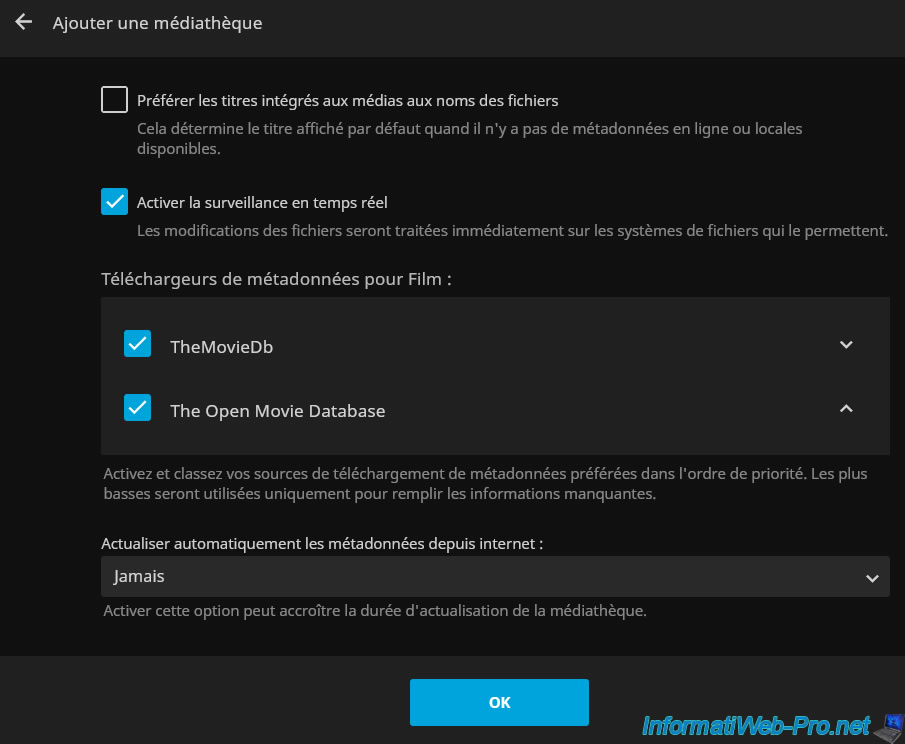
Select the preferred download language (French), as well as your country (Belgium, France, ...).
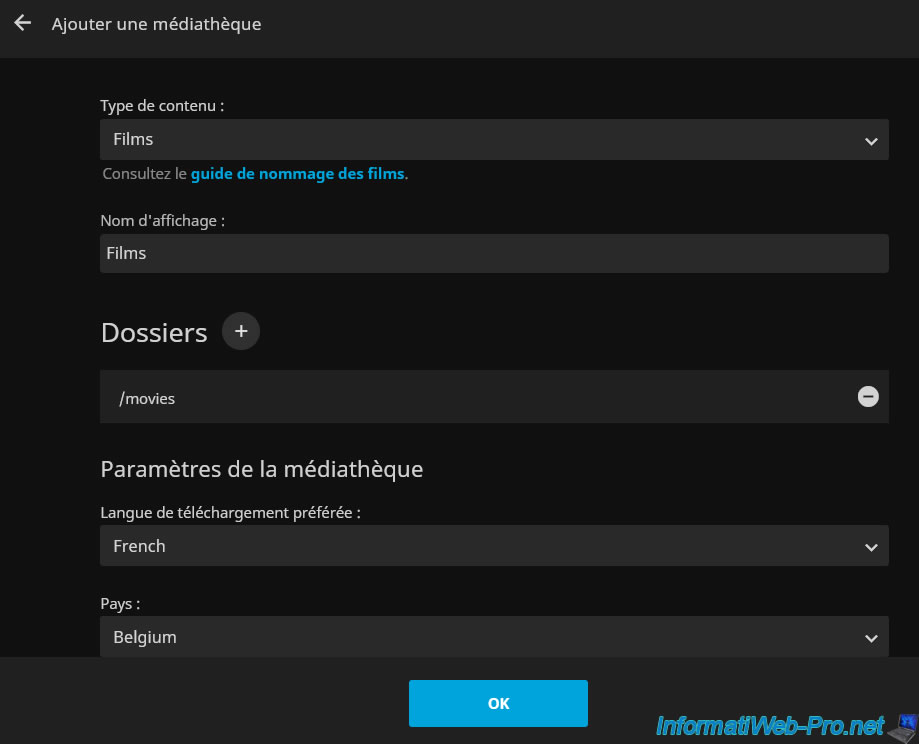
You will also see that metadata (information) about your films can be obtained from the sites "TheMovieDb" and "The Open Movie Database".
Click OK.
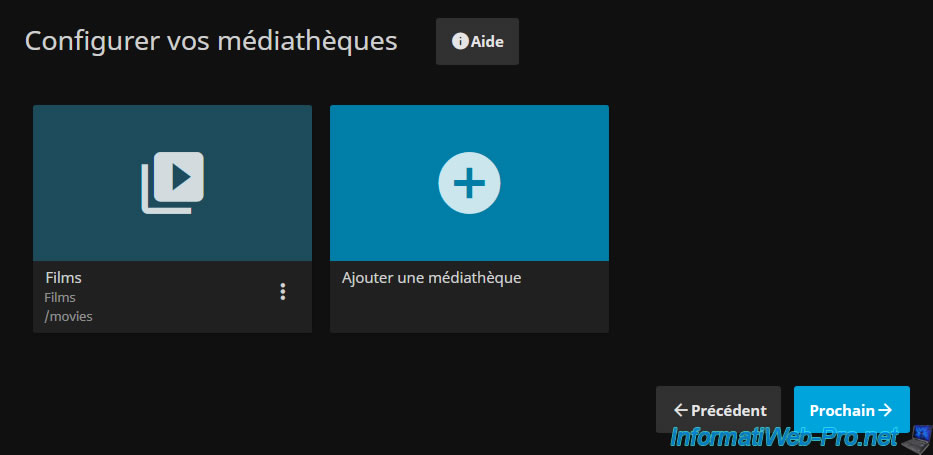
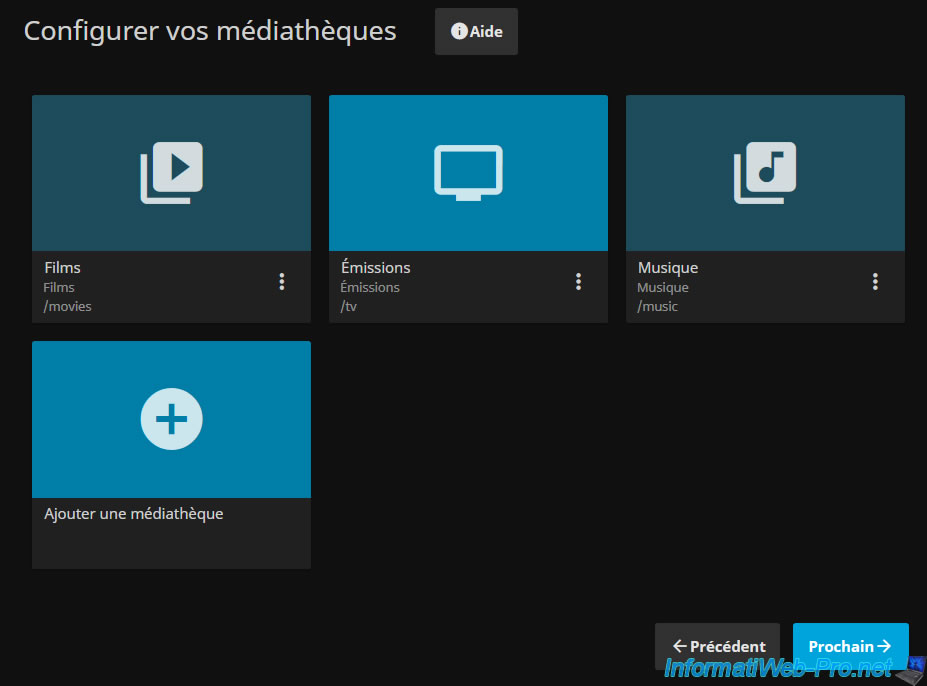
The media library for your films has been created.
Click on "Add Media Library" to add the others (TV series and music).
The same wizard as before appears.
Select "Content Type: Shows" and select the "/tv" folder which corresponds to the folder where you stored your TV series.

Finally, add the latest media library by selecting "Music" for the content type and "/music" for the folder.
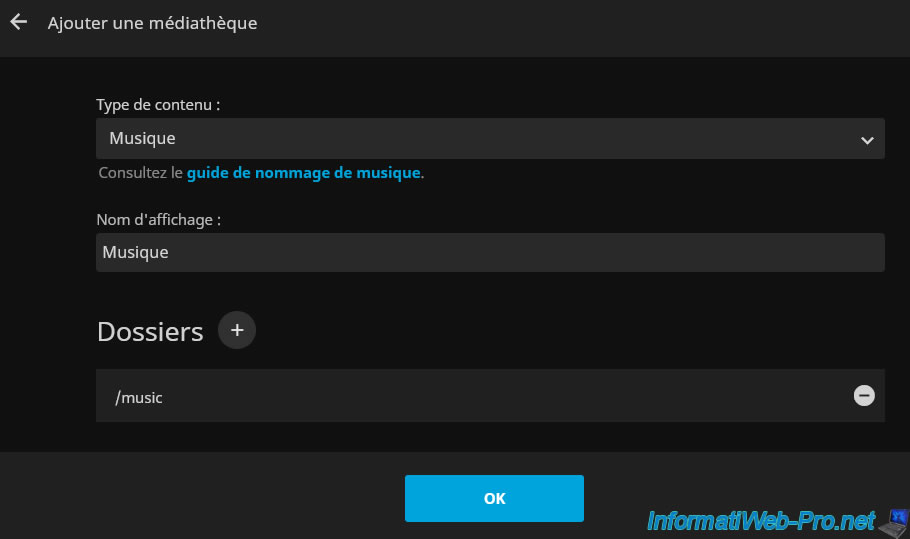
3 media libraries have been created: films, shows and music.
Now, click "Next" to continue configuring Jellyfin.
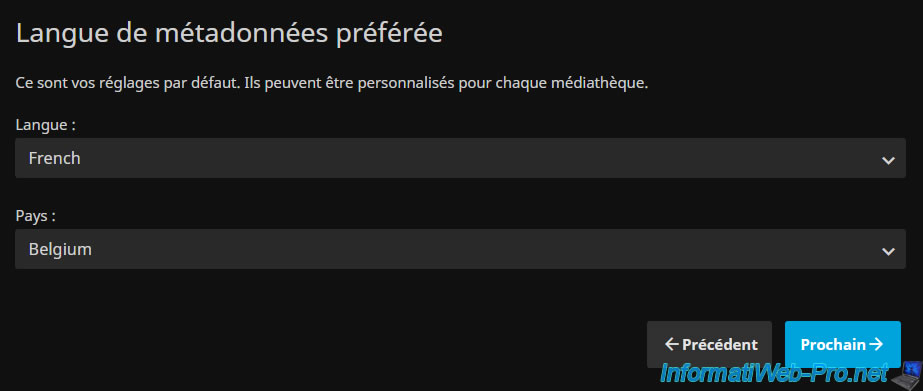
Select your language and country again and click: Next.
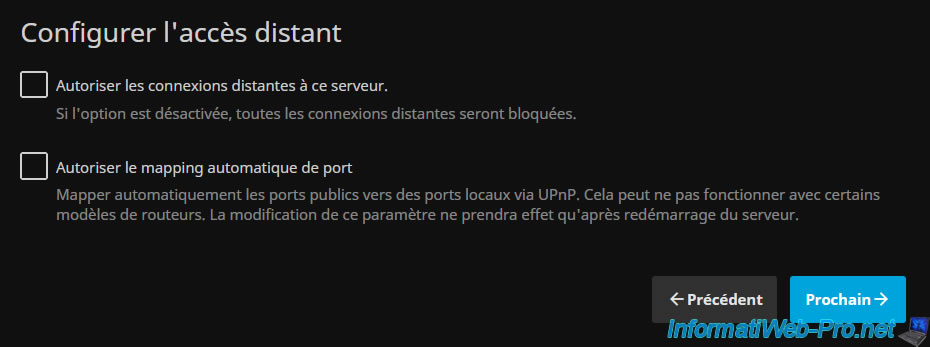
If you wish to authorize remote access to Jellyfin, check the 2 boxes provided:
- Allow remote connections to this server: tells Jellyfin to accept remote connections.
- Enable automatic port mapping: allows you to facilitate access to Jellyfin from the Internet by attempting to automatically redirect the necessary ports in your router using "UPnP" (Universal Plug and Play) technology.
In our case, we will use the web client installed on our Unraid server (or in other words, the web interface of this "Jellyfin" container) from our local network.
So we unchecked these 2 boxes, but it depends on your needs.
Then click: Next.
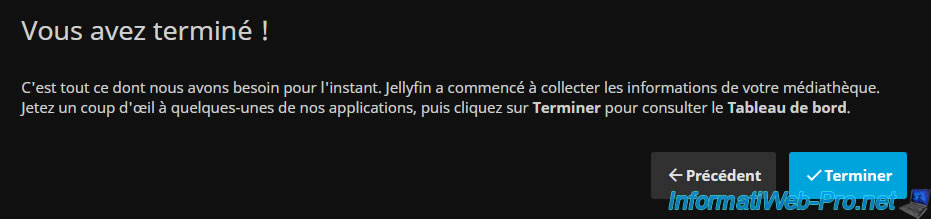
The setup is complete.
Click: Finish.
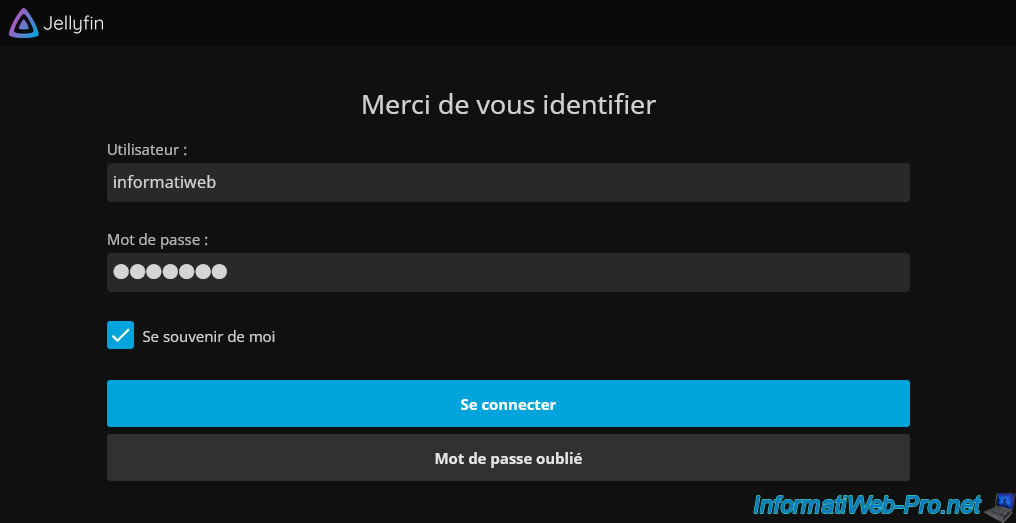
Now, log in with the credentials given at the beginning of Jellyfin setup.
Share this tutorial
To see also
-
NAS 1/8/2026
Unraid 6.9.2 - Add a storage disk
-
NAS 1/1/2026
Unraid 6.9.2 - Disable flash network sharing
-
NAS 7/8/2026
Unraid 6.9.2 - Docker - Install a password manager (Vaultwarden)
-
NAS 7/22/2026
Unraid 6.9.2 - VMs - Backing up a VM manually
No comment