Install a media server (Jellyfin) with hardware transcoding on Unraid 6.9.2 via Docker
- NAS
- Unraid
- 08 April 2026 at 16:39 UTC
-

- 2/5

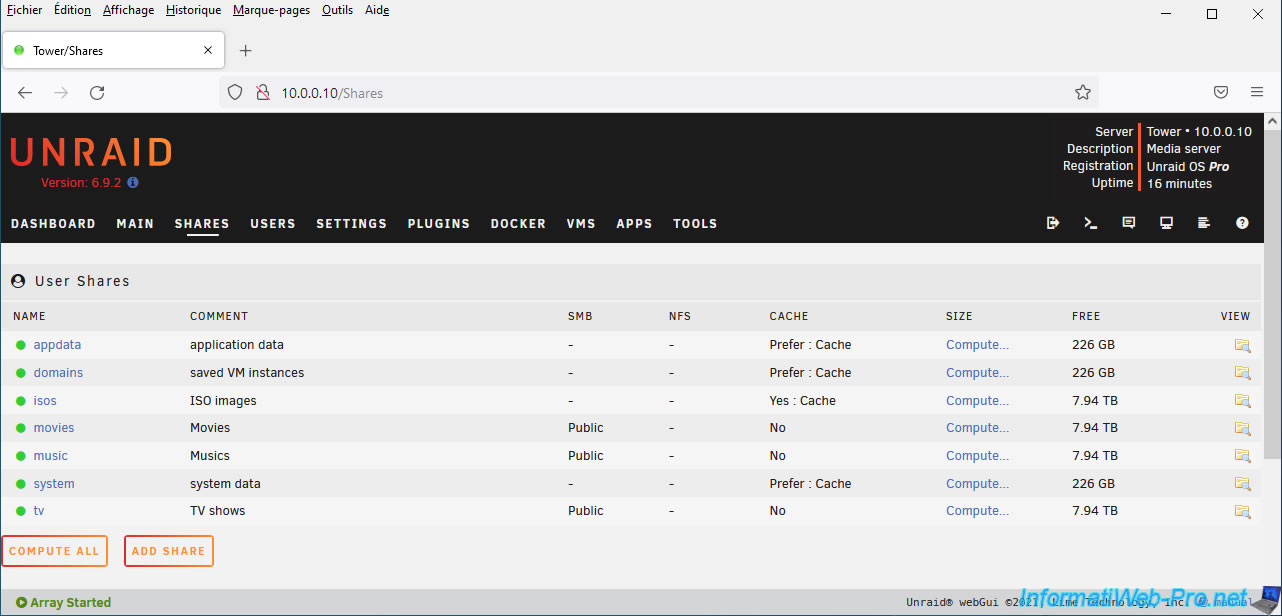
4. Create shares for your media library
Whether you want to use Plex or Jellyfin, you will need to indicate the path to 3 folders: films, TV series and music.
To create these folders, go to the "Shares" tab and click "Add share".
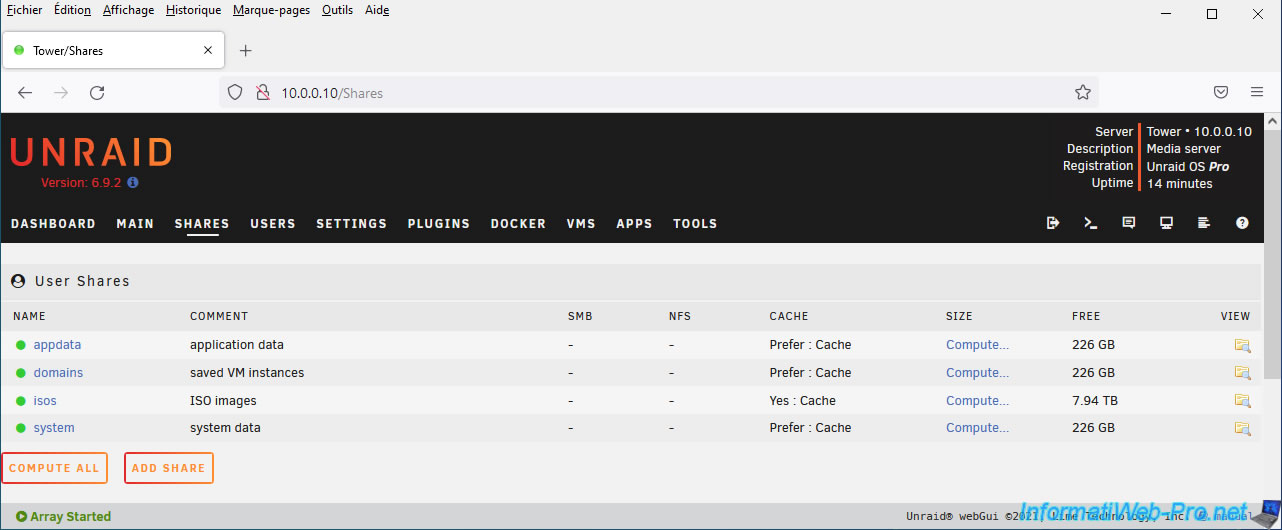
To get started, create a "movies" share (for movies).
If you're not sure what settings to configure here, simply provide a share name and a comment, then click: Add share.
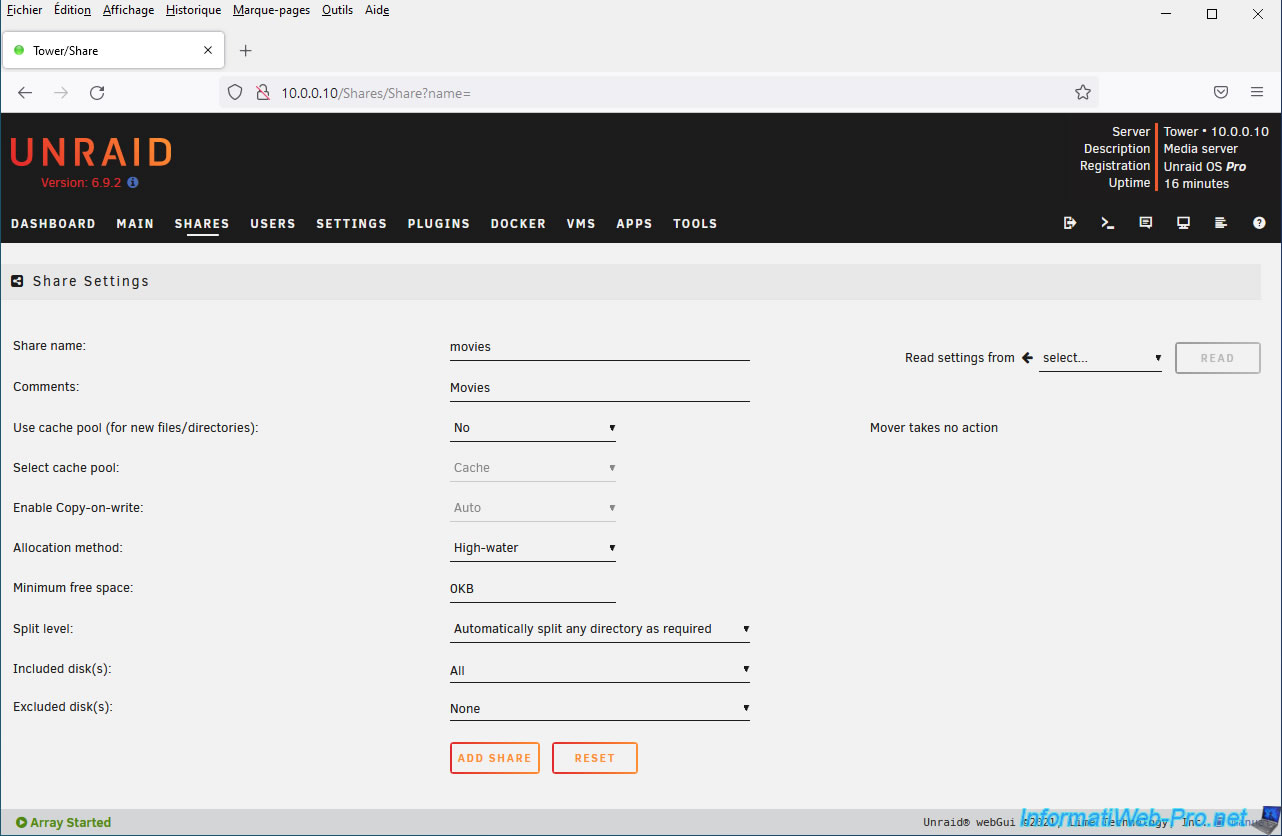
Do the same for the other 2 folders: "music" for music and "tv" for TV series.
5. Install Jellyfin
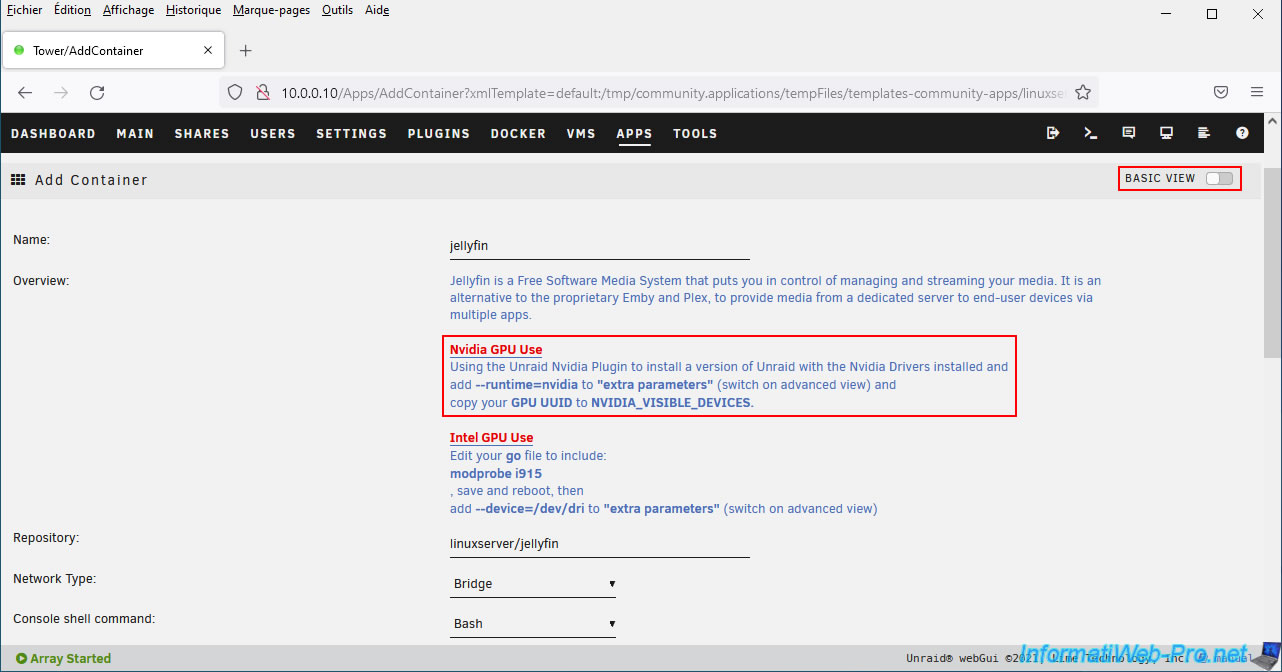
Now that the prerequisites are installed, we will install the "Jellyfin" Docker container created by "linuxserver".
Please note: several people have created Docker containers of this multimedia solution. Install the one created by "linuxserver".
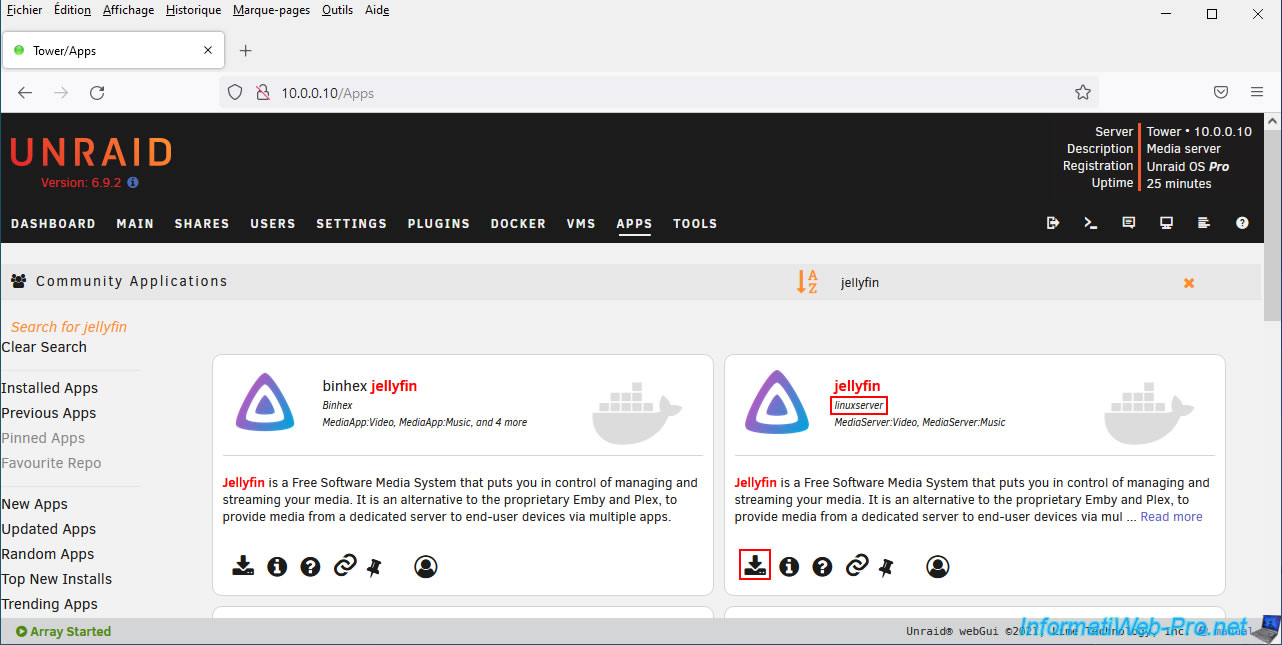
An Add Container form appears for "Jellyfin".
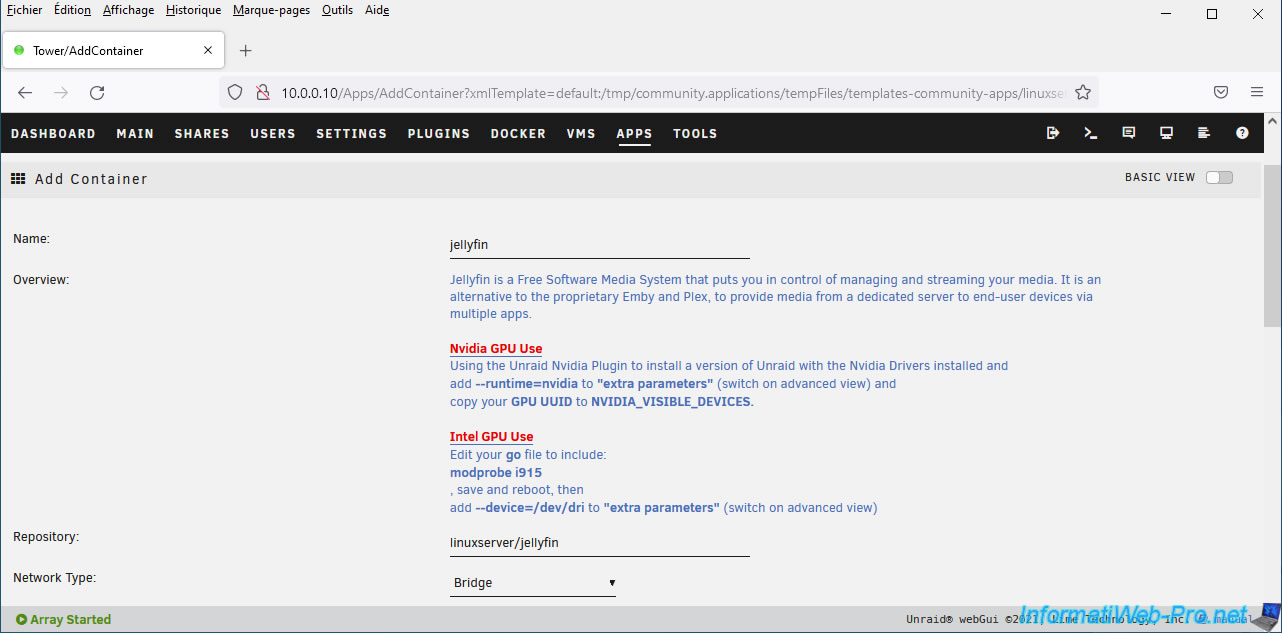
In the proposed addition form, locate these 3 fields:
- Movies: for movies
- TV: for TV series
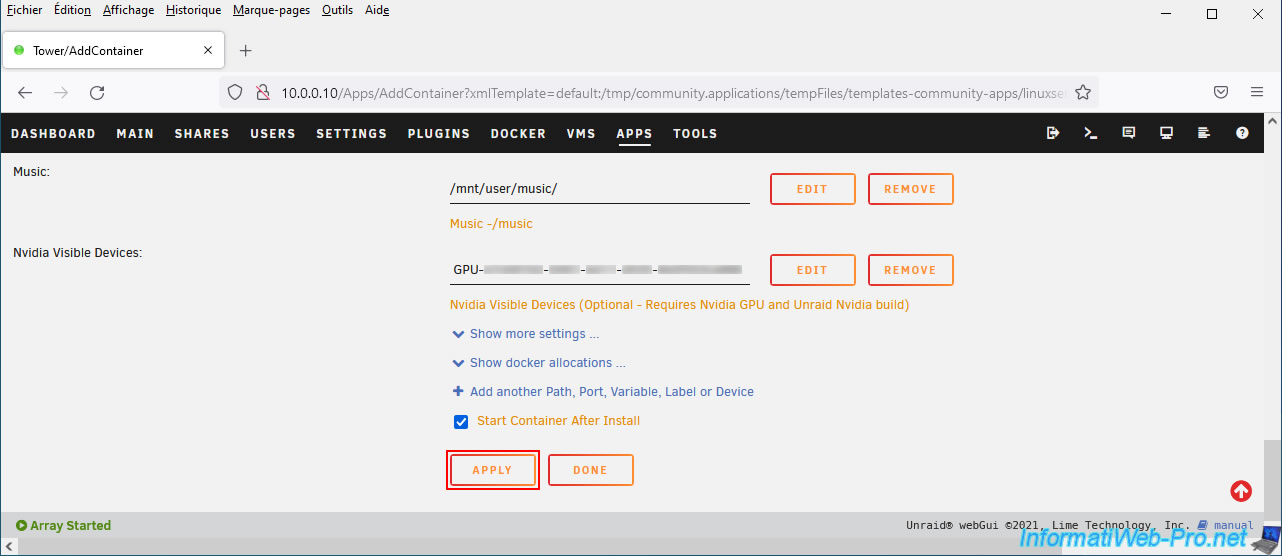
- Music: for music
Click once in each box and select the corresponding share created previously.
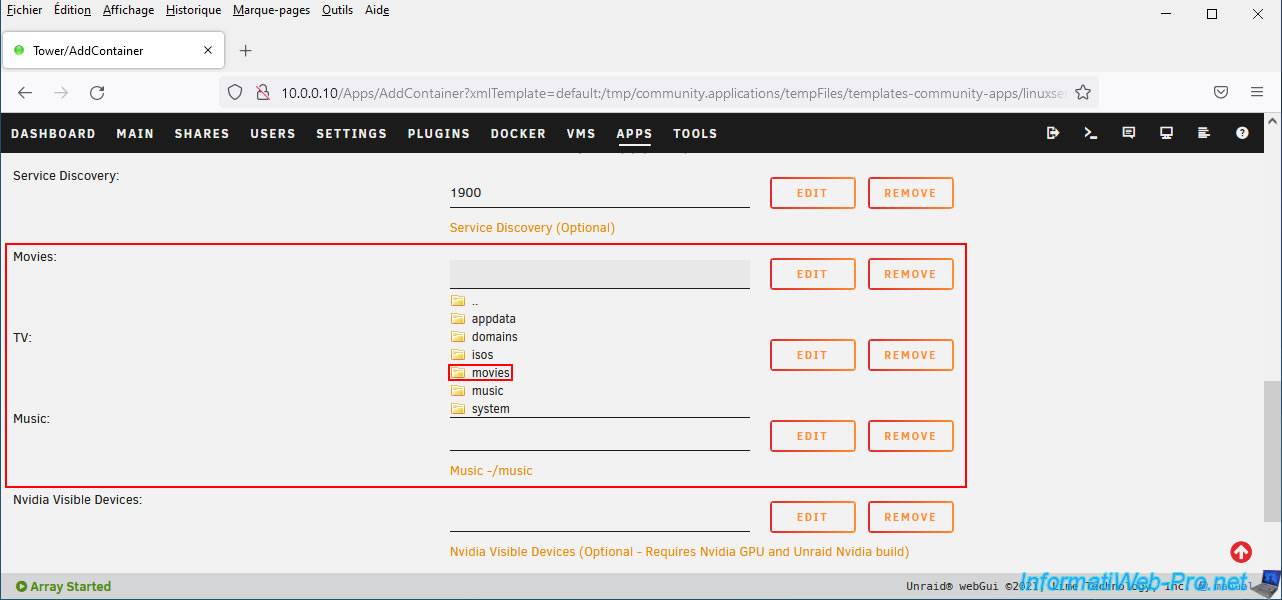
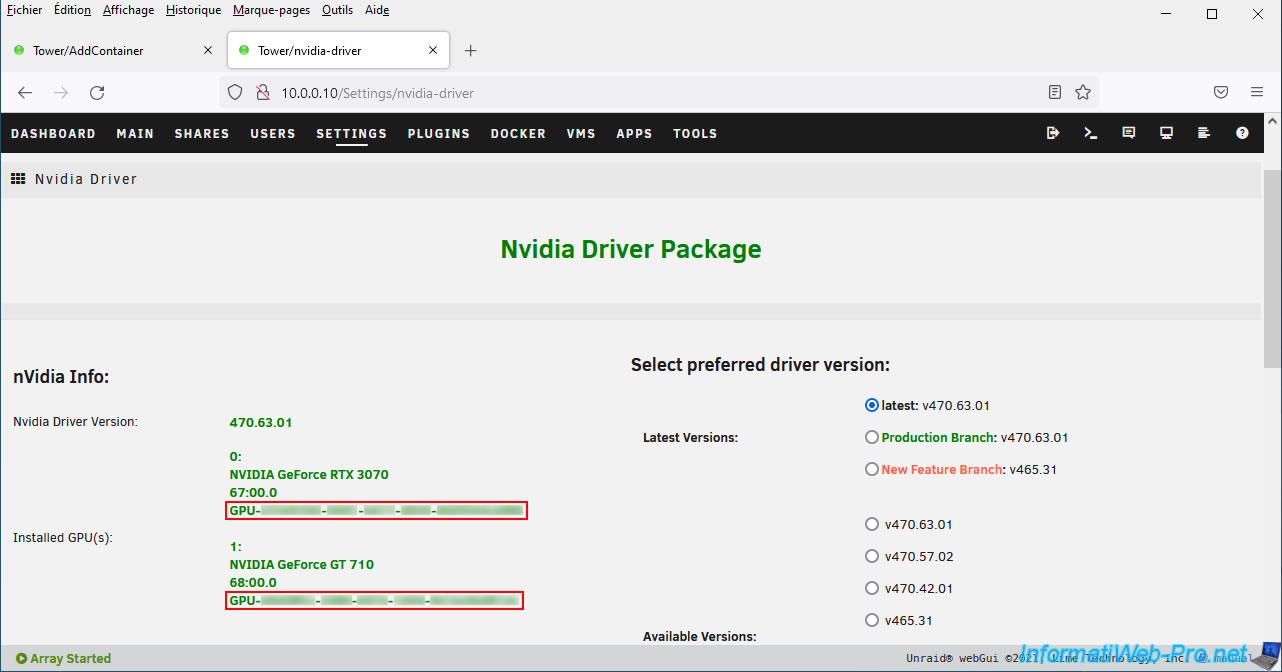
For Jellyfin hardware video transcoding, you will need the UUID of your NVIDIA graphics card.
To do this, in a new tab, go to: Settings -> Nvidia Driver.
Then copy the identifier "GPU-xxxxxxxx-xxxxxx-xxxxxxxx" from it.
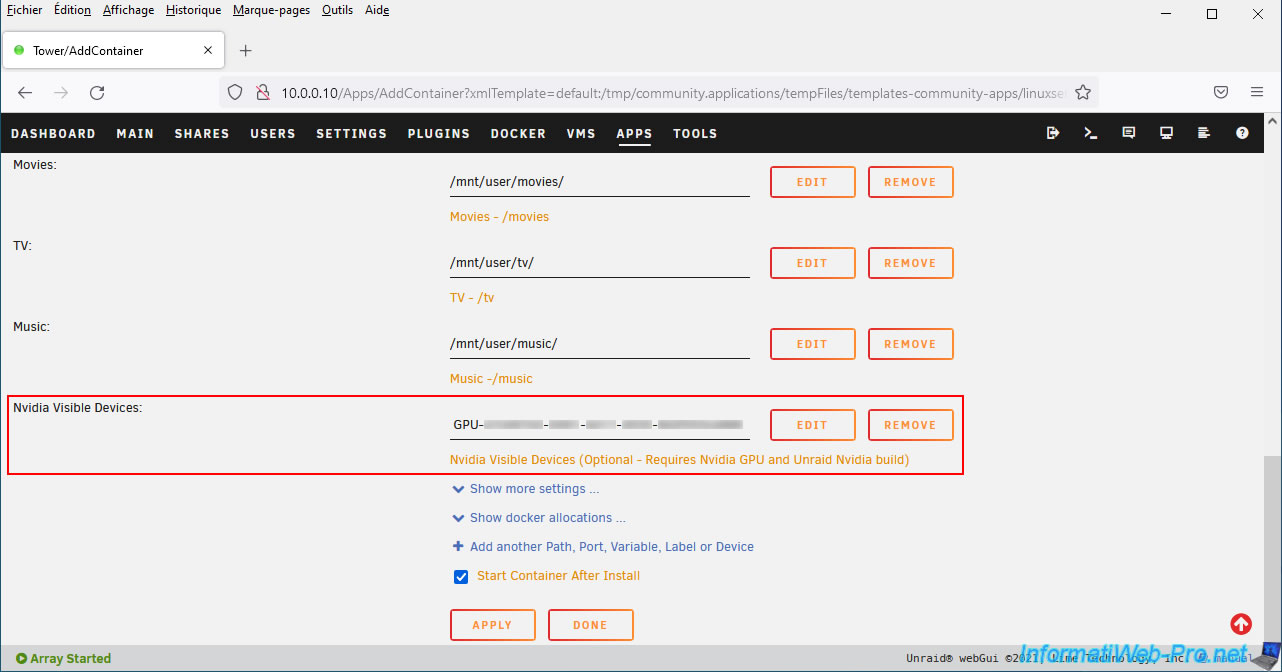
Paste this UUID into the "Nvidia Visible Devices" box of the "Jellyfin" Docker container add form.
As you can see, this option is optional and requires an Nvidia graphics card and the "Unraid Nvidia" plugin (which no longer exists and has been replaced by the "Nvidia Driver" plugin).
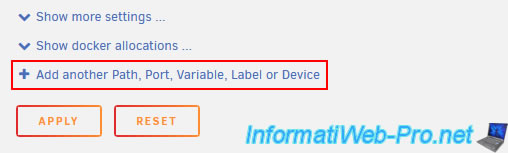
Update: in the meantime, the "Music" field has disappeared.
However, you can still map the folder for your music by clicking on the "Add another Path, Port, Variable, Label or Device" link at the bottom of the page.
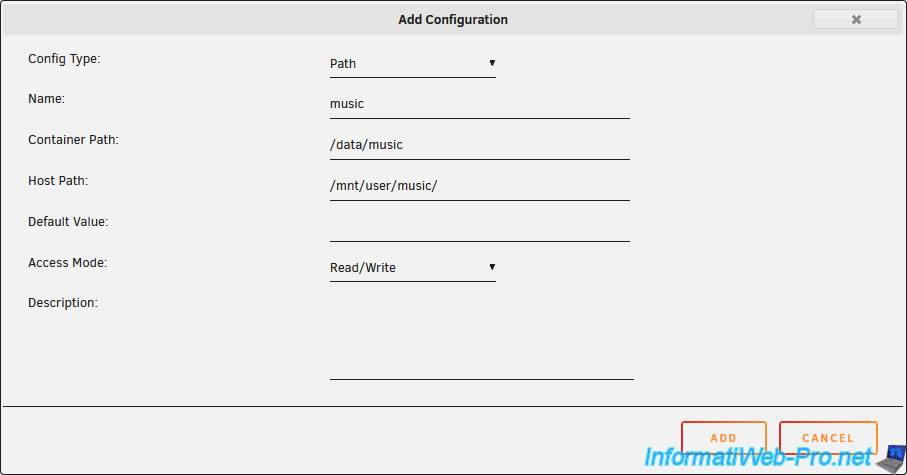
Then, in the "Add Configuration" window that appears, fill in the fields like this:
- Config Type : Path.
- Name : music.
- Container Path : /data/music
- Host Path : /mnt/user/music/
- Access Mode : Read/Write.
Then, click "Add".
At the top of the Jellyfin add form, you will see that using an NVIDIA graphics card will require adding an extra parameter "--runtime=nvidia" and the identifier (UUID) of your Nvidia graphics card .
To add this extra parameter, click on the "Basic view" switch (top right) to access the advanced view of this addition form.
In the "Extra Parameters" box, specify "--runtime=nvidia".
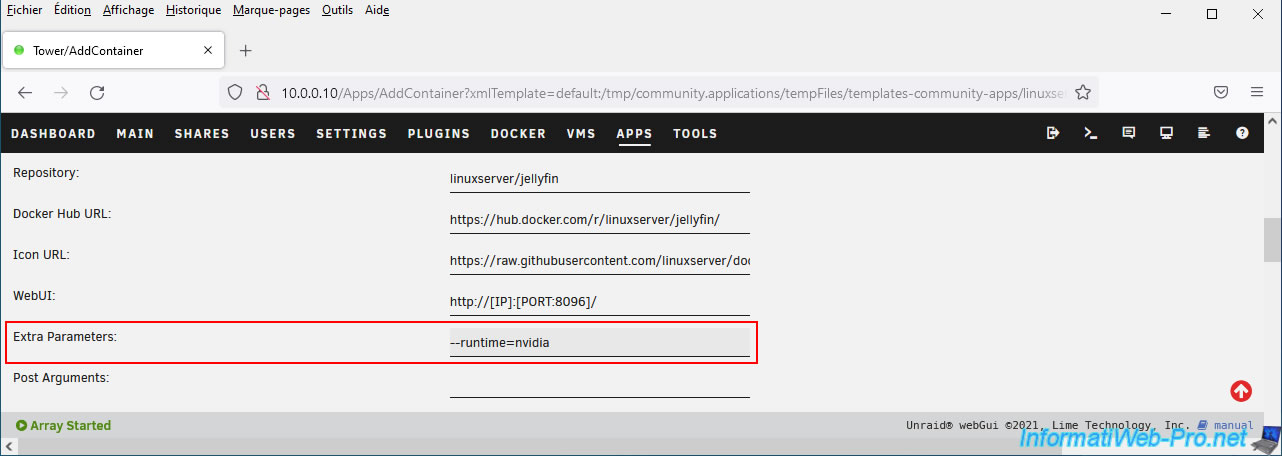
Then click: Apply.
Wait while the various downloads are launched and click on the "Done" button located at the bottom (when it appears).
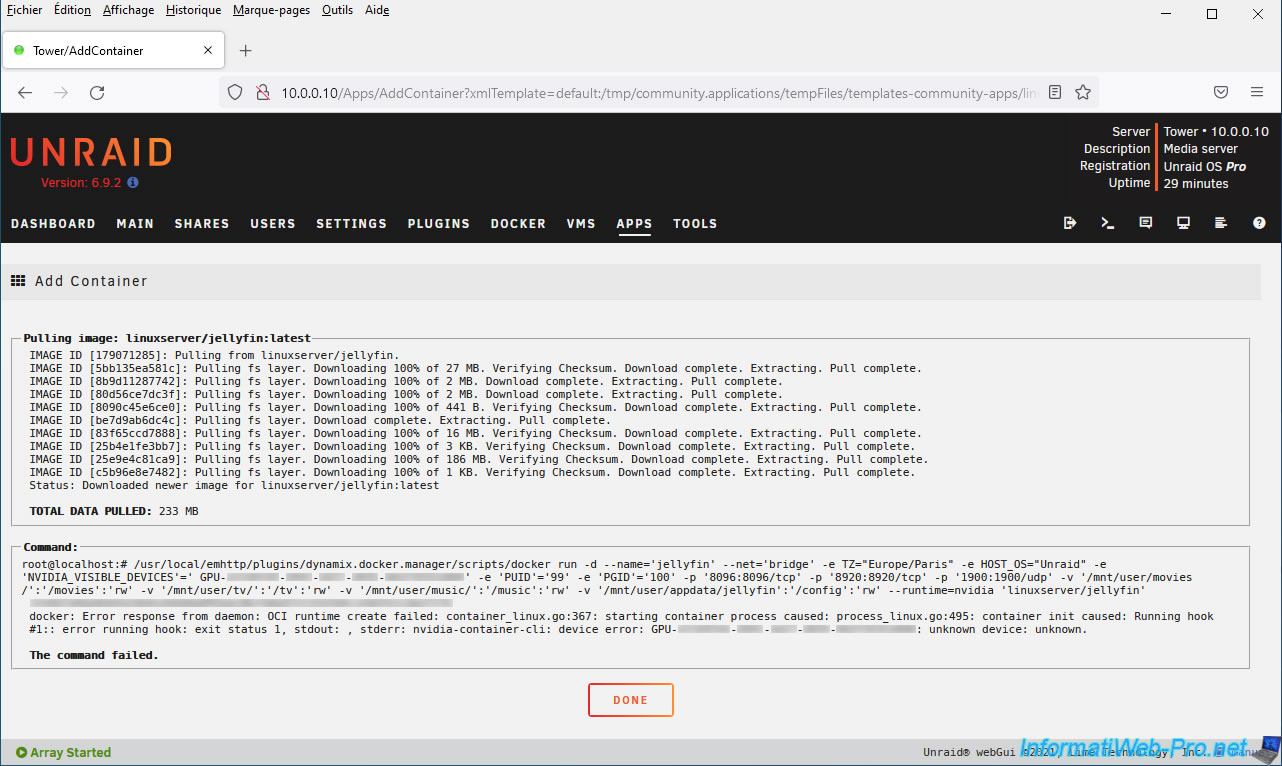
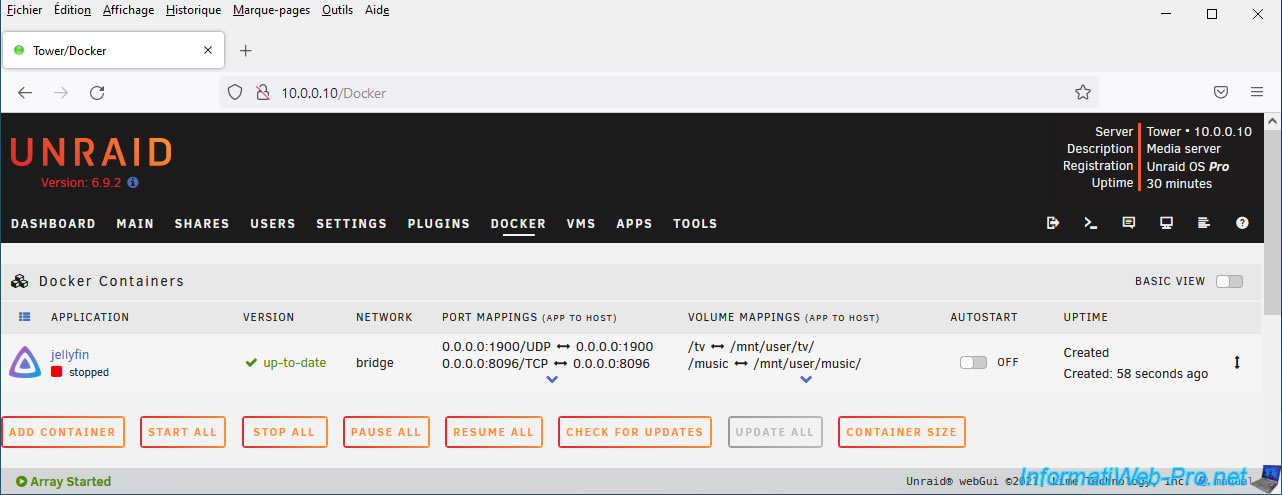
The "Jellyfin" Docker container has been created and configured.
Share this tutorial
To see also
-
NAS 2/18/2026
Unraid 6.9.2 - Change temperature thresholds
-
NAS 1/30/2026
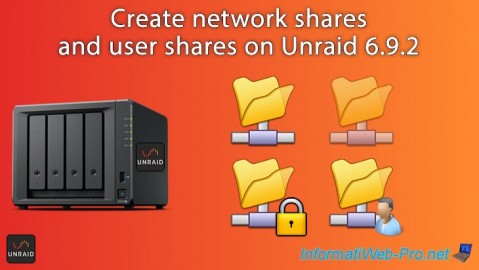
Unraid 6.9.2 - Create shares (network / user)
-
NAS 3/4/2026
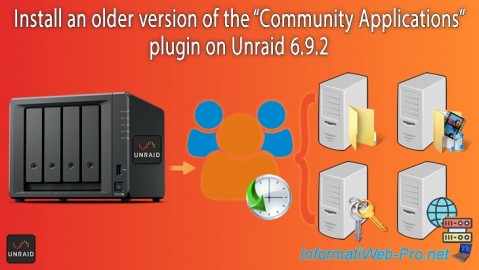
Unraid 6.9.2 - Install the "Community Applications" plugin (old version)
-
NAS 5/27/2026
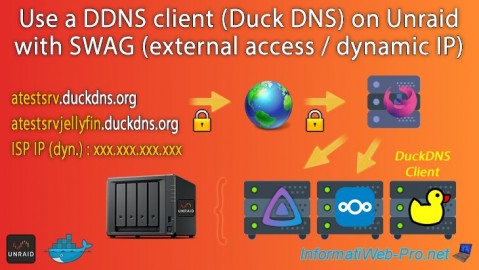
Unraid 6.9.2 - SWAG - Use a DDNS client (Duck DNS)
No comment