- NAS
- Unraid
- 05 August 2026 at 07:42 UTC
-

- 1/2

In Unraid, you can manage the configuration of your virtual machines via the Unraid web interface using an HTML form or by editing the corresponding XML code.
However, you can also more easily manage the configuration of your virtual machines created on your Unraid server using the virtual machine manager (virt-manager), which you can install on Linux.
- Edit the configuration of a virtual machine on Unraid
- Install NerdPack GUI
- Install the "nc" tool from the Nerd Pack
- Edit libvirt configuration
- Install the virtual machine manager (virt-manager) on Linux (Debian 12.2.0 x64)
1. Edit the configuration of a virtual machine on Unraid
To edit the configuration of a virtual machine on Unraid, you can go to the "VMS" tab, then click on your VM icon and click "Edit".
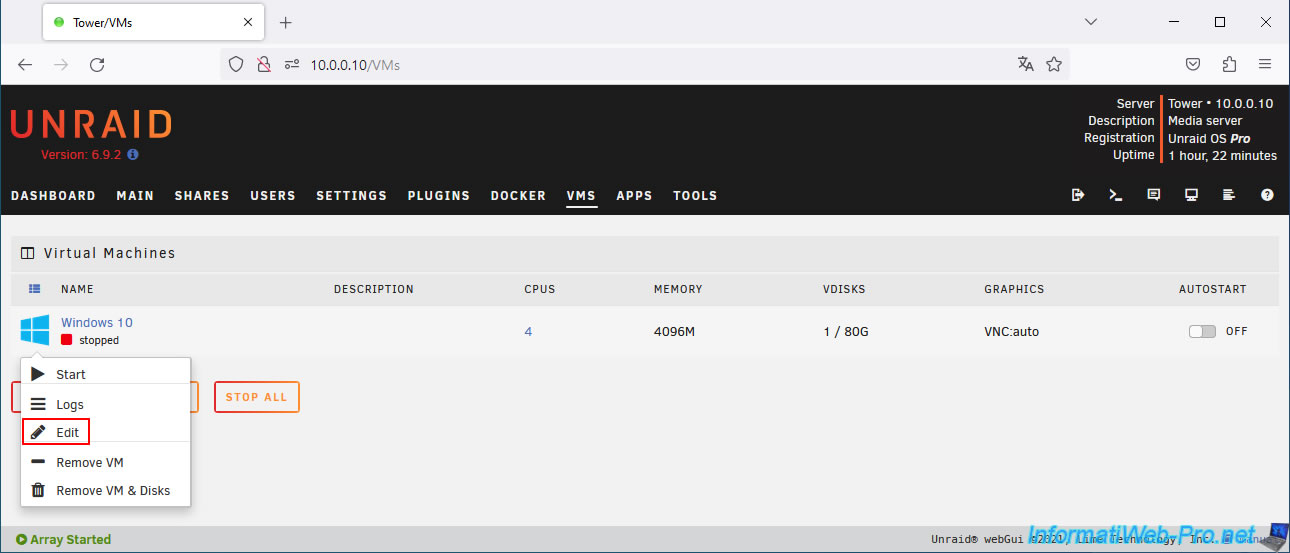
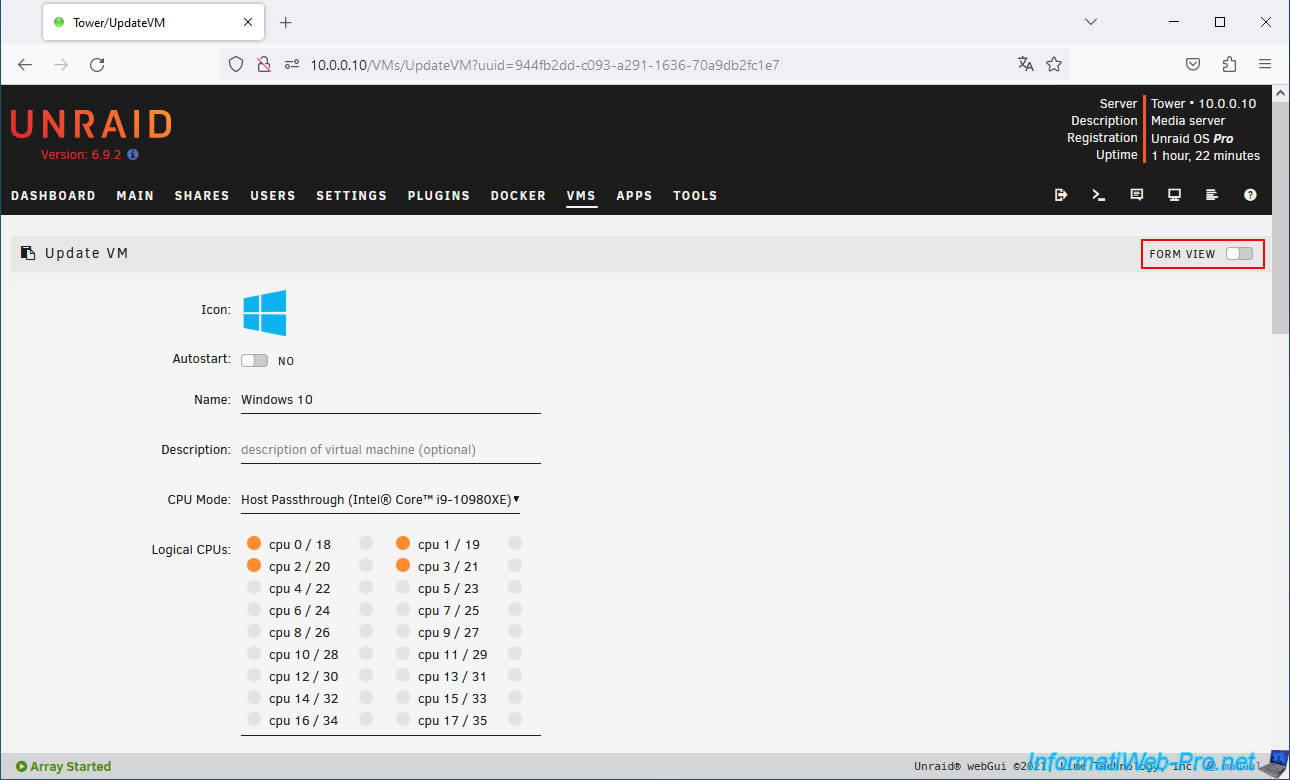
Using the HTML form that appears, you can change the name of your virtual machine, as well as its resources (CPU and RAM allocation, the virtual hard disks it uses, the ISO files inserted into the virtual CD drives, ...).
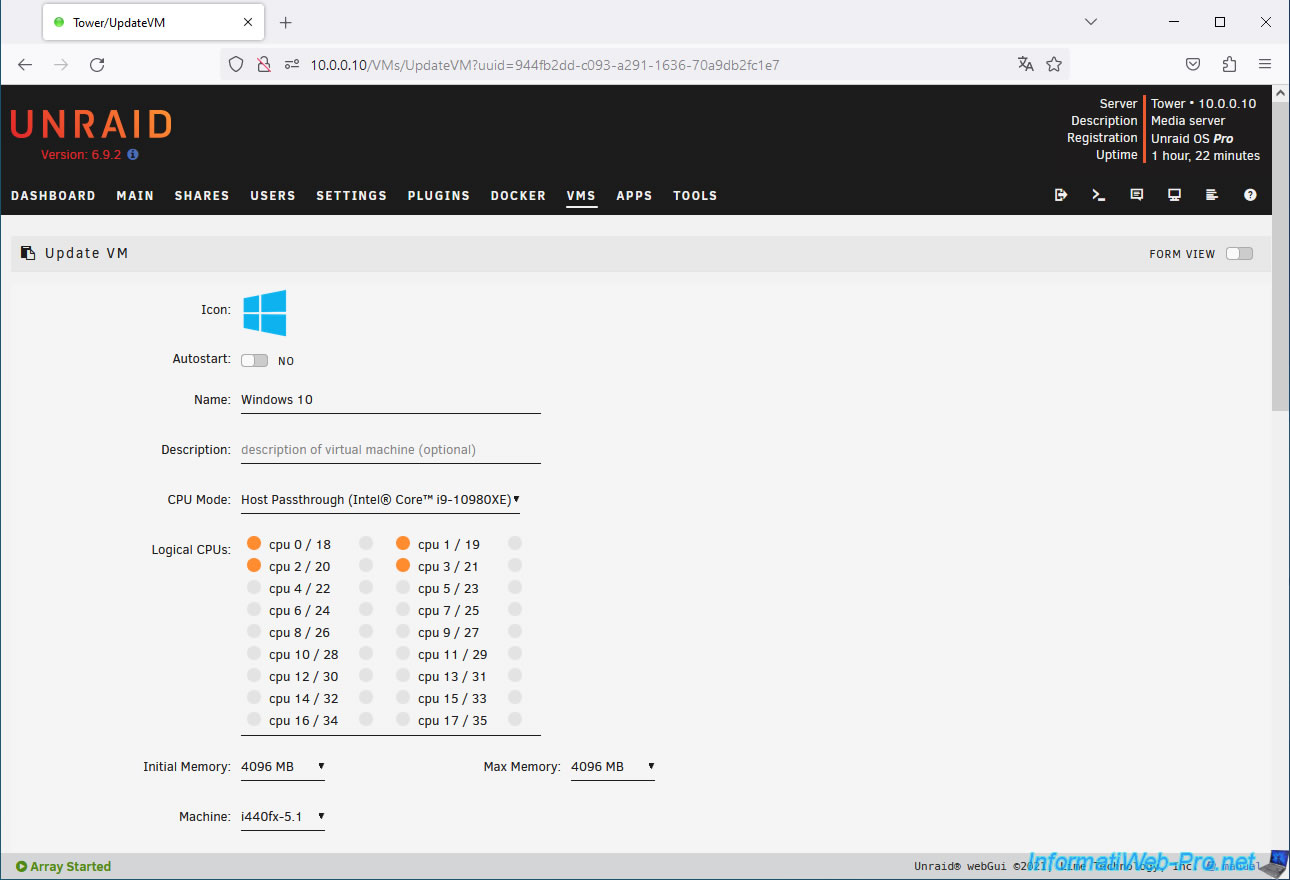
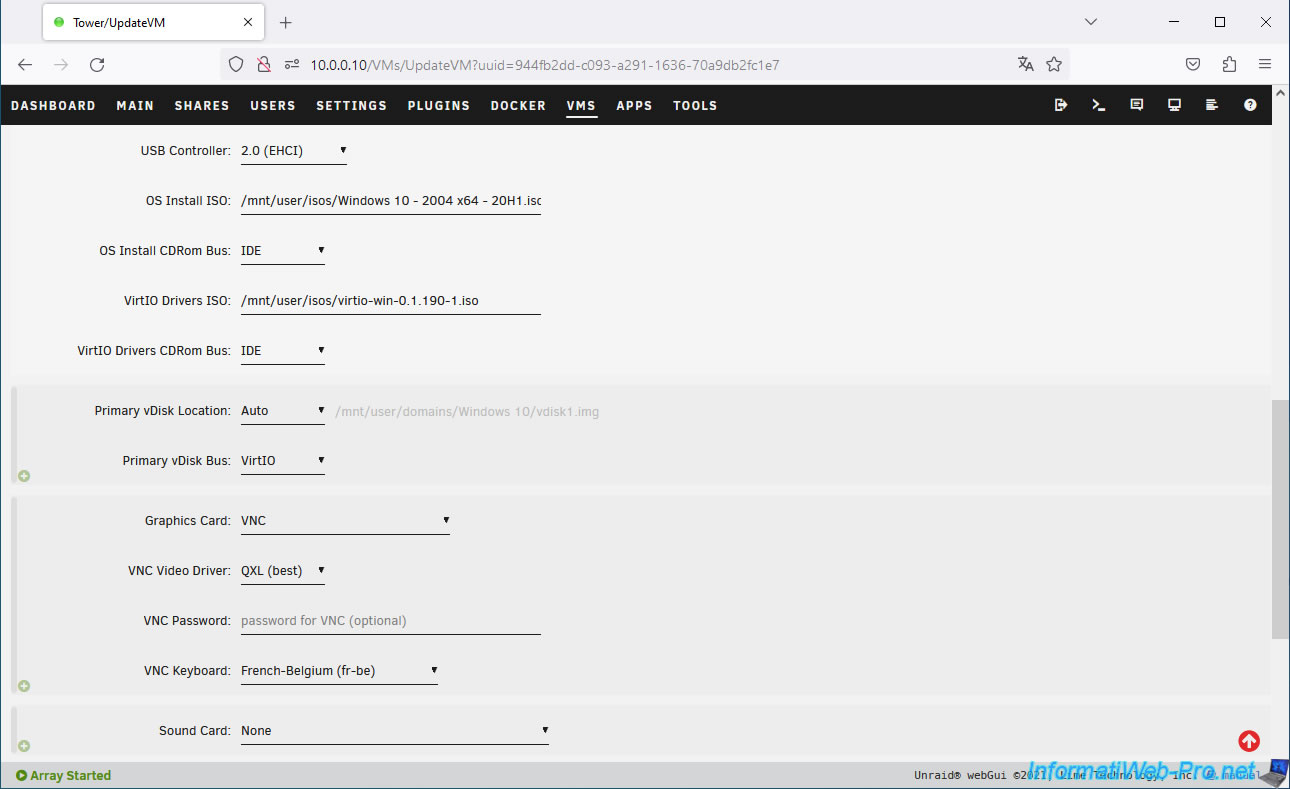
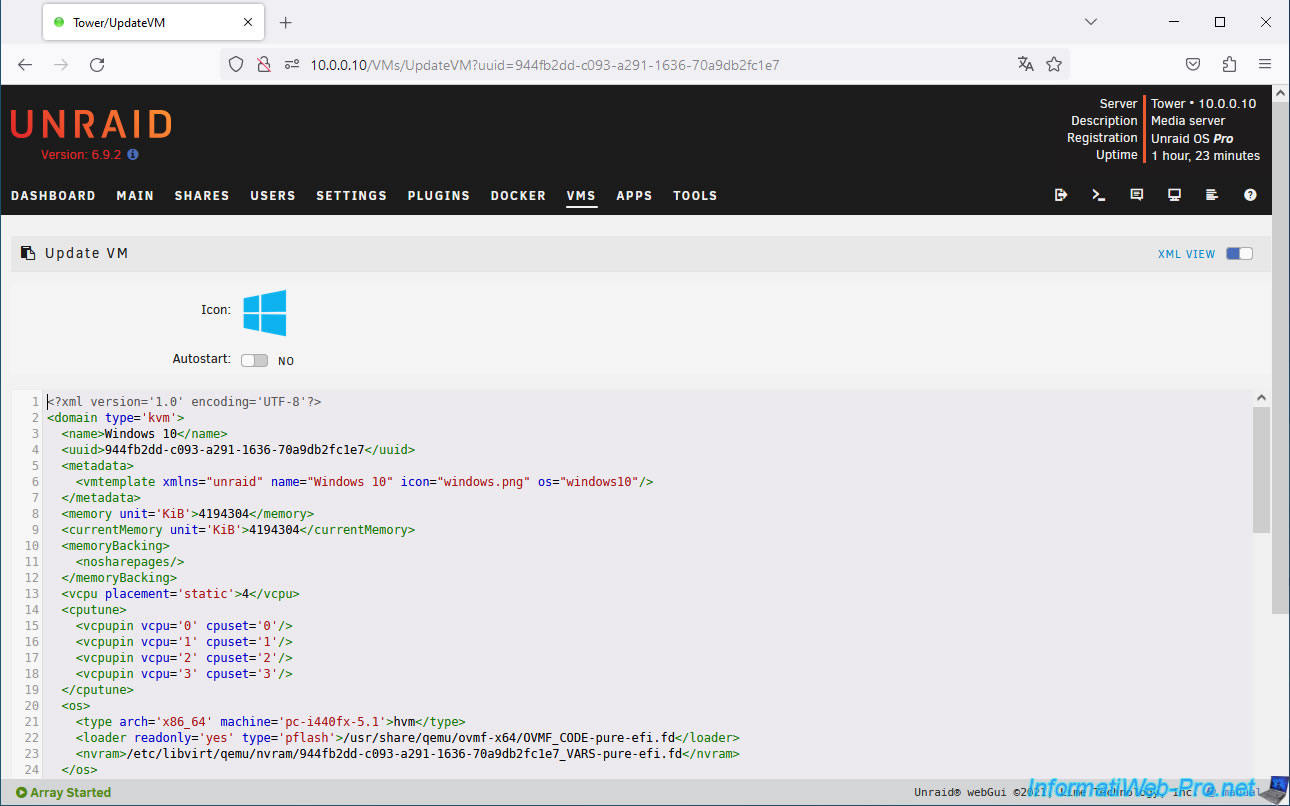
You can also use advanced options (searching for configuration options for QEMU / KVM on the Internet) by clicking the "FORM VIEW" button.
The corresponding configuration file in XML format appears.
2. Install NerdPack GUI
To use the virtual machine manager (virt-manager) from a Linux machine, you need to install a few prerequisites on your Unraid server.
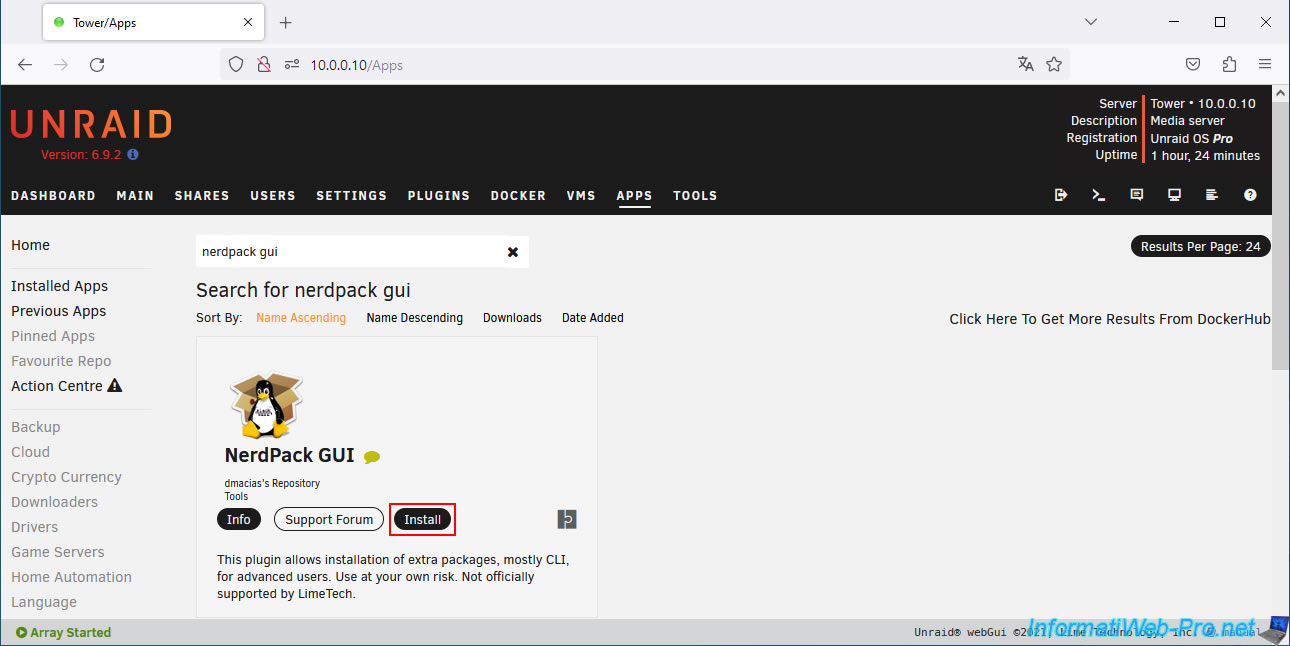
To begin, go to the "Apps" tab and search for "nerdpack".
Then, install the "NerdPack GUI" package that appears.
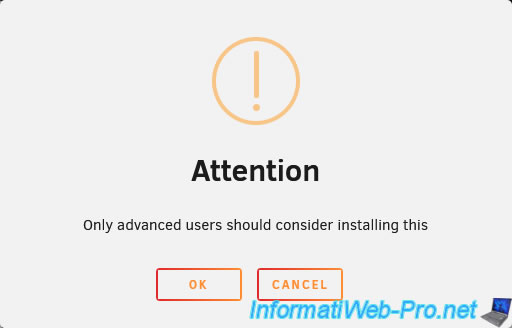
Ignore the warning that appears by clicking OK.
Plain Text
Only advanced users should consider installing this.
Wait while NerdPack downloads and installs.
Once NerdPack has finished installing, click the "Done" button that appears.
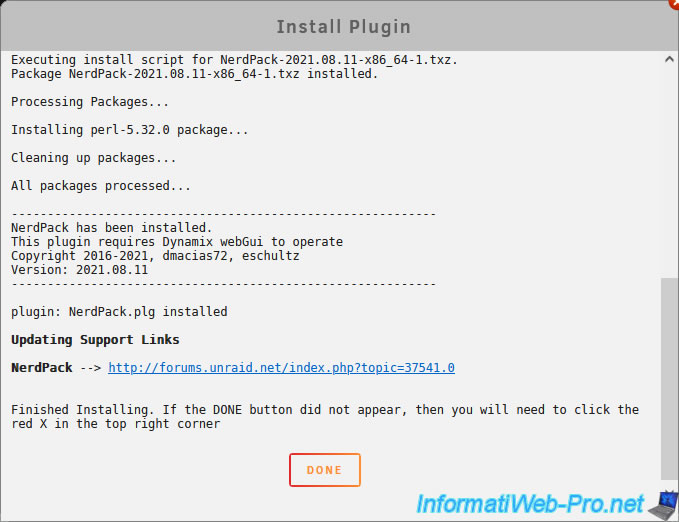
The "NerdPack GUI" package is installed.
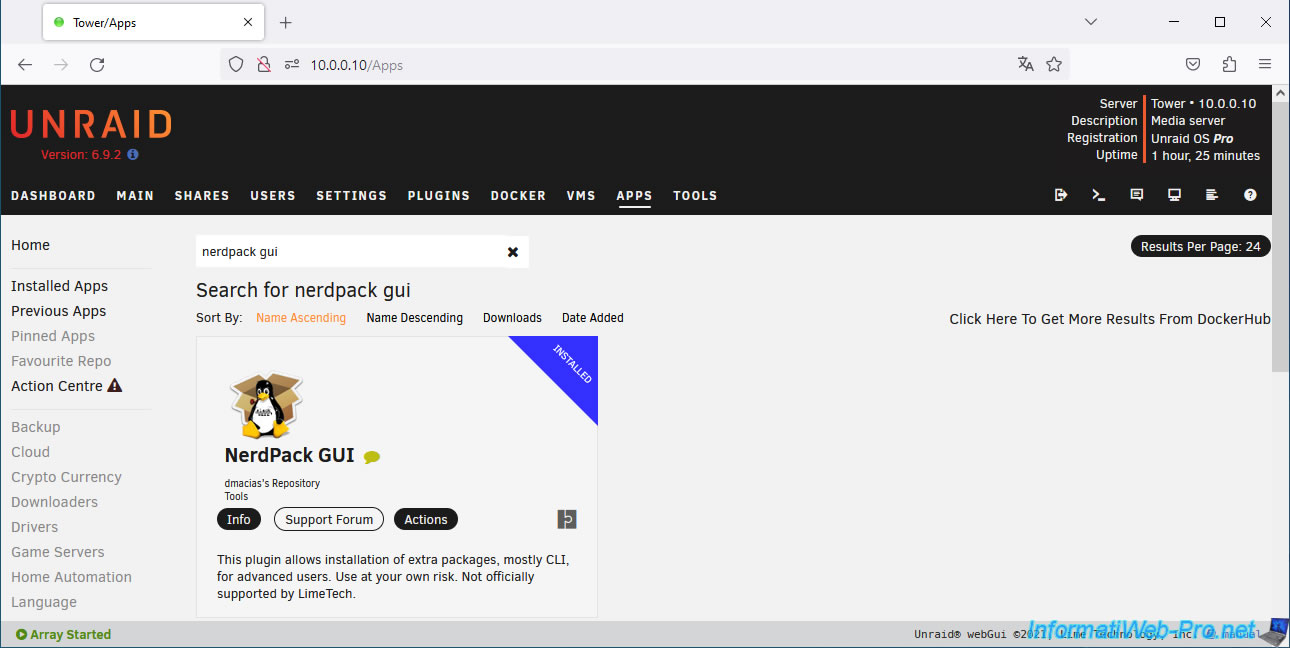
3. Install the "nc" tool from the Nerd Pack
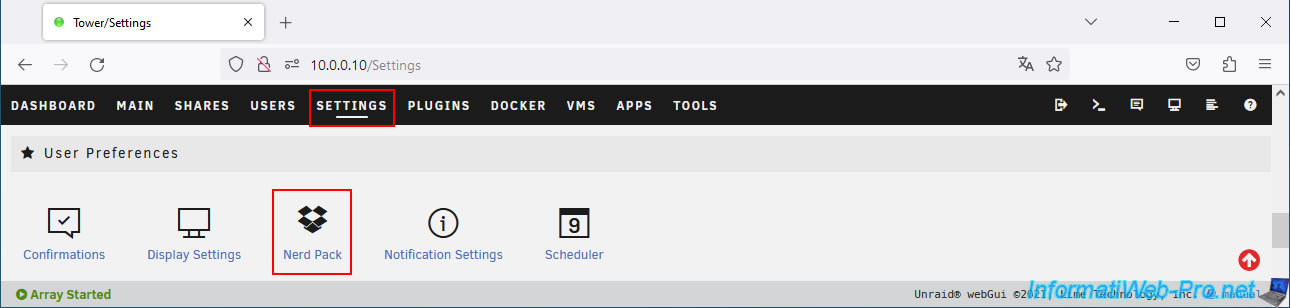
Go to the "Settings" tab in Unraid, then click on "Nerd Pack" (in the "User Preferences" section).
A list of packages (Linux tools) appears.
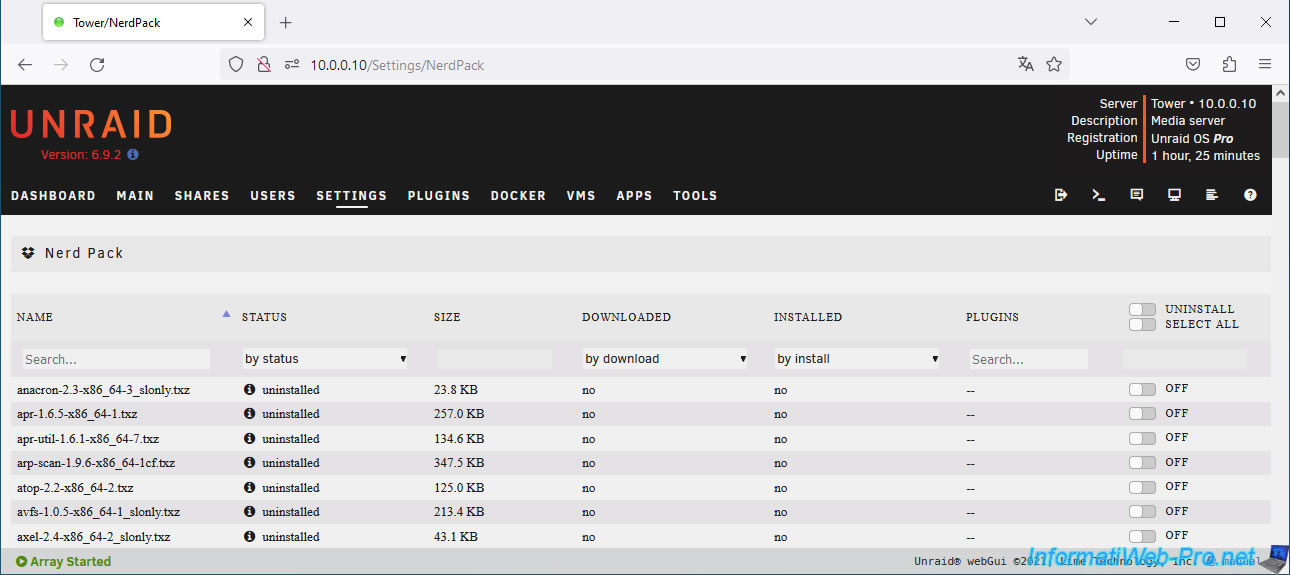
Type "nc" in the first box (in the "Name" column), then enable the switch to the right of the "nc-1.10-x86_64-1.txz" package.
Next, click the "Apply" button at the bottom of the page.
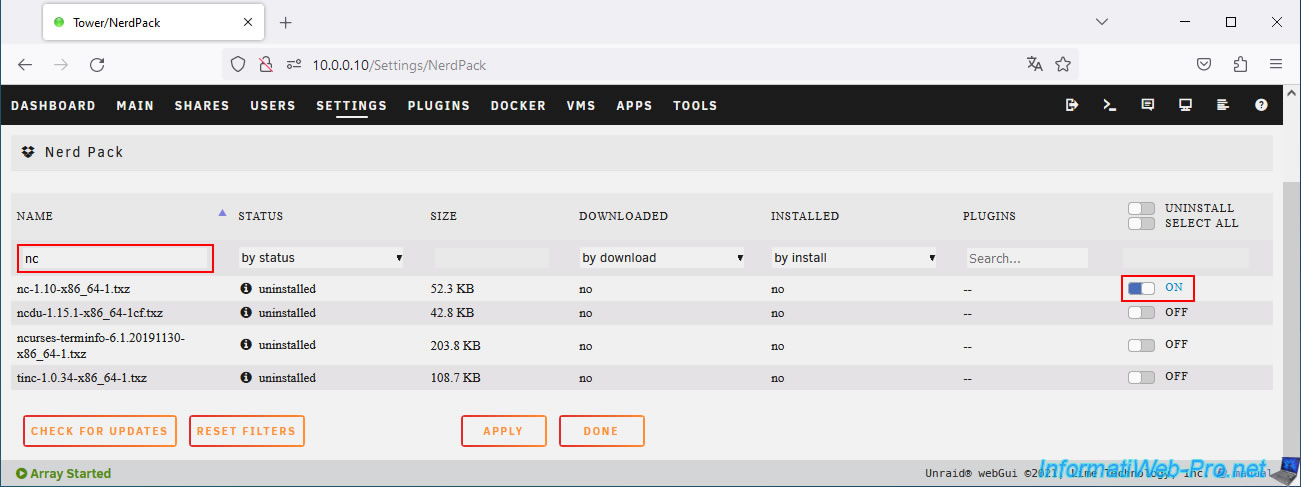
The "nc-1.10-x86_64-1.txz" package will be downloaded and installed on your computer.
Once the package installation is complete, click "Done".
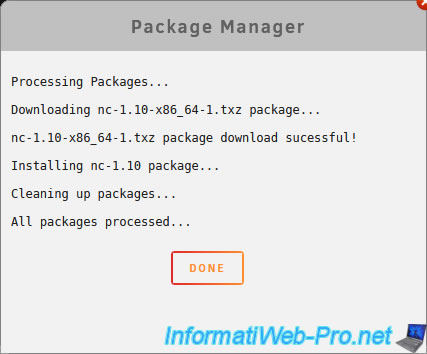
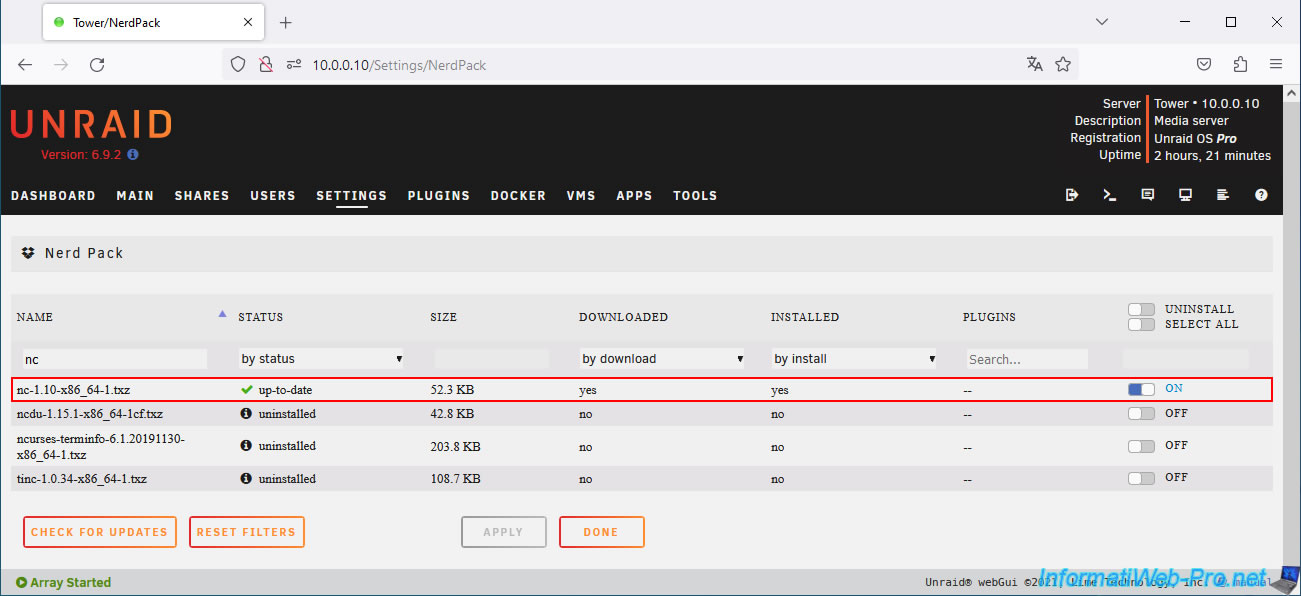
The package "nc-1.10-x86_64-1.txz" is installed and up-to-date (status: up-to-date).
4. Edit libvirt configuration
To manage your Unraid server's virtual machines from another computer, you'll need to slightly modify the "libvirt" configuration (used by Unraid for VM management).
To do this, open a terminal on your Unraid server (using the second icon in the top right corner).
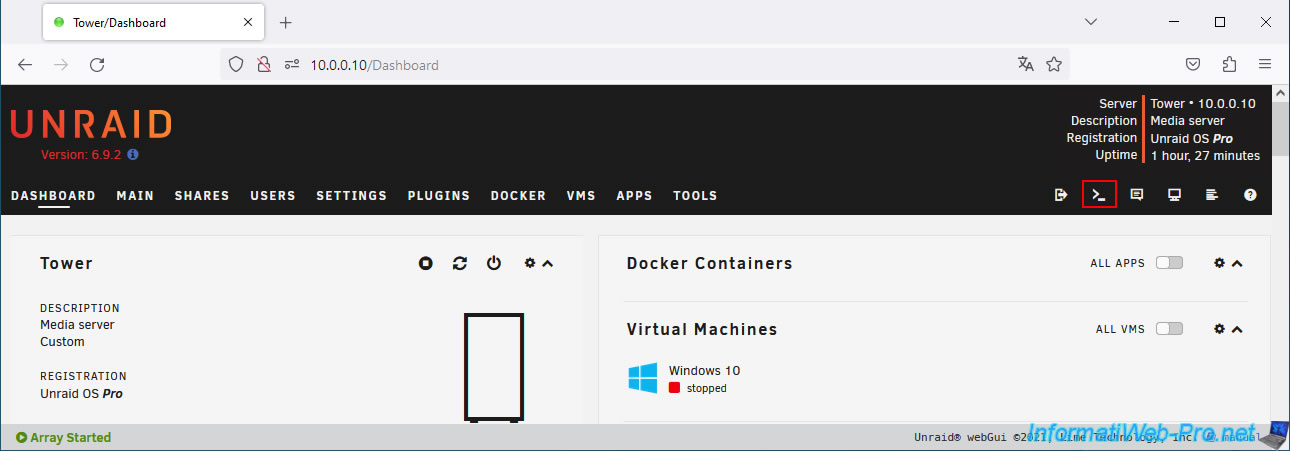
Edit the file "/etc/libvirt/libvirtd.conf".
Bash
nano /etc/libvirt/libvirtd.conf
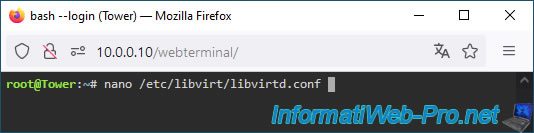
Scroll down into the file that appears and locate this line:
Plain Text
listen_addr = "127.0.0.1"
This line indicates that this service is only accessible locally (on the same machine).
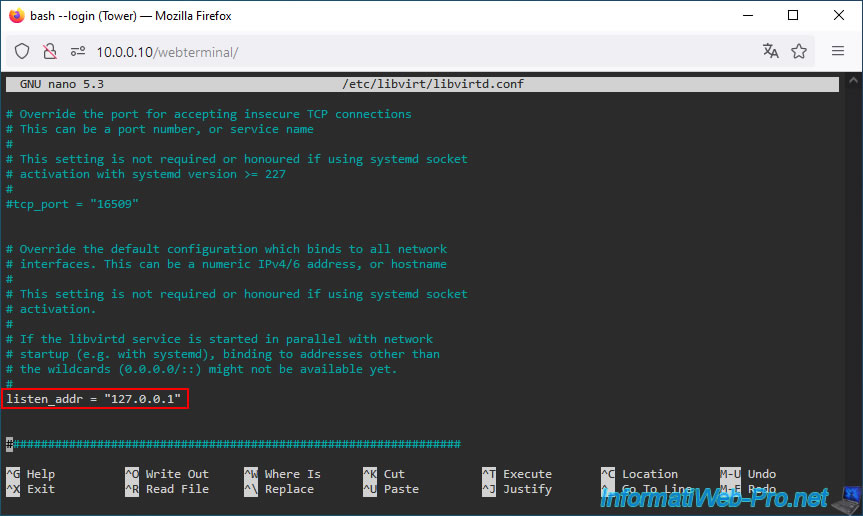
To be able to manage your virtual machines from another computer, you will need to change the line like this:
Plain Text
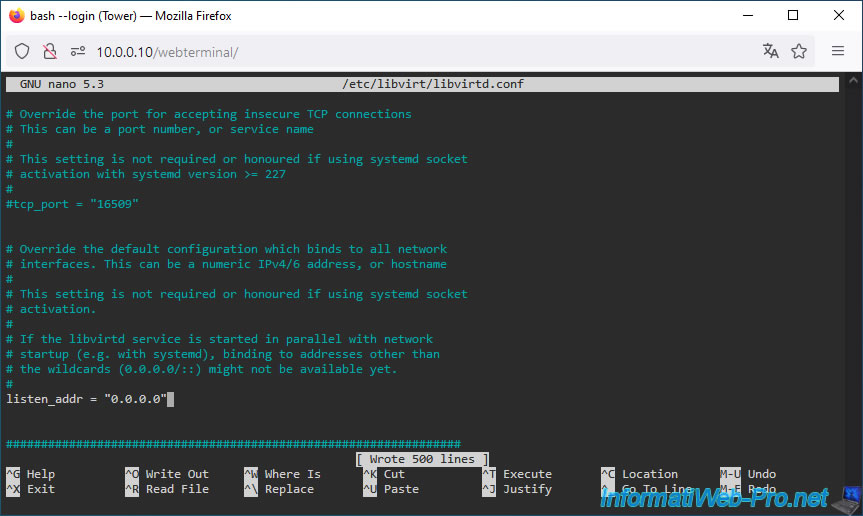
listen_addr = "0.0.0.0"
This service will listen on all network interfaces, regardless of the IP address associated with them.
This means you can also connect to this service from another computer on your local network.
Once you've made the change, save the changes by pressing CTRL + O (^O Write Out).
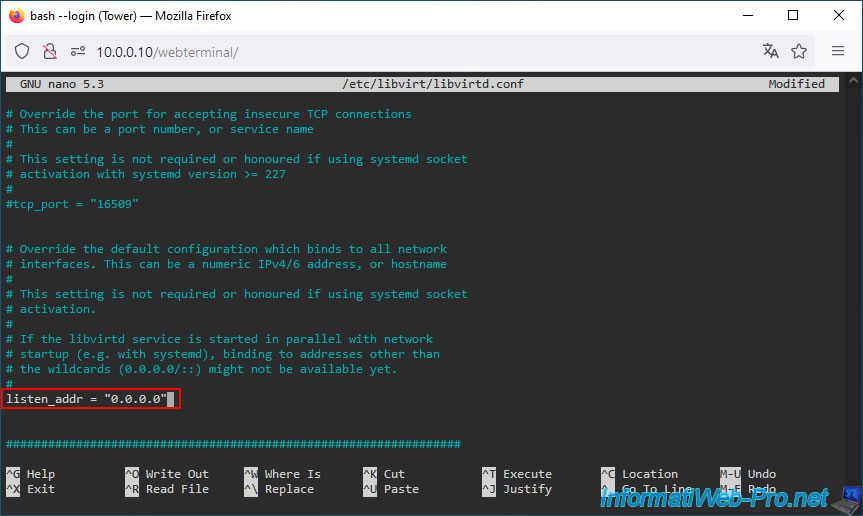
Press Enter to confirm.
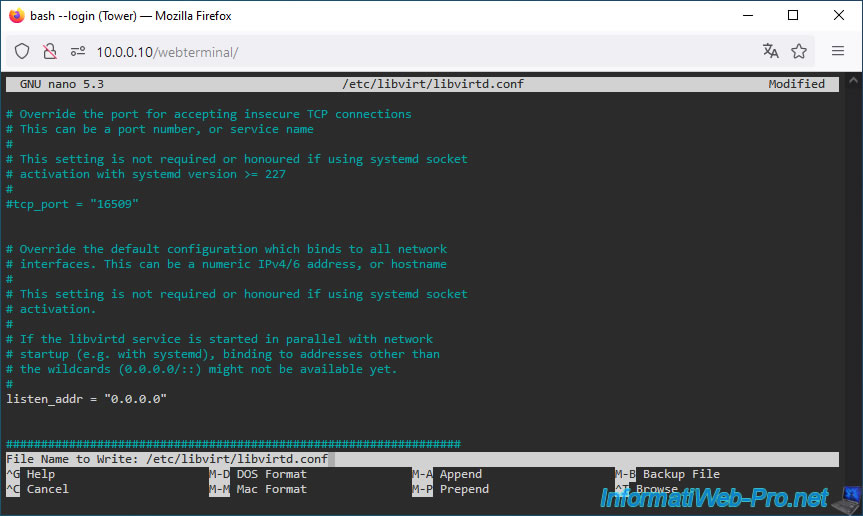
The file has been saved.
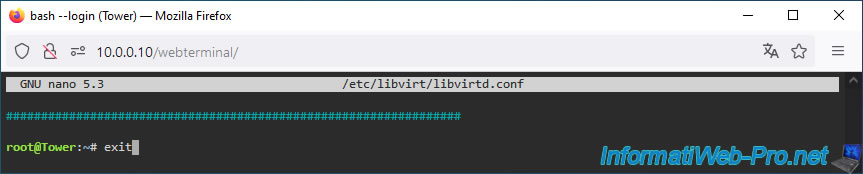
Press CTRL + X (^X Exit) to exit this text editor.
Type "exit" and then press Enter to exit the terminal.
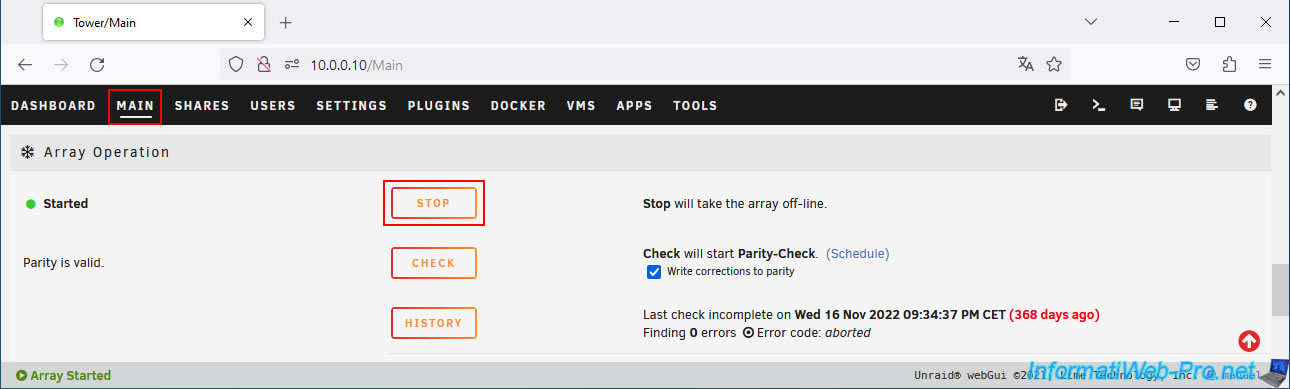
To restart the "libvirt" service used by Unraid, you will need to reboot your array.
To do this, in the "Main" tab, click the "Stop" button at the bottom of the page.
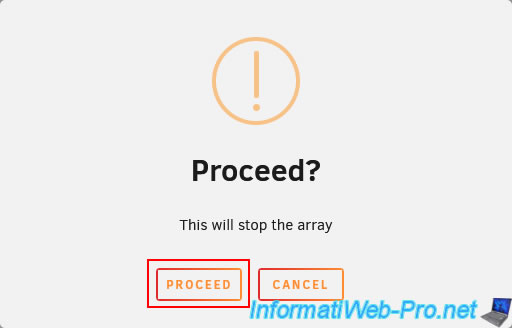
Note: restarting the array requires that your Docker containers and virtual machines be stopped.
Confirm stopping your array by clicking "Proceed".
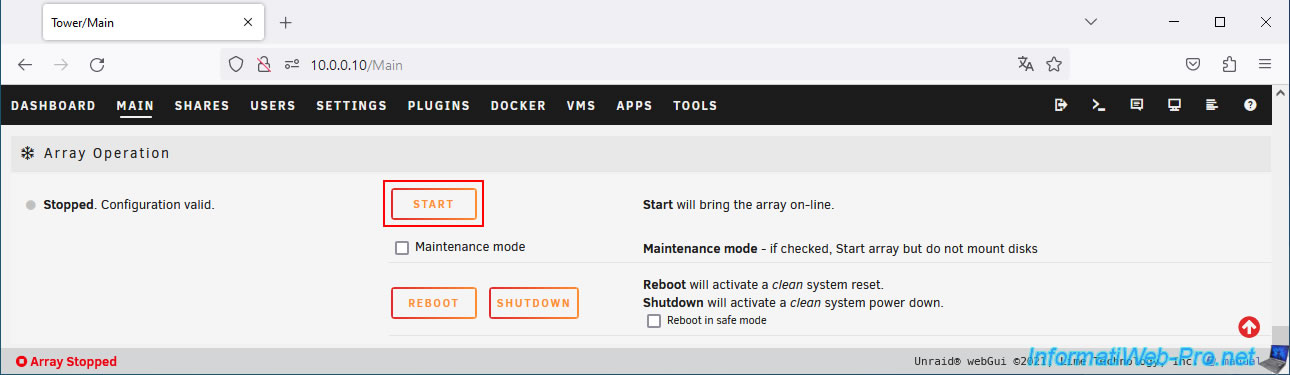
Start your array by clicking "Start".
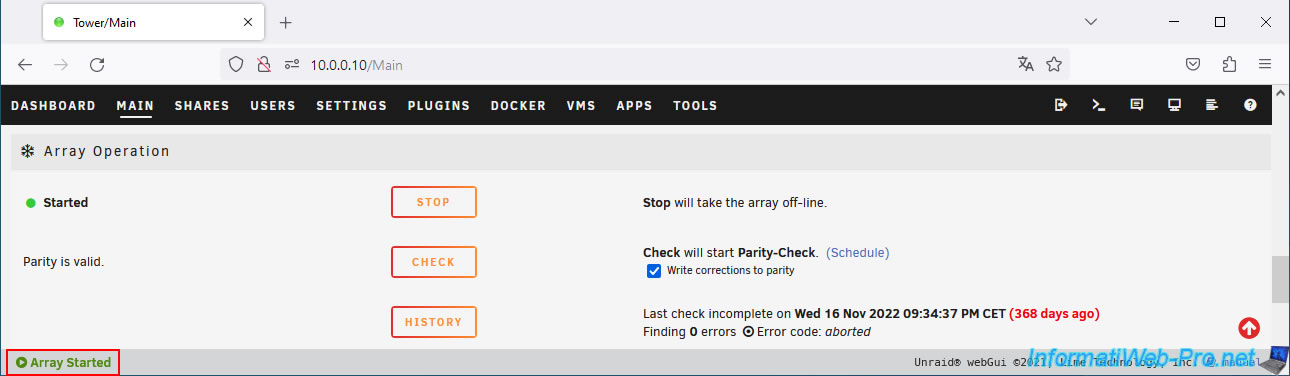
Your array is restarted.
Share this tutorial
To see also
-
NAS 3/25/2026
Unraid 6.9.2 - Change web interface ports
-
NAS 2/11/2026
Unraid 6.9.2 - Customize the web interface
-
NAS 6/24/2026
Unraid 6.9.2 - Docker - Install the office suite (Collabora) for Nextcloud
-
NAS 3/11/2026
Unraid 6.9.2 - Presentation of Dynamix plugins (sys info, ...)
You must be logged in to post a comment