Install a file server (Nextcloud) on Unraid 6.9.2 via Docker
- NAS
- Unraid
- 15 April 2026 at 10:39 UTC
-

- 5/6

6.4. Allow sending files from outside to a specific folder
For sharing folders on Nextcloud, there is an additional option allowing you to authorize Internet users to add files to a specific folder on your Nextcloud server without them needing to create an account on it.
To do this, click "New -> New Folder".
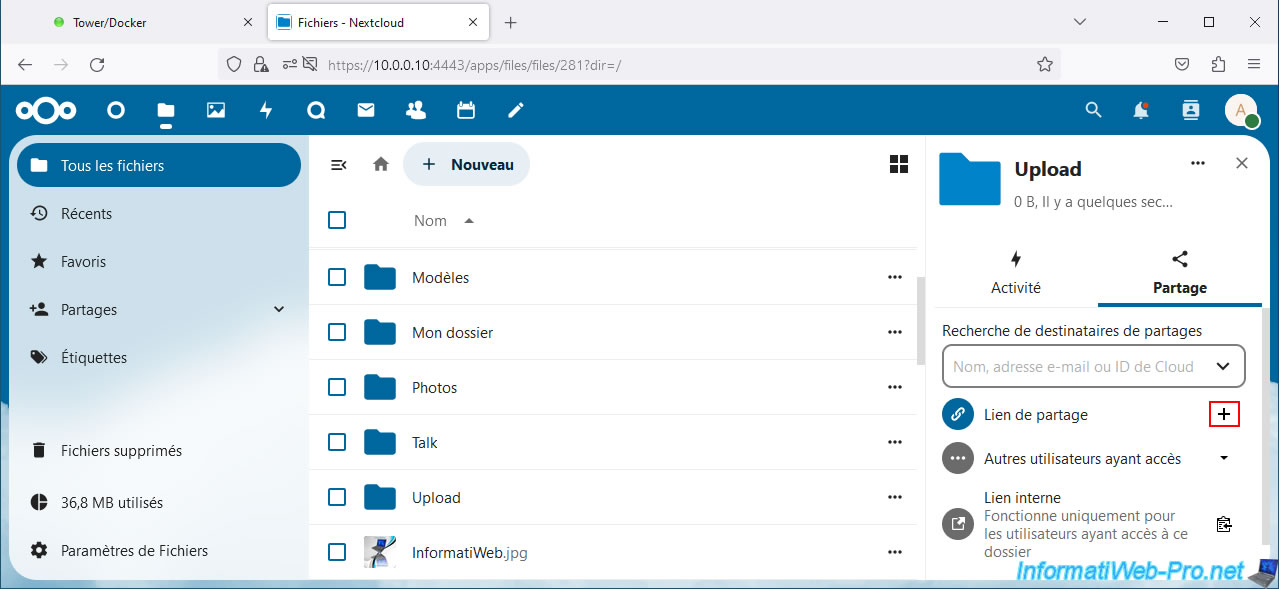
Next, click the share icon to the right of your folder name.

Click the "+" icon (to the right of "Share link").
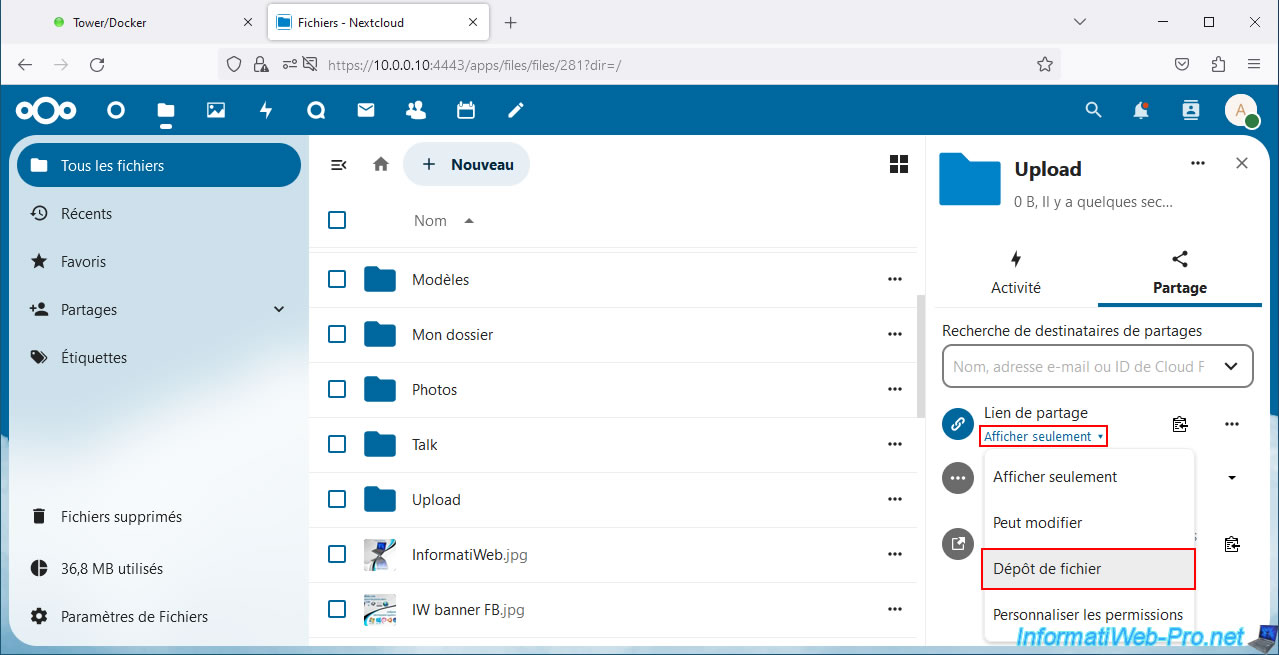
Click "View Only" and select "File Upload".
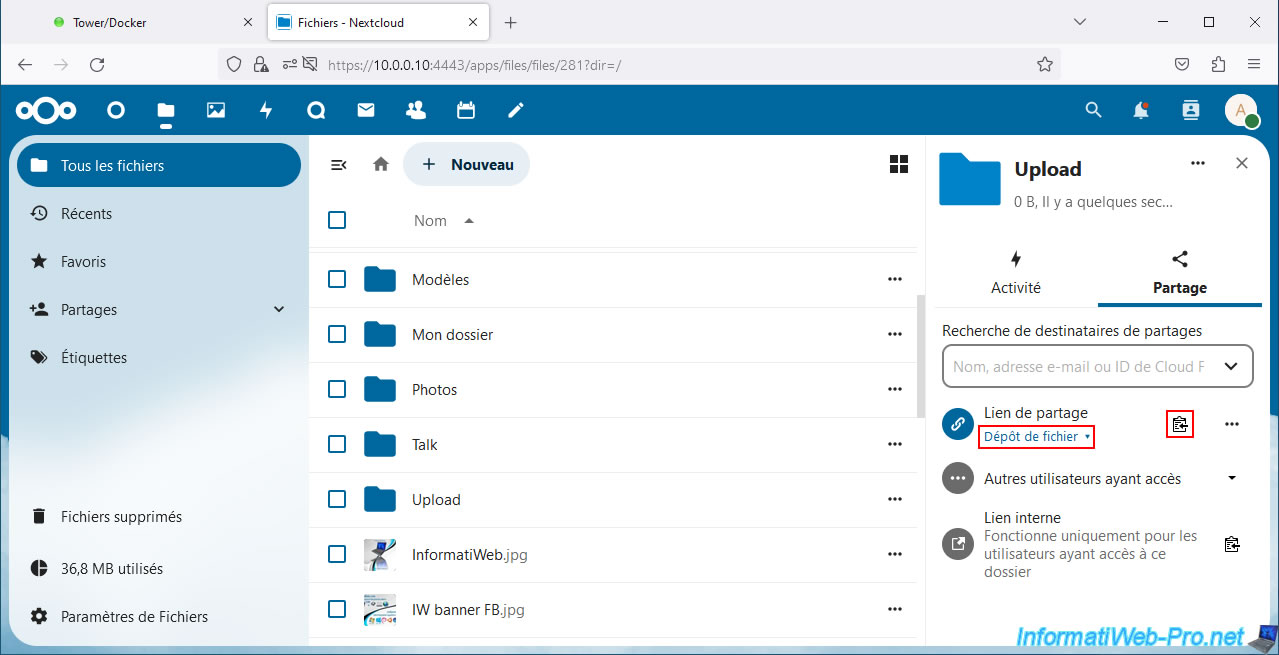
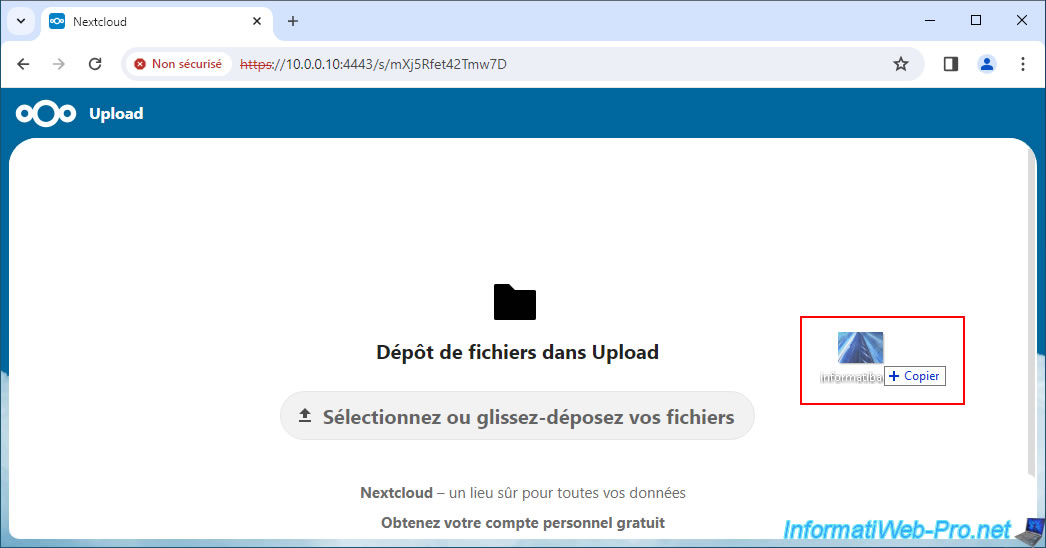
Once the "File Upload" mode is selected for the sharing link, click on the icon located just to the right of "Sharing Link".
If you access the sharing link copied previously, you will see that a "Drop files in [your folder name]" page will appear.
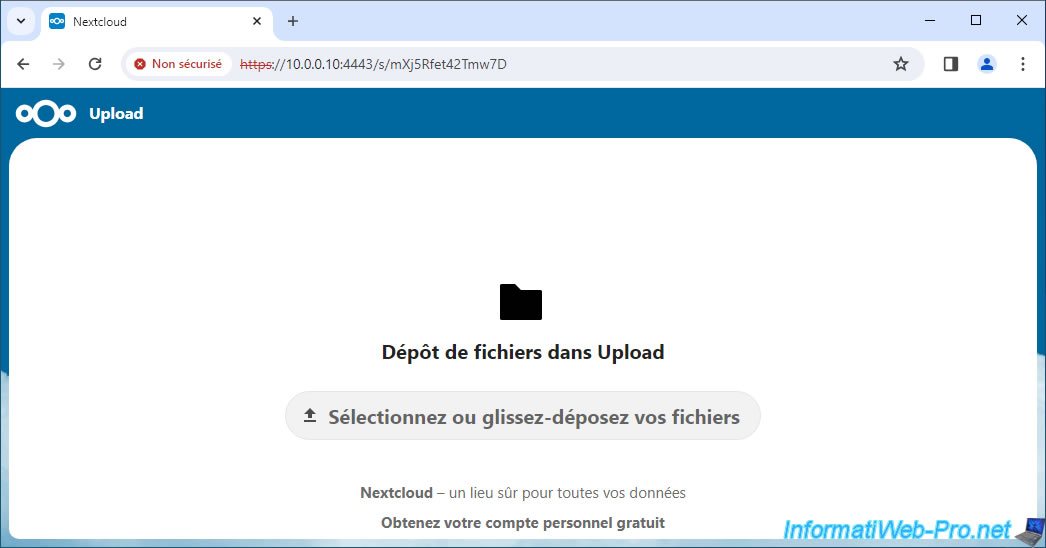
Drag and drop a file to send there or click the "Select or drag and drop your files" button to select files from your computer.
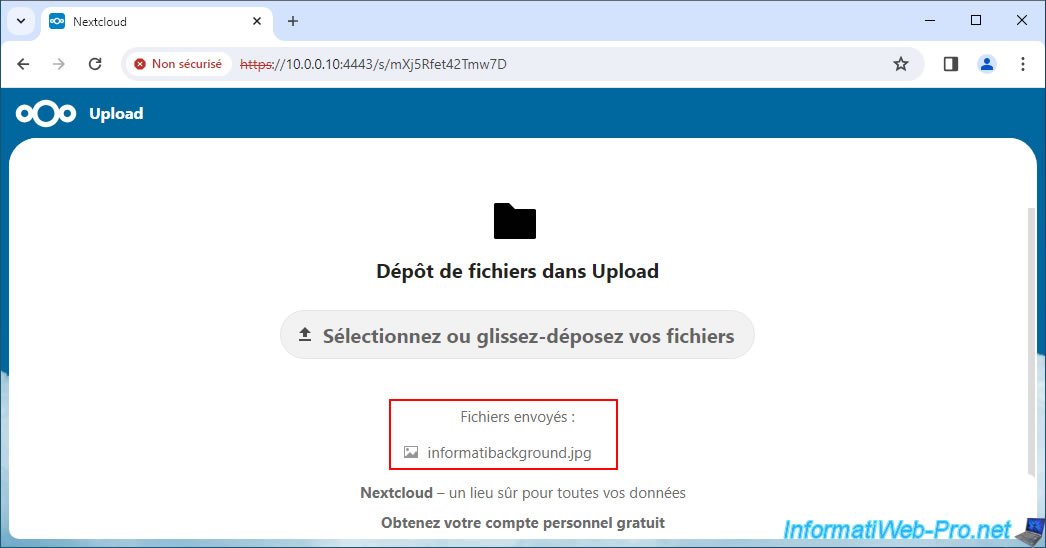
A new "Sent Files" section will automatically appear with the list of files you have added to this folder.
While connected to Nextcloud, enter this folder and you will see the added file(s) appear.
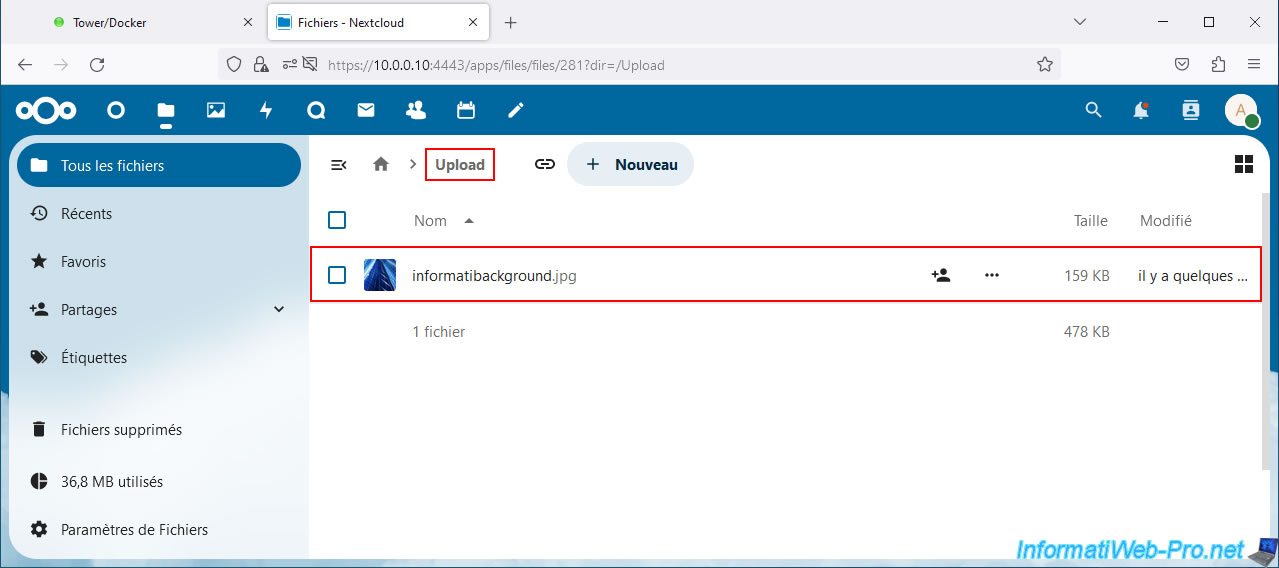
As expected, files added to this folder can be opened directly in Nextcloud.

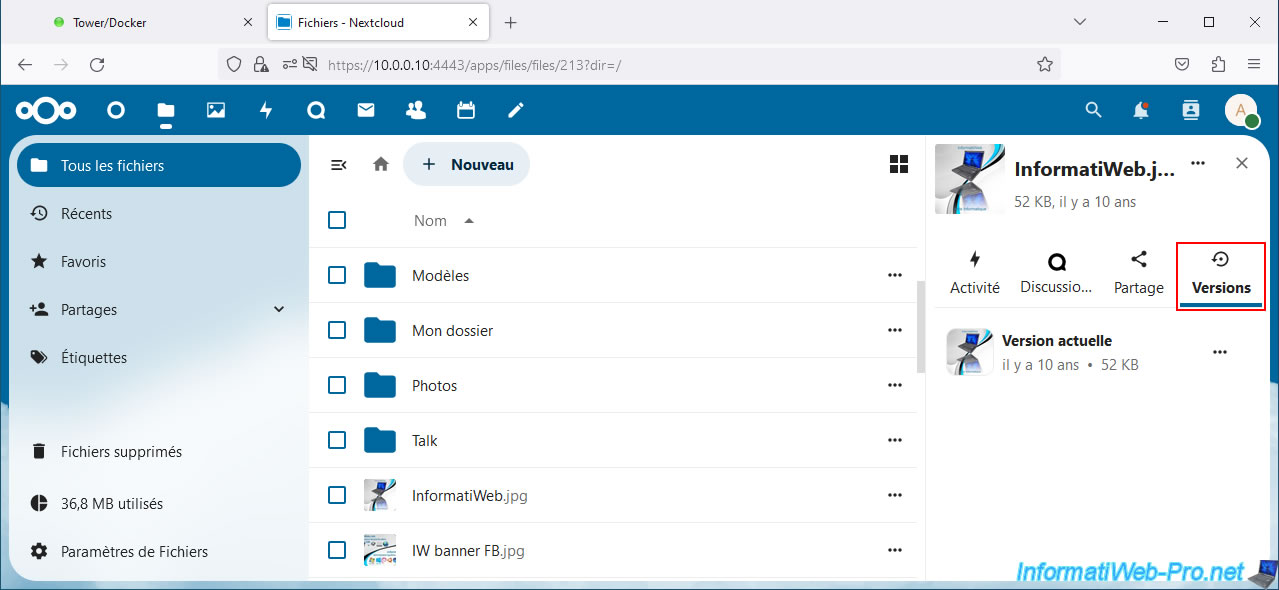
6.5. Show versions of a file
On your Nextcloud server, you can view the version history of a file by clicking on the right part of the desired file.
Then by going to the "Versions" tab in the pane that appears on the right.
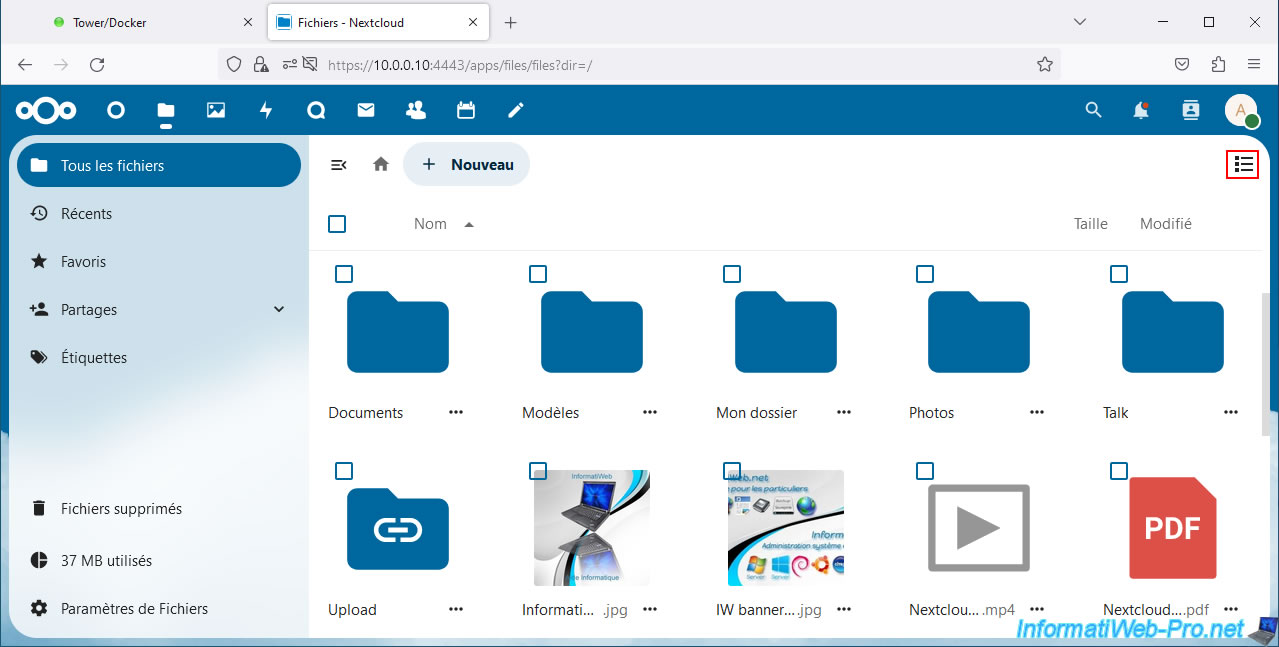
6.6. Change display view of folders and files
By default, Nextcloud displays your folders and files as a list.
To display these in the form of a grid, click on the icon located at the top right.

To return to the "list" view, click on this icon again.
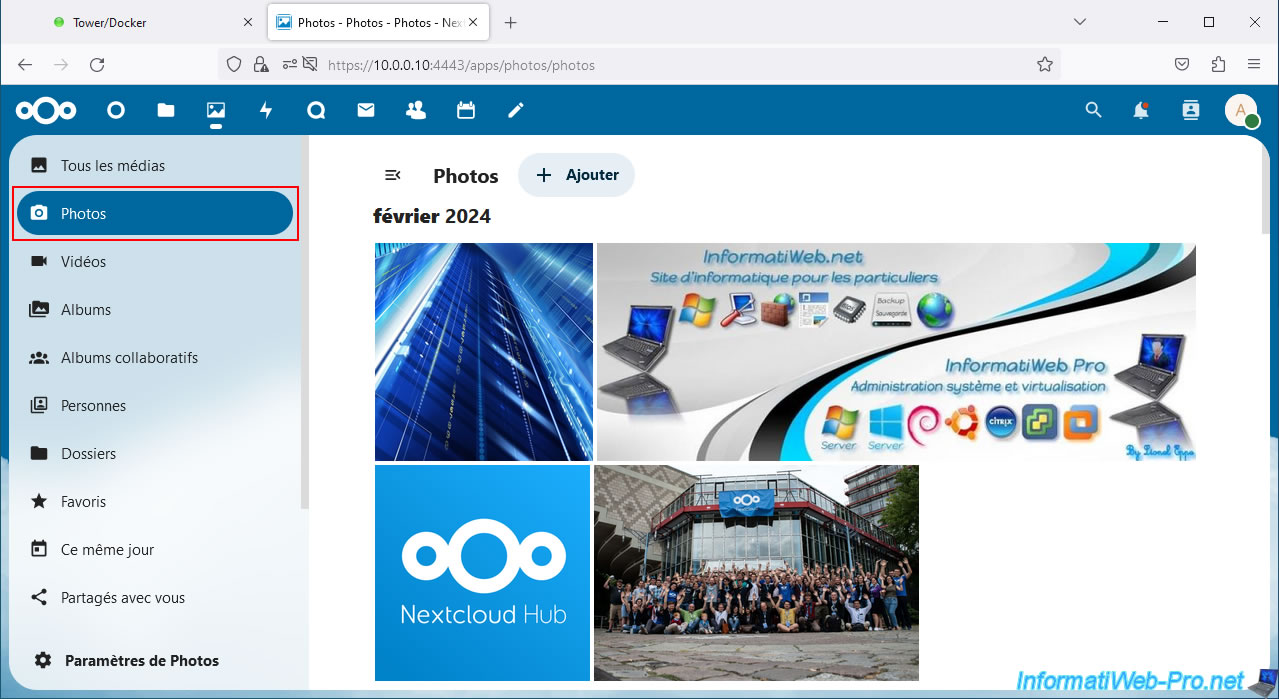
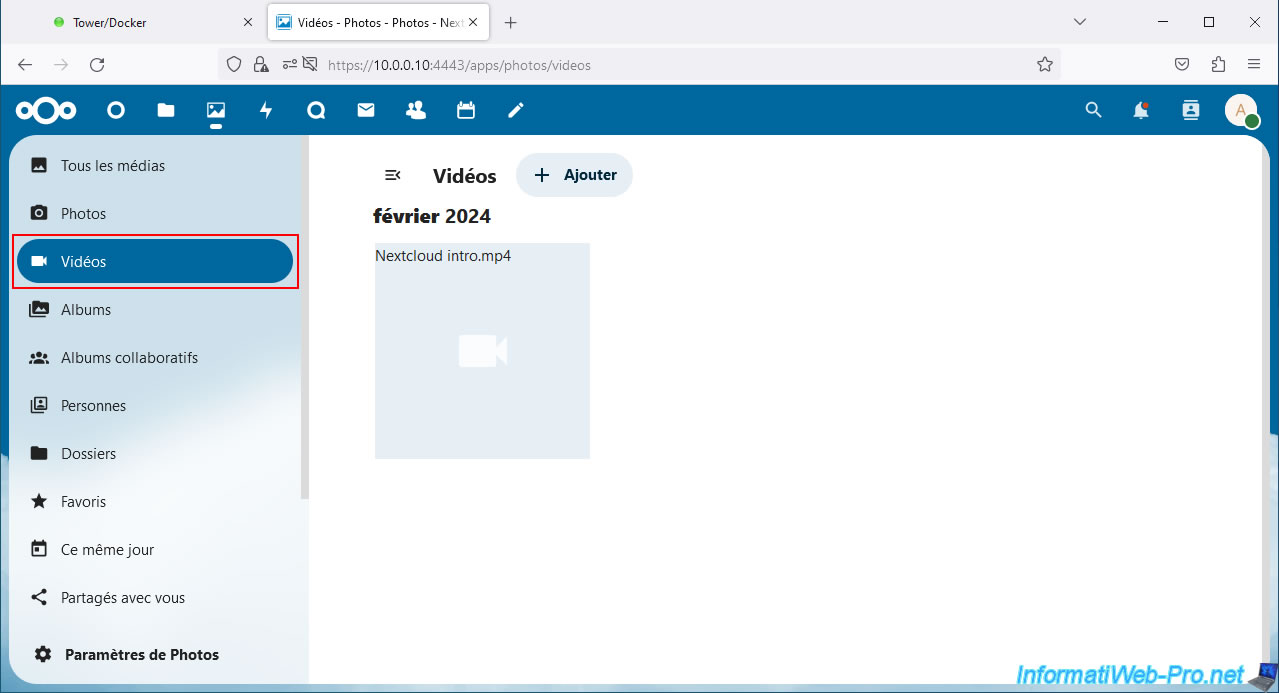
7. View media files (tab: Photos)
In the "Photos" tab (whose icon is an image), you can quickly see the multimedia files (photos, videos, ...) added to your Nextcloud server.
By default, all media files are visible.
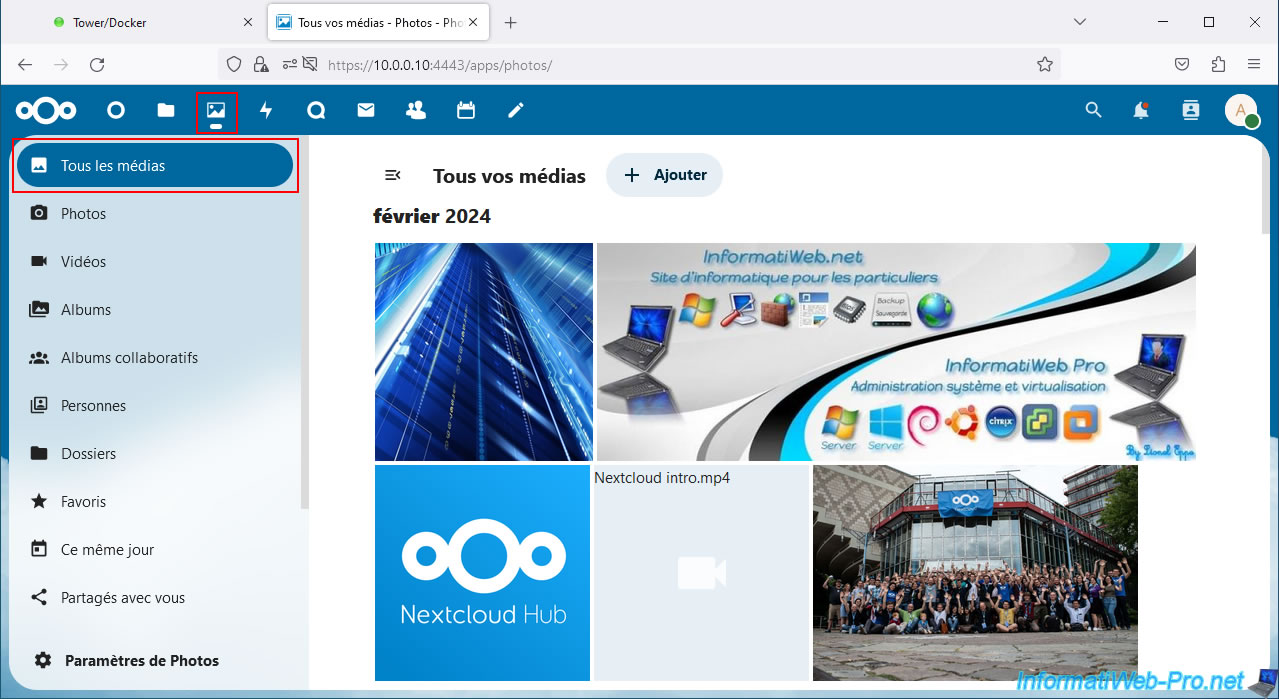
To view only photos, go to the "Photos" section on the left.
To view only videos, go to the "Videos" section (on the left).
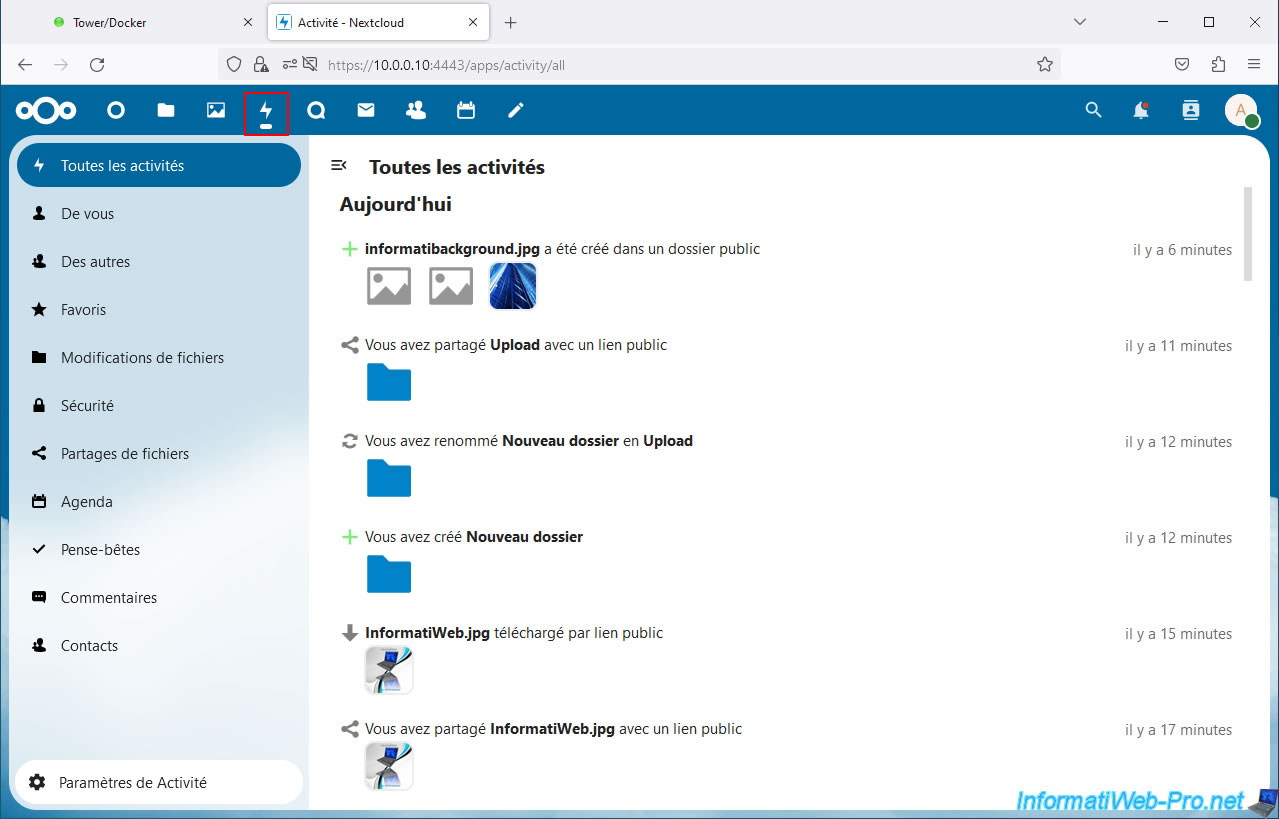
8. Activities (history of actions performed)
To see the history of actions performed on your Nextcloud server, go to the "Activities" section (the icon is a lightning bolt).
In this "Activities" section, you will be able to see recent actions performed:
- From you: by you.
- From others: by other users of your Nextcloud server.
- File Changes: changes made to files.
- File Sharing: adding and editing shares
- and more.
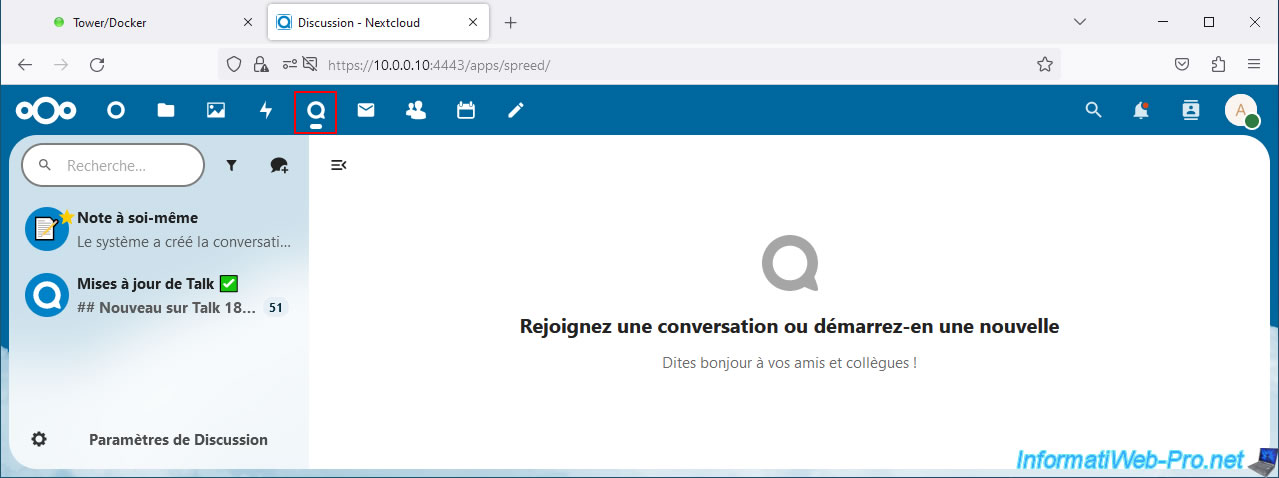
9. Discussion
In the "Discussion" tab (whose icon is a bubble), you can create discussions to chat with other users of your Nextcloud server.
Note that you can chat by writing text, but also make audio and video calls via your Nextcloud server.
It is possible to create a discussion between 2 users, but also create discussion groups.
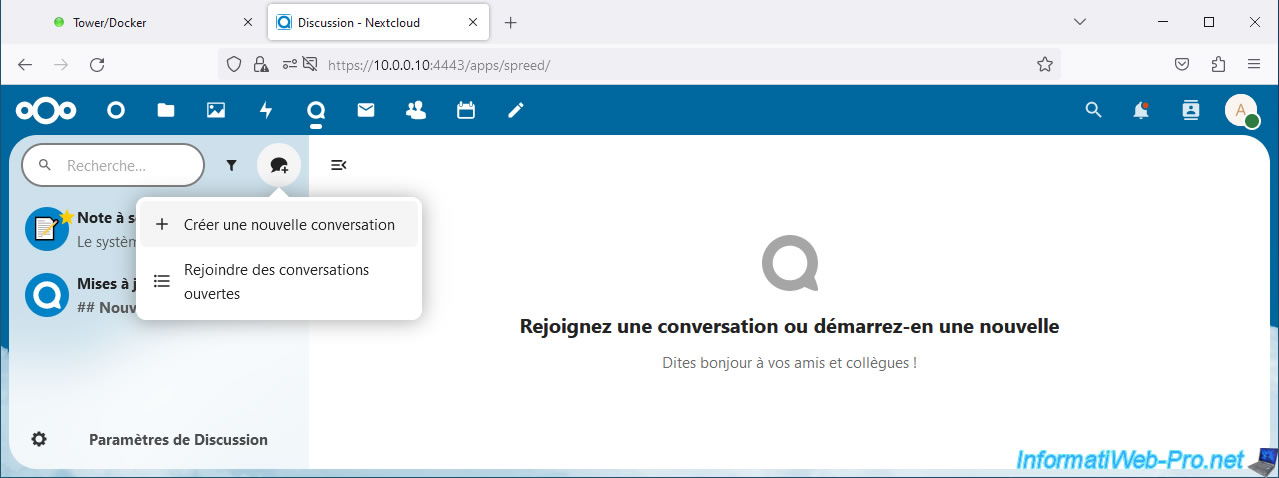
To create a new discussion, click on the "+" icon, then on: Create a new discussion.
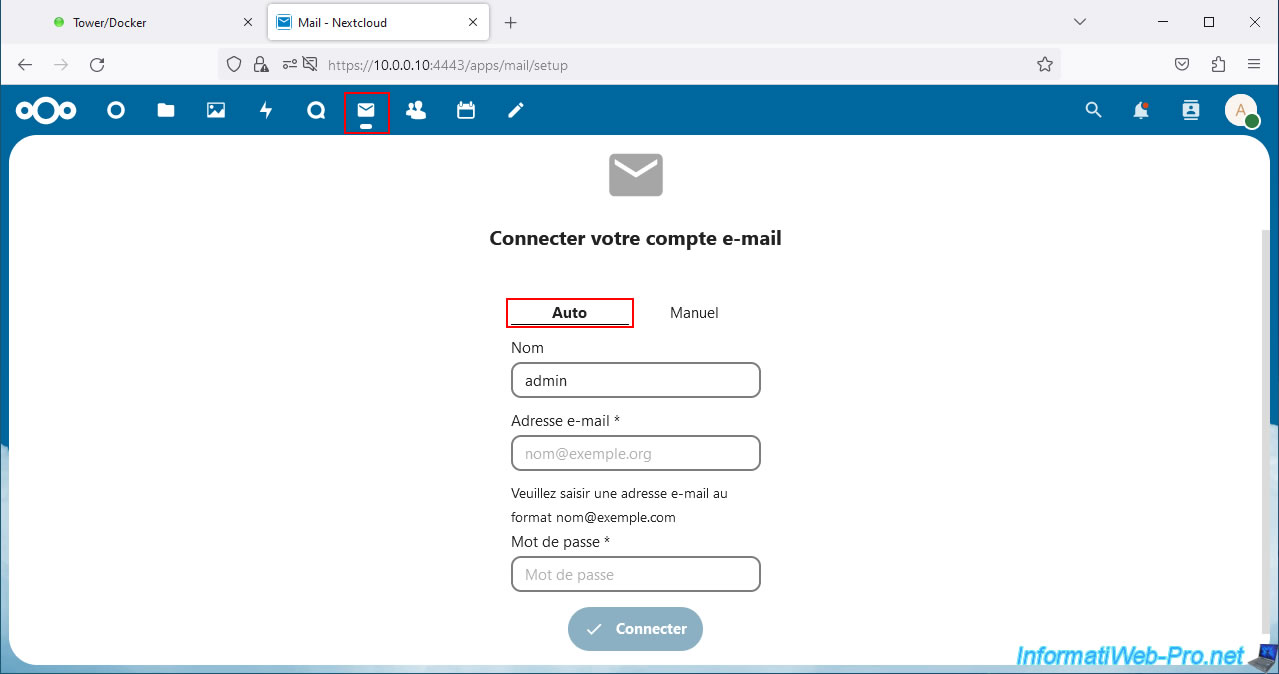
10. Mail (check external emails)
In the "Mail" tab (whose icon is a message), you can add existing email accounts with providers such as: gmail, outlook, ... to be able to check your emails from from your Nextcloud server.
To do this, you can use the "Auto" tab and simply indicate:
- Name: the name under which this account will appear on Nextcloud.
- Email Address: your email address.
- Password: the password for this email address.
Then click: Connect.
Nextcloud will automatically detect the necessary parameters (IMAP, SMTP, ...) to be able to connect to the mail server where your email address is located.
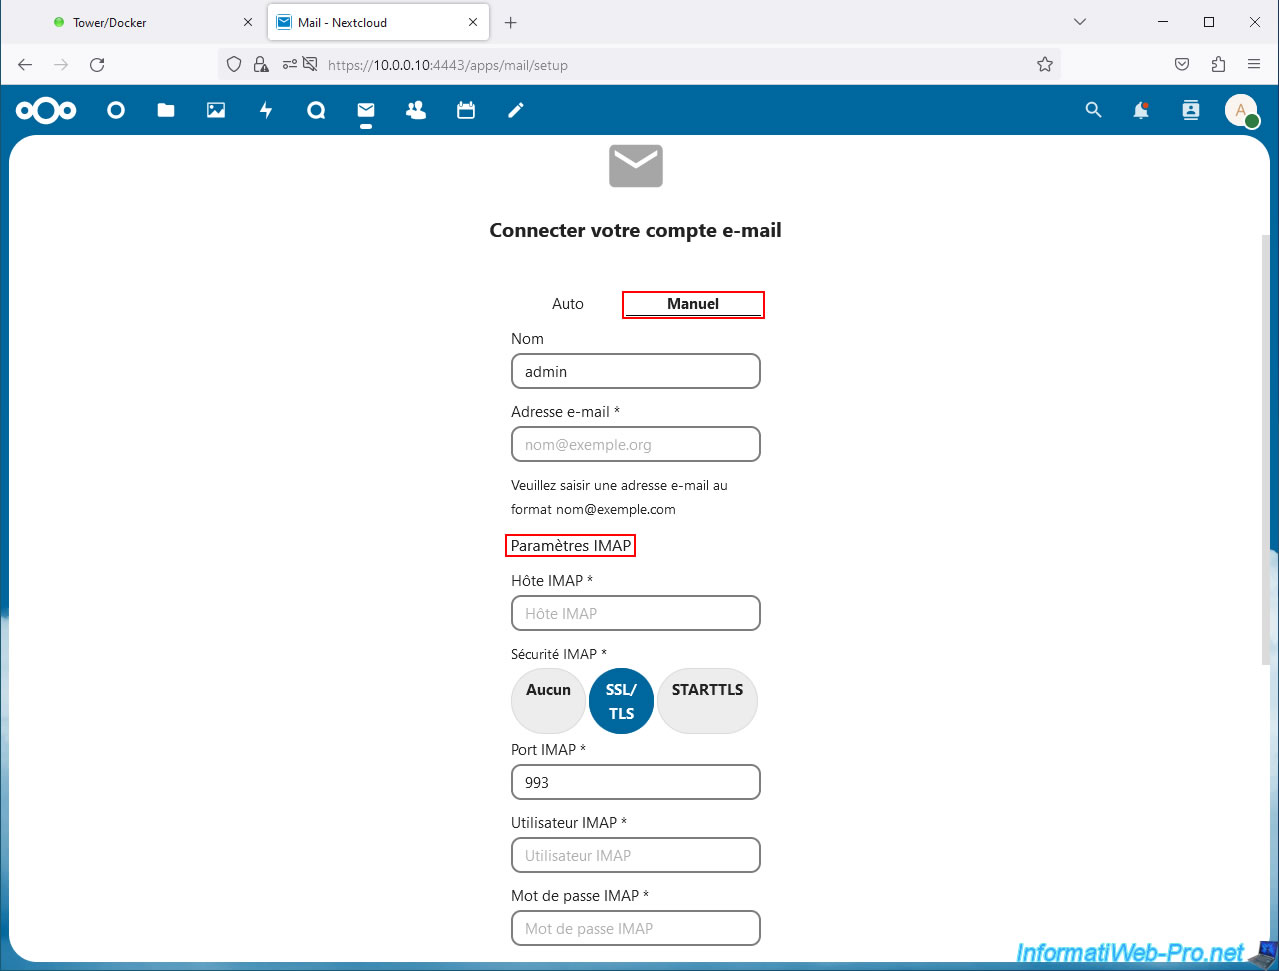
Alternatively, you can use the "Manual" tab to manually specify IMAP (for retrieving emails) and SMTP (for sending emails) settings.
Share this tutorial
To see also
-
NAS 11/21/2025
Unraid 6.9.2 - Install and configure Unraid 6.9.2
-
NAS 3/11/2026
Unraid 6.9.2 - Presentation of Dynamix plugins (sys info, ...)
-
NAS 6/3/2026
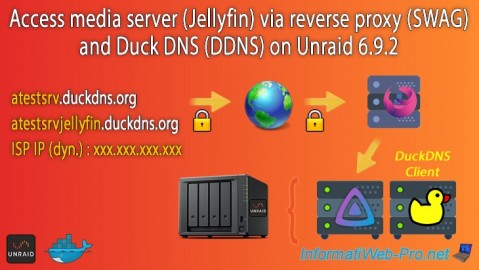
Unraid 6.9.2 - SWAG - Access Jellyfin via reverse proxy and Duck DNS (DDNS)
-
NAS 7/15/2026
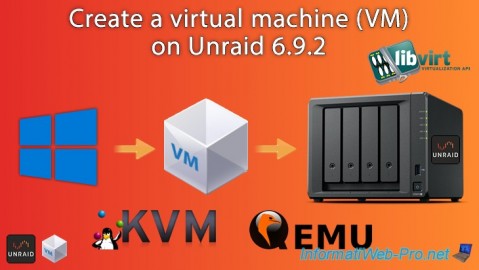
Unraid 6.9.2 - VMs - Create a virtual machine
No comment