- Firewall
- pfSense
- 29 August 2025 at 11:09 UTC
-

- 1/3

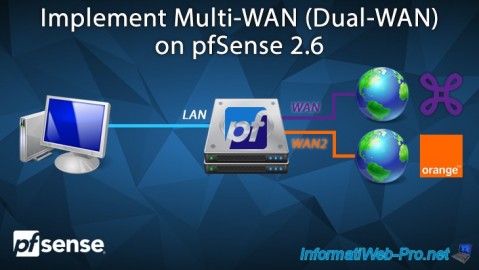
When you need high availability for Internet access or want to improve your Internet bandwidth, you will need to implement Multi-WAN.
Important : it is recommended to use 2 Internet subscriptions with different ISPs and preferably with different technologies (optical fiber, VDSL, ADSL, ...).
So, if an operator has a problem in its internal networks and/or in its own cabling, the other pfSense WAN interface will allow you to continue accessing the Internet via the other operator.
Warning : to ensure high availability of Internet access, you could also use pfSense high availability.
So, if one pfSense machine fails, Internet access will still be available through the other pfSense machine.
However, this is not covered in our tutorial.
If you're interested, check out the official pfSense documentation : High Availability Configuration Example with Multi-WAN | pfSense Documentation.
- Add a new network adapter for the 2nd Internet access (WAN2)
- Add a WAN2 interface
- Configure the DNS server to use for each WAN interface
- Create a WAN gateway group
- Configure the firewall to use the WAN gateway group
- View graphs for network traffic
- Add the Traffic Graph widget to see network traffic for multiple interfaces
- Fault tolerance testing
1. Add a new network adapter for the 2nd Internet access (WAN2)
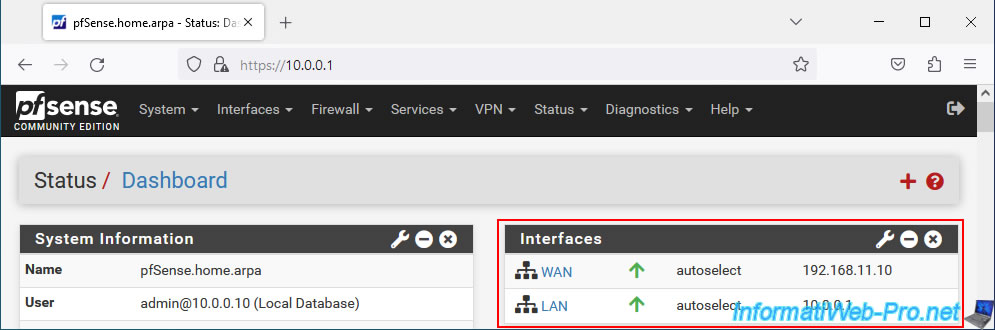
For this tutorial, we installed a basic installation of pfSense.
Our pfSense machine therefore currently has 2 logical interfaces: WAN and LAN.
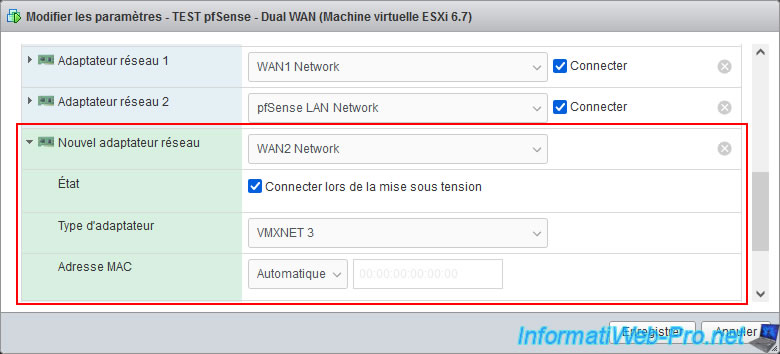
Add a new network adapter to your pfSense machine and connect it to the Box of your 2nd ISP.
Note: in our case, pfSense runs in a virtual machine, so we connect this new network adapter to the virtual network "WAN2 Network" which allows us to use (virtually) the 2nd connection to the Internet.
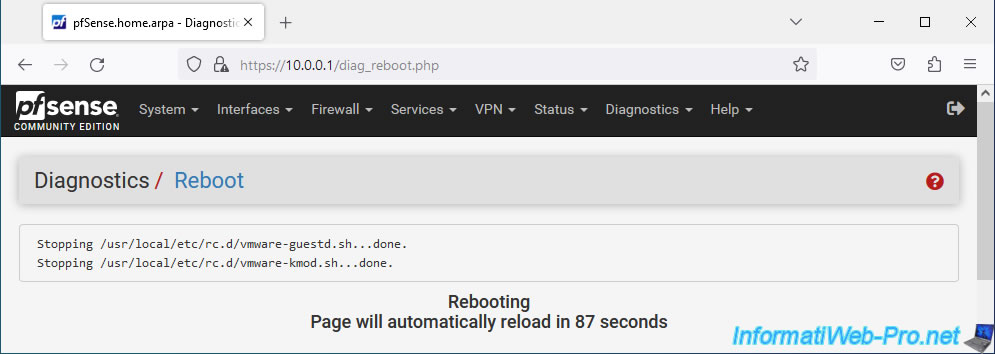
Then, if you added the network adapter without turning off the pfSense machine, you will need to restart pfSense for it to be seen.
To do this, go to "Diagnostics -> Reboot" and click Submit.
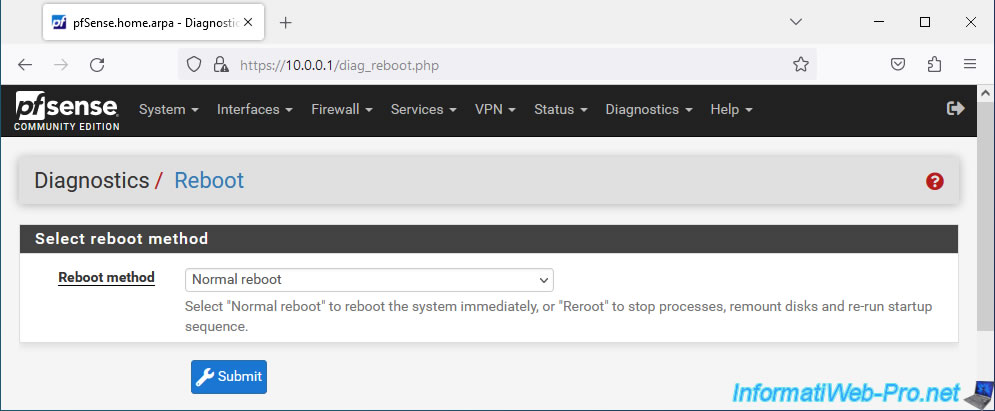
The pfSense machine will restart and you will automatically arrive on its login page in 90 seconds (1min30).
2. Add a WAN2 interface
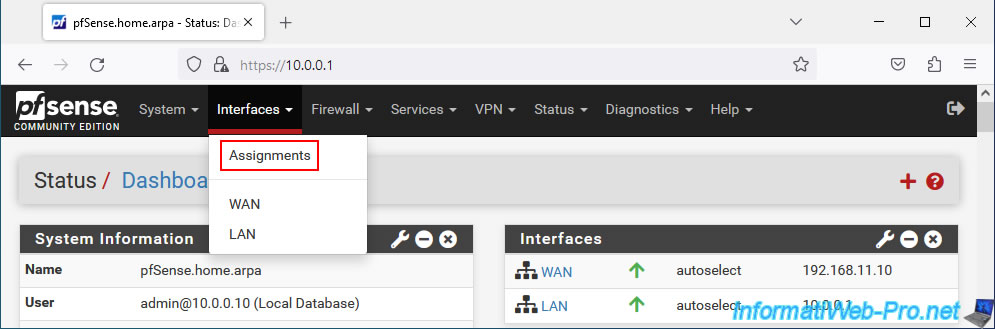
Now that the pfSense machine has been restarted, go to: Interfaces -> Assignments.
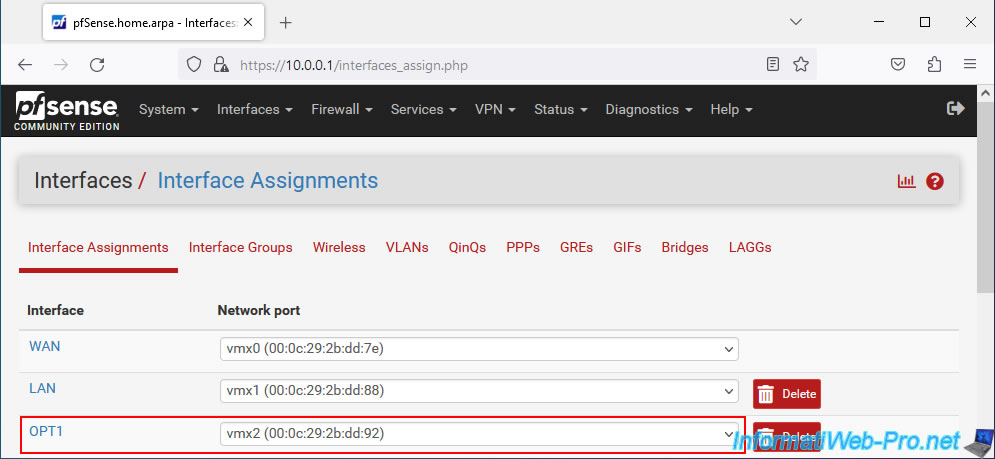
An "Available network ports" section appears with your new network card (vmx2 in our case).
Click "Add" to assign it to a new logical interface.

By default, your new network card will be assigned to a logical interface named "OPT1".
Click on its name (OPT1) or go to: Interfaces -> OPT1.
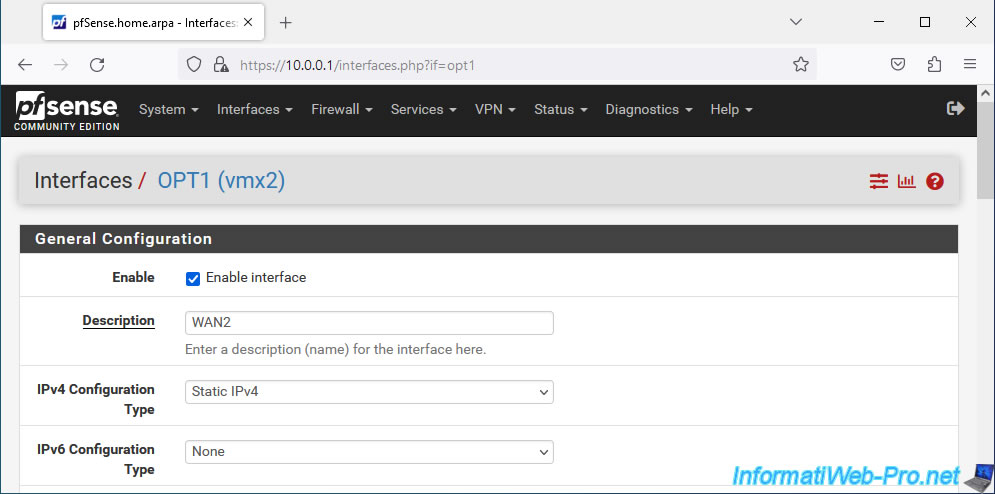
On the "Interfaces / OPT1" page that appears, configure these settings:
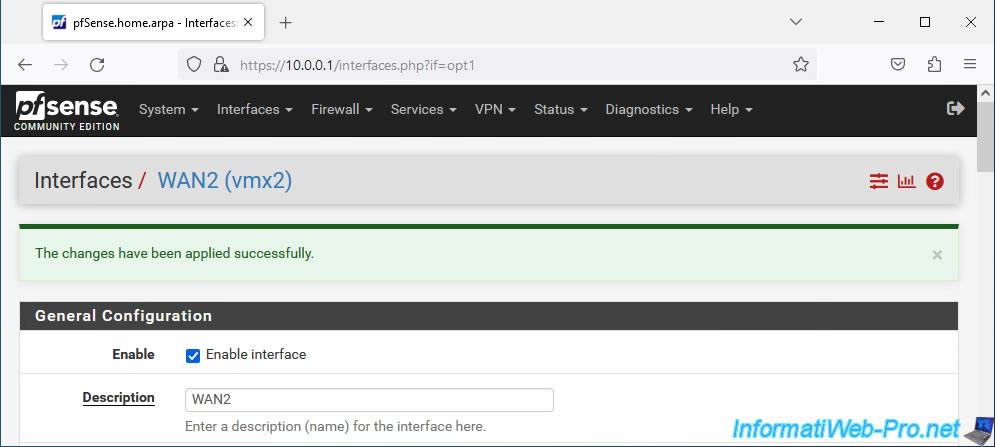
- Enable: check the "Enable interface" box to enable this new logical interface.
- Description: specify "WAN2" to rename this interface.
- IPv4 Configuration Type: select the IPv4 configuration type to use.
In our case, our pfSense machine is connected (virtually) to the Internet Box of the 2nd ISP.
So, we select "Static IPv4". - IPv6 Configuration Type: leave "None" selected, as we will not use IPv6 in our case.
Since we have selected "IPv4 Configuration Type: Static IPv4", a "Static IPv4 Configuration" section appears.
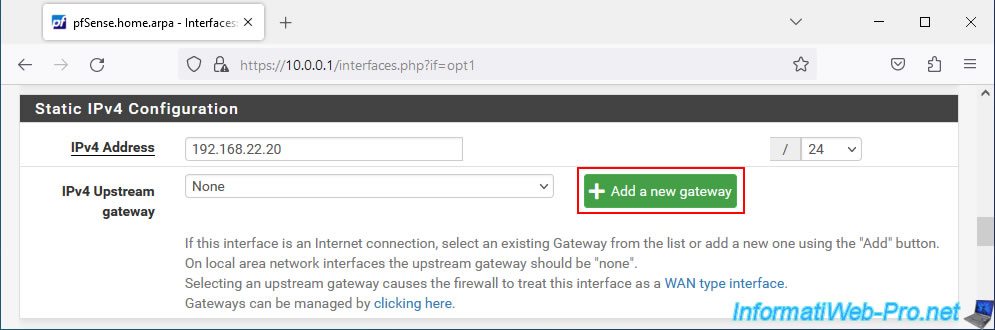
In this section, indicate the static IPv4 Address to use for this WAN2 interface, as well as the associated subnet (in our case "/24" since the network used is "192.168.22.x" ).
Then, click on the "Add a new gateway" button to indicate the internal IP address of the 2nd ISP Box.
Note: as noted by pfSense, specifying a parent gateway (IPv4 Upstream gateway) means that pfSense will consider this interface as a WAN interface.
Which is the desired effect in this case.
In the "New IPv4 Gateway" window that appears, configure the settings like this:
- Default: leave the "Default gateway" box unchecked, because the WAN interface is used by default.
Not the WAN2 interface you are configuring. - Gateway name: specify "WAN2GW". It is under this name that this gateway will appear in the pfSense configuration.
- Gateway IPv4: indicate the LAN IP address of the Box of your 2nd ISP.
In our case, this Box has the IP address "192.168.22.254". - Description: provide an indicative description for this 2nd gateway if you wish.
Then, click: Add.
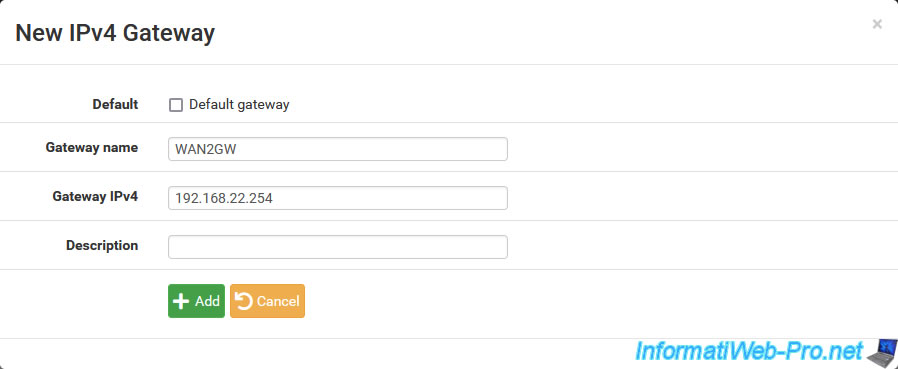
The name and IP address of the created parent gateway appear for the "IPv4 Upstream gateway" setting.

At the bottom of the page, click Save.
At the top of the page, click: Apply Changes.
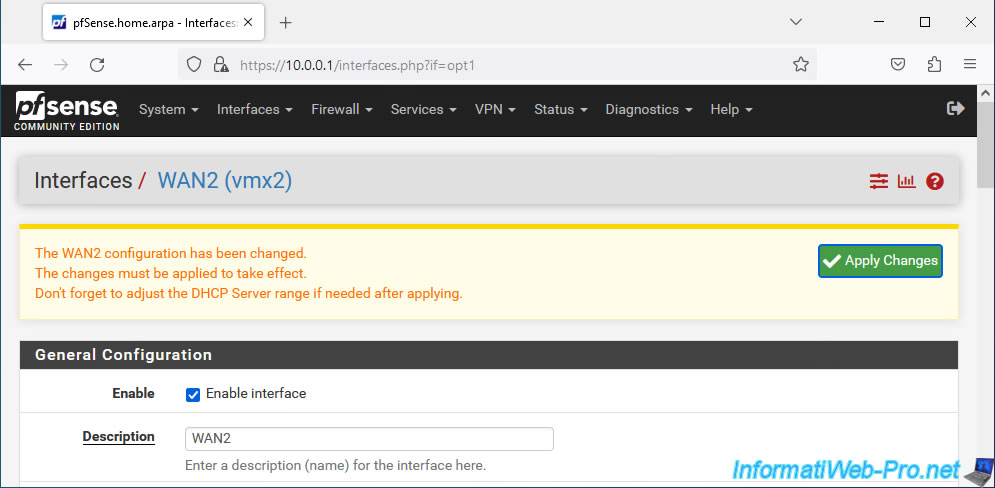
Your WAN2 interface is enabled and configured.
3. Configure the DNS server to use for each WAN interface
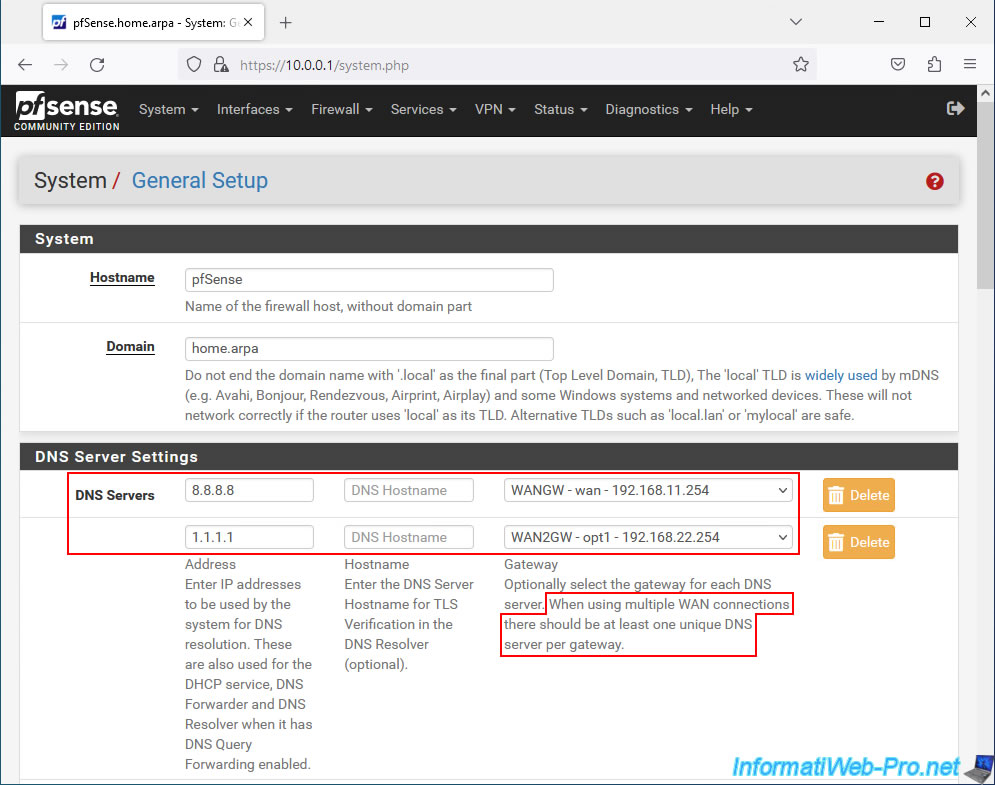
When using multiple WAN interfaces, you must specify at least one DNS server per WAN interface.
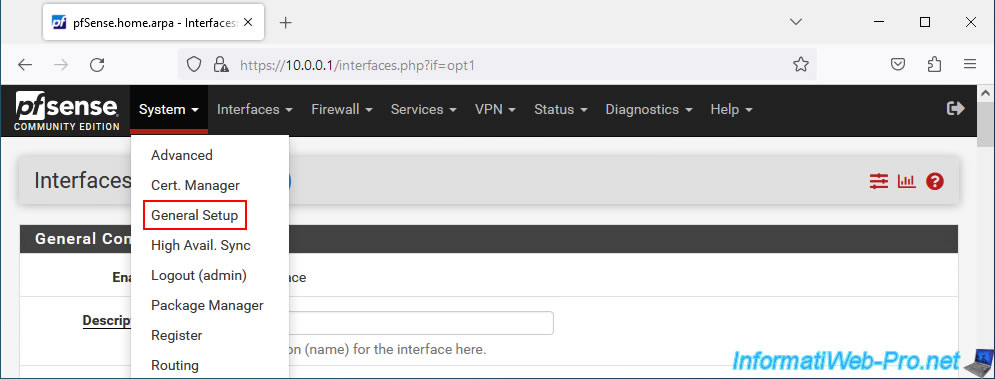
To do this, go to: System -> General Setup.
In the "DNS Server Settings" section of the "General Setup" page that appears, configure the "DNS Servers" setting like this:
- 8.8.8.8 (Google public DNS) / (leave blank to use the same hostname on the WAN interface) / select your 1st WAN interface (by default : WANGW - wan).
- 1.1.1.1 (CloudFlare public DNS) / (leave blank for the reason cited above) / select your 2nd WAN interface (in our case : WAN2GW - opt1).
Note: as noted by pfSense, when using multiple WAN interfaces, there must be at least one DNS server per gateway.
At the bottom of the page, click Save.
The DNS configuration has been saved for your interfaces: WAN and WAN2.

Share this tutorial
To see also
-
Firewall 5/21/2025
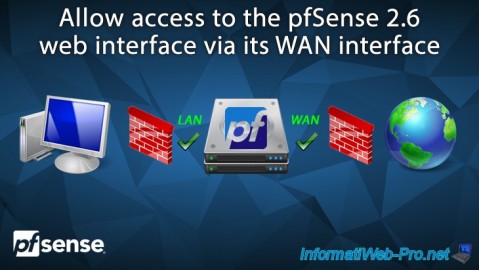
pfSense 2.6 - Access to the web interface via the WAN interface
-
Firewall 6/11/2025
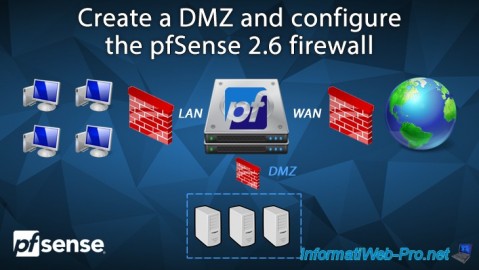
pfSense 2.6 - Create a DMZ and configure the firewall
-

Firewall 7/25/2025
pfSense 2.6 - Create and manage aliases
-

Firewall 5/28/2025
pfSense 2.6 - Create and use VLANs
You must be logged in to post a comment