- Firewall
- pfSense
- 02 July 2025 at 13:22 UTC
-

- 1/2

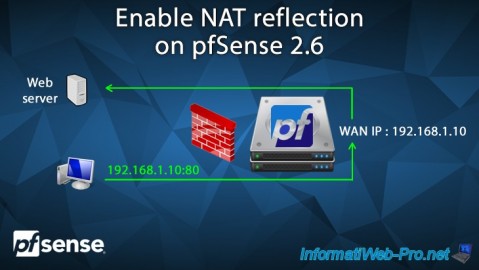
When you want to easily access a service hosted at home, you use a domain (purchased or free via a DDNS system) that you point to your (public) WAN IP address assigned to your Box.
However, if you try to access your domain, you have probably noticed that access from outside works correctly. However, from your local network, the connection fails.
To fix this problem, you will need to enable NAT Reflection (which is supported by pfSense).
- Configure your domain (at OVH)
- Overview of the test web server
- Configure Windows Server firewall for IIS website access
- Redirect port 80 (HTTP) in your Box
- Redirect port 80 (HTTP) on pfSense
- NAT reflection not functional (if pfSense is an intermediate router)
- Split DNS via option: DNS overrides
1. Configure your domain (at OVH)
1.1. Configure the root domain
For this tutorial, we will configure our test root domain, as well as its "www" subdomain so that it points to the IP address of our Box.
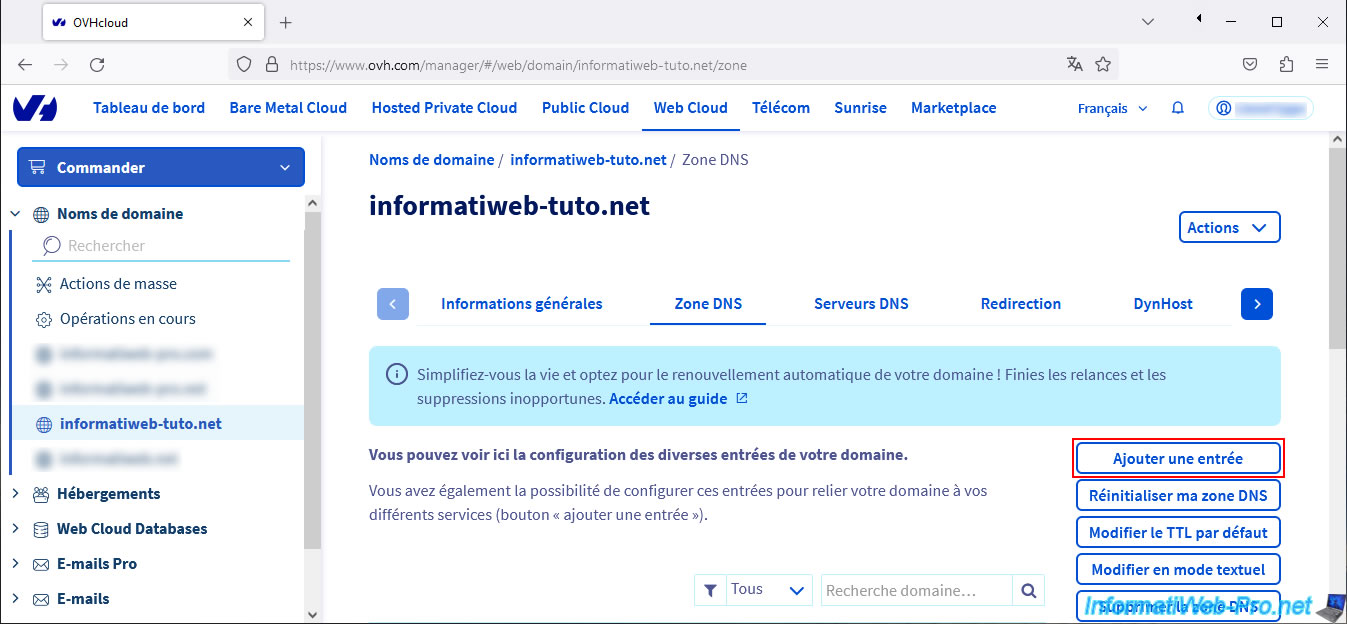
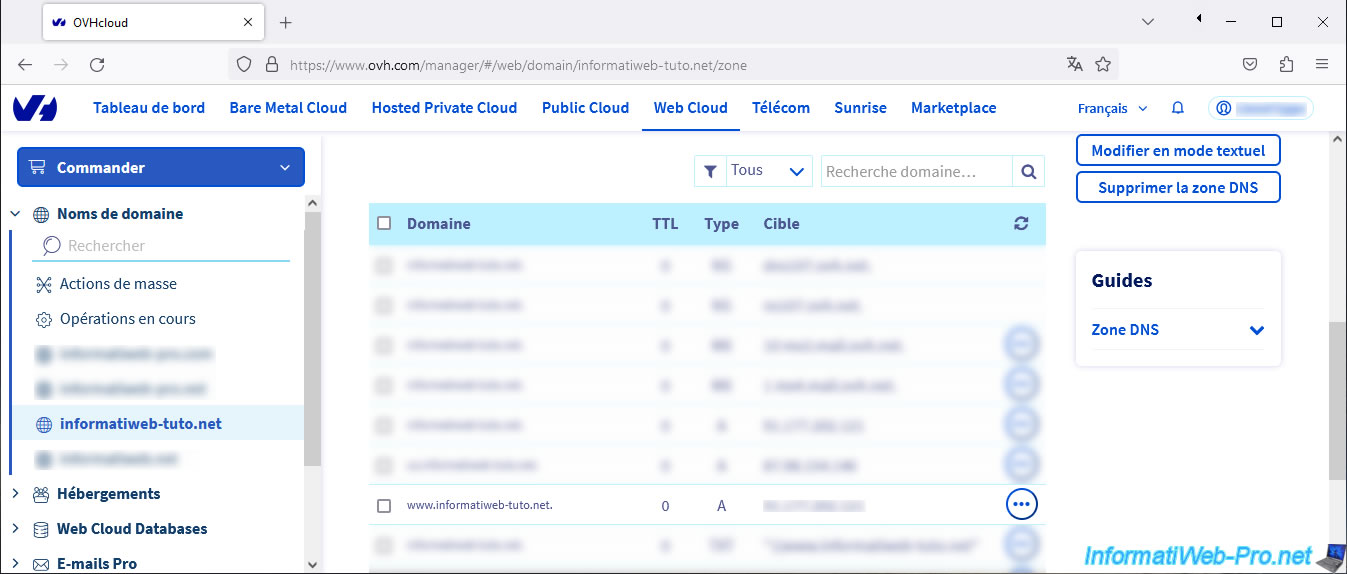
To do this, in the case of OVH, go to "Web Cloud -> Domain names -> [your domain] -> DNS zone".
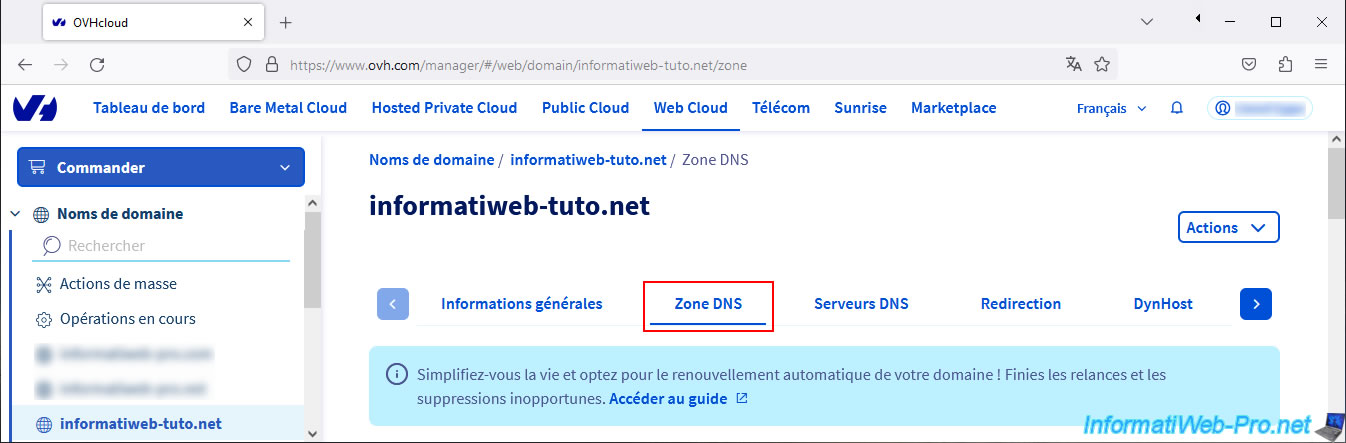
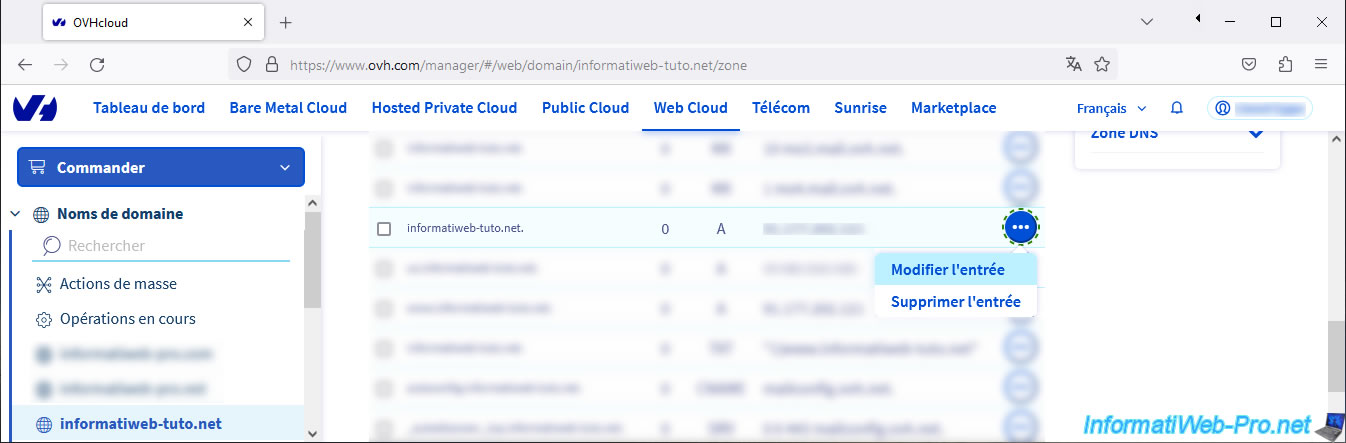
Next, click on the "..." button located to the right of the type A record for your root domain (eg: informatiweb-tuto.net), then click on: Edit entry.
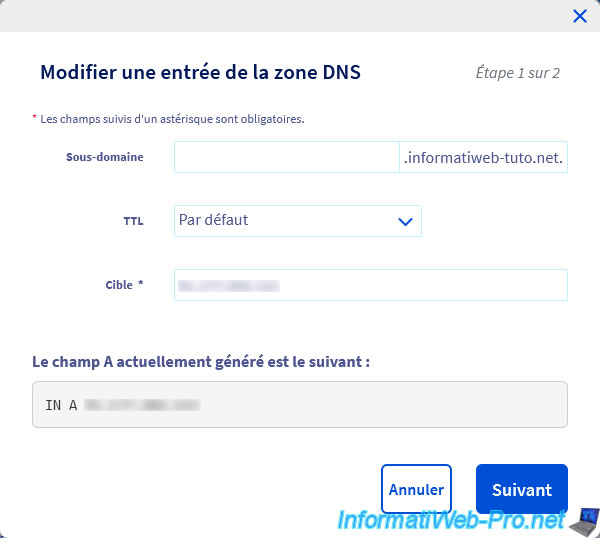
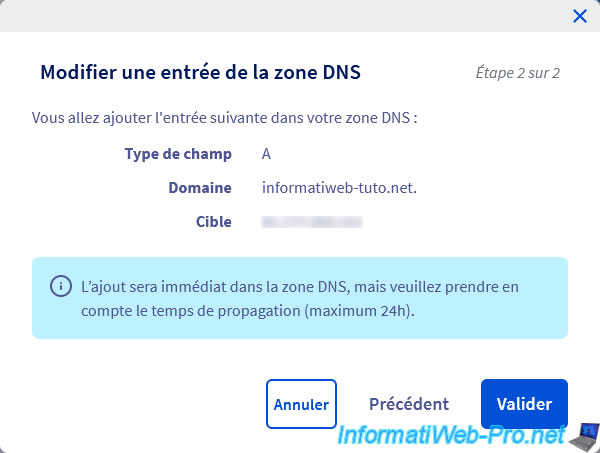
Indicate your public IP address (assigned to your Box) in the "Target" box, then click Next.
Note: for the root domain, it is normal for the "Subdomain" box to be empty and it must remain empty.
Click Validate.
Important : as indicated by OVH, DNS propagation can take up to 24 hours. It is therefore possible that the change will not be taken into account directly at your location.
1.2. Configure the www subdomain
To add a "www" subdomain (usually used to access a website), click the "Add Entry" button.
Note: if the "www" subdomain already exists in your domain's DNS zone, modify the existing entry.
Choose the type of DNS record to use.
Choose type "A" to point your "www" subdomain to an IPv4 address (eg xx.xx.xx.xx) or "CNAME" to point it to the same IP address as the root domain you are coming from. to configure.
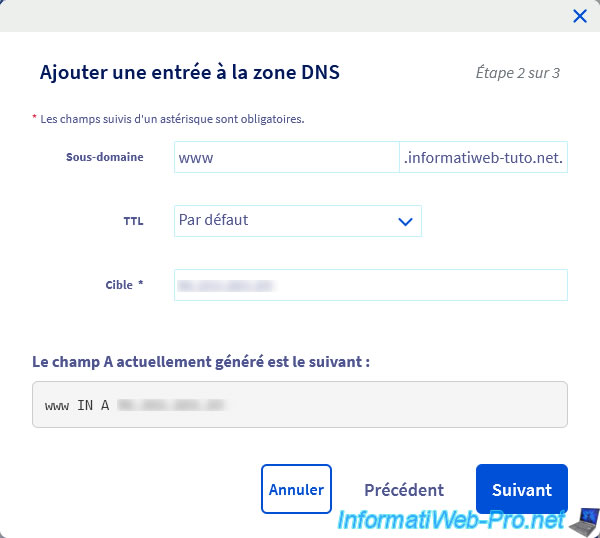
For this tutorial, we created an "A" type record.

Enter "www" in the "Subdomain" box, then enter your public IP address in the "Target" box.
Then click Next.
Click Validate.
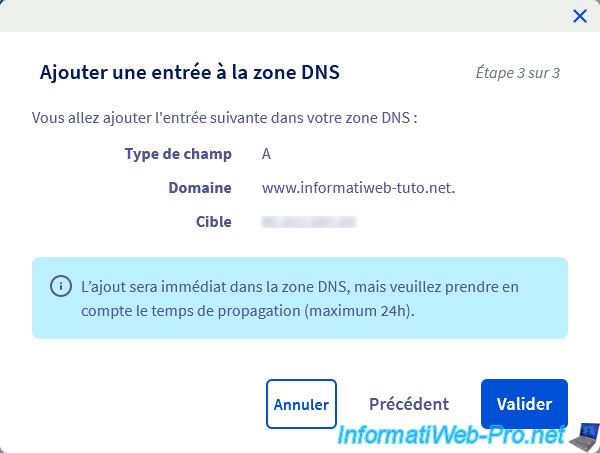
Your "www" subdomain has been created.
2. Overview of the test web server
For this tutorial, we installed a simple "ISS" web server on Windows Server and we changed the default site HTTP port to use port 8080 instead of port 80.
This will allow us to show you that you can access your local website via your external domain name from the Internet and from your local network using port 80 (thanks to the port forwarding of your Box).
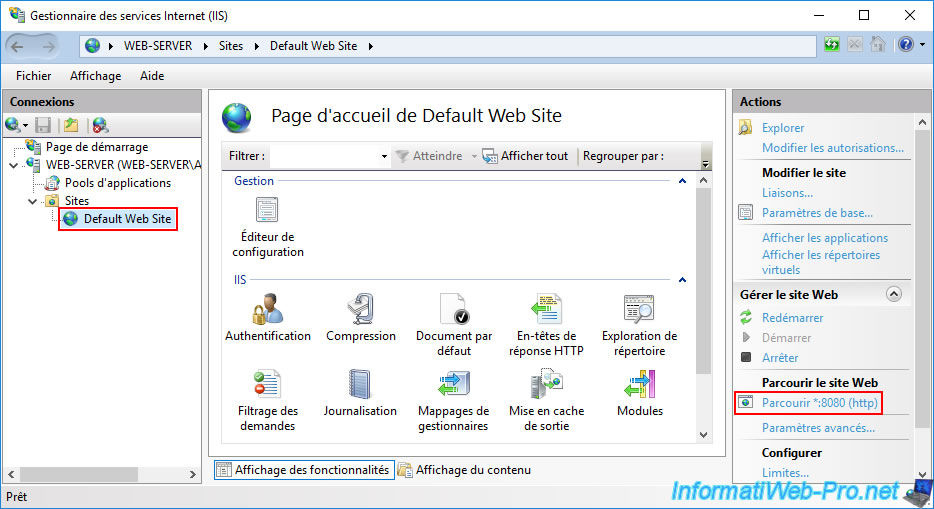
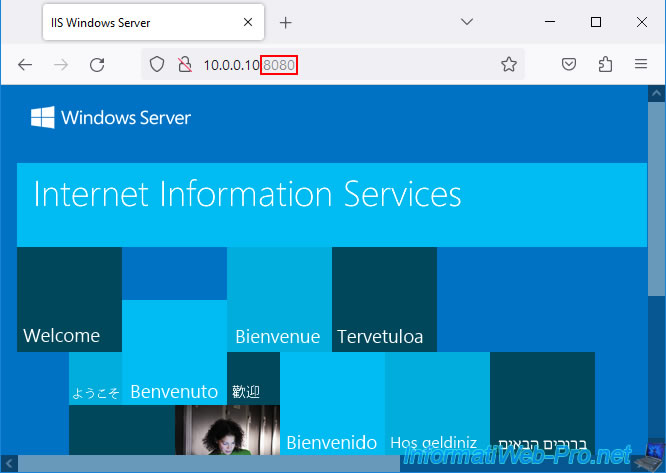
Currently, this website is therefore accessible on port 8080 (which you must specify in the address bar), as you can see below.
3. Configure Windows Server firewall for IIS website access
To be able to remotely access your website, it is necessary that incoming traffic on port 8080 (in our case) used by IIS is open on your web server.
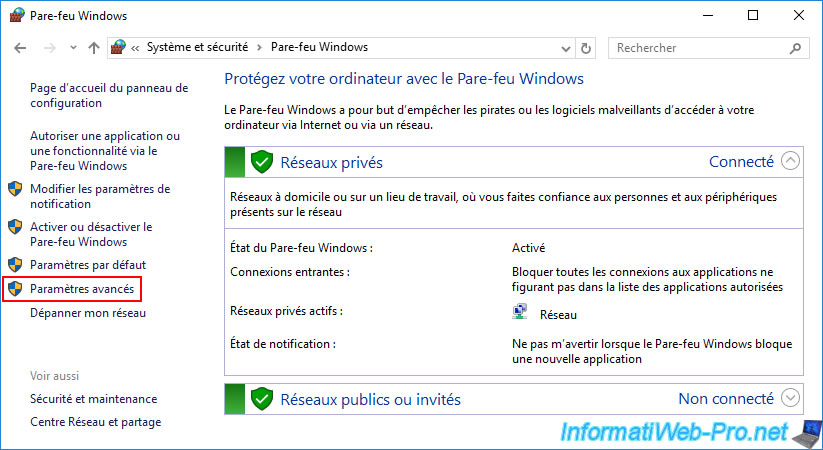
To do this, on Windows Server, go to the control panel, then to "System and security -> Windows Firewall".
Then, click on the "Advanced Settings" link present in the left column.
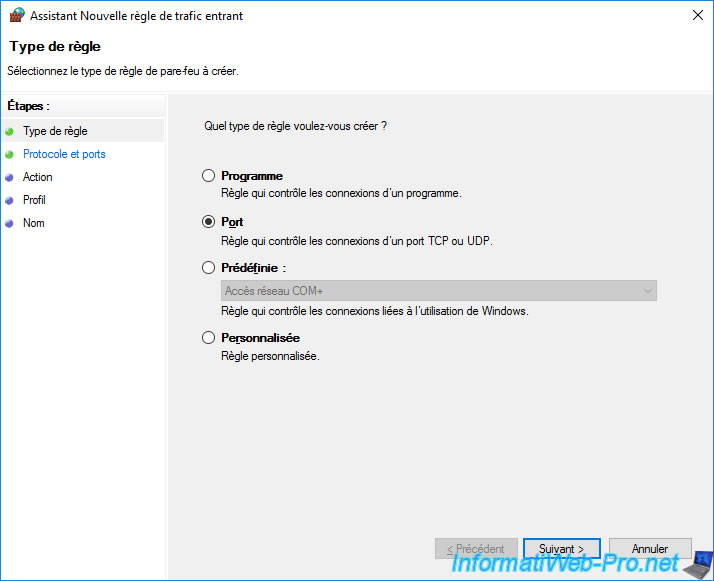
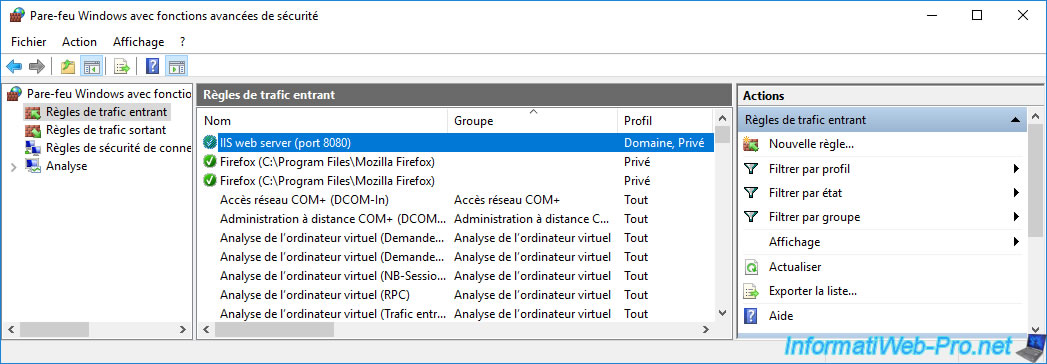
Click "Inbound Rules" (on the left), then "New Rule" (on the right).

Choose "Port" for the rule type.
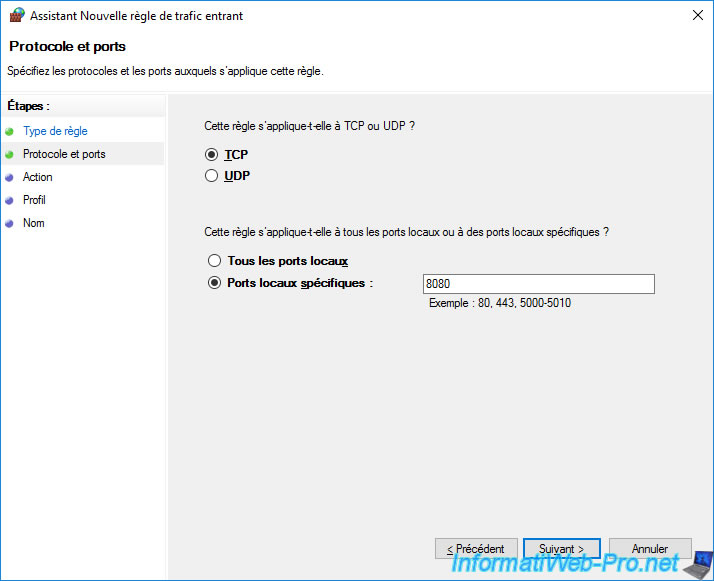
Specify "TCP" for the protocol and "8080" for the port number.
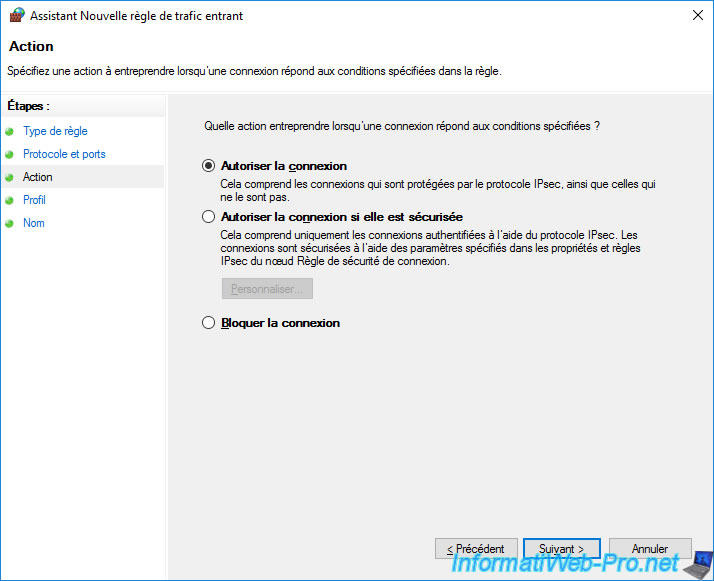
Leave the "Allow connection" action selected by default.
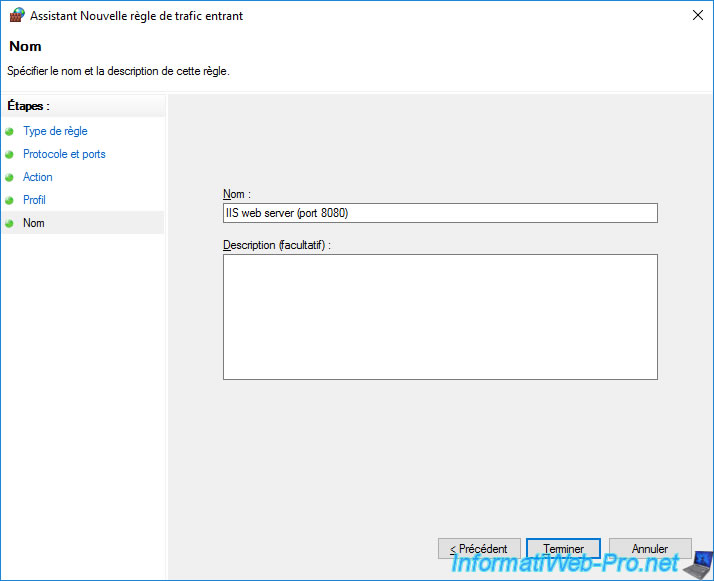
Specify "IIS web server (port 8080)" as the name for this rule (for example).
The new rule created appears in the list.
Share this tutorial
To see also
-
Firewall 8/24/2025
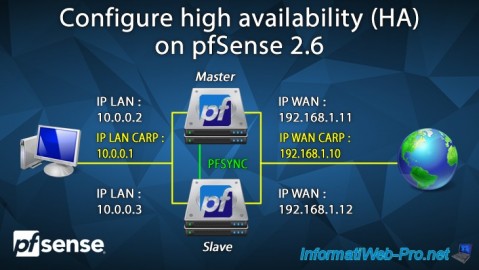
pfSense 2.6 - Configure high availability (HA)
-
Firewall 8/6/2025
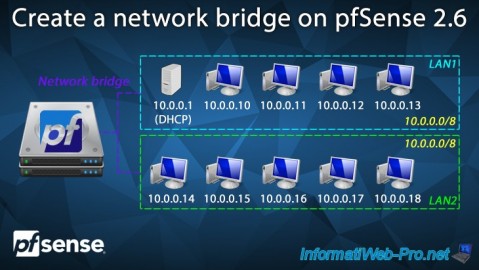
pfSense 2.6 - Create a network bridge
-
Firewall 6/6/2025
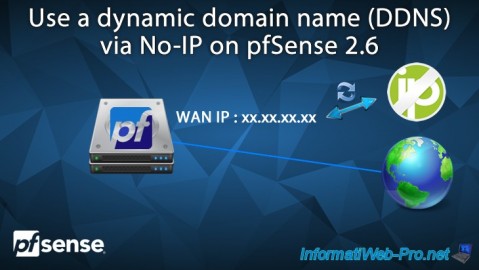
pfSense 2.6 - DDNS (dynamic DNS)
-
Firewall 6/4/2025
pfSense 2.6 - DNS resolution
You must be logged in to post a comment