Create a site-to-site (S2S) VPN tunnel via IPsec on pfSense 2.6 to connect 2 networks together
- Firewall
- pfSense
- 03 September 2025 at 07:43 UTC
-

- 3/5

2. Configure site 2 in Paris for IPsec
Now that pfSense is correctly configured on site 1 (Brussels), you just need to configure almost the same thing on site 2 (Paris).
Warning : certain parameters will need to be configured slightly differently to avoid, for example, that the 2 pfSense machines each try to establish the same IPsec tunnel at the same time.
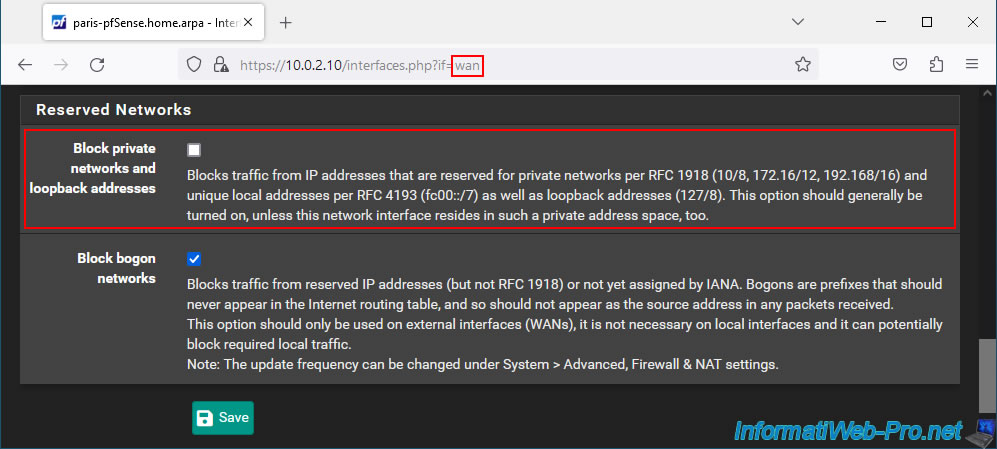
2.1. Allow private networks on the WAN interface of site 2 (Paris)
As a reminder, if pfSense uses a private (local) IP address for its WAN interface, it is important to disable the "Block private networks and loopback addresses" option on the "Interfaces -> WAN" page.
Second reminder, all screen prints on a black background (as below) concern the pfSense machine from site 2 (Paris) so that it is clearer to follow.
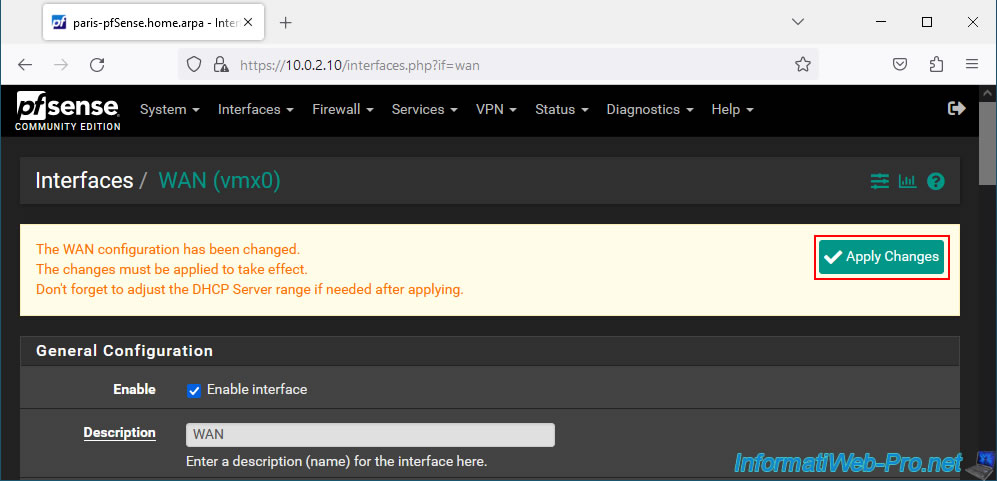
Then, don't forget to click "Apply Changes" at the top of the page after saving your WAN interface configuration.
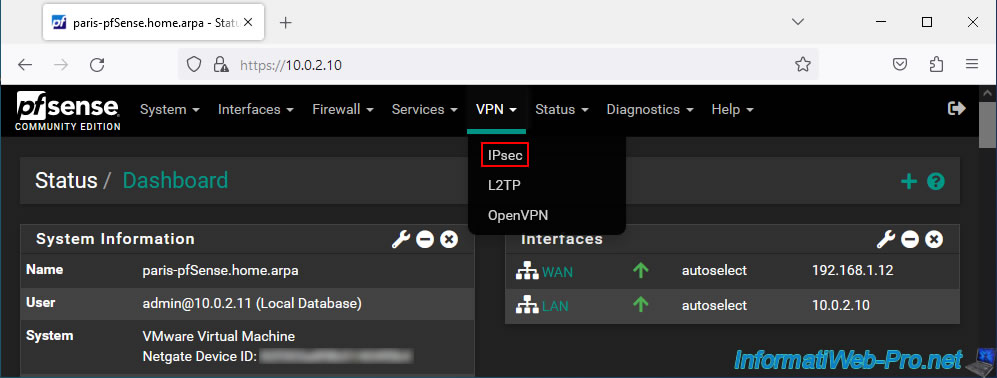
2.2. Configure phase 1 of the IPsec tunnel on site 2 (Paris)
To configure phase 1 of the IP sec tunnel on site 2 (Paris), go to: VPN -> IPsec.
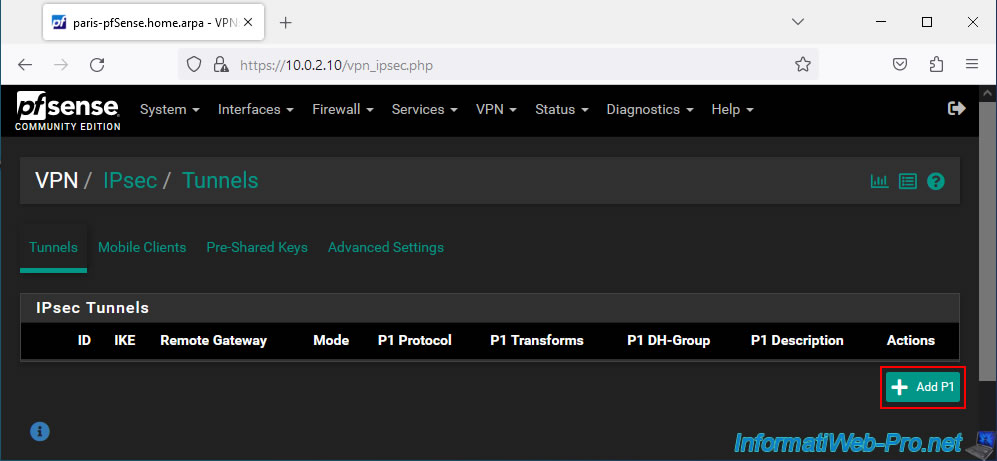
Click on: Add P1.
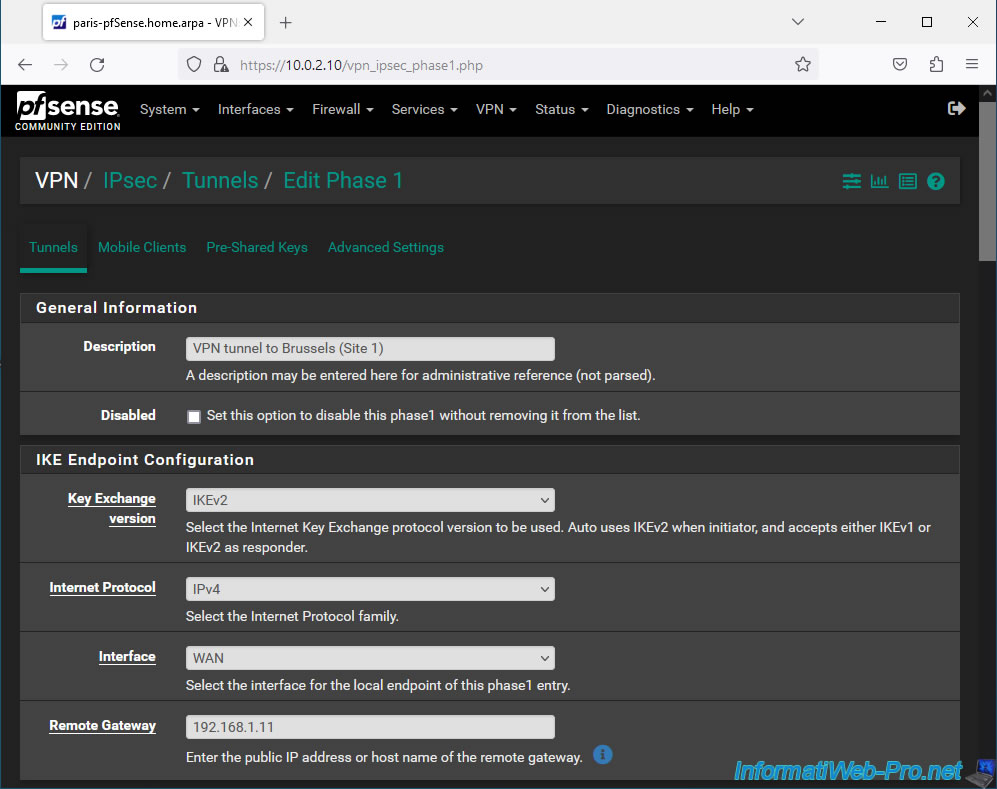
On the "Edit Phase 1" page, configure these settings:
- Description: VPN tunnel to Brussels (Site 1).
Indeed, this tunnel will provide access to the resources of site 1 (Brussels) from site 2 (Paris). - Key Exchange version: select "IKEv2" (as on site 1 (Brussels)).
- Internet Protocol: IPv4 to connect your 2 IPv4 networks.
- Interface: WAN. The IPsec tunnel will be established over the Internet (WAN).
- Remote Gateway: provide your company's public IP address for site 1 (Brussels).
In our case, we are testing this virtually and the WAN IP address of pfSense on site 1 is: 192.168.1.11.
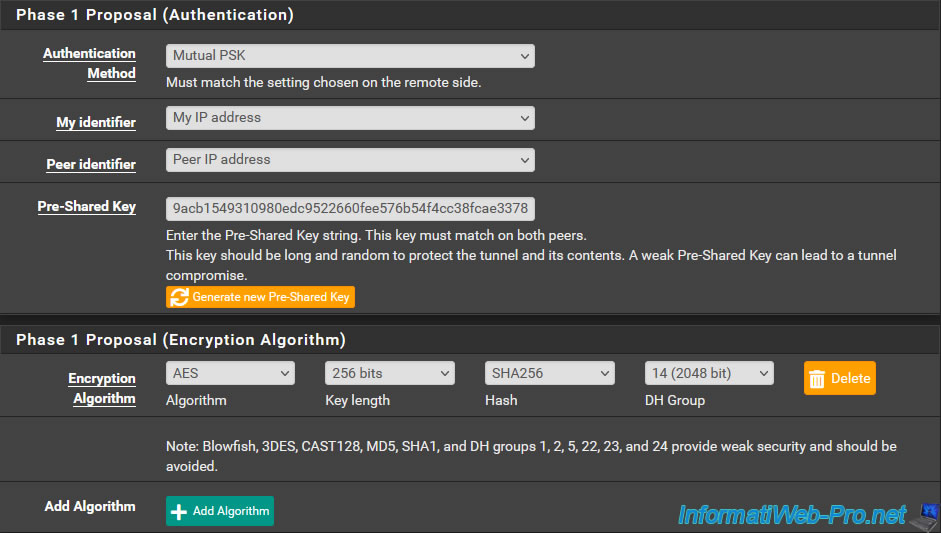
For authentication and encryption algorithm to use, indicate exactly the same as on site 1.
To know :
- Authentication Method: Mutual PSK. To use a secret pre-shared key.
- My identifier: My IP address.
- Peer identifier: Peer IP address.
- Pre-Shared Key: copy/paste the secret pre-shared key configured for tunnel P1 on site 1 (Brussels).
- Encryption Algorithm: AES / 256 bits / SHA256 / 14 (2048 bit).
Warning : make sure to indicate the same secret pre-shared key as that configured for tunnel P1 of site 1 (Brussels).
Warning : to prevent the IPsec tunnel from being able to expire at the same time on both sides and to prevent the 2 peers from each trying to reset the same IPsec tunnel at the same time, you must indicate a lifetime for the P2 tunnel which corresponds to 110% of the value configured on the other peer for this tunnel P1.
Which gives in our case "31600" (given that the value used on site 1 (Brussels) was "28800").

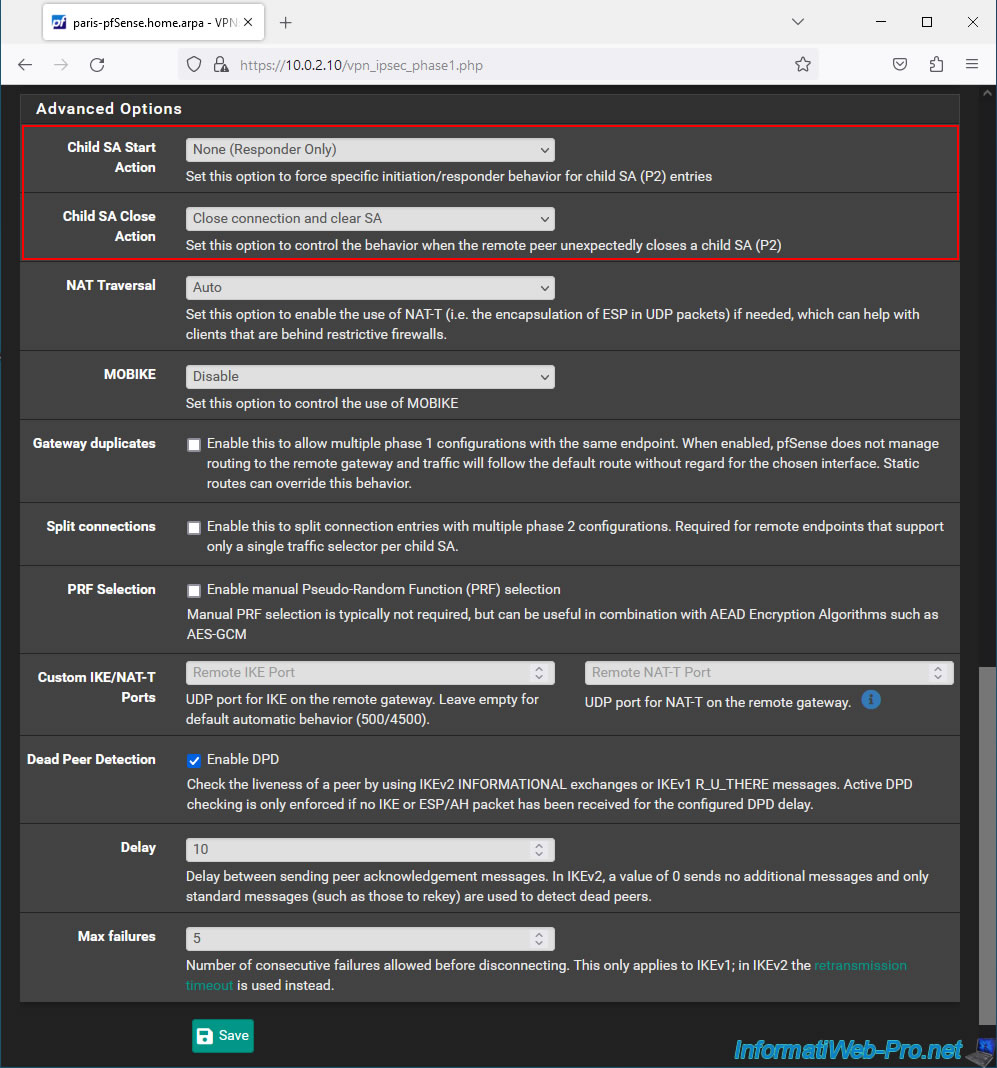
At the bottom of the page, configure these 2 parameters:
- Child SA Start Action: On site 2, the IPsec tunnel must be configured to "None (Responder Only)".
Thus, it is the IPsec service of site 1 which is responsible for automatically initializing the IPsec tunnel when it starts. - Child SA Close Action: on site 2, the IPsec tunnel must be configured in "Close connection and clear SA".
Thus, if a P2 tunnel is closed unexpectedly, it is site 1 which will be responsible for initializing the IPsec tunnel again.
Otherwise, the 2 peers would attempt to initialize the same IPsec tunnel. Which would pose a problem.
Click Save.
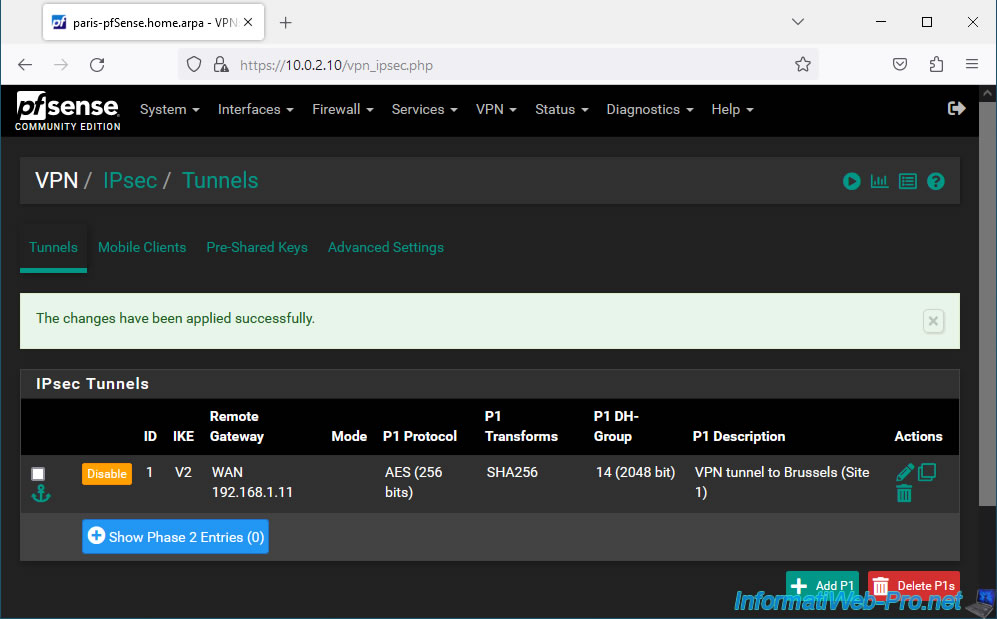
Click: Apply Changes.

Your P1 tunnel on site 2 (Paris) has been created.
Share this tutorial
To see also
-
Firewall 8/24/2025
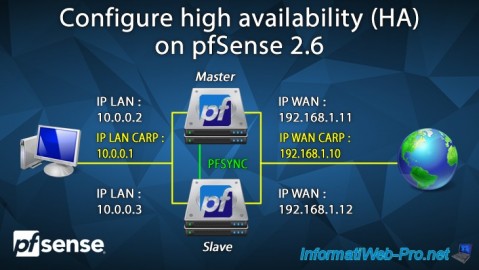
pfSense 2.6 - Configure high availability (HA)
-

Firewall 5/28/2025
pfSense 2.6 - Create and use VLANs
-
Firewall 6/6/2025
pfSense 2.6 - DDNS (dynamic DNS)
-
Firewall 6/13/2025
pfSense 2.6 - Schedule a rule in the firewall
No comment