- Firewall
- pfSense
- 27 August 2025 at 13:09 UTC
-

- 1/2

With pfSense, you can manage load balancing on backend servers via HAProxy.
Note that the "Load Balancer" option is no longer available since pfSense 2.5 and that pfSense recommends the "HAProxy" plugin which allows you to do the same thing better.
In this tutorial, you will see how to distribute the load on 2 web servers in the LAN network which will be accessible from the pfSense WAN interface via a single address.
- Install web servers in the background (backend)
- Install the HAProxy plugin on pfSense
- Add a HAProxy backend server
- Add a frontend server
- Configure HAProxy settings
- Allow access to the HAProxy front-end server
- Test load balancing via front-end server
- View HAProxy statistics
1. Install web servers in the background (backend)
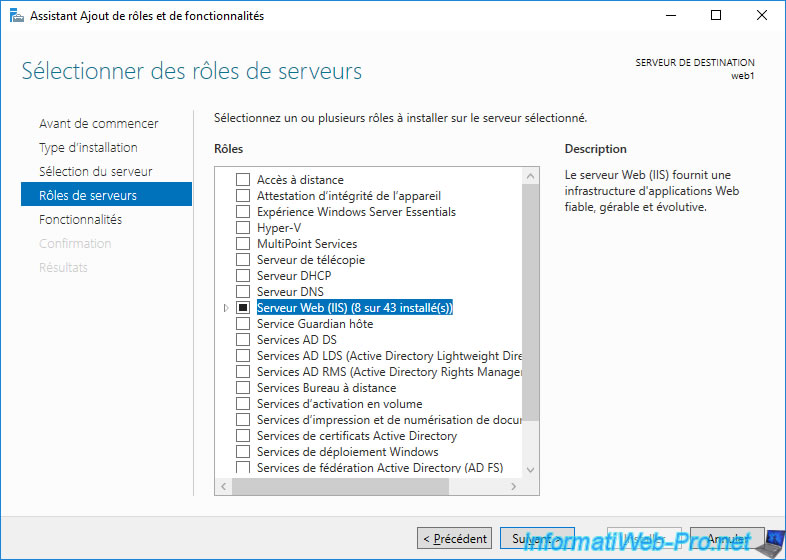
To get started, install 2 web servers on the pfSense LAN network.
In our case, we simply installed the "Web Server (IIS)" role on 2 servers on Windows Server 2016.
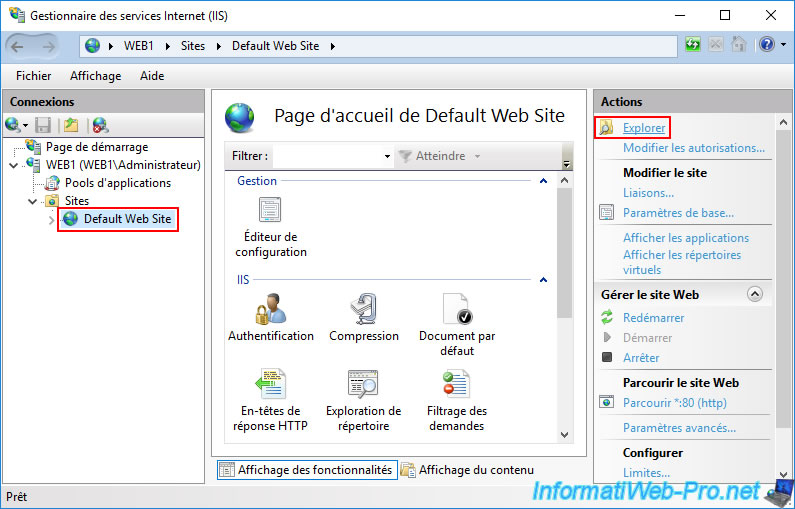
Once the IIS web server is installed, open the Internet Information Services (IIS) Manager, select the default website "Default Web Site" and click "Explore" (in the right column).
The "C:\inetpub\wwwroot" folder of the default website appears.
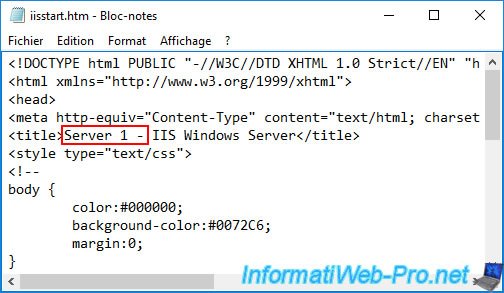
Edit the "iisstart.htm" file (displayed by default when accessing a website hosted on IIS) with notepad.
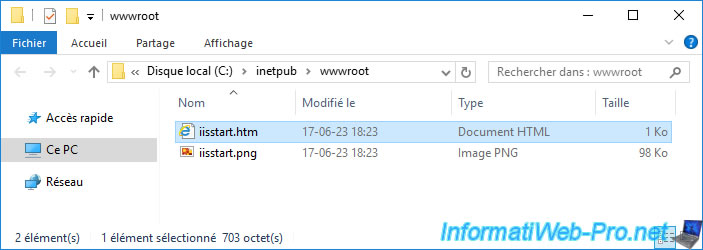
Add "Server 1 - " at the beginning of the page title ("<title>" tag).
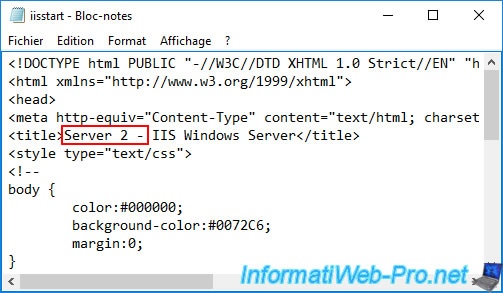
On your 2nd web server, add "Server 2 - " at the beginning of the page title ("<title>" tag).
2. Install the HAProxy plugin on pfSense
Previously, before pfSense version 2.5, you could use the "Load Balancer" option which was available natively.
However, since version 2.5, you will have to use its equivalent "HAProxy".
To do this, you must install the "HAProxy" plugin from the pfSense package manager.
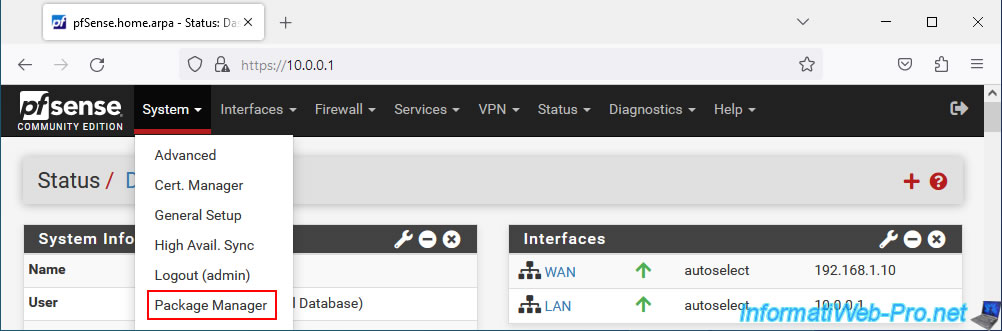
Go to: System -> Package Manager.
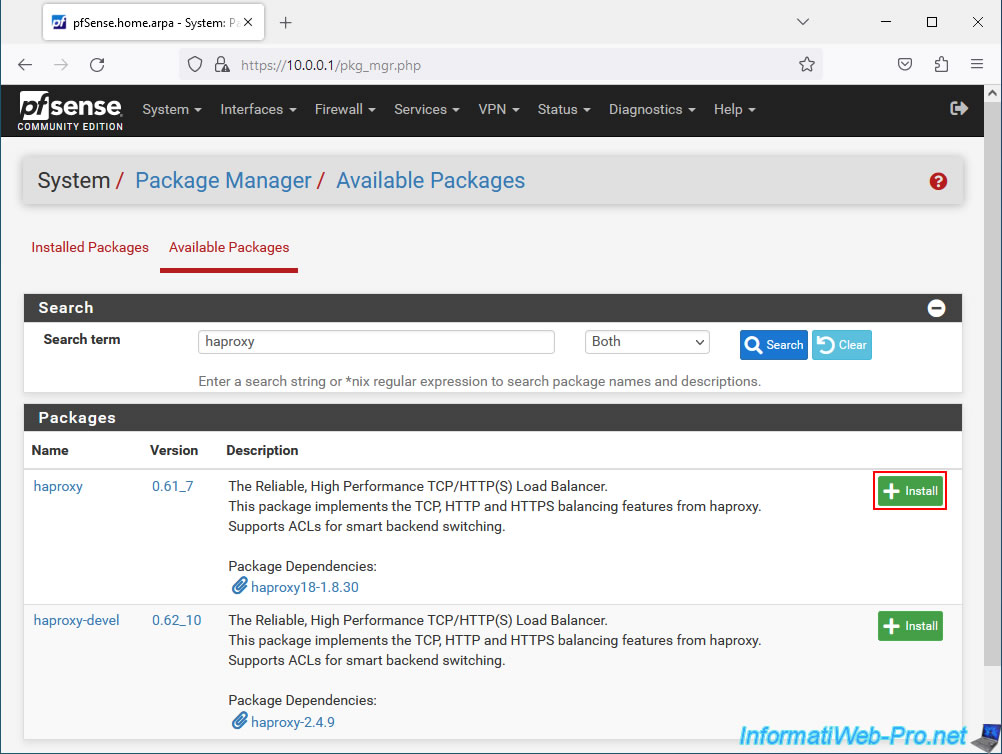
Go to the "Available Packages" tab, type "haproxy" in the search box and click: Search.
Next, install the "haproxy" package.
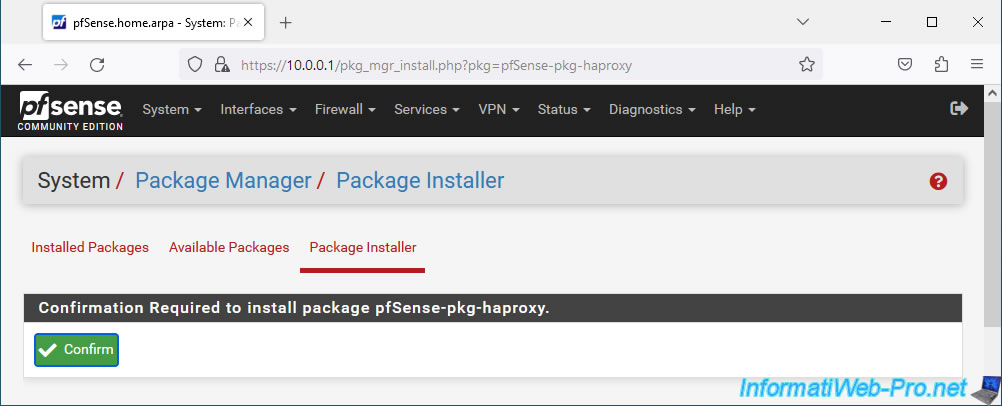
Click "Confirm" to start installing the "pfSense-pkg-haproxy" package.
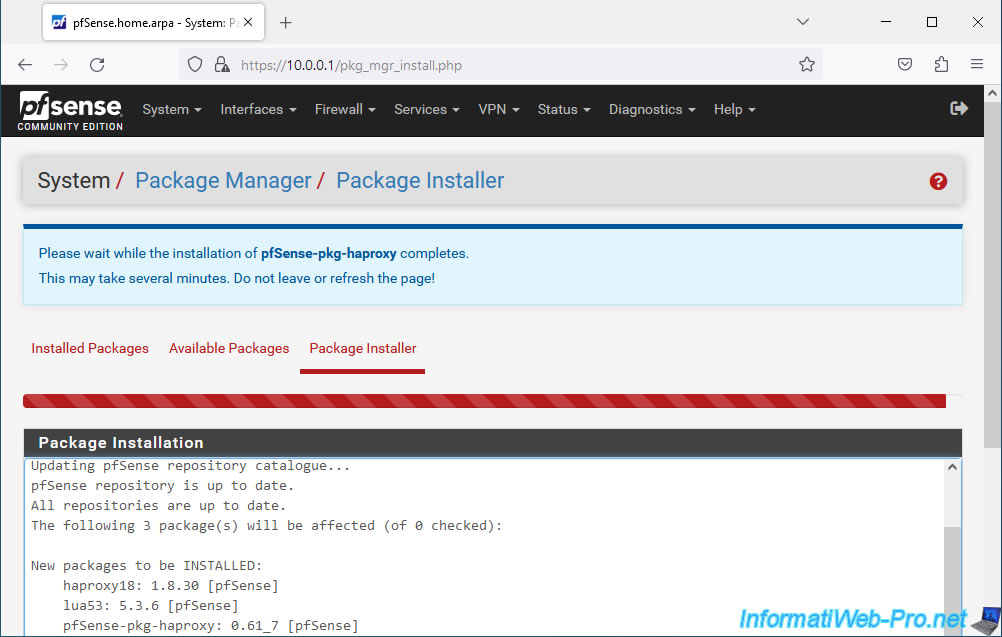
Wait while the "pfSense-pkg-haproxy" package is installed.
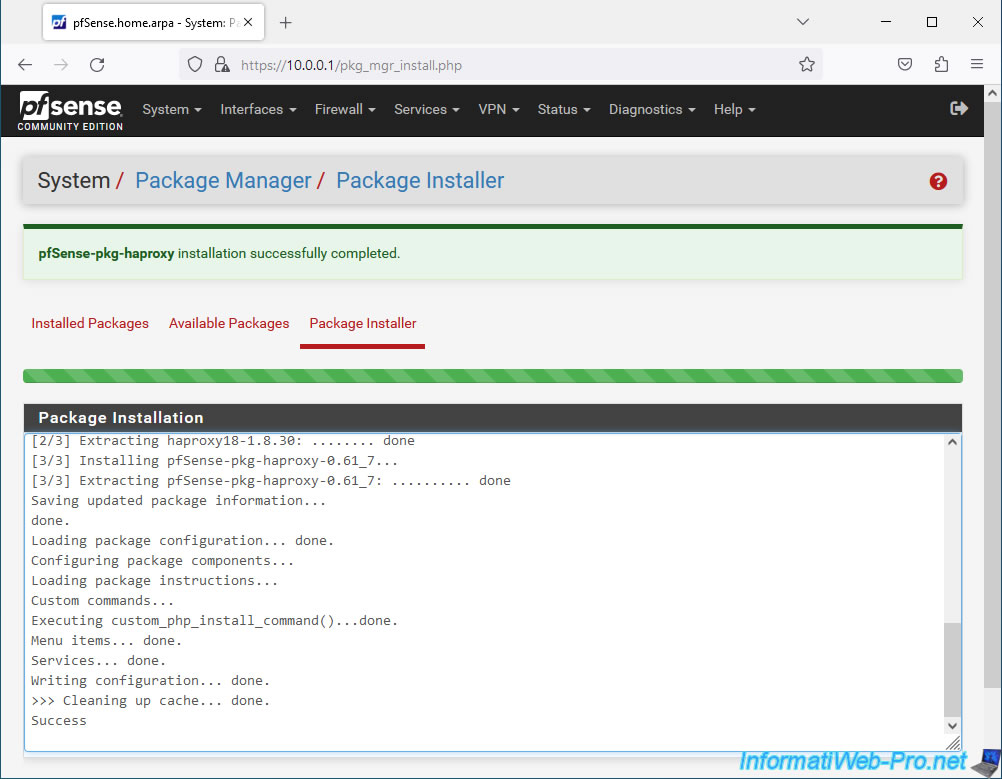
The "pfSense-pkg-haproxy" package has been installed.
3. Add a HAProxy backend server
To begin, you need to tell HAProxy which servers will be accessible via the pfSense machine.
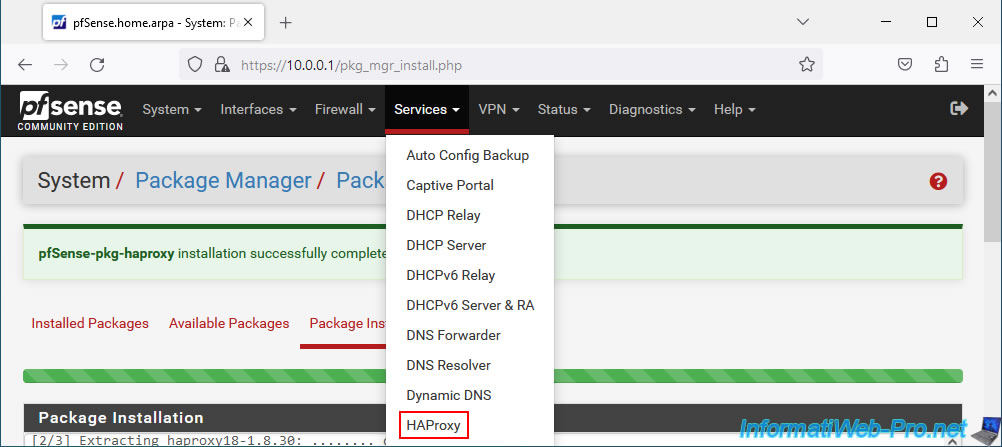
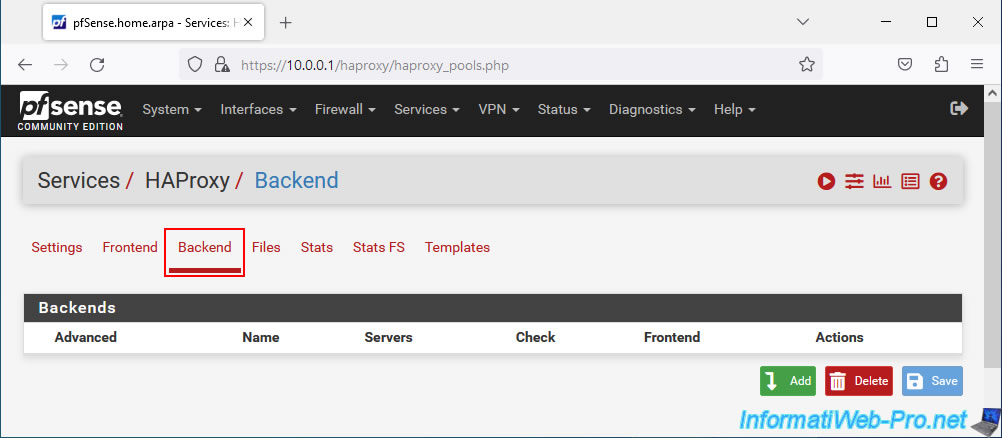
To do this, go to: Services -> HAProxy.
Next, go to the "Backend" tab.
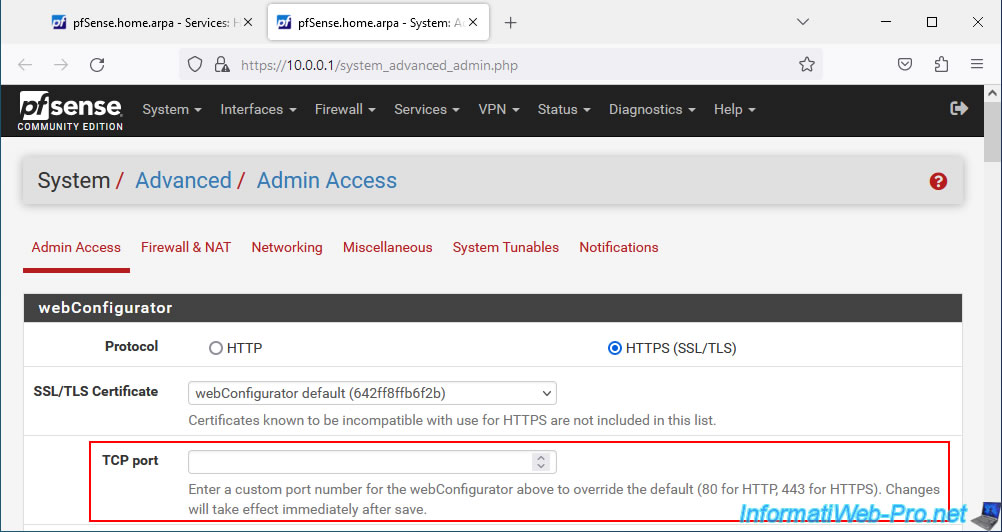
Note that you will not be able to use pfSense port 80 on its default WAN interface, because this is used for access to this web interface.
To free this port 80, simply go to "System -> Advanced" and indicate another port number in the "TCP port" box.
In our case, we will not change the pfSense port number and we will configure HAProxy to use TCP port 8080.
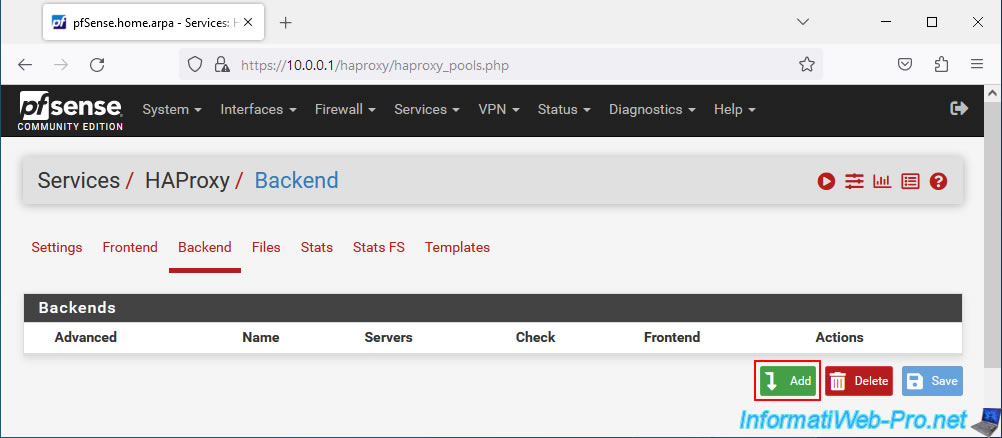
In the HAProxy "Backend" tab, click: Add.
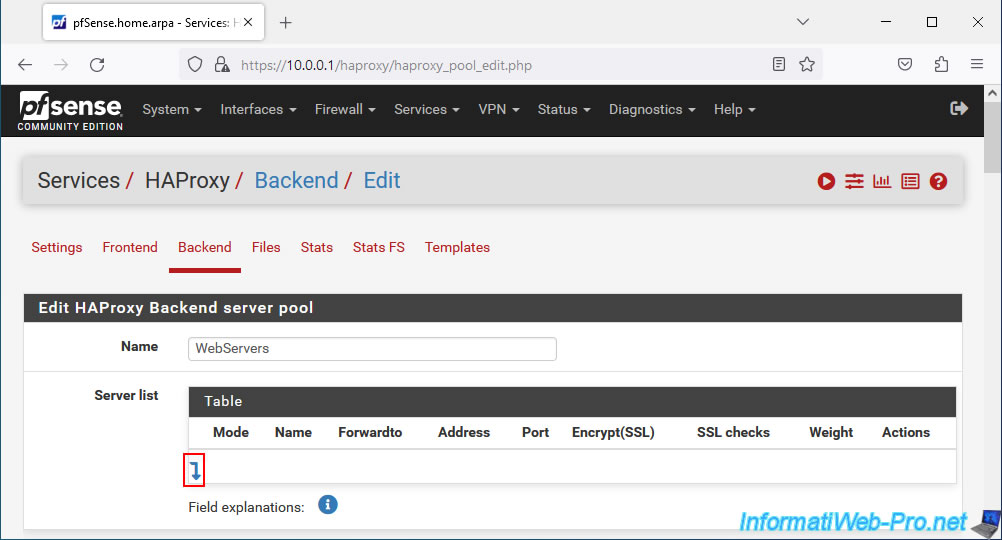
Specify a name for this server pool.
For example: WebServers.
Next, click the arrow going down to add a server to this pool.
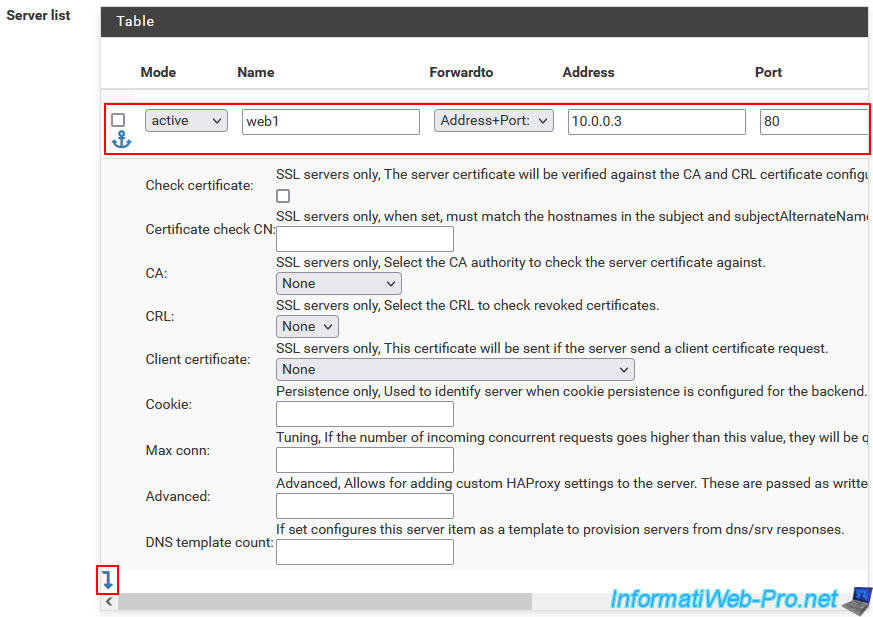
Add your 1st web server by specifying:
- Mode: active.
- Name: its NETBIOS name.
In our case: web1. - Forwardto: Address+Port.
- Address: the IP address of the 1st web server installed in the background.
In our case: 10.0.0.3. - Port: port on which this server listens in the background
Since this is a web server, the default HTTP port is port 80.
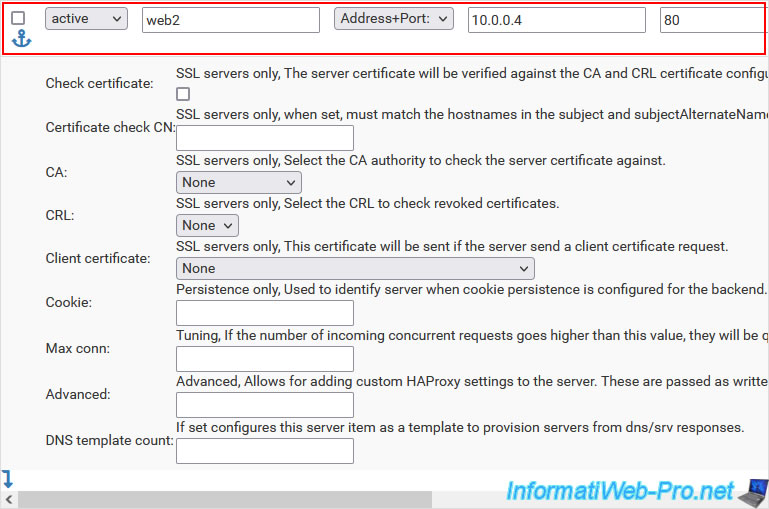
Then, click the down arrow again to add a 2nd server to this pool.
Add this 2nd web server in the same way:
- Mode : active.
- Name : web2.
- Forwardto : Address+Port.
- Address : 10.0.0.4.
- Port : 80.
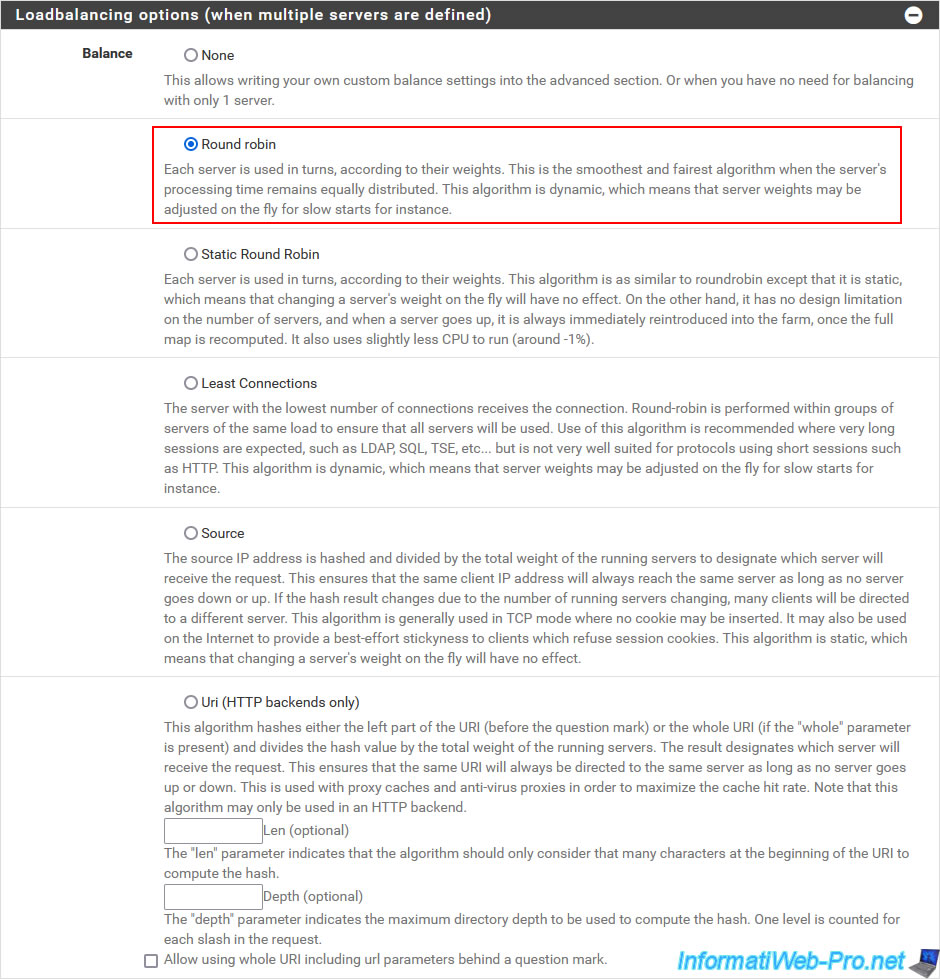
In the "Loadbalancing options (when multiple servers are defined)" section, you will be able to specify how pfSense should handle load balancing:
- None: allows you to specify custom load balancing via the "Advanced" section.
- Round robin: each time a user tries to access the server pool, pfSense chooses a backend server at random (based on its weight/priority).
In this case, the weight of a backend server can be changed on the fly and the algorithm will automatically take this modification into account. - Static Round Robin: similar to the previous option, except that hot changing the weight of a server in the background (backend) will have no effect in this case.
- Least Connections: pfSense will choose the server with the fewest connections at the moment.
- Source: once pfSense has chosen a backend server for a client (identified by its IP address), pfSense will continue to use the same server for that client.
Unless the affected backend server goes down. In which case pfSense will choose another server available in the pool.
Which is very practical to avoid losing a session on a website (such as an e-commerce or a site with a members area). - Uri (HTTP backends only): pfSense will always use the same backend web server if the URI (part of the URL between the domain (e.g. domain.com) and the "?" character) is the same.
To include the part present behind the "?" may appear in the URL, check the box "Allow using whole URI including url parameters behind a question mark".
Unless the chosen backend server goes down. In this case, another server from the pool will be used.
The goal is to maximize the use of a cache server or proxy.
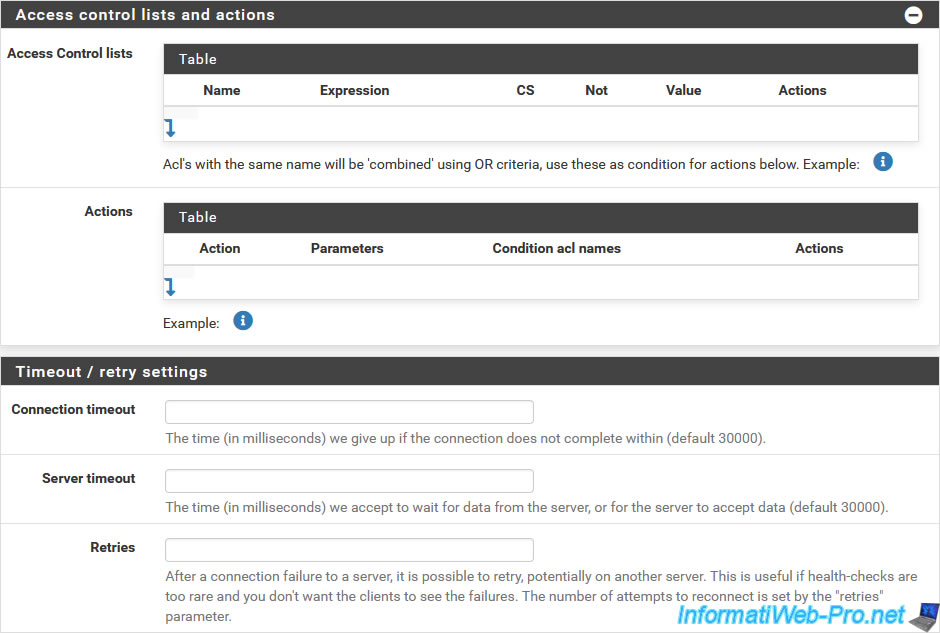
If you wish, you can control access, as well as modify the inactivity time limits for new attempts.
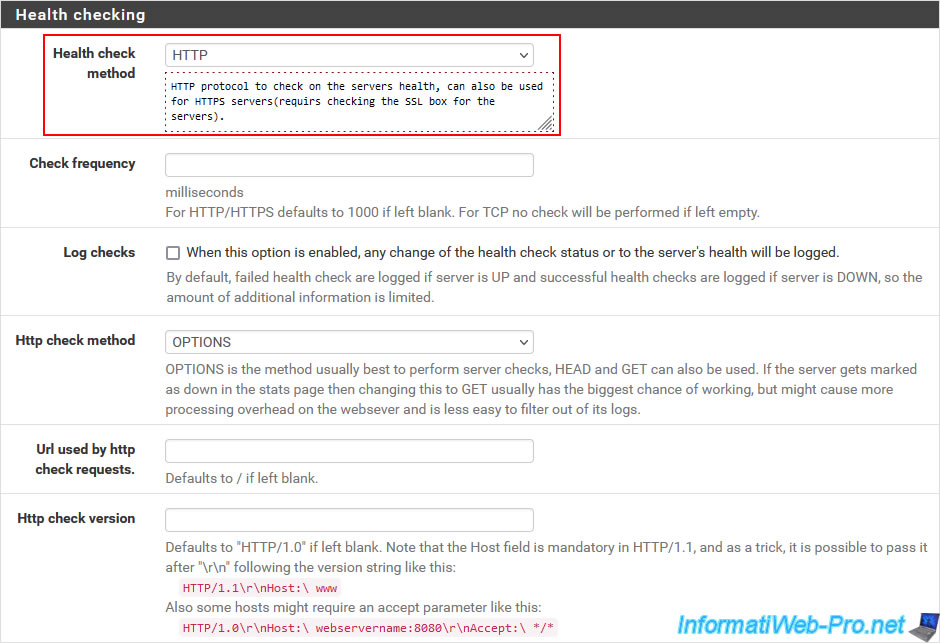
To ensure that the web servers used in the background are still functional, select "Health check method: HTTP".
Note that in other cases you could check the functioning of servers: LDAP (for Active Directory), MySQL or PostgreSQL (for database servers), SMTP (for email sending servers) , ...
By default, pfSense will use the HTTP keyword "OPTIONS".
However, if you have protected access to your website, it is possible that you have blocked this keyword for security reasons.
In this case, select "Http check method: GET" which will use the "GET" keyword usually used by any web browser.
By default, since the connection goes through pfSense, the servers in the background will believe that the client is still pfSense.
To make the background servers see the real client's IP address, you need to check the "Use Client-IP to connect to backend servers" box.
However, enabling this option may cause issues with the pfSense captive portal (if applicable), as well as other pfSense features.
It is therefore not recommended to enable it if you do not really need it.
Click Save.
![]()
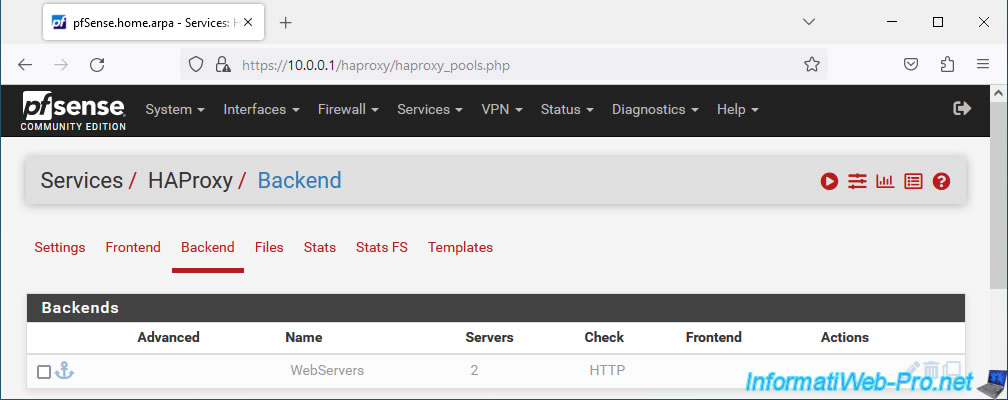
Click Apply Changes.
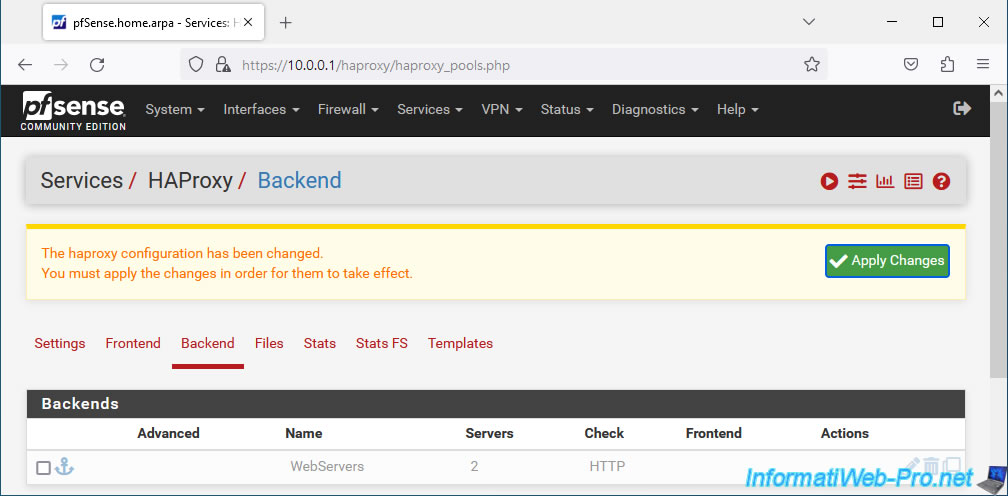
Your Backend server pool appears grayed out. Which means that these are not yet accessible via a front-end server.
Share this tutorial
To see also
-
Firewall 5/21/2025
pfSense 2.6 - Access to the web interface via the WAN interface
-
Firewall 5/17/2025
pfSense 2.6 - Enable SSH protocol
-
Firewall 6/20/2025
pfSense 2.6 - NAT (port forwarding)
-
Firewall 5/23/2025
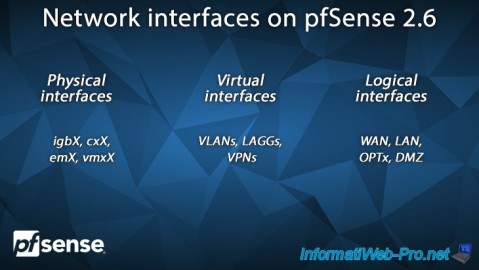
pfSense 2.6 - Network interfaces
You must be logged in to post a comment