Create a site-to-site (S2S) VPN tunnel via IPsec on pfSense 2.6 to connect 2 networks together
- Firewall
- pfSense
- 03 September 2025 at 07:43 UTC
-

- 2/5

1.3. Configure phase 2 of the IPsec tunnel on site 1 (Brussels)
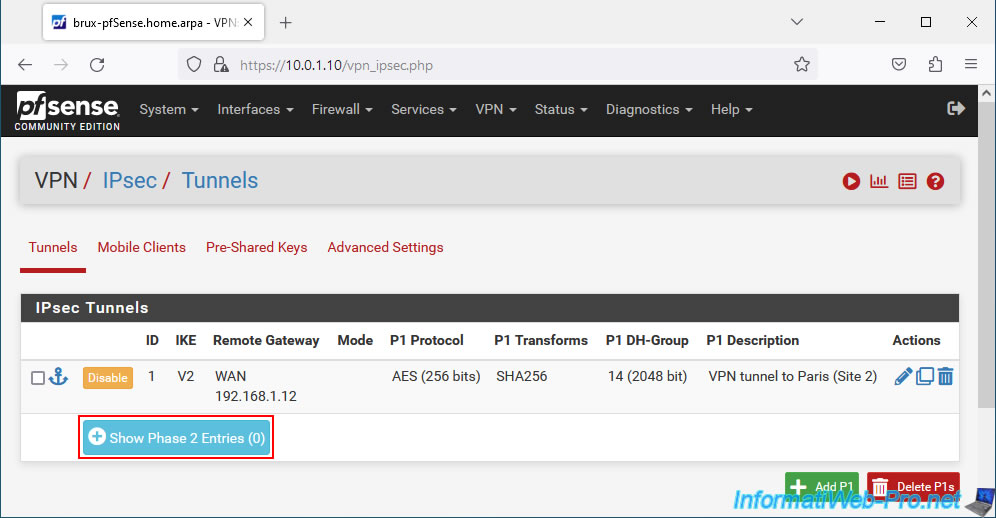
Now that phase 1 of your IPsec tunnel is created, you need to add a child P2 tunnel to it.
To do this, click on "Show Phase 2 Entries" for the IPsec P1 tunnel you have just created.
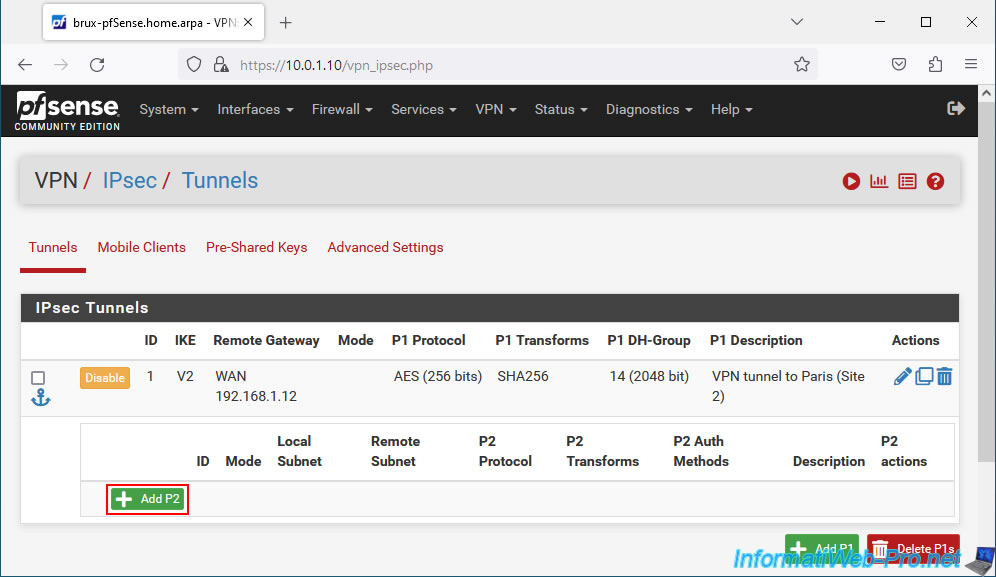
Then click on: Add P2.
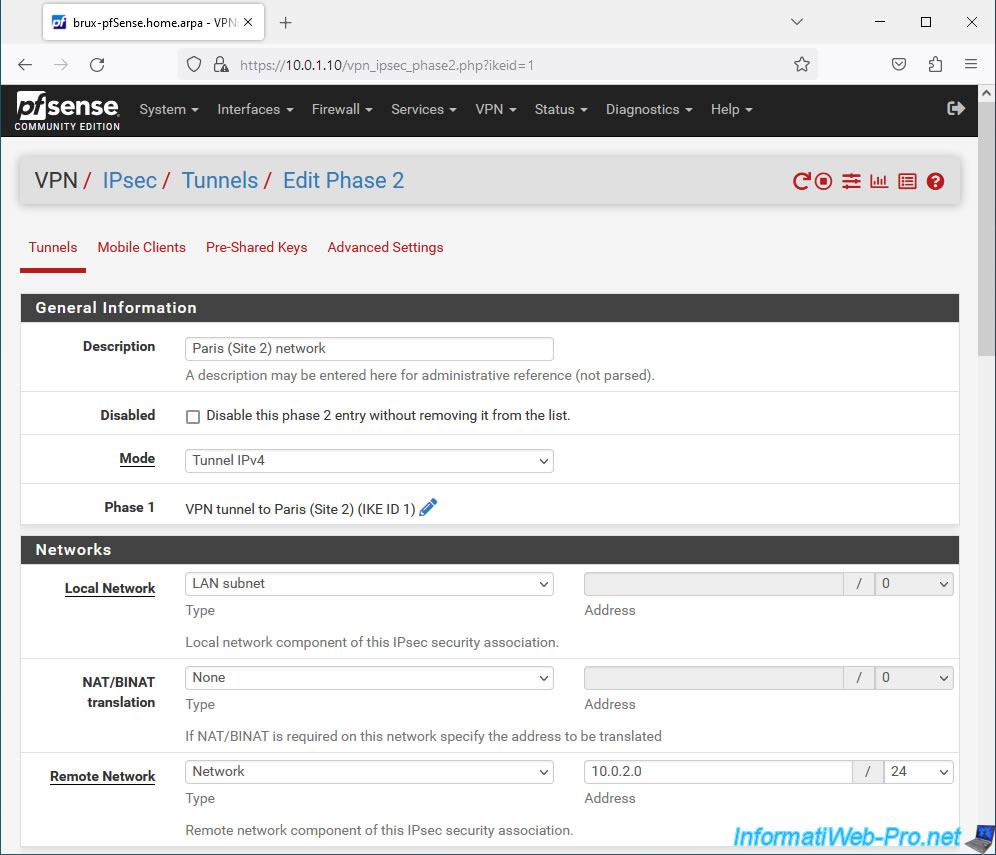
On the "Edit Phase 2" page that appears, configure these settings:
- Description: a purely indicative description.
- Mode: allows you to create an IPv4, IPv6, etc. tunnel.
- Phase 1: the name displayed is that of the IPsec P1 tunnel to which you are trying to add an IPsec P2 tunnel.
- Networks - Local Network: source network.
Usually the LAN network where you are located. - Networks - NAT/BINAT translation: allows the clients of the source network to appear as if they were on another subnetwork on the remote network.
This mainly helps to avoid conflicts when the same subnet will be used on the source site and the remote site. Hence the fact that we used different subnetworks in our case on our 2 sites. - Remote Network: the destination network.
In our case, we configure these settings like this:
- Description: Paris (Site 2) network. Indeed, this P2 tunnel will allow the computers/servers of site 1 (Brussels) to access the resources of site 2 (Paris).
- Mode: we select "IPv4 Tunnel" to connect our 2 IPv4 networks (10.0.1.0/24 on site 1 (Brussels) and 10.0.2.0/24 on site 2 (Paris)).
- Local Network: the easiest way is to select "LAN subnet". So, if you change your LAN subnet later on the source site (Brussels site 1 in our case), you will not need to change it again here.
On the other hand, on the remote endpoint (the pfSense machine of the remote site), you should not forget to modify the subnet of site 1 in the "Remote network" box of its P2 tunnel.
In our case, on site 1 in Brussels, we use the "10.0.1.0/24" network.
So we could also select "Network" and indicate "10.0.1.0 / 24" as the source if we wanted. - Remote Network: select "Network" and provide the network ID of the destination network.
In our case, on site 2 (Paris), we use the subnet "10.0.2.0 / 24".
Source : NAT with IPsec Phase 2 Networks | pfSense Documentation.
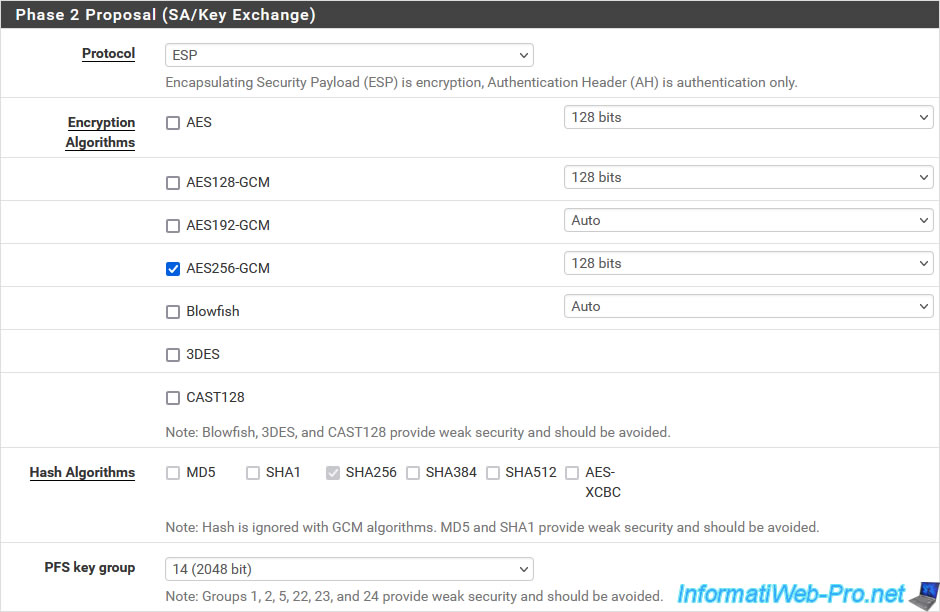
In the "Phase 2 Proposal (SA/Key Exchange)" section, you can configure how encryption and key exchange is managed:
- Protocol: select ESP (for "Encapsulating Security Payload") to enable encryption on this P2 tunnel.
Indeed, the other option available is "AH" (Authentication Header) which only supports authentication. - Encryption Algorithms: allows you to choose one or more encryption algorithms to use for this P2 tunnel.
For security reasons, it is preferable to use AEAD encryption (AES-GCM) supported by both peers. Preferably, use the "AES256-GCM" encryption algorithm with a 128-bit key if both peers support it.
Otherwise, use the "AES" encryption algorithm with a 256-bit key (or greater).
Specifying multiple encryption algorithms is only useful for compatibility reasons.
For security reasons, you should instead specify only one identical on the 2 peers to ensure that the best specified encryption algorithm will be used. - Hash Algorithms: allows you to specify the hashing algorithm to use (except if you used an "AES-GCM" encryption algorithm). For security, use at least "SHA256".
- PFS key group: mainly helps protect you against certain key attacks.
In this section, on site 1 (Brussels), configure these settings:
- Protocol: select "ESP" to enable encryption on this P2 tunnel.
- Encryption Algorithms: preferably only select "AES256-GCM / 128 bits" or "AES / 256 bits" otherwise.
- Hash Algorithms: in the case of an "AES-GCM" algorithm, these options will be grayed out.
Otherwise, use at least the "SHA256" hashing algorithm.
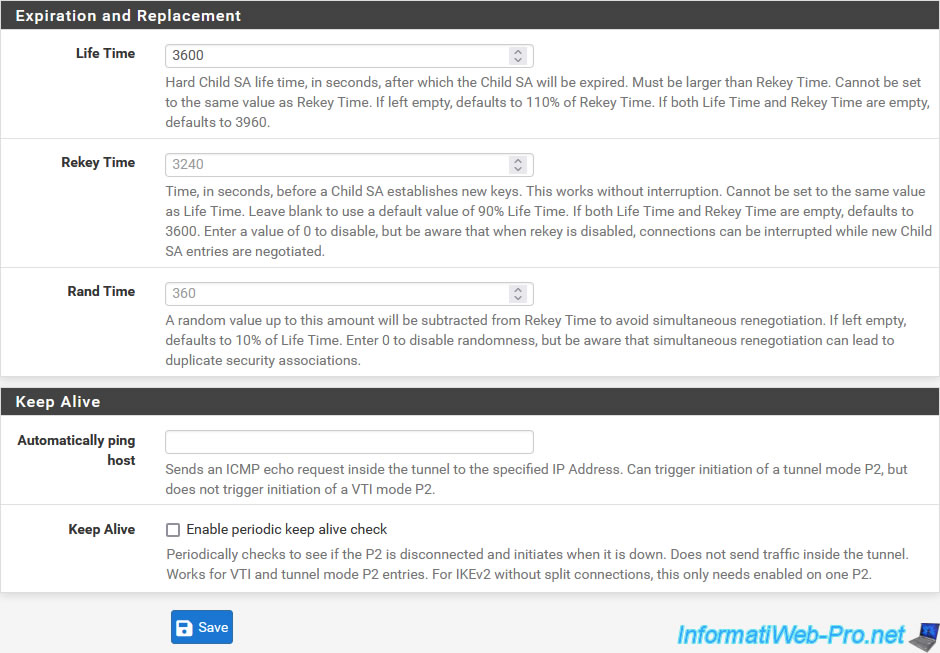
In the "Expiration and Replacement" section, you can specify the lifetime of the P2 tunnel, the time after which new keys are regenerated for this P2 tunnel, as well as the random value to prevent the 2 peers from trying to regenerate in the keys at the same time as was already the case when configuring tunnel P1.
Then, in the "Keep Alive" section, you can configure the settings:
- Automatically ping host: allows pfSense to automatically and periodically ping an IP address of the remote site (in our case, which would be part of site 2 (Paris)) to keep this P2 tunnel active.
- Keep Alive: allows you to periodically check if this P2 tunnel is still connected.
Otherwise, this allows it to be initialized again (depending on your IPsec tunnel settings).
The difference being that this option does not send network traffic, unlike the previous option.
On site 1 (Brussels), indicate "3600" for the "Life Time" parameter.
Then click Save.
Source : IPsec Configuration - Phase 2 Settings | pfSense Documentation.
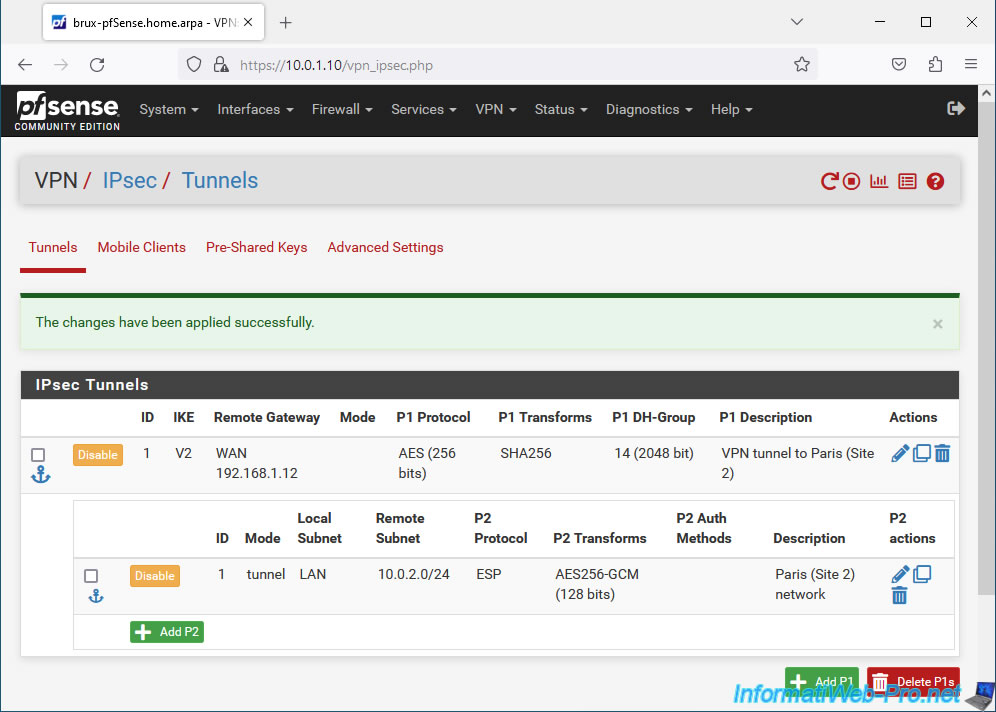
Click: Apply Changes.
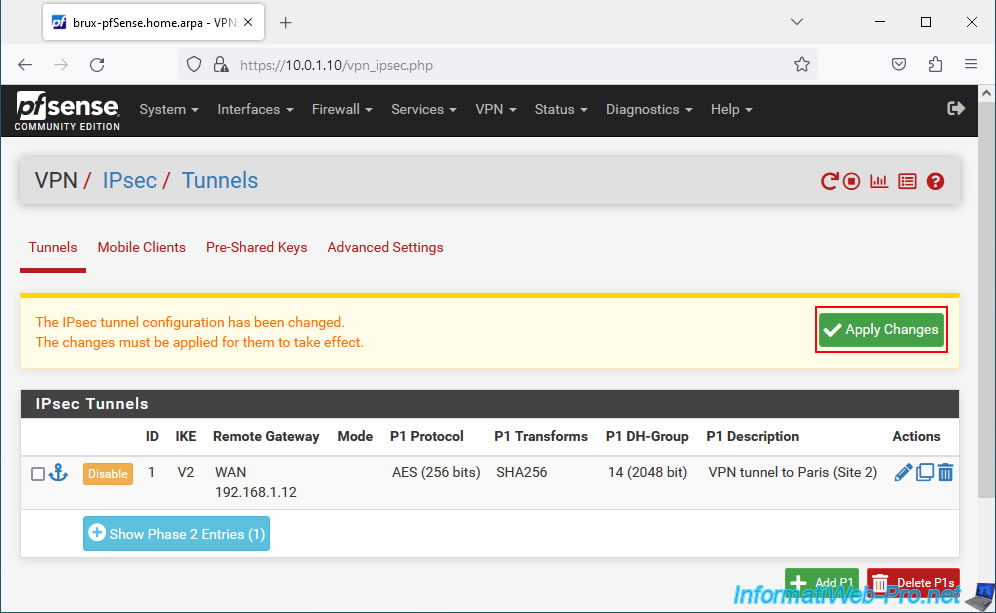
Your P2 tunnel has been created.
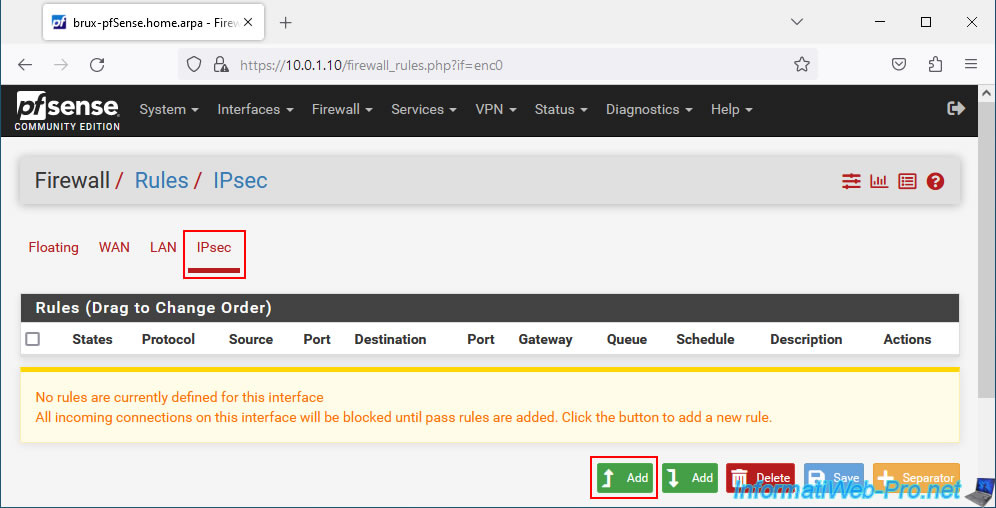
1.4. Allow IPsec traffic coming from site 2 (Paris) in the pfSense firewall
On site 1 (Brussels), go to: Firewall -> Rules.
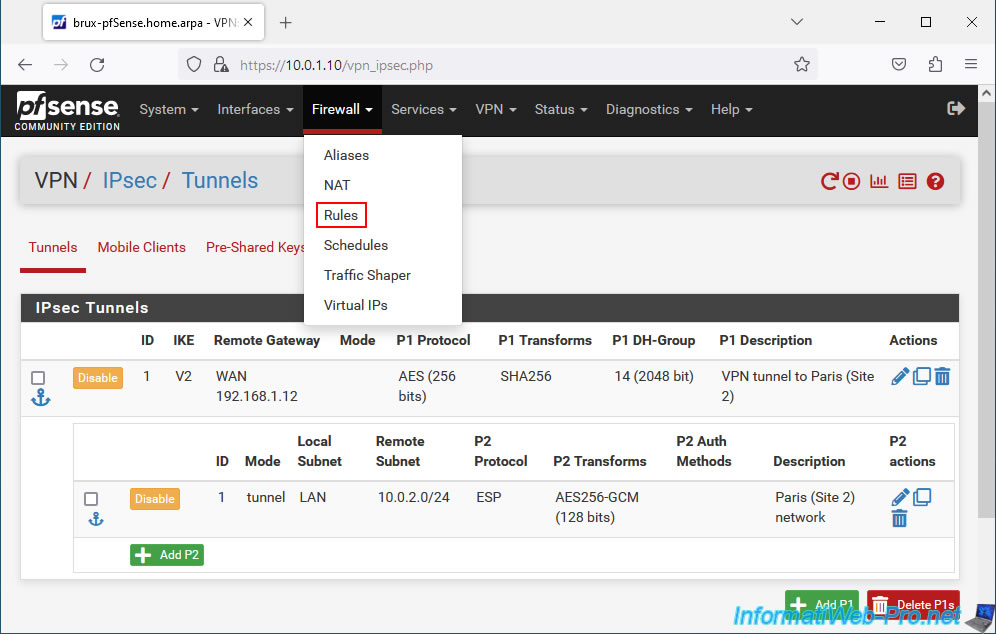
Then go to the "IPsec" tab and click: Add.
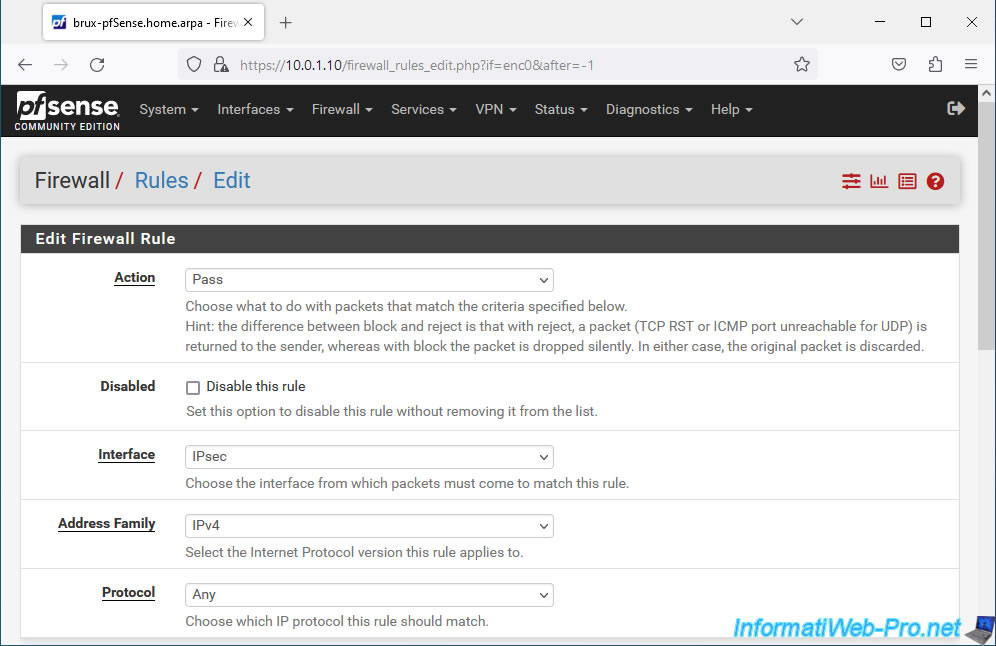
For this firewall rule, configure these settings:
- Action: select "Pass" to allow network traffic.
- Interface: IPsec. Network traffic arrives at site 1 (Brussels) via an IPsec tunnel.
- Address Family: select "IPv4" in the case of an IPv4 tunnel via IPsec.
- Protocol: select "Any" to allow all possible protocols (TCP, UDP, ICMP, ...) for network traffic coming from the IPsec tunnel.
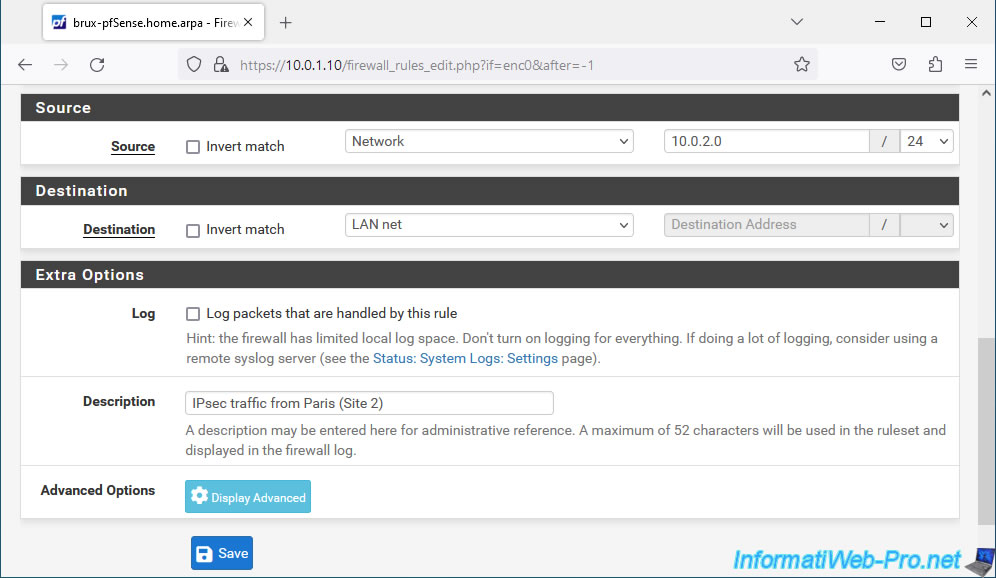
Next, configure these settings:
- Source: select "Network" and indicate the network used at the remote site. In other words, site 2 (Paris).
In our case, the network used in Paris is "10.0.2.0 / 24". - Destination: the destination network is the network where you are located. So, just select "LAN net" for the destination.
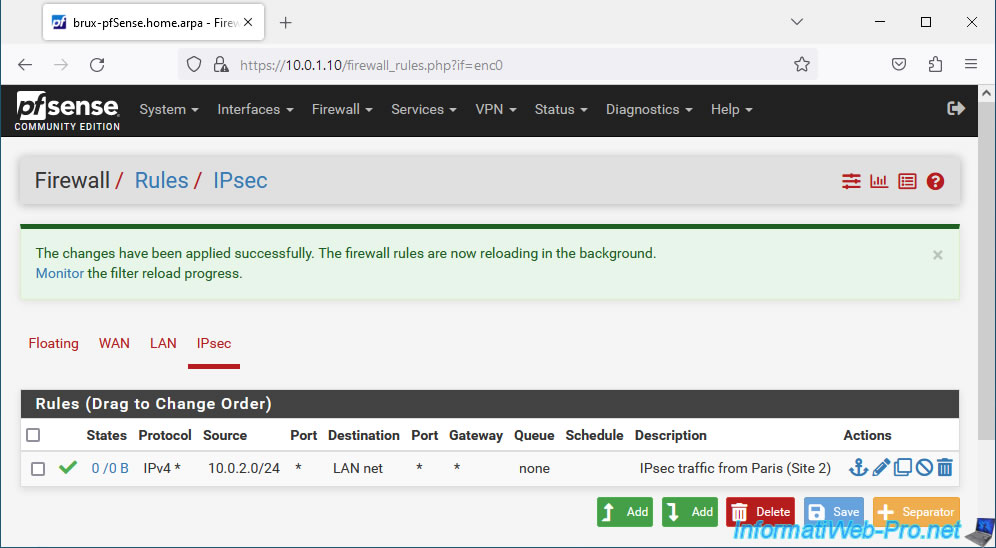
Which corresponds in our case to our network "10.0.1.0 / 24" used on site 1 (Brussels). - Description: IPsec traffic from Paris (Site 2).
Indeed, this rule authorizes traffic coming from site 2 (Paris) to site 1 (Brussels) via the IPsec tunnel.
Click Save.
Click: Apply Changes.
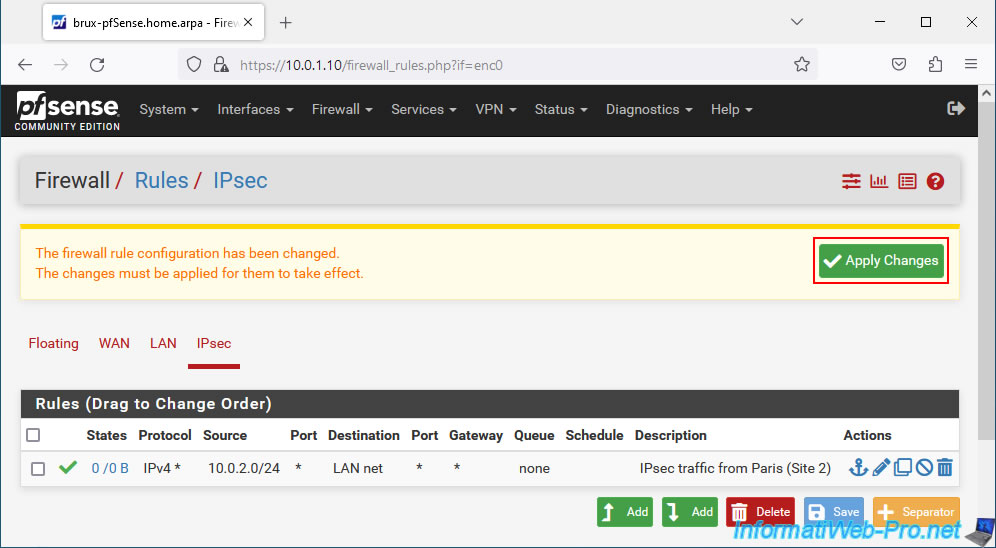
Traffic coming from site 2 (Paris) is authorized.
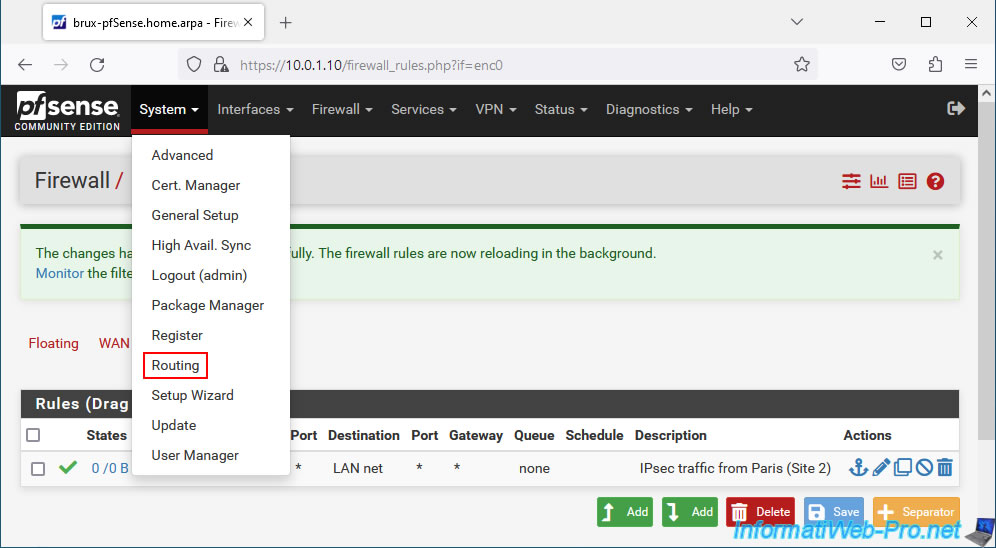
1.5. Define the LAN gateway used on site 1 (Brussels)
Although not always necessary, if pfSense is not the default gateway for client PCs or servers at Site 1 (Brussels), network traffic may unnecessarily pass through the client or server PC's default gateway instead. to use the IPsec tunnel directly.
To resolve this slight problem, simply go to: System -> Routing.
Source : Client Routing and Gateway Considerations | pfSense Documentation.
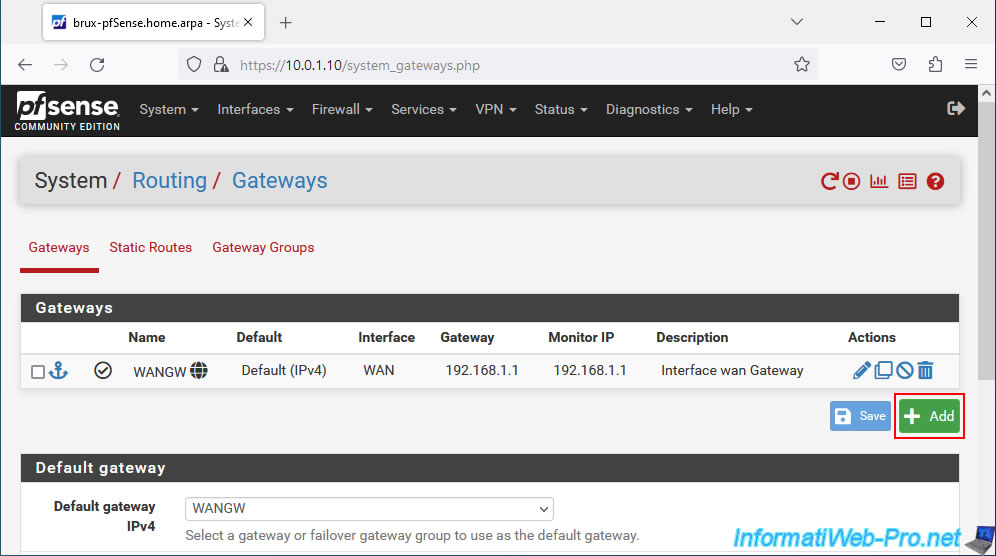
On the "System / Routing / Gateways" page that appears, click: Add.
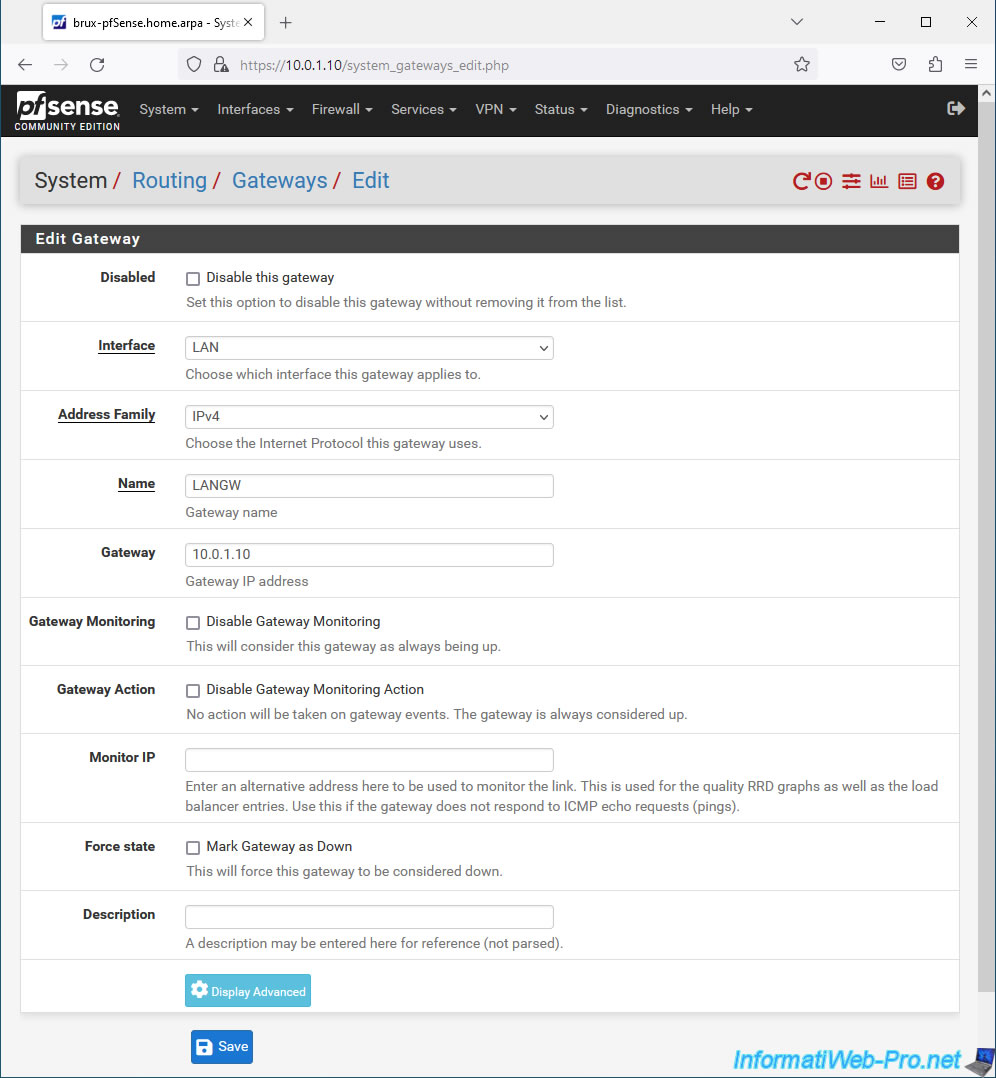
On the "Edit Gateway" page that appears, configure these settings:
- Interface: LAN.
- Address Family: IPv4 for IPv4 traffic only.
- Name: the name of this gateway. For example: LANGW.
- Gateway the IP address of the pfSense LAN interface at your location.
This IP address is visible on the pfSense dashboard and on the "Interfaces -> LAN" page.
In our case, the LAN IP address of pfSense is "10.0.1.10" on site 1 (Brussels).
Then click Save.
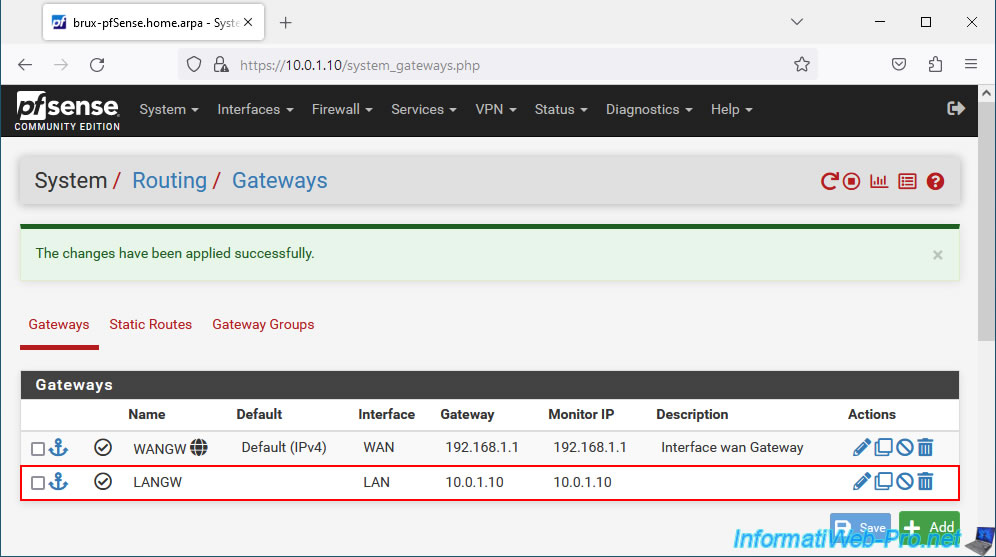
Click: Apply Changes.
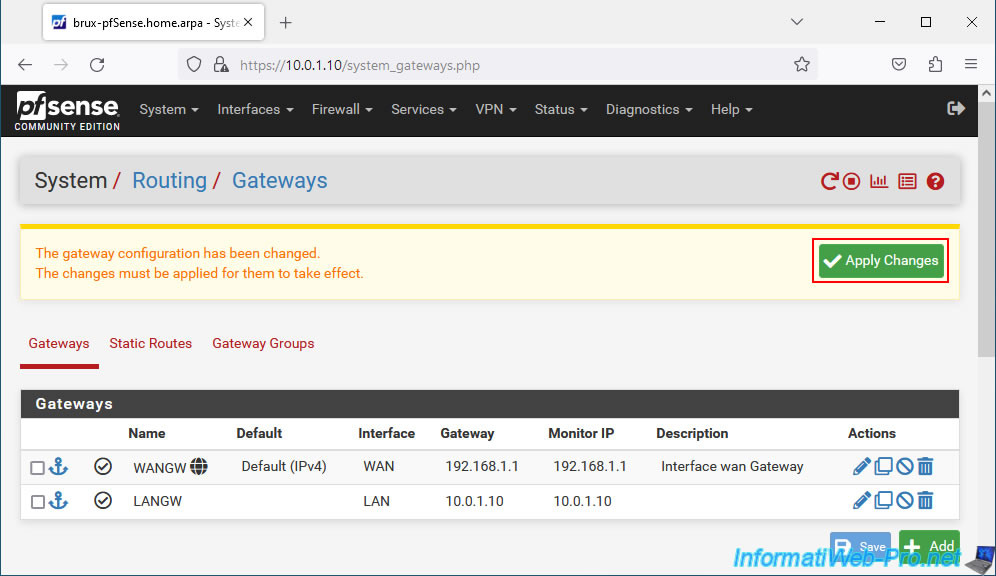
Your LAN gateway appears in the list.
Share this tutorial
To see also
-
Firewall 5/21/2025
pfSense 2.6 - Access to the web interface via the WAN interface
-

Firewall 9/17/2025
pfSense 2.6 - Create a site-to-site (S2S) VPN tunnel via OpenVPN secured with SSL/TLS (L3 mode)
-
Firewall 8/29/2025
pfSense 2.6 - Implement Multi-WAN (Dual-WAN)
-
Firewall 7/9/2025
pfSense 2.6 - Secure the web interface in HTTPS
No comment