- VMware
- 06 March 2020 at 14:44 UTC
-

- 1/3

With VMware Workstation, you can virtualize many virtual machines (if your physical PC allows it), but you can also turn your host PC into a server with Workstation Server.
Important :
- virtual machine sharing (thanks to VMware Workstation Server which was integrated into VMware Workstation) is no longer possible on version 16.0 of VMware Workstation. Source : VMware Workstation 16 Pro Release Notes
- virtual machine sharing has reappeared in version 16.1 (as it was up to versin 15.5.6), but VMware Workstation makes it clear that this feature is deprecated and will therefore be removed soon. Source : VMware Workstation 16.1.0 Pro Release Notes
- virtual machine sharing has been permanently retired since VMware Workstation version 16.2.0. Source : VMware Workstation 16.2.0 Pro Release Notes.
- Enable VMware Workstation Server
- Share a virtual machine
- Connecting to a remote Workstation Server
- Permissions management
- General settings for sharing VMs
- Active Directory authentication support
1. Enable VMware Workstation Server
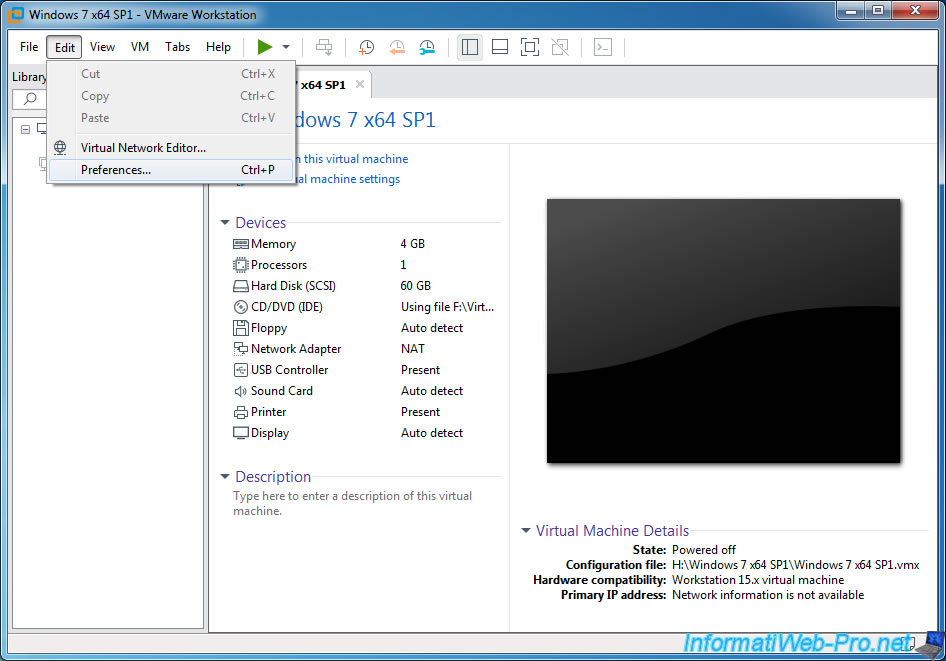
To do this, enable VMware Workstation Server from the "Edit -> Preferences" menu of VMware Workstation.
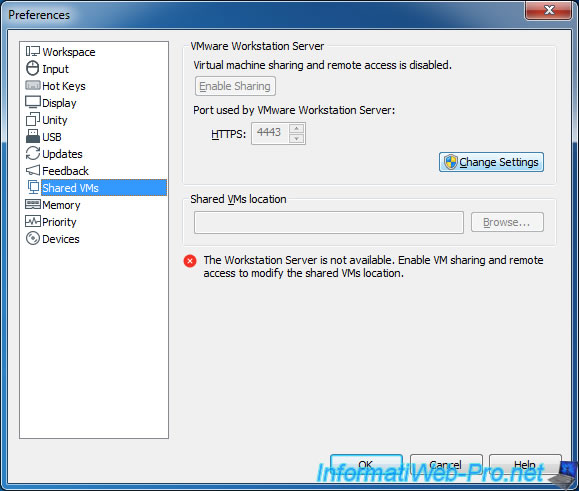
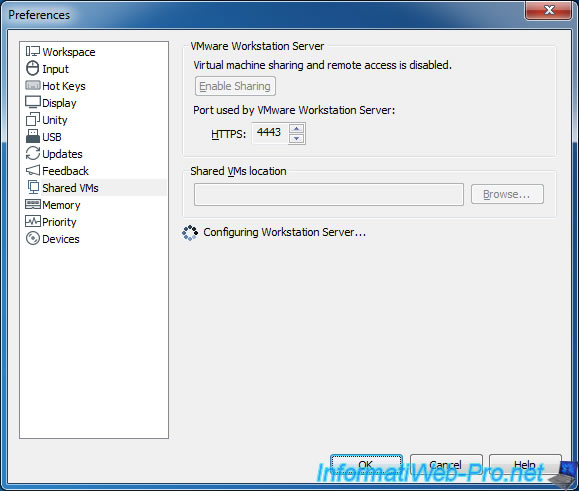
In the "Shared VMs" section, you will be able to see if the VMware Workstation Server is enabled or disabled.
In our case, the server is not enabled.
To enable it, you will need administrator rights.
Click on "Change Settings".
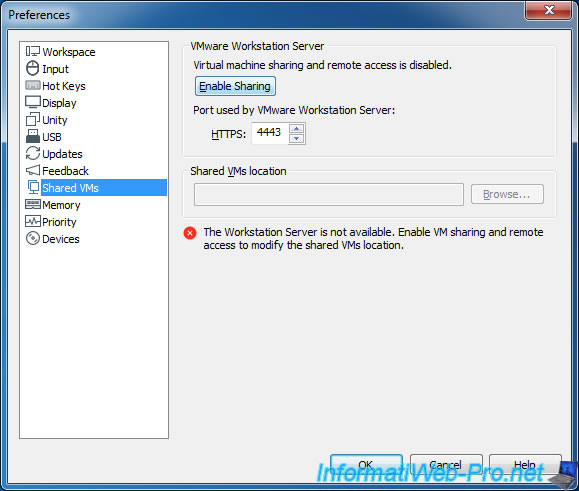
Click "Enable Sharing" and specify the port that VMware Workstation Server will use for sharing VMs over HTTPS.
Note that by default, port 443 (which corresponds to the HTTPS protocol) will be used, but since we already have a local web server supporting HTTP (port 80) and HTTPS (port 443), we had to use one other : 4443.
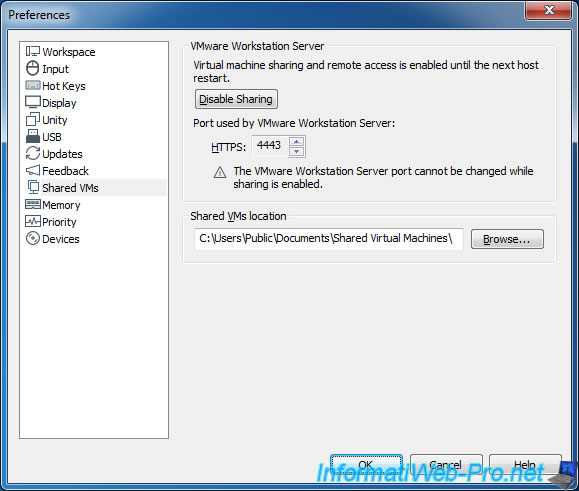
Wait during the automatic configuration of the server.
Once the server is enabled, you can choose where the shared virtual machines will be stored.
Note that only virtual machines in this folder can be shared.
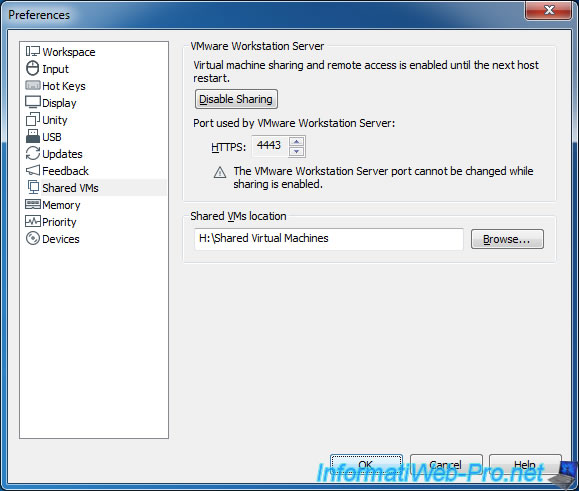
To be able to share virtual machines in seconds, we recommend that you use a folder that you create on the same partition as the non-shared virtual machines. Thus, their displacement will be almost instantaneous.
In our case, our virtual machines are stored on a RAID volume for better performance in reading/writing to the virtual hard disk.
2. Share a virtual machine
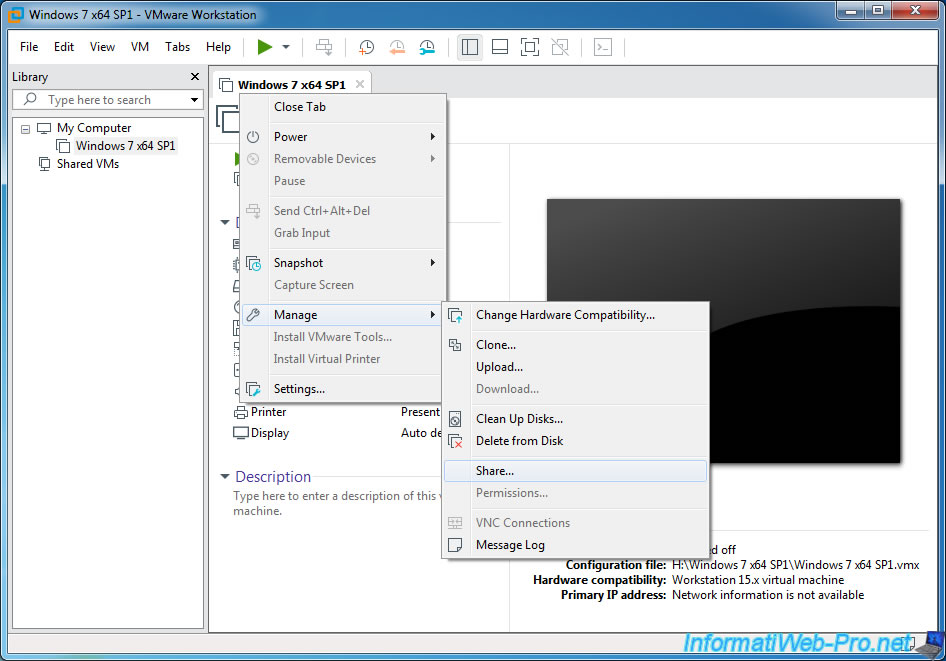
To share a virtual machine, just right click "Manage -> Share" on it.
Note that linked clones and their source VMs can't be shared as is. Indeed, you will be forced to create complete clones of them so you can share them with Workstation Server.
The "Share Virtual Machine Wizard" appears.
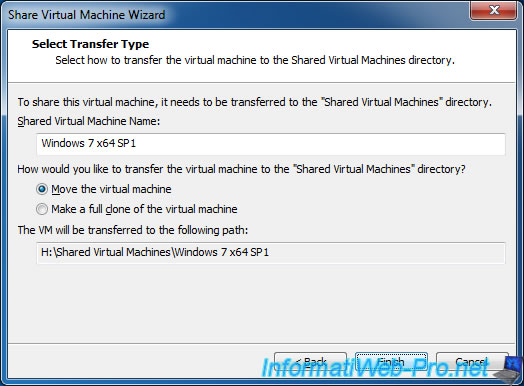
As you can see, to share a virtual machine, you will need to put it in the "Shared Virtual Machines" folder defined in the Workstation Server settings.
For this, you have 2 possibilities :
- Move the virtual machine : simply move the virtual machine to the required location. Which is faster.
- Make a full clone of the virtual machine : create a complete clone of the virtual machine (handy if you want to share only a copy of it, while keeping the original too).
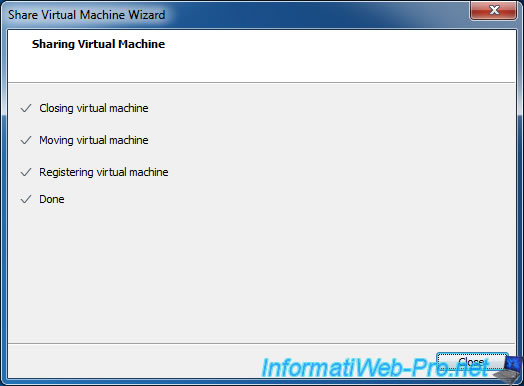
The wizard will close the open virtual machine in VMware Workstation, move it to the required location, and then add it to VMware Workstation.
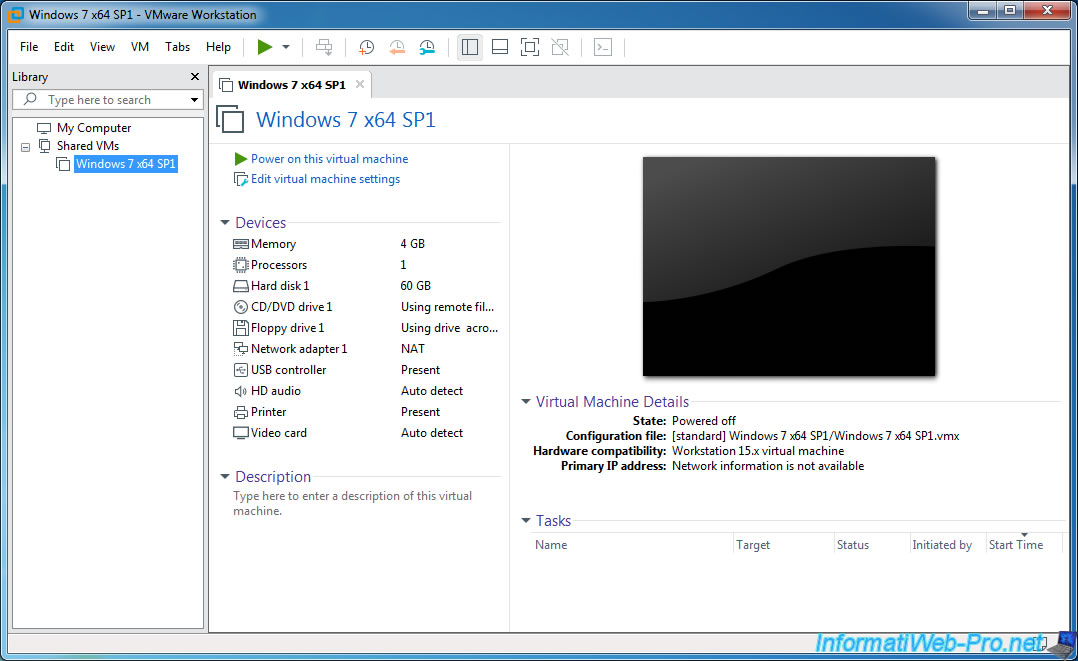
Once the VMware virtual machine is shared, it will appear under "Shared VMs" in the list on the left and a "Tasks" section will appear.
In this "Tasks" section, you will see actions performed by you or other users who have access to this VM.
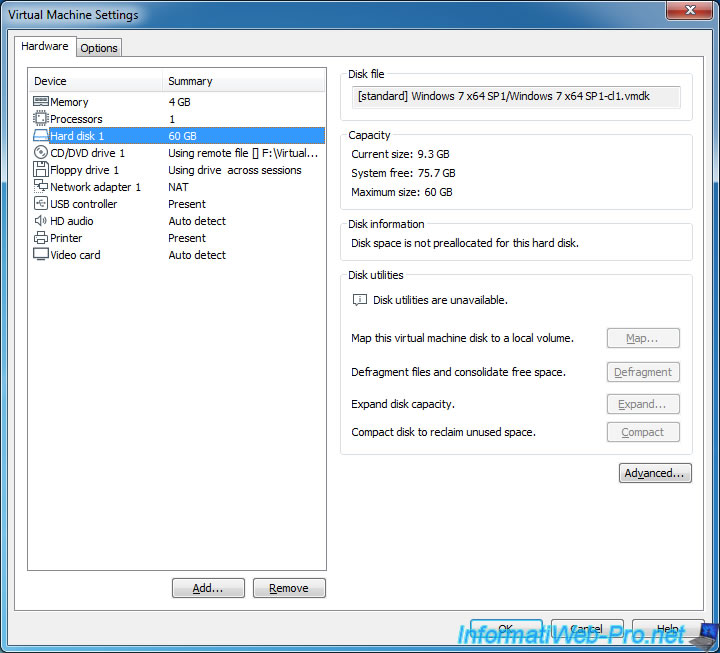
Note that sharing a virtual machine will affect the different features offered by VMware Workstation.
Some devices will change names slightly and virtual hard disk tools will no longer be available.
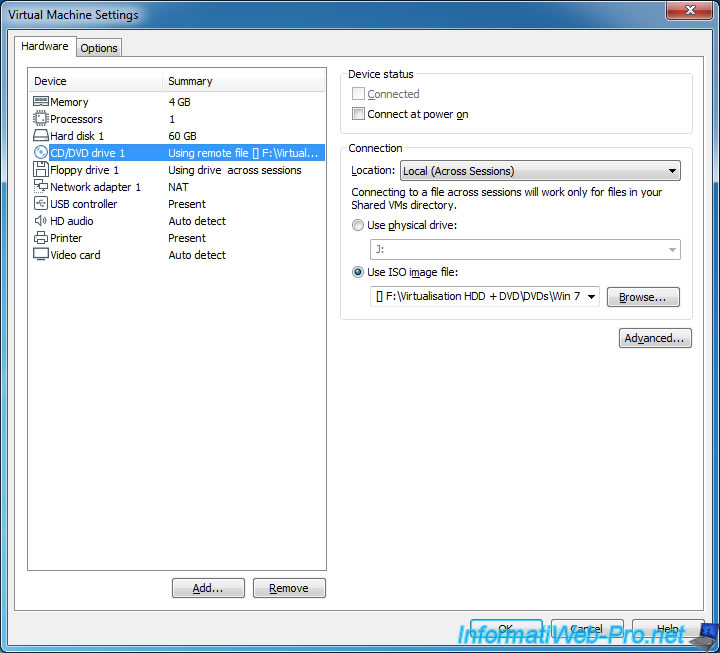
The options for the virtual CD/DVD drive will have changed slightly.
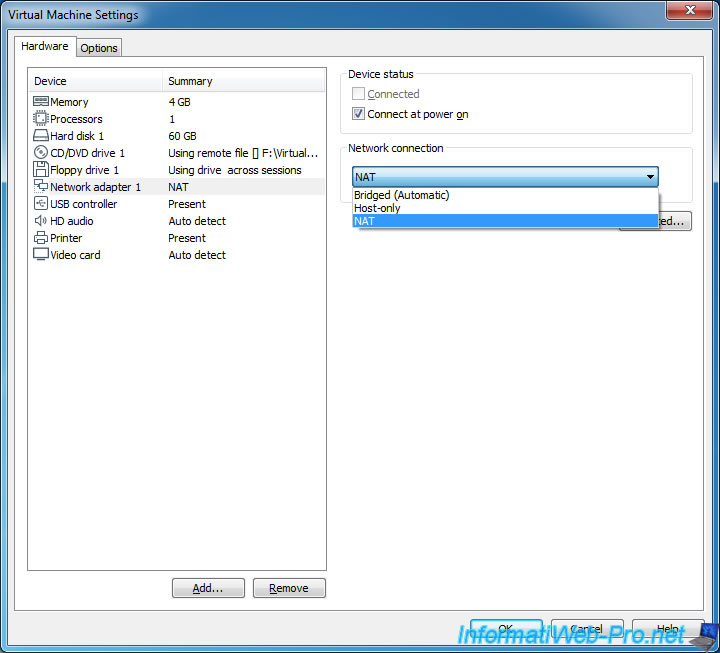
For virtual network adapters, you will only be able to use these modes : Bridged, Host-only, and NAT.
LAN segments and custom virtual networks created via Virtual Network Editor will not be available.
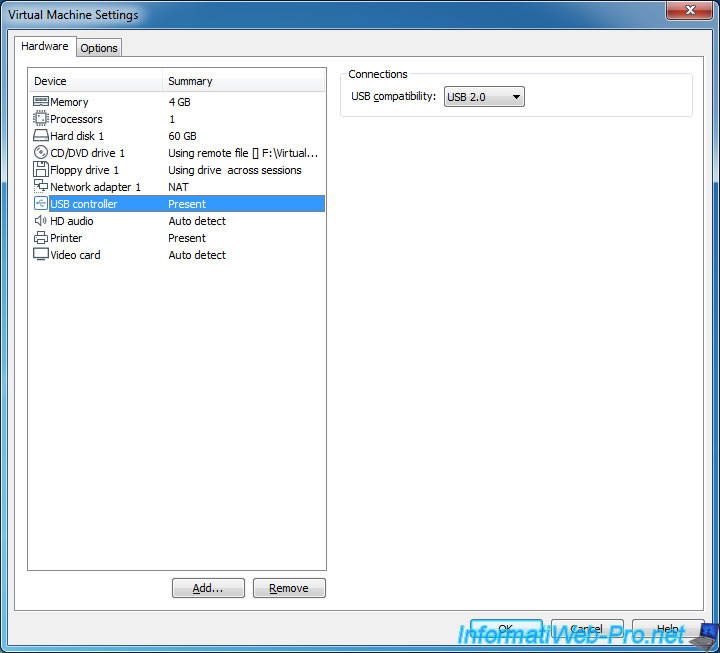
For the USB controller, you can only change the version of the USB controller to be virtualized.
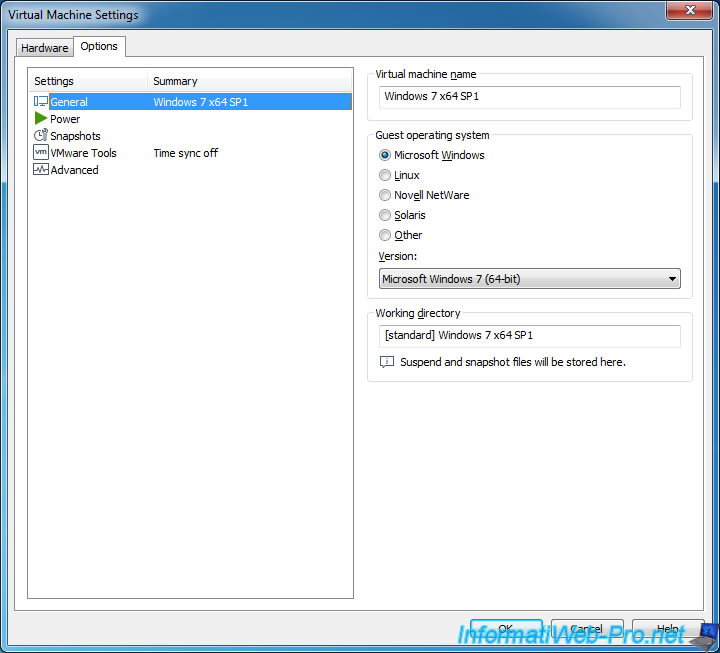
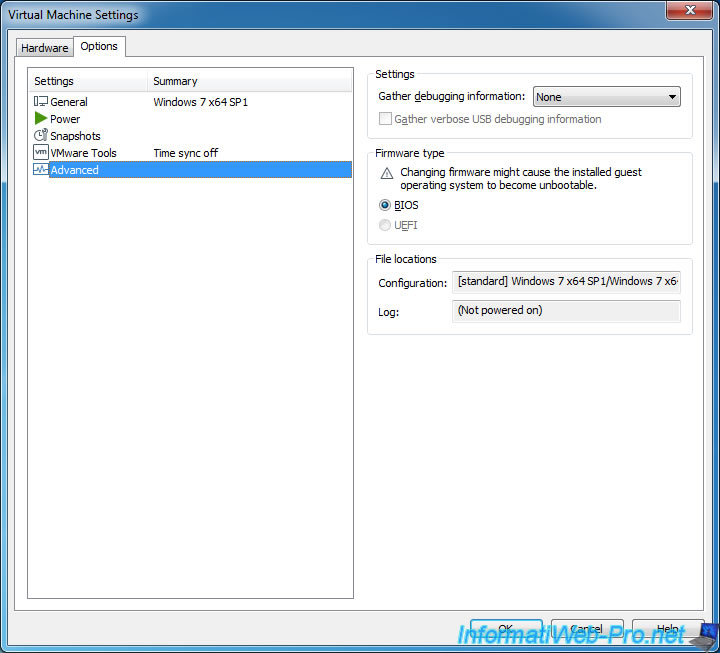
In the Options tab, most options will be gone.
As well as the advanced settings of it.
Share this tutorial
To see also
-
VMware 2/24/2016
VMware Workstation - Remotely access to a VM over VNC
-

VMware 3/25/2013
VMware Workstation / Player - Install Windows 95
-
VMware 1/31/2020
VMware Workstation 10 - Import Windows XP Mode of Microsoft
-
VMware 1/31/2020
VMware Workstation 11 / 10 - Virtualize Windows XP to make it fluid
You must be logged in to post a comment