Share virtual machines and manage access to them with VMware Workstation 15 or 16.1
- VMware
- 06 March 2020 at 14:44 UTC
-

- 2/3

3. Connecting to a remote Workstation Server
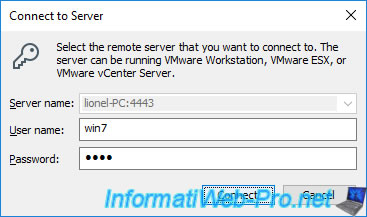
On another PC of the network, install VMware Workstation and click : Connect to a Remote Server.
Or go to the menu : File -> Connect to Server.

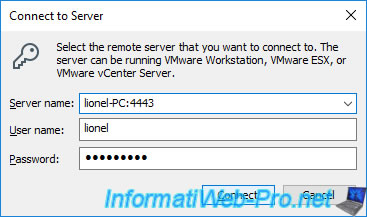
Specify :
- the name or IP address of the machine where you shared the virtual machine + the port (with ":" as the separator) if you use a different port than the default (443)
- a username of the remote machine
- the password of this user
Note that you will not be able to log in to Workstation Server with a Windows account that doesn't have a password.
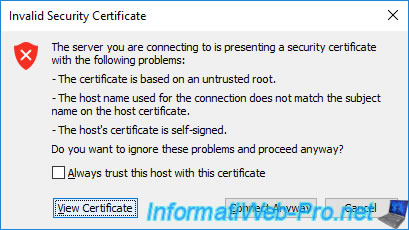
Ignore the warning about the invalid certificate.
By default, VMware Workstation uses self-signed certificates (which causes this warning).
However, using the self-signed certificate is sufficient to secure the connection.
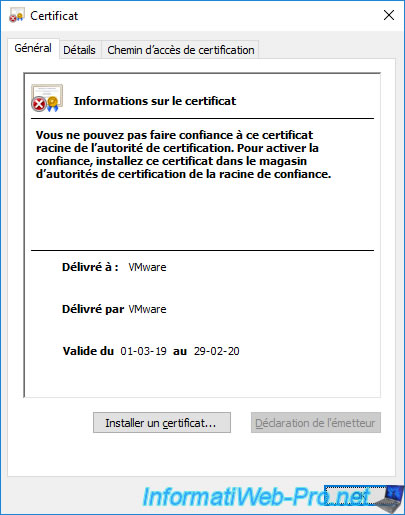
If you click on "View Certificate", you will see that the certificate has been issued to and by VMware.
Which proves that this one is self-signed.
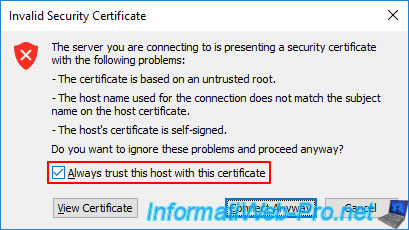
Check the "Always trust this host with this certificate" box and click on "Connect Anyway".
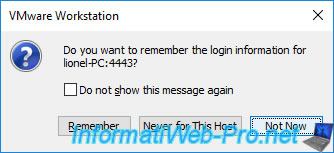
For safety, we will not save credentials to connect to this VMware Workstation Server.
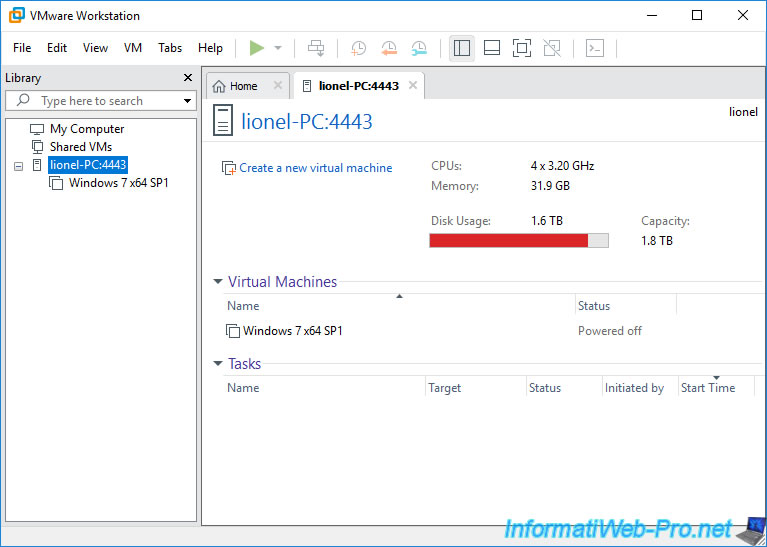
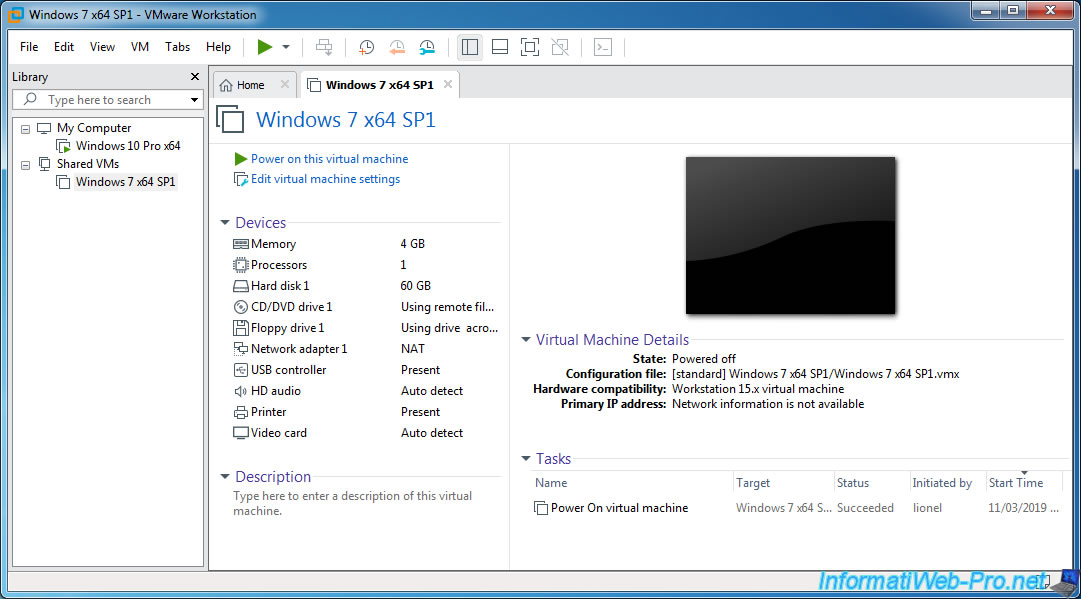
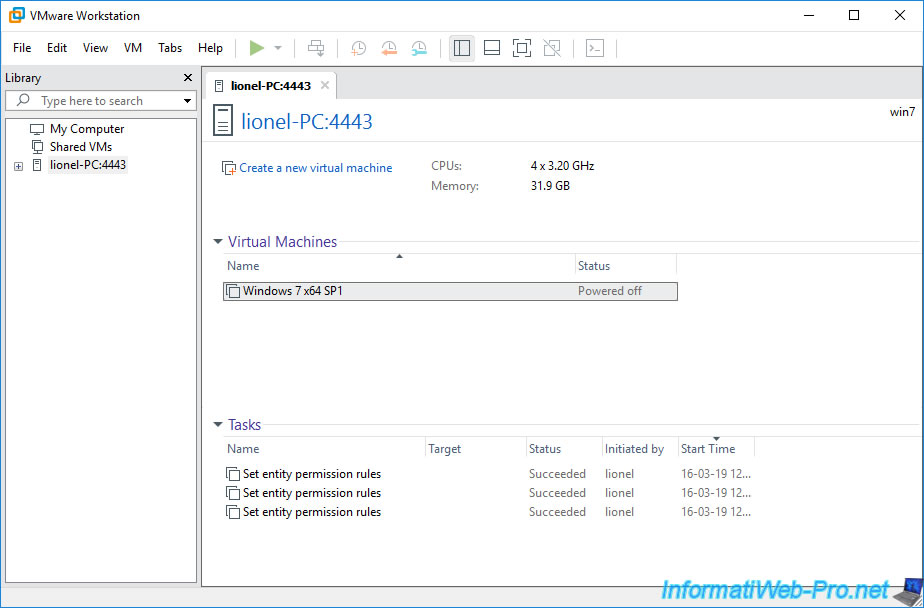
As you can see, VMware Workstation shows you :
- some informations about the resources (CPU, RAM and hard disk) of the remote server
- the list of virtual machines that you can use on this server
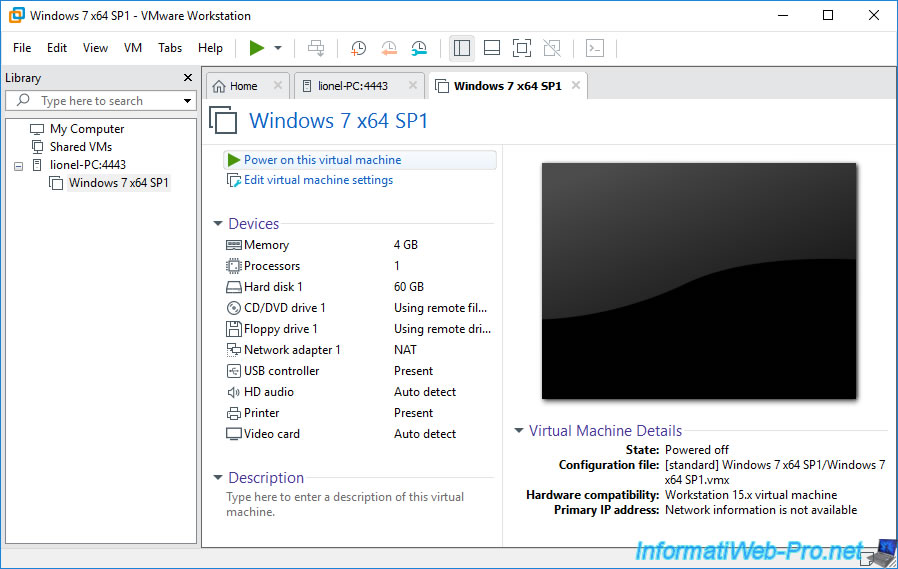
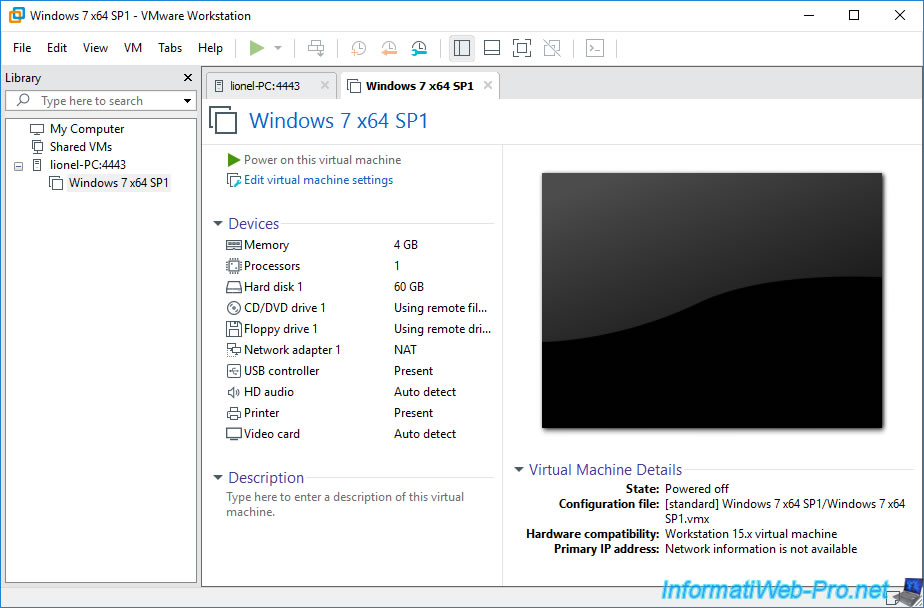
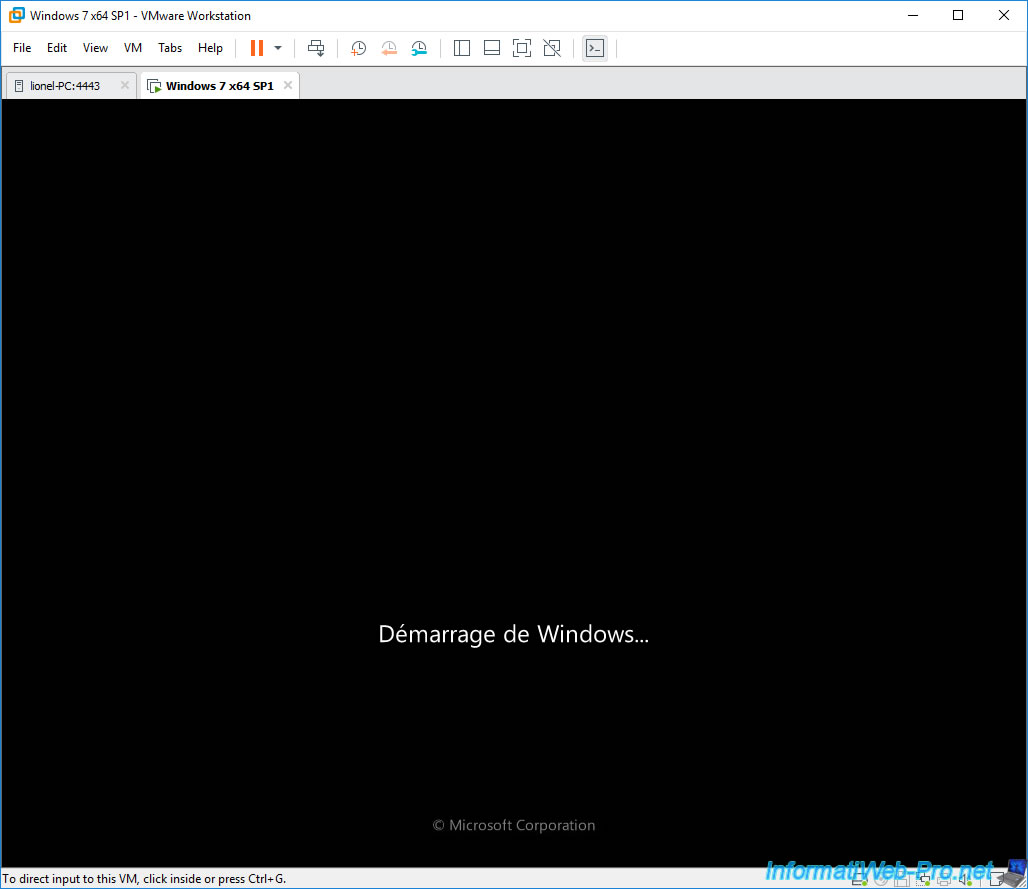
Launch this virtual machine from the client PC.
As you can see, you can use this remote virtual machine directly from VMware Workstation.
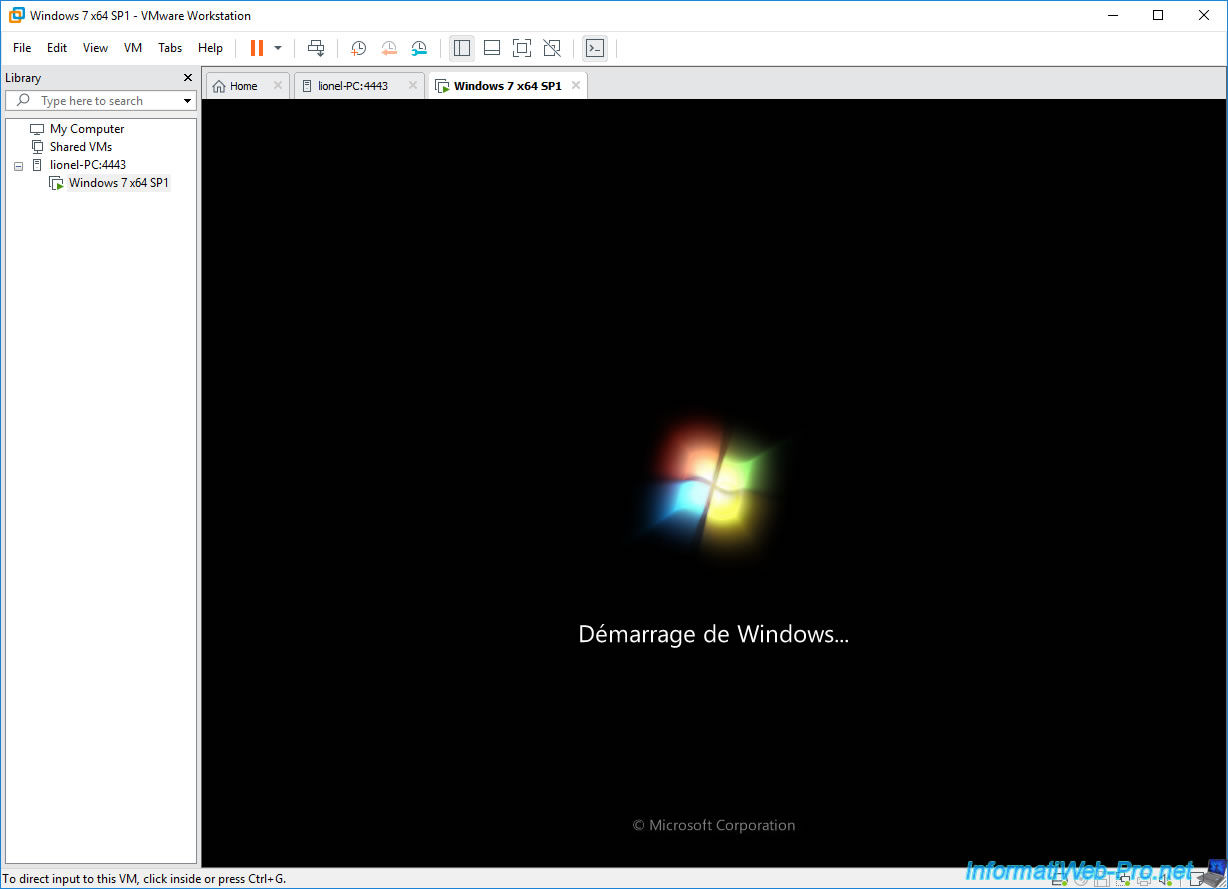
However, in reality, it will work on the remote server and not on the client PC.
In the "Tasks" section of the shared virtual machine, you will see that the lionel user (in our case) started this virtual machine on this day at this time.
4. Permissions management
To manage who can access which virtual machine(s), VMware Workstation has created a permissions system with roles to assign to that user or group of users.
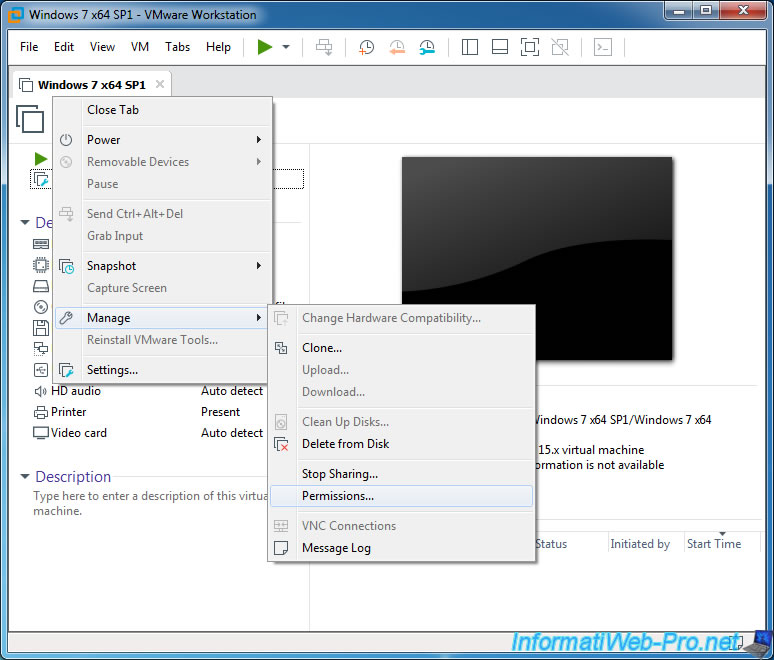
Note that you can manage the permissions on each shared virtual machine (via the menu : VM -> Manage -> Permissions) or globally by right-clicking "Permissions" on "Shared VMs".
For the moment, we will manage the permissions on the virtual machine we shared.
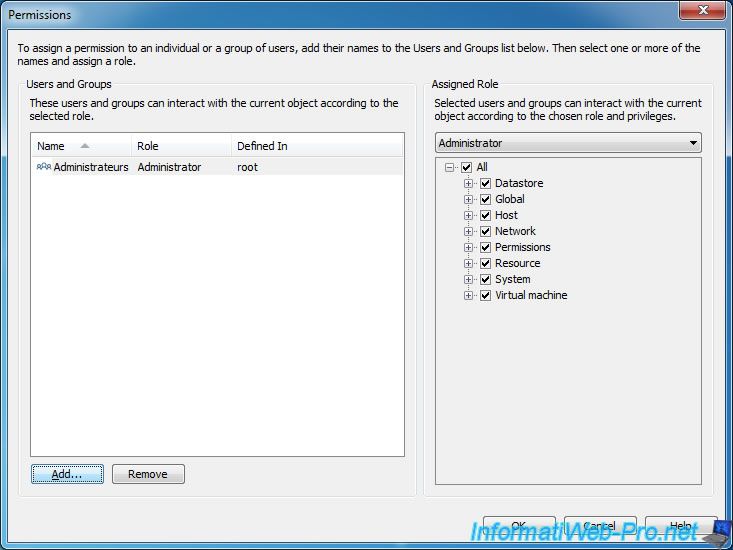
By default, the Administrator role is assigned to the Windows Administrators group.
Note that the user account created during Windows Setup is automatically a member of the Windows Administrators group.
So, by default, you have access to shared virtual machines with VMware Workstation Server.
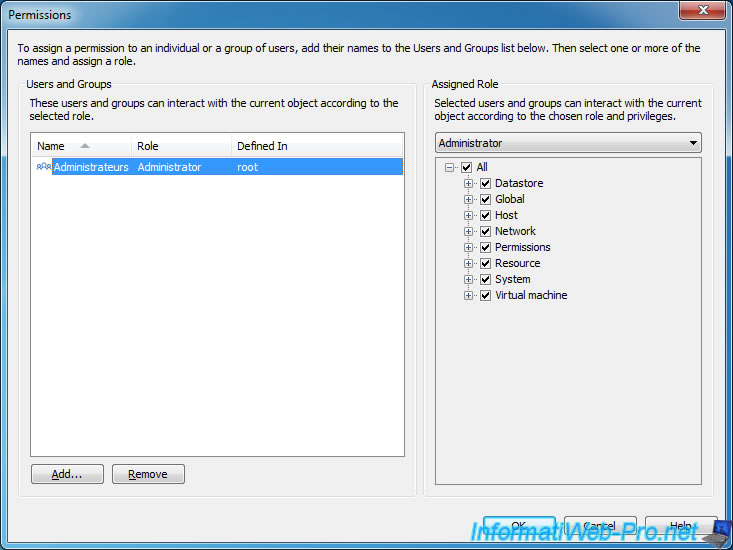
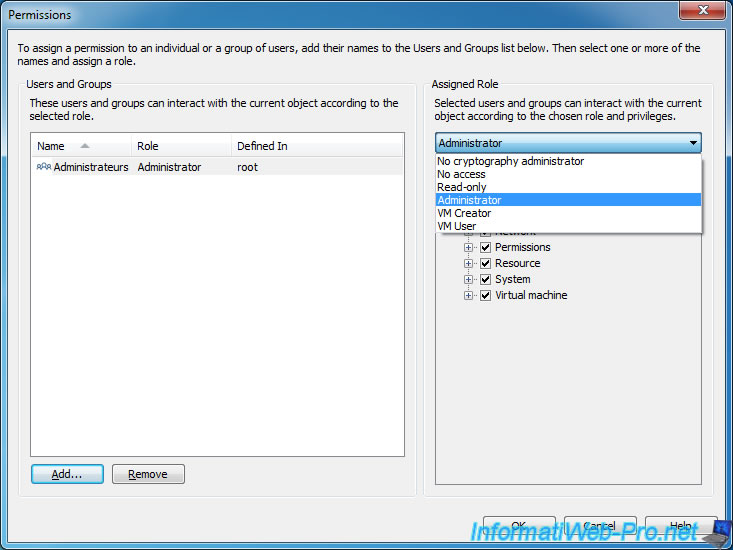
By default, several roles are already pre-defined :
- No cryptography administrator : no rights
- No access : no rights
- Read-only : reading right only. This makes it possible to see the virtual machines, but the user will not be able to launch or edit the settings of the virtual machine.
- Administrator : all the rights
- VM Creator : can create, use, configure, and delete virtual machines
- VM User : can change virtual machine settings and use them
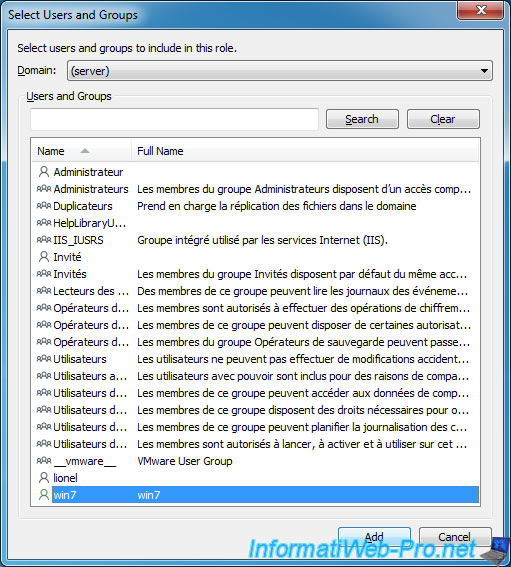
To authorize a new user or users group, click on : Add.
As you can see, by default, the "(server)" option is selected for the Domain list.
This means that VMware Workstation will only list local users and user groups (not those of an Active Directory domain to which your PC might be attached).
In our case, we created a new user "win7" password protected on our host PC.
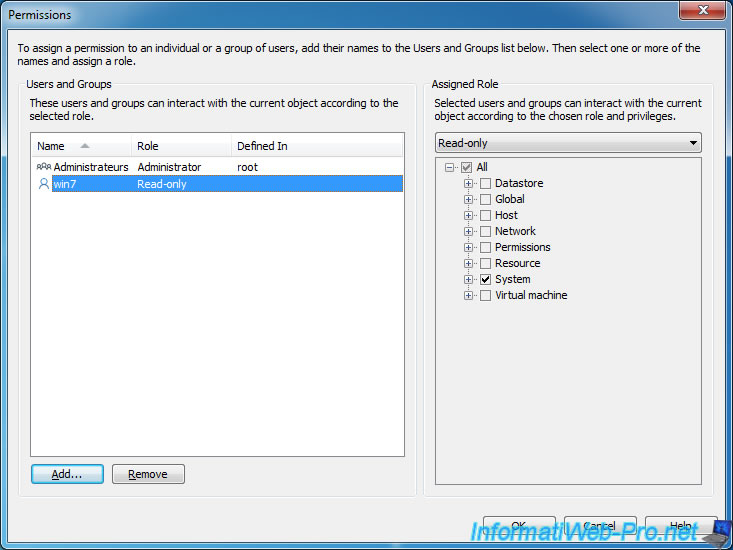
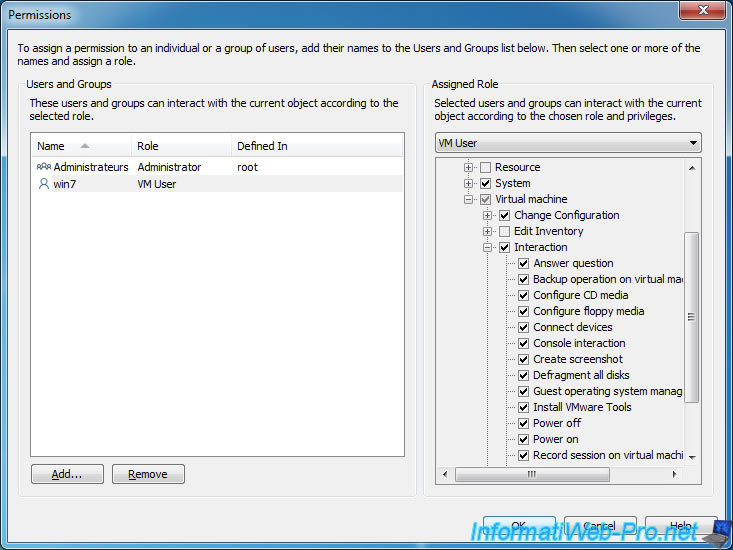
Once the user is added, assign him a role.
For example : Read-only.
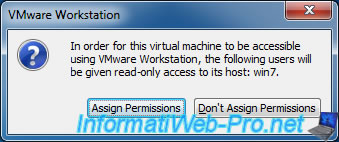
When you click OK, VMware Workstation will show you this message :
Plain Text
In order for this virtual machine to be accessible using VMware Workstation, the following users will be given read-only access to its host: [name of the added user].
Click on : Assign Permissions.
Now, from the remote PC, we connect with the new "win7" user.
As you can see, this user sees the virtual machine, as well as the different actions performed recently on the shared virtual machines.
He can also open it in VMware Workstation, but he will not be able to start it.
In addition, some errors will occur if the user is not allowed to manage a specific setting.
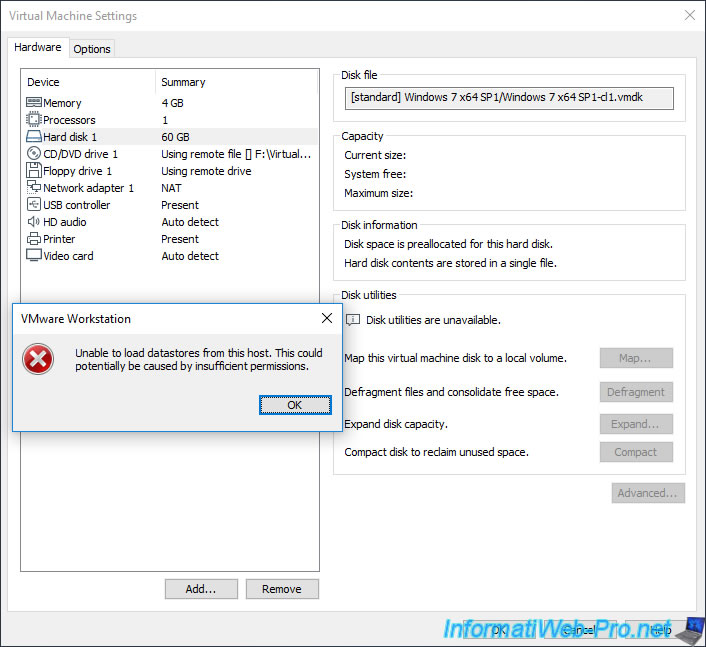
For example, if this user attempts to display information about the virtual hard disk of this VM, they will receive an error :
Plain Text
Unable to load datastores from this host. This could potentially be caused by insufficient permissions.
Change the role assigned to this user by : VM User.
This role will allow him to start and stop the virtual machine : Virtual Machine -> Interaction -> Power on (and Power off).
Now, this user has the option to start this virtual machine remotely.
Note that a reconnection to the remote server may be necessary for the options to be unlocked.

Share this tutorial
To see also
-
VMware 2/24/2016
VMware Workstation - Remotely access to a VM over VNC
-

VMware 3/25/2013
VMware Workstation / Player - Install Windows 95
-
VMware 1/31/2020
VMware Workstation 10 - Import Windows XP Mode of Microsoft
-
VMware 1/31/2020
VMware Workstation 11 / 10 - Virtualize Windows XP to make it fluid
No comment