Share virtual machines and manage access to them with VMware Workstation 15 or 16.1
- VMware
- 06 March 2020 at 14:44 UTC
-

- 3/3
5. General settings for sharing VMs
5.1. Power Options
Right click "Manage VM power actions" on "Shared VMs".
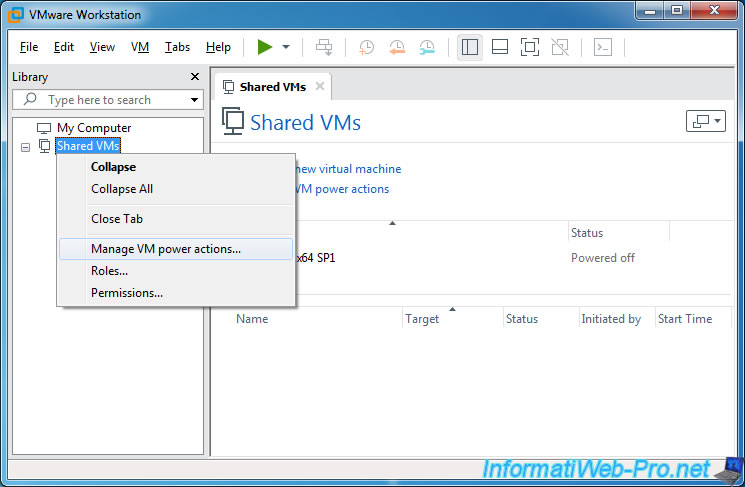
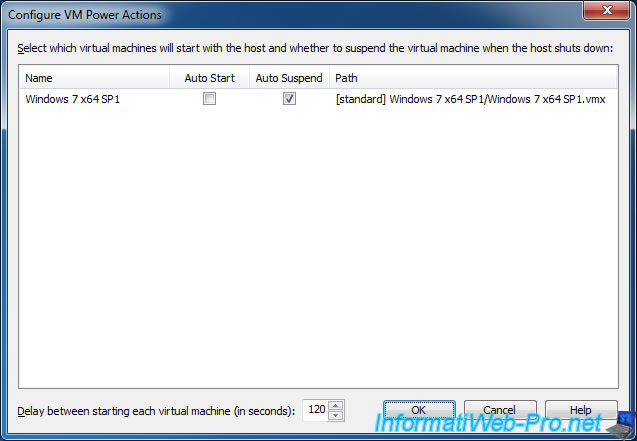
Since VMware Workstation now also acts as a server for some of your virtual machines, you have the option of automatically starting specific virtual machines and automatically pausing them.
You will also be able to set the waiting time between each virtual machine to start.
Indeed, it's well known, a virtual machine takes a lot more resource (CPU, RAM and HDD) when it starts than when it runs in the background.
5.2. Manage roles and create new ones
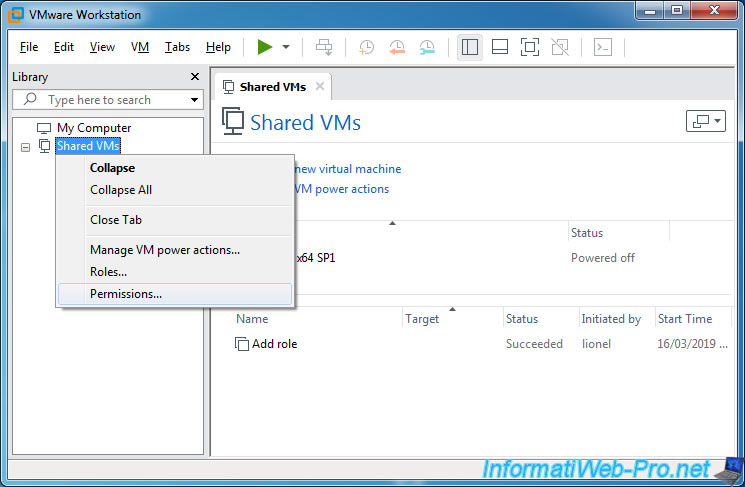
To manage the different roles, right-click "Roles" on "Shared VMs".
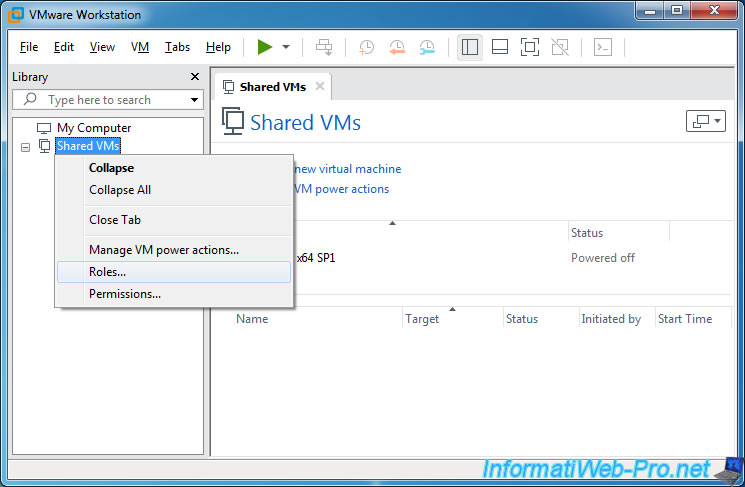
As you already know, some roles are already pre-defined in VMware Workstation.
However, if you want to carefully manage the permissions of your users, you may want to create your own roles.
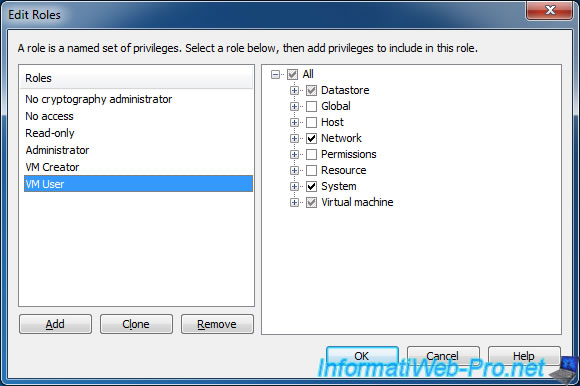
To create a new role, you have 2 possibilities :
- Add : create a new empty role and assign only the desired privileges
- Clone : clone an existing role to then adapt the permissions of the new role
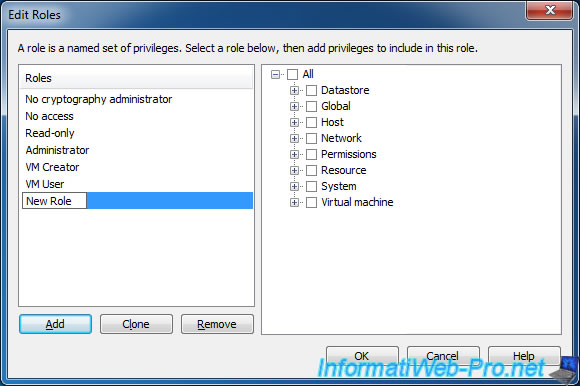
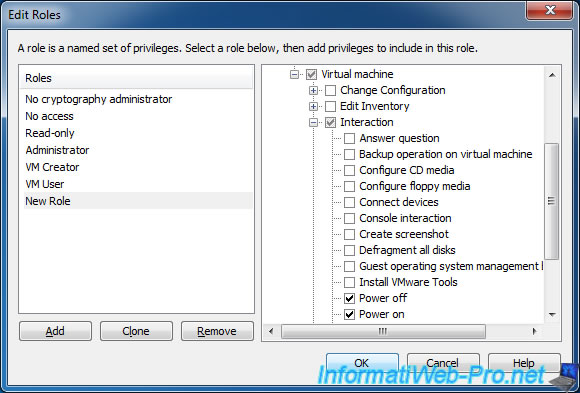
In our case, for example, we will allow only the startup and shutdown of virtual machines.
For this, allow the "Power off" and "Power on" options in : Virtual machine -> Interaction.
5.3. Managing global permissions for sharing VMs
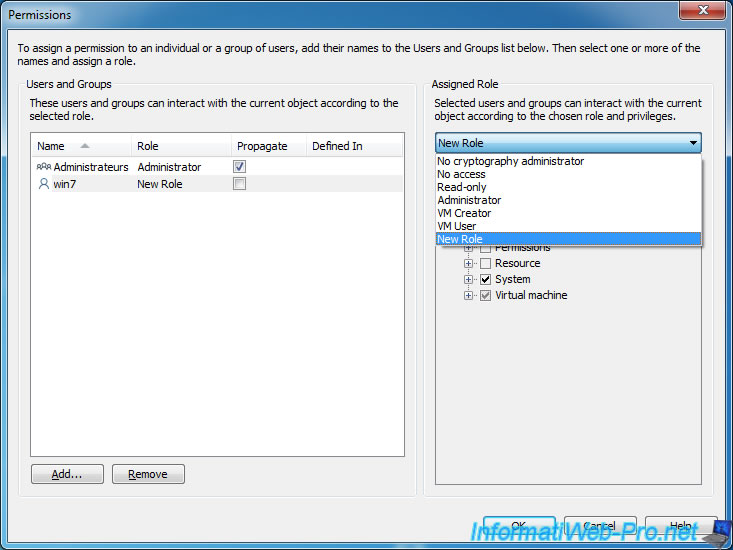
To manage permissions for all shared virtual machines, right-click "Permissions" on "Shared VMs".
Add users or groups of users by clicking Add, and then assign them a pre-defined role or a role that you created (in our case : New Role).
6. Active Directory authentication support
Small bonus : if you install VMware Workstation in an enterprise on an Active Directory server, a server linked to the Active Directory or a client PC linked to your Active Directory, you will be able to manage the permissions for local user accounts, but also for those in the Active Directory.
Note, however, that there is a slight latency for permissions management for Active Directory users. (more info later)
In our case, we created an Active Directory server on Windows Server 2012 R2 and joined a Windows 8 client PC to it.
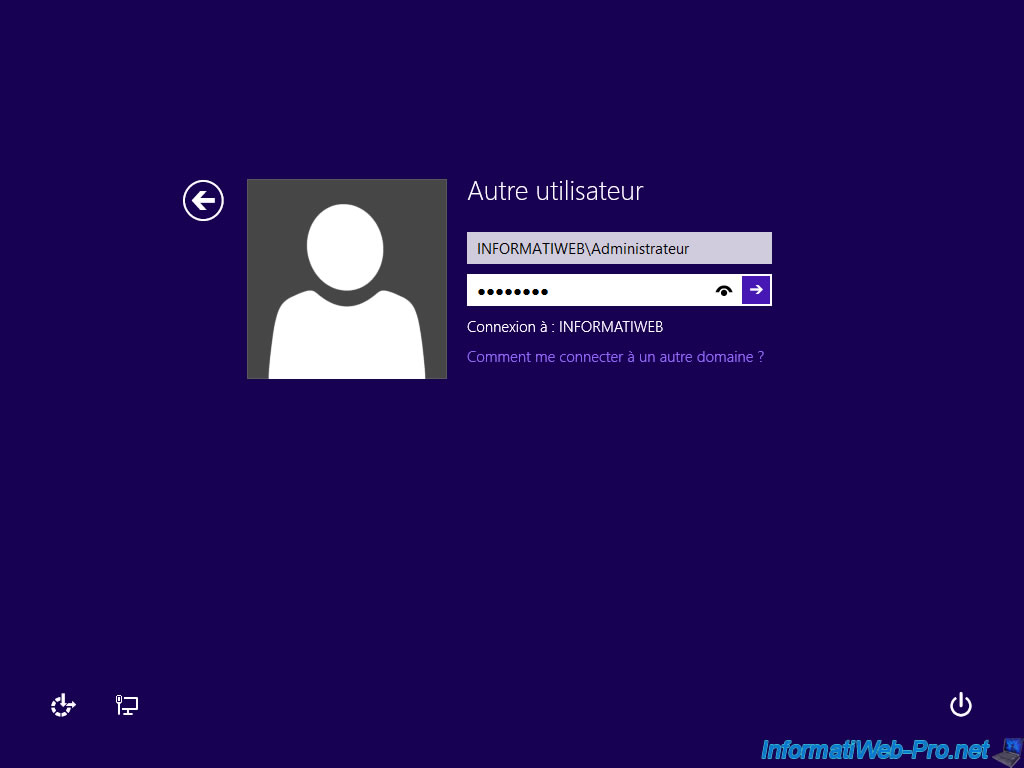
On this client PC, log in with an Administrator account in the Active Directory.
Important : the client PC must have been linked to your Active Directory domain before installing VMware Workstation.
If you have already installed VMware Workstation, you will need to uninstall it and then reinstall it for it to work.
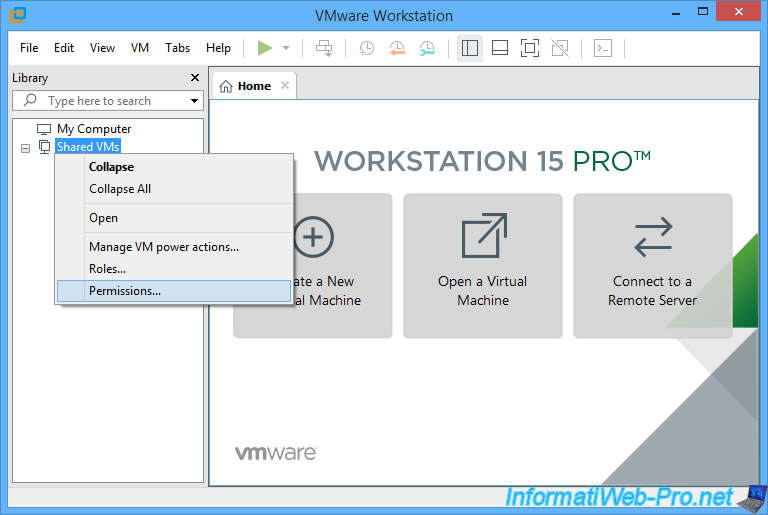
Launch VMware Workstation, enable the "VMware Workstation Server" server via the VMware Workstation preferences if it's not already done, then right click "Permissions" on "Shared VMs".
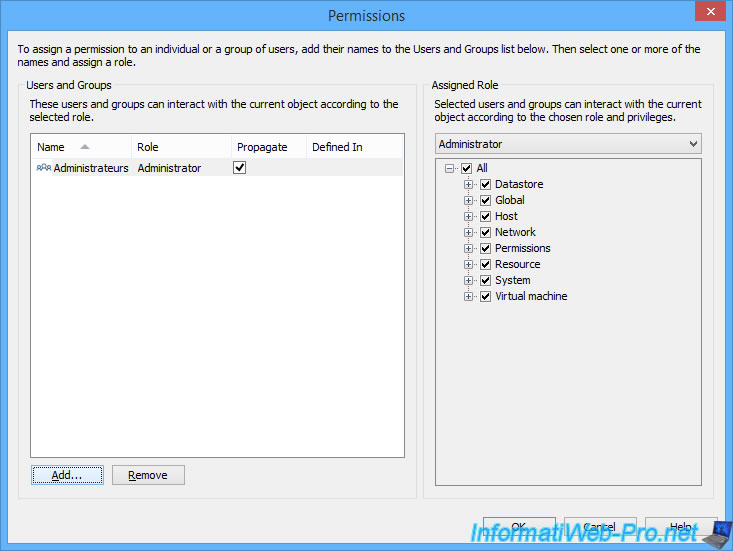
Click Add.
As you can see, the NETBIOS name of your Active Directory will be displayed in the "Domain" list.
If it doesn't, close VMware Workstation and wait 1 minute.
Then, restart it and come back here. Your domain should appear in the list.
If this still is not the case, restart the PC where VMware Workstation was installed, wait another minute and launch VMware Workstation.
This time, it should work.
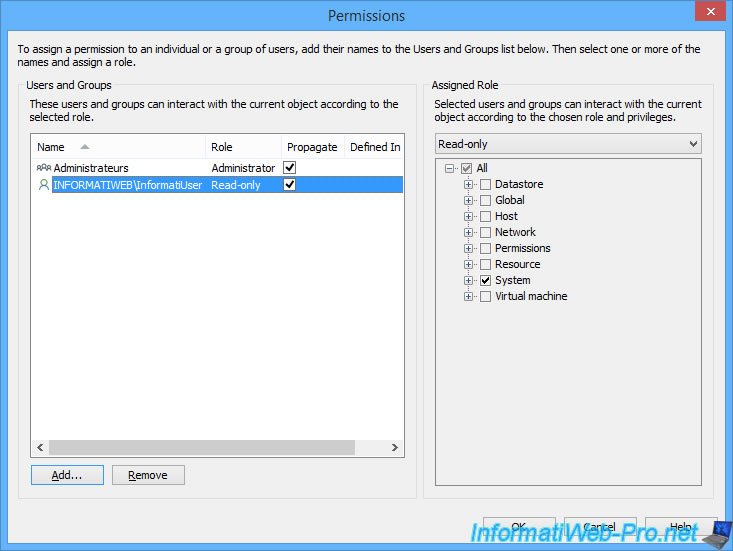
In our case, we add the "InformatiUser" user created on our Active Directory server.
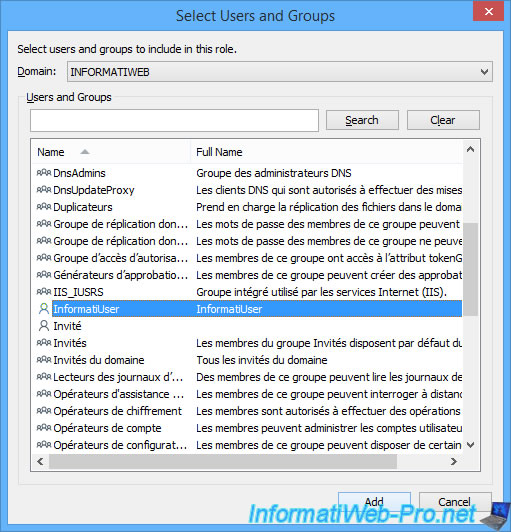
And as expected, the "INFORMATIWEB\InformatiUser" user appears in the list.
Share this tutorial
To see also
-
VMware 2/24/2016
VMware Workstation - Remotely access to a VM over VNC
-

VMware 3/25/2013
VMware Workstation / Player - Install Windows 95
-
VMware 1/31/2020
VMware Workstation 10 - Import Windows XP Mode of Microsoft
-
VMware 1/31/2020
VMware Workstation 11 / 10 - Virtualize Windows XP to make it fluid

No comment