- VMware
- 30 April 2020 at 12:01 UTC
-

- 1/2

When you create a virtual machine with VMware Workstation, all data are stored in a virtual hard disk in vmdk format.
The problem is that over time, if you store a lot of data in the virtual hard disk of your virtual machine, then you delete many files, you will not recover the entire space released in your virtual machine.
Indeed, VMware tends to keep the deleted files in the virtual hard disk of your virtual machine by default. Fortunately, there are 2 features to solve this problem.
VMware also offers management of the location of the various iSCSI, SATA, and IDE virtual hard disks, as well as mapping the partitions of these virtual hard disks directly to the host PC.
- Map (map a volume / partition on the host PC)
- Defragment (defragment a virtual hard disk)
- Expand (extend the capacity of the virtual hard disk)
- Compact (recover unused space in the virtual hard disk)
- Advanced settings
- Clean Up Disks (recovering unused space on the virtual hard disk)
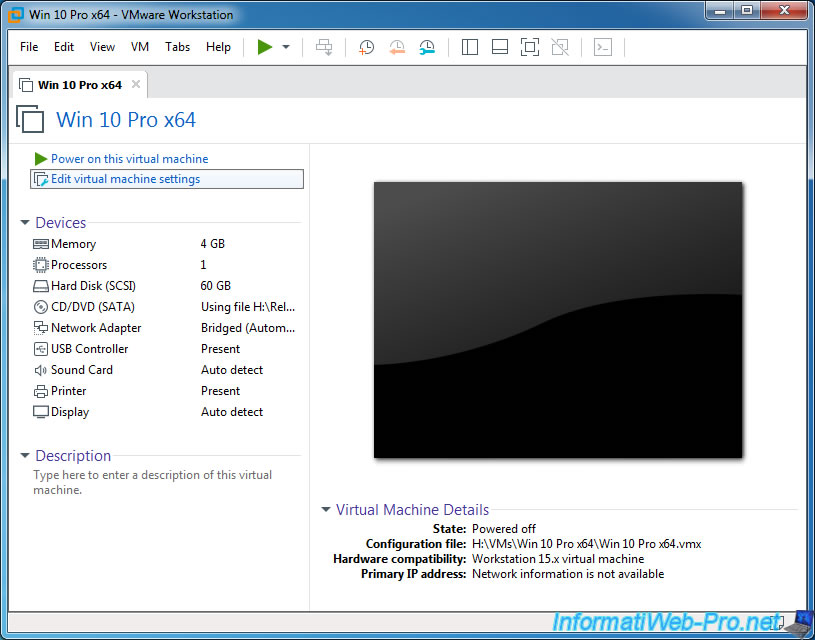
To get started, go in the virtual machine settings by clicking on : Edit virtual machine settings.
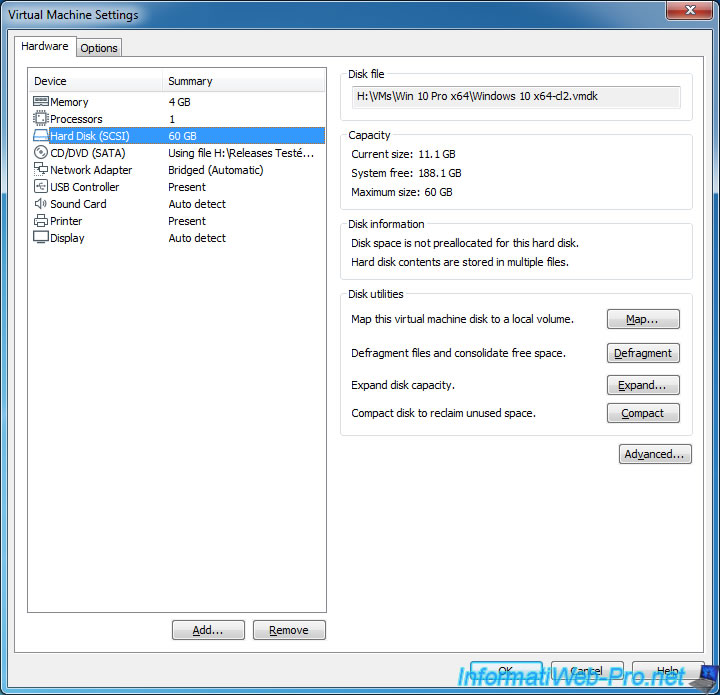
For each virtual hard disk, you will be able to :
- Current size : know the current size of the virtual hard disk
- System free : know the available disk space on the host PC for the partition where this virtual hard disk is located
- Maximum size : know the maximum size that this virtual hard disk can take on the hard disk of the host PC
You will also be able to :
- know if the hard disk space has been preallocated or not : this means that the virtual hard disk defaults to the maximum size allowed (if preallocated) or not (not preallocated)
- know if the hard disk is stored on the physical hard disk in one file or not (multiple files)
Finally, you will be able to :
- Map : map a partition of a virtual hard disk as a local disk (until VMware Workstation Pro 16)
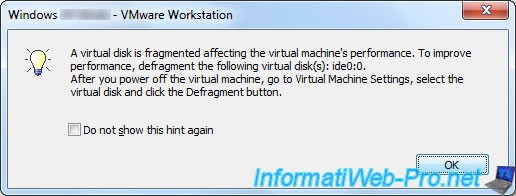
- Defragment : defragment the virtual hard disk (to improve the performance of your virtual machine). Moreover, VMware Workstation may ask yoy to do it one day (A virtual disk is fragmented affecting the virtual machine's performance. To improve performance, defragment the following virtual disk(s)).
- Expand : increase the maximum size of the virtual hard disk. However, this also requires a file system change in the guest OS.
- Compact : allows you to recover the unused space in the virtual hard disk so that it takes up less space on the physical hard disk.
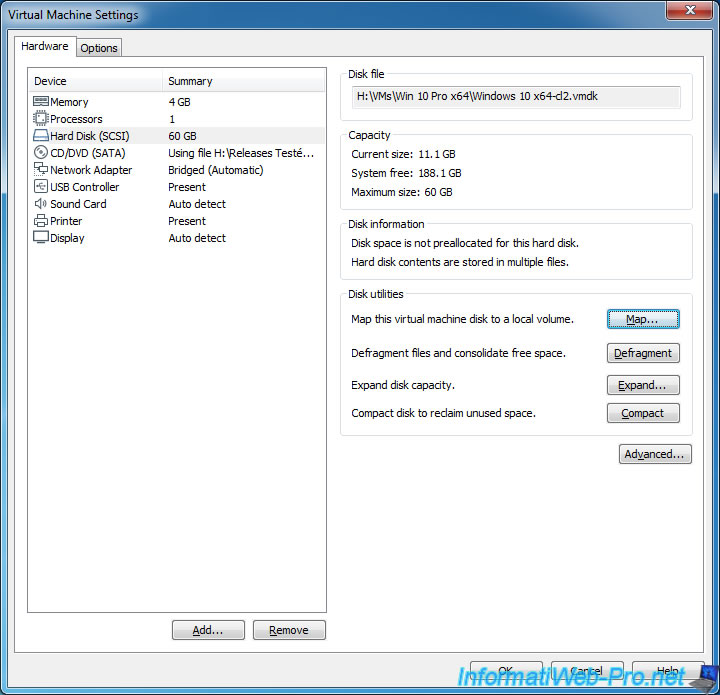
1. Map (map a volume / partition on the host PC)
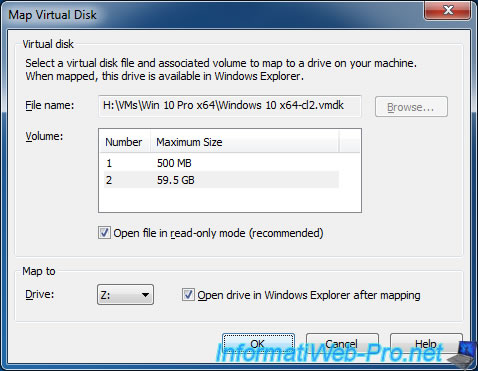
To begin, we will map a partition of the virtual hard disk by clicking Map.
Note that the virtual machine must be stopped and it must not be encrypted for this to be possible.
If you enable encryption for your VMware virtual machine, this feature will no longer be available.
Important : the "Map" option is no longer available since version 17 of VMware Workstation Pro.
Source : VMware Workstation 17.0 Pro Release Notes.
Since Windows 10 is installed on this virtual hard disk and Windows 10 still creates a (Win RE) system partition when it's installed, you will inevitably find at least 2 partitions :
- the system partition of Windows 10 of 500 MB
- the "C" partition where Windows is installed (in this case 59.5 GB)
By default, the partition will be mounted in read-only (Open file in read-only mode (recommended)) and it will be mapped with the letter Z (Map to Drive Z:).
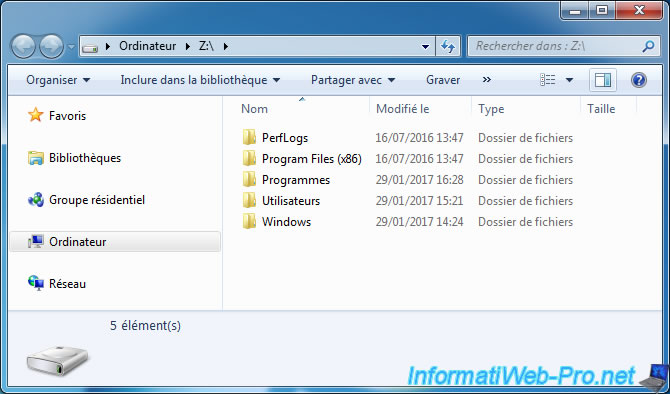
Once the volume (partition) is mounted, you will have access to the contents of this partition from the host PC without having to start the virtual machine.
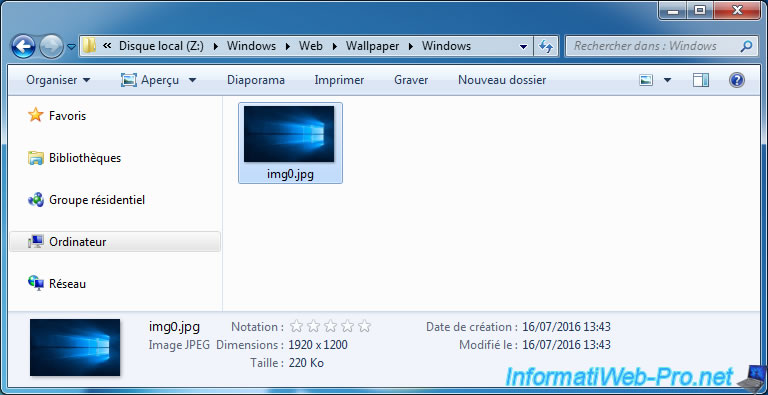
If we go to the "Z:\Windows\Web\Wallpaper\Windows" folder, we find the wallpaper of Windows 10.
2. Defragment (defragment a virtual hard disk)
To improve the performance of your virtual machine (or when VMware Workstation requires it), click the Defragment button to defragment the desired virtual hard disk.
Plain Text
A virtual disk is fragmented affecting the virtual machine's performance. To improve performance, defragment the following virtual disk(s): ide0:0.
After you power off the virtual machine, go to Virtual Machine Settings, select the virtual disk and click the Defragment button.
This process may take time depending on the size of the disk and the amount of data stored inside it.
When the process is complete, the "Disk defragmentation successfully completed" message will appear.
3. Expand (extend the capacity of the virtual hard disk)
3.1. Extend virtual hard disk capacity from Windows
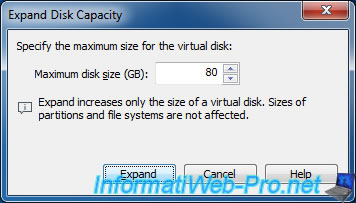
When we created our virtual machine, we created a 60 GB virtual hard disk.
Now, we increase its size to 80 GB.
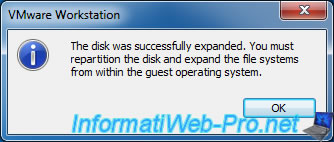
However, as VMware Workstation will tell you, you will also need to repartition the virtual hard disk and expand the file system from the guest system.
Plain Text
The disk was successfully expanded. You must repartition the disk and expand the file systems from within the guest operating system.
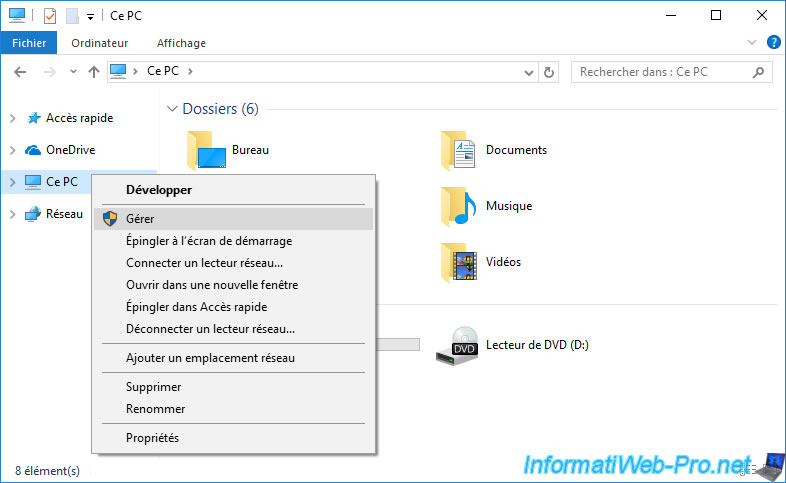
For Windows, updating the file system is very simple since you can do it from the Windows GUI.
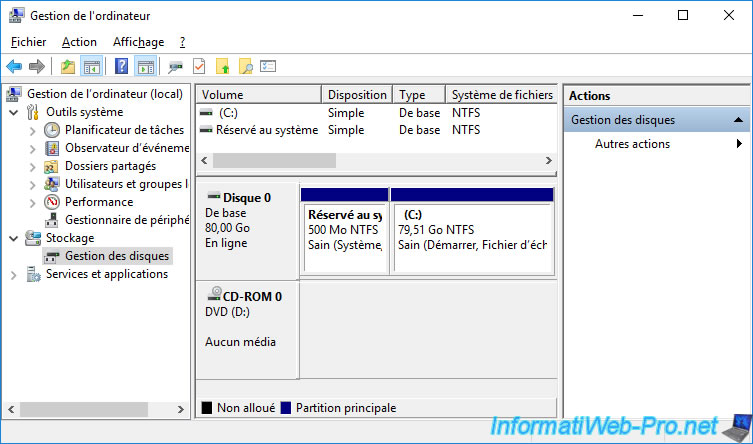
To do this, in the file explorer, right-click on "This PC" (or Computer or Workstation in previous versions of Windows), then click Manage.
Click "Disk Management" and then, expand the last volume (partition) of the virtual hard disk that you just expanded.
In our case, we right-click "Extend Volume" on the C partition.

Just click Next without changing the displayed values so that the volume is expanded by taking all unallocated space (free space) remaining.
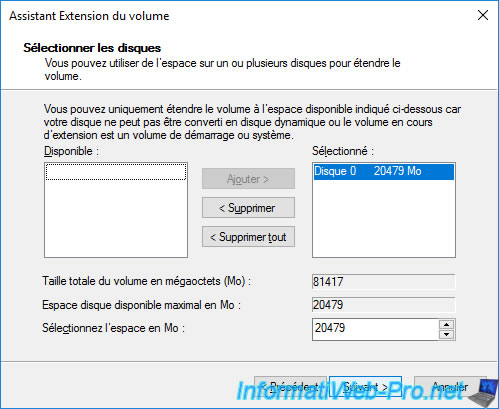
The volume is extended.
Share this tutorial
To see also
-

VMware 3/16/2013
VMware Workstation - Boot a VM on the BIOS / EFI firmware
-

VMware 2/7/2020
VMware Workstation 15 - Installation on Linux
-

VMware 12/24/2021
VMware Workstation 15 - Slice the virtual hard disk of a VM
-

VMware 12/10/2021
VMware Workstation 15.5 - Convert a Virtual PC virtual machine to a VMware VM
You must be logged in to post a comment