Virtualize Citrix XenServer 6.5.0 with VMware Workstation 16, 15 and 14
- VMware
- 21 August 2020 at 08:22 UTC
-

- 2/2

3. Create a Linux virtual machine
In XenCenter, click : New VM.
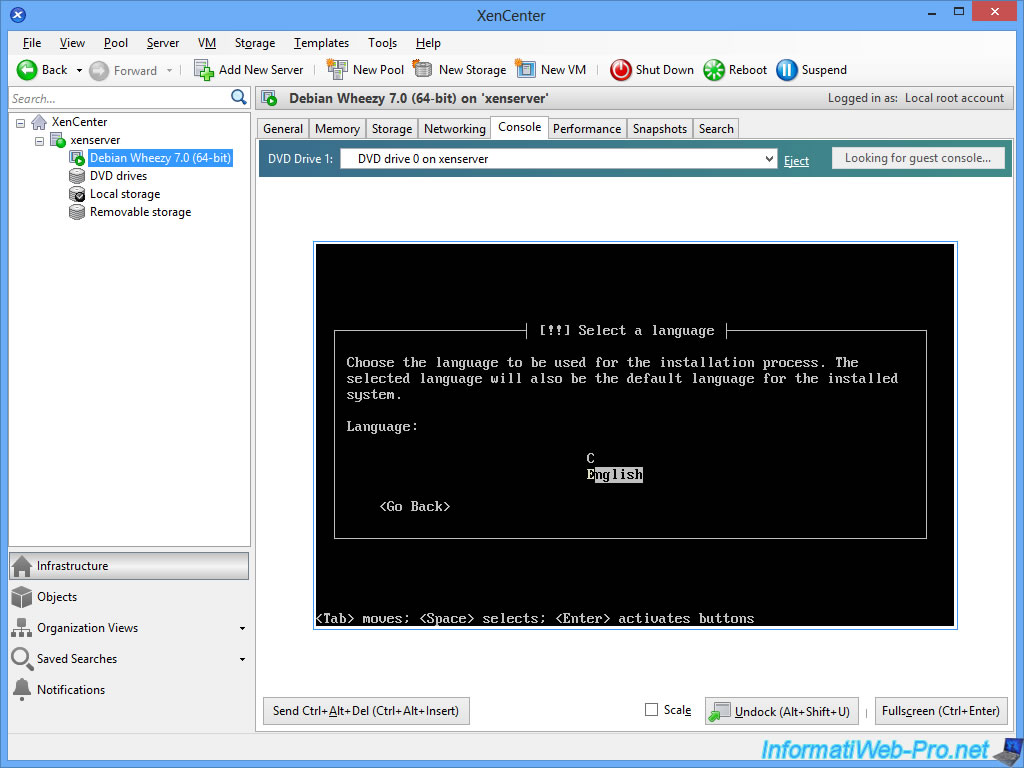
Choose the guest OS that you want to install.
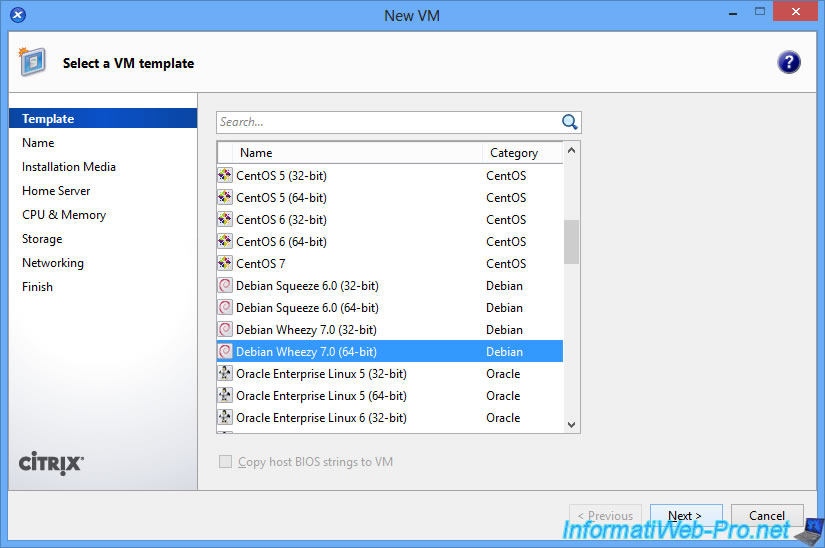
In our case, we chose to install the guest OS using the host's DVD drive.
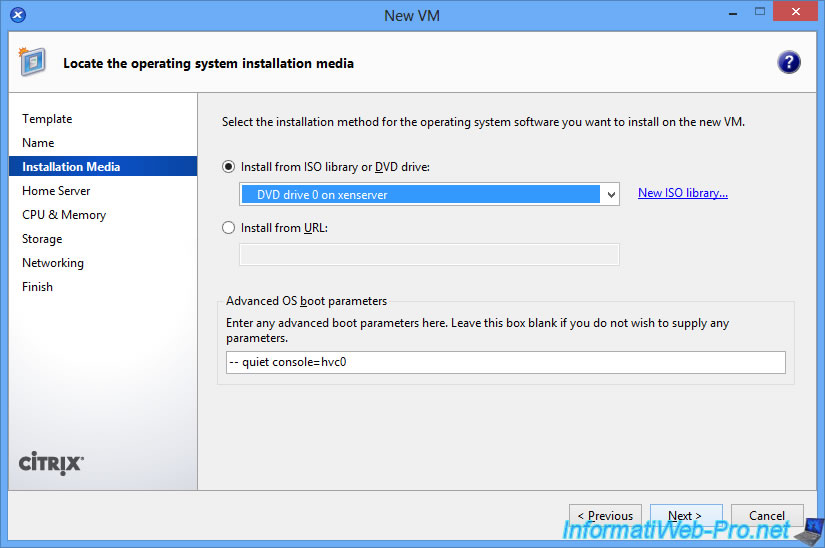
So, in the VMware VM settings, choose the installation CD of the Linux OS you want to install and check the "Connected" box that was unchecked automatically at the end of the Citrix XenServer installation.

Then, in XenCenter, click Create Now.
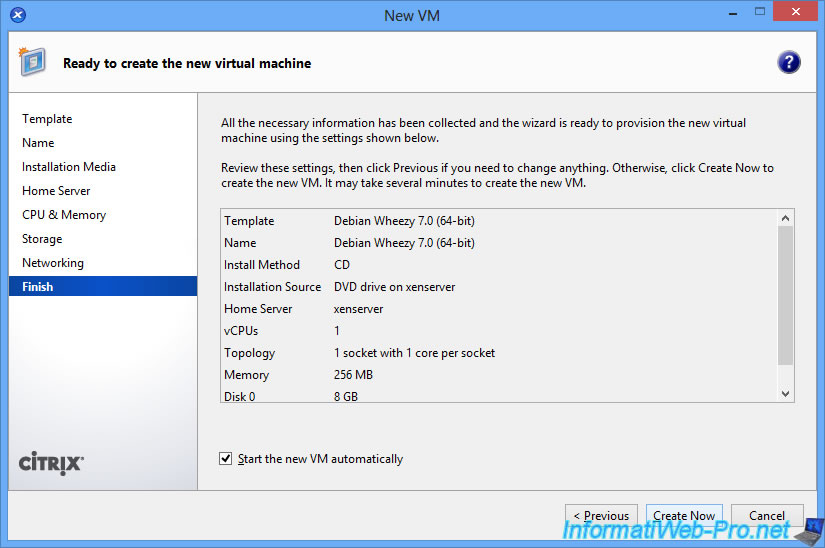
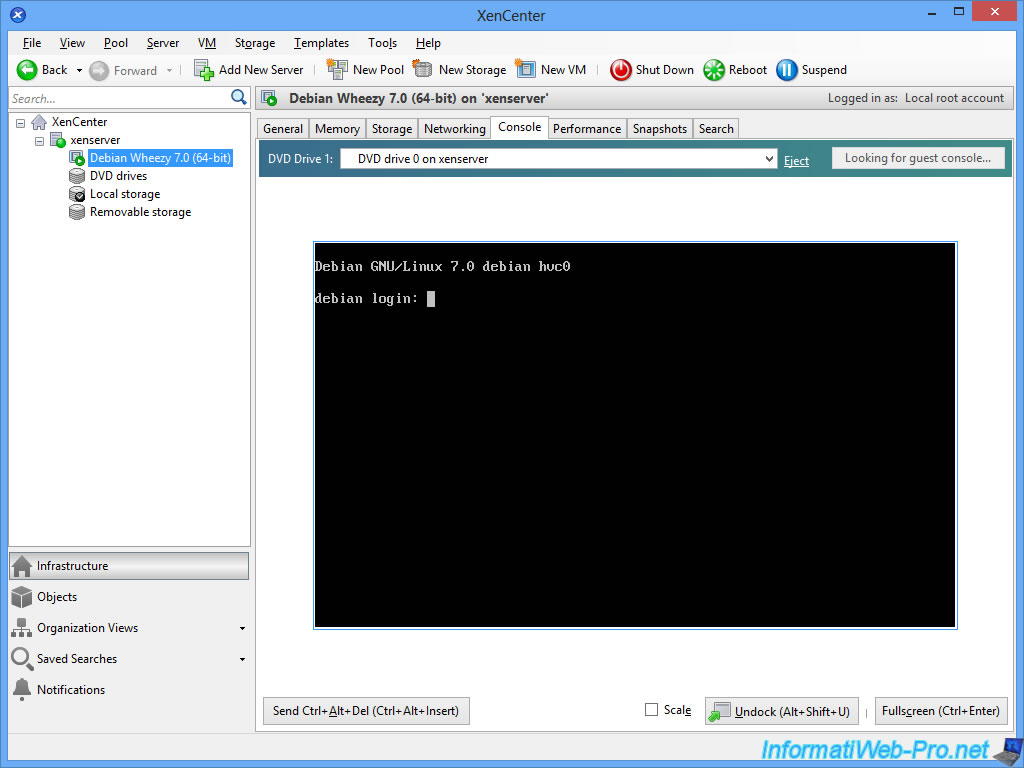
The installation of the guest OS starts in server mode.
Debian 7.0 x64 in our case is installed.
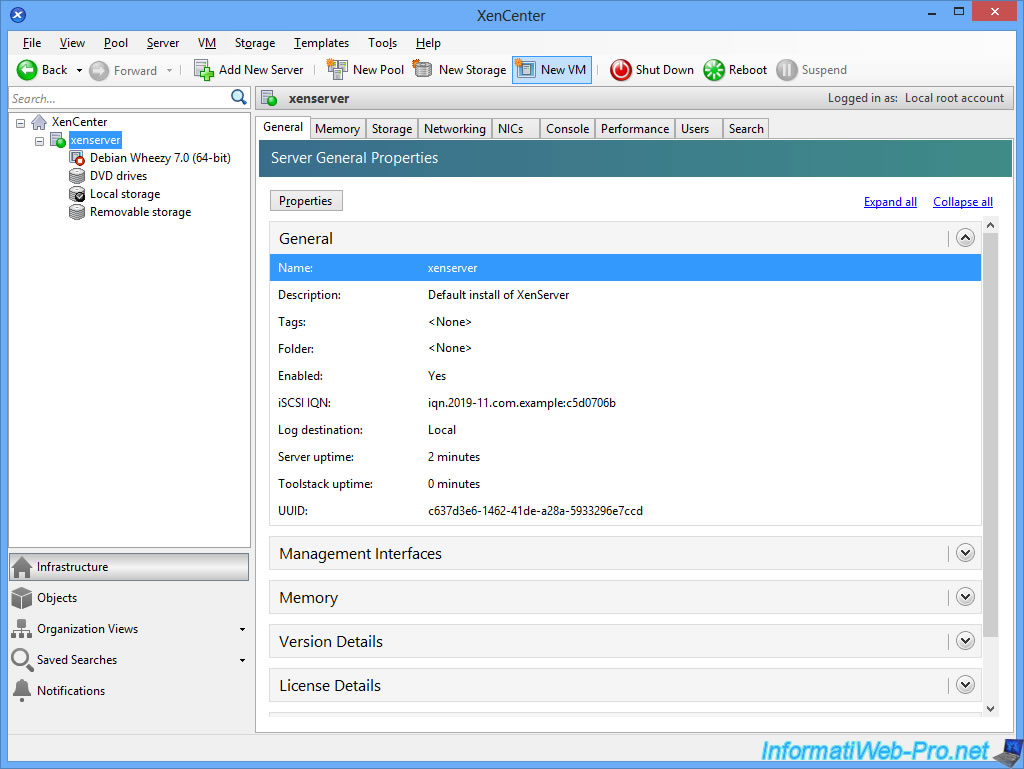
4. Create a Windows virtual machine
As you will see, Windows virtual machines also work without problem.
Click on : New VM.
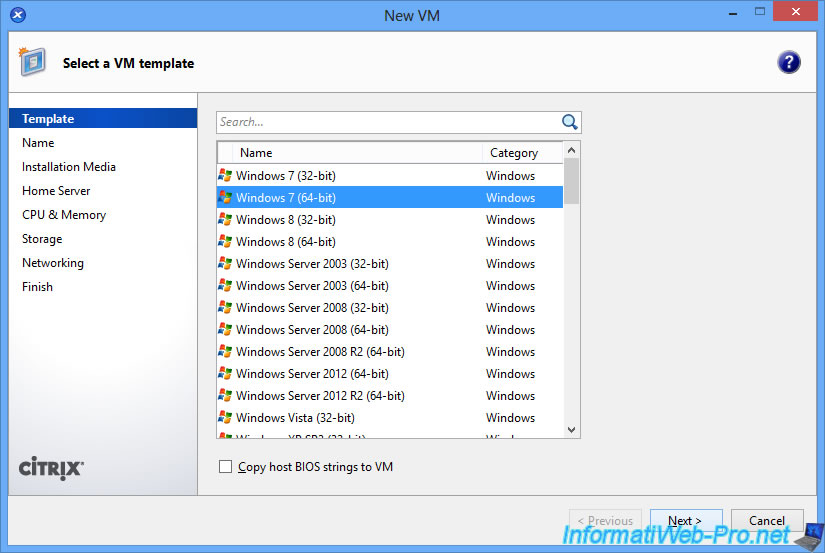
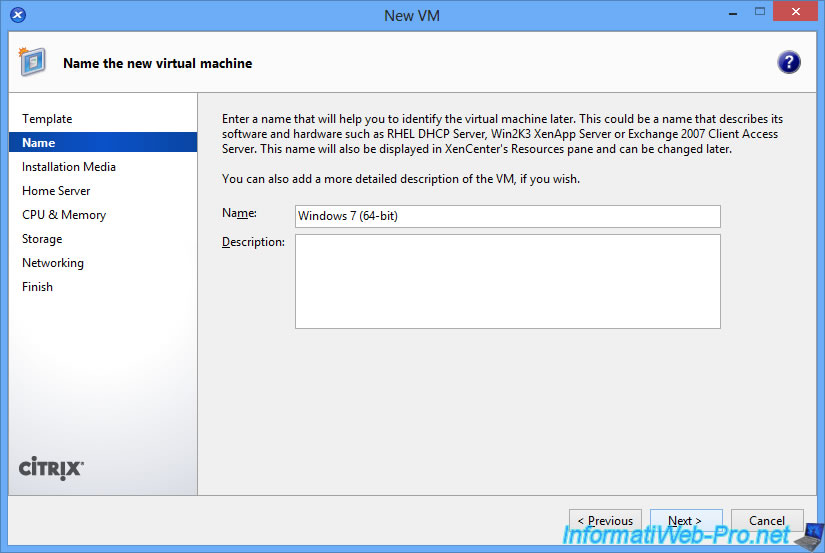
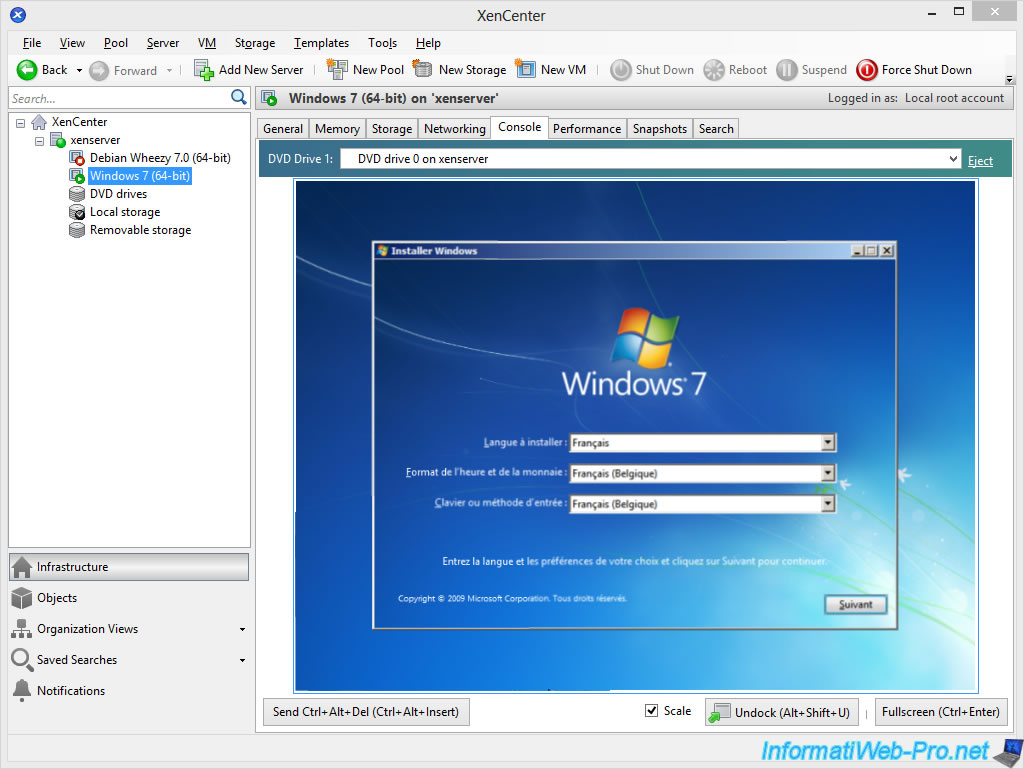
In this tutorial, we will install a virtual machine with Windows 7 (64-bit).
Enter a name for your virtual machine : Windows 7 (64-bit).
By default, the server DVD drive is used.
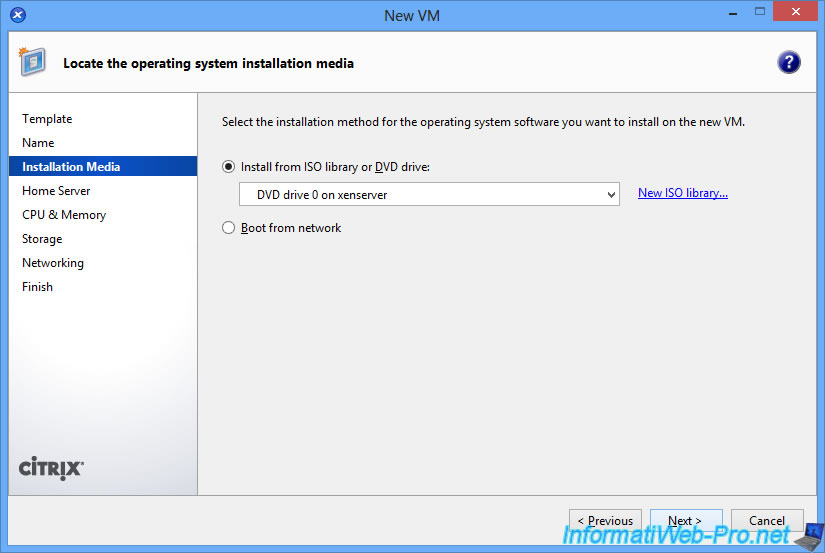
Go to the VMware settings of your "Citrix XenServer" virtual machine and select the Windows iso file.
Note : check the "Connected" box.

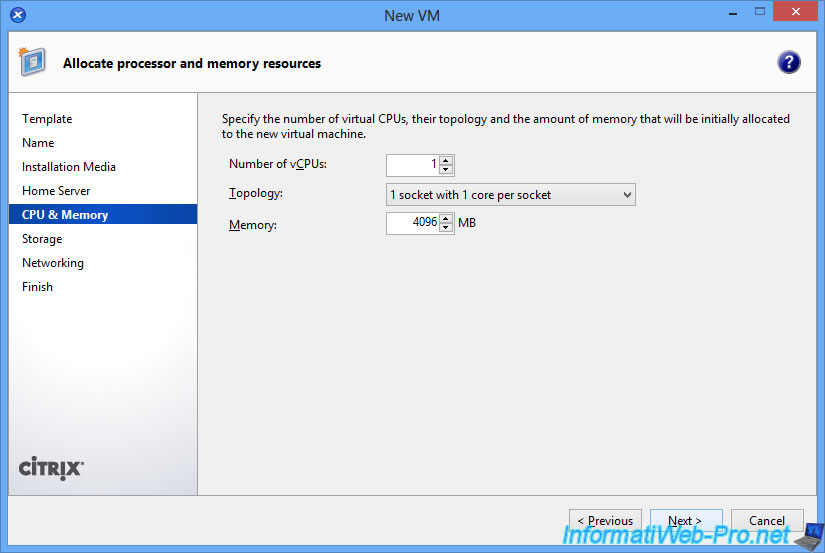
In XenCenter, continue the steps.
Allocate enough RAM to the virtual machine (depending on how much RAM is allocated to your XenServer server).
Click : Create Now.
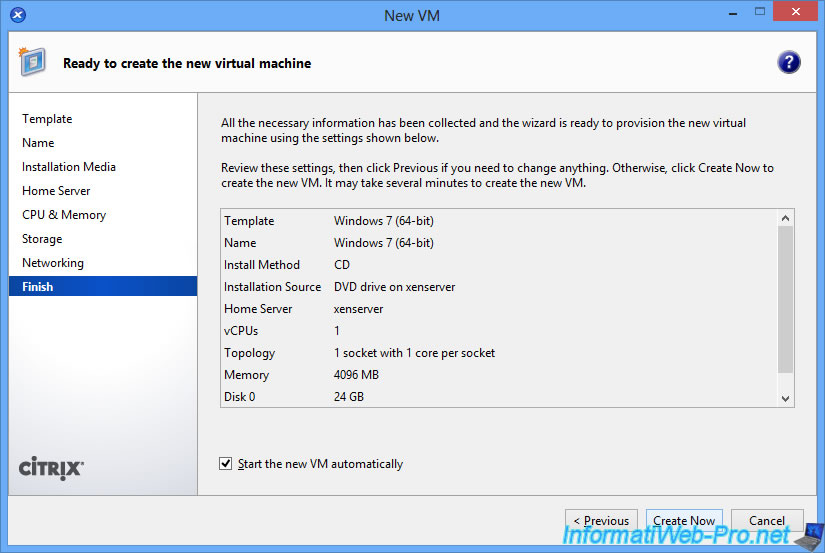
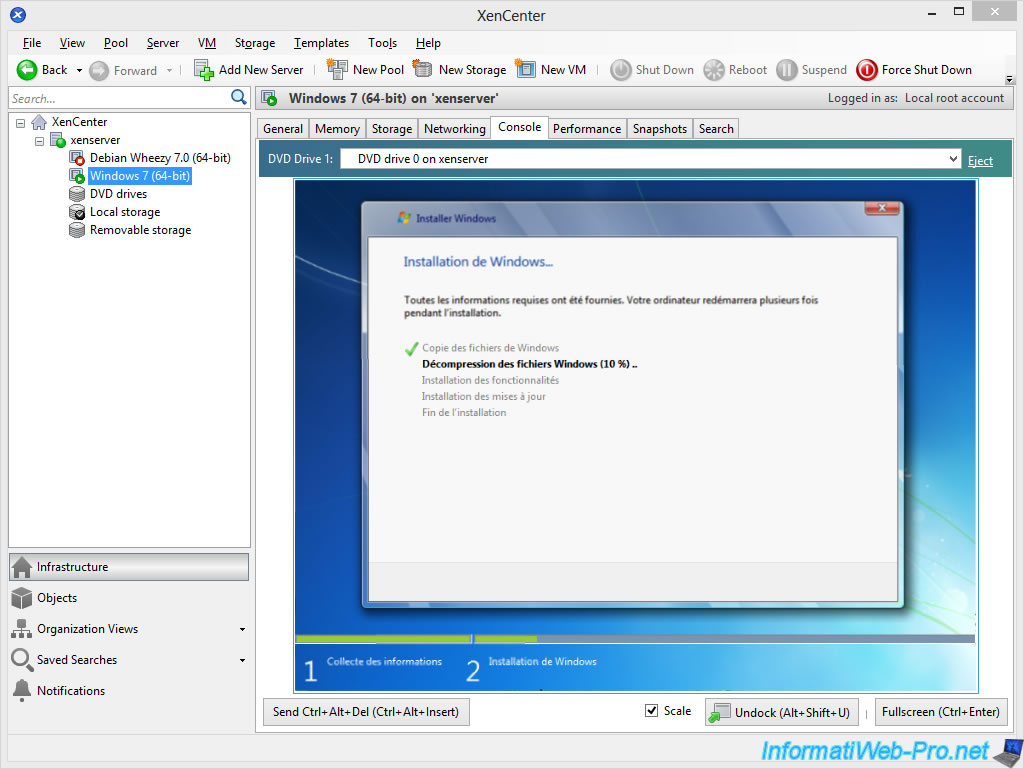
The virtual machine starts automatically on the Windows installation DVD.
Wait while installing Windows.
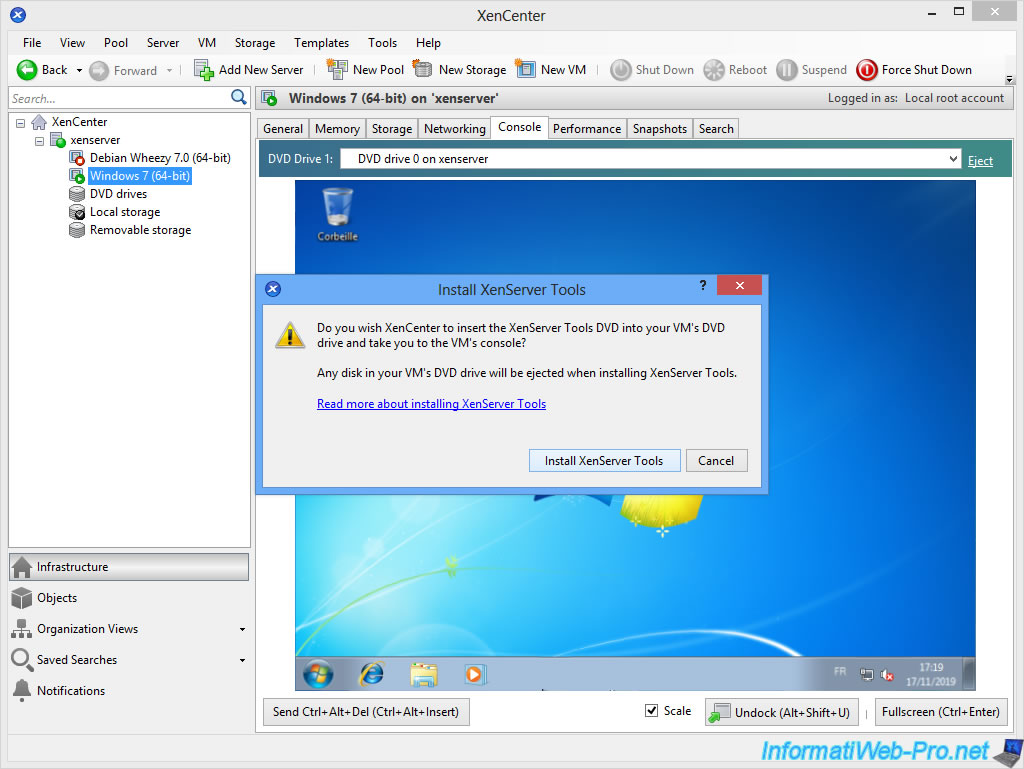
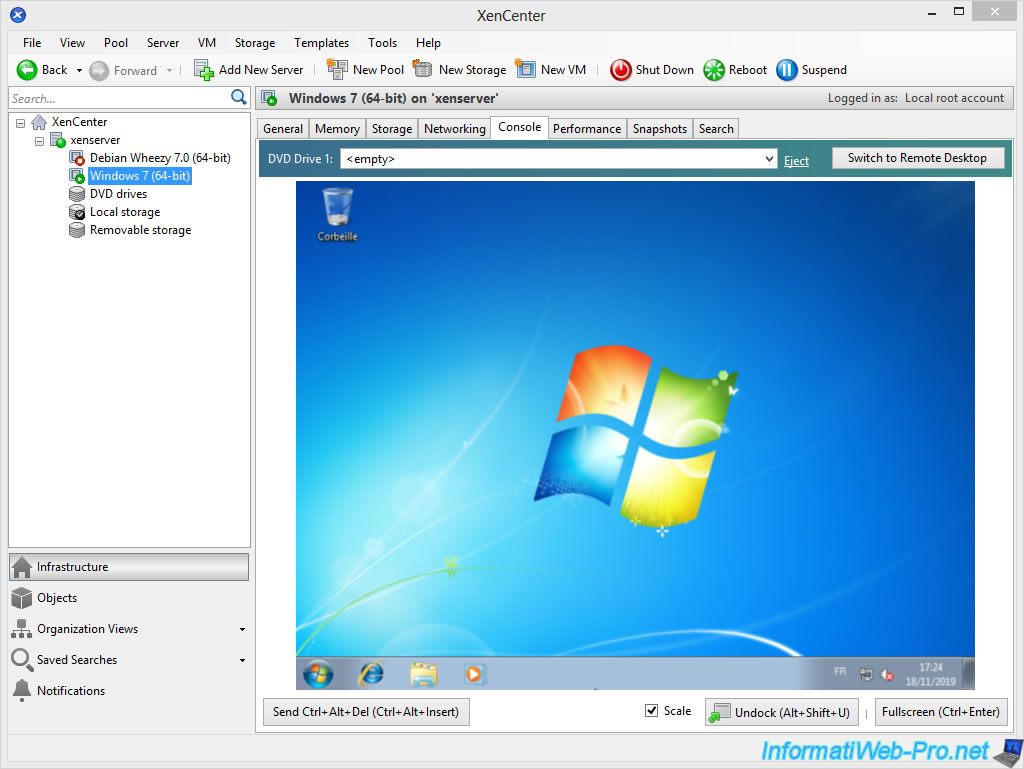
Click on "VM -> Install XenServer Tools" and install these XenServer Tools.
Once the XenServer Tools are installed, don't forget to click on "Eject" to eject the XenServer Tools iso file.
Share this tutorial
To see also
-
VMware 2/24/2016
VMware Workstation - Remotely access to a VM over VNC
-

VMware 3/25/2013
VMware Workstation / Player - Install Windows 95
-
VMware 1/31/2020
VMware Workstation 10 - Import Windows XP Mode of Microsoft
-
VMware 1/31/2020
VMware Workstation 11 / 10 - Virtualize Windows XP to make it fluid
No comment