Import Windows XP Mode of Microsoft in VMware Workstation 10
- VMware
- 31 January 2020 at 09:38 UTC
-

- 3/3

5. Import a Virtual PC virtual machine into VMware Workstation
For this tutorial, we will use a Windows 7 x64 virtual machine.
At the bottom right of the selected virtual machine, you can know the location of its configuration file by hovering over the path with the mouse.
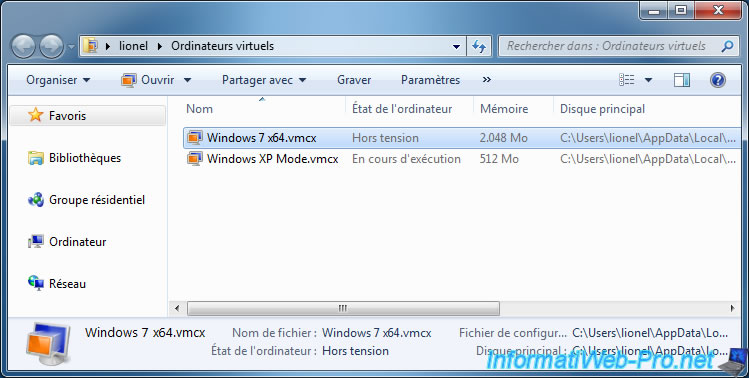
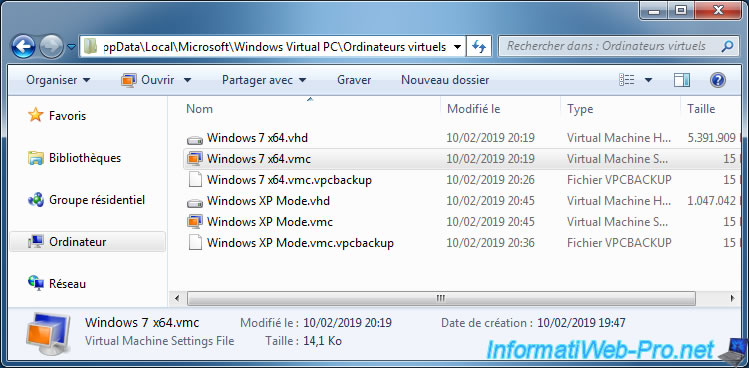
By default, the configuration file (whose extension is ".vmc") is in the "C:\Users\[Your Windows session name]\AppData\Local\Microsoft\Windows Virtual PC\Virtual Machines" folder.
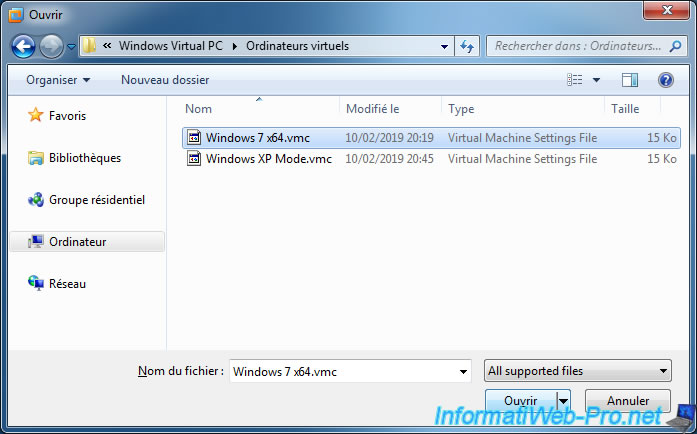
In VMware Workstation, click "File -> Open" and select the ".vmc" file of the virtual machine to import.
Since it's a virtual machine in another format that the one used by VMware, the Import Virtual Machine wizard appears.
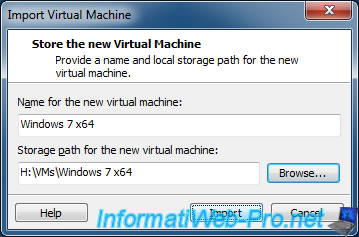
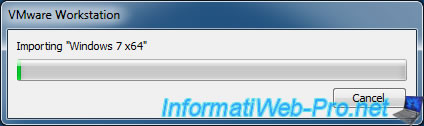
Wait while importing the desired virtual machine.
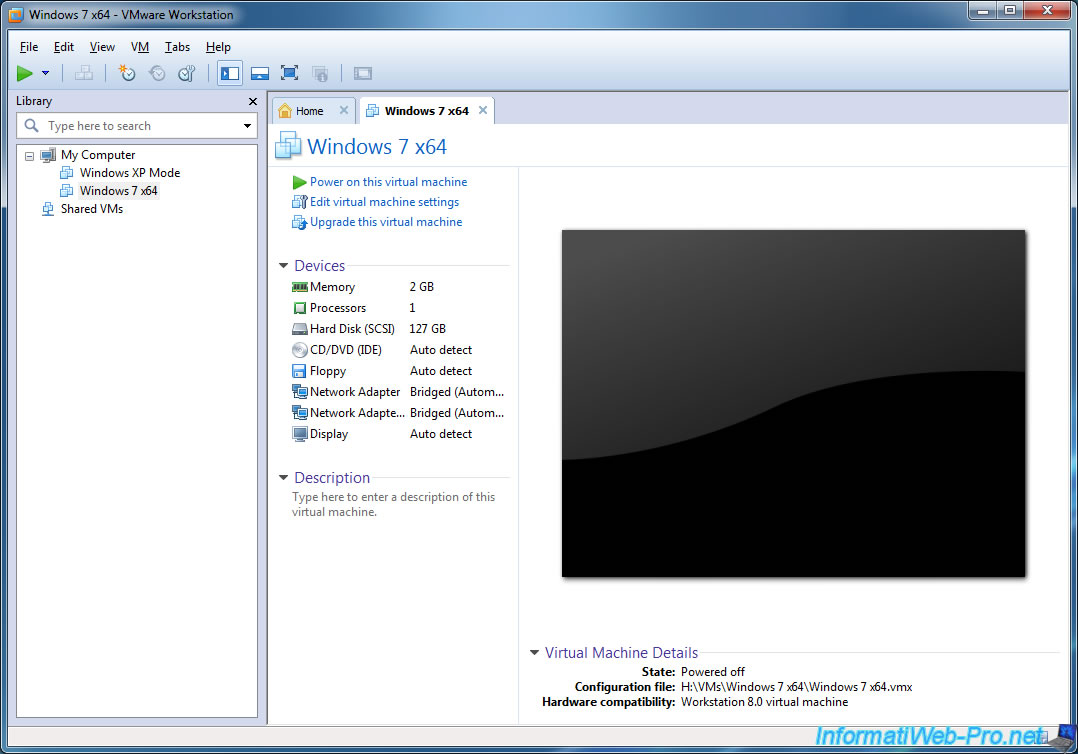
The virtual machine appears in VMware Workstation.
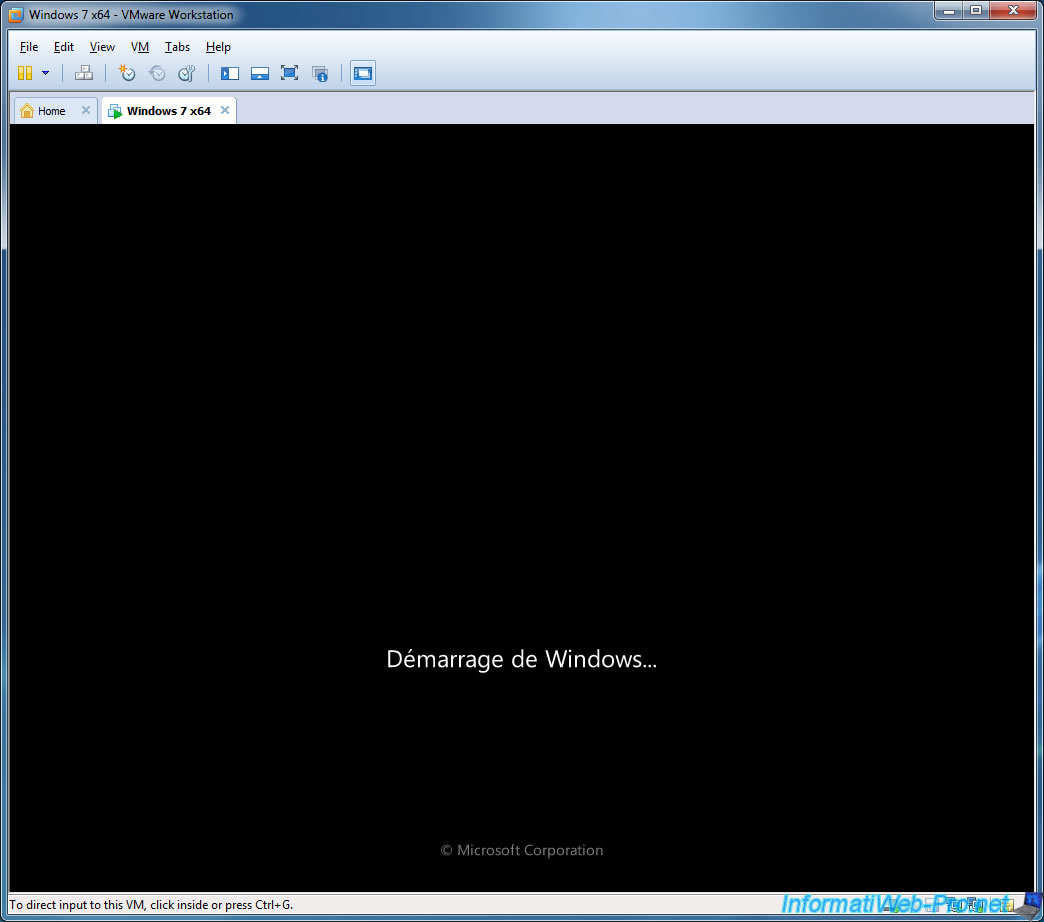
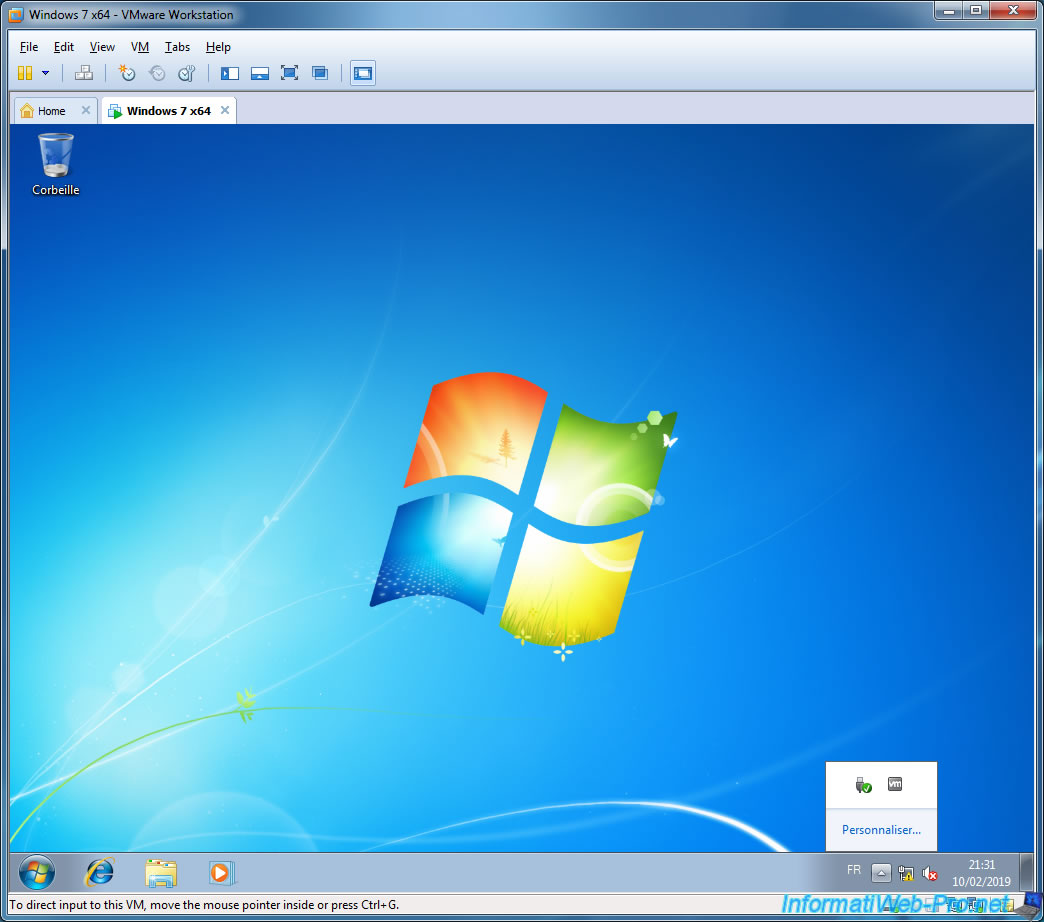
Start the VMware virtual machine.
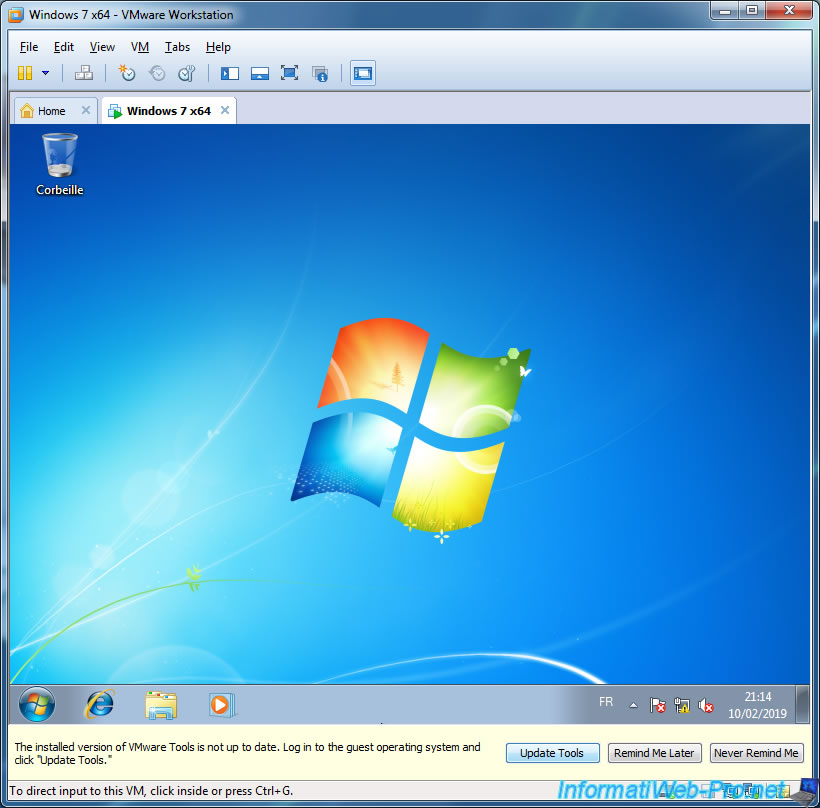
Windows 7 appears and VMware Workstation tells you that you need to update (or rather install) the VMware Tools in this virtual machine.
Nevertheless, wait a little before doing it.
A few seconds later, Windows will detect new hardware (since the virtual hardware used by Virtual PC and VMware Workstation is different) and install basic drivers for this hardware.
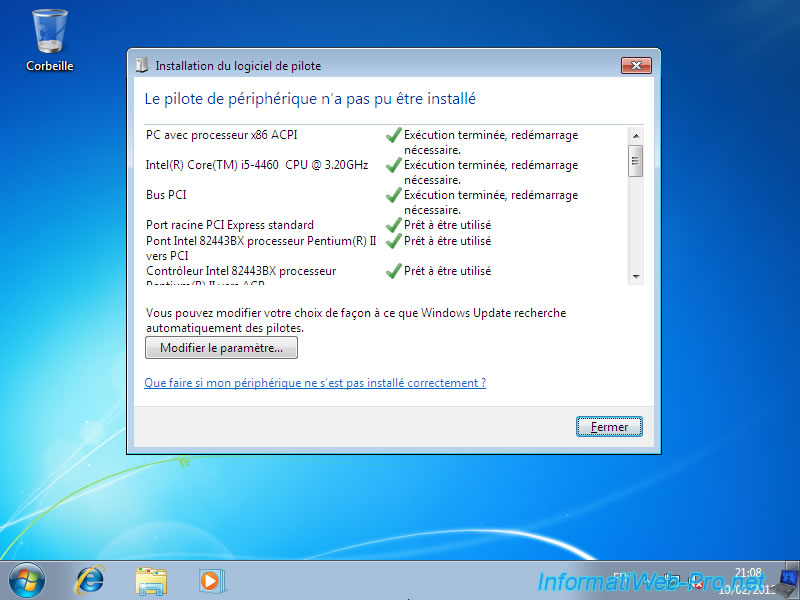
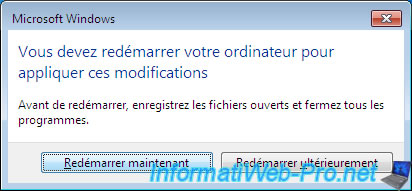
Once all these drivers are installed, Windows will most likely ask you to restart the virtual machine.
Click on : Restart now.
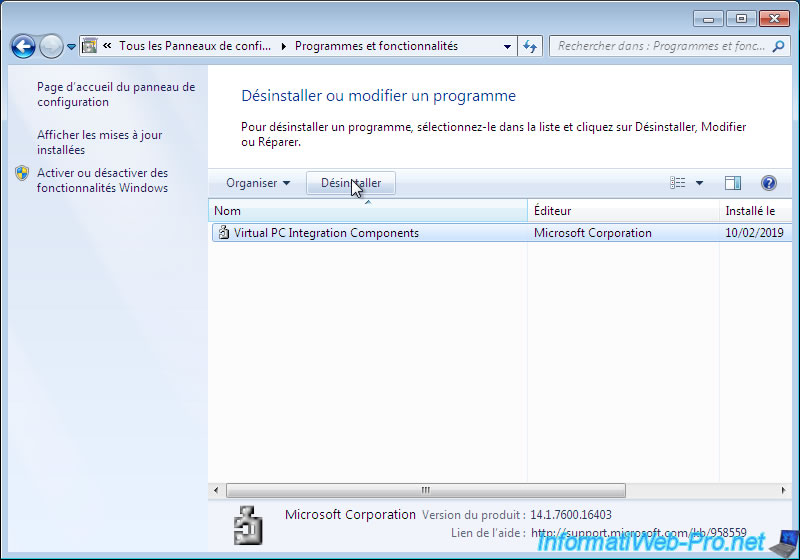
Once Windows has restarted, don't forget to uninstall the "Virtual PC Integration Components" previously installed by Virtual PC.
Indeed, they are no longer useful and could pose a problem one day with the VMware Tools that you will install in this virtual machine.
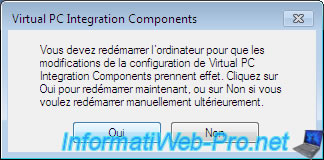
At the end of the uninstall, click Yes to restart the virtual machine.
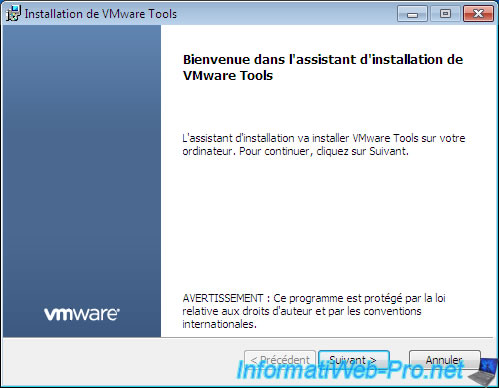
Finally, install the VMware Tools in the virtual machine.
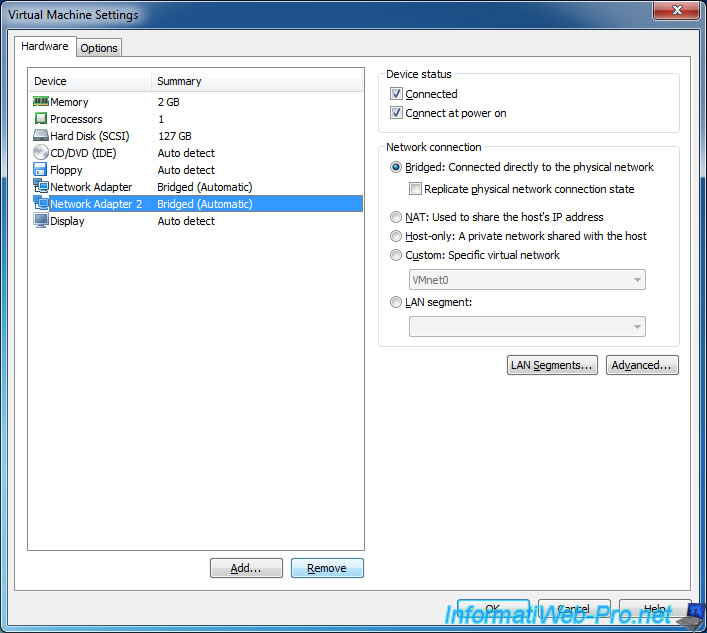
Delete the 2nd network card, if there is more than one.
Share this tutorial
To see also
-
VMware 2/24/2016
VMware Workstation - Remotely access to a VM over VNC
-

VMware 3/25/2013
VMware Workstation / Player - Install Windows 95
-
VMware 1/31/2020
VMware Workstation 11 / 10 - Virtualize Windows XP to make it fluid
-
VMware 8/14/2020
VMware Workstation 12 / 11 / 10 - Virtualize Citrix XenServer 6.5.0
No comment