Import Windows XP Mode of Microsoft in VMware Workstation 10
- VMware
- 31 January 2020 at 09:38 UTC
-

- 2/3
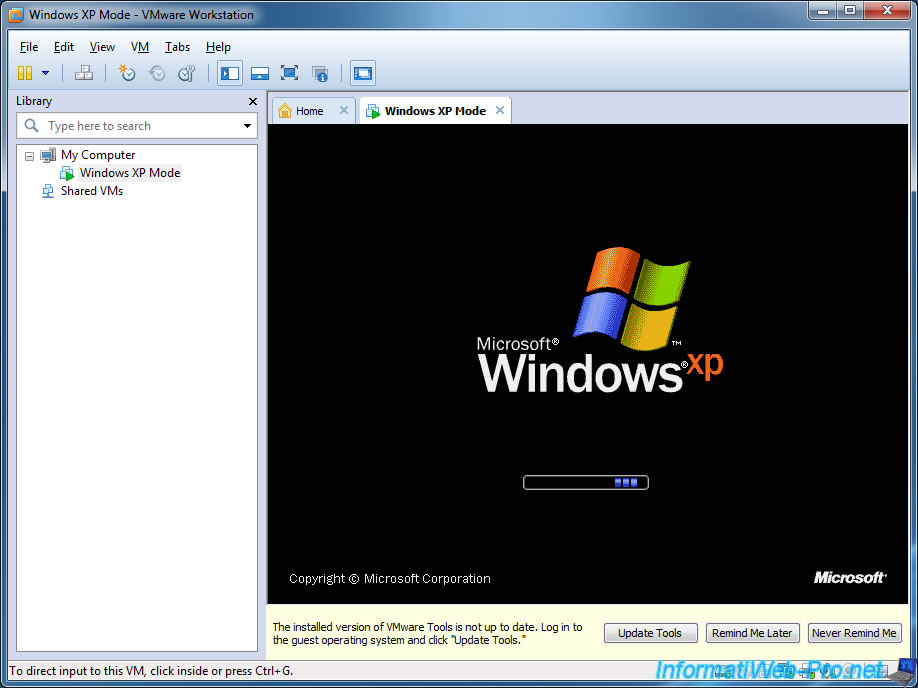
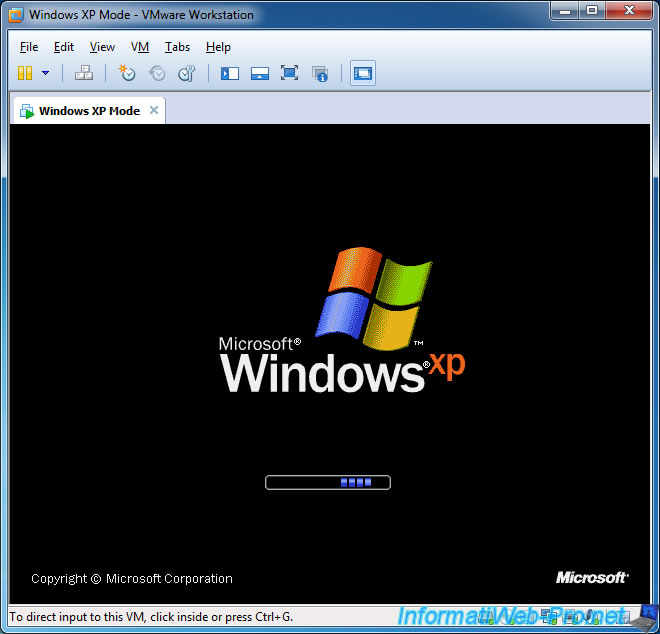
Windows XP starts.
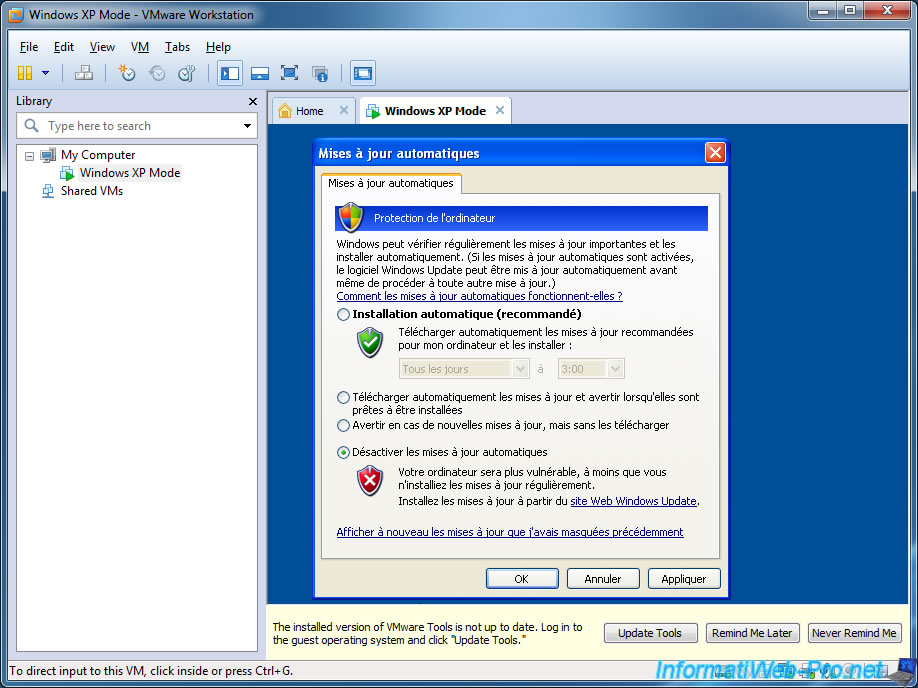
Choose whether you want to enable automatic updates of Windows XP, knowing that it will not protect you 100% anyway since Windows XP support from Microsoft has been stopped for a few years.
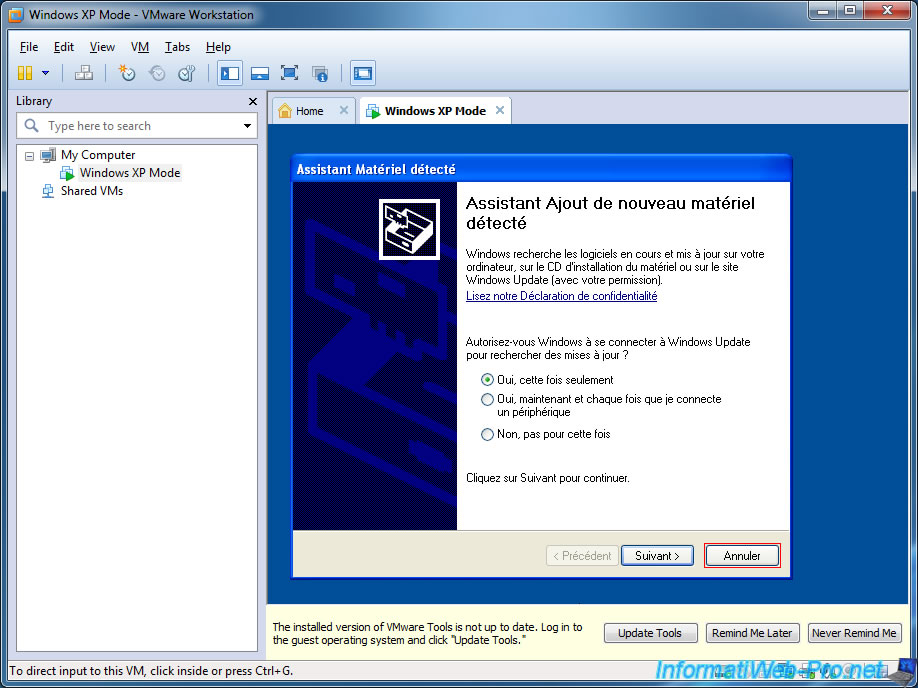
When the Found New Hardware Wizard appears, click Cancel.
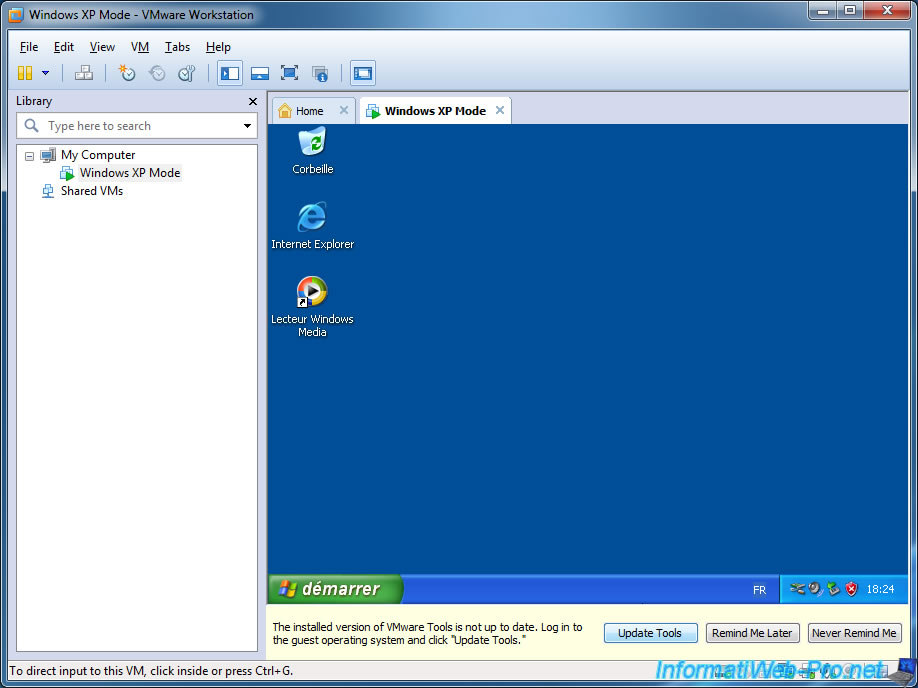
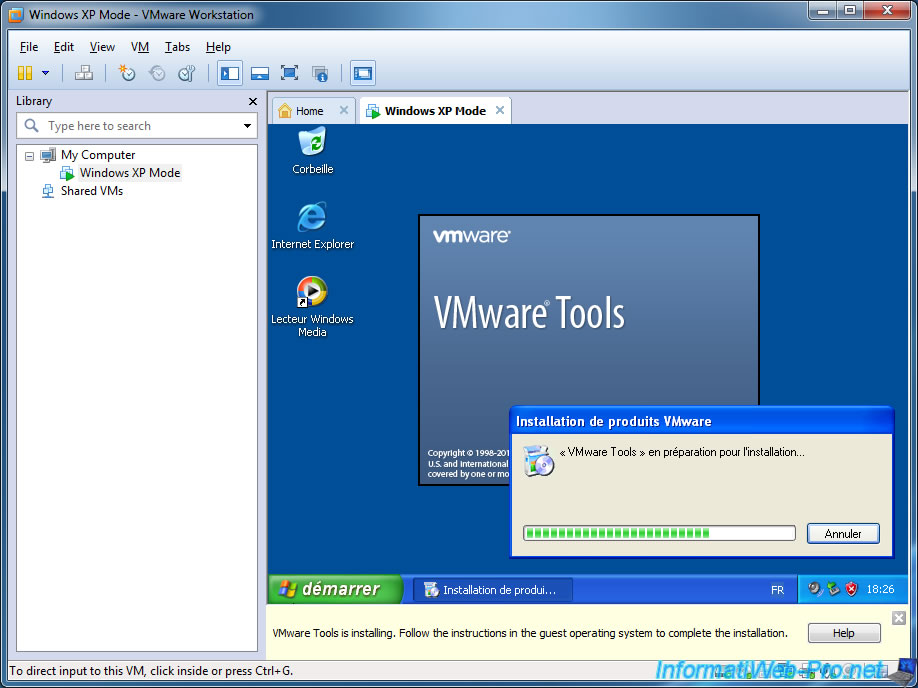
Install VMware Tools as offered by VMware Workstation by clicking Update Tools.
This will allow you to make the best use of your virtual machine.
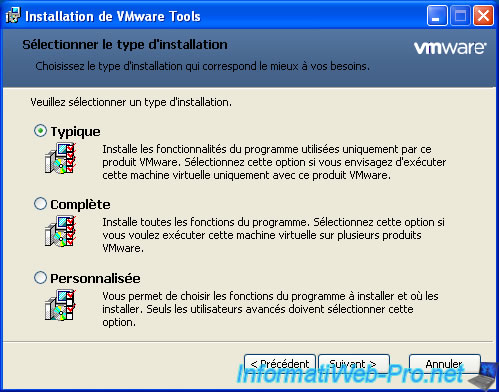
The typical installation is sufficient.
At the end of the installation, you will have to restart this virtual machine.
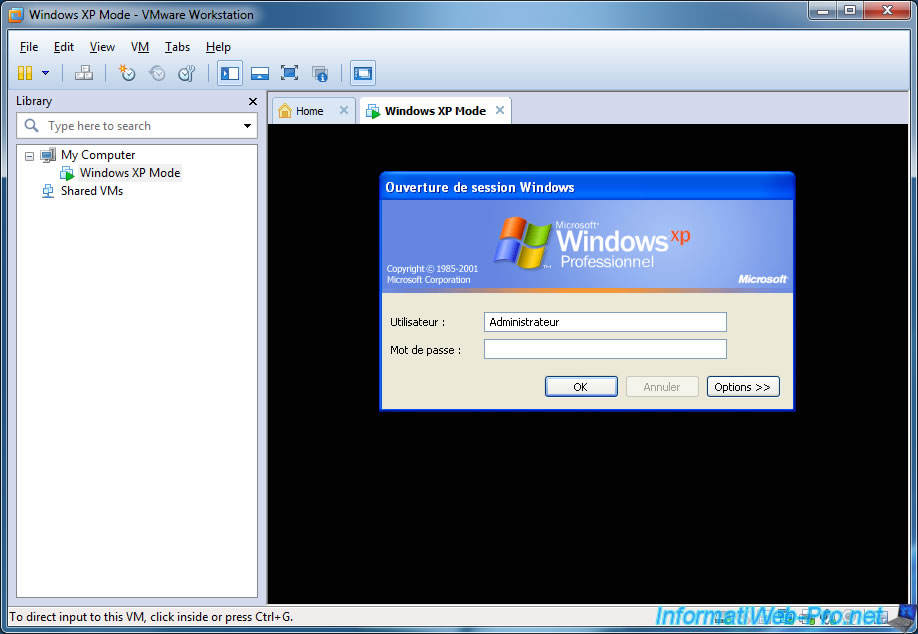
After rebooting, you will find that the only account available is the Administrator account.
Once on the desktop, a Windows XP error message will be displayed regarding the display settings.
Click on the bubble.
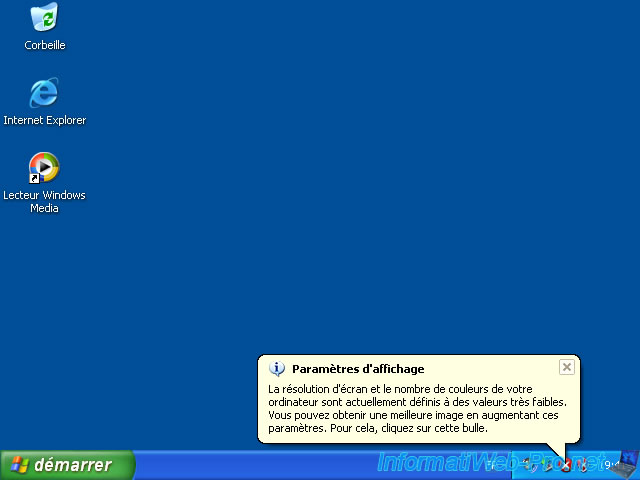
Click Yes to correct the screen resolution of the virtual machine.

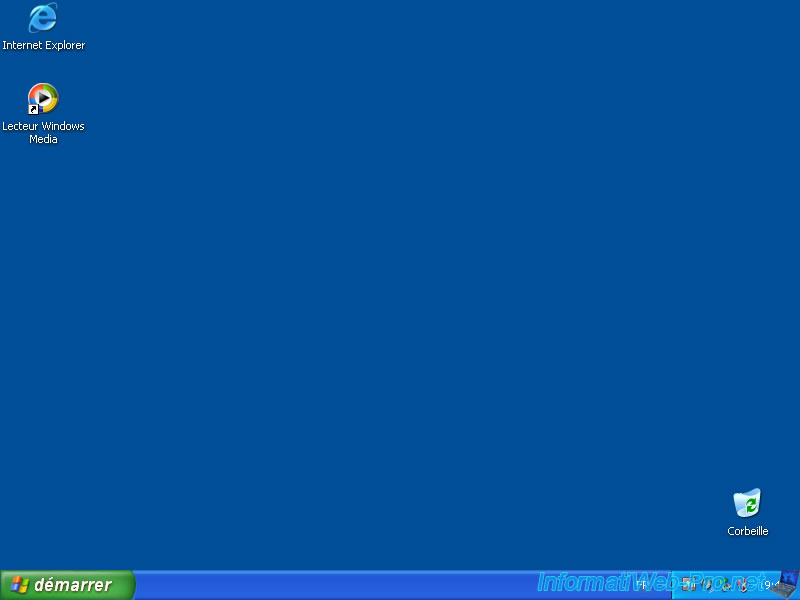
Now, your virtual machine uses the standard screen resolution : 800x600.
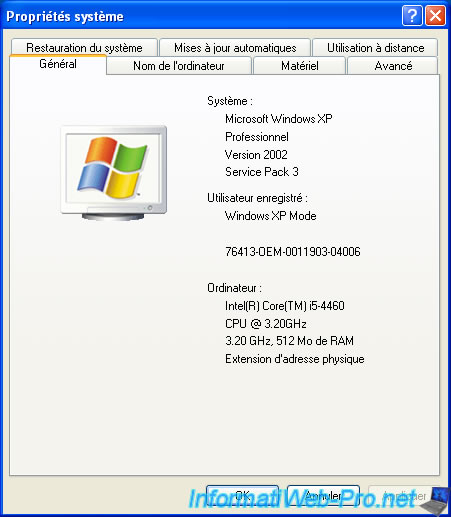
In the Windows system properties, you will see that this is Windows XP Service Pack 3 and that it is activated with an OEM license.
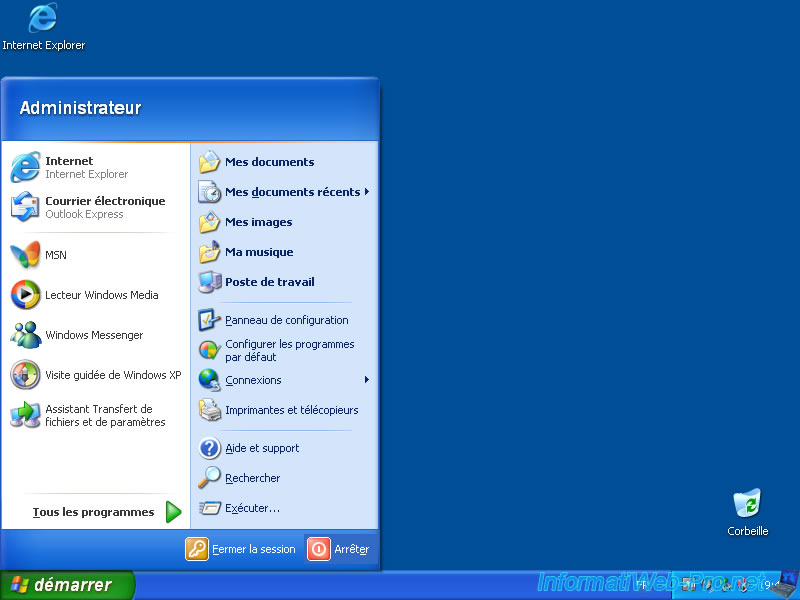
Since the Windows Virtual PC integration features are not (and can't be) installed, you will find the Windows XP standard start menu.
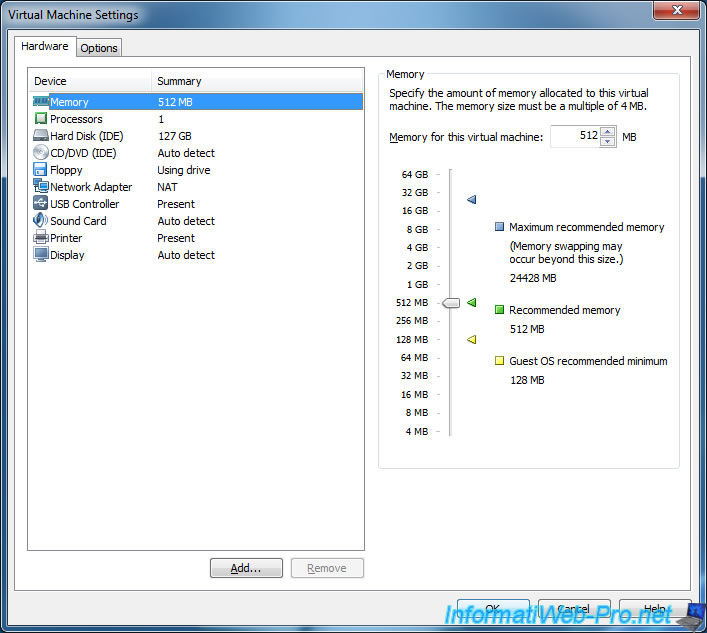
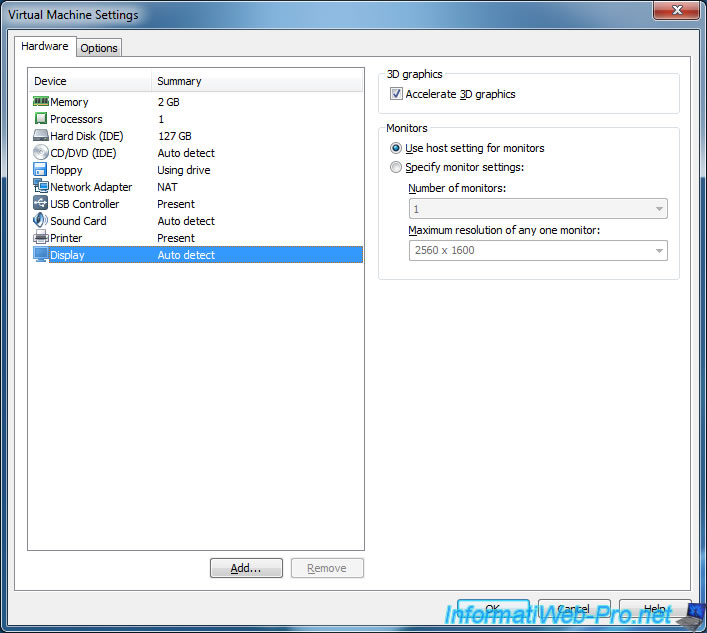
Now that this virtual machine is managed by VMware Workstation, you can adapt the configuration of it and in particular allocate more or less RAM to it.
You will also enjoy 3D acceleration that was not available in Windows Virtual PC.
4. Proof and fix dependency not specified by VMware
Although VMware does not mention it anywhere (either in the VMware Workstation documentation or even in its settings), this virtual machine is not independent.
Contrary to what you can believe.
Indeed, if you change your version of Windows or reinstall Windows 7 without reinstalling Windows XP Mode, this virtual machine will stop working.
Go into the VMware VM settings.
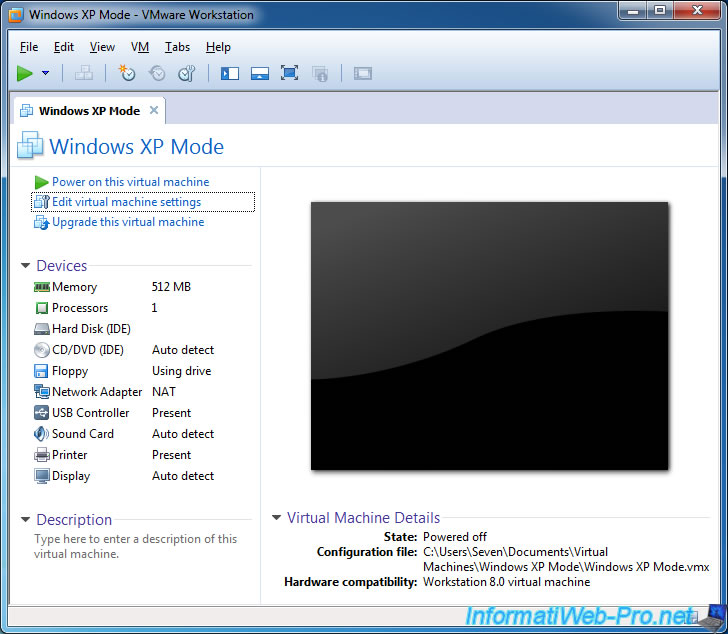
And disaster, the base virtual hard disk installed with Windows XP Mode is missing.
However, VMware Workstation had told us that it "imported" the Windows XP Mode, but in fact, not really. Probably because of a license problem.
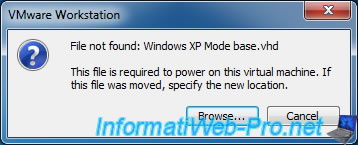
However, in the virtual machine, there was nothing to predict this mishap given that VMware Workstation indicated that it was using its own virtual hard disk in vmdk format (and not the vhd of Windows XP Mode).
But now that the base virtual hard disk no longer exists, an error message appears : The parent of this virtual disk could not be opened.
In other words, the parent disk (Windows XP Mode base.vhd) could not be opened (since it no longer exists). While VMware never gave you this information (the vmdk created by VMware depends on the Microsoft vhd file).
Indeed, if we look at the size of the vmdk file used by VMware Workstation, we notice that Windows XP is not part of it.
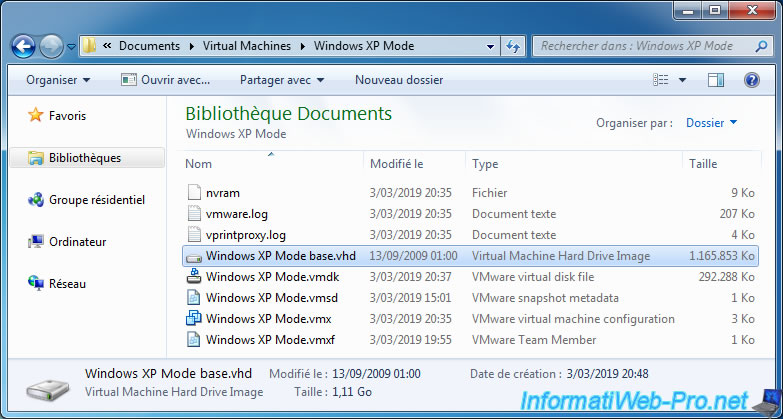
The original "Windows XP Mode base.vhd" virtual hard disk making 1.11 GB.
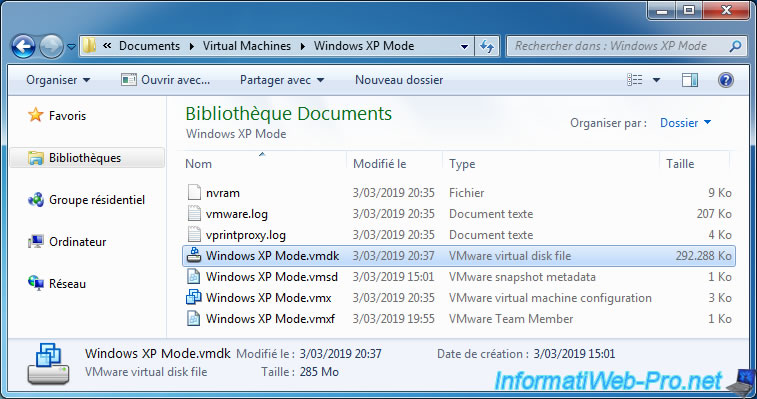
The only way to get this information was to open the vmdk file with the notepad.
This takes time given the size of the vmdk file, but we find these words :
parentFileNameHint="C:\Program Files\Windows XP Mode\Windows XP Mode base.vhd"

Assuming you have upgraded to Windows 8 or 8.1 and are trying to reinstall Windows XP Mode, it will not work because Windows XP Mode software is only supported by the Windows 7 operating system.
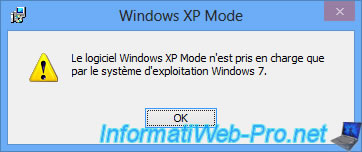
It is fine this restriction, but if you still have your license for Windows 7 Pro, Enterprise or Ultimate at home and you have important data to recover in this virtual machine, you will absolutely need this vhd file from Microsoft.
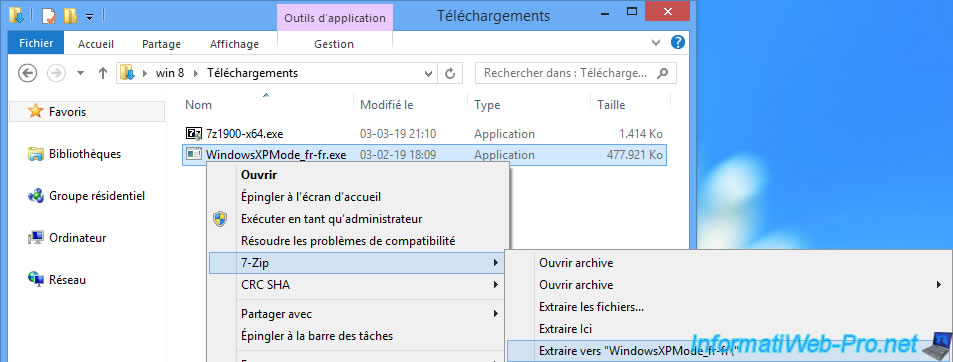
For this, the fastest is to use 7-Zip to extract the contents of the "WindowsXPMode_fr-fr.exe" file from Microsoft.
Once 7-Zip installed, right click on this exe file and click on : Extract to "WindowsXPMode_fr-fr\".
Important : disclaimer : this unofficial technique is explained here only because :
- Windows XP is no longer sold by Microsoft
- Windows XP is a security vulnerability (no more security update provided by Microsoft) and is no longer supported by Microsoft and other known publishers
- this will not cause any harm or loss to Microsoft since anyway using Windows XP at the moment has become dangerous and should be used only in case of last resort (for important programs that no longer work on recent versions of Windows, for example)
- this should be possible and allowed if we still have the Windows 7 license required by Windows XP Mode
- this dependency was not specified and some users may still have important data in their Windows XP Mode virtual machine
- the recovered vhd file requires that Windows XP Mode was imported into VMware Workstation when it was installed (which requires that you had the appropriate Windows 7 license at that time). In addition, Windows XP Mode installs only on Windows 7 and Windows Virtual PC is available as an update that is also installed on Windows 7.
Warning : if you do not have a valid Windows 7 license for Windows XP Mode, please don't use this technique. Because this is not authorized and you will be solely responsible for using this technique.
When the extraction is complete, ignore the warning that 7-Zip displays and click Close.
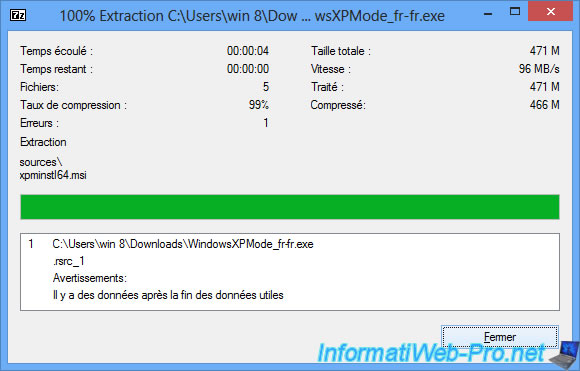
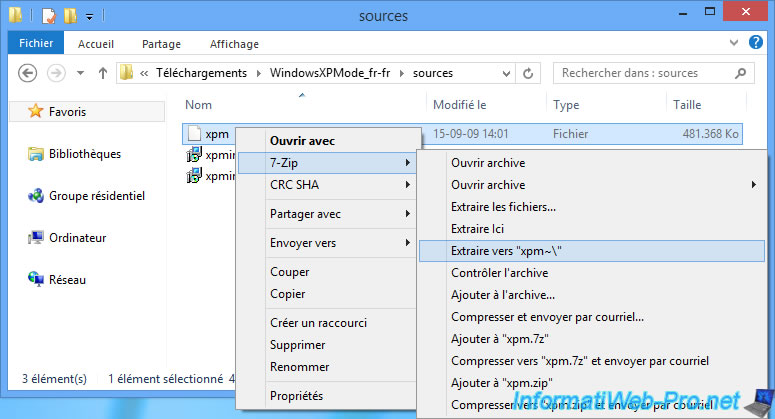
In the extracted files, go to the "sources" folder where you will find a "xpm" file (without extension) of 470 MB.
Unzip this file with 7-Zip.
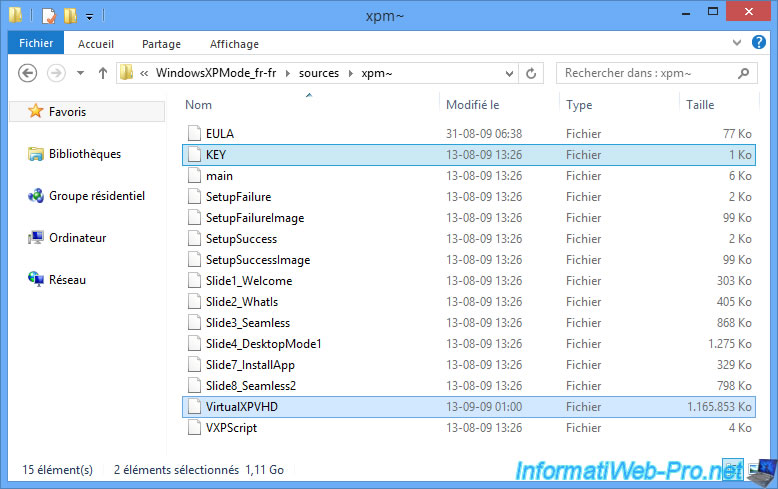
You will find the 2 important files of Windows XP Mode :
- the "KEY" file which is a text file containing the generic serial number of Windows XP Mode. It's identical for everyone and it's even referenced on the Microsoft forum (I'll let you look, because anyway you don't need it in this case)
- the "VirtualXPVHD" file which corresponds to the "Windows XP Mode base.vhd" file. Just rename it to "Windows XP Mode base.vhd" so you can give it to VMware Workstation when it asks you.
Once you have recovered the original vhd file, move it to your VMware virtual machine folder for VMware Workstation to find it automatically.
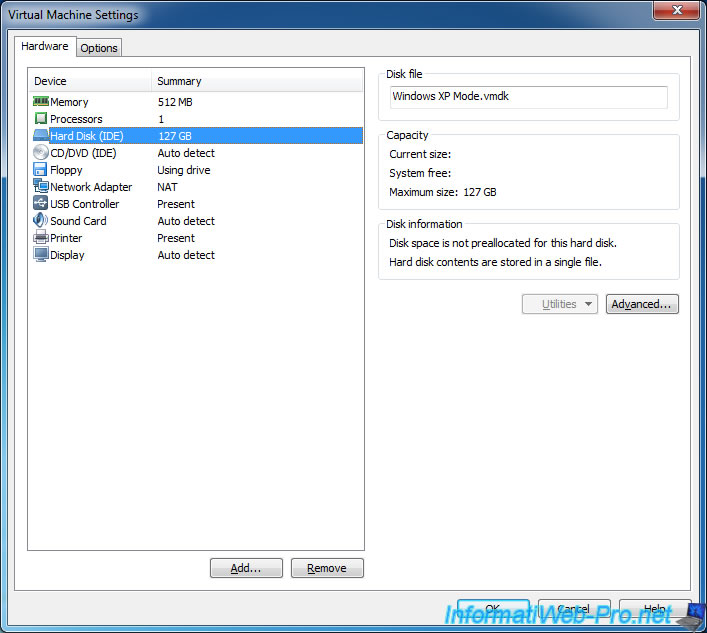
Now, if you go into the settings of this virtual machine, you will see that the virtual hard disk information in vmdk format is displayed correctly and that the error message has disappeared.
Start the virtual machine from VMware Workstation and Windows XP starts normally.
Share this tutorial
To see also
-
VMware 2/24/2016
VMware Workstation - Remotely access to a VM over VNC
-

VMware 3/25/2013
VMware Workstation / Player - Install Windows 95
-
VMware 1/31/2020
VMware Workstation 11 / 10 - Virtualize Windows XP to make it fluid
-
VMware 8/14/2020
VMware Workstation 12 / 11 / 10 - Virtualize Citrix XenServer 6.5.0

No comment