- VMware
- 16 October 2024 at 07:44 UTC
-

- 1/3

Thanks to VMware vCenter Converter Standalone, you will be able to virtualize a physical machine and add it to your VMware vCenter Server (or VCSA).
- Install VMware vCenter Converter Standalone on the physical PC to be virtualized
- Virtualize a physical PC
- Virtual machine created on VMware vCenter Server (or VCSA)
- Start the virtual machine
- Uninstall drivers for the physical PC
- Install VMware Tools
- Uninstall the converter (VMware vCenter Converter Standalone)
1. Install VMware vCenter Converter Standalone on the physical PC to be virtualized
To begin, install VMware vCenter Converter Standalone on the machine to be virtualized, preferably using the machine's local Administrator account to avoid rights problems when virtualizing it.
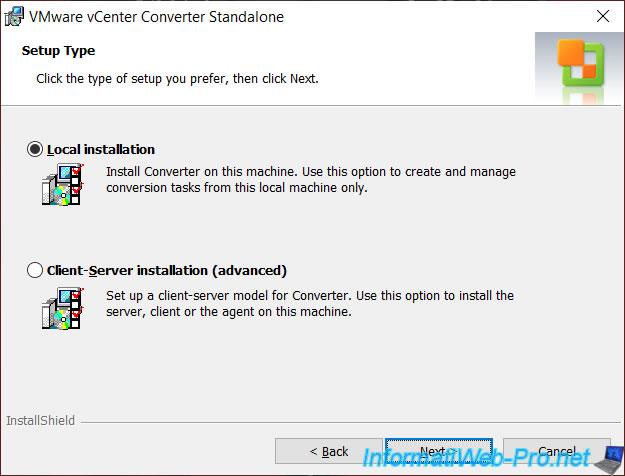
While installing VMware vCenter Converter Standalone, select: Local installation.
2. Virtualize a physical PC
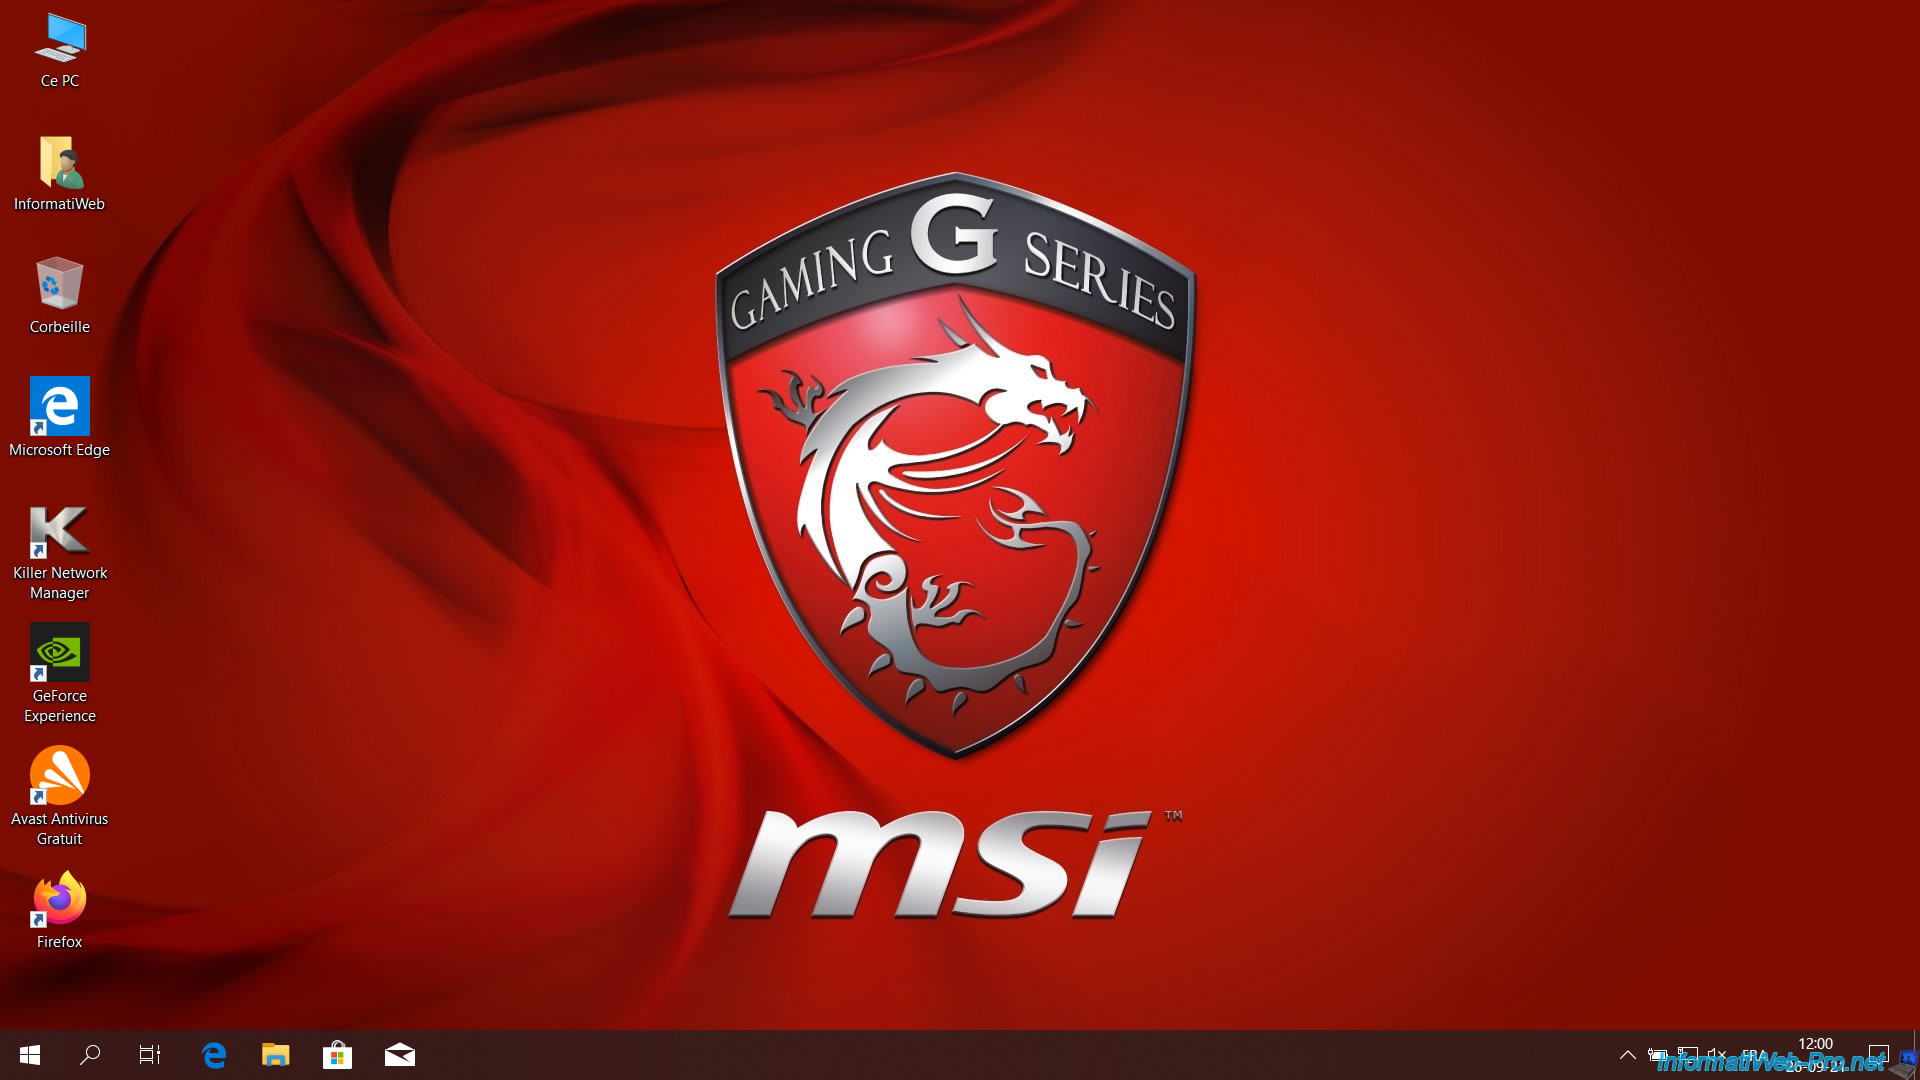
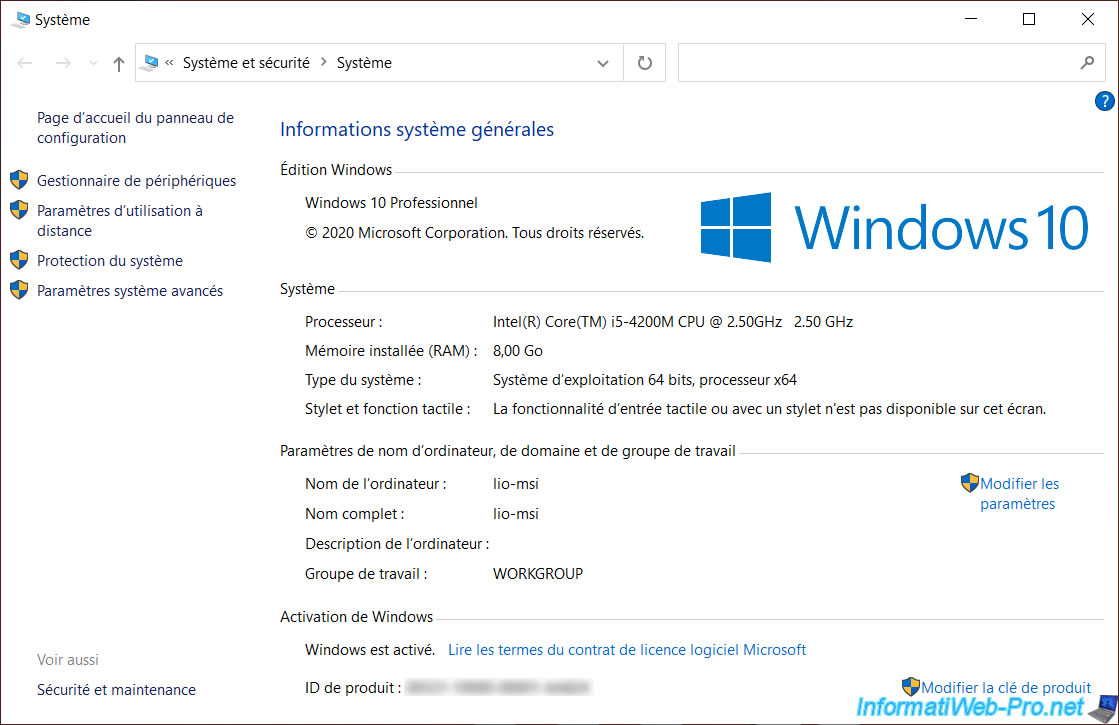
For this tutorial, we are going to virtualize our MSI laptop which is currently running Windows 10 v2004 x64.
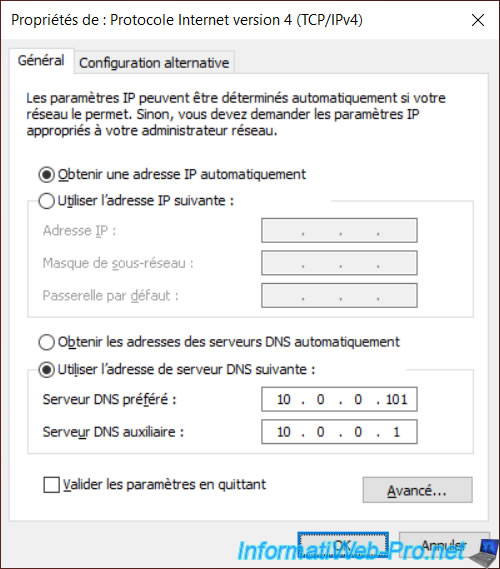
In order for VMware vCenter Converter Standalone to find our VMware vCenter Server by its domain name, as well as the target VMware ESXi host, the physical machine you want to virtualize must be able to resolve:
- the domain name corresponding to your VMware vCenter Server (or VCSA)
- AND the domain name corresponding to your VMware ESXi host
To do this, indicate:
- preferred DNS server: the IP address of your local DNS server. If you have an Active Directory domain controller on your network, it is probably on the same server.
- alternate (secondary) DNS server: the IP address of your router (to use the DNS servers defined on it).
As you can see, the NETBIOS name of our MSI laptop is "lio-msi" and Windows 10 is currently activated.
However, be aware that Windows activation is always hardware related. Which means that Windows 10 will no longer be activated when you start the destination virtual machine. To resolve the problem, simply reactivate Windows 10.
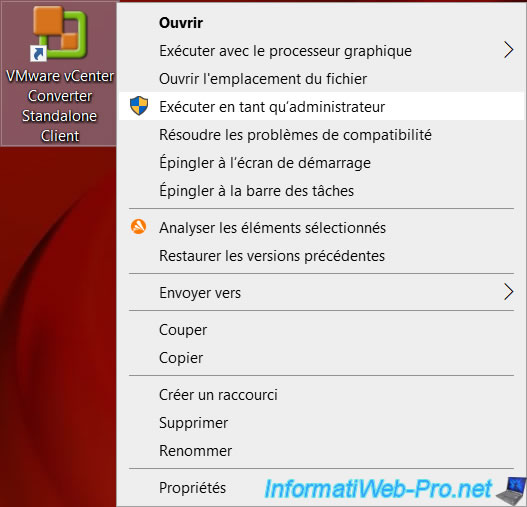
Launch VMware vCenter Converter Standalone Client as administrator or preferably, log in with the Windows built-in Administrator account to avoid any rights issues when virtualizing your physical machine.
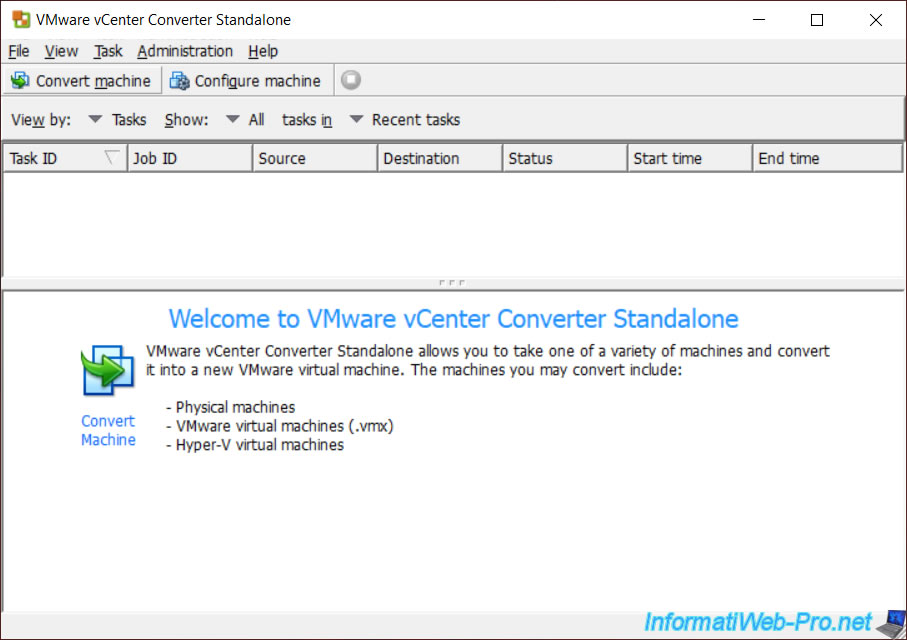
Click on: Convert machine.
Select "Select source type: Powered on", then "This local machine" from the list to convert the physical machine to a virtual machine.
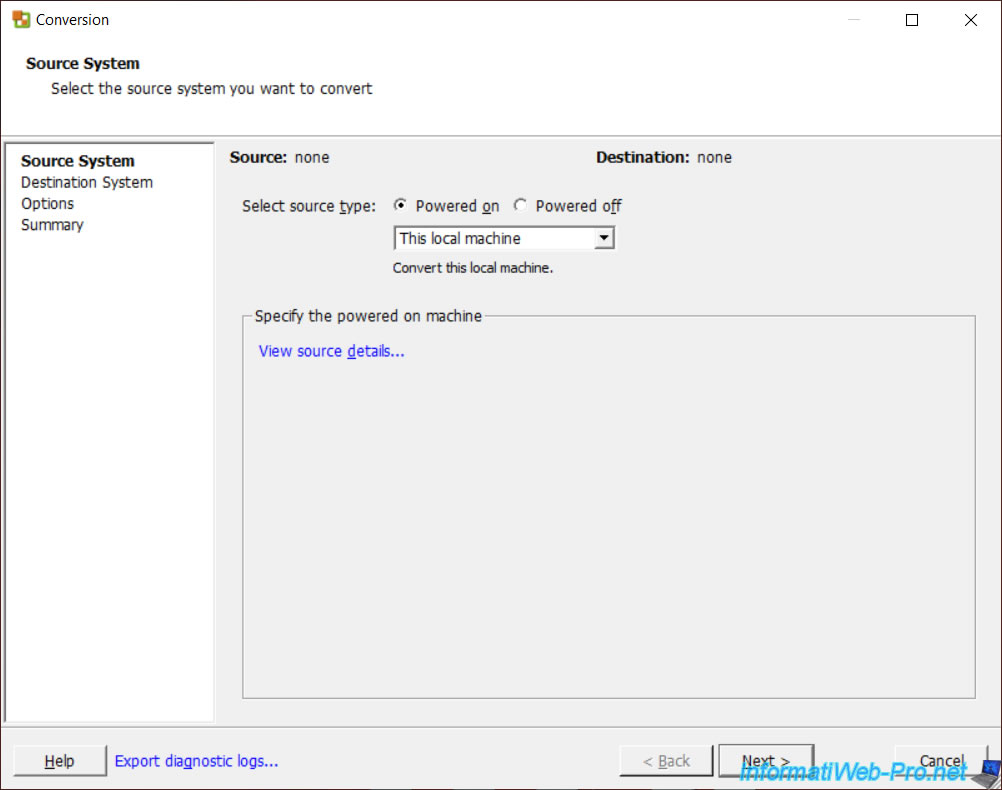
If you see the "Permission to perform this operation was denied" error, make sure you are logged in with the Windows built-in local Administrator account or have run VMware vCenter Converter Standalone as an administrator.
![]()
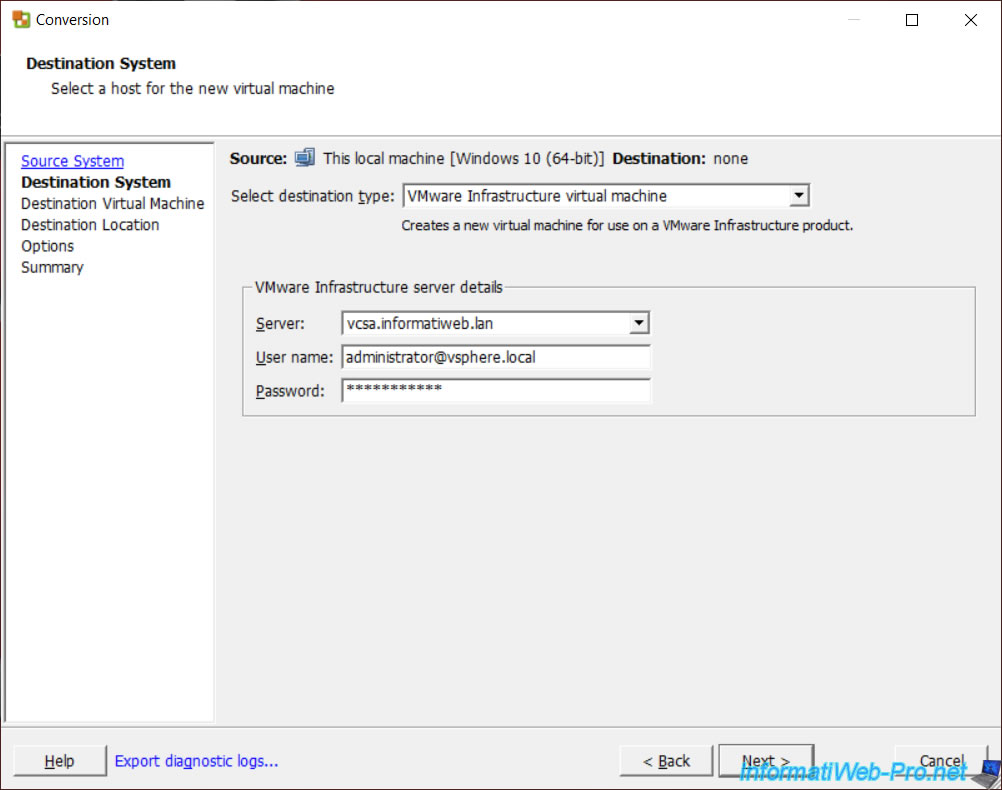
Select "VMware Infrastructure virtual machine" as the destination type, then specify:
- Server: the domain name or IP address of your VMware vCenter Server (or VCSA)
- User name: the administrator account "administrator@vsphere.local" of your VMware vCenter Server (or VCSA)
- Password: his password
If connecting to your VMware vCenter Server (or VCSA) fails using its domain name, try again specifying its IP address.
If the certificate is self-signed or invalid, a warning will be displayed.
In our case, this is the default certificate, so we ignore this warning.
However, in production, you should use valid certificates from a certificate authority recognized by this machine for security reasons.

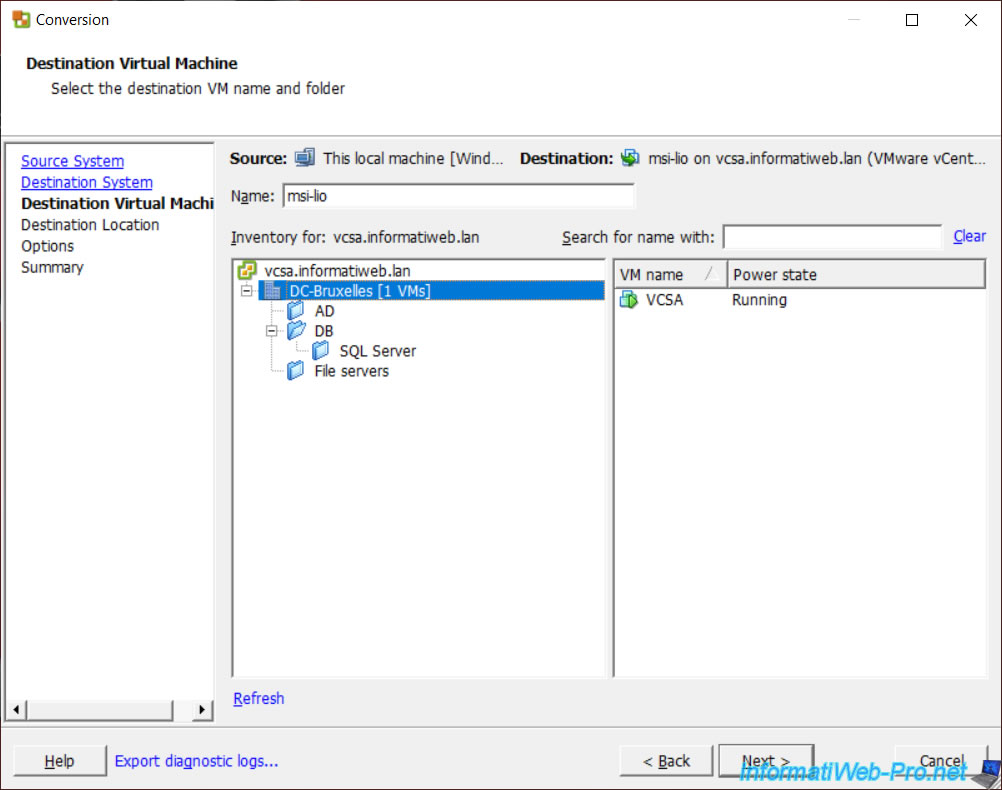
Select the location (datacenter or folder) where you want to add the future virtual machine.
By default, the virtual machine name will be the NETBIOS name of the virtualized physical machine.
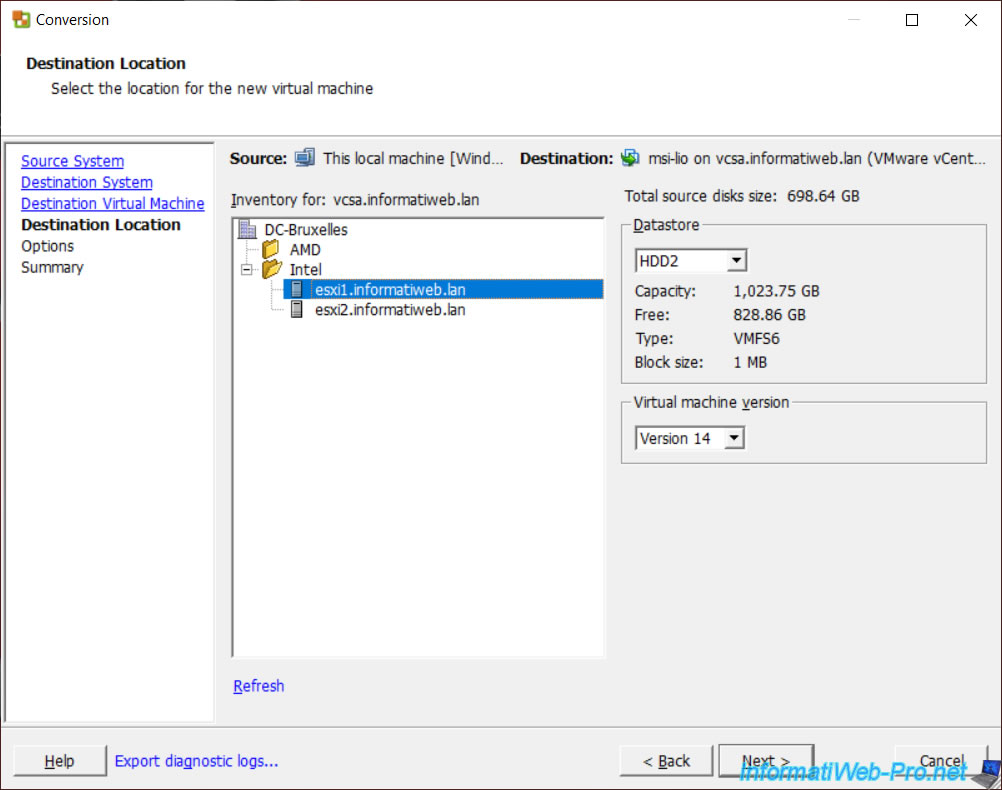
Select the VMware ESXi host on which this virtual machine should run, as well as:
- in which datastore you wish to store this future virtual machine
- which version should be used for the virtual hardware of the future virtual machine.
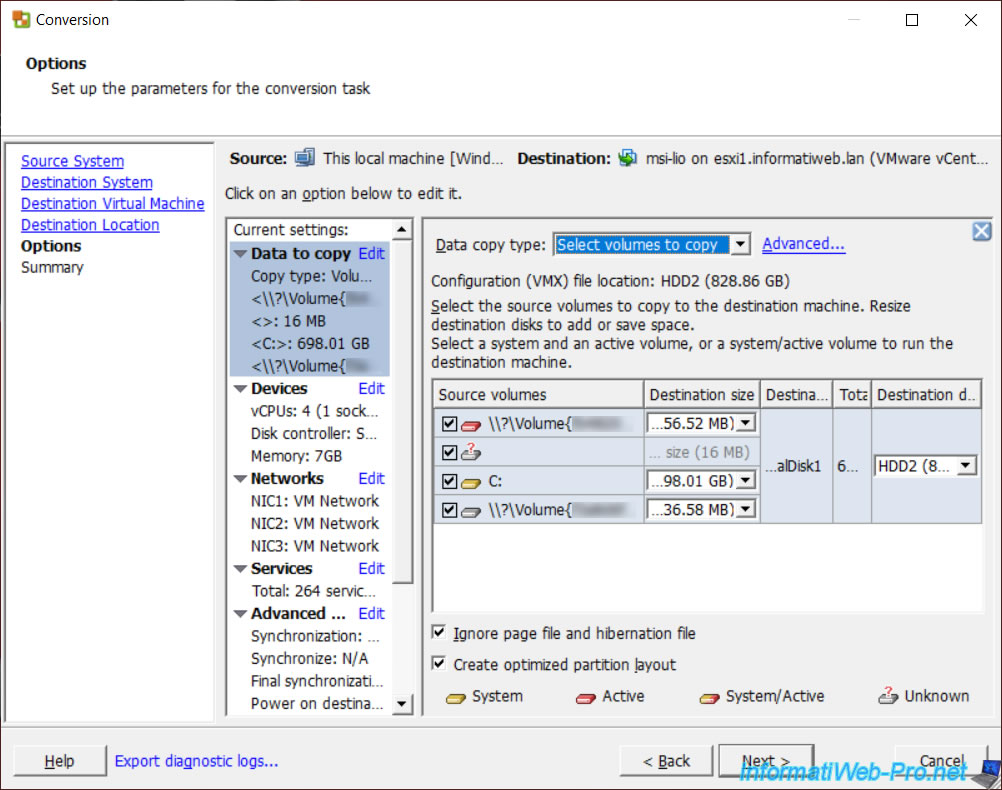
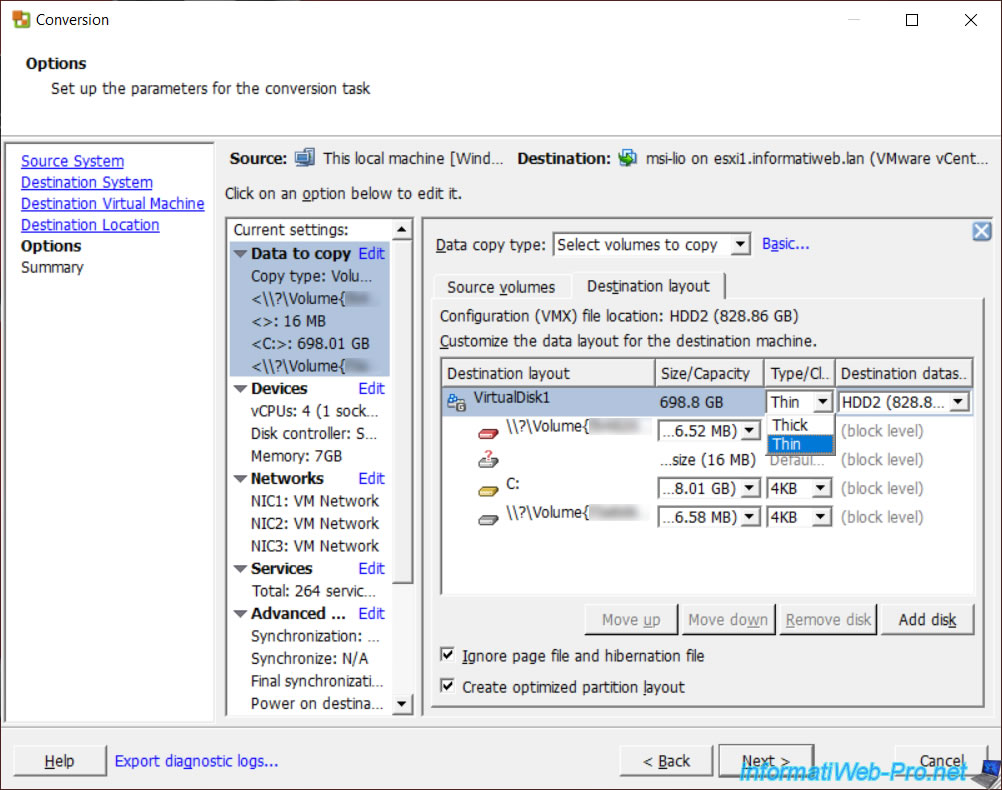
VMware vCenter Converter Standalone will offer you many options to change the configuration of the destination virtual machine.
To use thin provisioning, click the "Edit" link in the "Data to copy" section.

Click on the "Advanced" link.
In the "Destination layout" tab, change the virtual hard disk type to "Thin" to use thin provisioning.
This will only use the space necessary for the data that is actually on the physical machine on your database.
Otherwise, with the "Thick" type, the space would have been pre-allocated on your database.
Which can quickly become problematic since real hard drives tend to have higher and higher capacities.
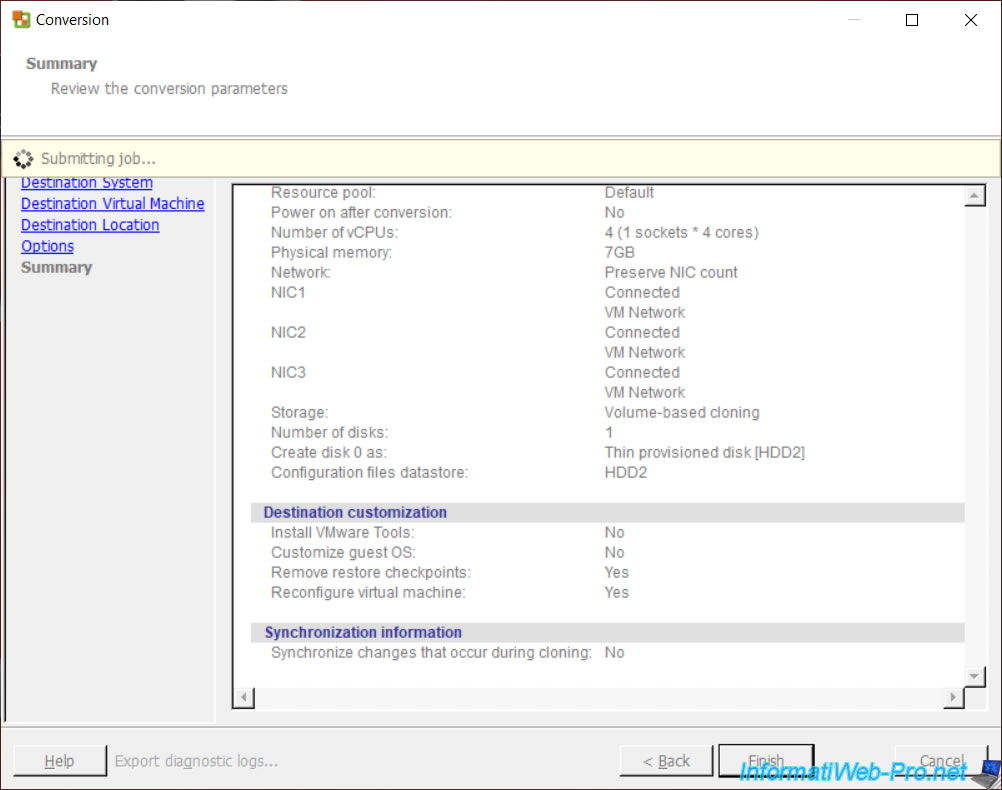
A summary of the settings for converting your physical machine into a virtual machine appears.
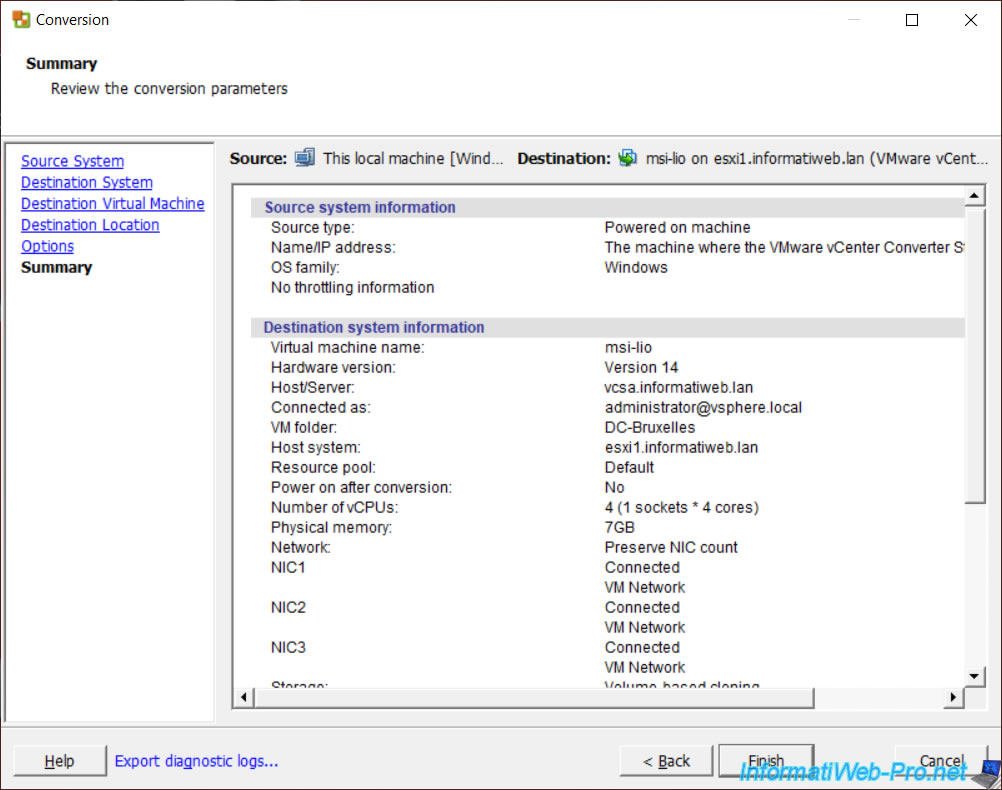
Note that in this summary it is stated that the number of NICs will be preserved by default (Network: Preserve NIC count).
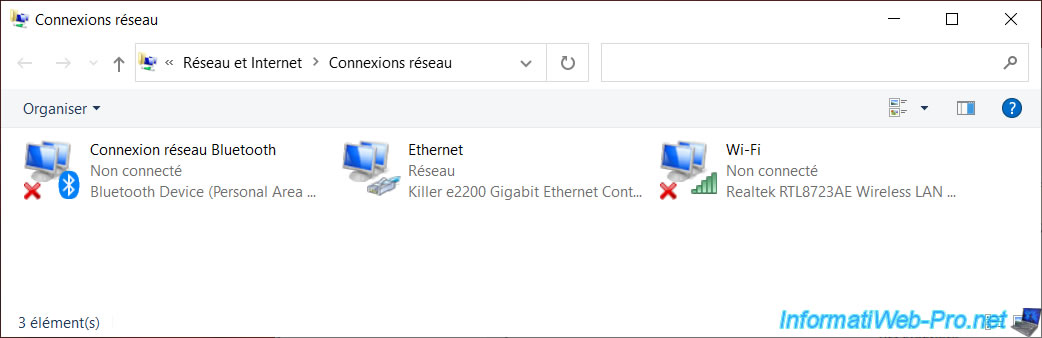
In our case, you can see that VMware vCenter Converter Standalone will create 3 network adapters.
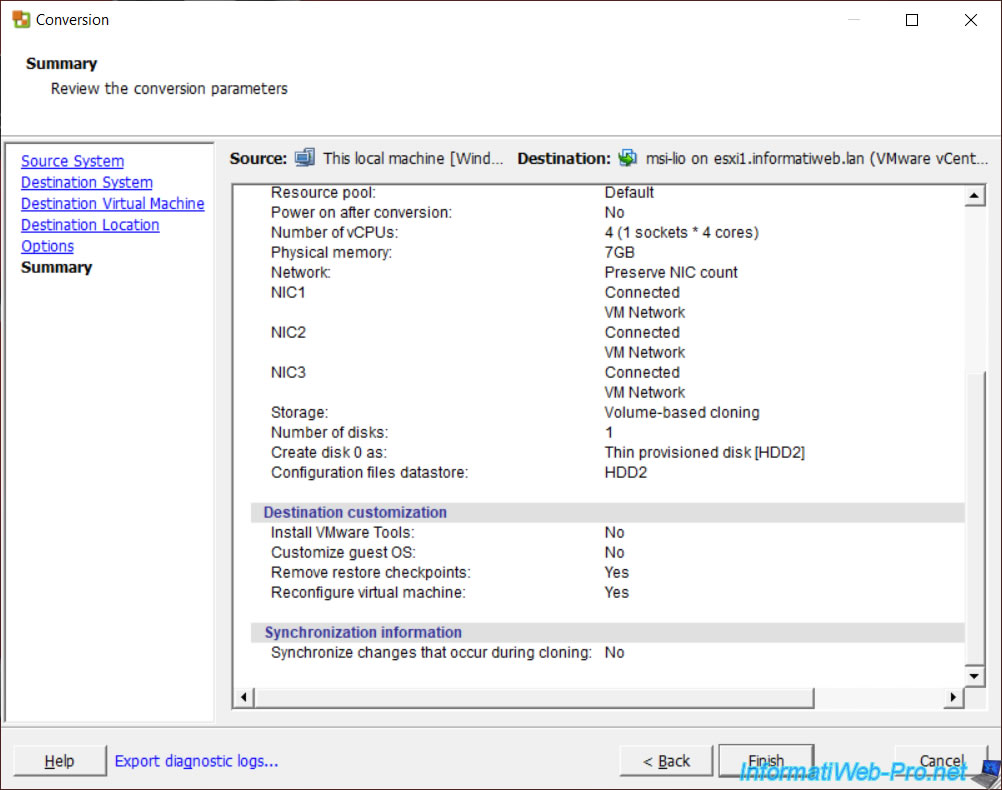
Which corresponds to the number of network cards available on our laptop: a Bluetooth network card, an Ethernet network card (wired) and a Wi-Fi network card (wireless).
If the message "A file I/O occurred while accessing ." appears, make sure your computer can resolve the domain name of your VMware vCenter Server as well as the target VMware ESXi host selected in the wizard.
To solve this problem :
- set the IP address of your local DNS server as the preferred DNS server on your computer
- OR add the corresponding lines to the Windows "hosts" file
In the case of the Windows "C:\Windows\System32\drivers\etc\hosts" file, this will give in our case:
Plain Text
10.0.0.104 vcsa.informatiweb.lan
10.0.0.11 esxi1.informatiweb.lan
![]()
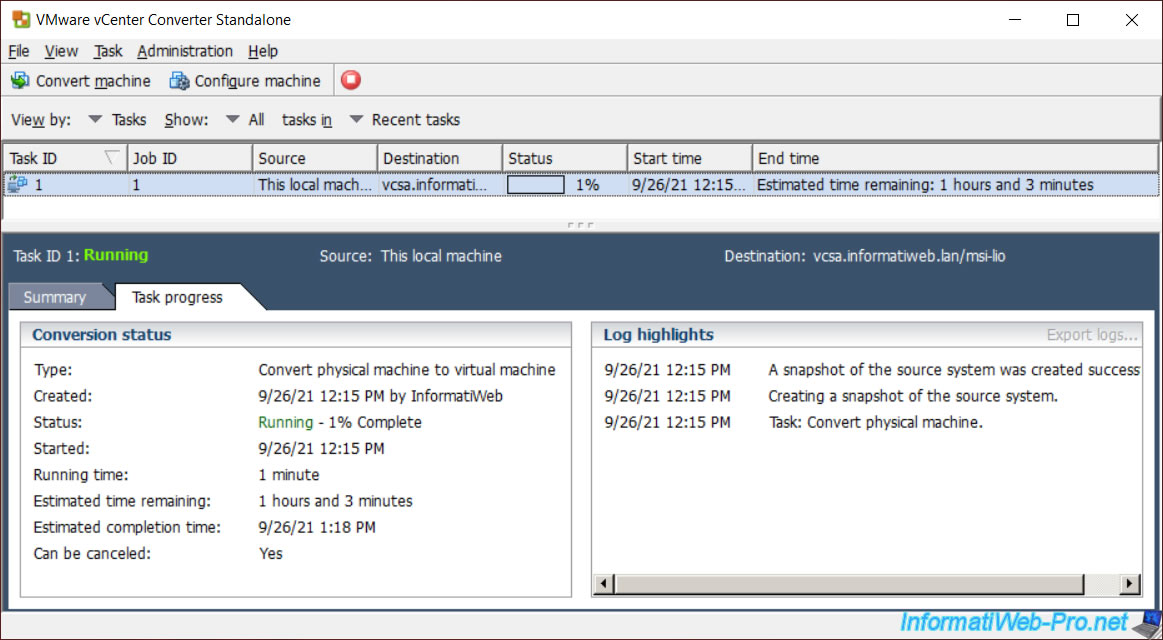
Click "Finish" and the "Submitting job" message will appear for a few seconds.
The "Convert physical machine to virtual machine" task starts.
As you can see, VMware vCenter Converter Standalone first creates a snapshot of the source system so that the data can be consistent in the future virtual machine.
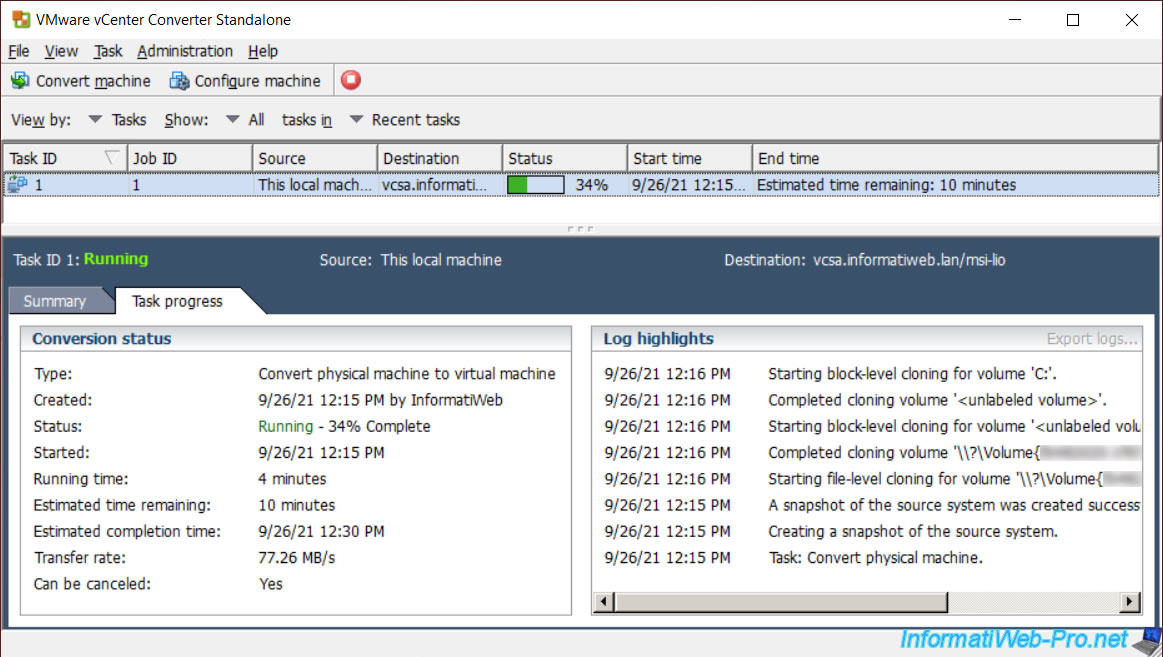
Then VMware vCenter Converter Standalone will copy the different volumes (partitions) of your physical hard drive.
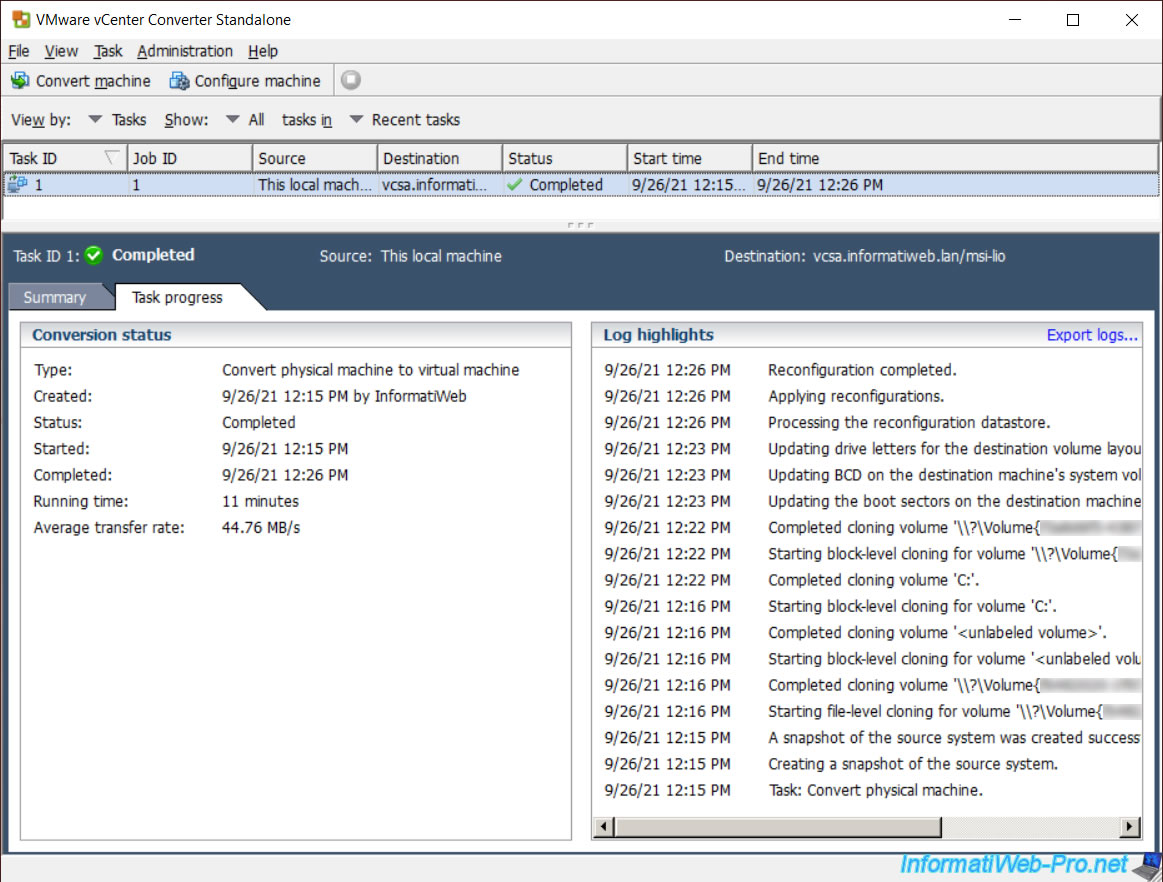
Then VMware vCenter Converter Standalone will update:
- the boot sectors of the destination virtual machine: Updating the boot sectors on the destination machine
- the Windows boot menu: Updating BCD on the destination machine's system volume
- the letters of the volumes (partitions): Updating drive letters for the destination volume layout
Some reconfigurations will also be applied to the destination virtual machine.
Once the conversion is complete, the message "Reconfiguration completed" will appear in the conversion history and the status of the task will be: Completed.
Share this tutorial
To see also
-

VMware 12/20/2024
VMware vSphere 6.7 - Clone vApps
-
VMware 10/4/2024
VMware vSphere 6.7 - Clone virtual machines
-
VMware 10/9/2024
VMware vSphere 6.7 - Clone virtual machines to a content library
-
VMware 10/11/2024
VMware vSphere 6.7 - Convert a Hyper-V virtual machine to a VMware VM
You must be logged in to post a comment