Virtualize a physical computer (P2V) to a VMware vSphere 6.7 infrastructure
- VMware
- 16 October 2024 at 07:44 UTC
-

- 2/3

3. Virtual machine created on VMware vCenter Server (or VCSA)
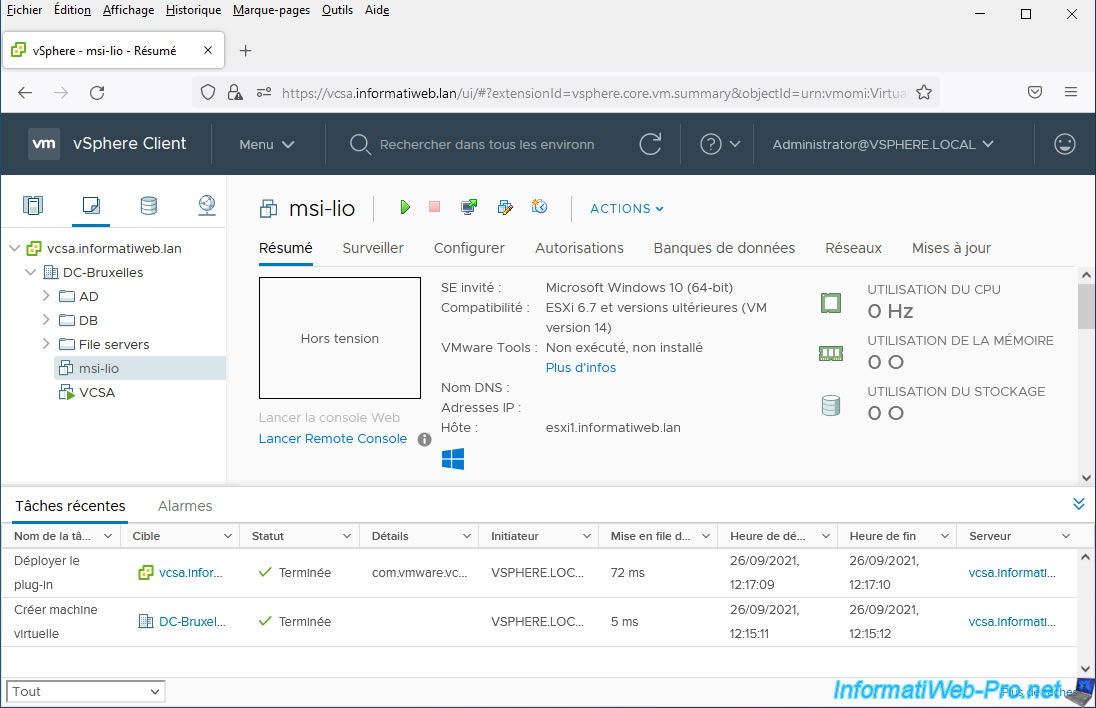
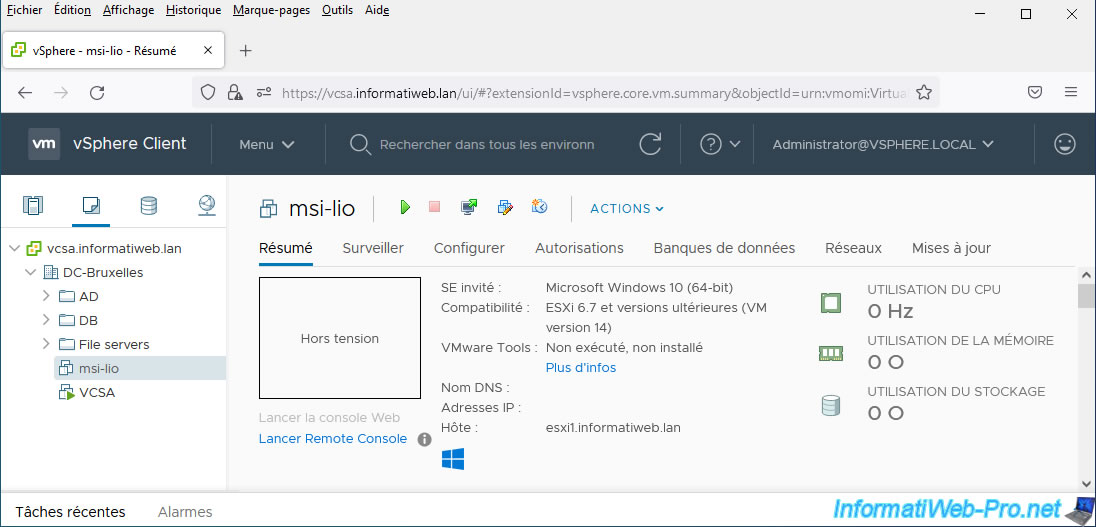
If you connect to the vSphere Client of your VMware vCenter Server (or VCSA), you will see your new virtual machine appear.
In our case, the virtual machine: msi-lio.
If you view the recent tasks list, you will also see that a "Create Virtual Machine" task was also run recently.
Your physical machine is now available as a virtual machine on your VMware vCenter Server (or VCSA).
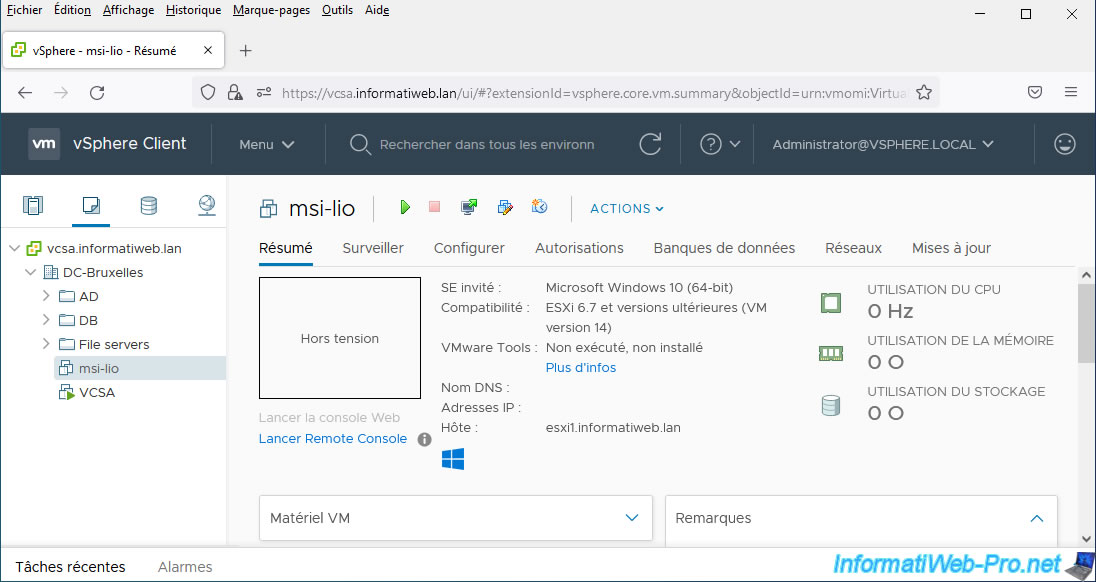
Although the virtual machine was created on your VMware vCenter Server (or VCSA), it will be stored on and run by your VMware ESXi host.
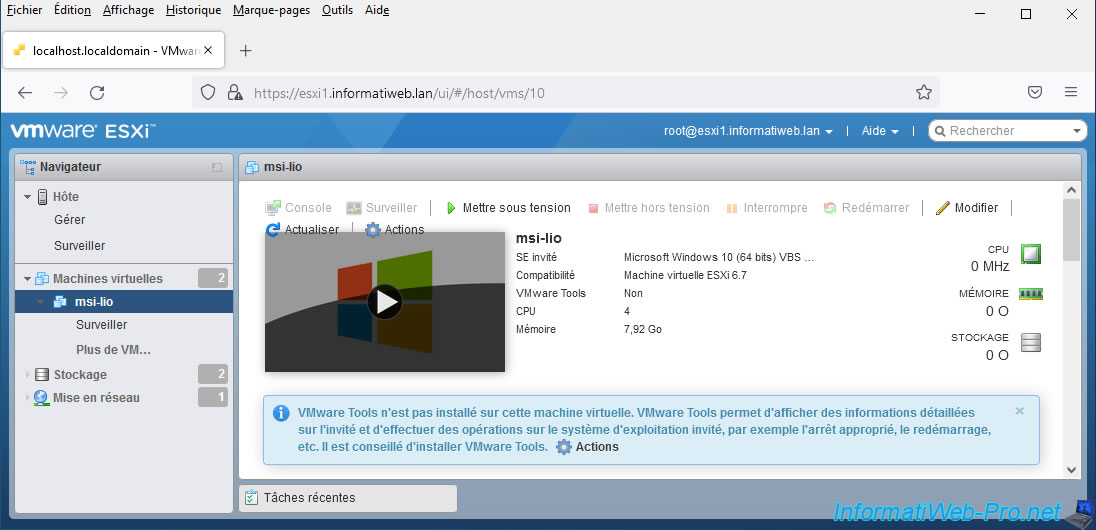
You will therefore also be able to find this same machine on your VMware ESXi host.
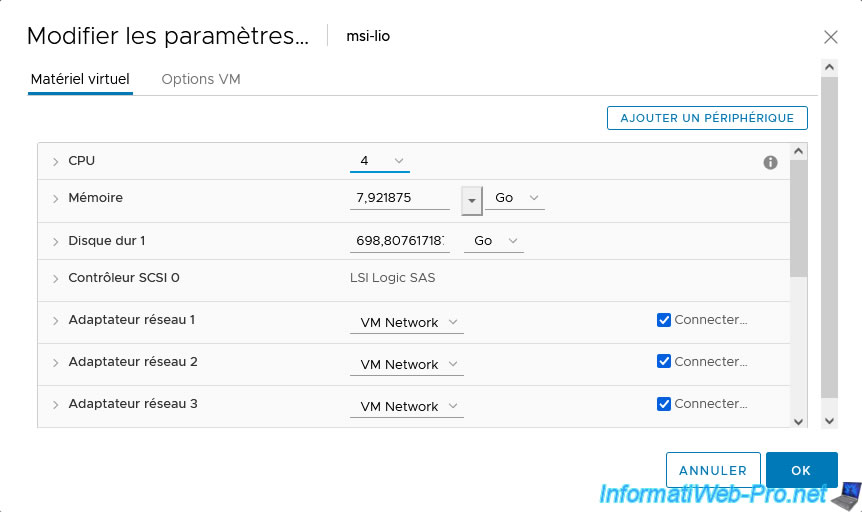
If you look at the virtual hardware of this virtual machine, you will see that the size of its virtual hard disk corresponds to the capacity of your physical hard disk.
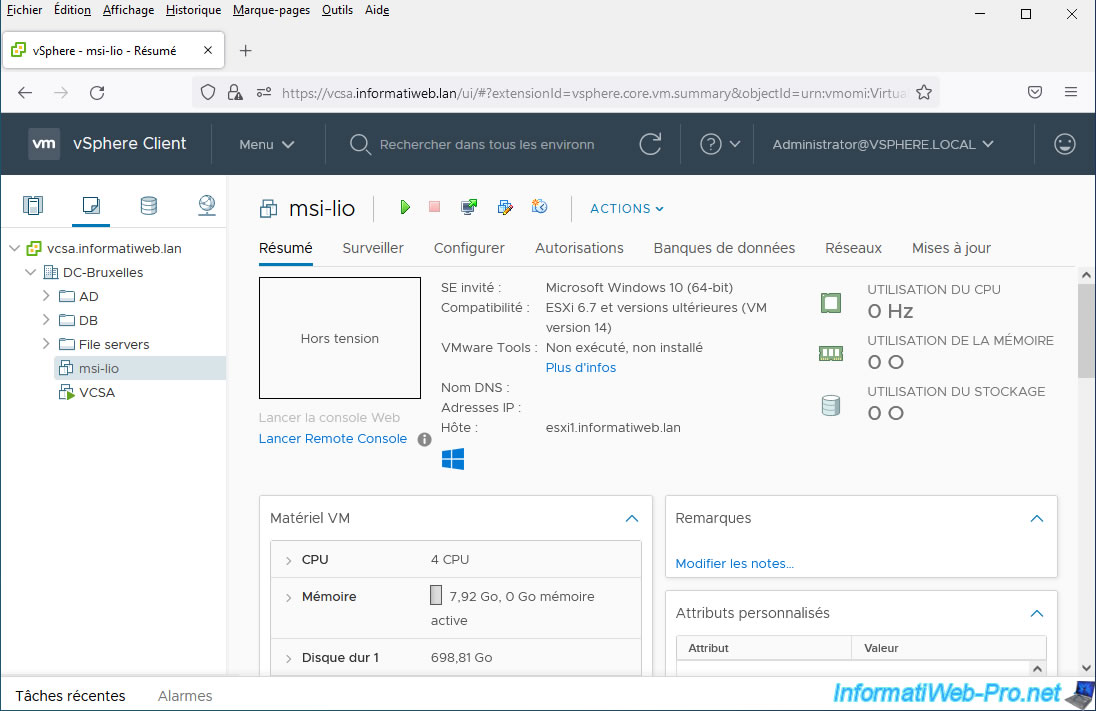
You will also be able to see that several network cards have been created in our case, as explained previously.
4. Start the virtual machine
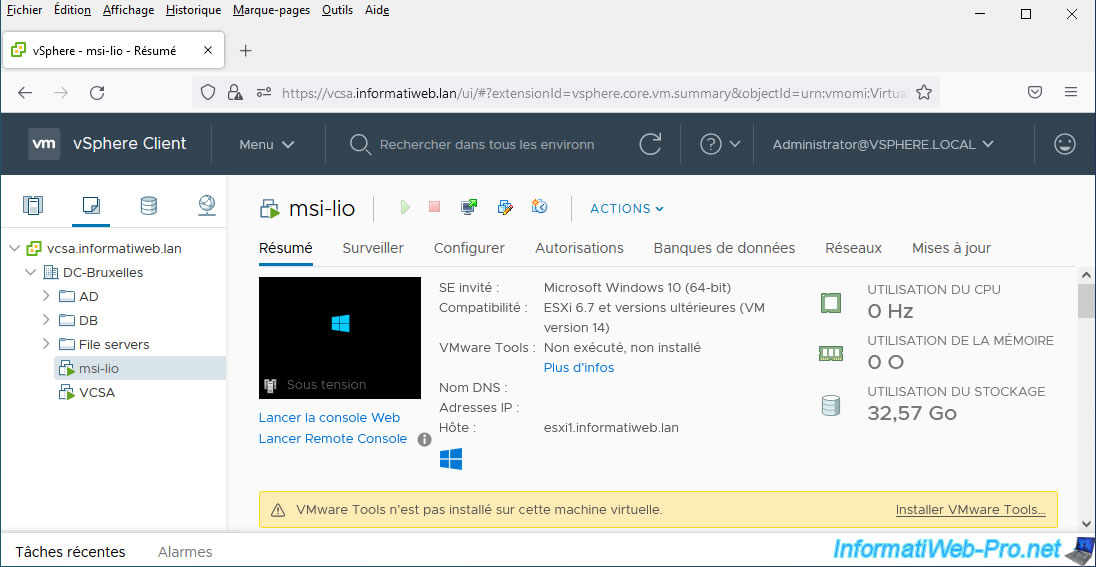
Start the virtual machine from the vSphere Client of your VMware vCenter Server (or VCSA).
As you can see, your server is telling you that VMware Tools is not installed on this virtual machine.
Let the virtual machine start.
Open the console of your virtual machine by clicking on: Launch Remote Console.
Your virtual machine's console appears in VMware Remote Console (VMRC) if this program is installed in your case.
Otherwise, download and install it for free.
Because the machine's hardware has changed, Windows re-prepares your devices so that Windows can continue to work properly on this new hardware.
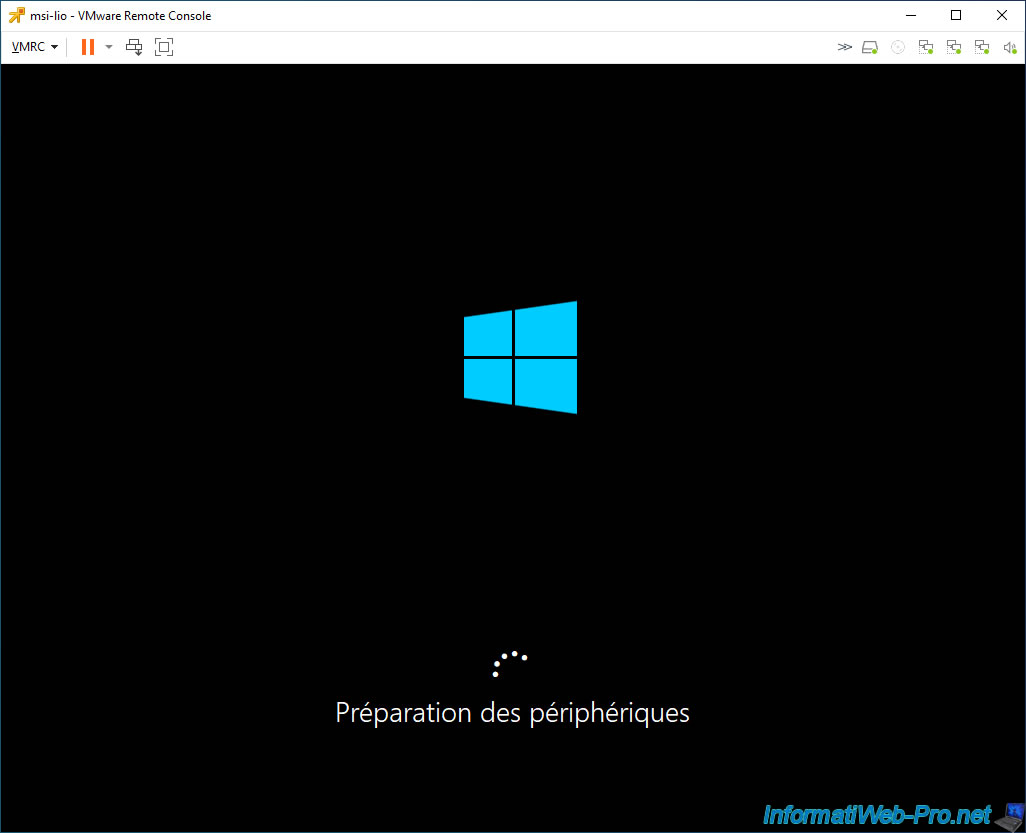
Wait a little longer.
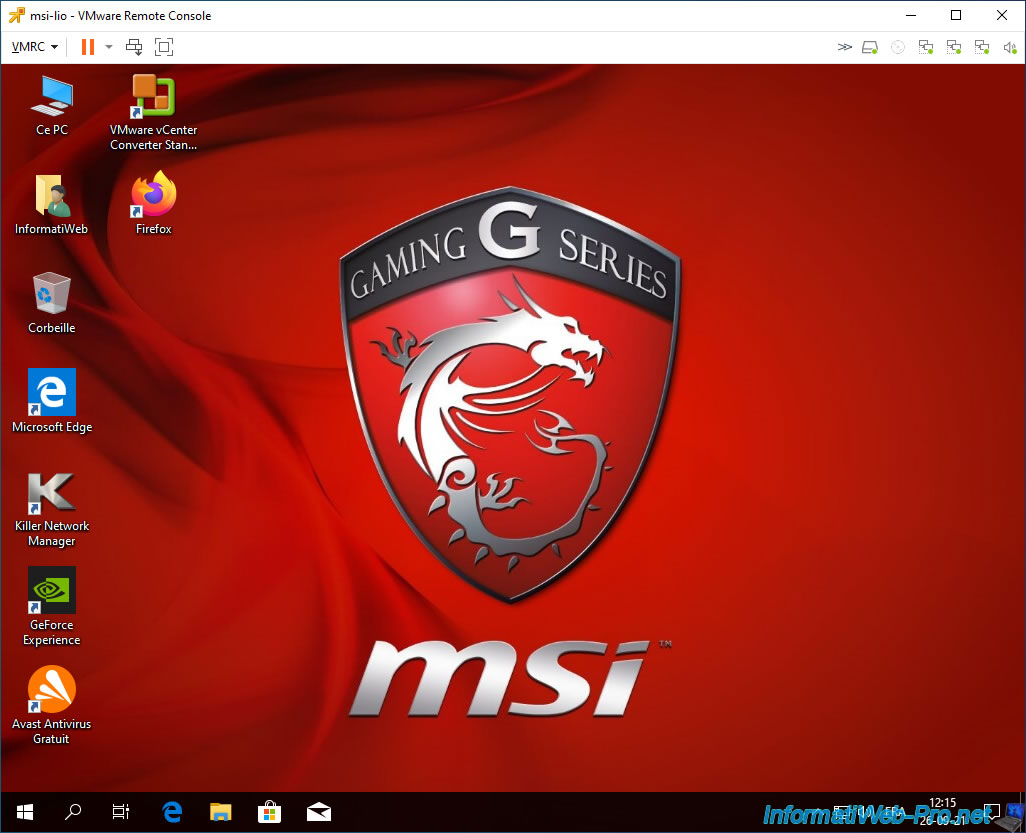
The Windows session opens.
As expected, your physical machine has been virtualized and it works without any problems.
However, there are still a few things to do to optimize it.
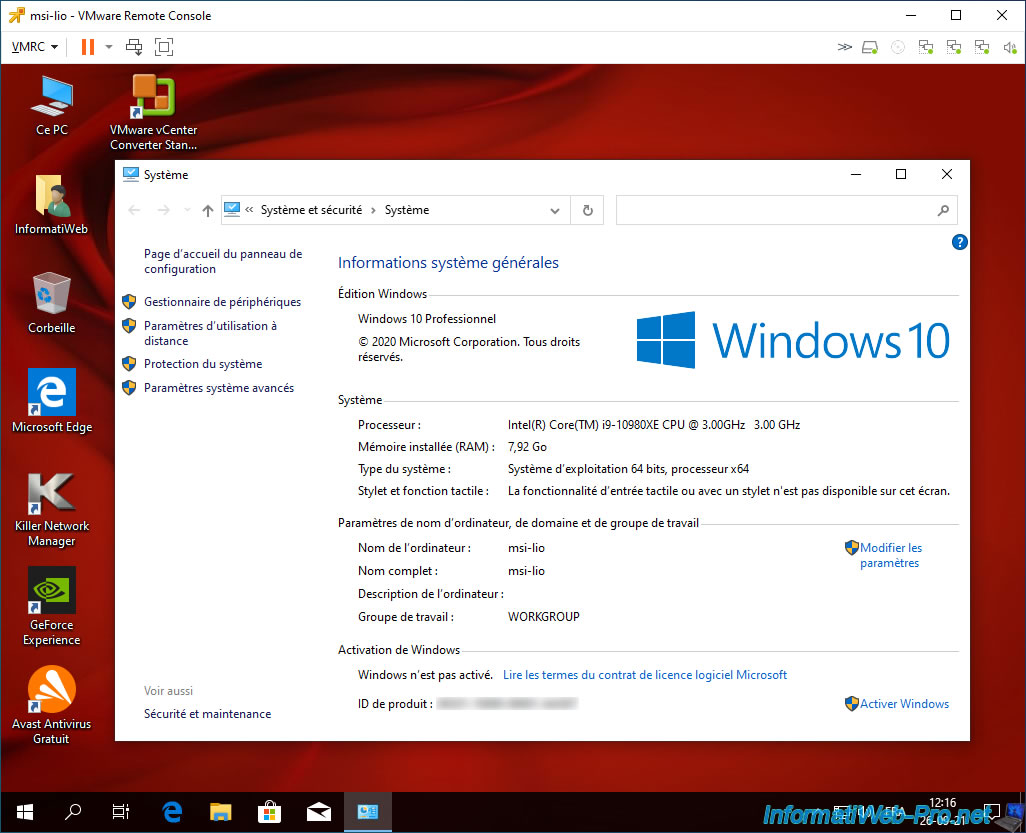
As explained previously, Windows 10 is no longer activated since its hardware has changed.
Share this tutorial
To see also
-

VMware 12/20/2024
VMware vSphere 6.7 - Clone vApps
-
VMware 10/4/2024
VMware vSphere 6.7 - Clone virtual machines
-
VMware 10/9/2024
VMware vSphere 6.7 - Clone virtual machines to a content library
-
VMware 10/11/2024
VMware vSphere 6.7 - Convert a Hyper-V virtual machine to a VMware VM
No comment