- VMware
- 05 February 2025 at 08:53 UTC
-

- 1/4

Previously, we explained to you what persistent memory (PMem) was and where to find it.
If you want to learn more about this persistent memory technology (PMem), refer to our tutorial: VMware ESXi 6.7 - Use persistent memory (PMem) via NVDIMMs modules.
- Persistent memory on VMware vCenter Server (or VCSA)
- Simulate persistent memory (PMem) on your VMware ESXi host
- Create a new virtual machine with an NVDIMM (persistent memory) module
- Information about the created virtual machine
- Installing Windows Server 2016
- Partition the persistent memory (PMem) disk
- Persistent memory retained when restarting a VM
- Restart VMware ESXi host
- Virtual persistent memory (PMem) cleared
- Replace erased NVDIMM module
- Data lost
- Disable simulated persistent memory
1. Persistent memory on VMware vCenter Server (or VCSA)
Once you have added persistent memory (PMem) to your physical VMware ESXi server, it will appear on VMware vCenter Server (or VCSA) in the hardware of the host concerned.
In this host's material you will be able to see:
- Persistent Memory: the amount of persistent memory (PMem) present in this server.
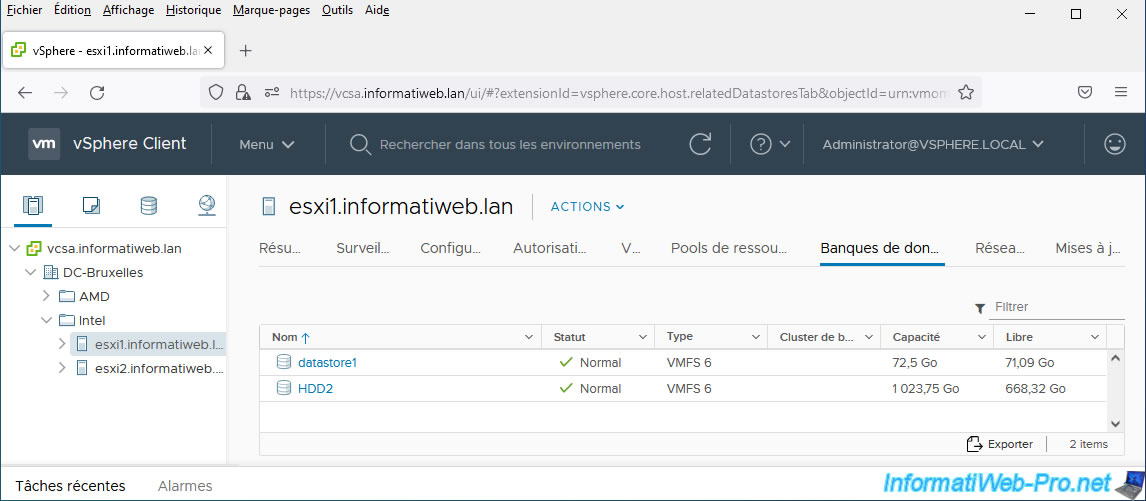
- Storage: an additional datastore has appeared.
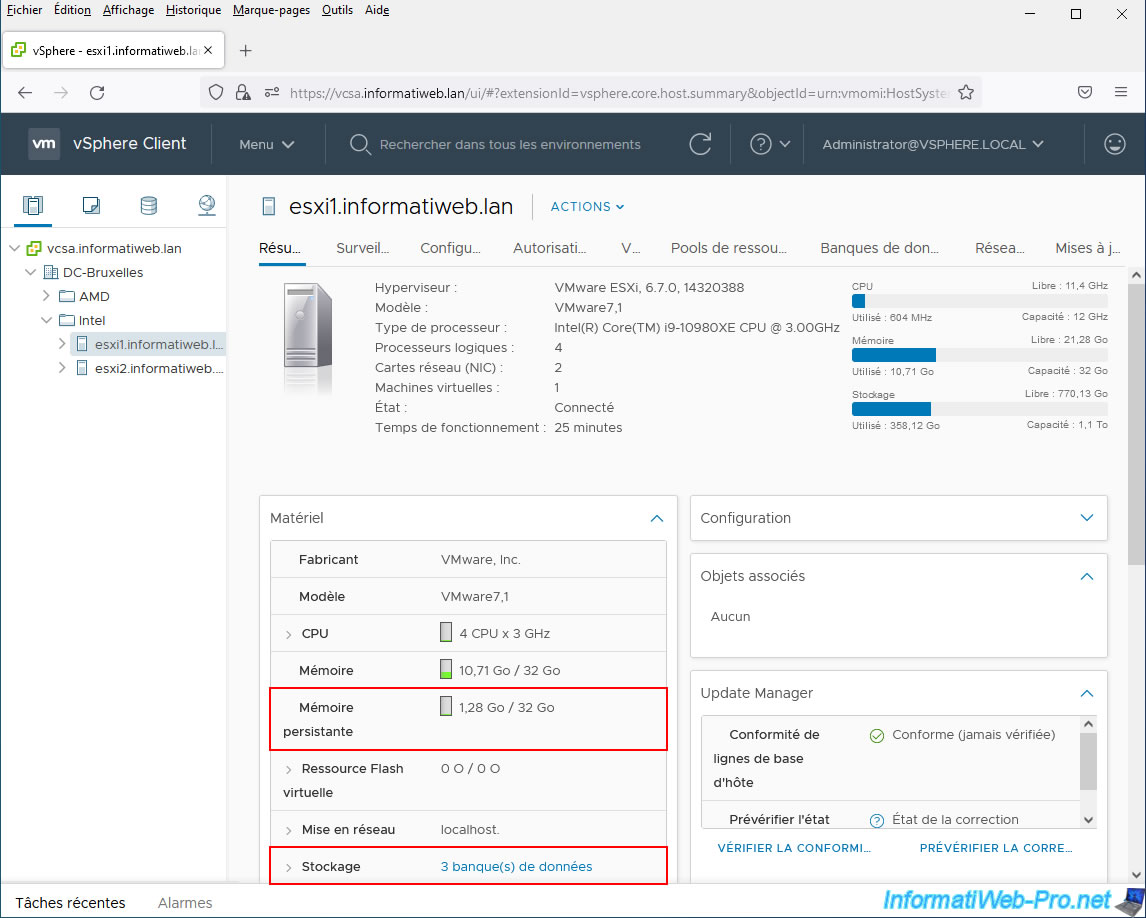
However, this "PMemDS" datastore is only visible in the "Storage" section of the web interface of the VMware ESXi host concerned.
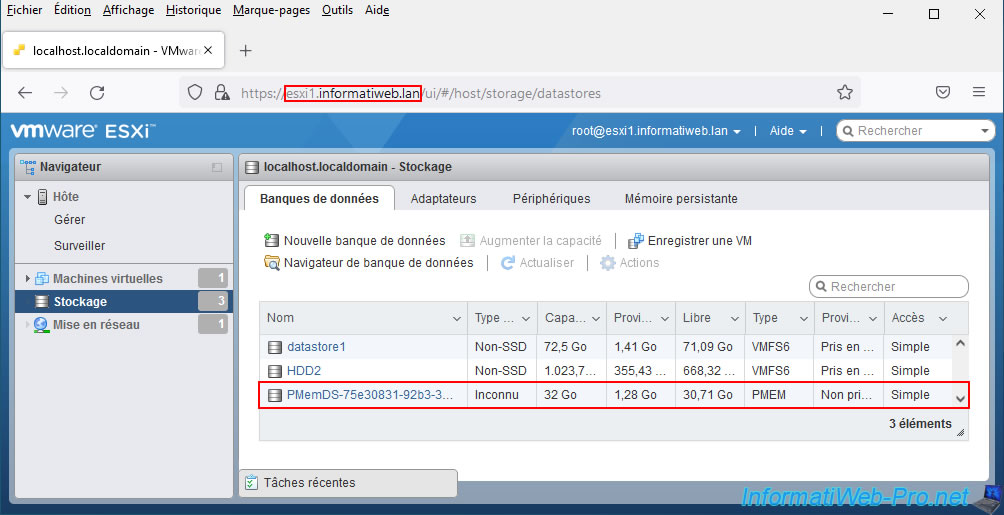
Indeed, although VMware vCenter Server told us that we had 3 datastores on our VMware ESXi host, the "PMemDS" datastore corresponding to the persistent memory (PMem) installed in our server does not appear here.
2. Simulate persistent memory (PMem) on your VMware ESXi host
Note that you can also simulate persistent memory if you wish.
Which is useful if it is for educational purposes (to learn for free how to use this technology) or for creating POC (Proof Of Concept) models, for example.
Important : unlike persistent memory (PMem) available using actual persistent memory (PMem) modules, simulated persistent memory (PMem) will be physically located in your server's random access memory (RAM).
Which means that it will be lost when the VMware ESXi host is shut down or restarted.
To be more precise, the simulated amount of persistent memory (PMem) will be available again after your VMware ESXi host boots up, but its contents will have been lost.
To do this, access the web interface of your VMware ESXi host and go to: Host -> Manage -> System -> Advanced settings.
Then enter "fake" in the search box and the parameter "VMKernel.Boot.fakePMemPct" will appear.
Select this advanced setting and click: Edit option.
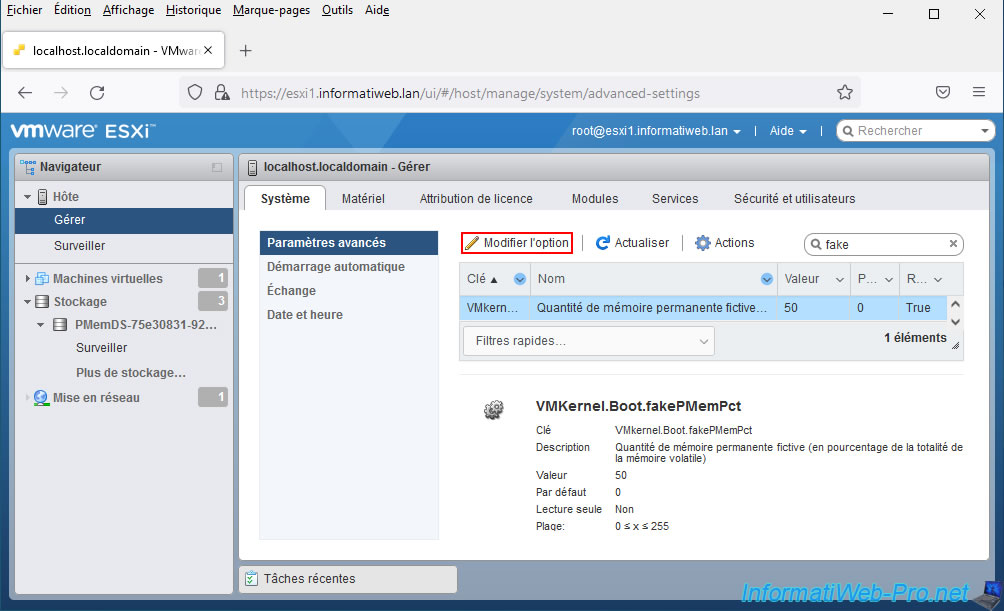
As noted in the description of this advanced setting "VMKernel.Boot.fakePMemPct", you can specify a fake amount of permanent (persistent) memory by indicating what percentage of your server's random access memory (RAM) you want to reserve for use. as persistent memory.
This means that your server must have enough random access memory (RAM) to use some of it as persistent memory.
In our case we had a server with 32 GB of RAM in which we added 32 GB of additional RAM.
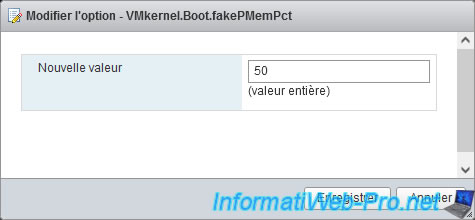
To make the amount of available persistent memory a round number, we set it to 50.
Given that our server therefore "physically" has 64 GB of RAM and that we reserve 50% of it as persistent memory, we will therefore ultimately have: 32 GB of RAM and 32 GB of persistent memory.
However, if this is only for testing, you can also specify for example "20" to use 20% of your RAM as persistent memory.
It all depends on the amount of RAM available on your physical server.
Important : after changing this setting, restart your VMware ESXi host for the change to take effect.
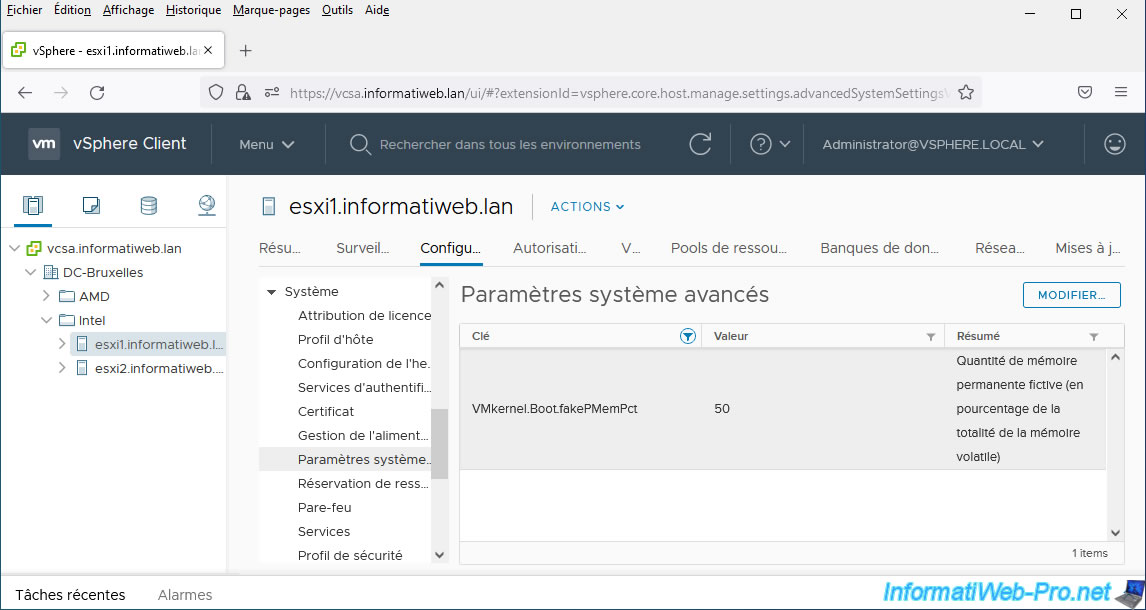
For information purposes only: please note that it is possible to easily see the value of this advanced setting "VMKernel.Boot.fakePMemPct" from your "VMware vCenter Server" server.
To do this, select your VMware ESXi host and go to: Configure -> System -> Advanced System Settings.
Next, in the "Key" column, click the funnel icon, provide the keyword "fake" and click Filter.
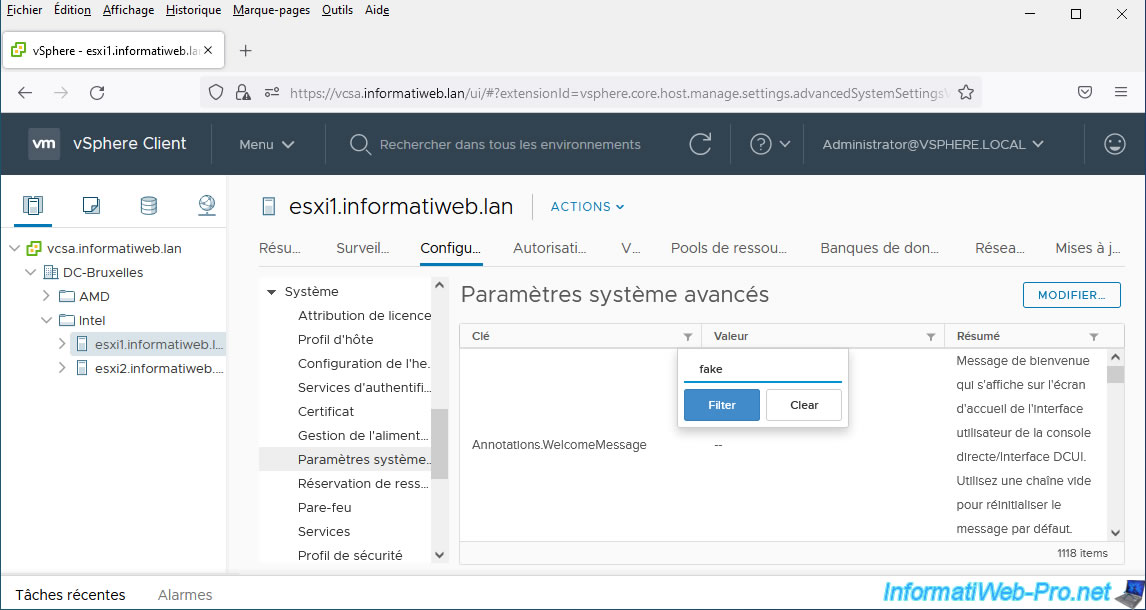
This advanced setting "VMKernel.Boot.fakePMemPct" will appear with the value you set for it.
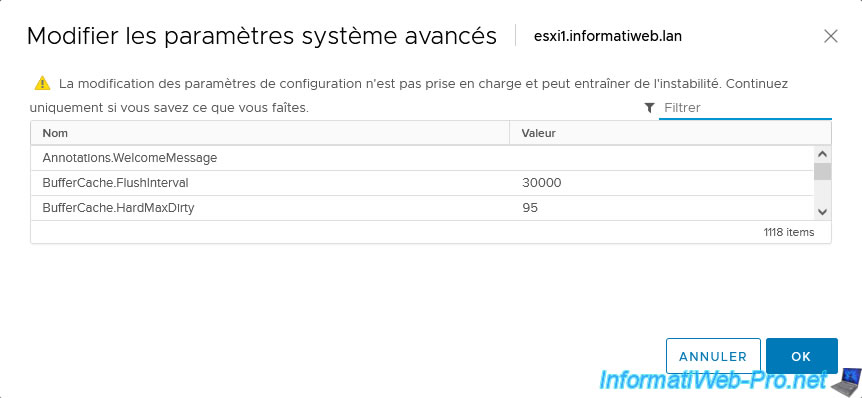
If you select this setting, you will see that an "Edit" button is available.
However, if you click on it, your VMware vCenter Server will tell you that:
Plain Text
Modifying configuration parameters is unsupported and can cause instability. Continue only if you know what you are doing.
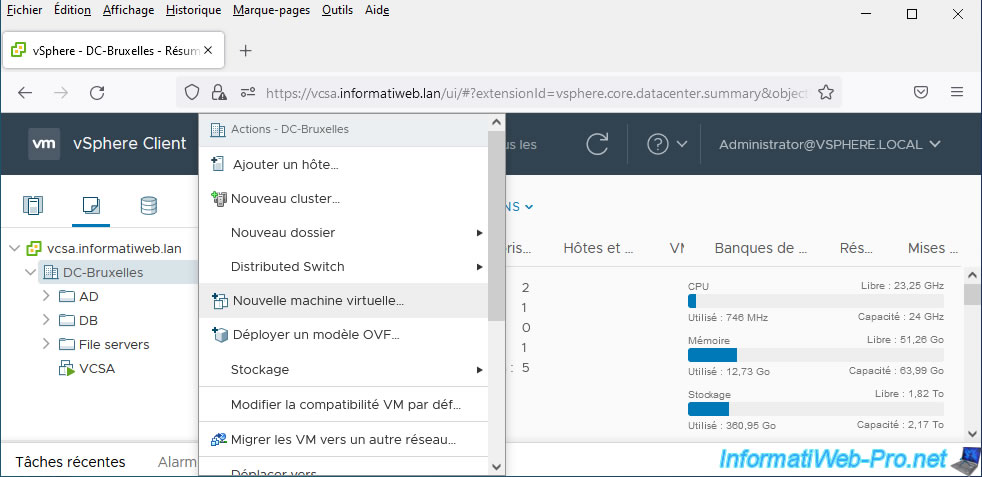
3. Create a new virtual machine with an NVDIMM (persistent memory) module
To begin, in the "VMs and Templates" tab, right-click "New Virtual Machine" on the location where you want to add your new virtual machine.
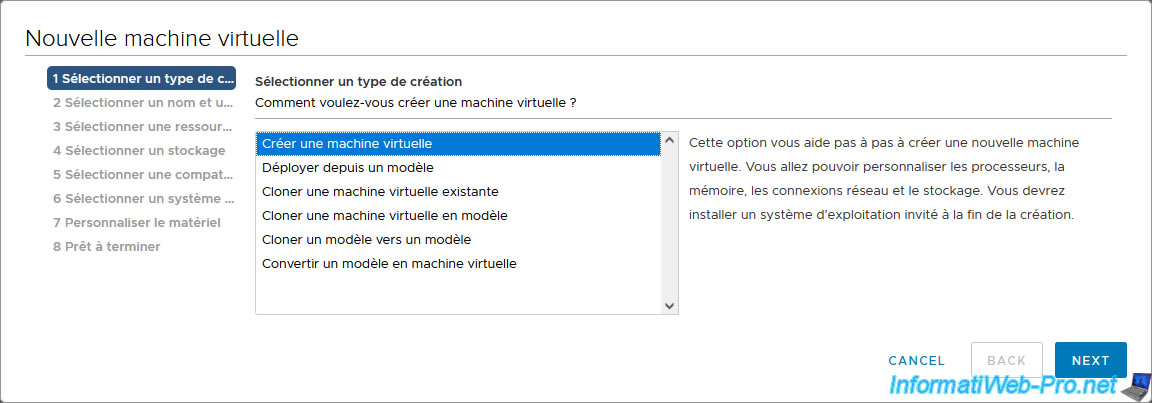
Select the "Create a new virtual machine" option and click Next.
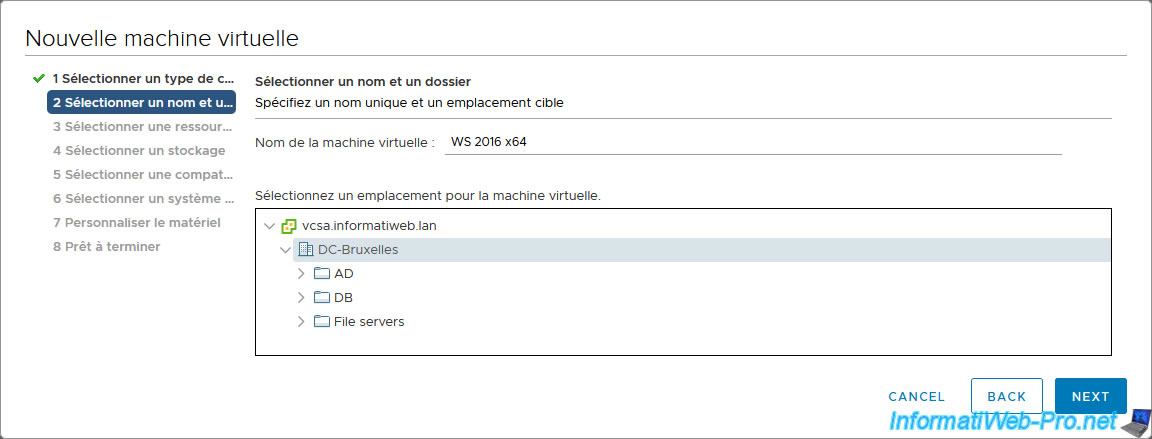
Provide a name for this new virtual machine and select where you want to add it.
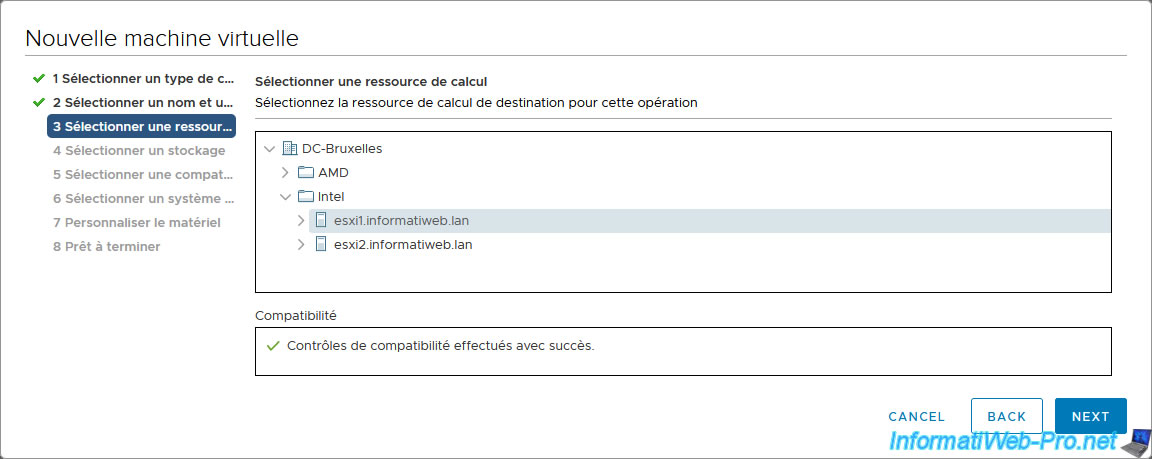
Select the compute resource where your persistent memory (PMem) is located.
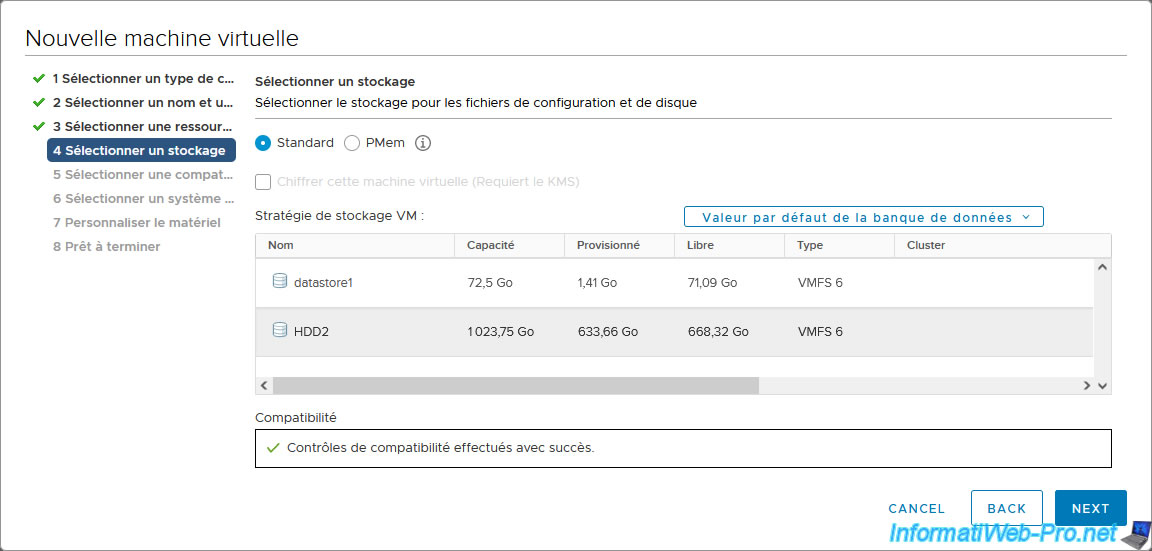
Since you now have persistent memory (PMem) in your VMware ESXi host, the "Standard" and "PMem" options have appeared.
For now, select "Standard", then select the datastore where you want to store this new virtual machine.
Note: the "PMem" option allows you to store the virtual machine entirely on persistent memory.
However, we only want to use an NVDIMM module in our case.
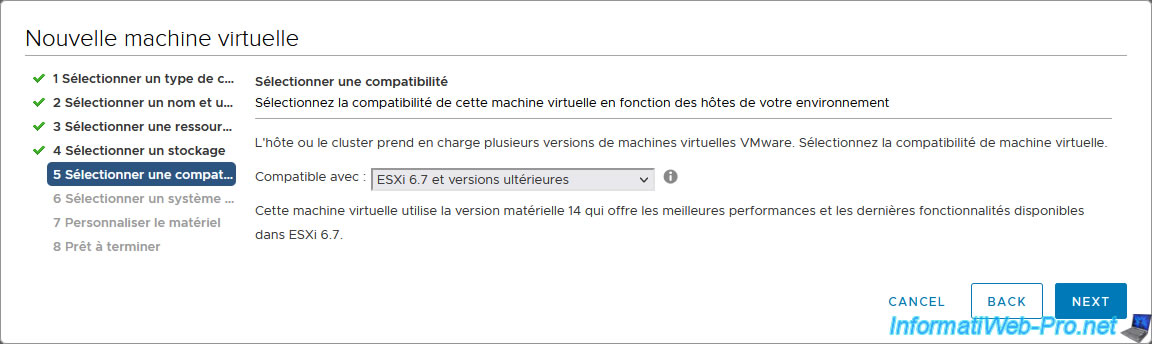
Select at least a compatibility level "ESXi 6.7" (= version 14 of the virtual hardware), otherwise you will not be able to use NVDIMM modules.
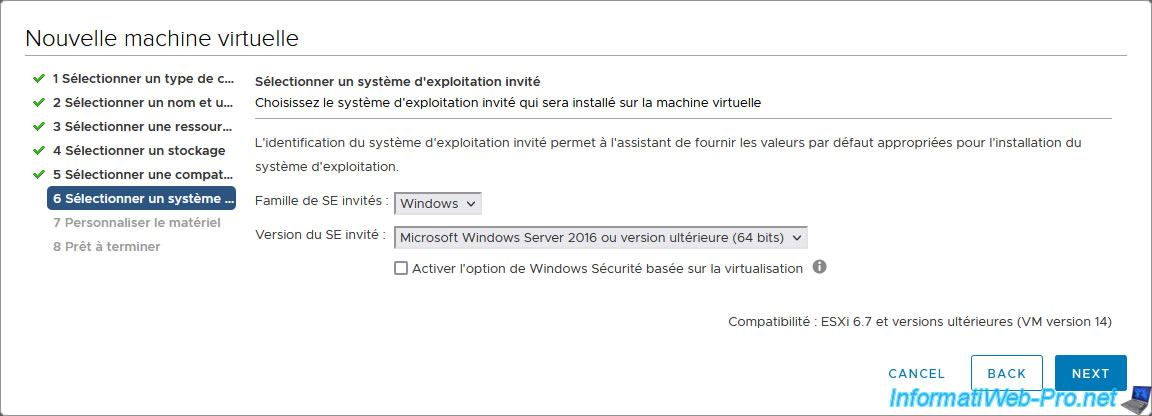
Next, select a guest operating system compatible with the use of NVDIMMs.
For example:
- Windows 10 v1607 minimum
- Windows Server 2016
- CentOS 7.4
In our case, we will use "Microsoft Windows Server 2016".
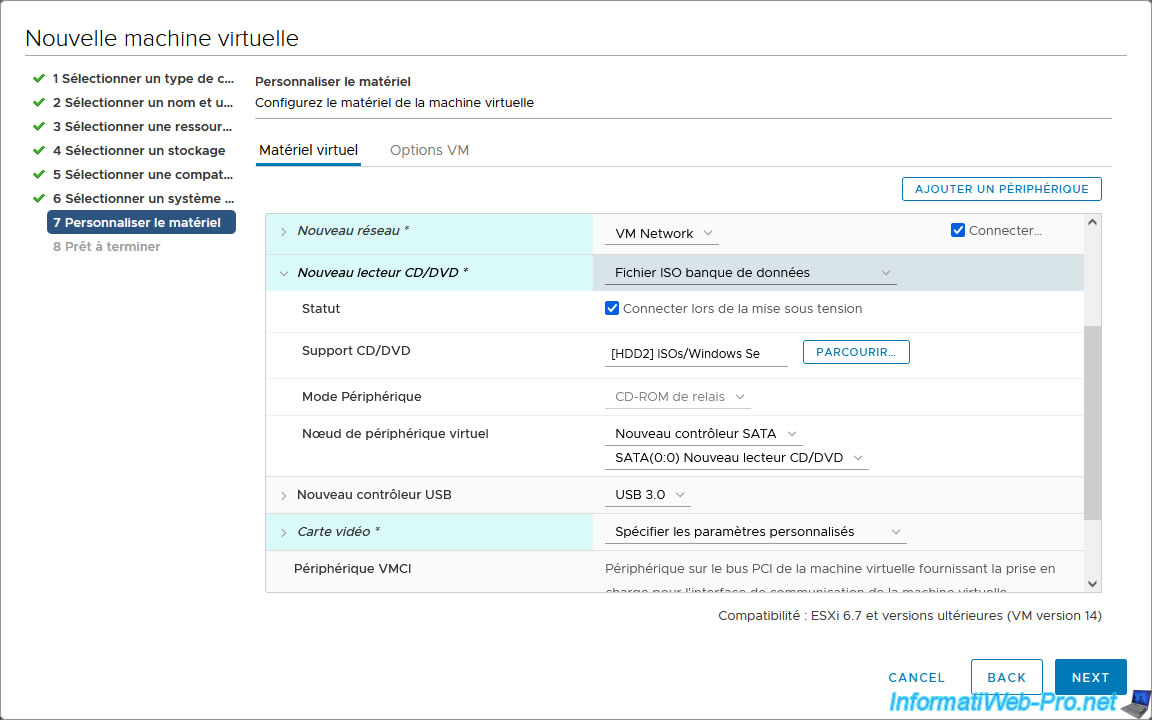
For virtual hardware, first select the ISO file of the operating system you want to install in this virtual machine.
In our case: Windows Server 2016.
Next, click the "Add New Device" button and click: NVDIMM.
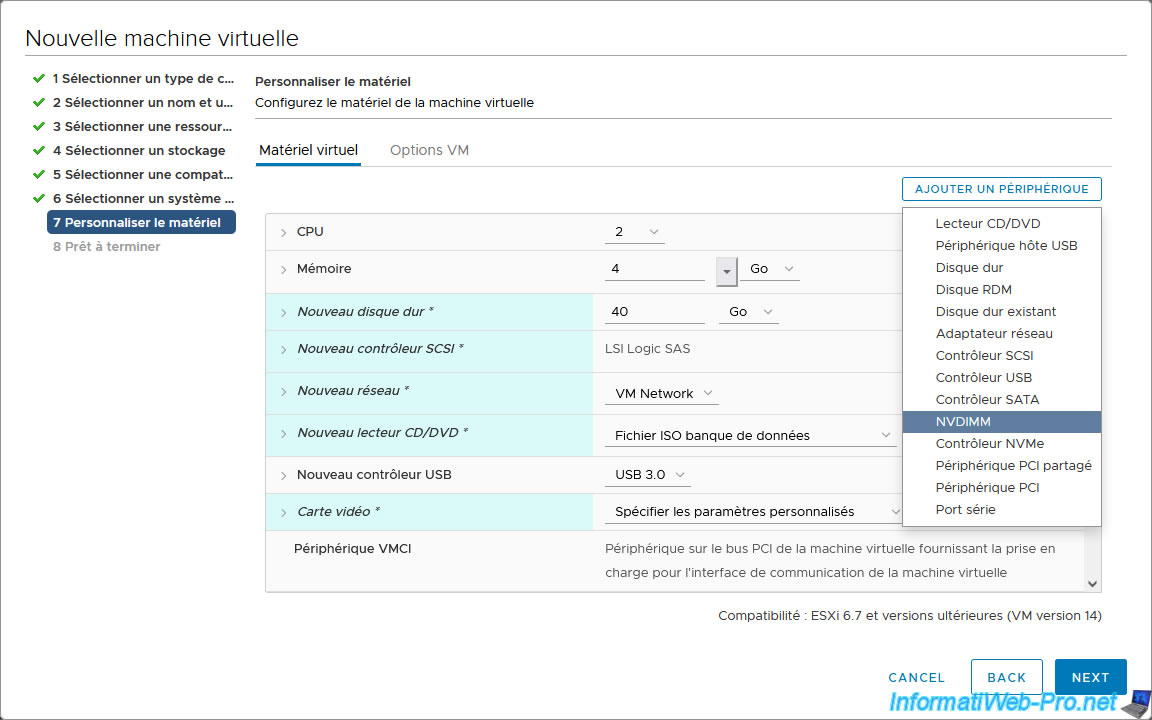
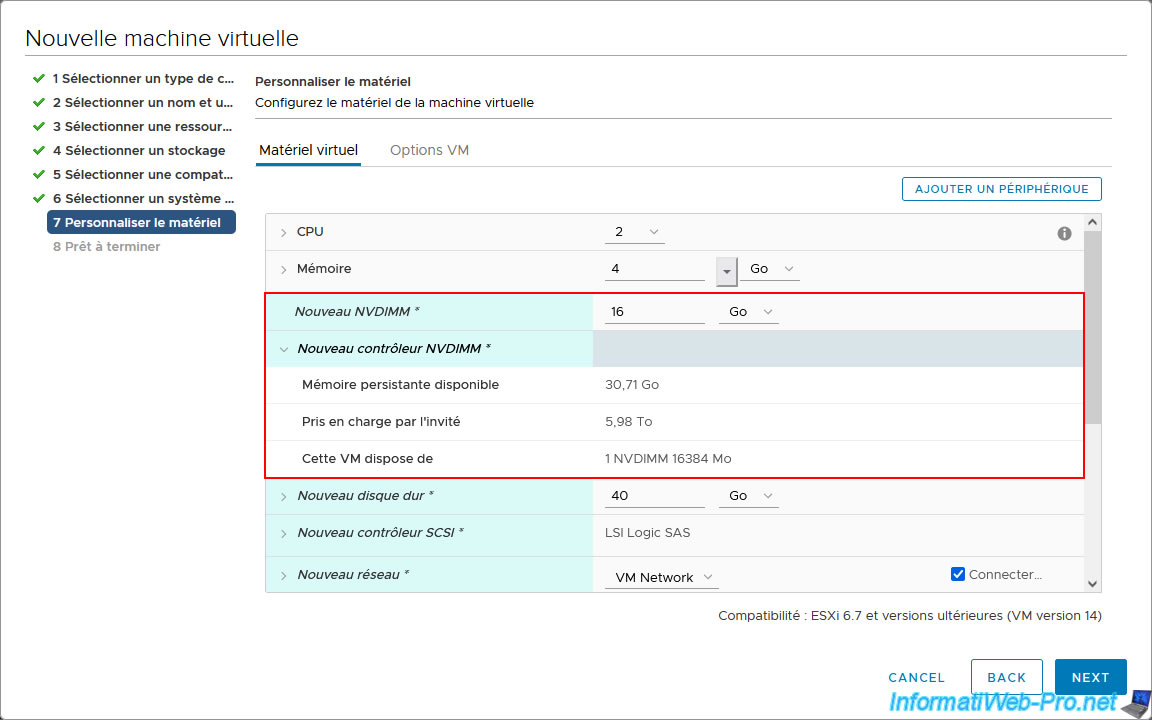
A new NVDIMM (NVDIMM module), as well as a new NVDIMM controller will appear.
As you can see, around 30 GB of persistent memory is available in our case, despite there being 32 GB of persistent memory defined on our VMware ESXi host, because some of it is apparently reserved by the system.
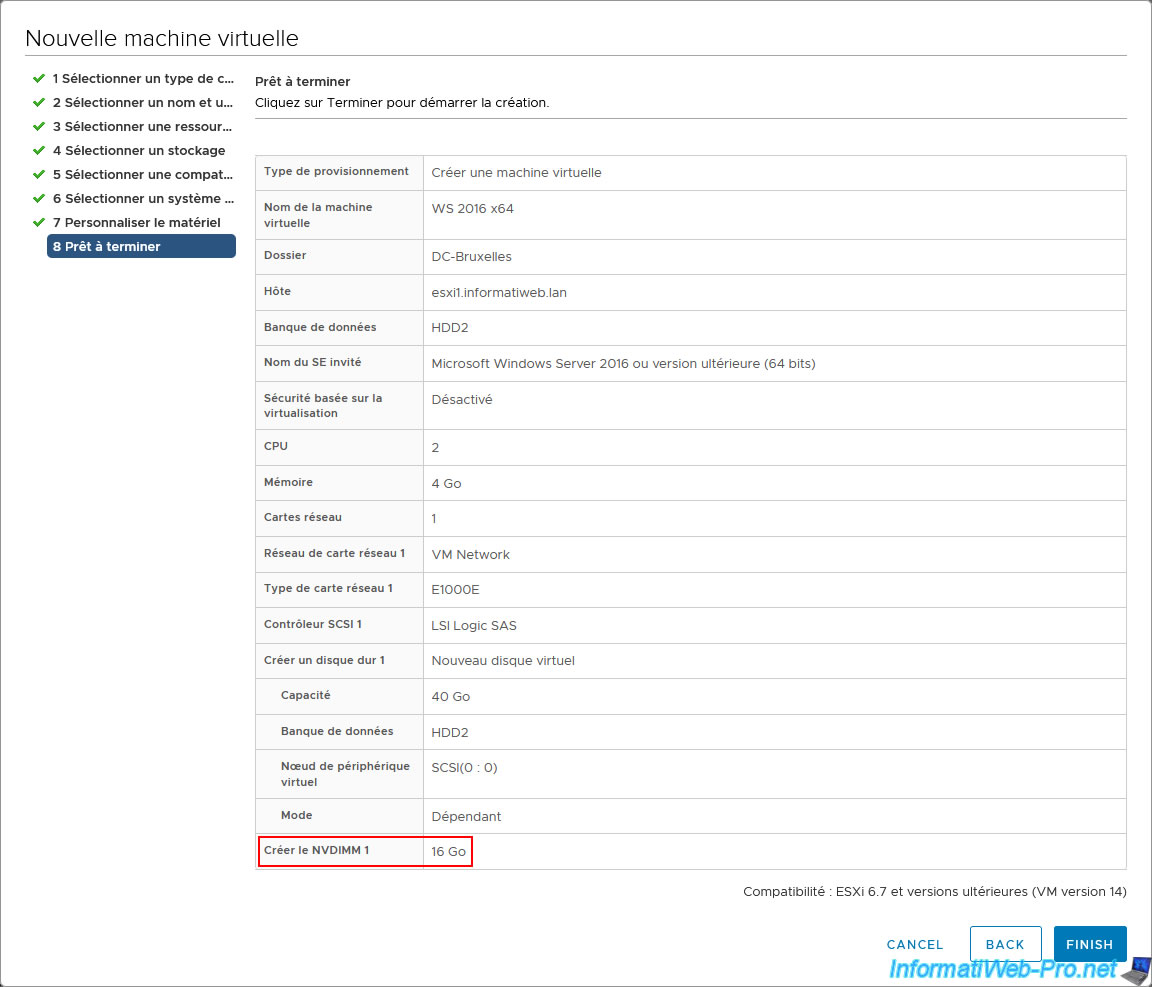
For this tutorial, we created a 16 GB NVDIMM module.
In the summary that appears, you will see that a new NVDIMM module of the desired capacity (size) will be created for this virtual machine.
Share this tutorial
To see also
-

VMware 5/15/2024
VMware vSphere 6.7 - Add a physical disk to host
-

VMware 9/27/2024
VMware vSphere 6.7 - Array integration APIs (VAAI)
-

VMware 9/6/2024
VMware vSphere 6.7 - Configure port binding (iSCSI traffic)
-

VMware 6/13/2024
VMware vSphere 6.7 - Configure Virtual Flash (SSD cache)
You must be logged in to post a comment