- VMware
- 14 June 2024 at 13:02 UTC
-

- 1/3


When you create virtual machines, you should use a virtual hard disk to install the guest operating system and a 2nd virtual hard disk to store the desired data.
This way, you can easily extend the virtual hard disk corresponding to the partition where free space is starting to run out, and then extend the corresponding partition from the guest operating system.
- Multiple partitions on the same virtual hard disk
- Slice a virtual hard disk with VMware vCenter Converter Standalone
- Converted virtual machine
- Round up the size of virtual hard disks
1. Multiple partitions on the same virtual hard disk
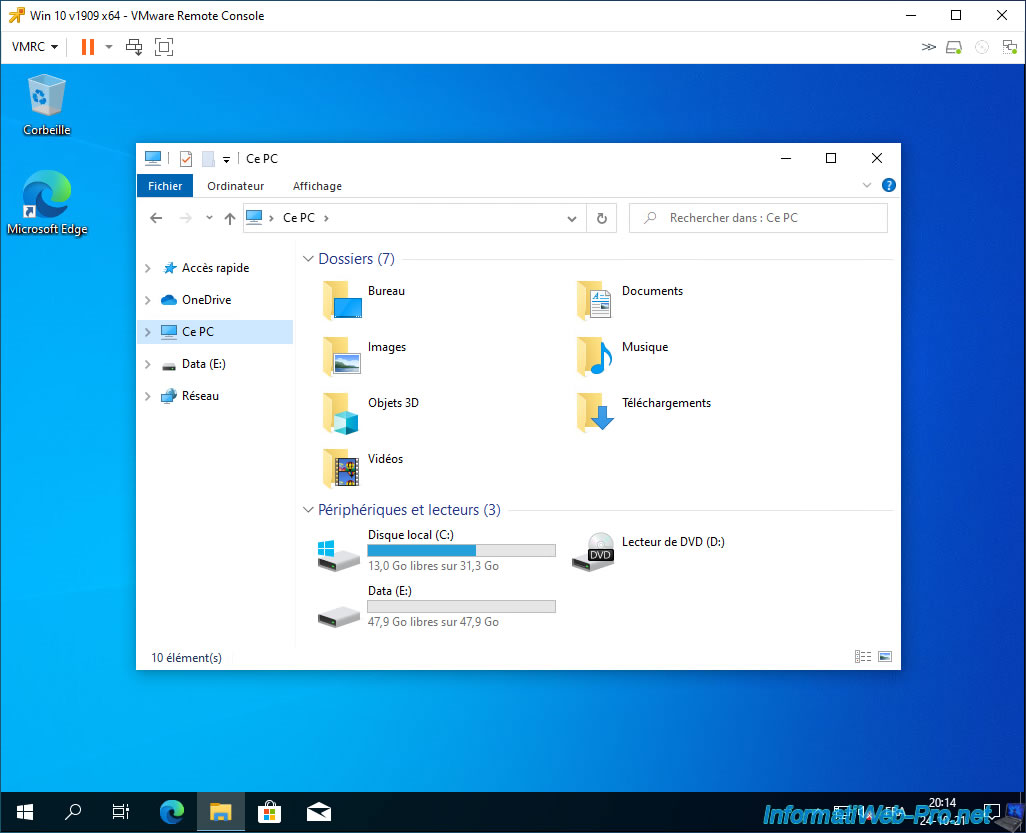
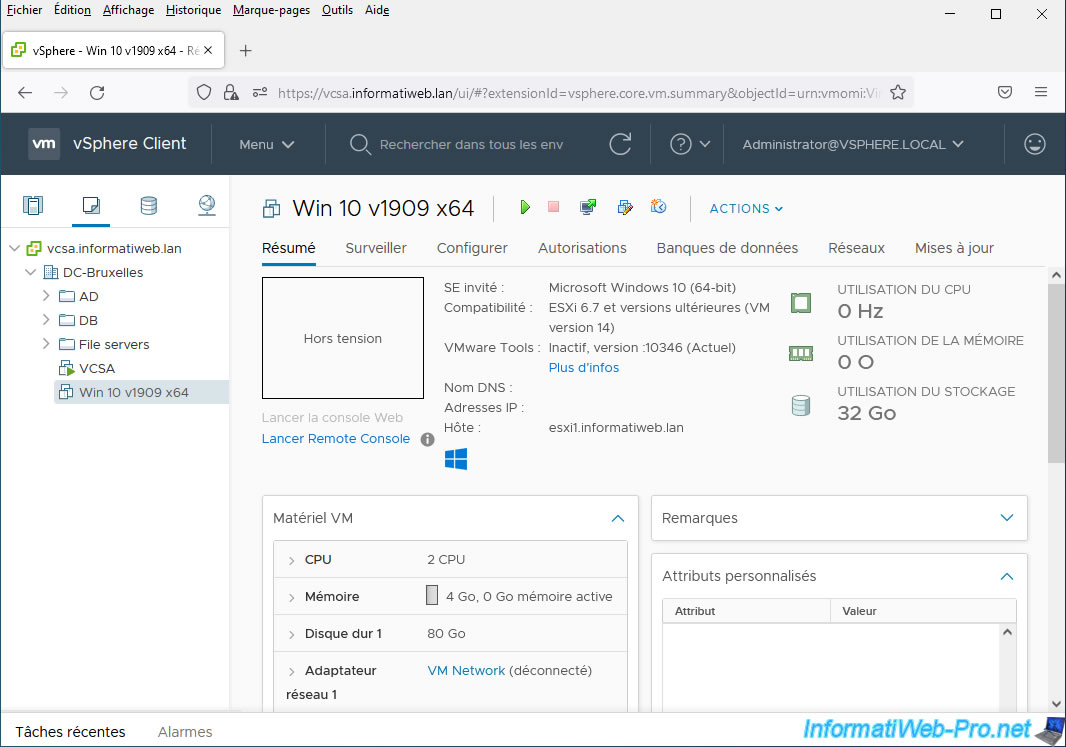
For this tutorial, we will use a virtual machine with a single virtual hard disk where Windows 10 v1909 x64 is installed.

From the guest OS we can see in our case that there are 2 partitions available.
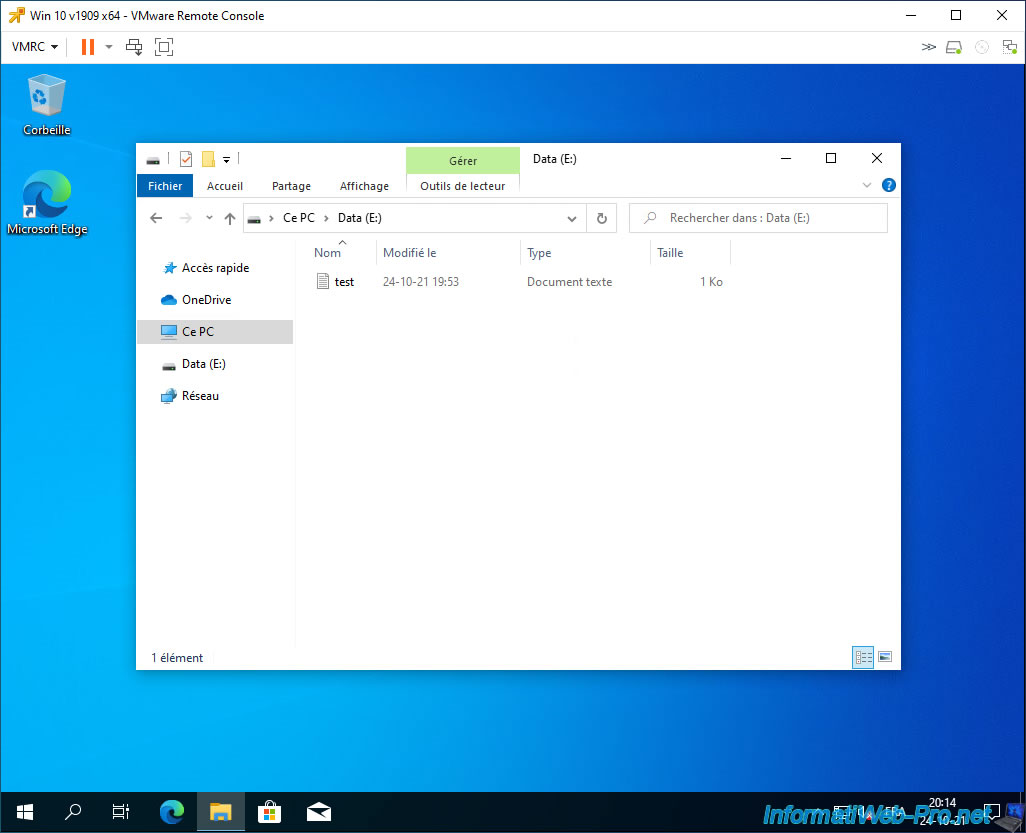
In our "Data" partition, we created a test file.
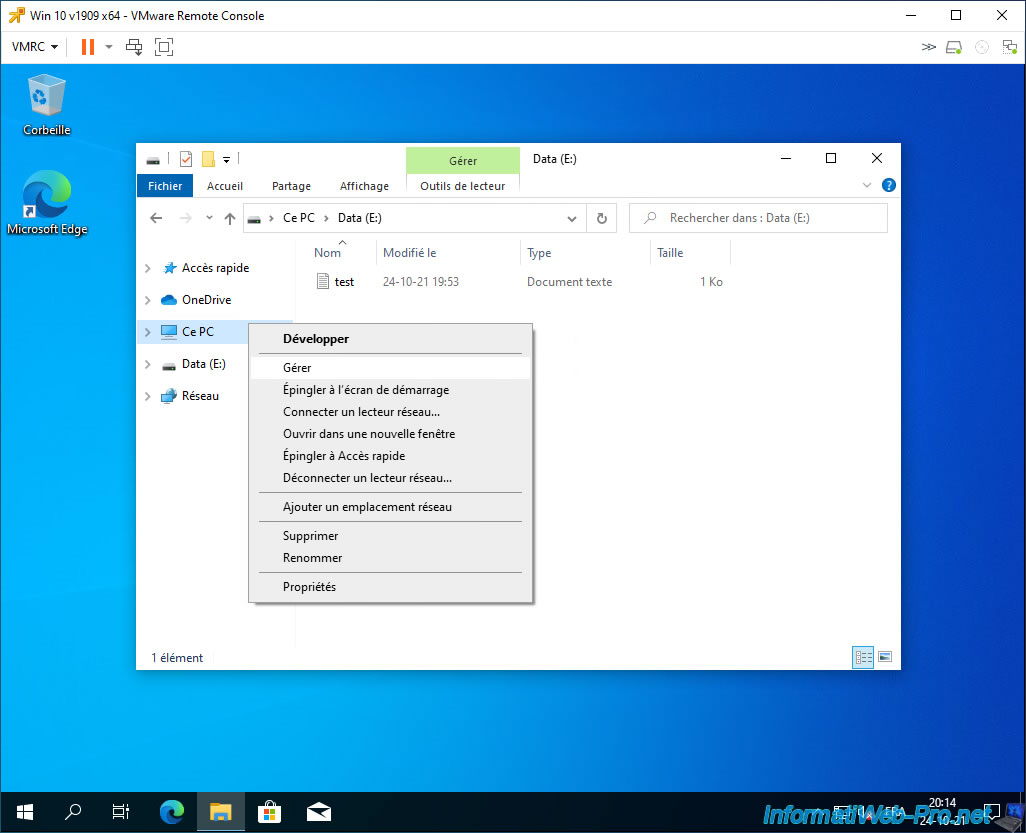
Open File Explorer and right-click "Manage" on "This PC".
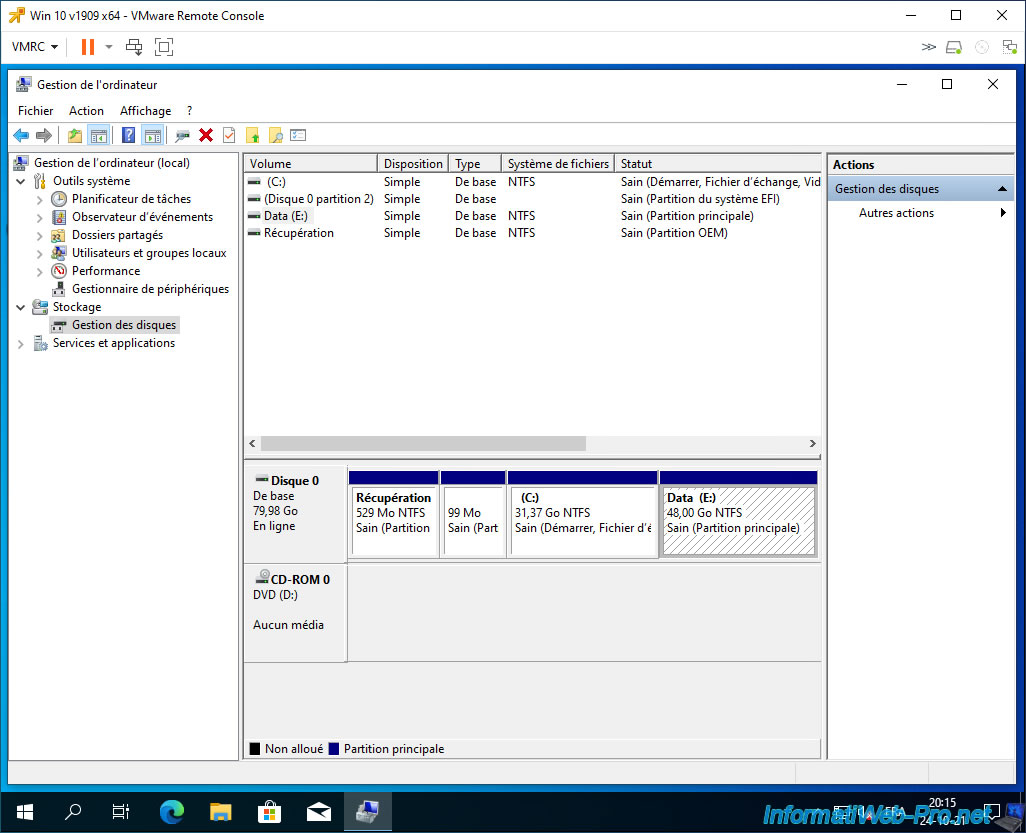
As you can see in the image below through Windows disk management, the "C" partition where Windows 10 is installed and the "Data" partition are on the same (virtual) hard drive.
When you start running out of free space on the "C" partition, you will encounter a problem. Indeed, you will not be able to extend this partition (even by extending the corresponding virtual hard disk) given that another partition (in this case, the "Data" partition) is located just behind it.
To fix this problem, you will need to move this "Data" partition to another (virtual) hard drive.
For this, you can use the official tool "VMware vCenter Converter Standalone".
If this tool does not work in your case, add an additional virtual hard disk with a slightly larger capacity than the partition to be moved, then move the partition using third-party software (like Acronis Disk Director, usable as live CD).
To convert the affected virtual machine using "VMware vCenter Converter Standalone", you must first shut down the virtual machine.
Indeed, the conversion of virtual machines is only possible when it is turned off.
2. Slice a virtual hard disk with VMware vCenter Converter Standalone
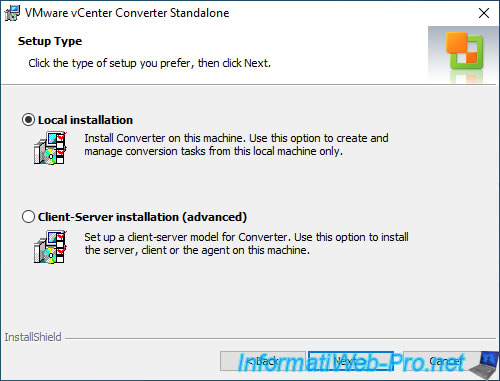
To get started, download "VMware vCenter Converter Standalone" and install it in local mode (Local installation).
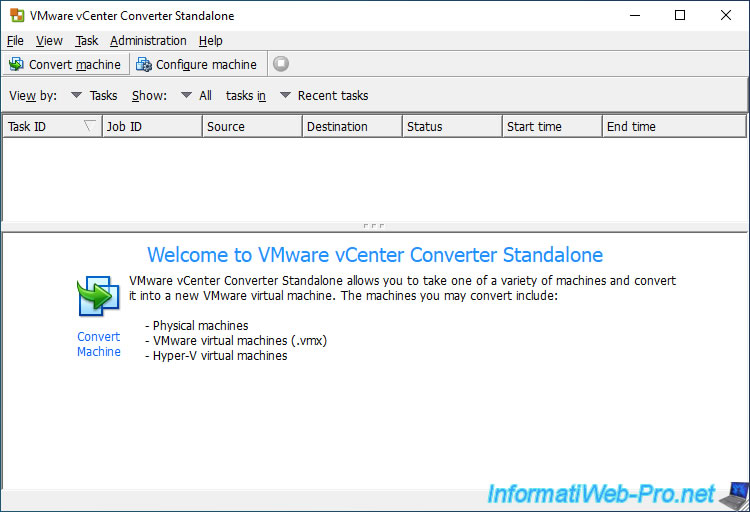
Once installed, launch this program (preferably as administrator to avoid various problems or errors), then click: Convert machine.
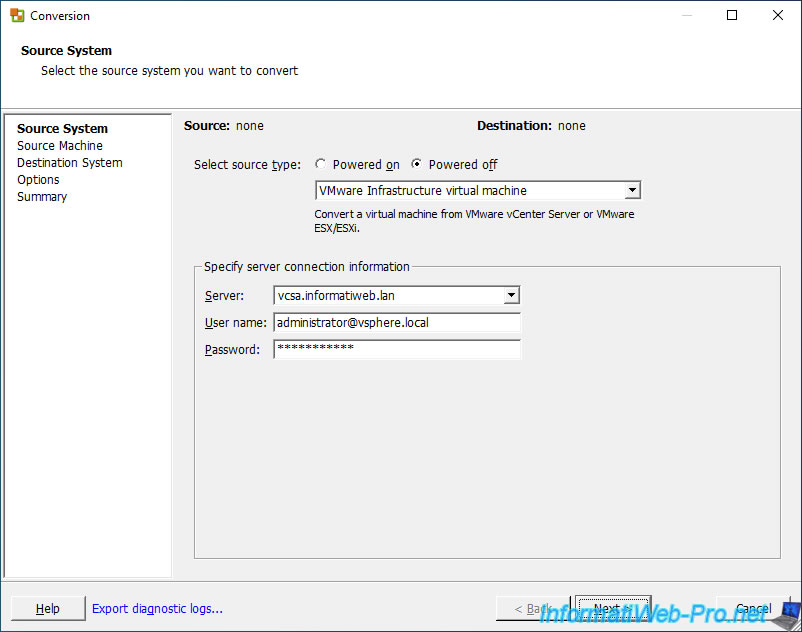
In the conversion wizard that appears, select "Select source type: Powered off", then: VMware Infrastructure virtual machine.
Next, provide your VMware vCenter Server connection information:
- Server: domain name or IP address of the VMware vCenter Server (or VCSA).
In our case: vcsa.informatiweb.lan. - User name: name of the user to use to connect to the VMware vCenter Server (or VCSA).
In our case: administrator@vsphere.local. - Password: his password.
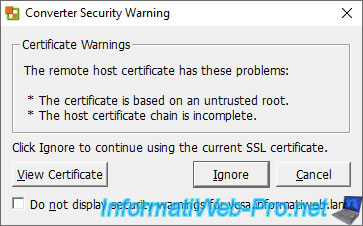
If your VMware vCenter Server SSL certificate (or VCSA) is invalid.
A "Converter Security Warning" window will appear.
In our case, this is due to the use of the self-signed SSL certificate installed by default on this server.
So, we ignored this warning.
However, in production, you should always use valid certificates so that you can be automatically notified when a server has been compromised or replaced by another.

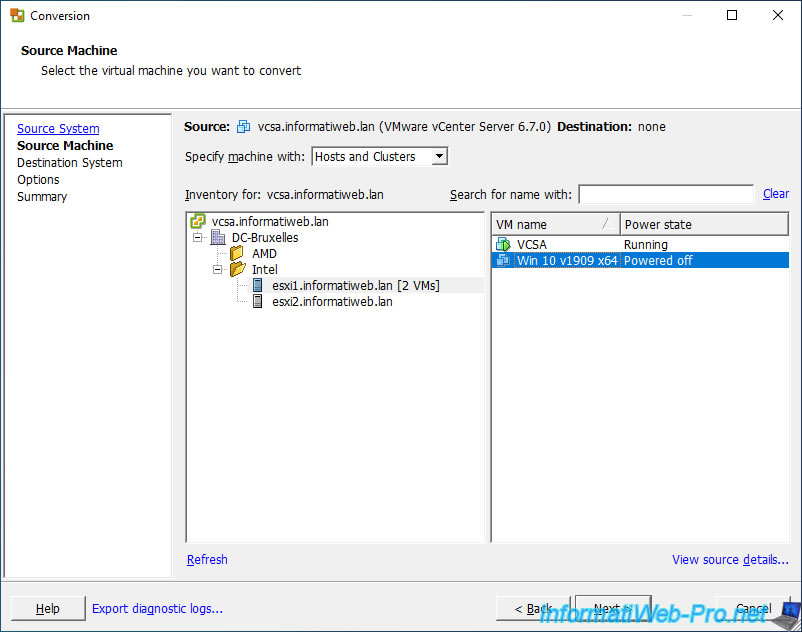
Select the VMware ESXi host (in the left column) where your virtual machine is located, then select it in the right column.
Then click "View source details" to get information about it (see next image) or click "Next" to go to the next step.
Note that above the 2 columns, you will be able to choose if you want to specify the source virtual machine using the tree structure:
- Hosts and Clusters
- VMs and Templates
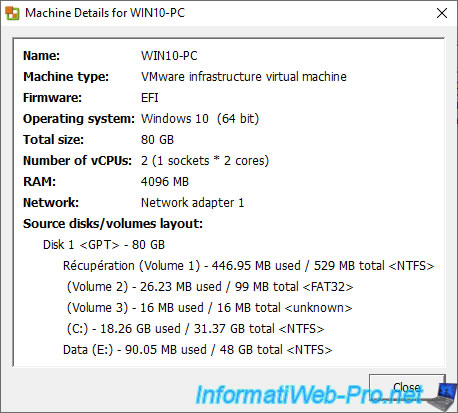
If you click on the "View source details" link located at the bottom right of the window (after selecting the desired virtual machine), a "Machine Details for [VM name]" window will be displayed with:
- Name: name defined in the operating system of the selected virtual machine. Such as its name NETBIOS, for example, when the guest operating system is a version of Windows.
- Machine type: type of source virtual machine.
In this case, "VMware infrastructure virtual machine" given that the source server is of type: VMware vCenter Server (or VCSA). - Firmware: indicates whether this virtual machine uses BIOS or EFI firmware.
- Operating system: the type of guest operating system installed in the selected virtual machine.
In our case: Windows 10 (64 bit). - Total size: total size of the virtual machine.
Note that the size indicated takes into account the maximum capacity of the virtual hard disks of the virtual machine concerned, even when the provisioning type used is "dynamic".
The actual size may therefore be more or less smaller than that indicated here depending on the amount of data present in its virtual hard disks. - Number of vCPUs: the number of virtual processors (sockets) and the number of virtual processor cores (cores) required for it. As well as the number of virtual cores which will be seen by this VM by multiplying the 2 values mentioned previously.
- RAM: quantity of random access memory (RAM) allocated to it.
- Network: the list of virtual network cards used by this one.
- Source disks/volumes layout: the list of virtual hard disks (Disk x), the type of partition table used (GPT / MBR), its maximum capacity, as well as the list of partitions found there.
For each partition, you will find its name, letter, size, maximum capacity and the file system used there.
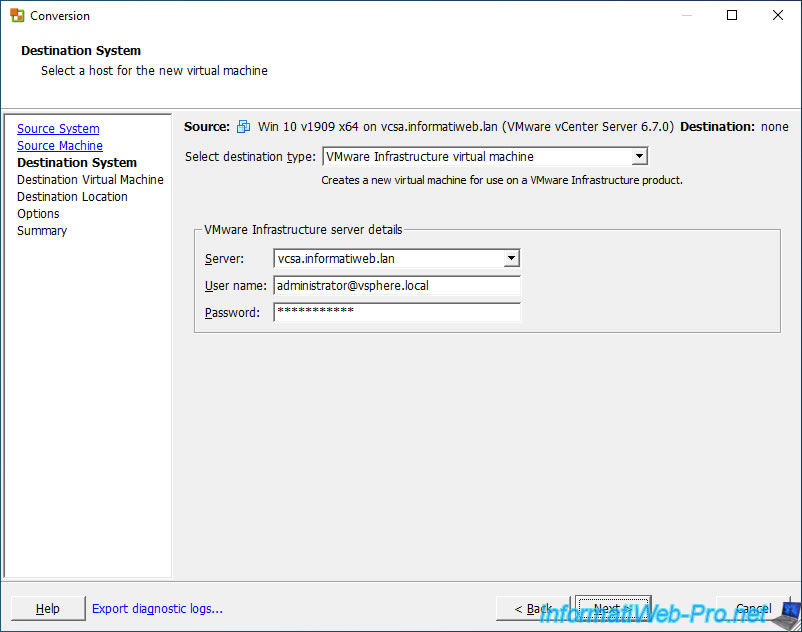
For the destination (Destination System), specify the same as before.
- Select destination type: VMware Infrastructure virtual machine.
- Server: name or IP address of the VMware vCenter Server.
- User name: name of the user to use to connect.
- Password: his password.
Again, a warning may appear if the certificate used on your VMware vCenter Server (or VCSA) is not valid or self-signed.
In our case it is self-signed, so we ignored this warning.
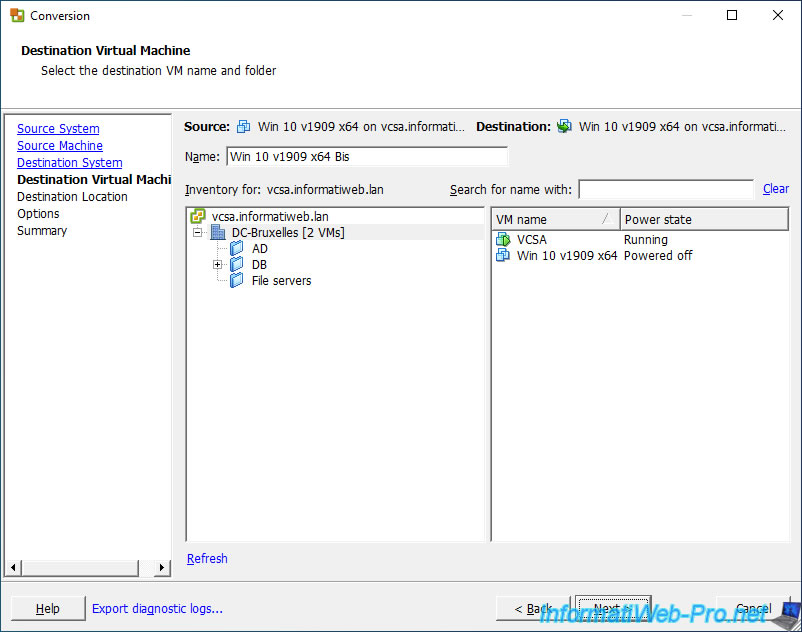
In the "Name" box (which is pre-populated with the name of the source virtual machine), provide the name of the destination virtual machine, as well as the location (data center or folder) where you want to create it. this.
Then, click on: Next.
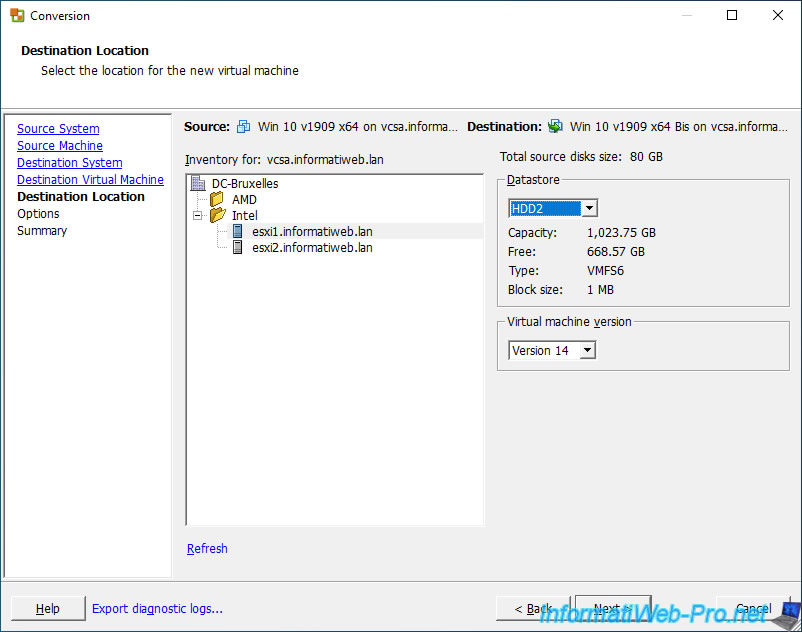
Select the destination VMware ESXi host, then the datastore where you want to store this new virtual machine.
And finally, you can change the version of virtual hardware to use (if you want). However, you should preferably use the version corresponding to the version of VMware ESXi you are using on the host selected here (or a lower version if this is not possible).
In our case, our host is under VMware ESXi 6.7.0 and version 14 of the virtual hardware corresponds well to this version of VMware ESXi.
Source : Virtual machine hardware versions.
Share this tutorial
To see also
-

VMware 5/15/2024
VMware vSphere 6.7 - Add a physical disk to host
-

VMware 9/27/2024
VMware vSphere 6.7 - Array integration APIs (VAAI)
-

VMware 9/6/2024
VMware vSphere 6.7 - Configure port binding (iSCSI traffic)
-

VMware 6/13/2024
VMware vSphere 6.7 - Configure Virtual Flash (SSD cache)
You must be logged in to post a comment