Secure access to VMware vCenter Server (VCSA) over HTTPS on VMware vSphere 6.7
- VMware
- 25 October 2024 at 11:03 UTC
-

- 3/7
5. Request a certificate from your certification authority on Windows Server
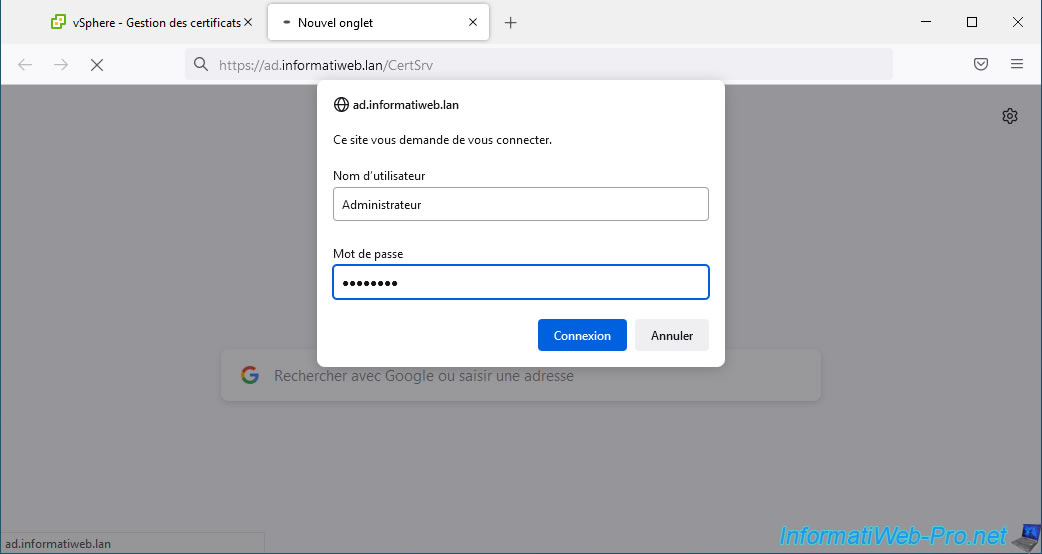
To submit the certificate request generated from your VMware vCenter Server (VCSA), you will need to connect to your certificate authority's web interface on Windows Server.
To do this, connect to the address "https://[domain name or IP address of the server where the Certification Authority role is installed]/CertSrv".
Which gives in our case "https://ad.informatiweb.lan/CertSrv".
Use the Administrator account for your domain which, by default, is allowed to enroll (generate) certificates using the certificate template created previously.
Otherwise, modify the certificate template created previously and add the desired user in the "Security" tab of it and add the "Read" and "Enroll" rights to it.
If this web interface is not available in your case, it is because the "Certificate Authority Enrollment via Web" role service of the "Active Directory Certificate Services" role is not installed in your case .
If so, install it and refer to the "Install the web interface of the certification authority" step of our tutorial on creating an enterprise root certificate authority (if necessary) .
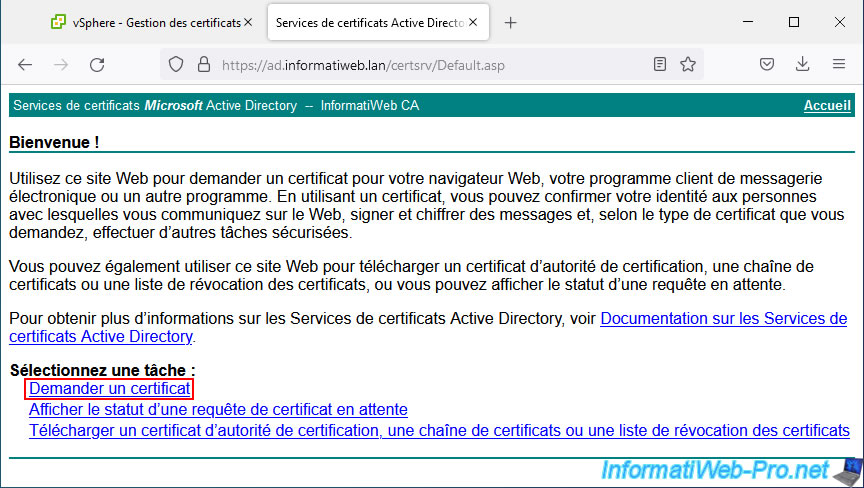
On the "Microsoft Active Directory Certificate Services - [name of your certificate authority]" web page that appears, click the "Request a certificate" link.
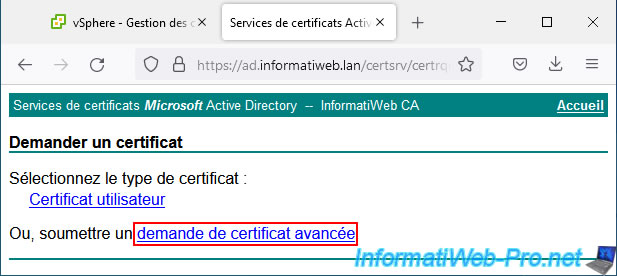
Then click: advanced certificate request.
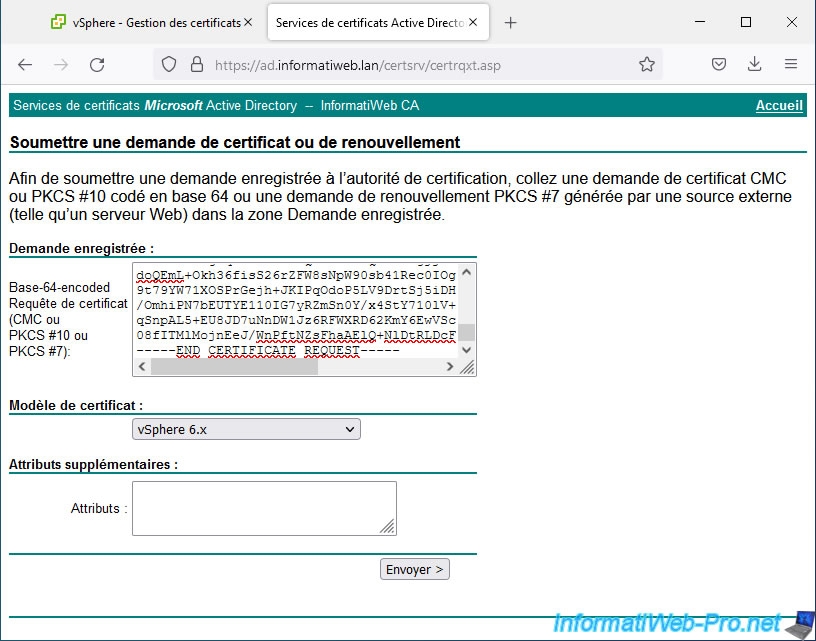
Paste the certificate request generated by your VMware vCenter Server (VCSA), select the "vSphere 6.x" certificate template created previously and click Submit.
Note: if this model does not appear in your case:
- verify that you have added the created "vSphere 6.x" certificate template to the list of certificate templates to issue
- in the "Security" tab of the created "vSphere 6.x" certificate template, verify that the user you used to connect to this web interface has at least "Read" and "Enroll" rights for this template of certificates
- In the "Compatibility" tab of the "vSphere 6.x" certificate template created on your certification authority, verify that the value selected for the "Certification Authority" option is at most "Windows Server 2008 R2".
- If you have multiple domain controllers in your infrastructure, this model may not yet have been replicated to the domain controller currently in use. If necessary, force the replication of data from your Active Directory infrastructure.
If the operation is successful, the message "Certificate issued" appears.
Select the "Base 64 encoded" option to obtain the certificate in PEM format and click on "Download certificate chain" to obtain the certificate issued for your VMware vCenter Server (VCSA), as well as all parent certificates (the or the various parent certification authorities) to comply with the prerequisites requested by VMware.
Indeed, if a certificate from the chain of trust is missing, the certificate will be considered invalid.
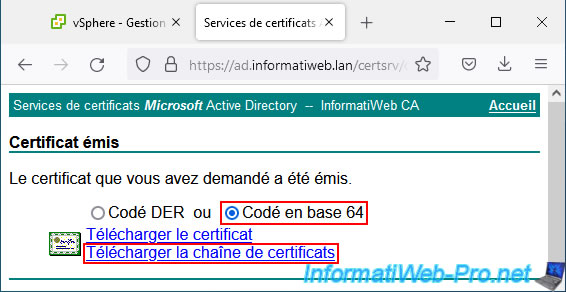
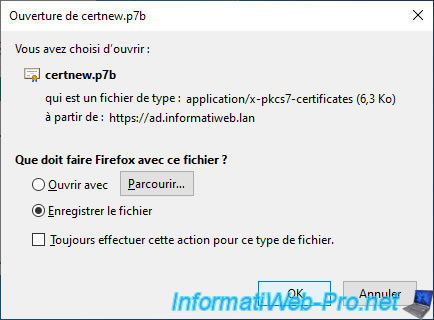
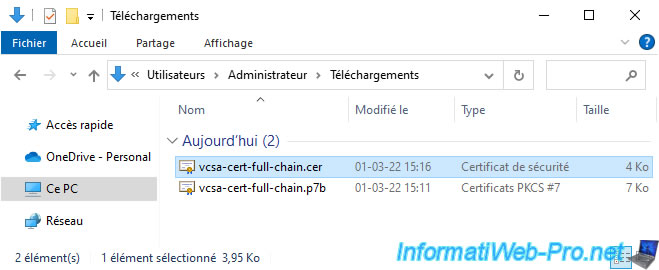
Your web browser will prompt you to download a certificate named: certnew.p7b.
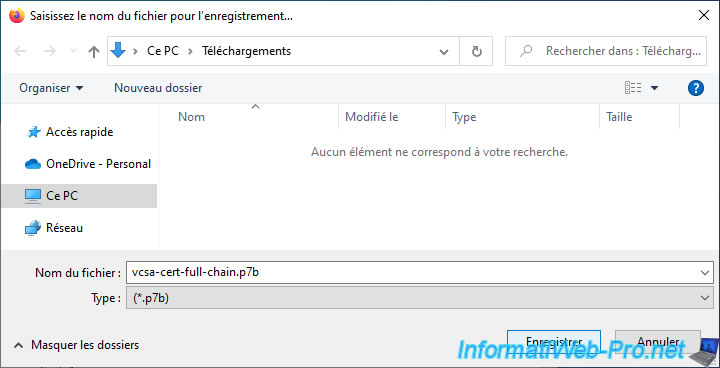
In our case, we saved it under the name: vcsa-cert-full-chain.p7b.
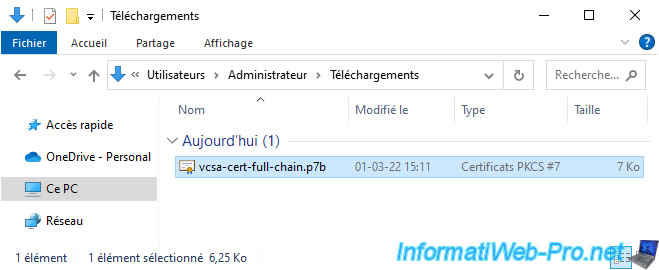
As you can see, Windows 10 recognizes that this is a PKCS #7 certificate.
If you double-click on this ".p7b" file, you will see that this file actually contains all the certificates from the chain of trust necessary to verify the validity of the downloaded certificate.
In our case, it contains 2 certificates:
- InformatiWeb CA: the certificate (without the private key) of our certification authority
- vcsa.informatiweb.lan: the certificate issued by our certification authority "InformatiWeb CA" for our server "vcsa.informatiweb.lan".
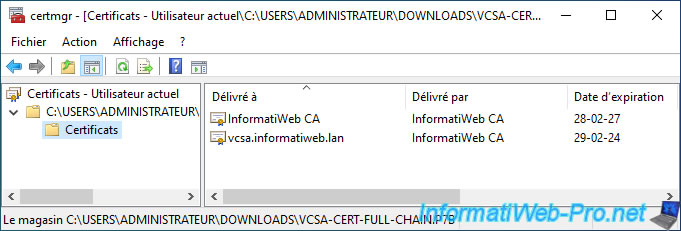
A little later in this tutorial, you will see that VMware vCenter Server expects a certificate chain in ".cer", ".pem" or ".crt" format.
You will therefore need to convert this ".p7b" file to ".cer" format.
To do this, download OpenSSL, unzip the downloaded file and copy the contents of the "bin" folder into the "C:\OpenSSL" folder that you need to create.
Next, open a command prompt and type this to convert the ".p7b" certificate to ".cer" format:
Batch
cd C:\OpenSSL
openssl pkcs7 -print_certs -in C:\Users\Administrator\Downloads\vcsa-cert-full-chain.p7b -out C:\Users\Administrator\Downloads\vcsa-cert-full-chain.cer
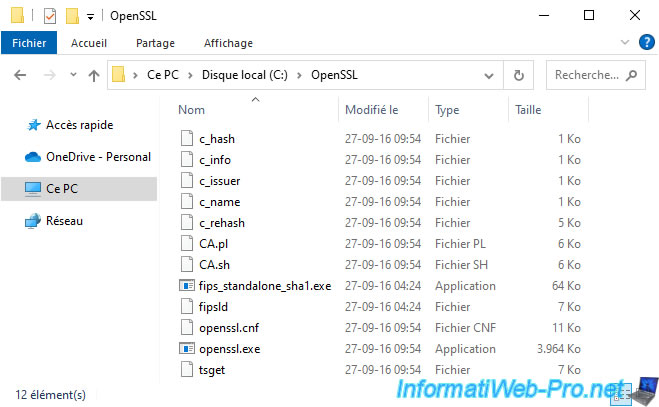
Once the OpenSSL command is executed, you will see a new certificate in ".cer" format appear next to the ".p7b" file.
6. Obtain the private key generated by your server when requesting certificate signing
When you generate the certificate signing request (CSR) from the web client "VMware vSphere Client" of your VMware vCenter Server, the private key is generated on the virtual hard disk of this server.
However, this web client does not provide a link to download it easily.
You will therefore need to activate the SSH protocol of your VMware vCenter Server (VCSA) and connect to it via PuTTY (for example) to obtain it from the command line.
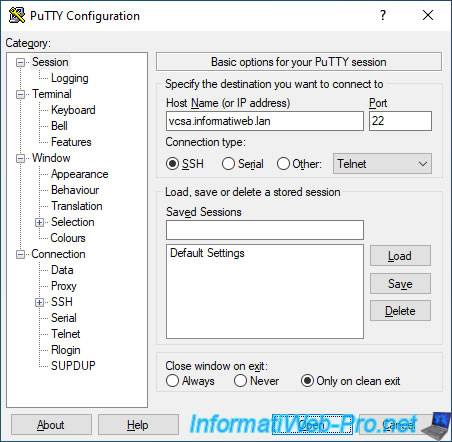
Log in as root and use the Linux shell by typing the "shell" command.
Indeed, by default, you are in the shell of the VCSA appliance and not the Linux BASH Shell.
Bash
shell
Then type the command:
Bash
/usr/lib/vmware-vmafd/bin/vecs-cli entry getkey --store MACHINE_SSL_CERT --alias __MACHINE_CSR
Note: If you have a VMware vCenter Server running Windows Server, simply replace "/usr/lib/vmware-vmafd/bin/vecs-cli" with "vecs-cli.exe" in the command above.
The program "vecs-cli.exe" is located in the folder "C:\Program Files\VMware\vCenter Server\vmafdd".
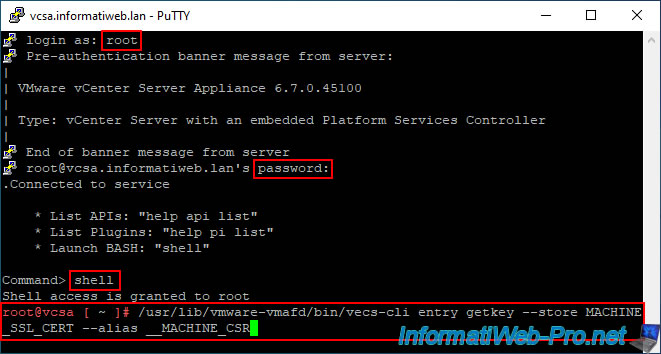
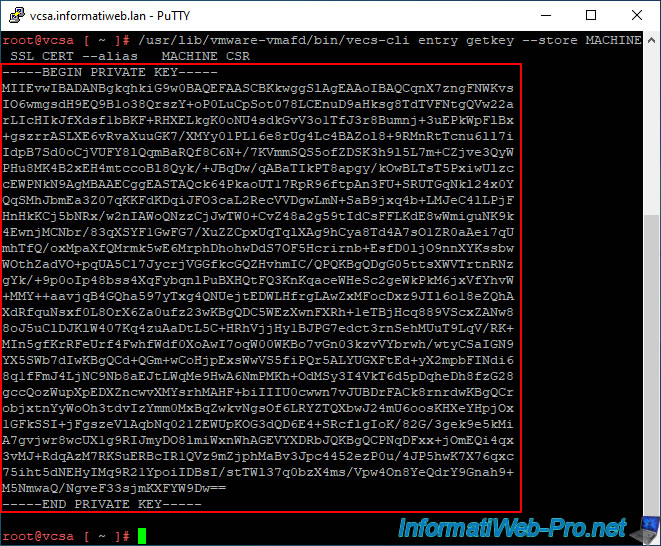
The private key you need appears.
Copy this text including the beginning "BEGIN PRIVATE KEY" line and the ending "END PRIVATE KEY" line.
Plain Text
-----BEGIN PRIVATE KEY-----
xxxxxxxxxxxxxxxxxxxxxxxxxxxx...
-----END PRIVATE KEY-----
Note: to copy this text with PuTTY, select the text (and leave it selected).
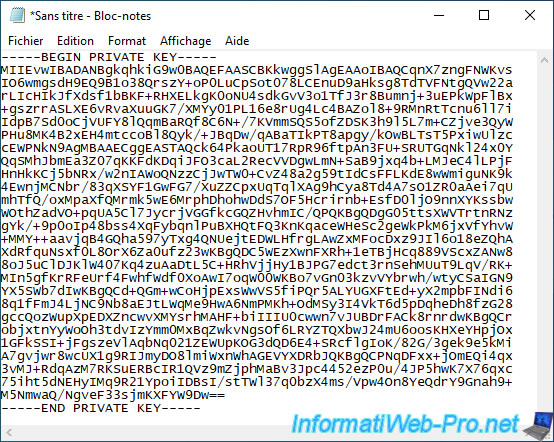
Then open notepad and paste the text (automatically copied when selecting this text in PuTTY).
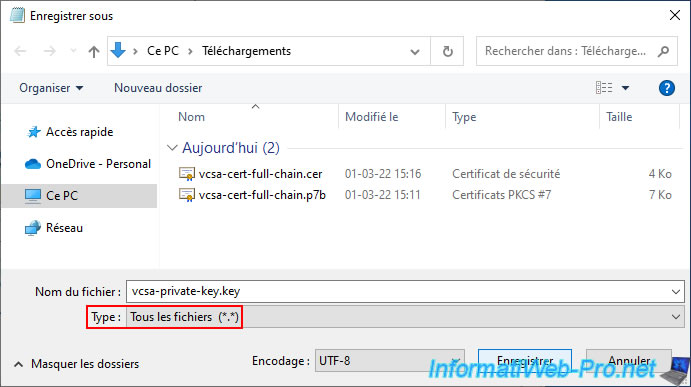
Save this text file under the name: vcsa-private-key.key.
Share this tutorial
To see also
-
VMware 3/13/2024
VMware ESXi 6.7 - Synchronize the clock of ESXi hosts from a time server (NTP)
-
VMware 3/8/2024
VMware ESXi 6.7 - Synchronize the clock of VCSA from a time server (NTP)
-
VMware 7/31/2024
VMware vSphere 6.7 - Add an Active Directory identity source
-
VMware 5/22/2024
VMware vSphere 6.7 - Change default console

No comment