Secure access to VMware vCenter Server (VCSA) over HTTPS on VMware vSphere 6.7
- VMware
- 25 October 2024 at 11:03 UTC
-

- 2/7

3. Create a certificate template for the VMware vCenter Server machine certificate
To generate certificates suitable for VMware vCenter Server, you will need to create a new certificate template on your certificate authority on Windows Server.
To do this, open the "Certification Authority" console on your server on Windows Server and right-click "Manage" on "Certificate Templates".
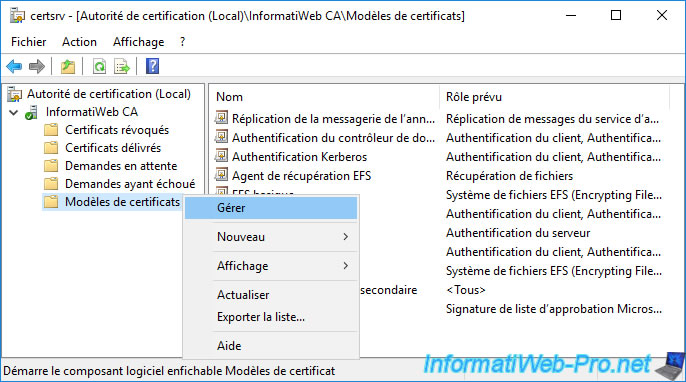
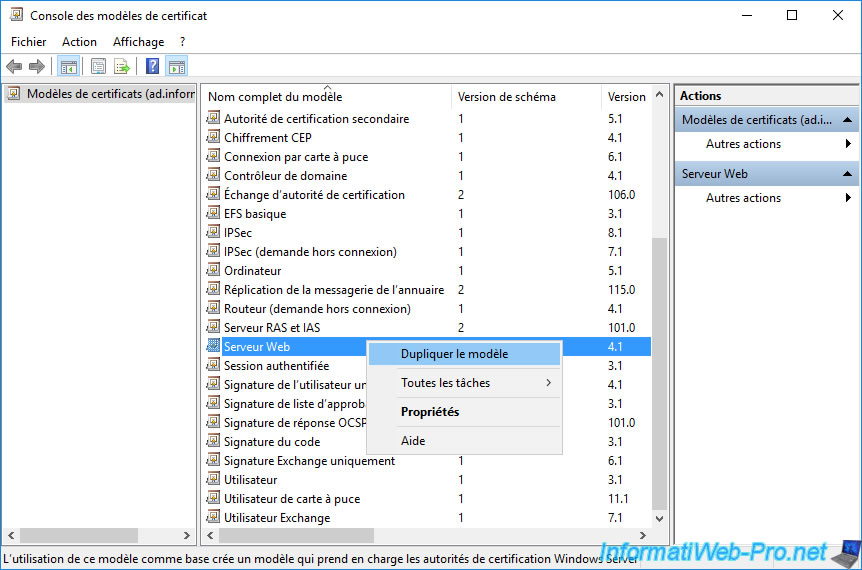
To get started, duplicate the "Web Server" template.
Source : Creating a Microsoft Certificate Authority Template for SSL certificate creation in vSphere.
In the "Properties of New Template" window that appears, go to the "Compatibility" tab.
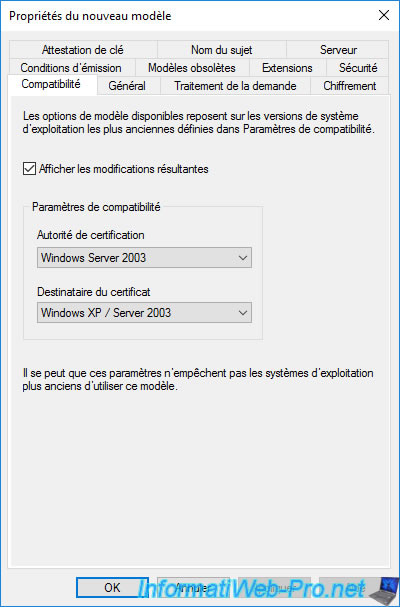
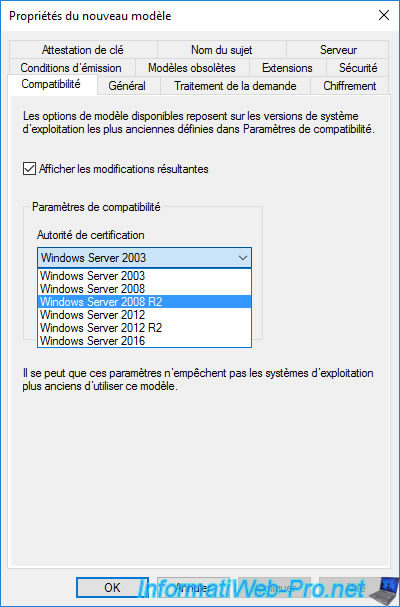
For the "Certification Authority" option, select "Windows Server 2008 R2" at most.
Otherwise, a new version 4 certificate template will be created. Which means that it will not be available in the web interface of your certification authority on Windows Server.
Source : Windows Server 2012: Certificate Template Versions and Options.
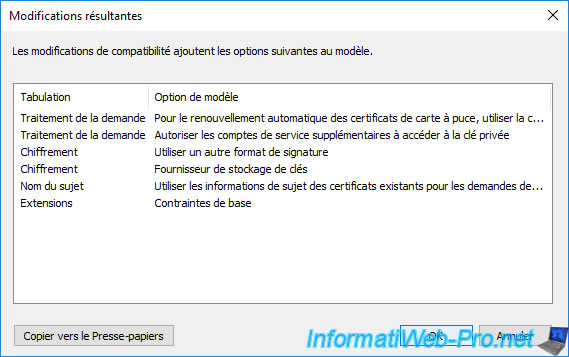
A "Resulting changes" window appears following the modification of the "Certification Authority" compatibility.
Click OK.
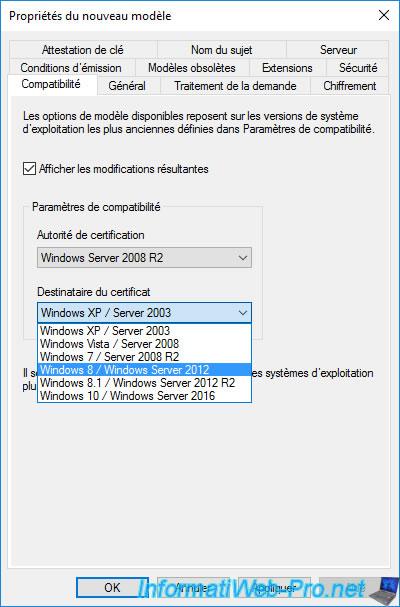
Then, for the certificate recipient, select "Windows 8 / Windows Server 2012".
Note: this supports an encryption algorithm higher than SHA1. Which should be the case for you since SHA1 causes a warning to be displayed with Microsoft's "Edge" web browser.
Indeed, Edge considers the SHA1 algorithm to be weak.
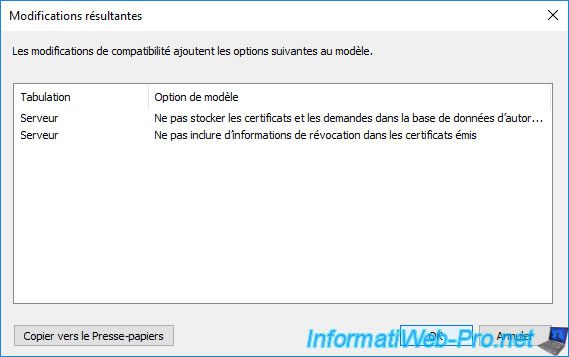
Again, a "Resulting Changes" window appears.
Click OK.
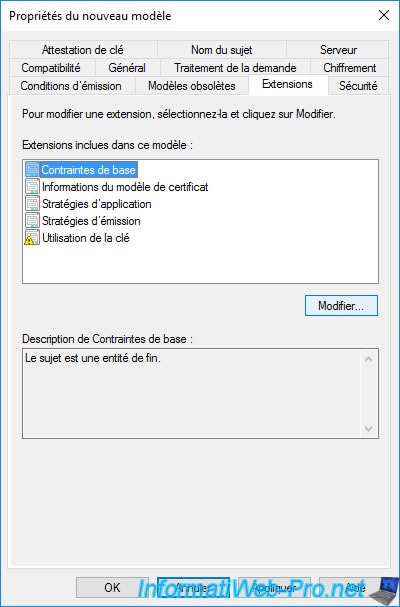
Note: as you can see, the "Base Constraints" extension will be added to this template.
Which is one of the prerequisites described by VMware for the certificate template to create.
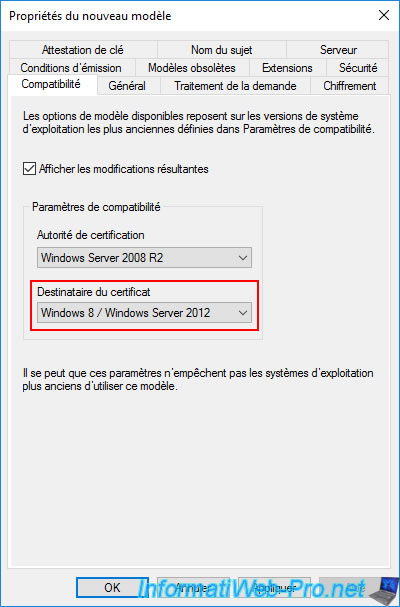
Once you make these changes, you should get this.
Note that the most important thing is that the recipient of the certificate is: Windows 8 / Windows Server 2012.
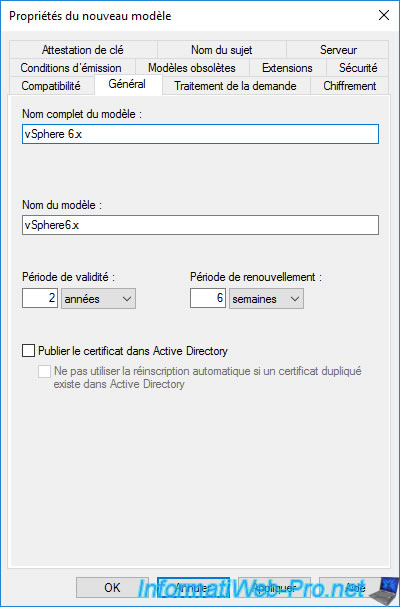
In the "General" tab, specify "vSphere 6.x" as the full template name.
Which will also change the template name to "vSphere6.x" (in other words, the same thing without the spaces).
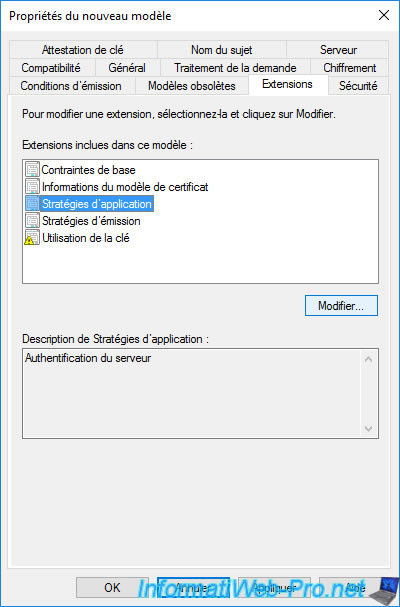
In the "Extensions" tab, select "Application Policies" and click "Edit".
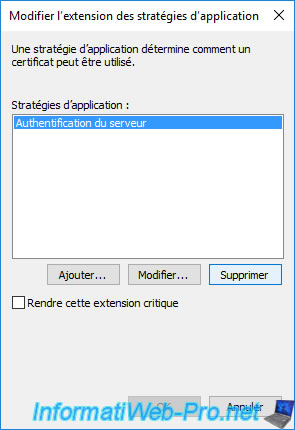
In the "Edit Application Policies Extension" window, remove the "Server Authentication" application policy that is currently present.
If applicable, also remove client authentication if it is also present.
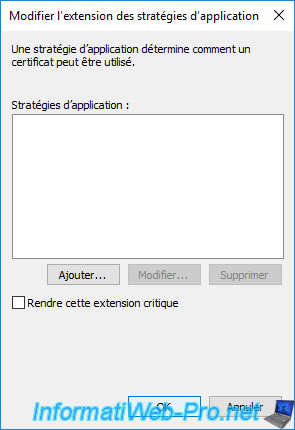
Then click OK to close this window.
In this "Extensions" tab, this time select "Basic Constraints" and click on "Edit".
In the "Edit Base Constraint Extension" window, check the "Enable this extension" box and click OK.

This time, select "Key Usage" and click "Edit."
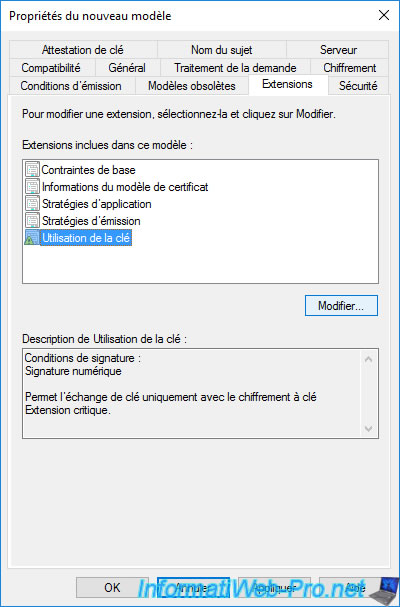
In the "Edit Key Usage Extensions" window that appears, check the "Signature is proof of origin (nonrepudiation)" box and click OK.
Note: leave the other options as default.

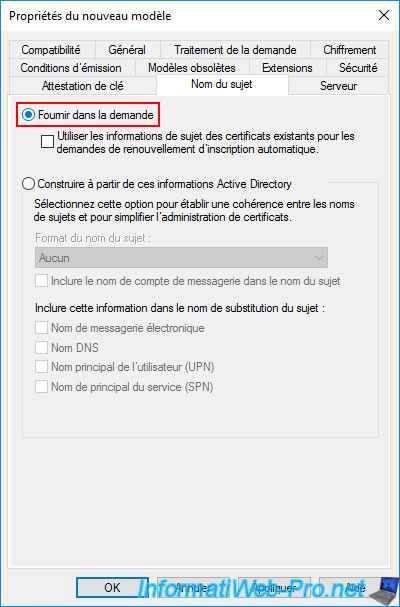
Finally, in the "Subject Name" tab, verify that the "Supply in the request" option is selected and click OK.
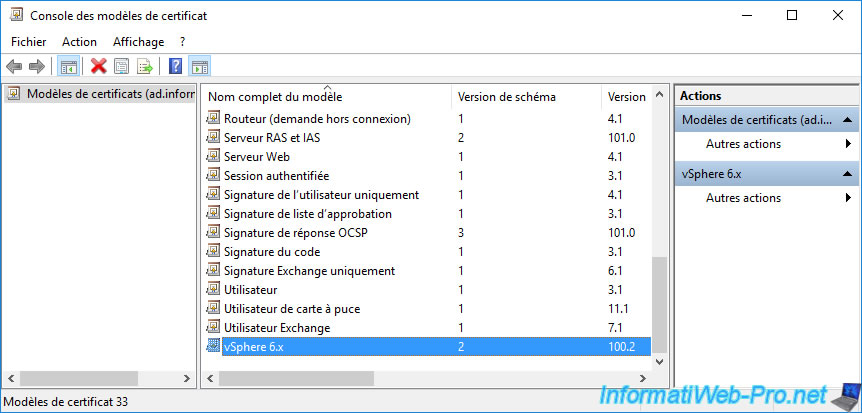
The new "vSphere 6.x" certificate template created appears in the complete list of certificate templates.
For this new template to be usable, you must first right-click "New -> Certificate Template to Issue" on "Certificate Templates".
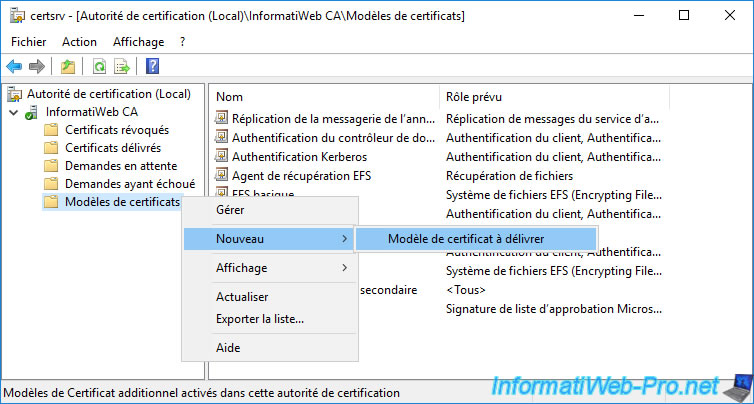
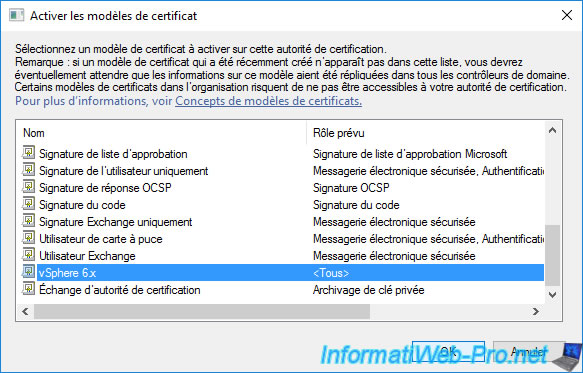
Select the "vSphere 6.x" certificate template from the list and click OK.
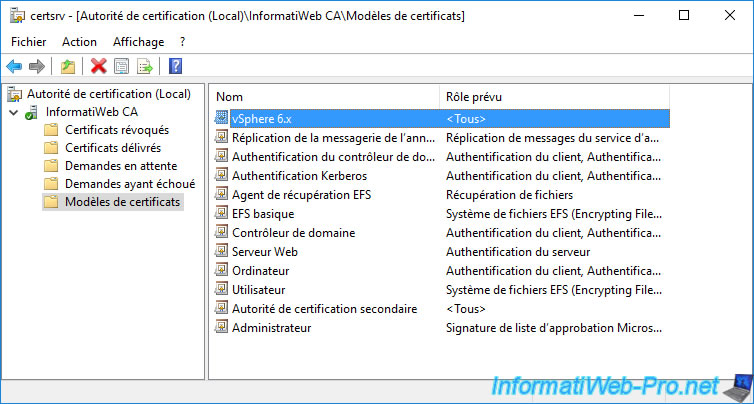
This new "vSphere 6.x" certificate template appears in the "Certificate Templates" folder.
4. Create the certificate request for the VMware vCenter Server machine certificate (VCSA)
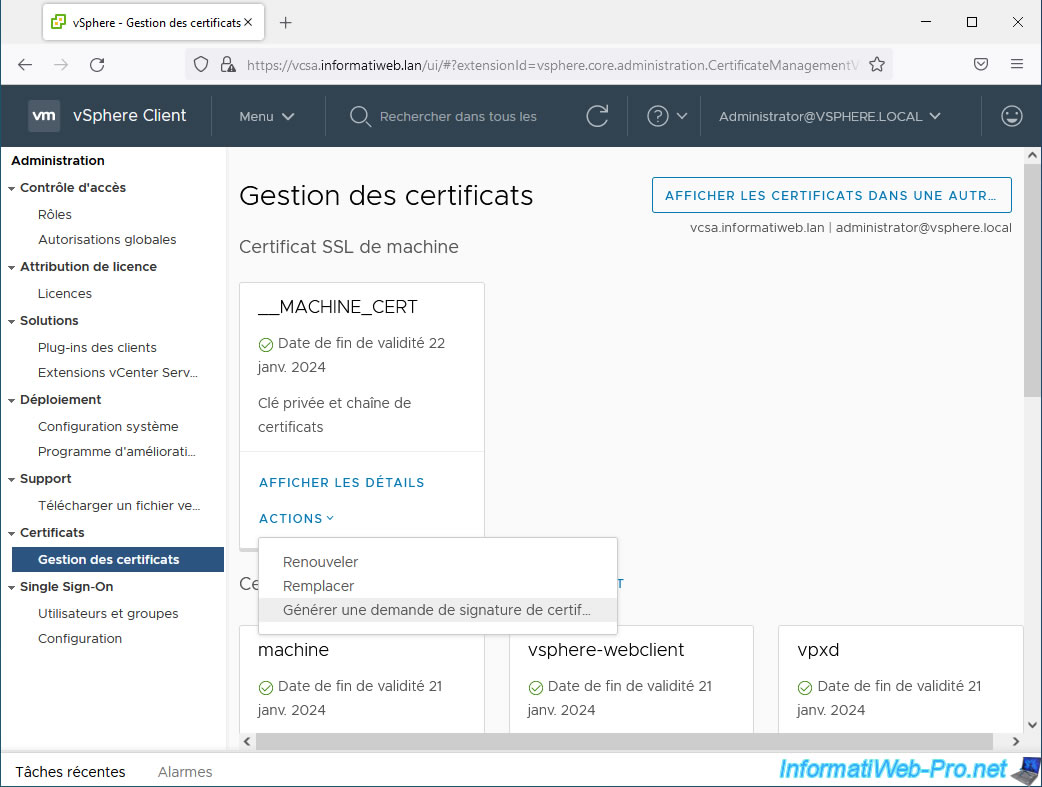
To obtain a valid SSL certificate for your VMware vCenter Server (VCSA), you must first create a certificate signing request (CSR).
To do this, in the "Machine SSL Certificate" section, click on the "Actions -> Generate Certificate Signing Request (CSR)" link for the "__MACHINE_CERT" certificate.
A "Generate CSR" window appears.
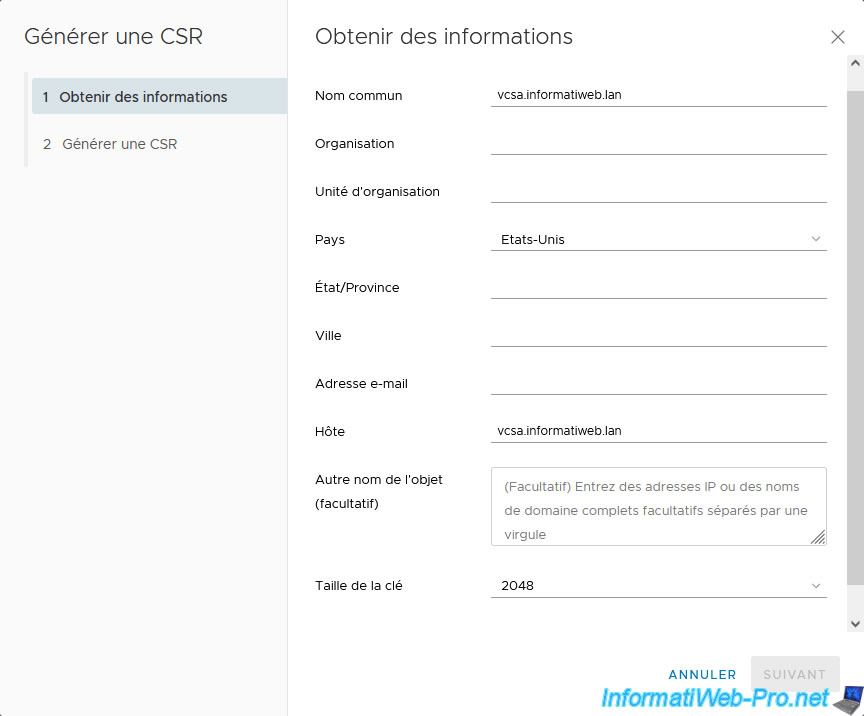
Fill in the different fields offered:
- Common name: domain name (FQDN) of your VMware vCenter Server (VCSA)
- Organization: name of your company
- Organizational Unit: whatever you want.
In our case: VMware vSphere. - Country: your country
- State/Province: state/province where your business is located
- Locality: city where your business is located
- Email Address: email address where visitors can contact you if necessary (useful if there is a problem with the certificate, for example)
- Host: domain name (FQDN) of your VMware vCenter Server (VCSA)
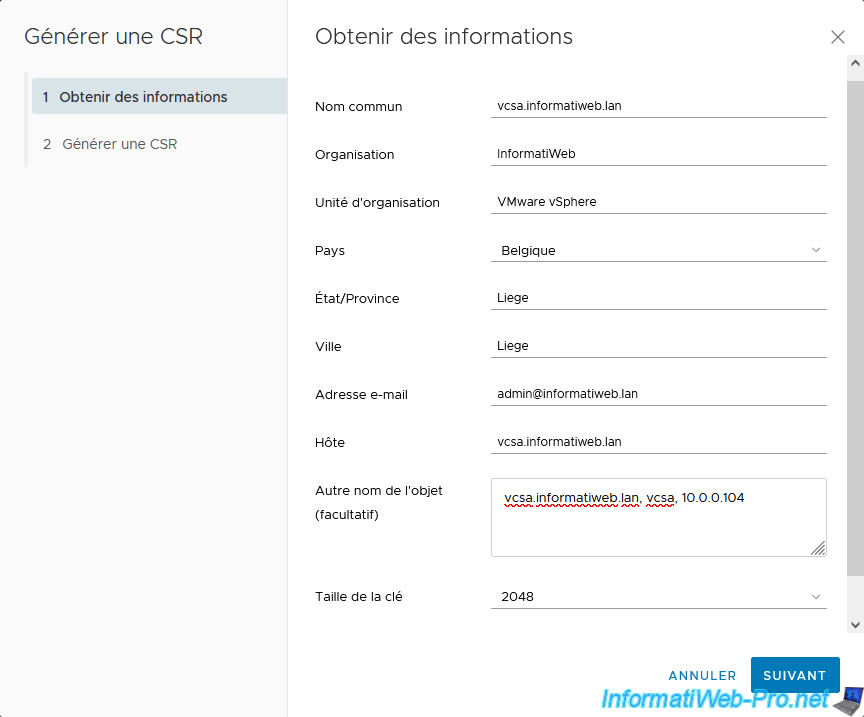
- Subject Alternative Name: the fully qualified domain name (FQDN) of your VMware vCenter Server (VCSA) first to prevent Mozilla Firefox from displaying a warning to you when this domain name is already present as as common name.
Then, you can also indicate its short name, as well as its IP address. The different values must be separated by commas.
This way, the certificate will be considered valid by your web browser whether you use the FQDN, short name, or IP address of your VMware vCenter Server (VCSA) in its address bar.
In our case, this gives: vcsa.informatiweb.lan, vcsa, 10.0.0.104. - Key Size: leave the size shown as default. In summary, the higher the size, the more secure the connection. But, the higher the size, the more processor will be required for encryption (securing) the HTTPS connection.
Important : the fully qualified domain name (FQDN) of your VCSA server must be entered in the "Host" field (which corresponds to the "Common Name" field of the certificate that will be generated via this certificate request), and also as the first value in the "Subject Alternative Name" field (which corresponds to the "Alternative name" field of the DNS type in the certificate).
If you do not include the fully qualified domain name (FQDN) of your VCSA server in the "Subject Alternative Name" field, recent web browsers will consider your certificate invalid.
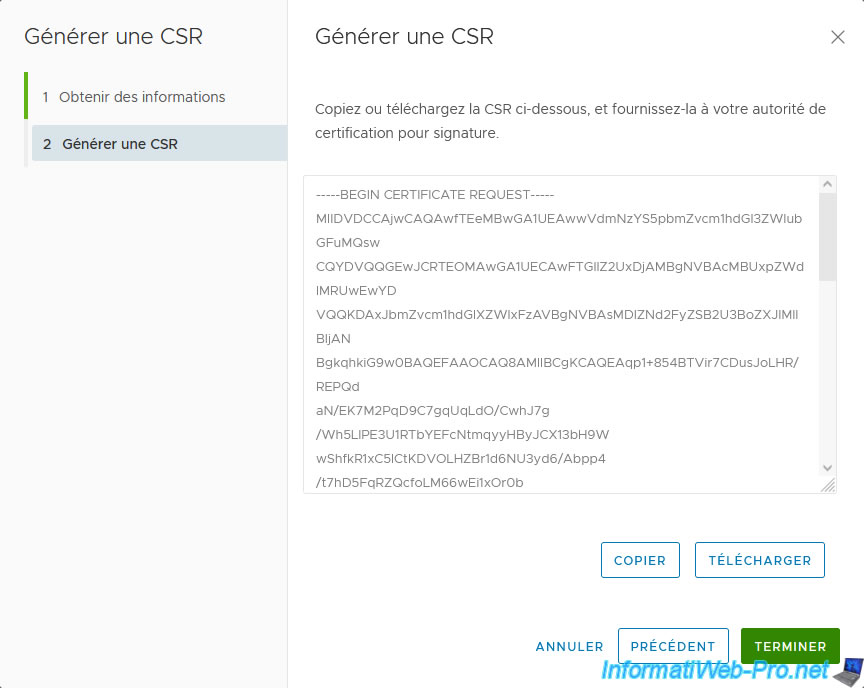
Once you have provided the information, click Next.
Note: if necessary, refer to the prerequisites indicated by VMware: Replace Machine SSL Certificate with Custom Certificate.
The certificate request to submit to your certification authority on Windows Server appears.
Plain Text
-----BEGIN CERTIFICATE REQUEST-----
xxxxxxxxxxxxxxxxxxxxxxxxxxxxxxxxxxxxxx....
-----END CERTIFICATE REQUEST-----
Share this tutorial
To see also
-
VMware 3/13/2024
VMware ESXi 6.7 - Synchronize the clock of ESXi hosts from a time server (NTP)
-
VMware 3/8/2024
VMware ESXi 6.7 - Synchronize the clock of VCSA from a time server (NTP)
-
VMware 7/31/2024
VMware vSphere 6.7 - Add an Active Directory identity source
-
VMware 5/22/2024
VMware vSphere 6.7 - Change default console
No comment