Monitor vCenter Server (VCSA) and ESXi hosts on a vDS switch using SNMP on VMware vSphere 6.7
- VMware
- 31 January 2025 at 12:25 UTC
-

- 2/3

5. Configure ManageEngine OpManager
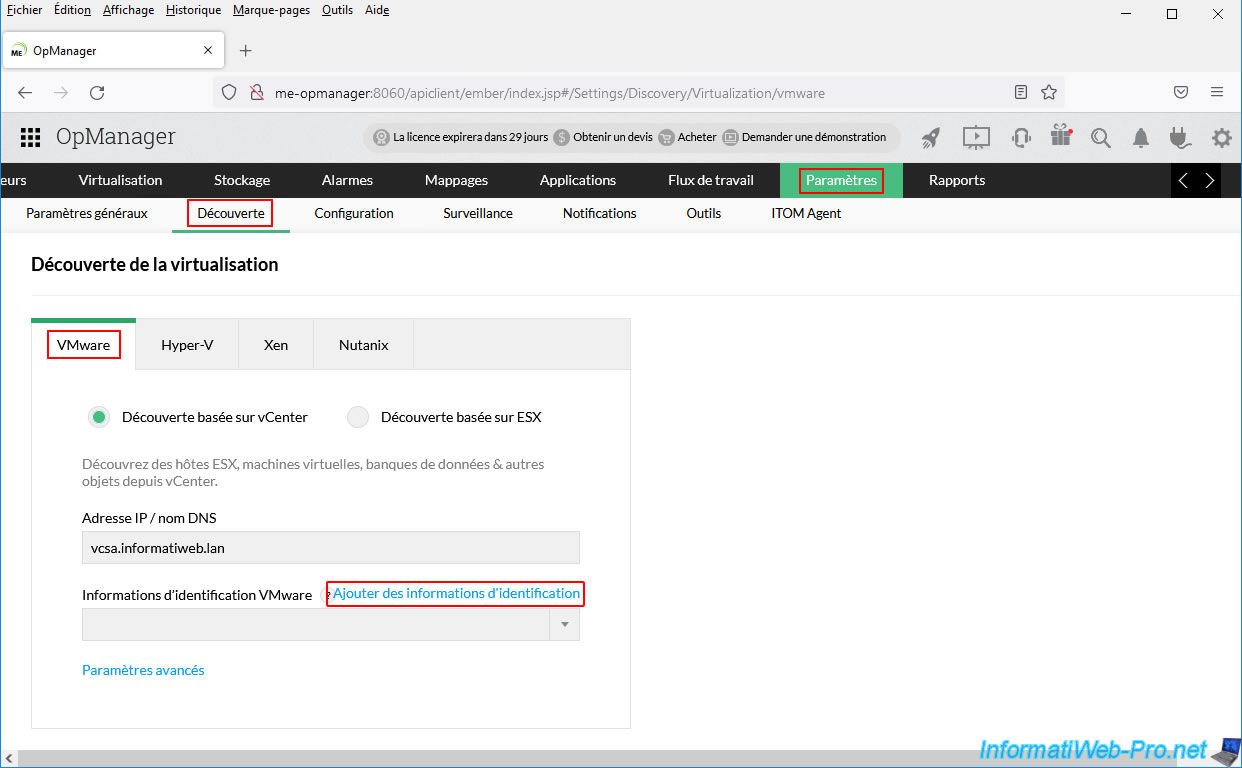
Once logged in as admin on OpManager, go to: Settings -> Discovery -> Virtualization Discovery -> VMware.
Provide the IP address or domain name of your VMware vCenter Server Appliance (VCSA) server and click "Add Credentials" to add the VMware credentials requested here.
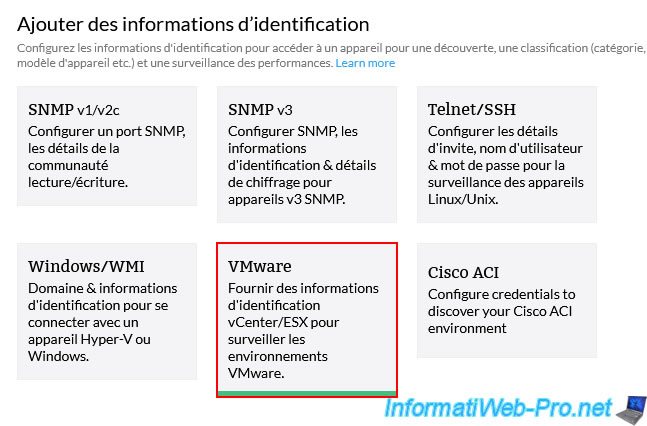
In the "Add Credential" window that appears, click: VMware.
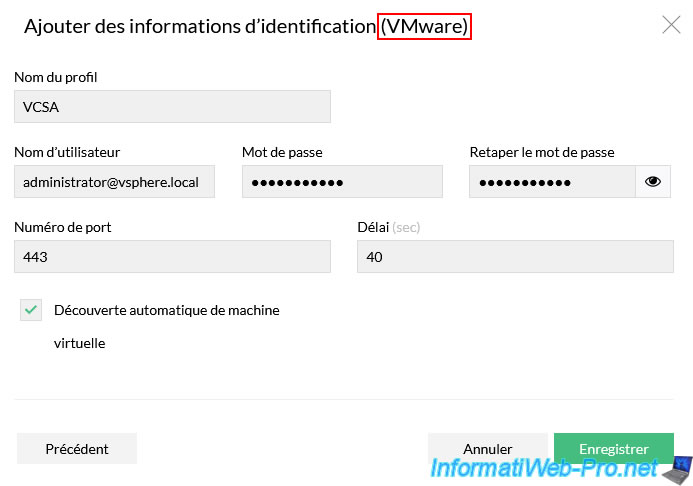
In the "Add Credential (VMware)" form that appears, provide:
- Profile Name: VCSA (or whatever you want).
- User Name: the name of a user on your VMware vCenter Server (VCSA) who has at least read permissions so that OpManager can view information about your VMware virtual infrastructure.
In our case, we will use the "administrator@vsphere.local" account created by default. - Password / Retype Password: the password of this user.
- Port Number: 443 by default = HTTPS.
- Time Out: 40 seconds by default.
- Auto VM Discovery: allows you to automatically discover new virtual machines that would be created under vCenter Server.
Then click: Save.
In the "VMware Credential" list, select the "VCSA" profile you just created.
Then, click on the link: Advanced Settings.
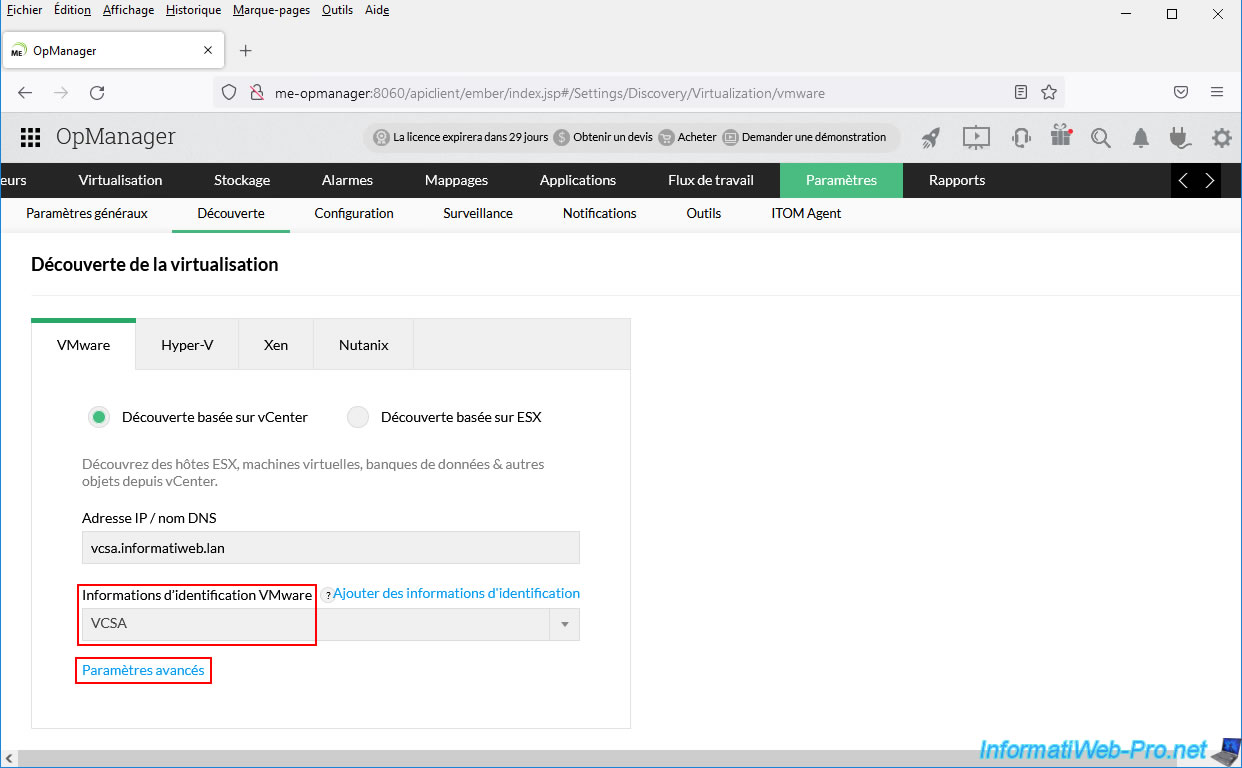
As you can see, in the advanced settings you can add credentials for different protocols (including: SNMP) to get additional information about your vCenter Server (VCSA).
In the case of VMware vCenter Server Appliance (VCSA), you have the option of using the "SNMP" (Simple Network Management Protocol) protocol that you previously enabled on your vCenter Server and on your VMware ESXi hosts linked to it.
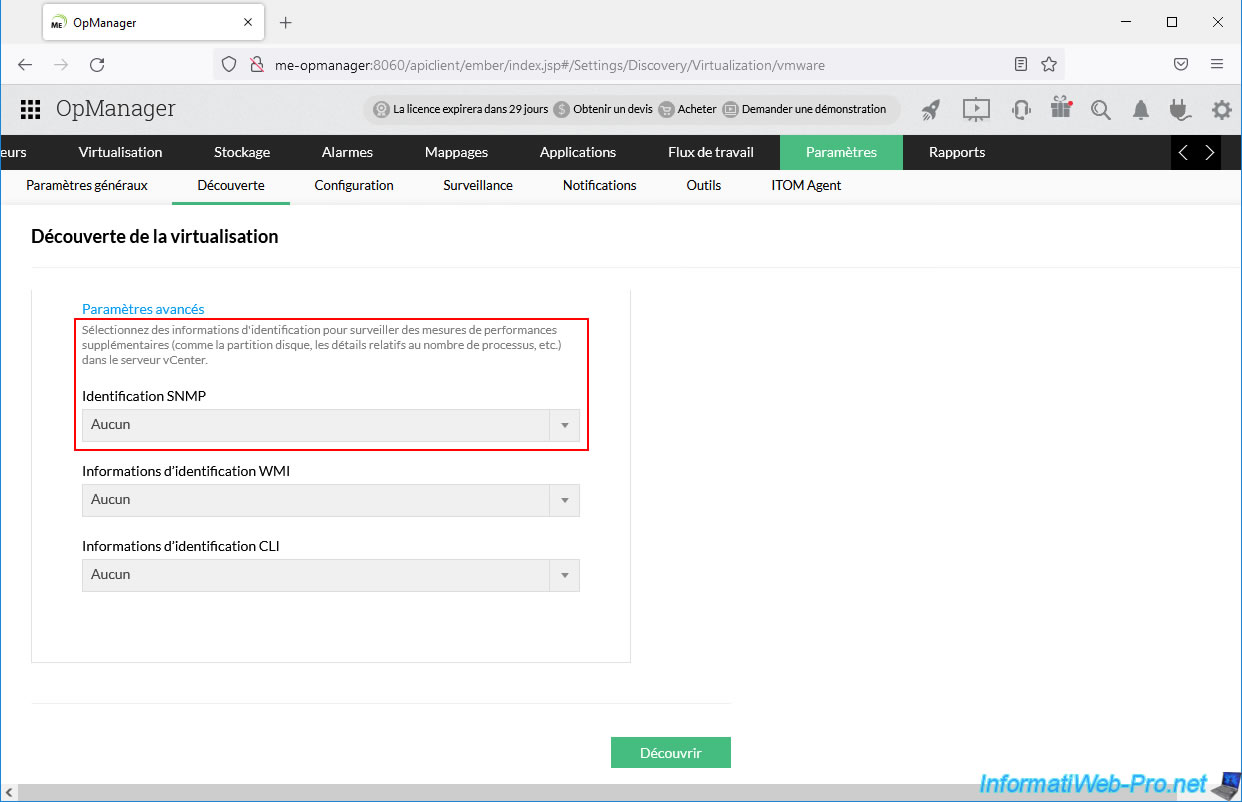
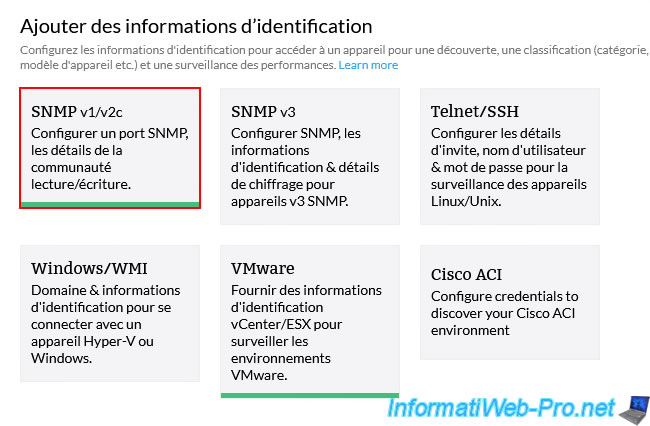
To add the necessary SNMP credentials, click the "Add Credentials" link again.

This time, click on: SNMP v1/v2c.
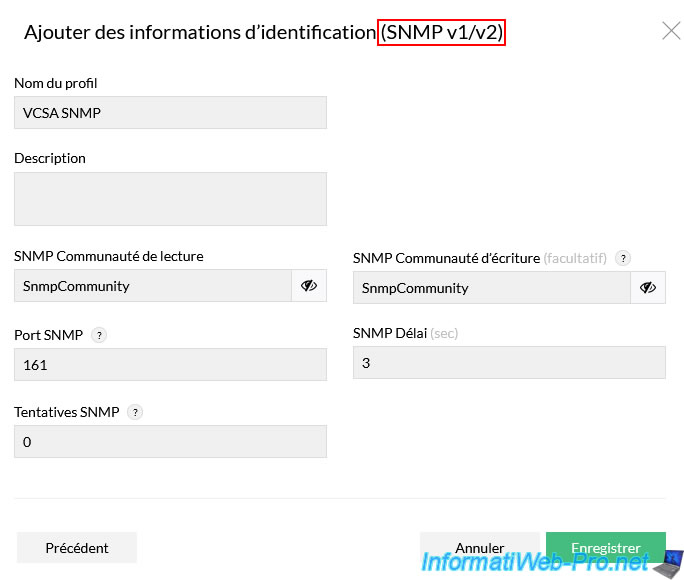
In the "Add Credential (SNMP v1/v2c)" form that appears, indicate:
- Profile Name: VCSA SNMP.
- Description: whatever you want or leave blank.
- SNMP Read Community: the name of the SNMP community previously configured on your VCSA server.
In our case: SnmpCommunity. - SNMP Write Community: re-specify the SNMP community configured on your VCSA server ONLY if you also want to allow writing via SNMP.
- SNMP Port: the default port for SNMP is 161.
- SNMP Time Out: the default delay is 3 seconds.
- SNMP Retries: number of additional attempts that can be made for each SNMP request.
If you leave the default value "0", each SNMP request will be performed only once and no further attempts will be made.
Then, click Save.
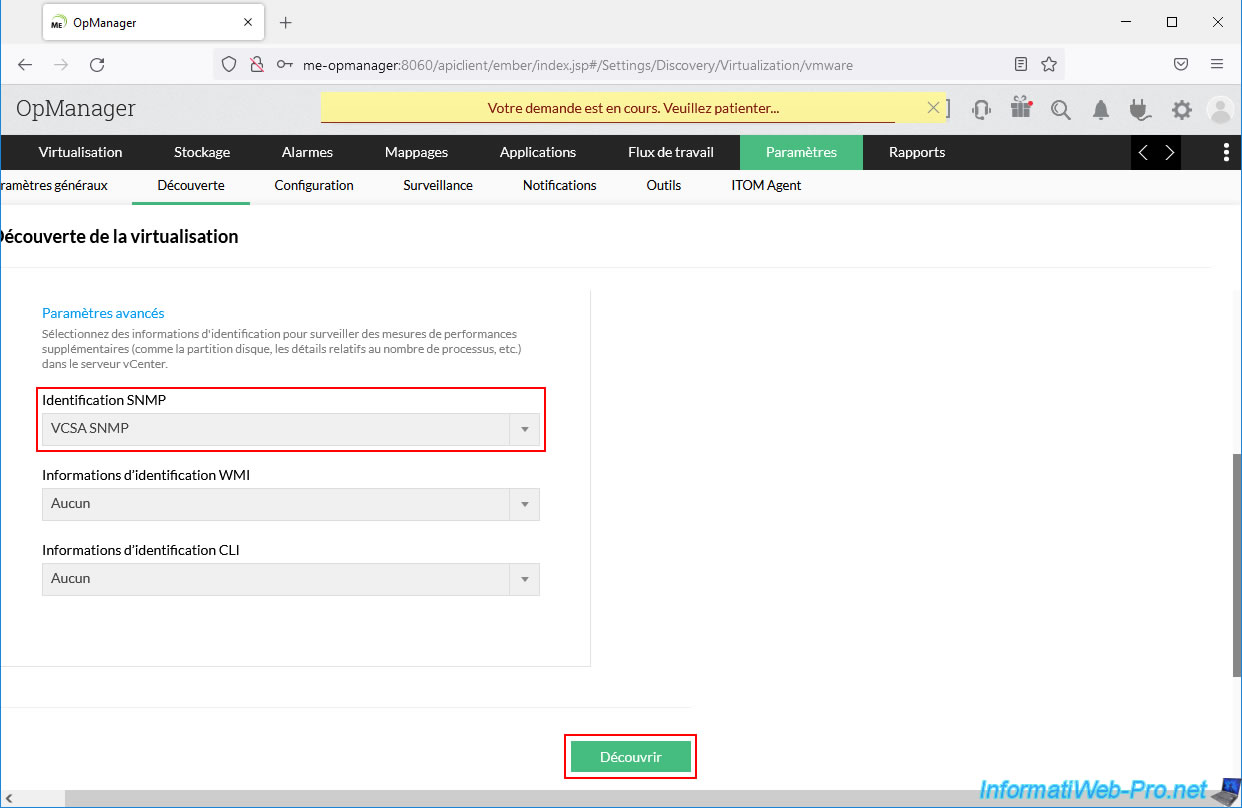
In the "SNMP Credential" list, select the new "VCSA SNMP" profile that you have just created, then click on: Discover.
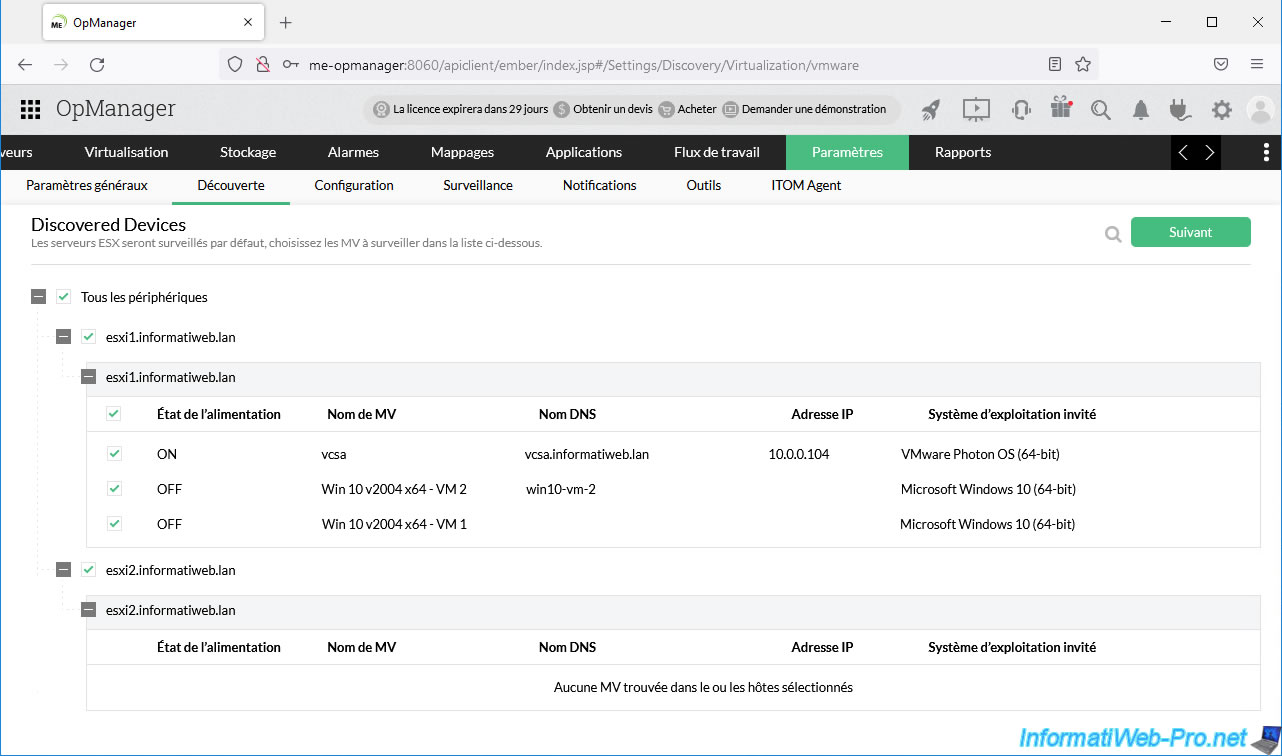
The VMware ESXi hosts linked to your VMware vCenter Server Appliance (VCSA) server appear, along with the virtual machines on them.
In our case, we correctly see our 2 VMware ESXi hosts (esxi1 and esxi2), as well as the 2 Windows 10 virtual machines and the VM corresponding to VCSA present on our host "esxi1".
By default, everything will be monitored by OpManager since all boxes are checked by default.
Click Next.
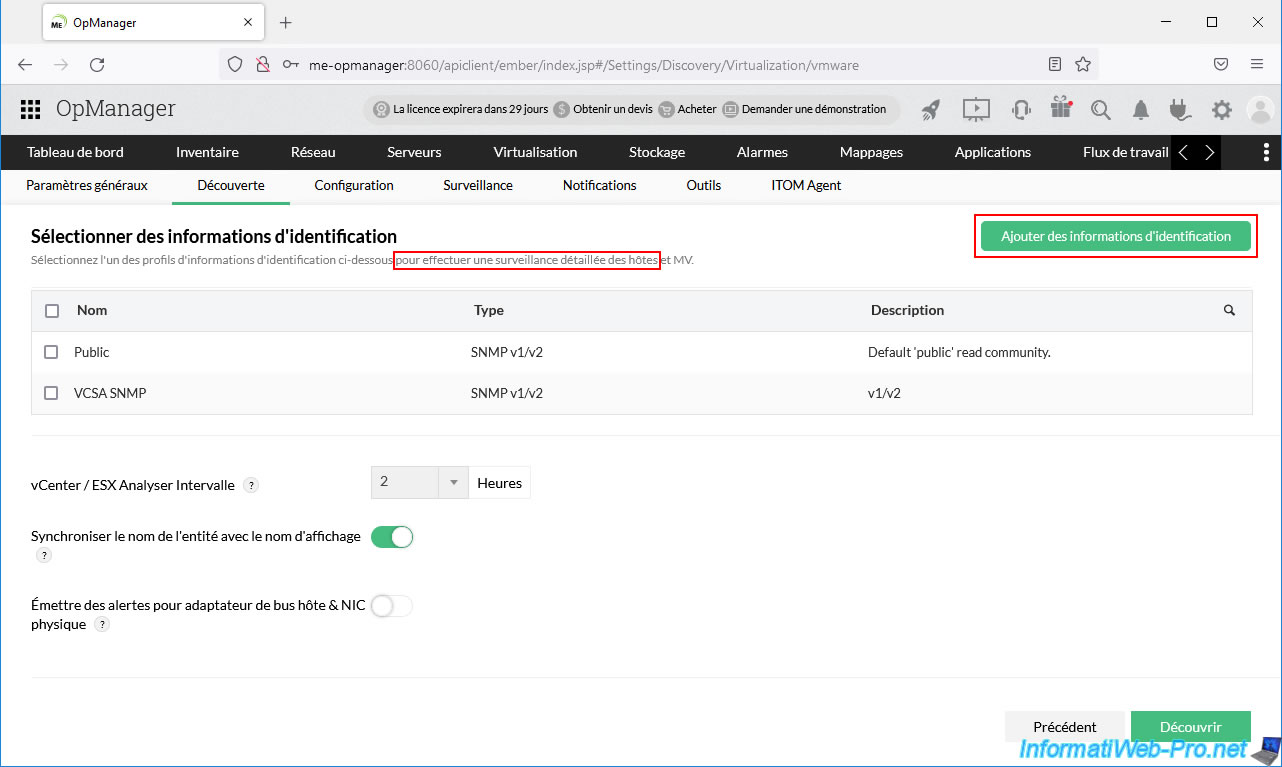
OpManager asks you for credentials again and offers you the SNMP credentials it already knows.
If you look at the gray line, you'll notice that it asks you for these SNMP credentials to perform detailed monitoring of hosts and virtual machines (VMs).
So you need to click "Add Credential" to add the SNMP credentials corresponding to the SNMP configuration of your VMware ESXi hosts.
In the "Add Credential" window that appears, click: SNMP v1/v2c.
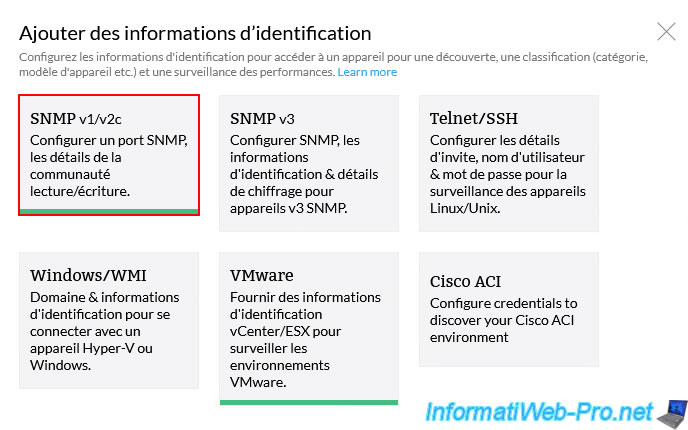
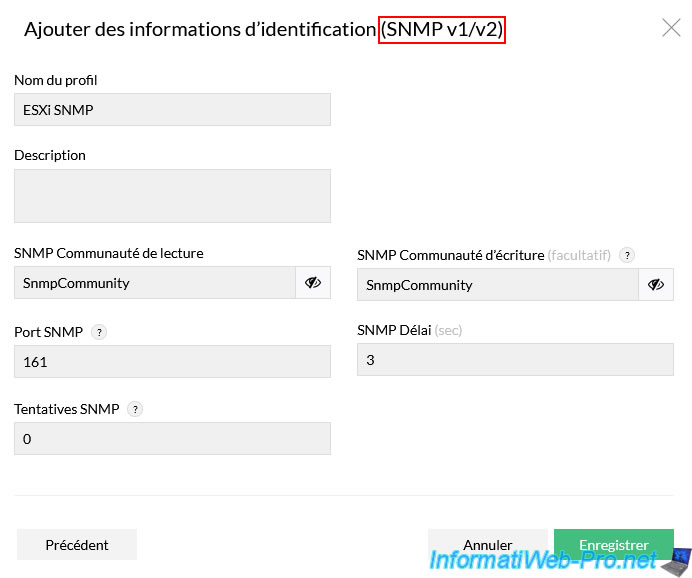
An "Add Credential (SNMP v1/v2)" form appears.
This time, specify "ESXi SNMP" as the profile name and provide the SNMP community name that you configured on your VMware ESXi hosts.
In our case we used the same SNMP community name "SnmpCommunity" and we allow reading and writing.
Select the new "ESXi SNMP" profile that you have just created and click on: Discover.
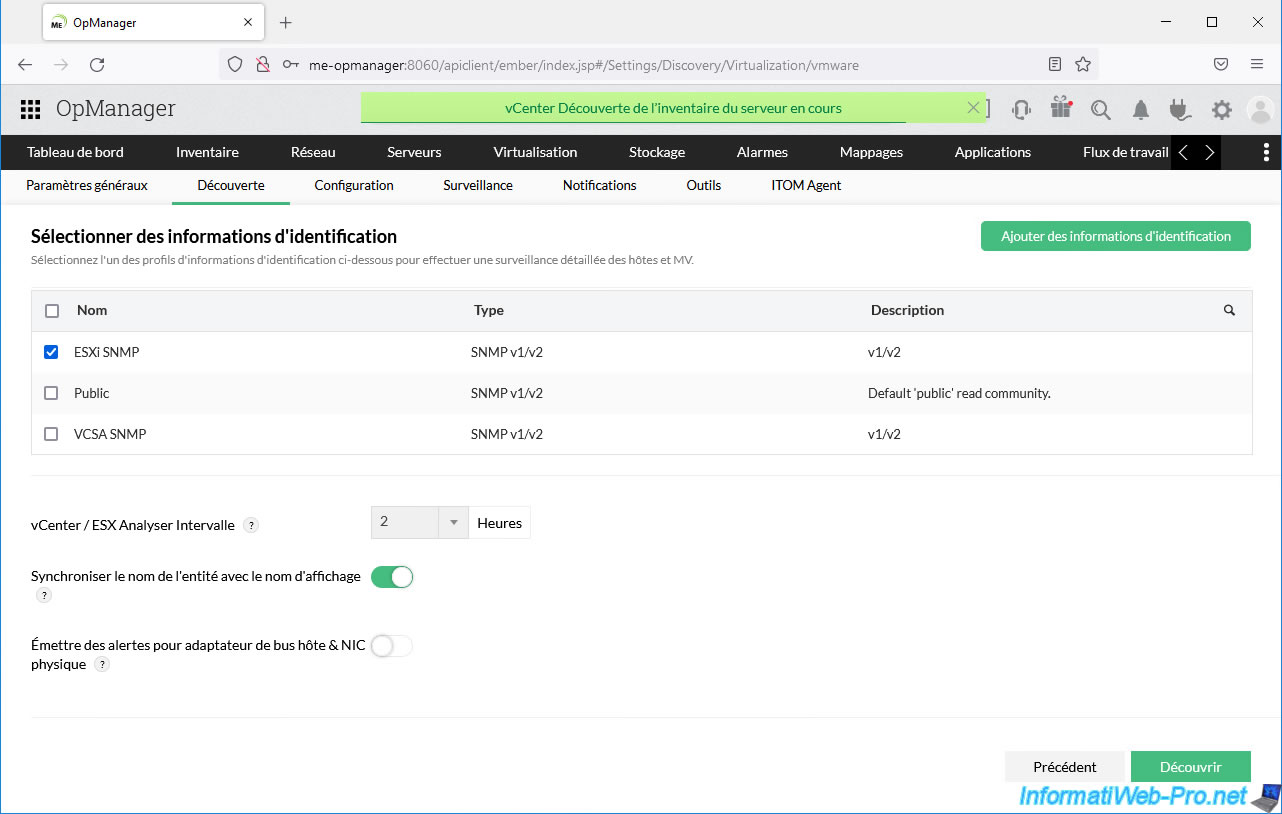
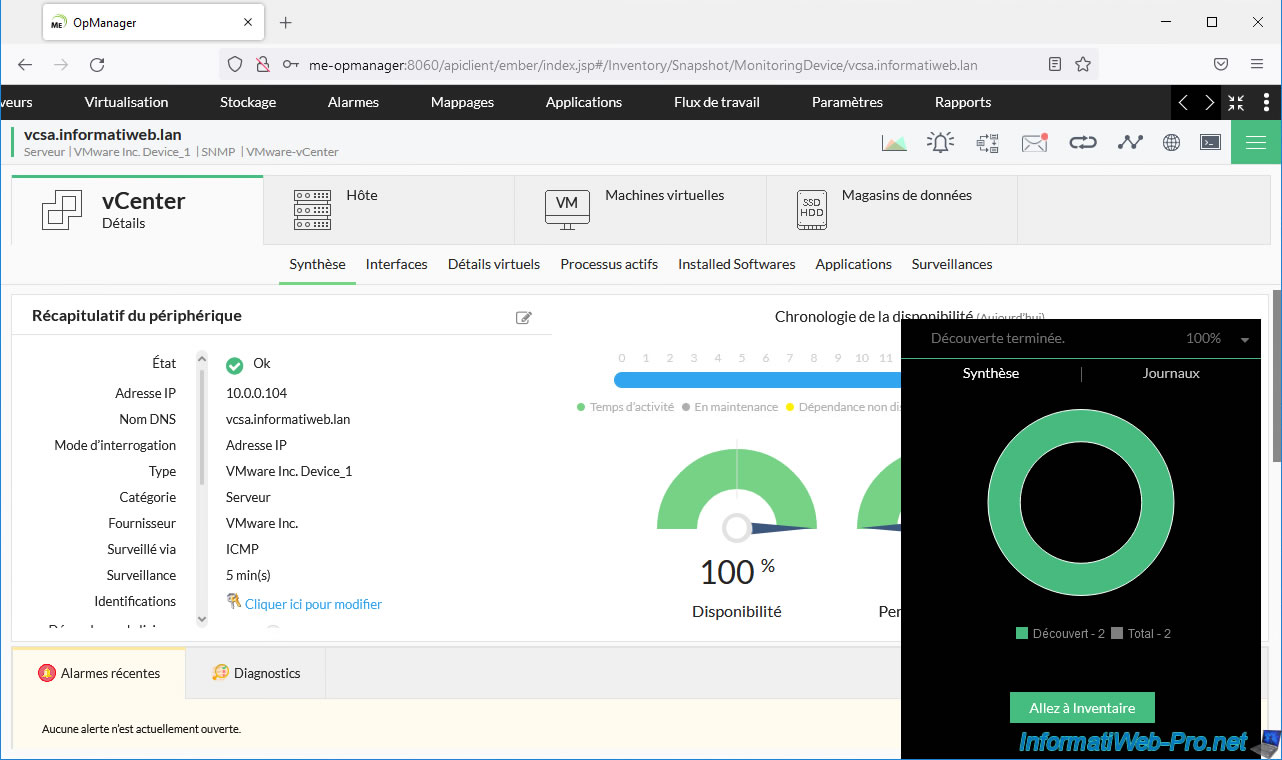
A little later, you will see a "Discovery Complete" notification appear.
Share this tutorial
To see also
-
VMware 8/21/2024
VMware vSphere 6.7 - Add a VMkernel interface
-
VMware 8/2/2024
VMware vSphere 6.7 - Collect logs with SexiLog
-
VMware 8/9/2024
VMware vSphere 6.7 - Collect logs with VMware Aria Operations for Logs
-
VMware 1/10/2025
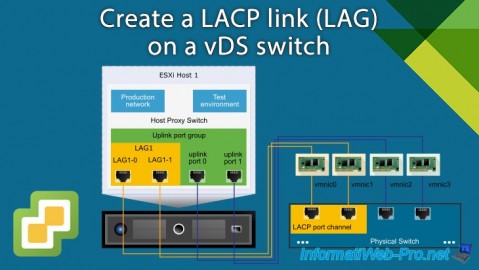
VMware vSphere 6.7 - Create a LACP link (LAG)
No comment