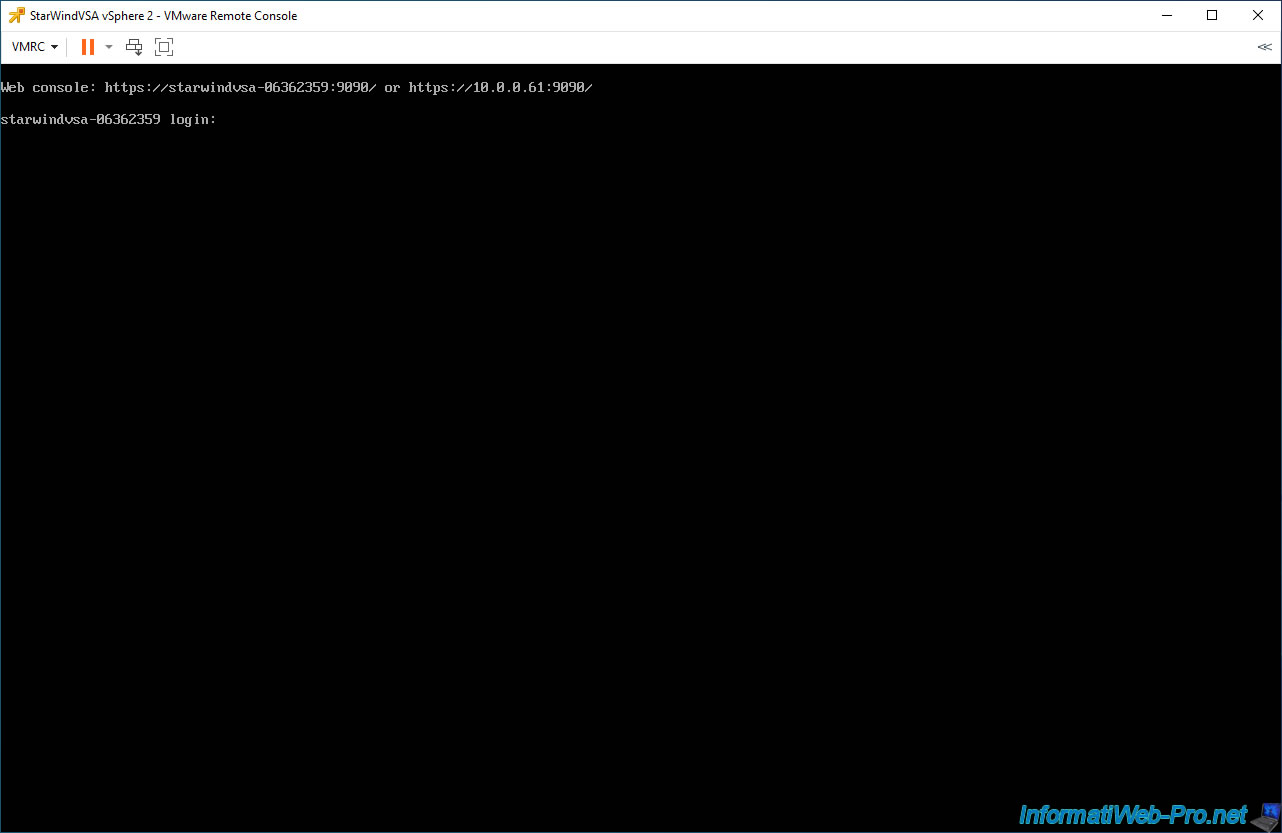
Deploy the StarWind Virtual SAN virtual appliance on VMware vSphere 6.7
- VMware
- 23 October 2024 at 13:00 UTC
-

- 6/15

2.5.5. Change the appliance hostname
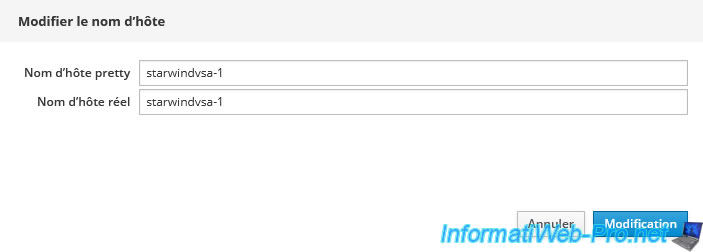
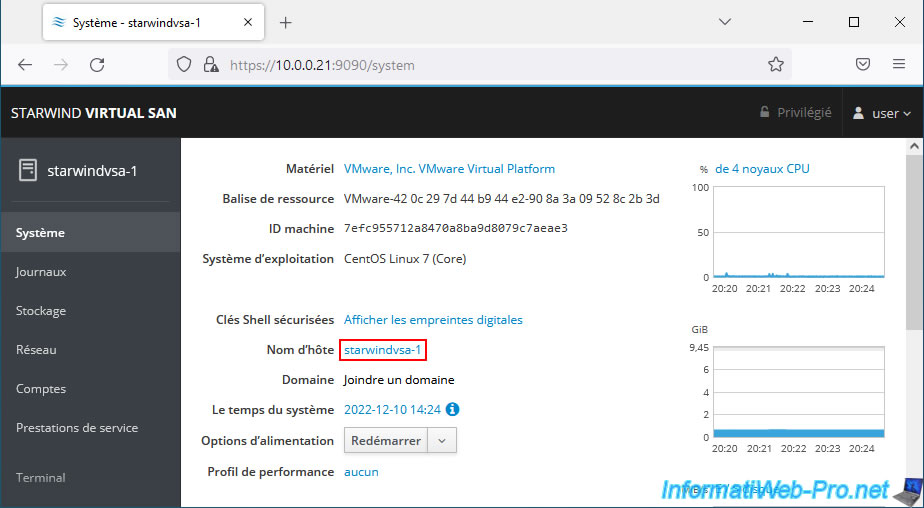
To change the appliance's hostname, go to the "System" section and click on its hostname "starwindvsa-xxxxxxxx" which appears in blue.

In the "Change host name" window that appears, indicate the host name to use in the 2 boxes.
The hostname has been changed.
2.5.6. Changer le fuseau horaire
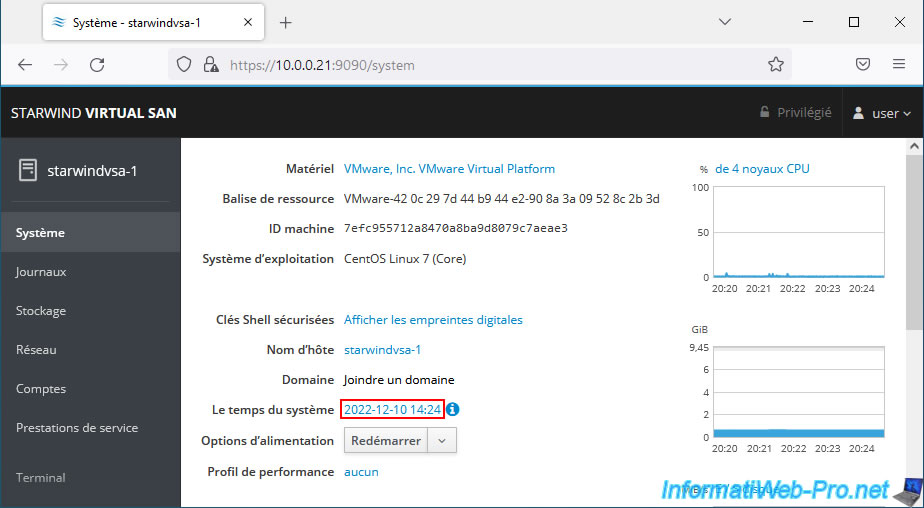
Pour changer le fuseau horaire utilisé, dans la section "Système", cliquez sur la date / heure affichée en bleu.
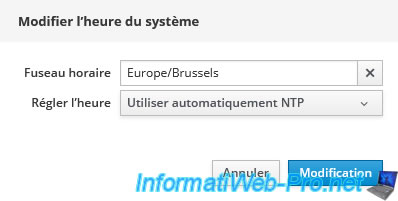
Indiquez le fuseau horaire à utiliser et cliquez sur : Modification.
Exemples : Europe/Paris ou Europe/Brussels.
Note : une auto-complétion est présente pour configurer ce paramètre.
2.6. Configure the 2nd StarWindVSA vSphere VM
Configure the 2nd StarWindVSA vSphere virtual machine by referring to the explanations given previously.
Access the web interface of your 2nd StarWind virtual machine, check the "Reuse my password ..." box and log in as "user".
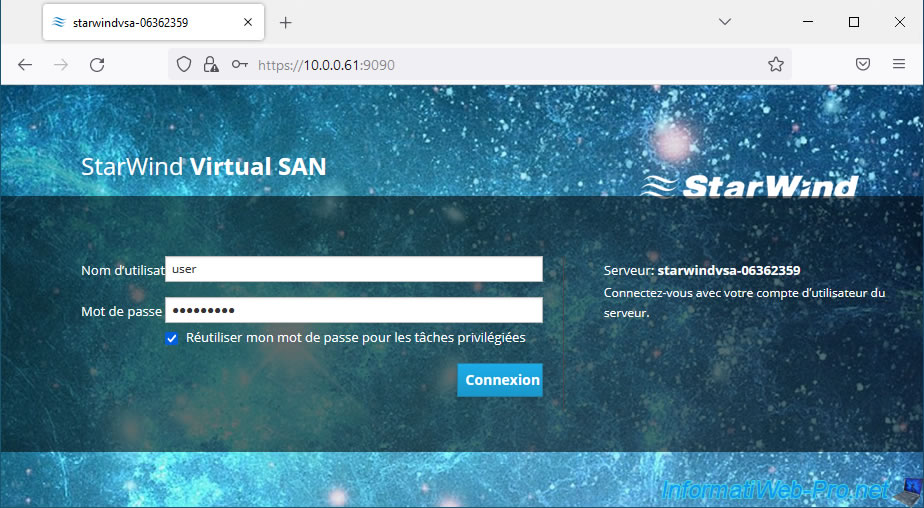
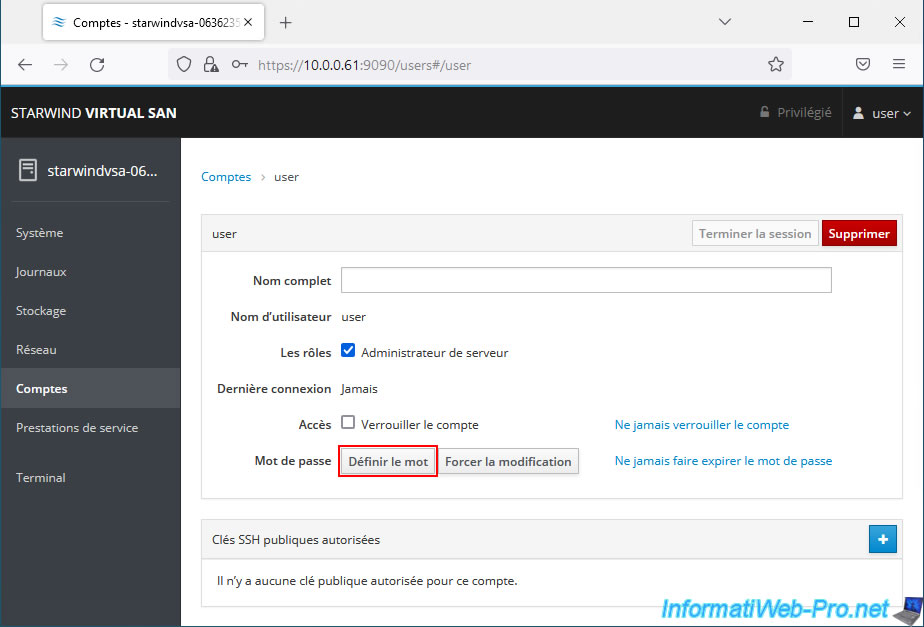
To get started, change the password for the "user" account.
Configure the IP address of the already connected interface (which is the one used for managing this VM).
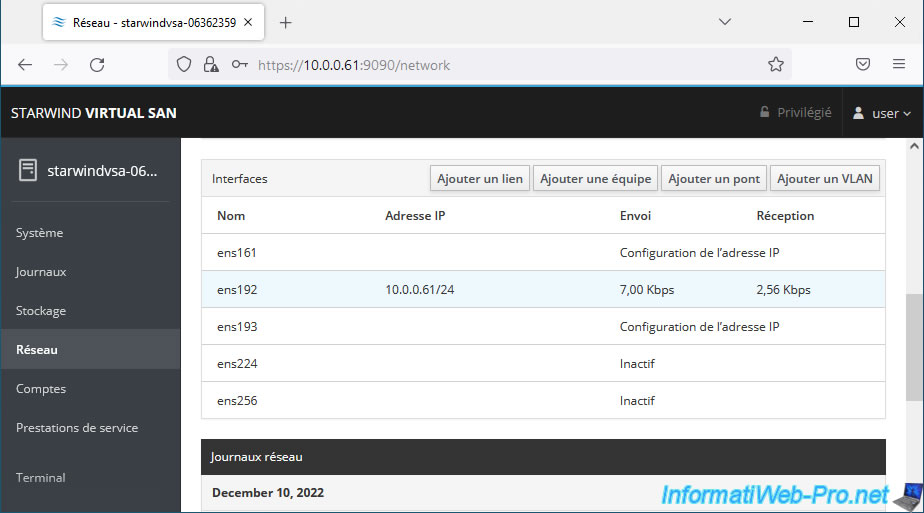
Click "Automatic (DHCP)" to the right of "IPv4".
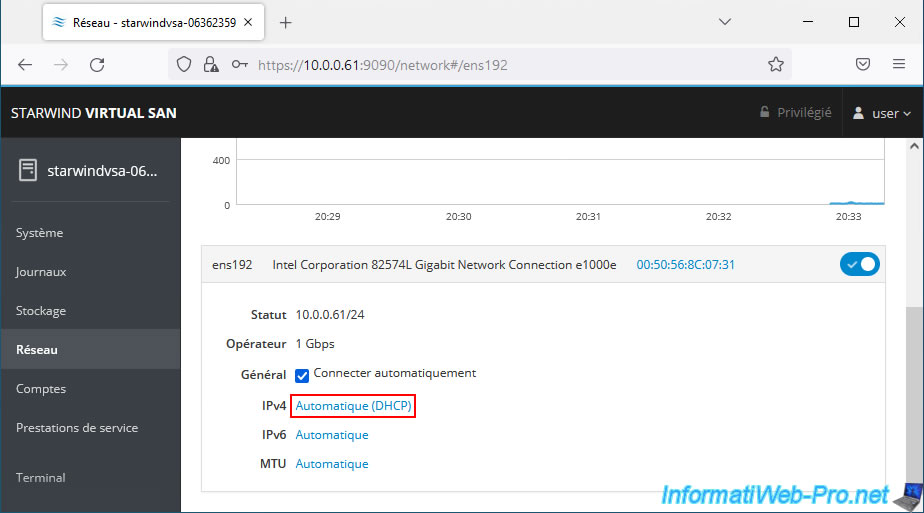
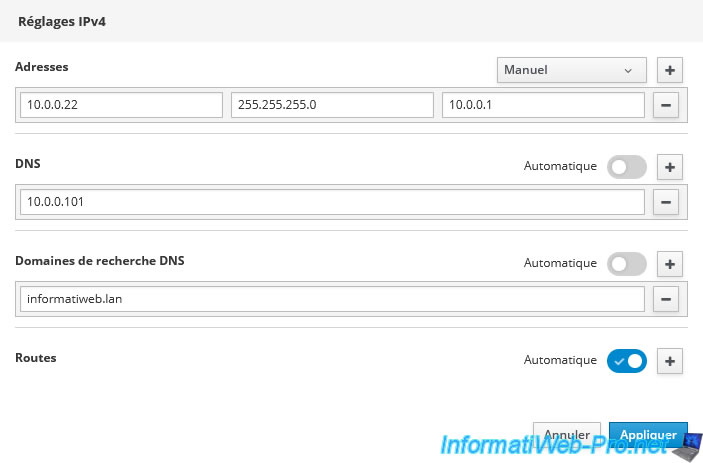
Specify the IP address, subnet mask, ... to use for this management network interface.
In our case, this virtual machine will have the IP address "10.0.0.22".
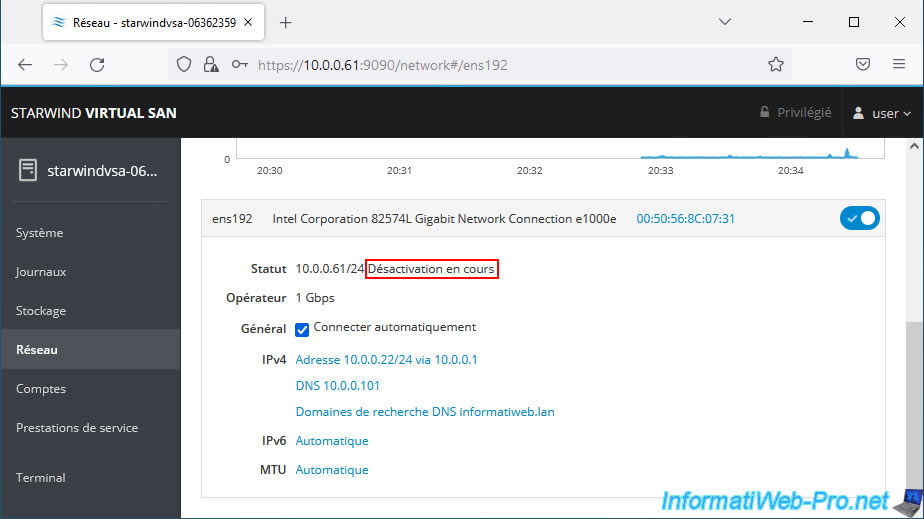
The message "Deactivating" will appear.
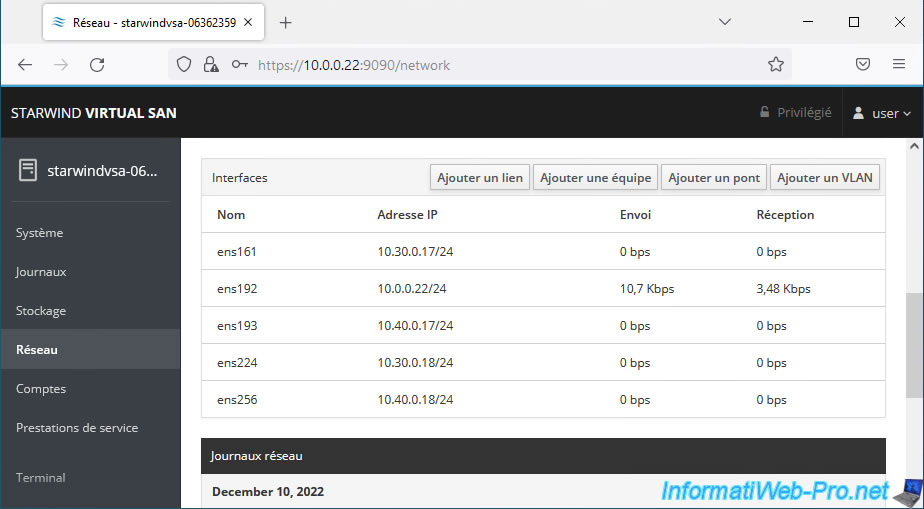
Re-access the web interface of this 2nd StarWind VM and return to the "Network" section.
Click on the network interface you just configured.
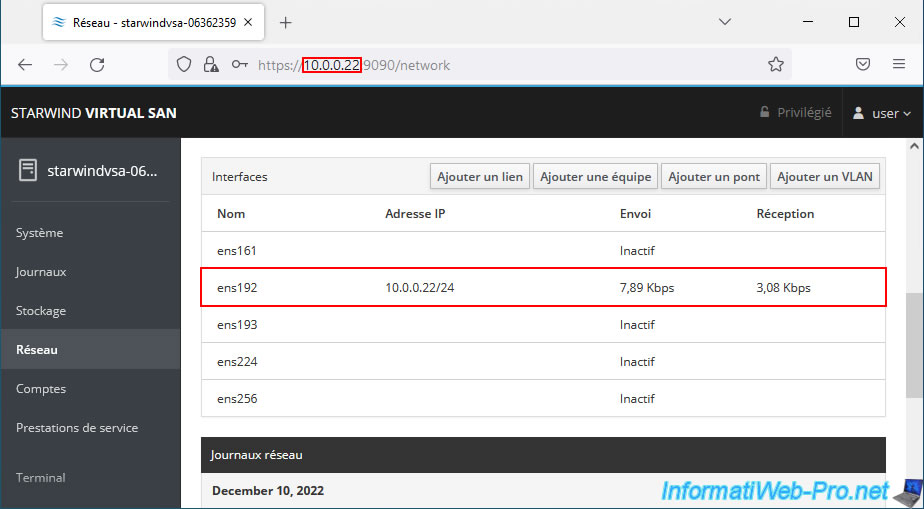
As expected, the IP configuration has been changed.
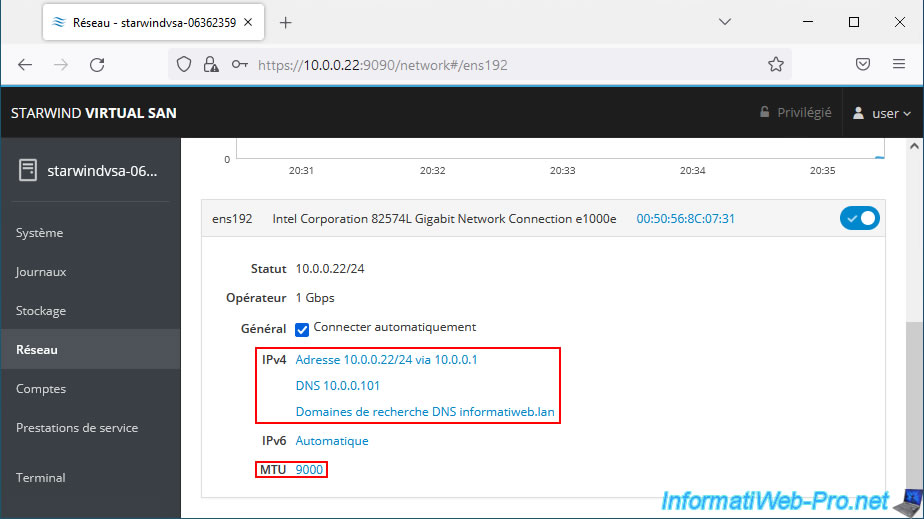
Remember to set the MTU of this network interface to 9000 bytes.
Also configure the other network interfaces of this 2nd StarWind virtual machine.
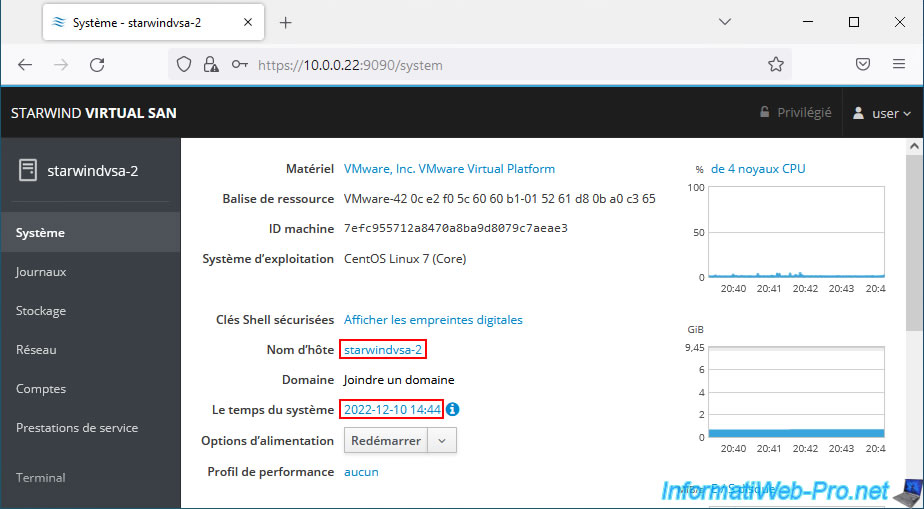
In the "System" section, change the hostname of this VM and click on the date/time displayed in blue to change the time zone to use.
In our case, this 2nd VM is named "starwindvsa-2".
Specify the time zone to use.
Ex: America/New York or Europe/Paris.

Share this tutorial
To see also
-

VMware 5/15/2024
VMware vSphere 6.7 - Add a physical disk to host
-

VMware 9/27/2024
VMware vSphere 6.7 - Array integration APIs (VAAI)
-

VMware 9/6/2024
VMware vSphere 6.7 - Configure port binding (iSCSI traffic)
-

VMware 6/13/2024
VMware vSphere 6.7 - Configure Virtual Flash (SSD cache)
No comment