Deploy the StarWind Virtual SAN virtual appliance on VMware vSphere 6.7
- VMware
- 23 October 2024 at 13:00 UTC
-

- 5/15

2.5.3. Configure the StarWind Virtual SAN VM management network
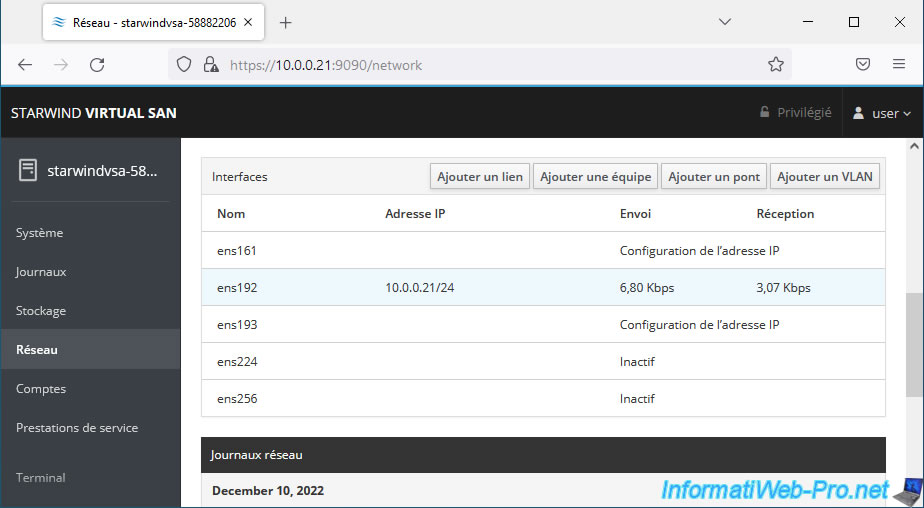
To configure the StarWind Virtual SAN virtual machine management network, go to the section: Networking.
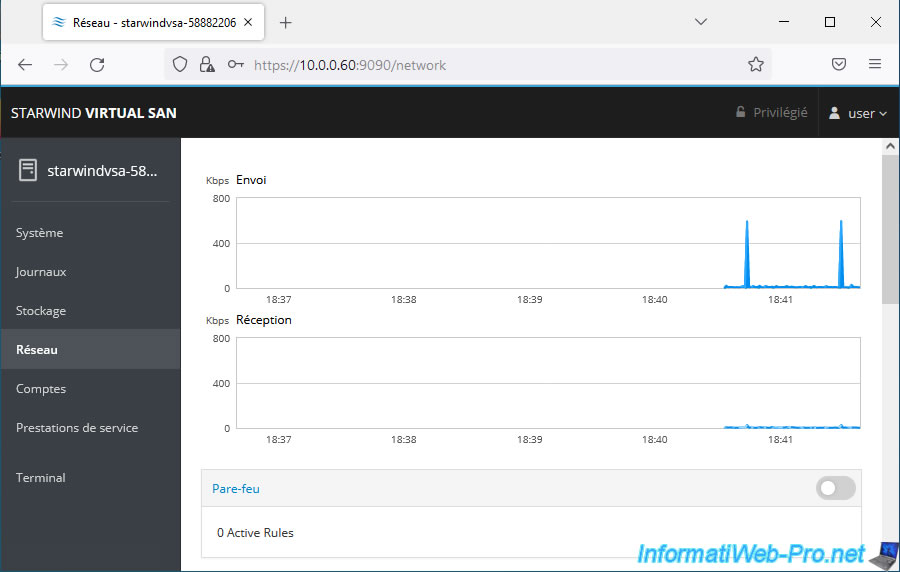
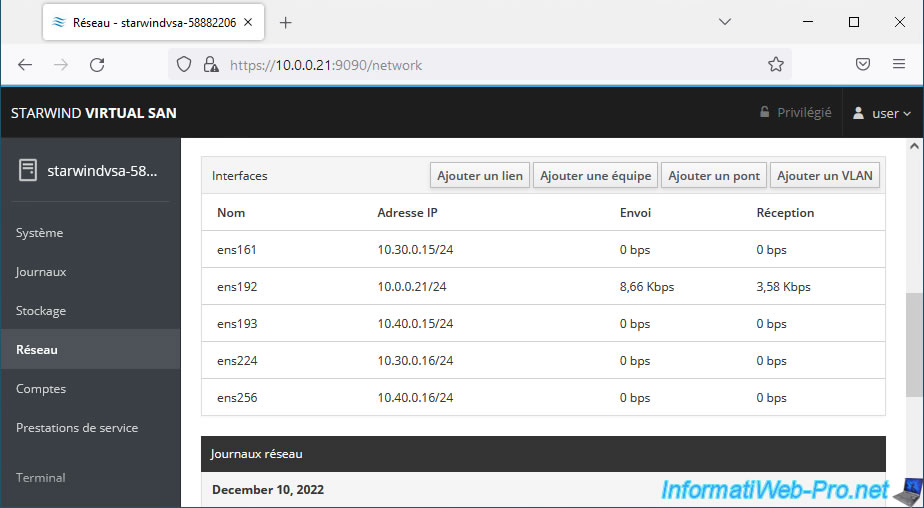
A little further down, you will find the list of interfaces (virtual machine network cards).
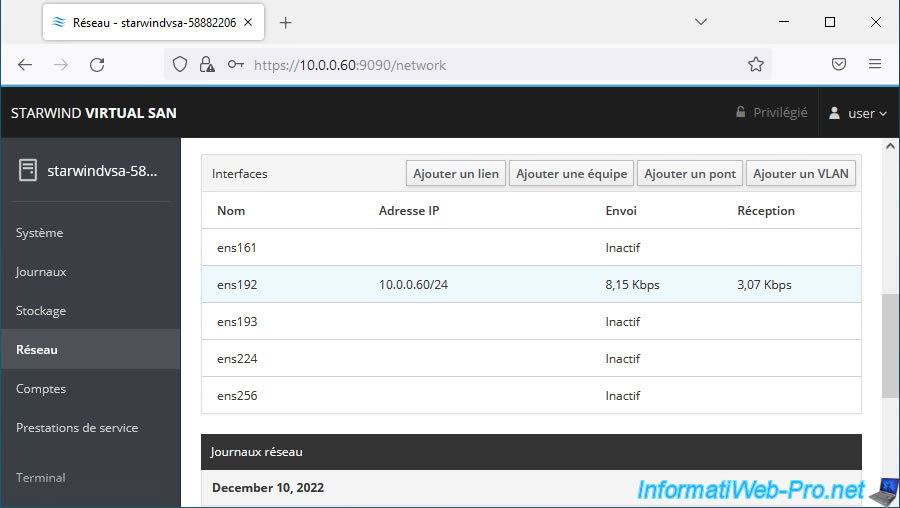
By default, there are 3 interfaces (virtual network cards). Unless you added 2 virtual network cards to your virtual machine. In this case there will obviously be 5 as below.
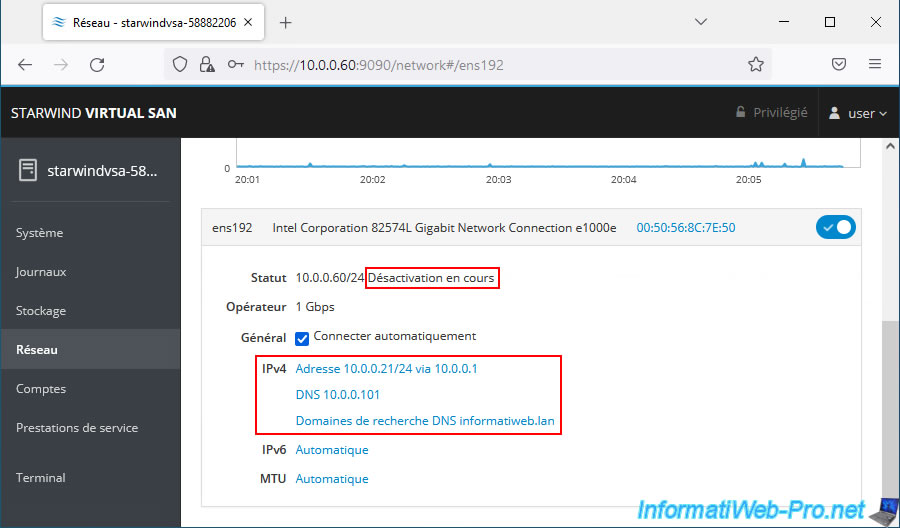
The network card connected to the management network in our case is the "ens192" interface which is the only one to have an IP address.
Indeed, the others are connected to internal networks (via physical switches connecting our 2 VMware ESXi hosts) and where there is therefore no DHCP server (by default).
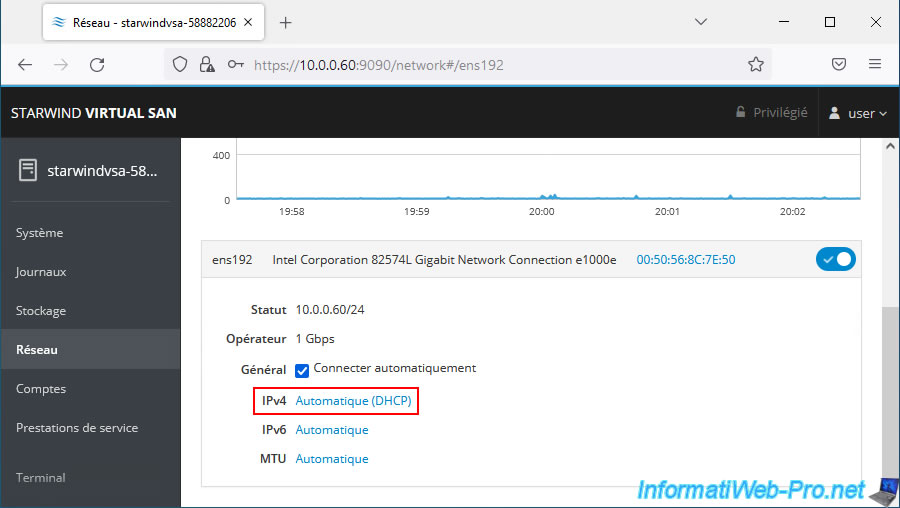
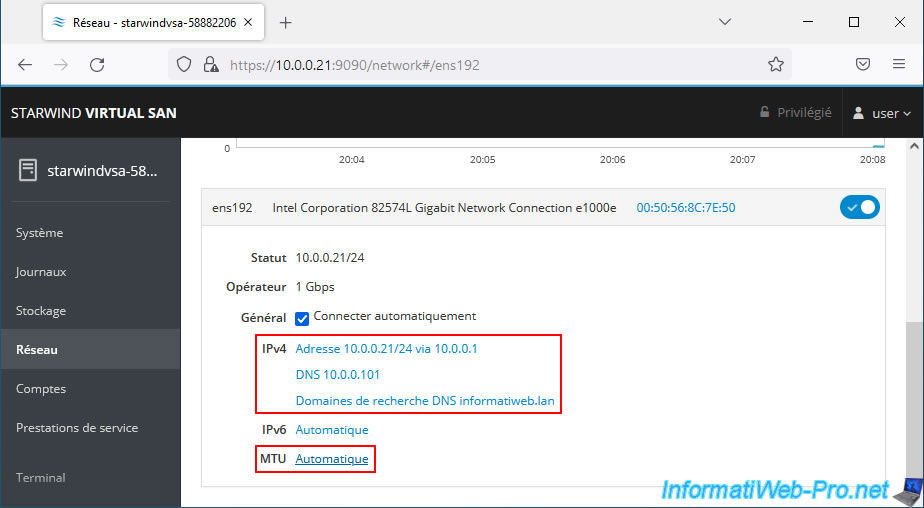
Click on this interface.
As you can see, by default, the IPv4 configuration is automatically retrieved from the DHCP server present on the network to which this interface is connected.
Click on this link "Automatic (DHCP)".
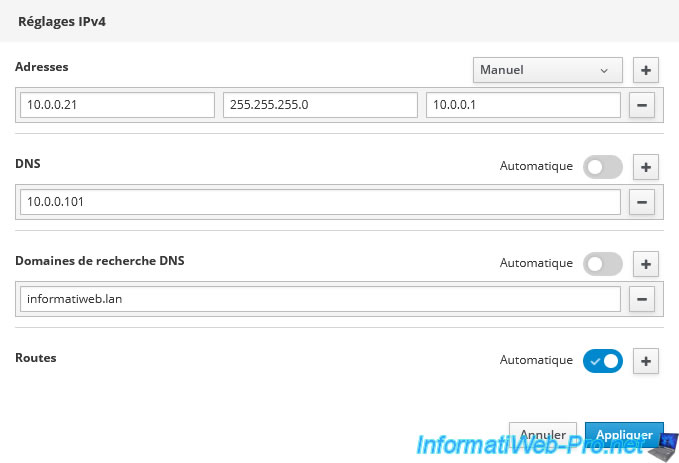
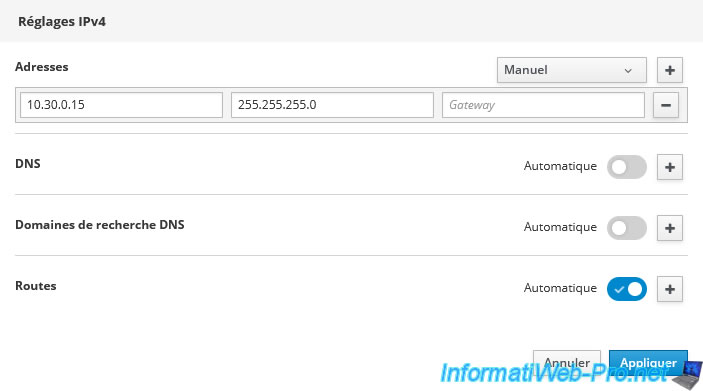
In the "IPv4 Settings" window that appears, select "Manual" (to the right of "Addresses").

Next, disable the "Automatic" option for the "DNS" setting and indicate:
- Addresses: the IPv4 address to define for this network interface (for the management network), the corresponding subnet mask and the IP address of the default gateway (router).
- DNS: the IP address of your local DNS server (usually the IP address of a domain controller in a corporate network).
- DNS Search Domains: the local domain used in your intranet. Typically, the Active Directory domain in your company.
In our case: informatiweb.lan.
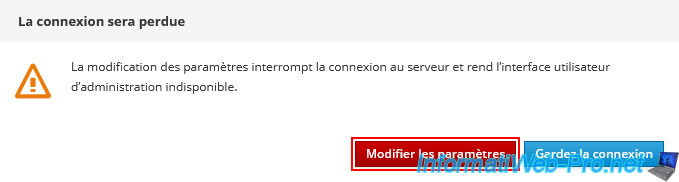
Click Apply.
Confirm the modification of these settings by clicking on: Change the settings.
The message "Deactivating" appears.
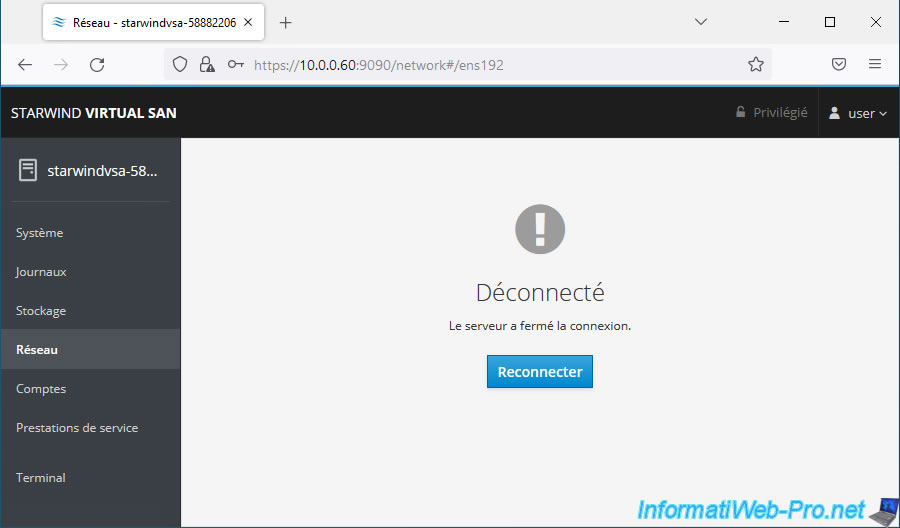
Since the IP address has changed, the message "Disconnected. Server has closed the connection" will appear.
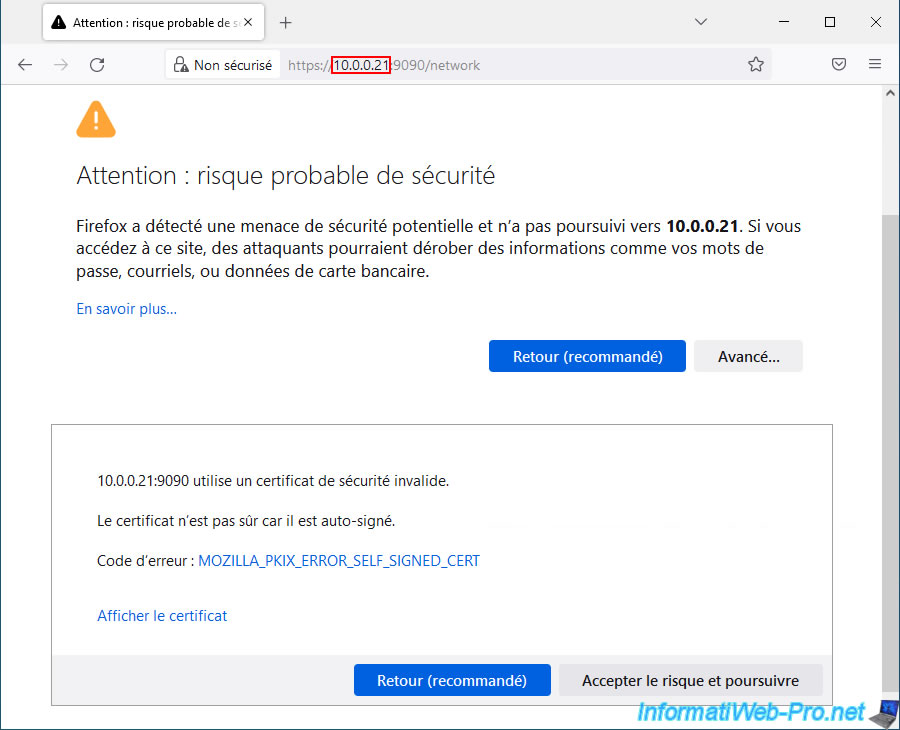
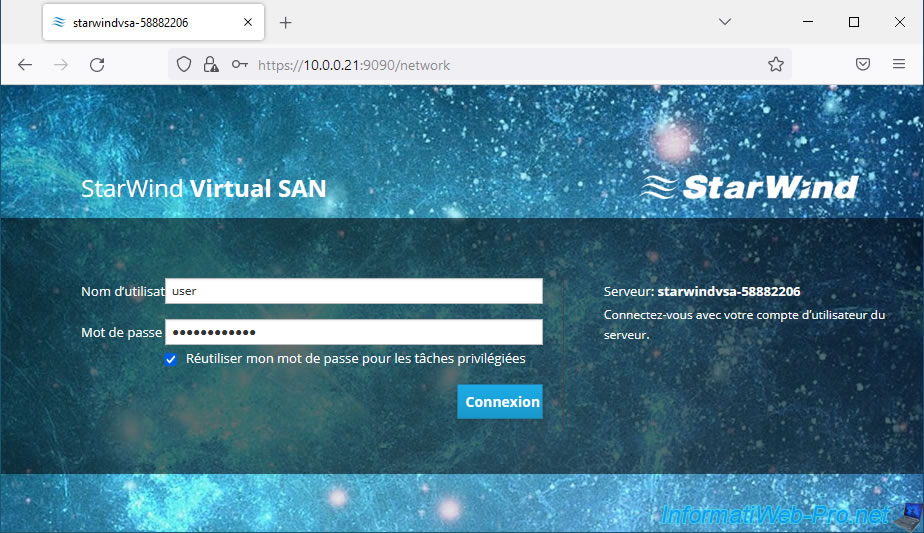
Access the StarWind Virtual SAN web interface using its new IP address.
Log in again as "user".
As expected, the IP address of this interface has been changed.
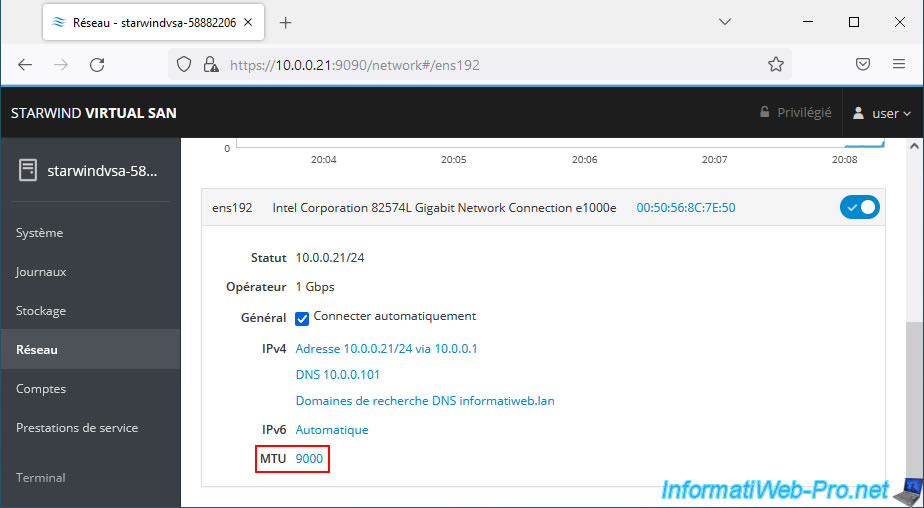
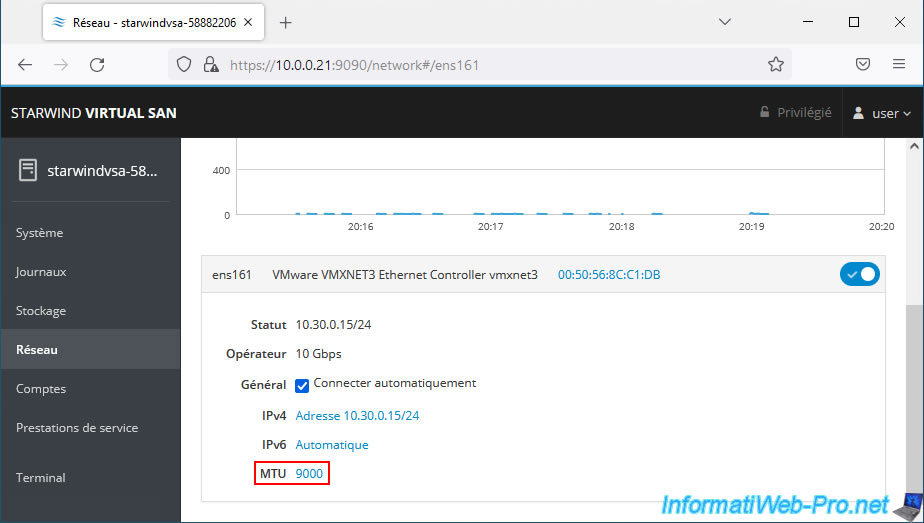
Click on this network interface again.
As you can see, by default the MTU of this interface is set to "Automatic".
Click on this "Automatic" link.
Select "Set to" and enter 9000 as the value.
Then click Apply.
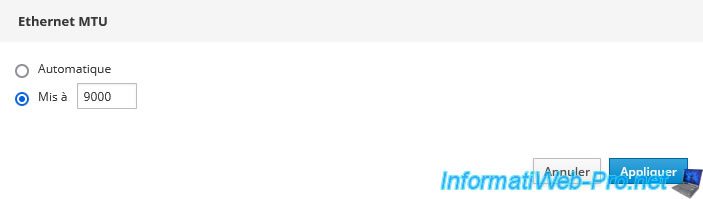
The MTU of this interface is now set to 9000.
2.5.4. Configure network interfaces dedicated to iSCSI / Heartbeat and synchronization traffic
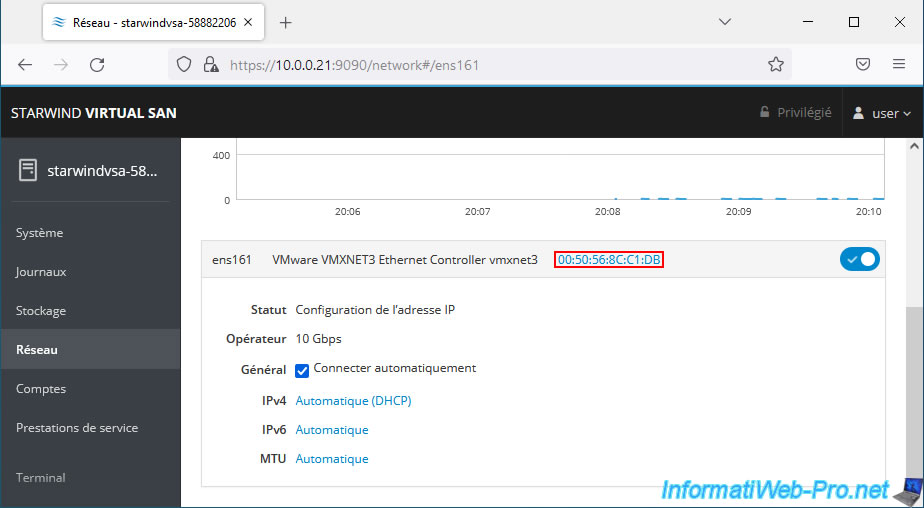
In the "Network" section, also configure the other interfaces (which will be used for iSCSI/Heartbeat traffic, as well as synchronization traffic).

To find out which VMware virtual network each network interface is connected to, use its MAC address displayed in blue by StarWind.
In the "VM Hardware" section of your virtual machine, you will see the list of network adapters it has.
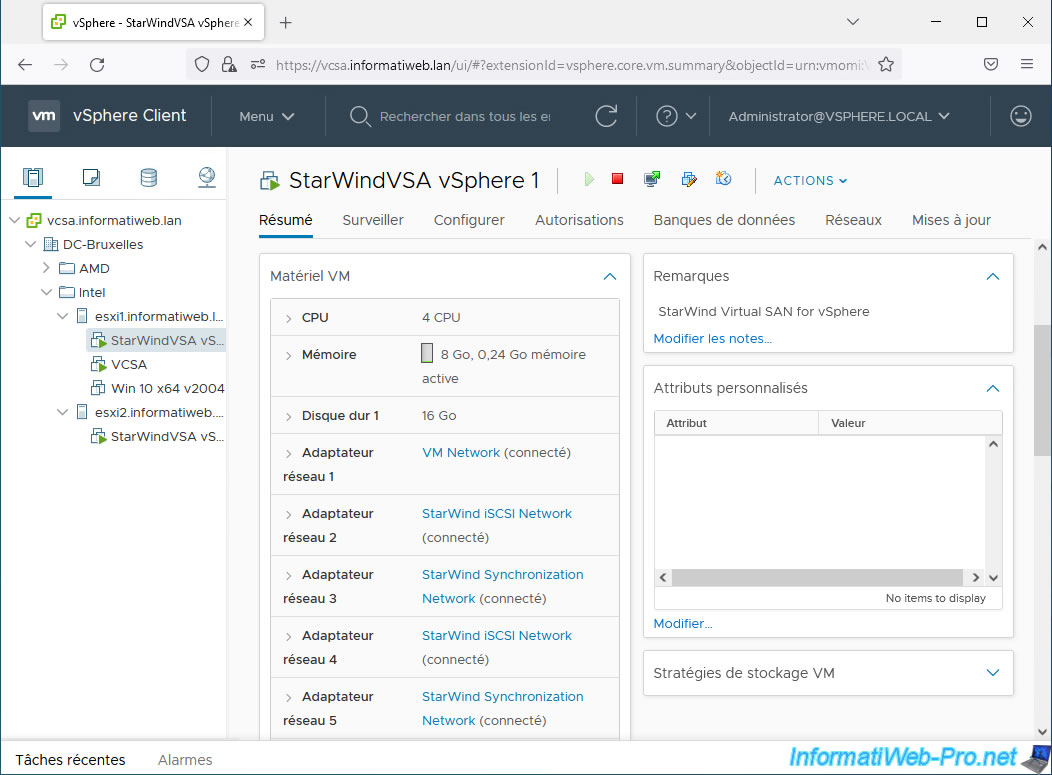
By deploying each "Network adapter X" section, you will be able to know its MAC address, as well as the VMware virtual network to which it is connected.

Once you know which network it is, click the "Automatic (DHCP)" link (next to "IPv4").

Select "Manual" from the list (to the right of "Addresses") and specify the IP address and subnet mask to use.
In our case, the VMware ESXi hosts are connected with simple switches. So there is no default gateway (since internet is not needed).
Next, don't forget to set the MTU on each of these network interfaces.

Select "Set to" again and enter 9000 as the value.

The MTU has been modified.
Also configure the other remaining network interfaces and you will get this.
Share this tutorial
To see also
-

VMware 5/15/2024
VMware vSphere 6.7 - Add a physical disk to host
-

VMware 9/27/2024
VMware vSphere 6.7 - Array integration APIs (VAAI)
-

VMware 9/6/2024
VMware vSphere 6.7 - Configure port binding (iSCSI traffic)
-

VMware 6/13/2024
VMware vSphere 6.7 - Configure Virtual Flash (SSD cache)
No comment