Deploy the StarWind Virtual SAN virtual appliance on VMware vSphere 6.7
- VMware
- 23 October 2024 at 13:00 UTC
-

- 4/15

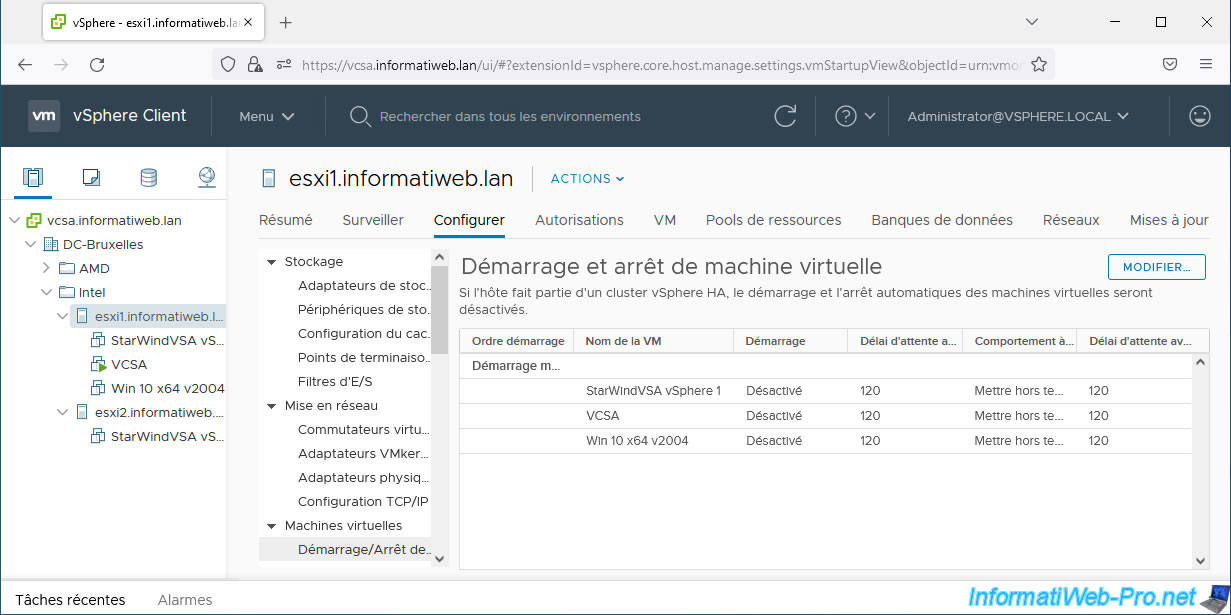
2.4. Configure automatic startup and shutdown of StarWind VMs
Since you will create your virtual machines on storage managed by StarWind Virtual SAN, it is necessary that these StarWind VMs be started.
StarWind therefore recommends that you configure automatic startup and shutdown of these virtual machines on your VMware ESXi hosts.
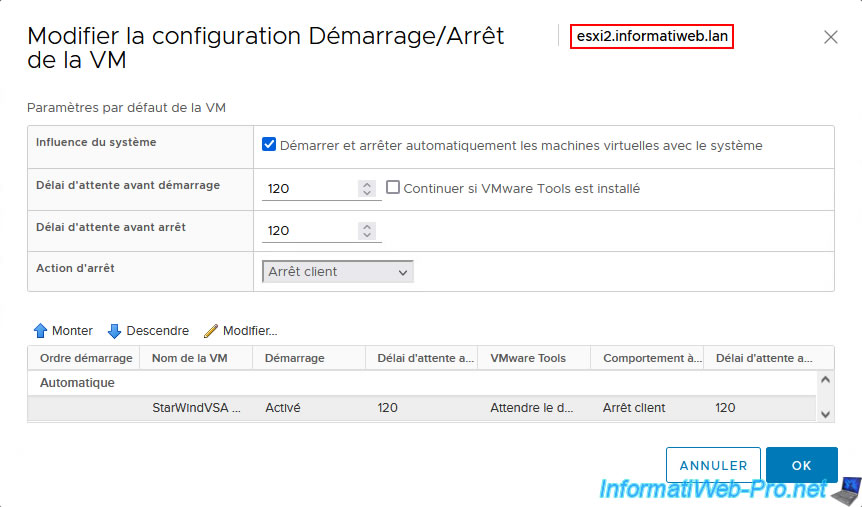
To do this, select your first VMware ESXi host and go to: Configure -> Virtual Machines -> Virtual Machine Startup and Shutdown.
Then click on the button: Edit.
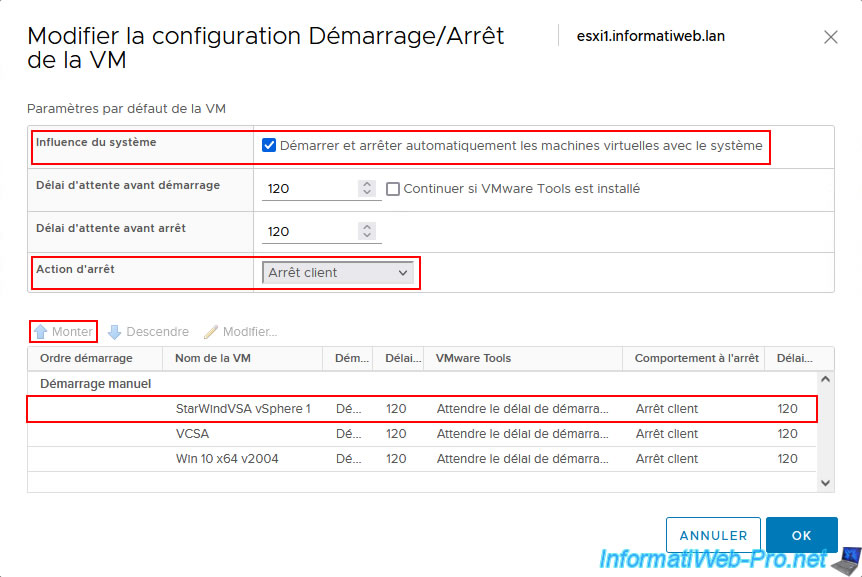
In the "Edit VM Startup/Shutdown Configuration" window that appears:
- check the box "Automatically start and stop virtual machines with the system".
- select "Guest shutdown" for the shutdown action.
Next, select your "StarWindVSA vSphere 1" virtual machine and click "Mount".
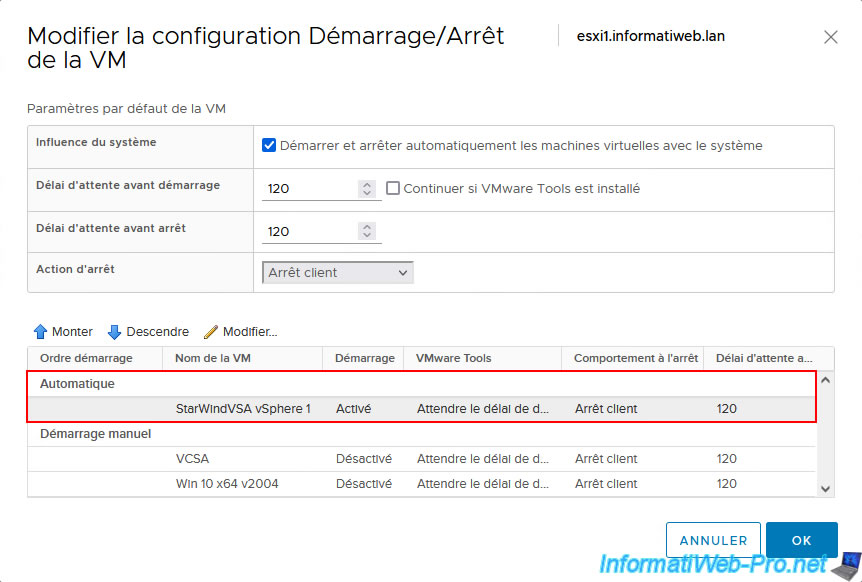
An "Automatic" section will appear with your "StarWindVSA vSphere 1" virtual machine.
Click OK.
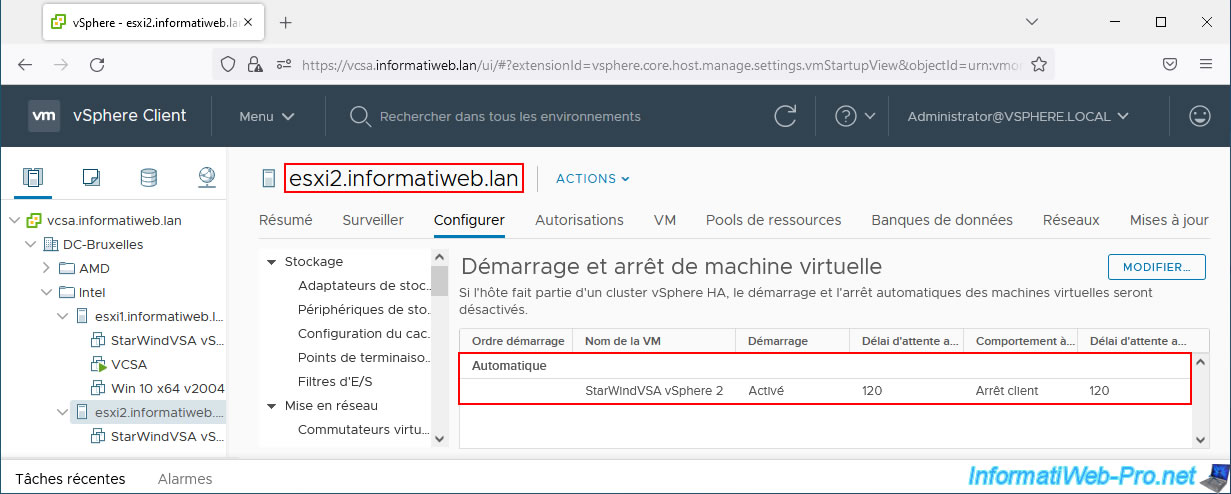
Now, your virtual machine will automatically start when your VMware ESXi host starts and it will shut down correctly when your host shuts down.
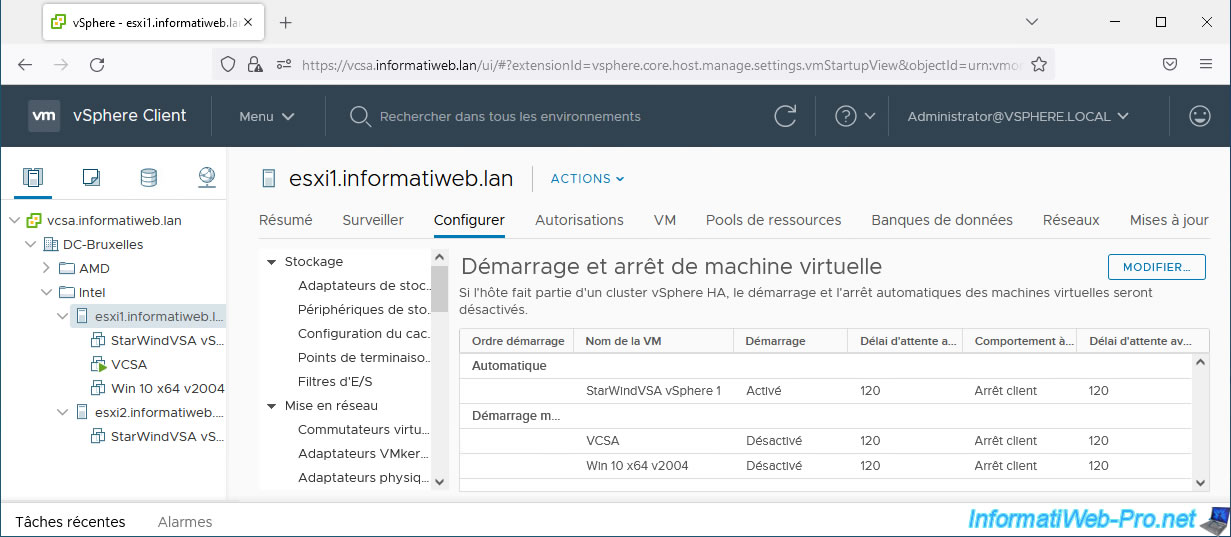
Do the same on your 2nd VMware ESXi host.
This 2nd StarWind VM will start and stop at the same time as this 2nd VMware ESXi host.
2.5. Configure the 1st StarWindVSA vSphere VM
2.5.1. Access the StarWind Virtual SAN web interface
Start your 1st StarWindVSA vSphere virtual machine.
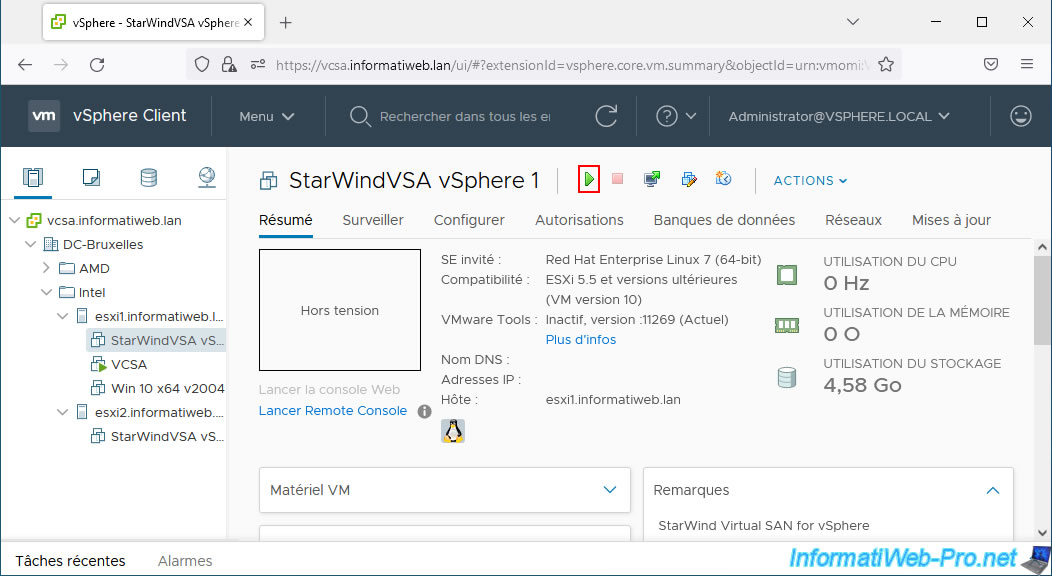
Wait while it starts.

Also start the 2nd StarWind virtual machine created on your 2nd VMware ESXi host.
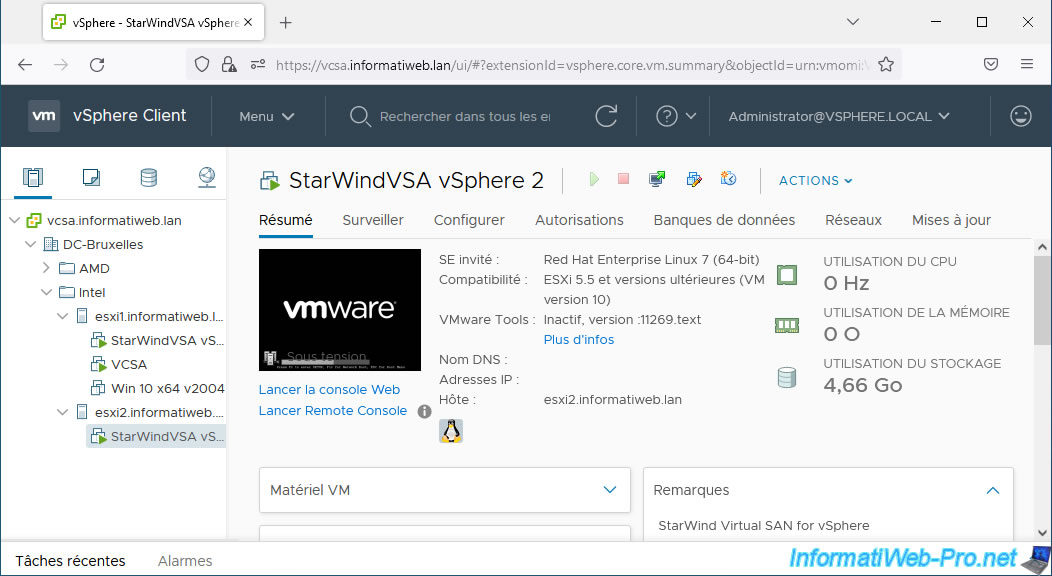
Once the StarWind virtual machines have started, you will see 2 addresses appear, one with the IP address of the virtual machine.
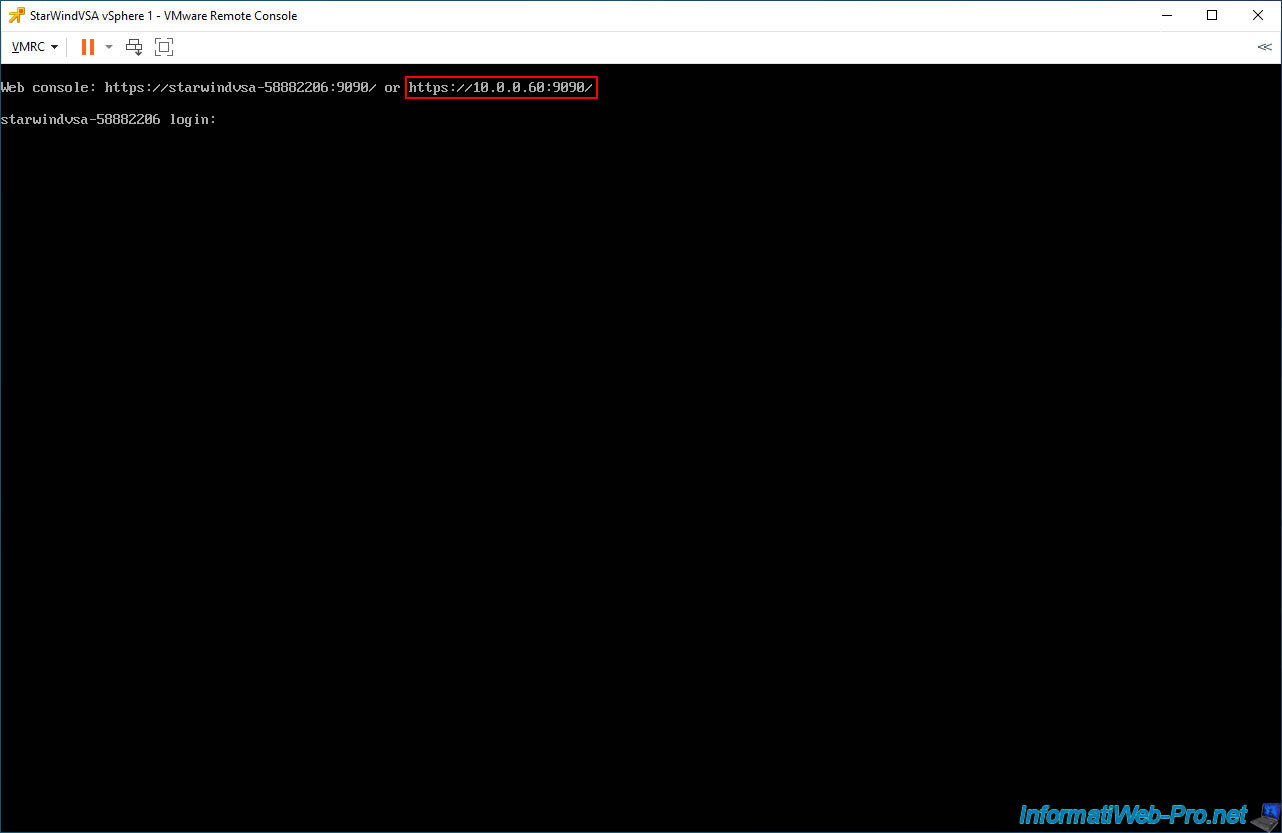
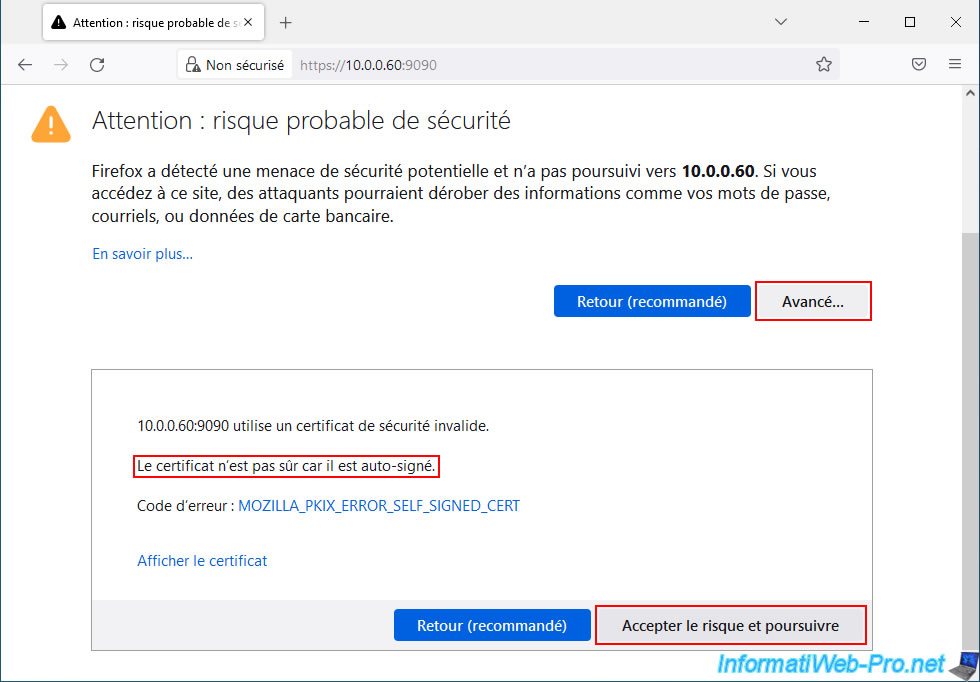
Type the address containing the IP address into your browser's address bar and ignore the warning that appears (which is caused by using a self-signed certificate).
Log in as "user" with the default password "rds123RDS" and leave the "Reuse my password for privileged tasks" box checked.
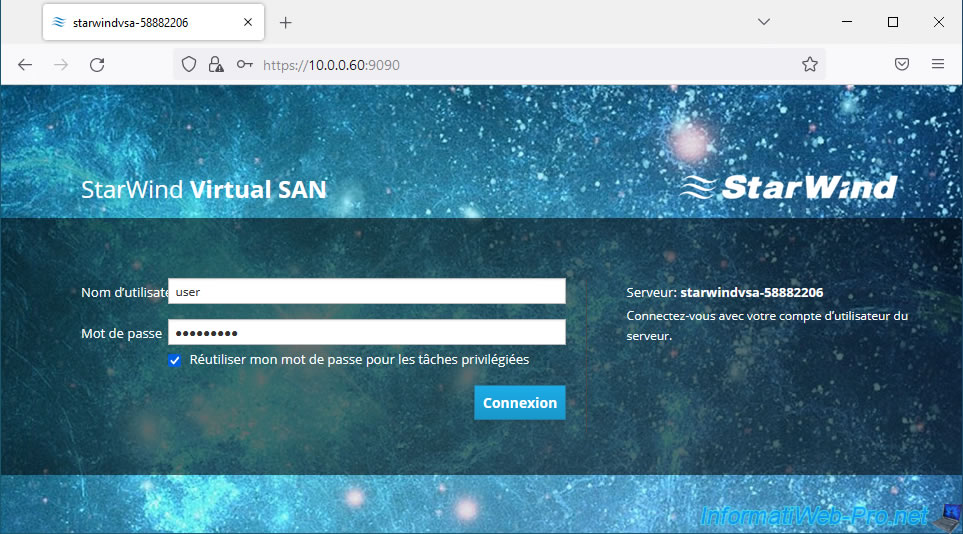
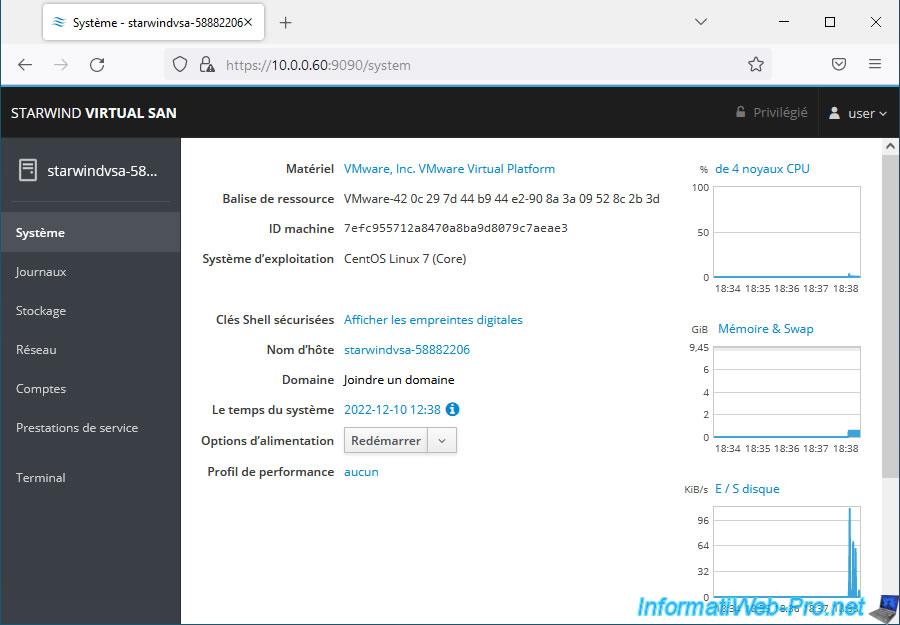
The StarWind Virtual SAN web interface appears.
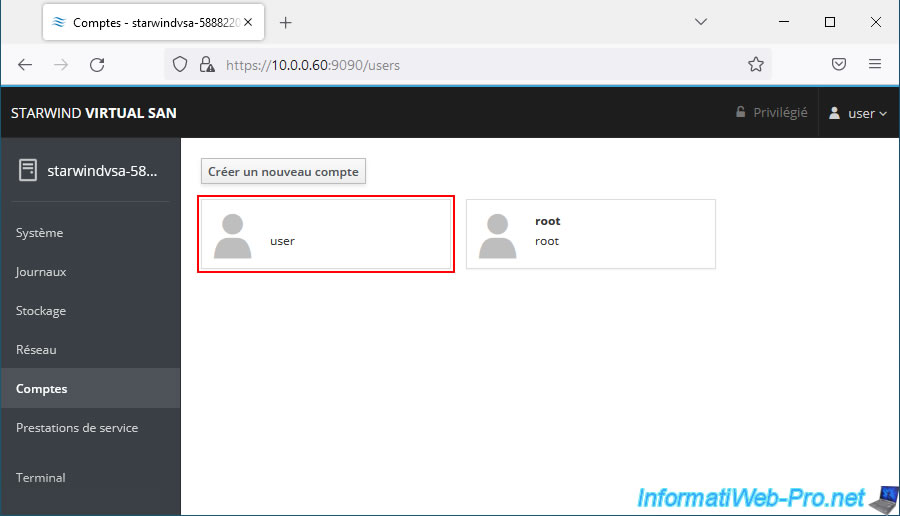
2.5.2. Change user's default password
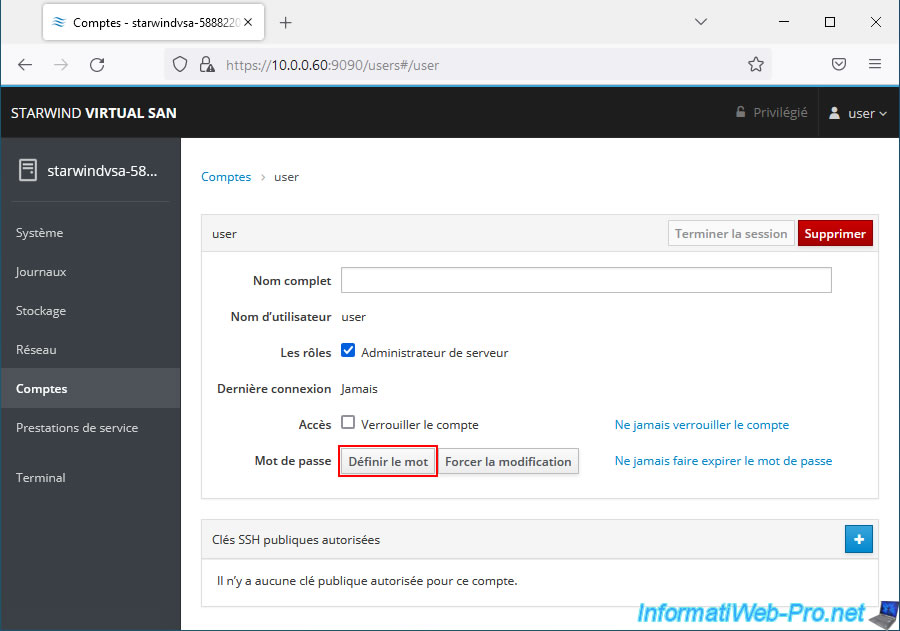
To get started, go to the "Accounts" section and click on the user "user".
Click: Set Password.
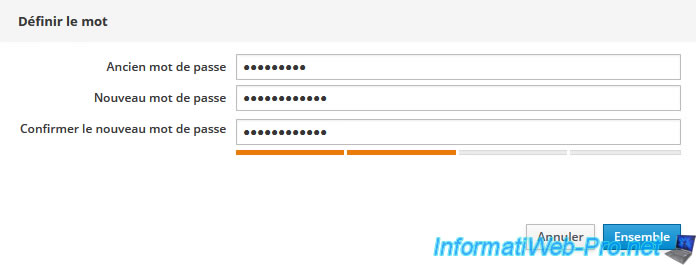
In the window that appears, enter the old password (default: rds123RDS), a new password (twice) and click: Set.
Share this tutorial
To see also
-

VMware 5/15/2024
VMware vSphere 6.7 - Add a physical disk to host
-

VMware 9/27/2024
VMware vSphere 6.7 - Array integration APIs (VAAI)
-

VMware 9/6/2024
VMware vSphere 6.7 - Configure port binding (iSCSI traffic)
-

VMware 6/13/2024
VMware vSphere 6.7 - Configure Virtual Flash (SSD cache)
No comment