- VMware
- 24 May 2024 at 11:57 UTC
-


With VMware Workstation Pro, you can connect to your VMware vCenter Server to transfer virtual machines to and from your computer.
- Connect to your VMware vCenter Server from VMware Workstation Pro
- Download a virtual machine from your VMware vCenter Server (VCSA)
- Upload a virtual machine from VMware Workstation to your VMware vCenter Server (VCSA)
1. Connect to your VMware vCenter Server from VMware Workstation Pro
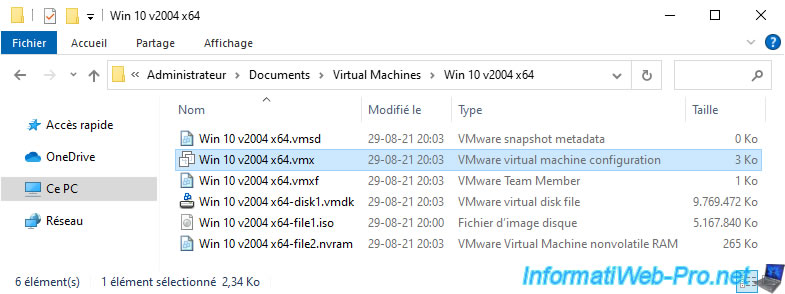
On our VMware vCenter Server, we created a "Win 10 v2004 x64" virtual machine in a "Windows VMs" folder.

In VMware Workstation, go to the "File" menu and click: Connect to Server.
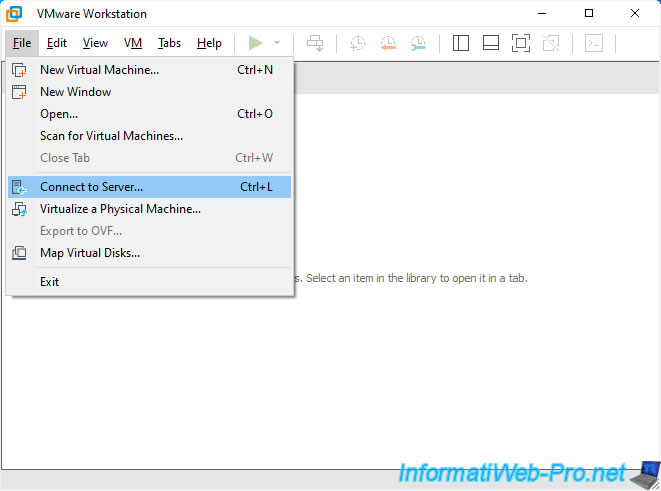
As noted by VMware Workstation, you can connect to a VMware ESX (ESXi) or VMware vCenter Server.
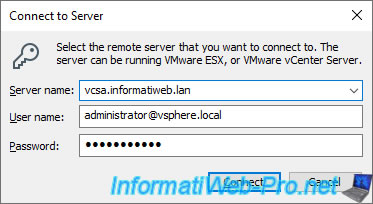
To do this, indicate:
- Server name: the domain name or IP address of your VMware vCenter Server.
In our case: vcsa.informatiweb.lan. - User name: the user name of an account present on your VMware vCenter Server which has the necessary authorizations to access its virtual machines.
In our case: administrator@vsphere.local. - Password: the password for this account.
Then click on: Connect.
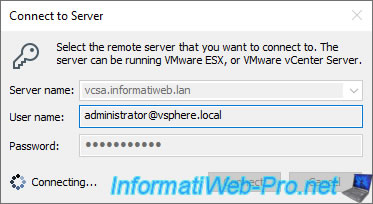
Wait while connecting to your VMware vCenter Server.
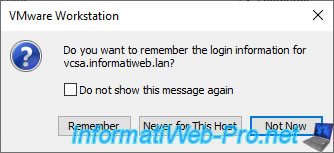
VMware Workstation will offer to save connection information for this server.
Choose what you want between:
- Remember: remember this login information and don't ask this question again.
- Never for this Host: never remember this information. This question will therefore no longer be asked for this server.
- Not Now: not now. this login information will not be saved this time and this question will be asked again next time.
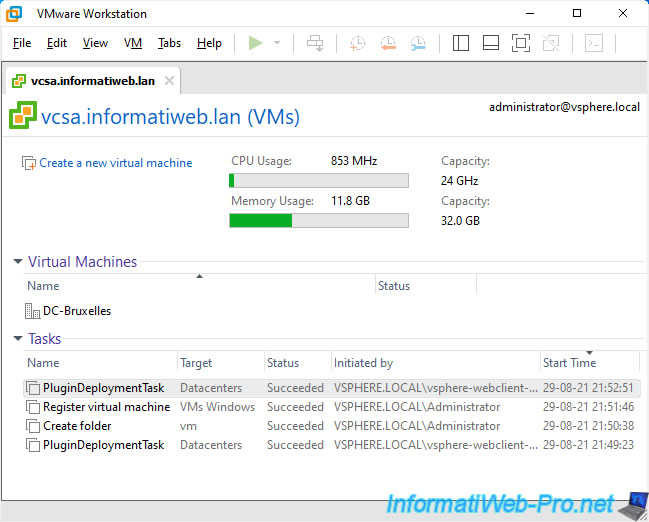
Once connected to your VMware vCenter Server, VMware Workstation will display:
- CPU Usage / Capacity: the total level of CPU usage (in MHz or GHz) by the different VMware ESXi hosts linked to your VMware vCenter Server, as well as its total capacity.
- Memory Usage / Capacity: the total level of RAM usage (in MB or GB) by the different hosts linked to your vCenter Server, as well as its total capacity.
In our case, we have 2 VMware ESXi servers which are linked to our VMware vCenter Server "vcsa.informatiweb.lan".
Each of these VMware ESXi servers has a processor clocked at 3.00 GHz (base frequency) with 4 logical cores each.
The total capacity for the processor (CPU) displayed by VMware is therefore: 2 (1 processor per ESXi server) x 3 (CPU base frequency) x 4 (the number of processor cores available on each server) = 24 GHz.
For RAM, our 2 VMware ESXi servers each have 16 GB of RAM.
The total capacity for RAM displayed by VMware is therefore 2 x 16 GB of RAM = 32.0 GB.
Then, you will find the list of virtual machines (Virtual Machines) available on your VMware vCenter Server, but according to the hierarchy (data centers and folders) defined on it.
In our case, we therefore see our data center "DC-Brussels" by default.
However, be aware that the vApps that you may have potentially created on your VMware vCenter Server will not appear in VMware Workstation.
Finally, you will find the list of the last tasks that were executed on your VMware vCenter Server with:
- Name: the name of the task
- Target: the target (the name of the object concerned on the server)
- Status: the result of this task
- Initiated by: the domain and username of the user who initiated this task on the server
- Start Time: the date and time when it started
To find out more about the hardware (processor, RAM, ...), as well as the inventory hierarchy of our VMware vCenter Server, refer to our tutorial: VMware vSphere 6.7 - Create and manage your inventory in vCenter Server.

2. Download a virtual machine from your VMware vCenter Server (VCSA)
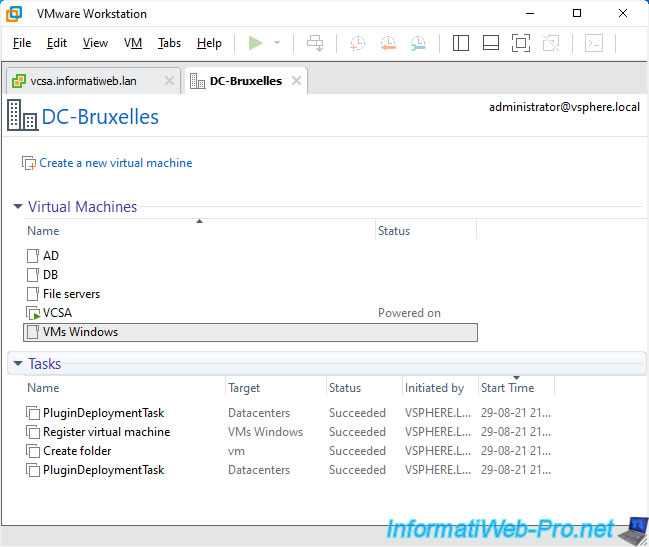
To download a virtual machine from your VMware vCenter Server to your computer, enter the data center, then the folders (if applicable) to access the desired virtual machine.
In our case, we first enter our "DC-Brussels" data center.
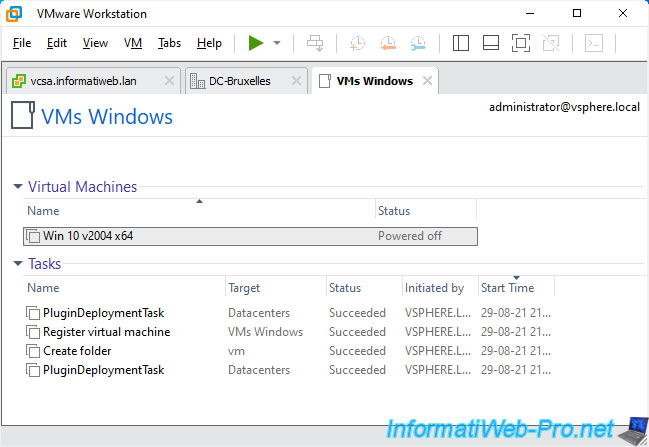
Then, we enter the "VMs Windows" folder.
As expected, your "Win 10 v2004 x64" virtual machine appears.
Click on it to open it remotely in VMware Workstation.
As expected, our remote virtual machine appears in VMware Workstation.
If you look at the location of the configuration file, you will see that it is located on the datastore of your VMware ESXi hypervisor.
In our case, the datastore is named "HDD2".

To download this virtual machine to your computer, right-click on this tab (whose name is that of this virtual machine), then click on: Manage -> Download.
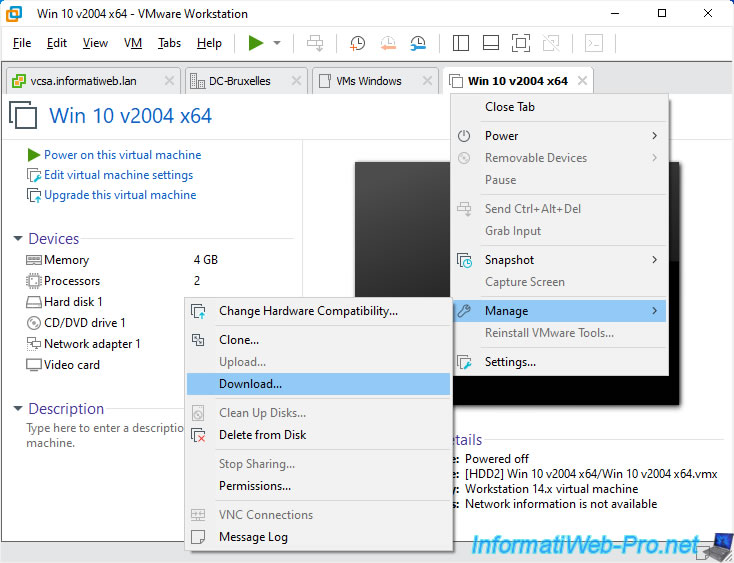
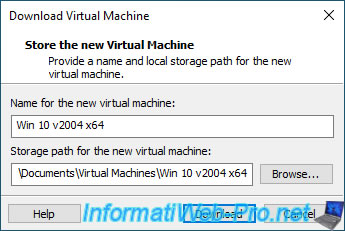
The "Download Virtual Machine" window appears.
By default, the virtual machine will be downloaded to your computer under the same name as the original one and the folder where it will be stored corresponds to the default folder configured in the VMware Workstation settings.
Change this information if necessary, then click Download.
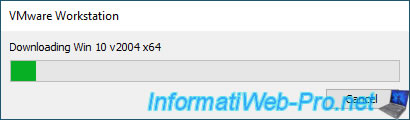
Wait while this virtual machine downloads.
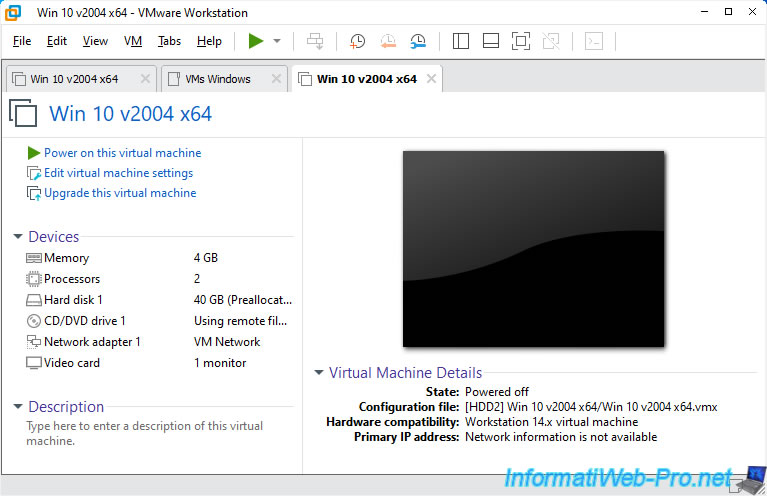
Once the virtual machine is downloaded, VMware Workstation will automatically open it.
As you can see, this is stored locally. Unlike the other one which was in the "HDD2" datastore of our VMware ESXi host.
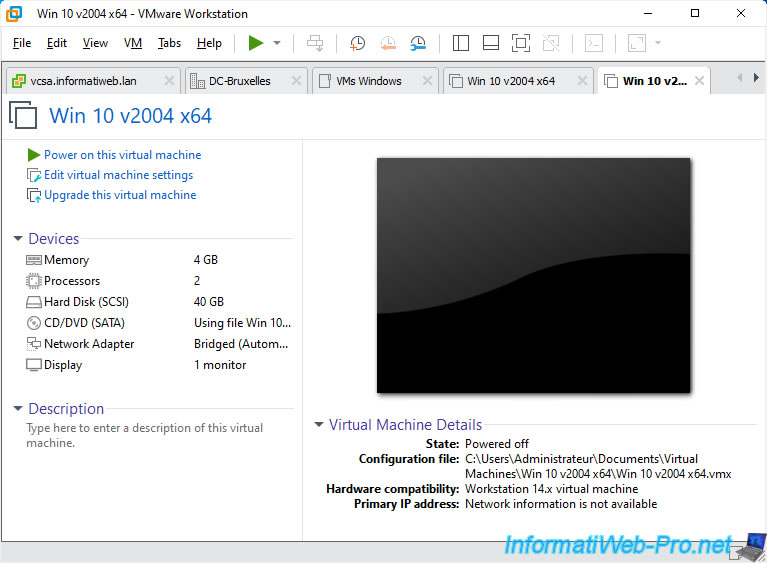
Note that the advantage of this technique is that the virtual machine will be kept in ".vmx" format and not in OVF format as would have been the case if you had downloaded this virtual machine from the vSphere Client of your VMware vCenter Server.
3. Upload a virtual machine from VMware Workstation to your VMware vCenter Server (VCSA)
Thanks to VMware Workstation, you can also transfer a virtual machine from your computer to your VMware vCenter Server.
To do this, simply right-click on the tab of the desired virtual machine, then click on: Manage -> Upload.

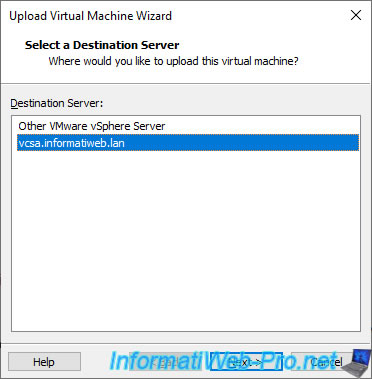
If you have already connected to your VMware vCenter Server previously (as explained in step 1 of this tutorial), your vCenter Server will appear in the list of destination servers.
In this case, select it and click Next.
Otherwise, select "Other VMware vSphere Server" and click "Next" to specify connection information for your VMware vCenter Server.
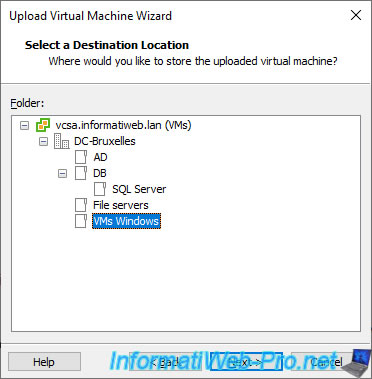
Select where in your VMware vCenter Server inventory this virtual machine should be added and click Next.
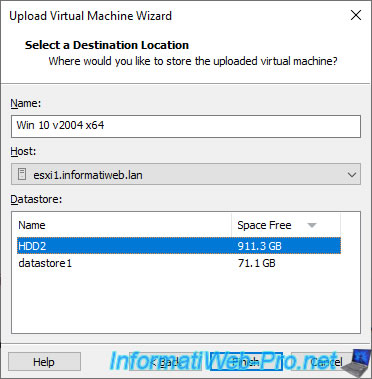
Then :
- Name: indicate under what name this virtual machine should be created on your VMware vCenter Server, as well as on the VMware ESXi host.
- Host: select on which VMware ESXi host this should be created and executed.
Because multiple VMware ESXi servers can be linked to a single VMware vCenter Server, VMware Workstation allows you to select the destination VMware ESXi host. - Datastore: select the desired datastore in which the virtual machine should be stored on the VMware ESXi host selected above.
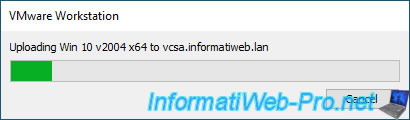
Wait while your virtual machine is sent (Uploading) to your VMware vCenter Server and more precisely to the desired VMware ESXi host.
Once the virtual machine is sent to your server, it will be available on your VMware vCenter Server.
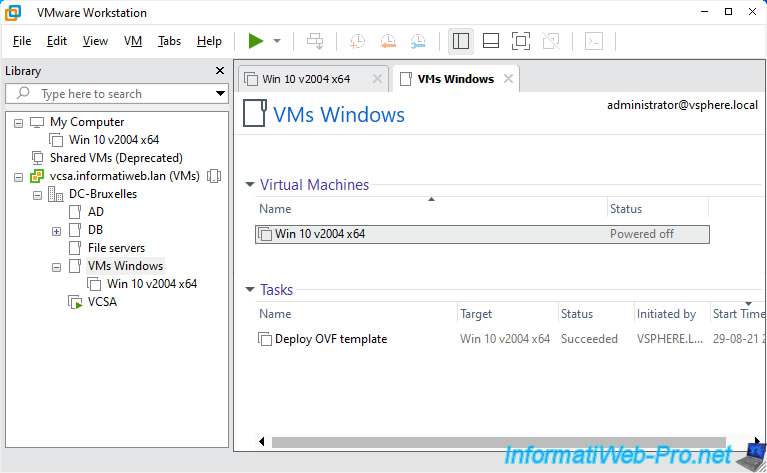
As you can see, the virtual machine has been sent to the "HDD2" datastore of our VMware ESXi host.
And this also appears in the "vSphere Client" of our VMware vCenter Server.

Share this tutorial
To see also
-

VMware 12/20/2024
VMware vSphere 6.7 - Clone vApps
-
VMware 10/4/2024
VMware vSphere 6.7 - Clone virtual machines
-
VMware 10/9/2024
VMware vSphere 6.7 - Clone virtual machines to a content library
-
VMware 10/11/2024
VMware vSphere 6.7 - Convert a Hyper-V virtual machine to a VMware VM
You must be logged in to post a comment