- VMware
- 04 December 2024 at 14:08 UTC
-

- 1/4

On your VMware vCenter Server (VCSA), you can create content libraries to store virtual machine template files or ISO files to install the guest operating system of your VMs.
- Create a content library
- Import and export elements (VMs, ISO files, ...)
- Create a new virtual machine from the content library
- Deploy from an OVF template
- Create a virtual machine and use a content library ISO file
1. Create a content library
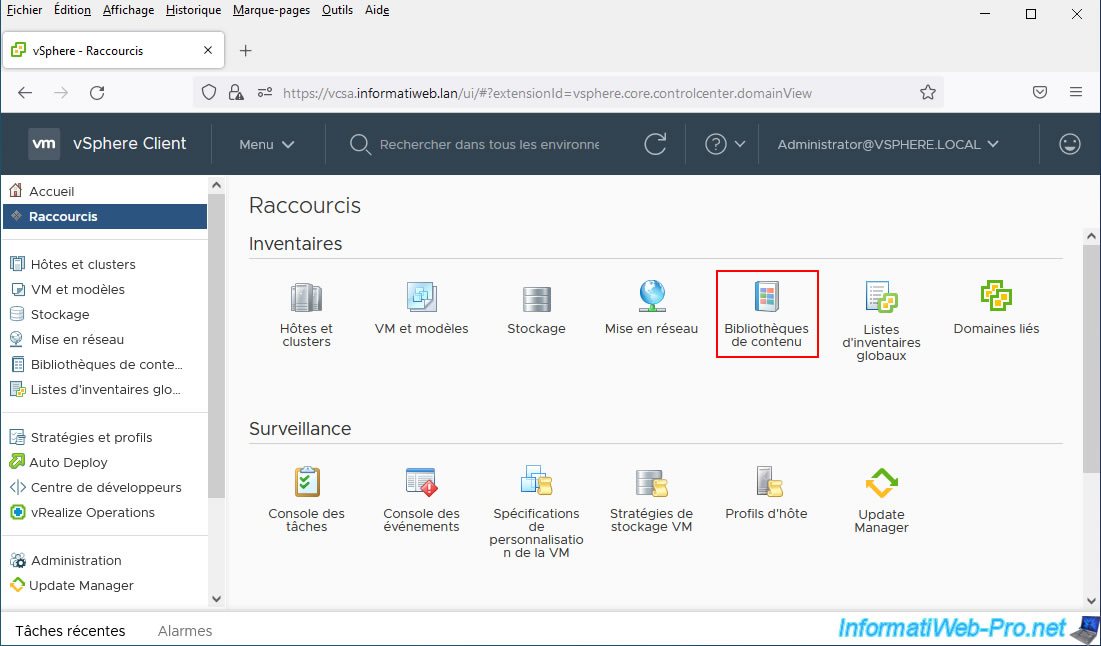
To add a new content library to your VMware vCenter Server (VCSA), click "vSphere Client" at the top left, then click: Content Libraries.
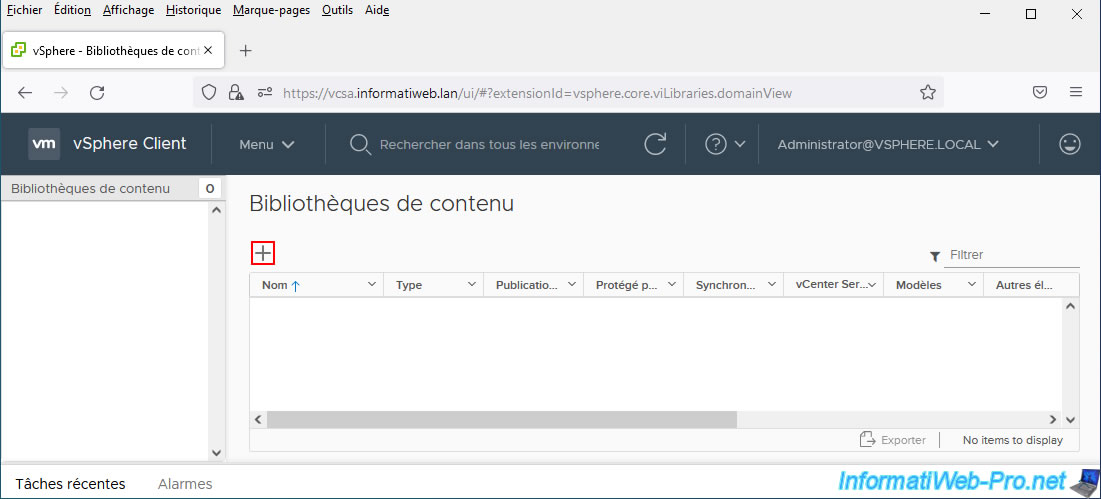
Next, click on the "+" icon.
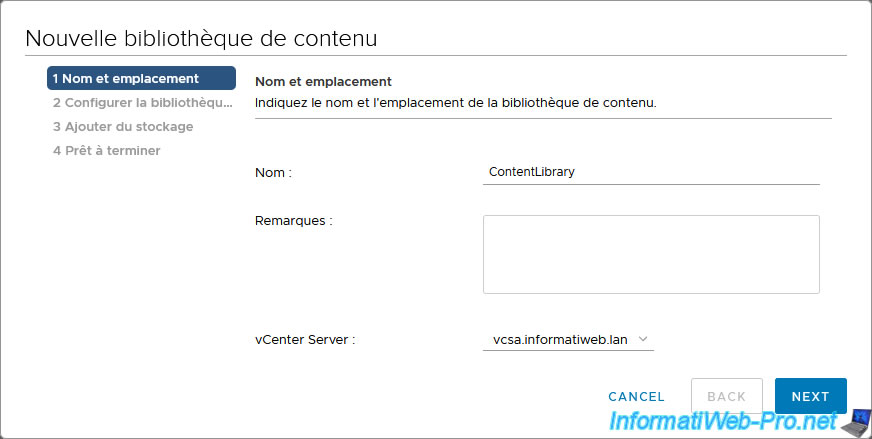
Provide a name for your content library, a note (description) for it if desired, and then choose the vCenter Server where you want to create it.
By default, there is only one vCenter Server available.
However, in the event that you have several vCenter Server servers linked together using ELM (Enhanced Linked Mode), there would be several.
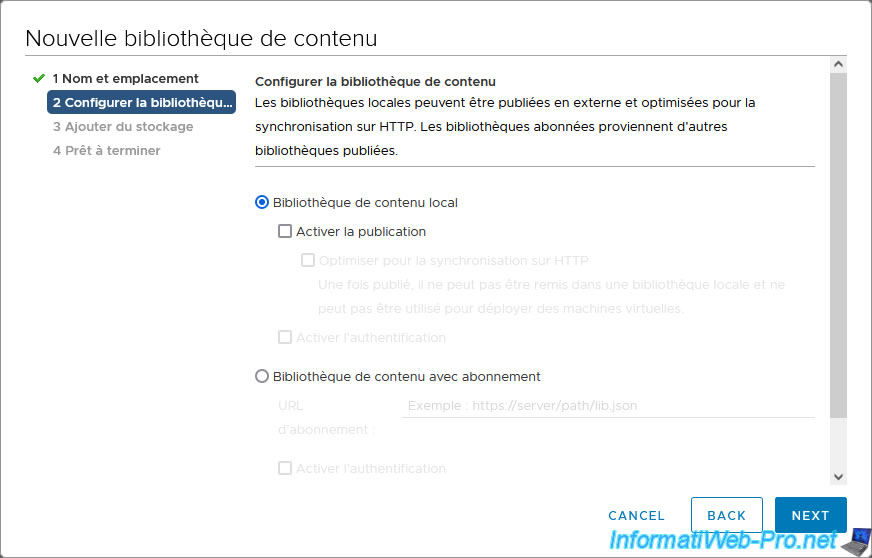
As you can see, you will be able to create:
- Local content library: the content of this will be stored locally in a database of one of your hypervisors (VMware ESXi) and this content library can be shared (by activating publication) to allow other servers vCenter Server to access it remotely.
- Subscribed content library: allows you to remotely use a content library created on a remote vCenter Server.
Select "Local content library" and click Next.
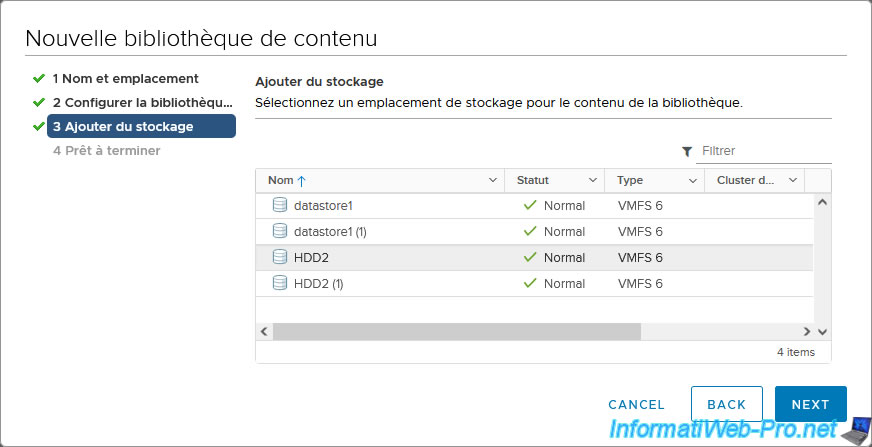
Select the storage location (datastore) to store the files you will add to your content library.
In our case, we selected the "HDD2" datastore which is located on our 1st VMware ESXi server.
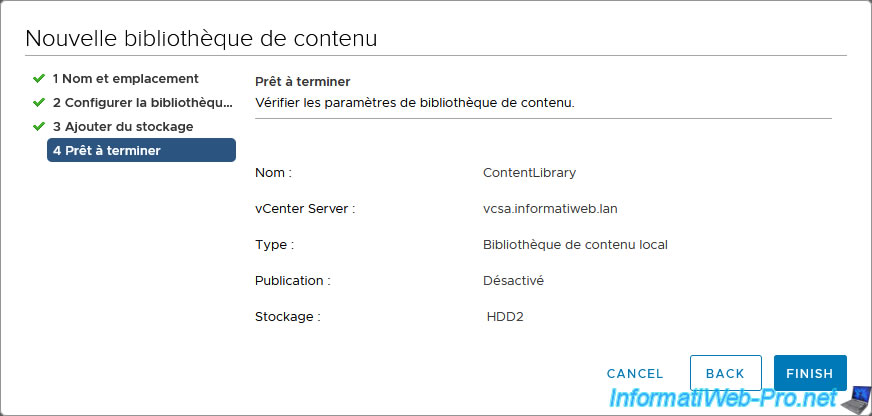
A summary is displayed with:
- Name: the name of your content library.
- vCenter Server: the vCenter Server where it will be created.
- Type: indicates whether this is a local content library or whether you chose to use an existing content library on a remote vCenter Server.
- Publishing: indicates whether sharing (and therefore remote access) of this content library is enabled or not.
- Storage: location (datastore) where the files you add to your content library will be stored.
Click Finish.
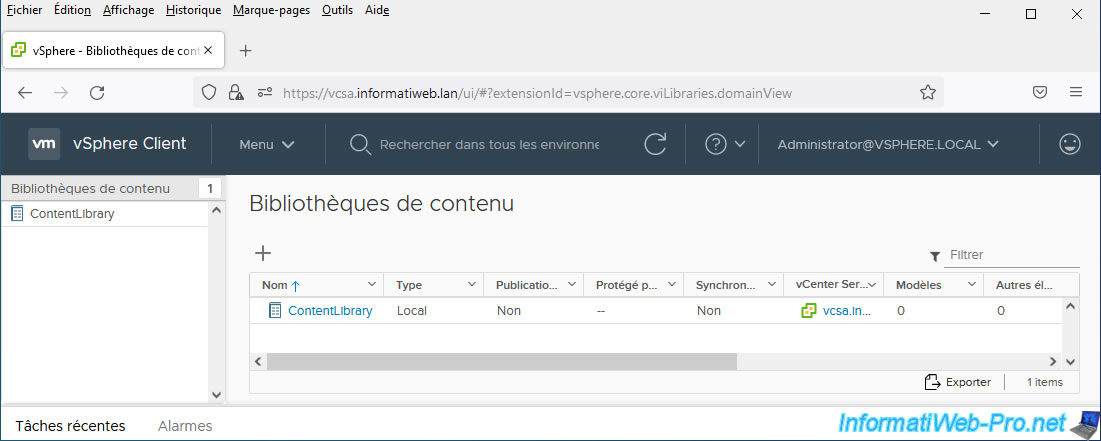
Your new content library has been created.
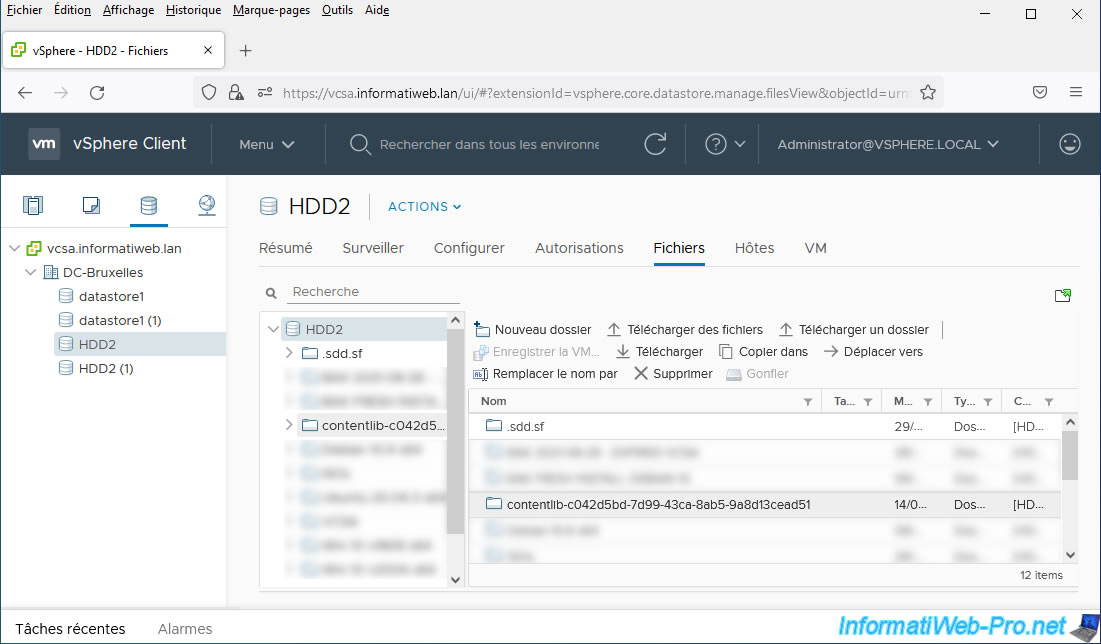
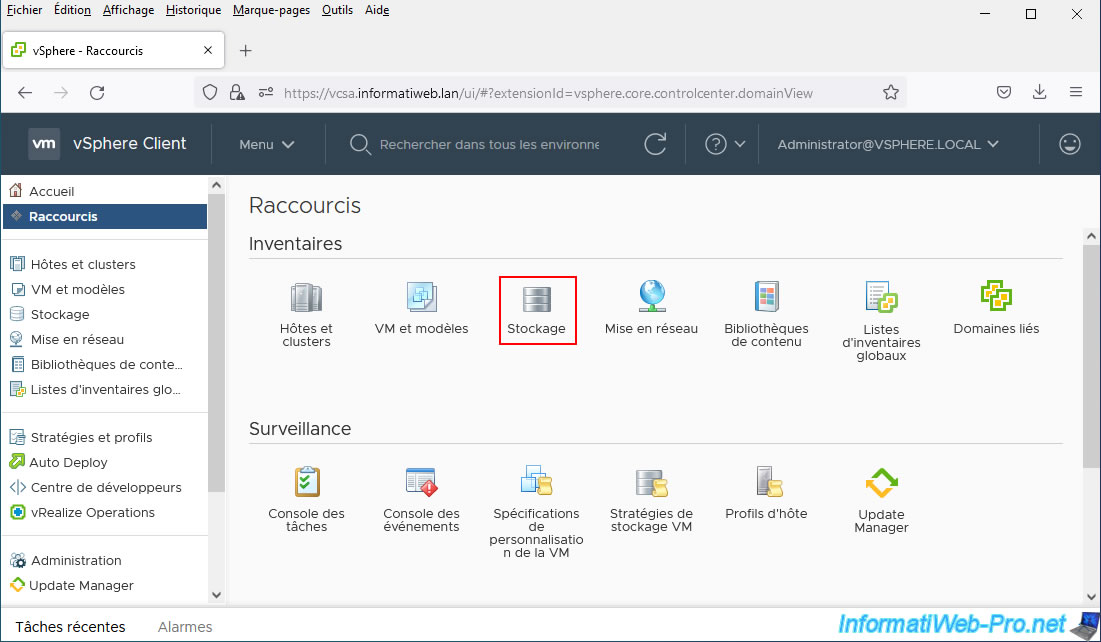
Now that your content library has been created, click "vSphere Client" at the top left of the page.
Then, click on: Storage.

If you look in the previously selected storage, you will find a new folder whose name starts with "contentlib-".
This "contentlib-xxxxx..." folder corresponds to your new content library and a new "contentlib-xxxxx..." folder will be created for each new content library created.
2. Import and export elements (VMs, ISO files, ...)
To import or export elements (VMs, ISO files, ...) from your content library, click on "vSphere Client", then on: Content Libraries.

Next, click on the name of your content library.
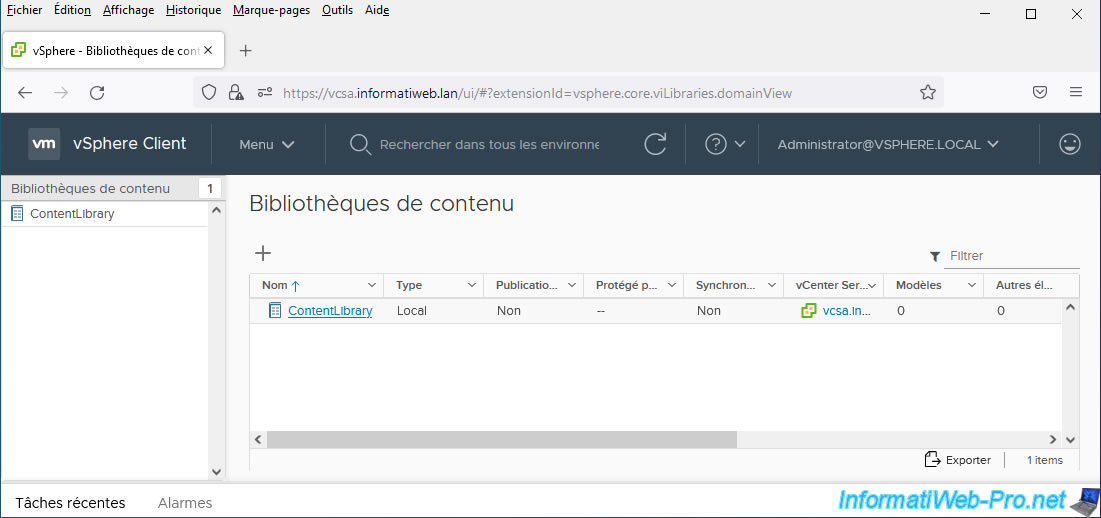
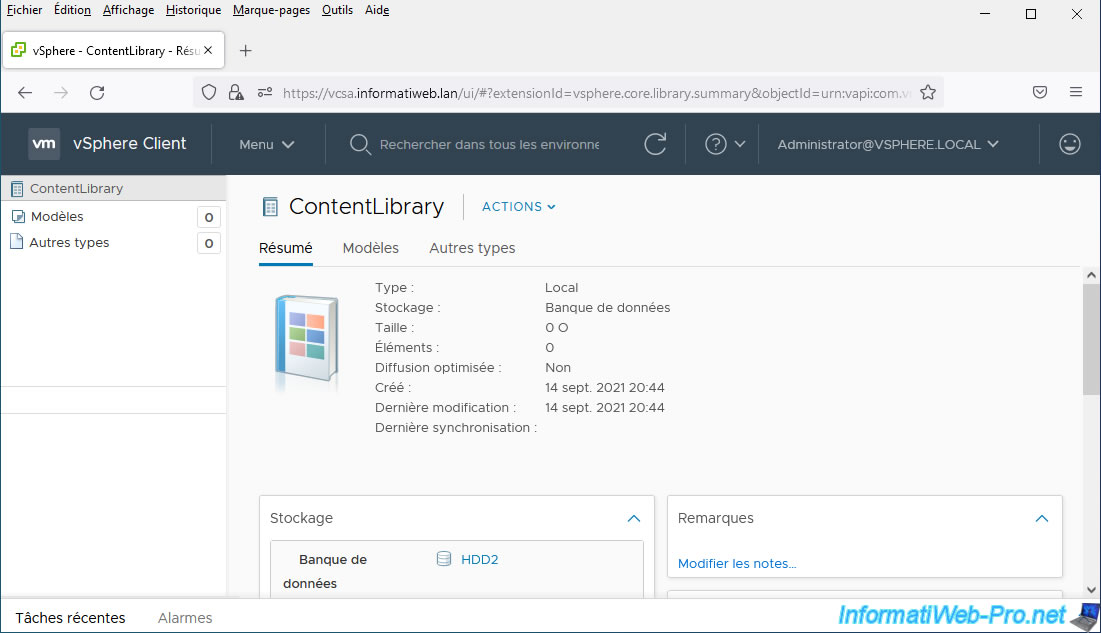
Information about your content library appears.
Note that OVF templates (virtual machine templates) will be found in the "Templates" tab, while ISO files will be found in the "Other Types" tab of your content library.
2.1. Import an OVF (virtual machine) template
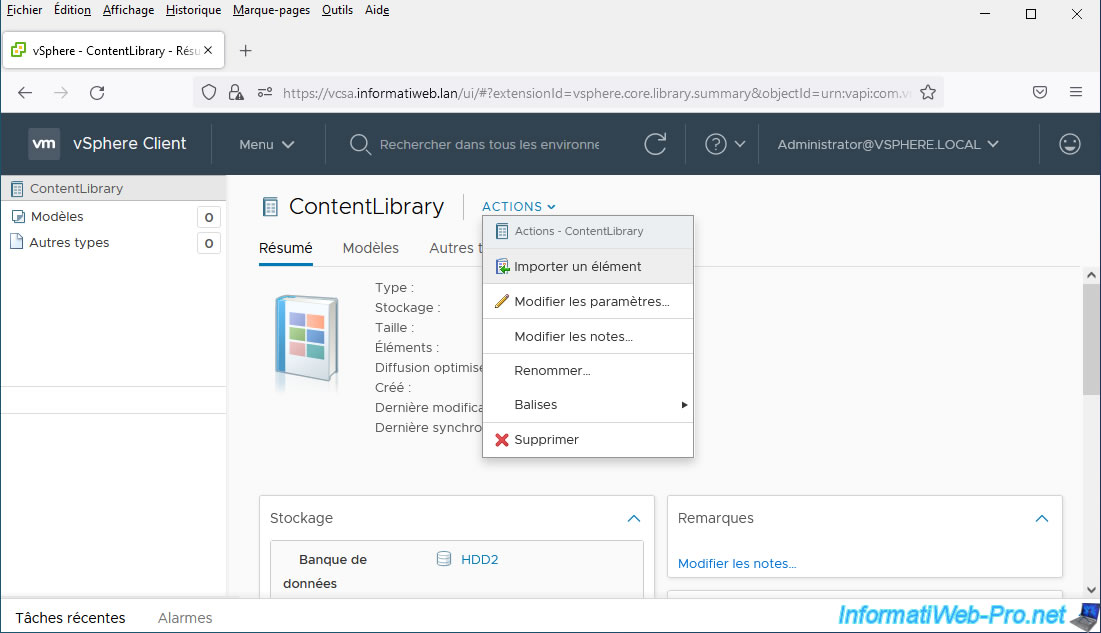
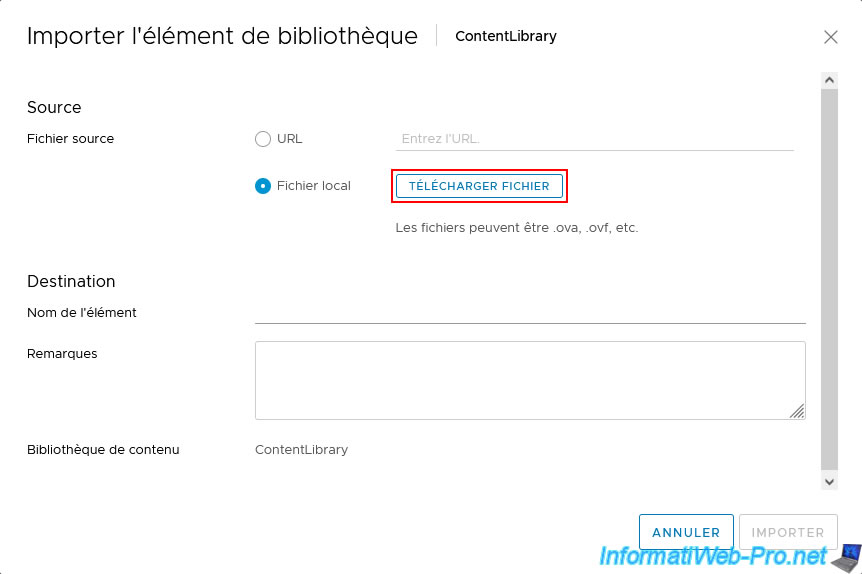
To import an OVF template into your content library, click on the "Actions" link, then: Import item.
Then, select "Local file" and click the "Upload file" button.
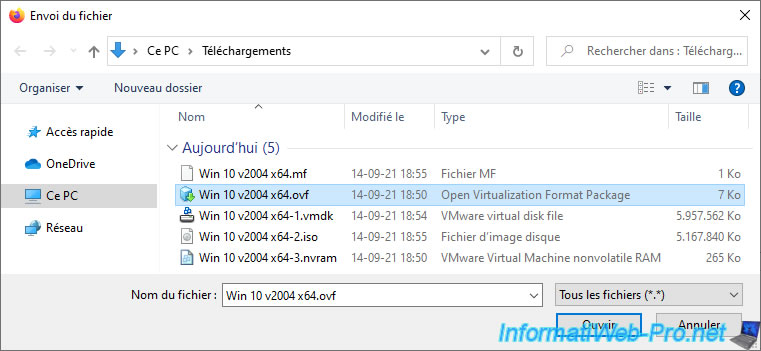
To import a virtual machine in OVA format, select its OVA file.
If your virtual machine is in OVF format, first select its configuration file, whose extension is: .ovf.
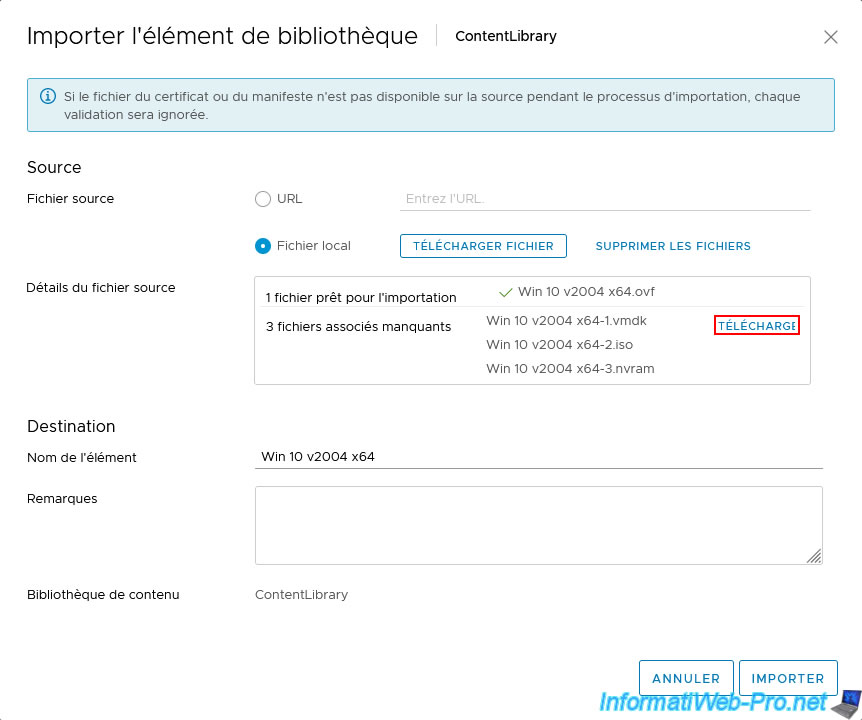
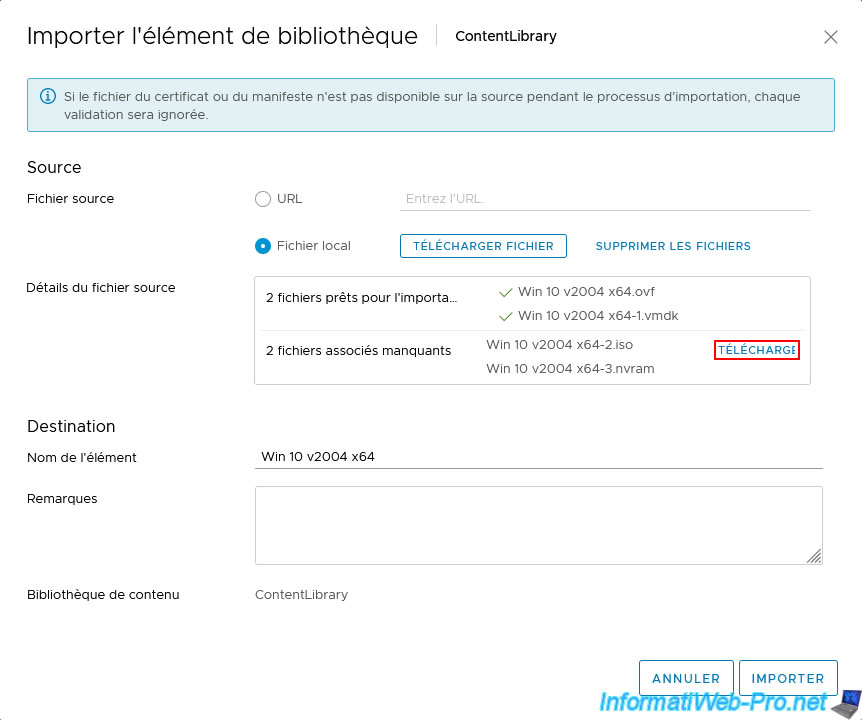
Using the virtual machine configuration file in OVF format, VMware vCenter Server will be able to tell you which files are required for importing this virtual machine.
As you can see, in our case, the dependent files are:
- xxxxx.vmdk: the virtual hard disk file.
- xxxxx.iso: the ISO file (virtual CD/DVD) that was linked to the virtual machine.
- xxxxx.nvram: the file containing the current BIOS / firmware configuration of the virtual machine.
To download these missing associated files (one by one), click the "Download" link present to the right of the list of missing associated files.
Select the virtual hard disk of the virtual machine, whose extension is: .vmdk.
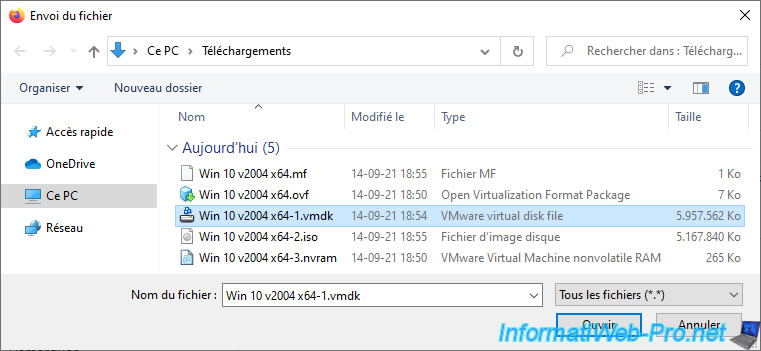
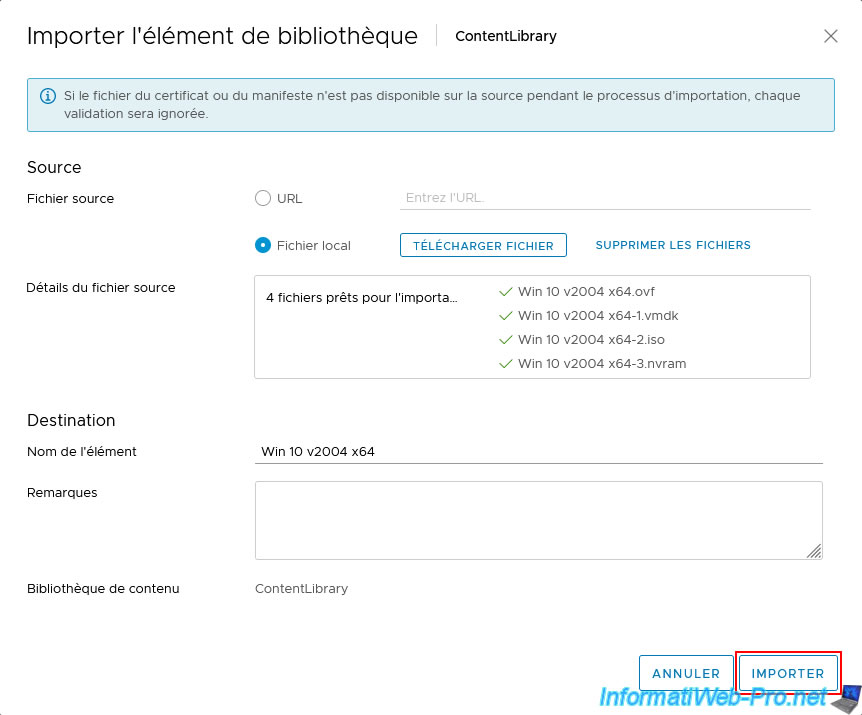
Select the other required dependent files by clicking the "Download" link again for each file.
Once all the dependent files have been selected, change the name of the element (in this case: an OVF template) under which it will appear in your content library if you wish.
Then, provide a note (optional) and click Import.
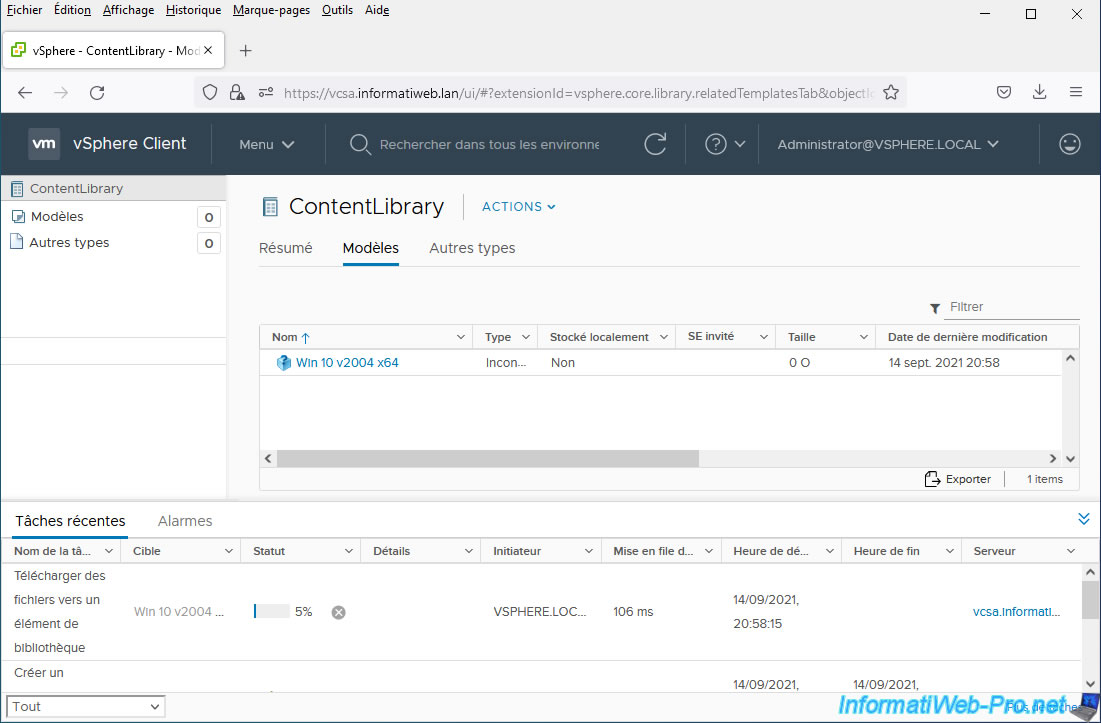
While the various files are being imported, the task "Upload Files to a Library Item" will appear in recent tasks.
For the item being imported, its type will be "Unknown" during import.
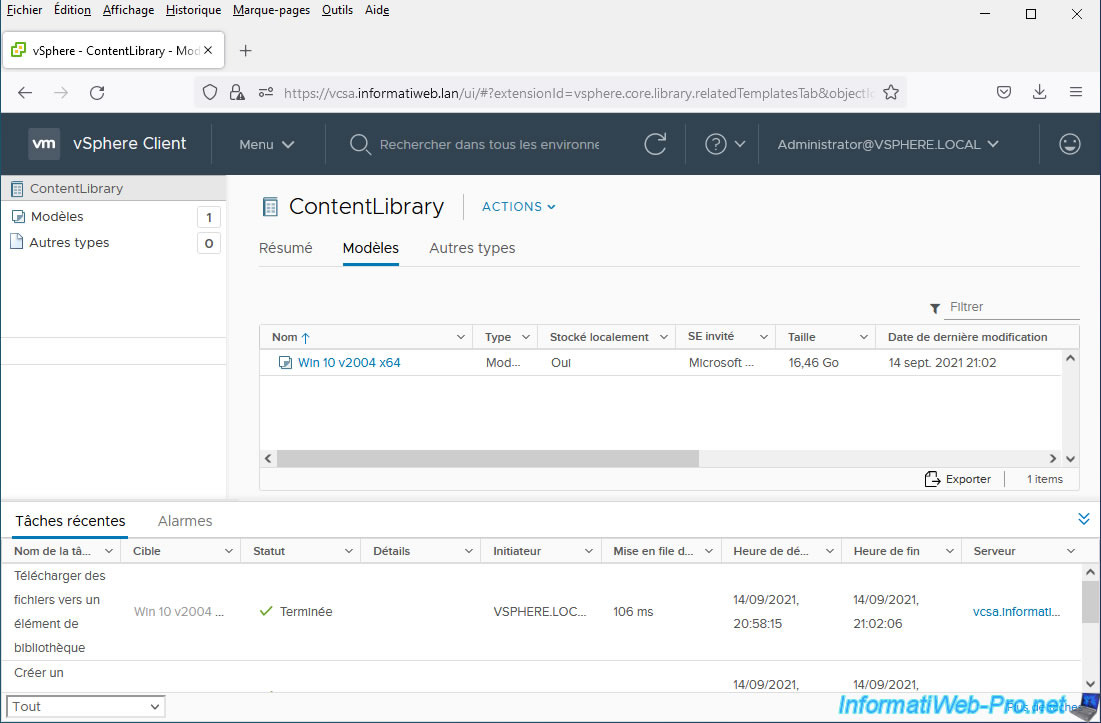
Once the import is complete, the status of this "Upload Files to Library Item" task will be "Completed" and the type of the imported item will be: OVF Model.
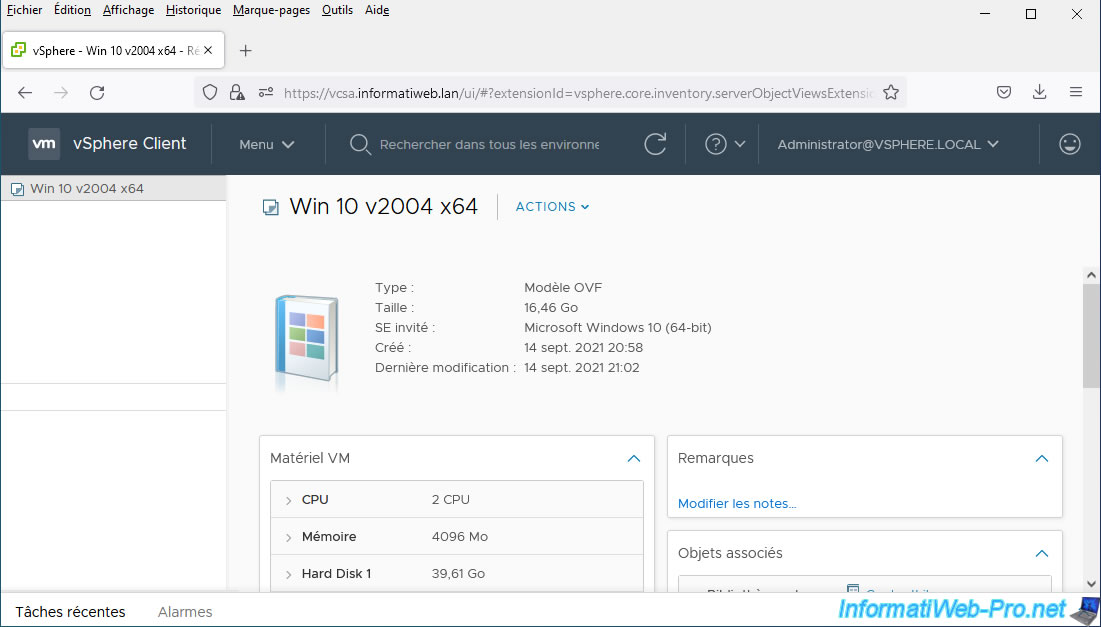
If you click on its name, you can obtain information about it:
- its type (OVF model), its size, the guest OS installed in this OVF model, ...
- its virtual hardware, such as the number of processor cores, the quantity of RAM allocated to it, ...
- the note that was added (if any) for it via the item import wizard
- related objects, such as your content library or other objects
- the tags associated with it (if applicable)
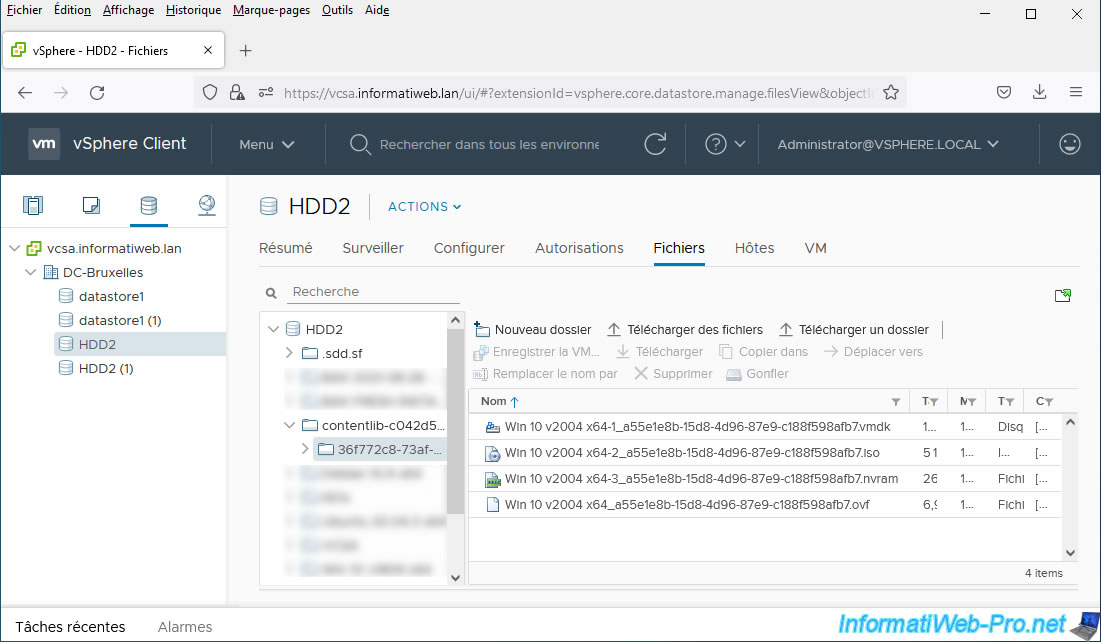
To see where the imported files are stored, click "vSphere Client", then: Storage.
If you go to the "contentlib-xxxxx..." folder created when creating your content library, you will see that a new folder with a random name (unique identifier) has been created there.
This folder corresponds to the item that was imported into your content library.
Inside this file, you will find the OVF, VMDK, ... files that you have just imported into your content library.
Note that a unique identifier has been added to the end of the name of each imported file.
2.2. Export an OVF (virtual machine) template
To export an OVF template from your content library, click its name to view it.
Next, click "Actions -> Export Item".

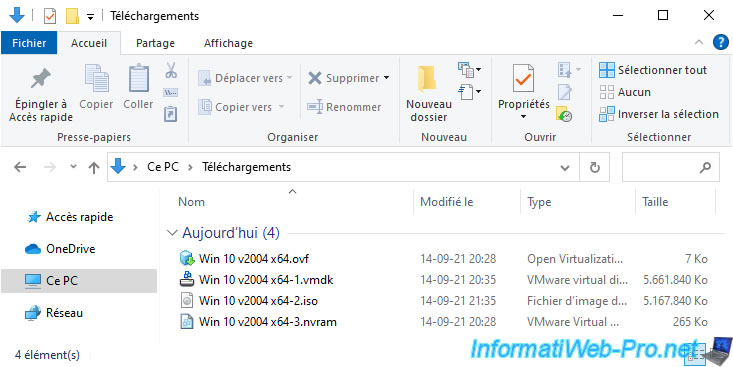
As you already know, an OVF template is composed of several files:
- a configuration file in ".ovf"
- a virtual hard disk in ".vmdk"
- an ISO (virtual CD/DVD) file (if applicable) in ".iso"
- a file containing the current BIOS / firmware configuration of the VM in ".nvram"
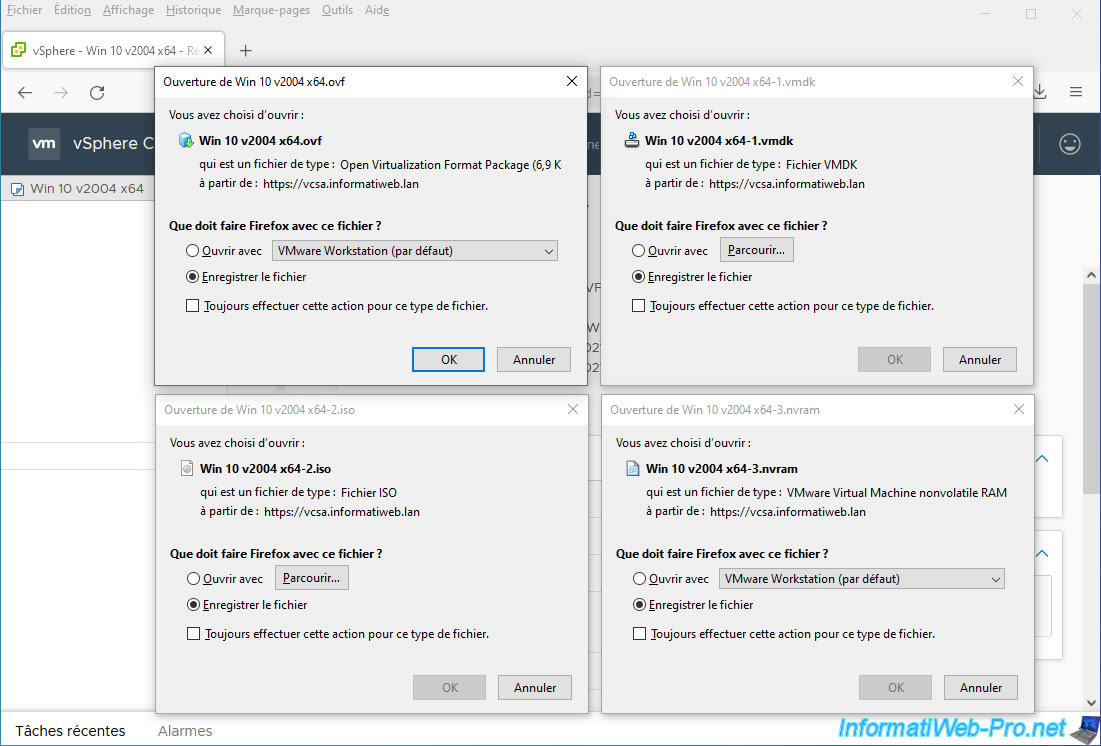
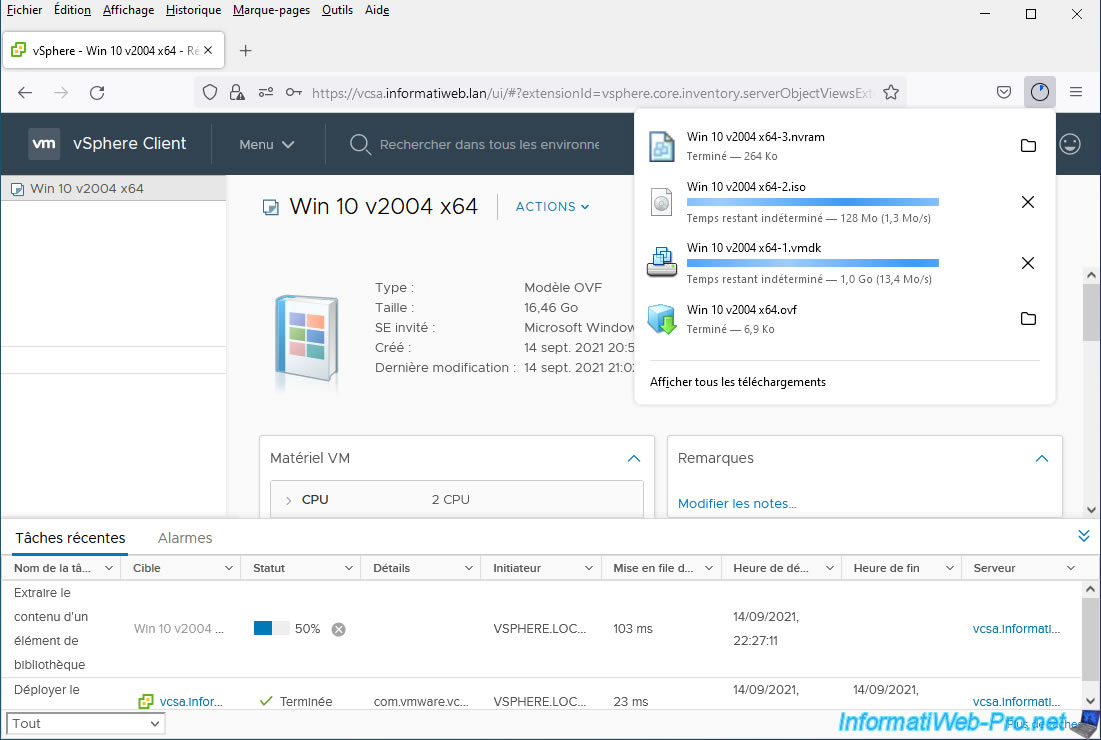
Wait while the different files composing the OVF template that you wish to export are downloaded.
Note that an "Fetch Content of a Library Item" task will appear while downloading these different files to your computer.
Once the download of the various files is complete, the status of the "Fetch Content of a Library Item" task will be "Completed".
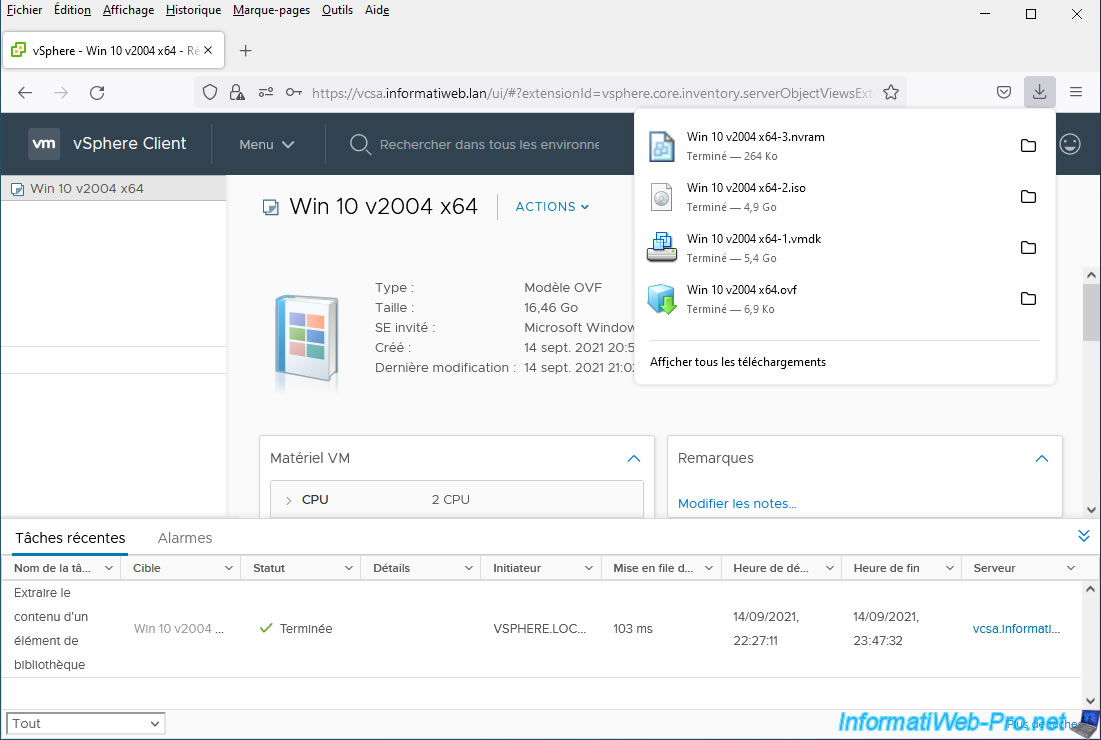
The files have been downloaded to your computer.
Share this tutorial
To see also
-

VMware 5/15/2024
VMware vSphere 6.7 - Add a physical disk to host
-

VMware 9/27/2024
VMware vSphere 6.7 - Array integration APIs (VAAI)
-

VMware 9/6/2024
VMware vSphere 6.7 - Configure port binding (iSCSI traffic)
-

VMware 6/13/2024
VMware vSphere 6.7 - Configure Virtual Flash (SSD cache)
You must be logged in to post a comment