- VMware
- 18 December 2024 at 14:45 UTC
-

- 1/2


When you create vApps, this allows you to bring them together in one place, as well as manage the power of the virtual machines within them by managing the power of the desired vApp.
One of the other advantages of vApps is the ability to export or import a vApp. Which makes it easy to transfer multiple virtual machines from one server to another or broadcast a vApp over the Internet (if you wish).
- Add information about your virtual appliance (optional)
- Export a vApp in OVF format from the web interface (vSphere Client)
- Import a vApp in OVF format from the web interface (vSphere Client)
- Export a vApp in OVF format from the command line (using VMware OVF Tool)
- Import a vApp in OVF format from the command line (using VMware OVF Tool)
1. Add information about your virtual appliance (optional)
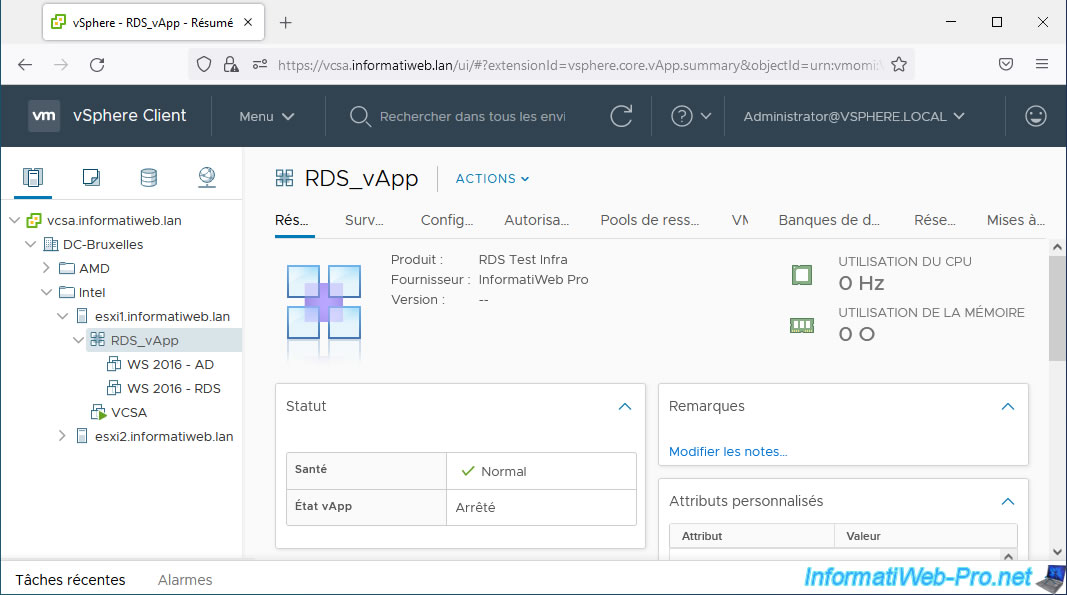
When you create a vApp, you have the possibility to add information, in particular the name of the product and/or its supplier.
This is optional, but interesting when the goal is to distribute this vApp on the Internet.
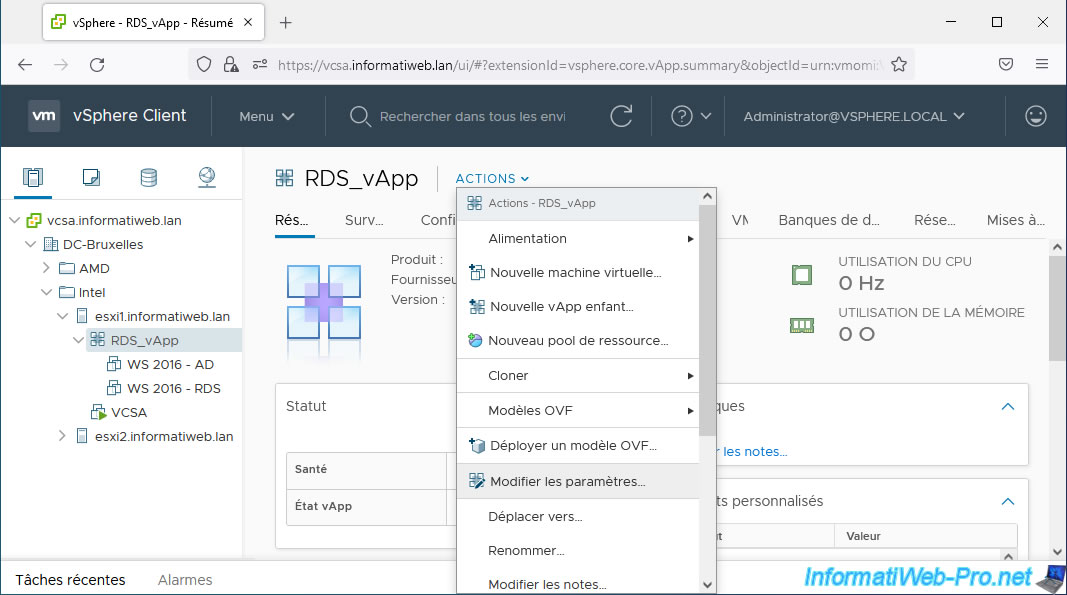
To do this, select your vApp and click: Actions -> Edit Settings.
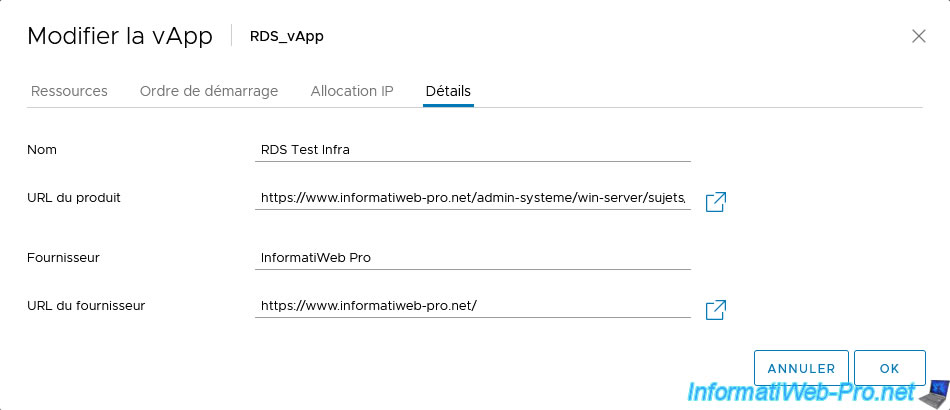
Next, go to the "Details" tab and fill in the desired information (optional):
- Name: the name of your product (virtual appliance).
For the example, we indicated: RDS Test Infra. - Product URL: URL of a page on your website where you talk about this product.
For the example, we have provided a link to the "RDS" section of our website. - Supplier: the name of your brand, your company or the name of your website.
In our case: InformatiWeb Pro. - Provider URL: the base URL of your website.
In our case, the address of our website "InformatiWeb Pro".
2. Export a vApp in OVF format from the web interface (vSphere Client)
Thanks to the web interface (vSphere Client), you can export your vApp from a simple modern web browser.
Still prefer Mozilla Firefox or Google Chrome for better compatibility with this web interface.
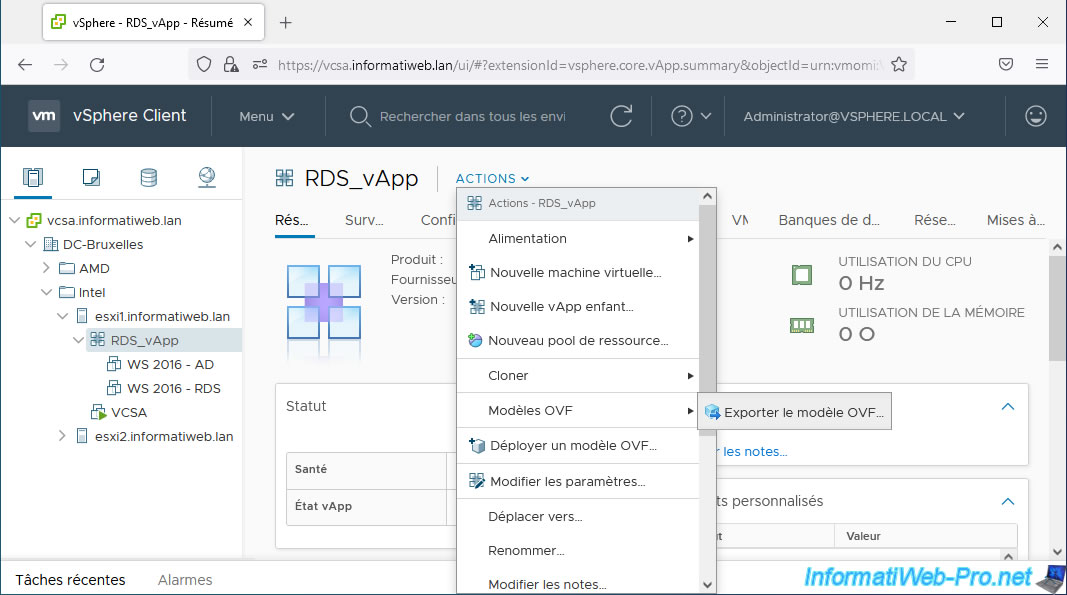
To get started, select the vApp you want to export.
Then click: Actions -> OVF Template -> Export OVF Template.
In the "Export OVF Template" wizard that appears, provide a name (preferably without spaces).
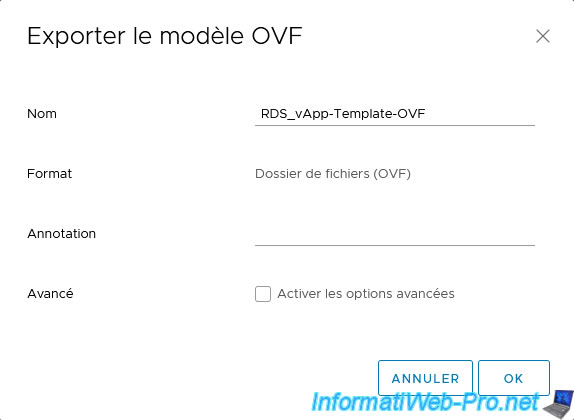
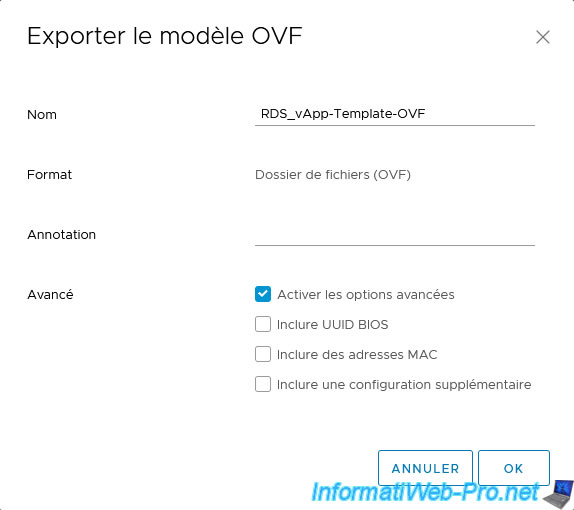
If you check the "Enable advanced options" box, you will have the possibility to:
- Include BIOS UUID: include the unique BIOS identifier. To avoid activation problems with software whose license is linked to the hardware of the virtual machine.
- Include MAC addresses: so that the MAC address of the different network cards of your virtual machines is preserved.
However, only use this option if you really need it, because 2 virtual machines with the same MAC address cannot work properly on the same network. - Include extra configuration: include configuration associated with this vApp.
Then click OK.
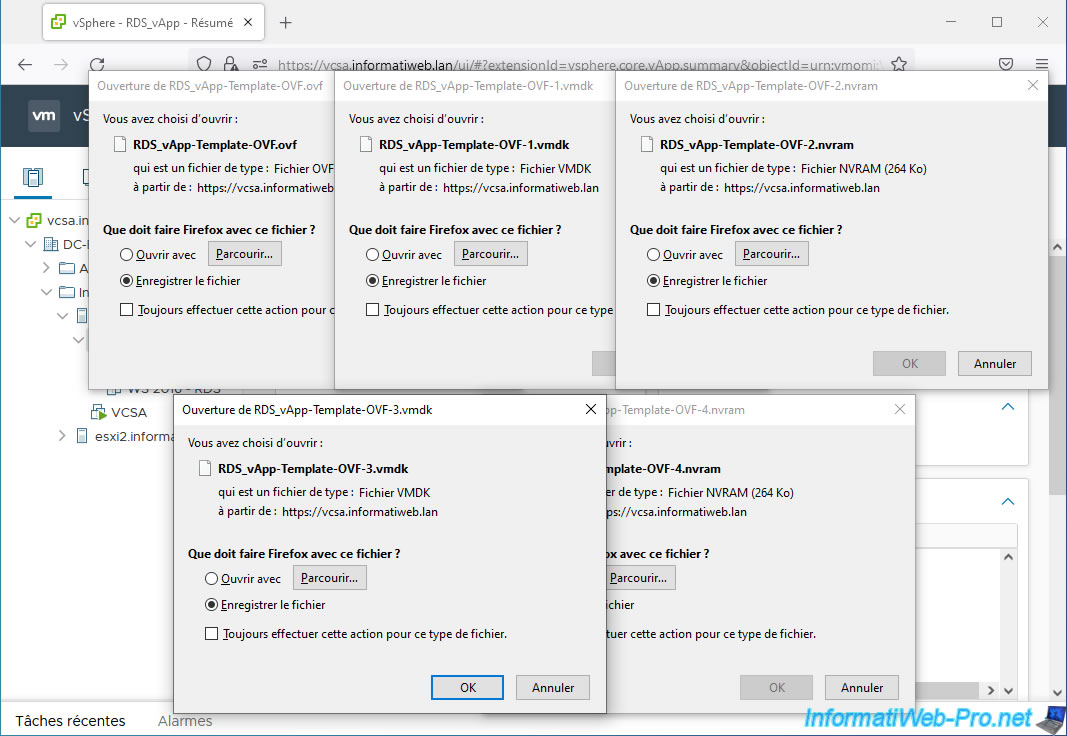
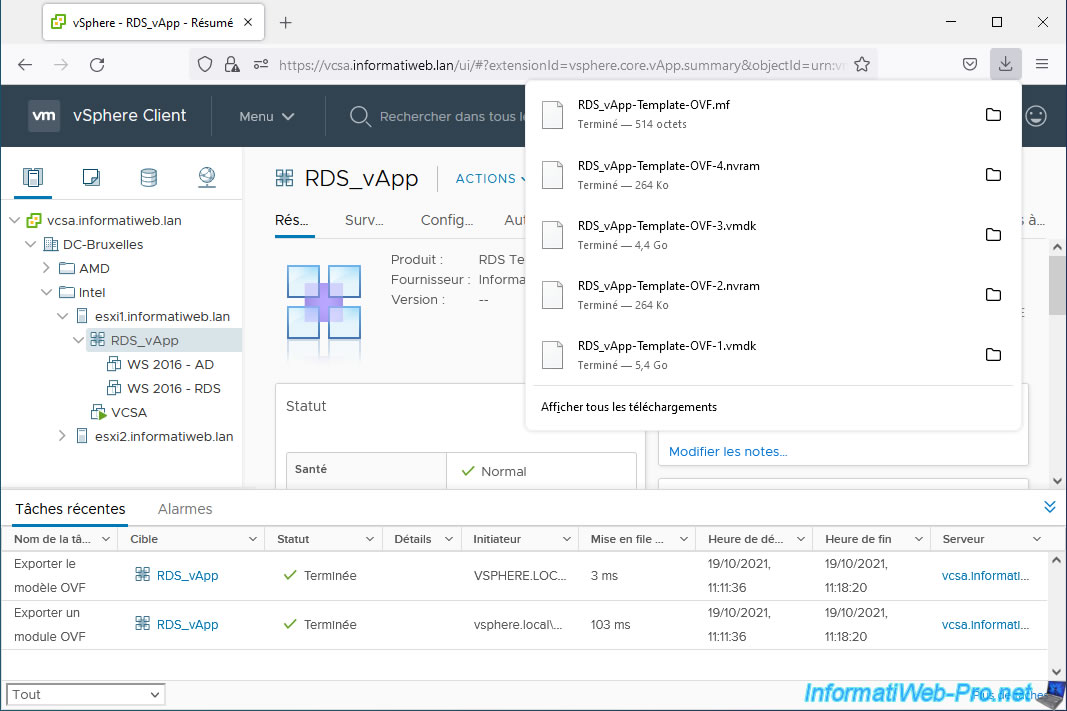
Several files will be offered for download:
- the configuration file (in OVF format) of the vApp and its VMs, whose extension is ".ovf".
- the virtual hard disks of the virtual machines present in the vApp, whose extension is ".vmdk".
- the current BIOS/EFI firmware configuration of these virtual machines, whose extension is ".nvram".
The heaviest files to download are obviously the ".vmdk" files, which each correspond to a hard drive of one of the virtual machines in your vApp.
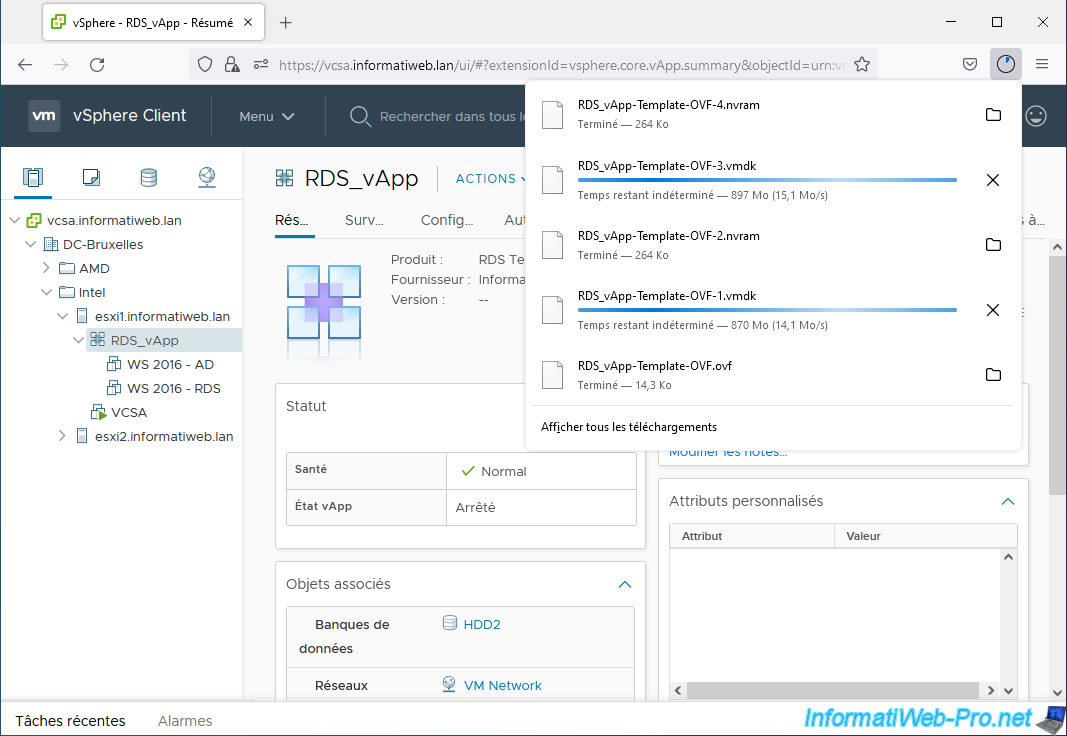
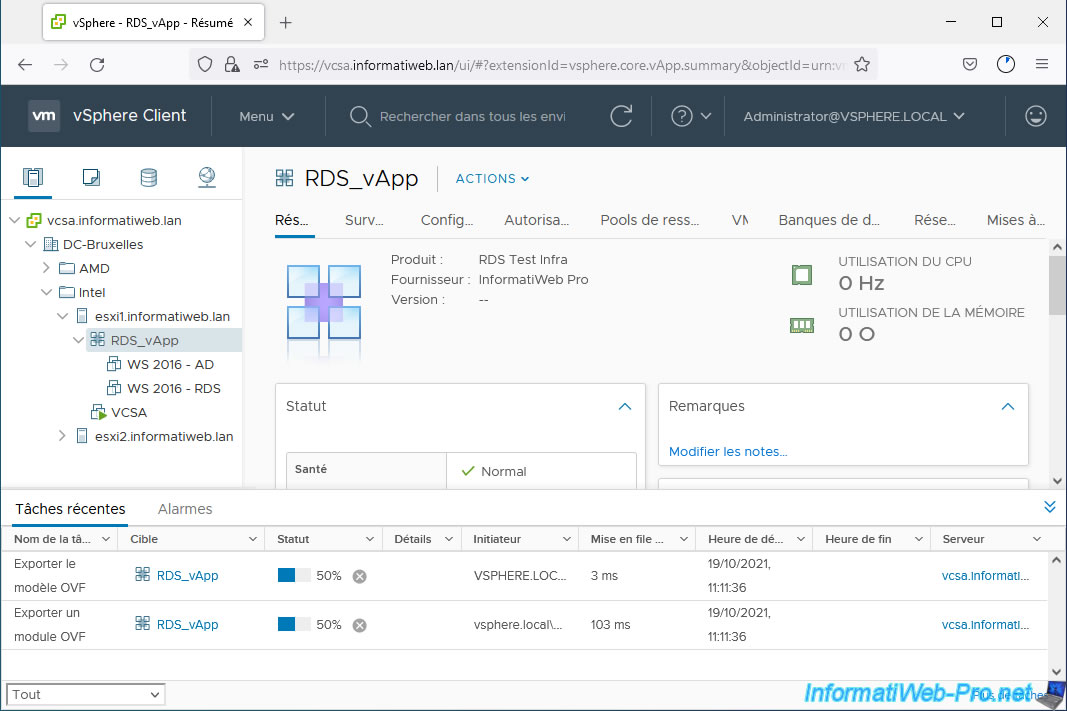
In the recent tasks list, you will see several "Export OVF Template" tasks appear for your vApp.
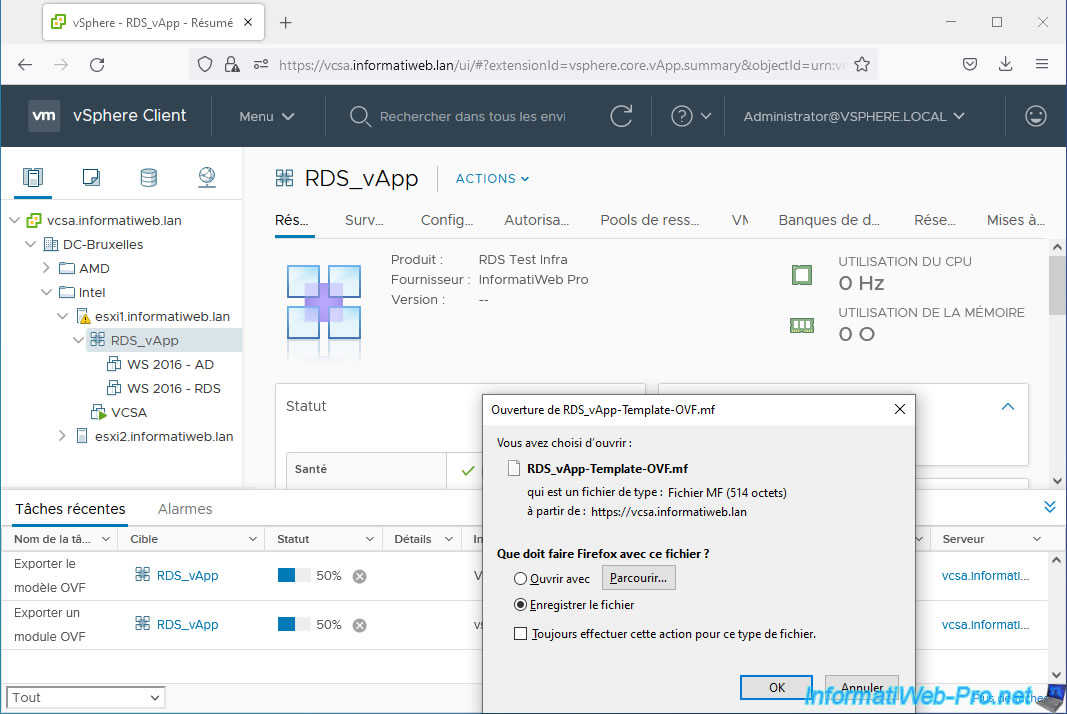
Once all the proposed files have been downloaded, an additional file with the extension ".mf" will be offered for download.
This is the manifest file used with the OVF format to be able to verify the integrity of the downloaded files when you want to import this vApp in OVF format.
Once this last file is downloaded, the "Export OVF Template" tasks will be completed.
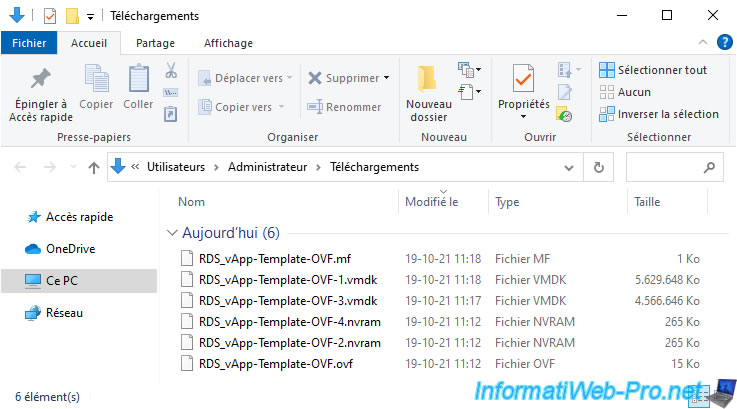
In the end, on your hard drive, you will have:
- a ".mf" file: the manifest file (optional) to check the presence and integrity of other exported files.
- several ".vmdk" files: one file per virtual hard disk.
- several ".nvram" files: one file per virtual machine and which corresponds to the current configuration of its BIOS / EFI firmware.
- an ".ovf" file: the vApp and VMs configuration file in OVF format.
3. Import a vApp in OVF format from the web interface (vSphere Client)
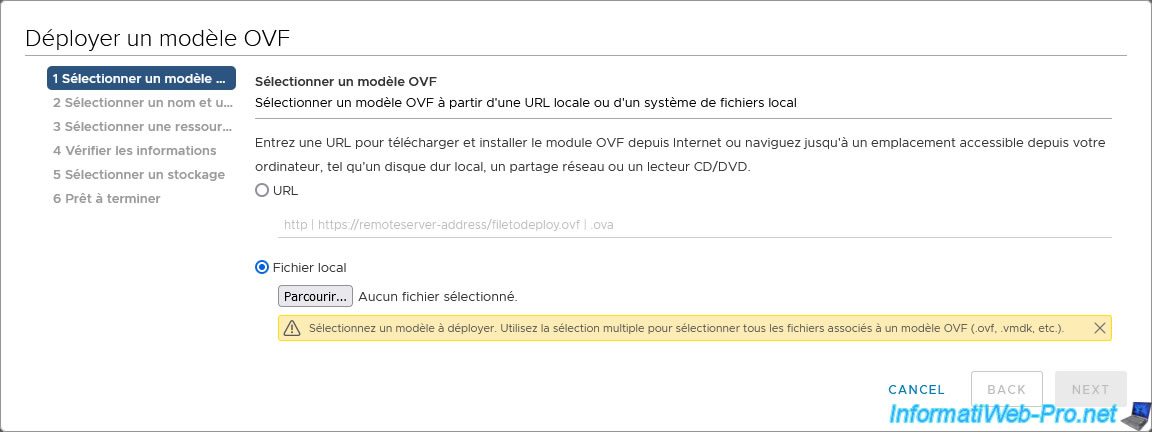
To deploy a new vApp from its previously exported OVF format, select the VMware ESXi host where you want to deploy this new vApp and click: Actions -> Deploy OVF Template.

In the "Deploy OVF Template" wizard that appears, select the "Local file" option and click on the button: Browse.
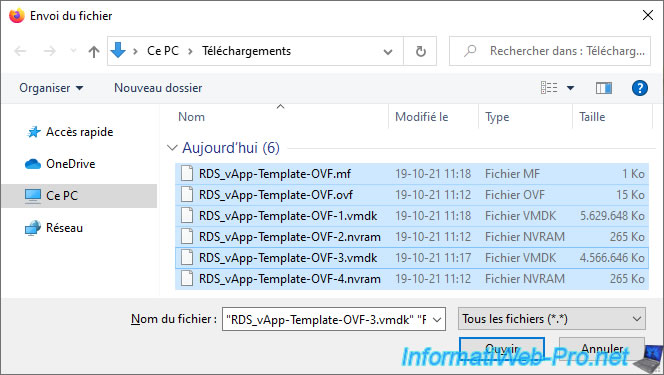
Select all previously exported files, as well as the optional manifest (.mf) file so that the integrity of the files can be verified.
Then, click Open.
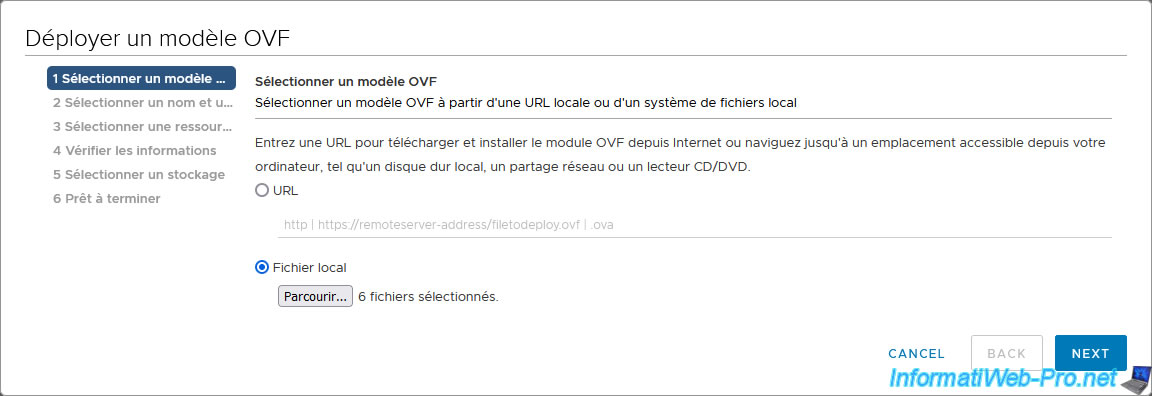
The wizard tells you how many files have been selected.
Click Next.
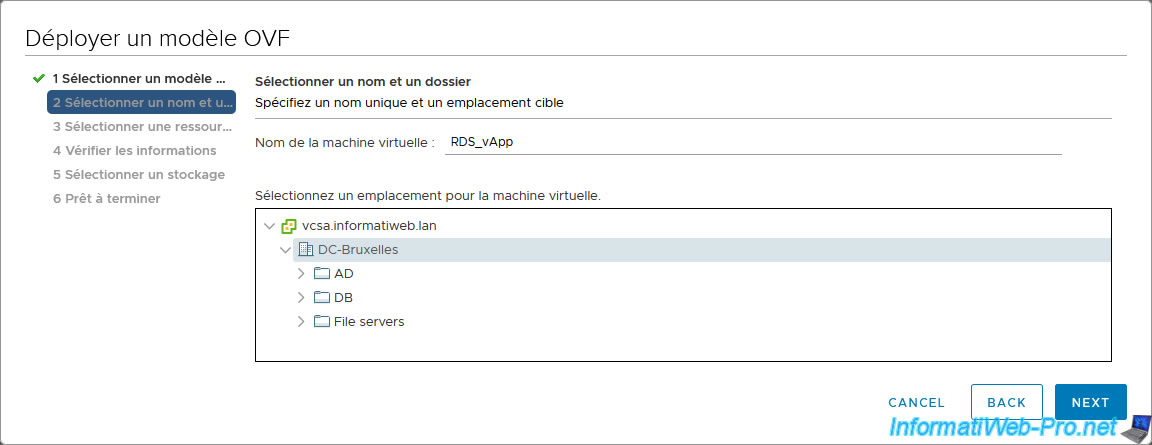
Provide a name for this new vApp and select the location (datacenter or folder) where you want to add it.
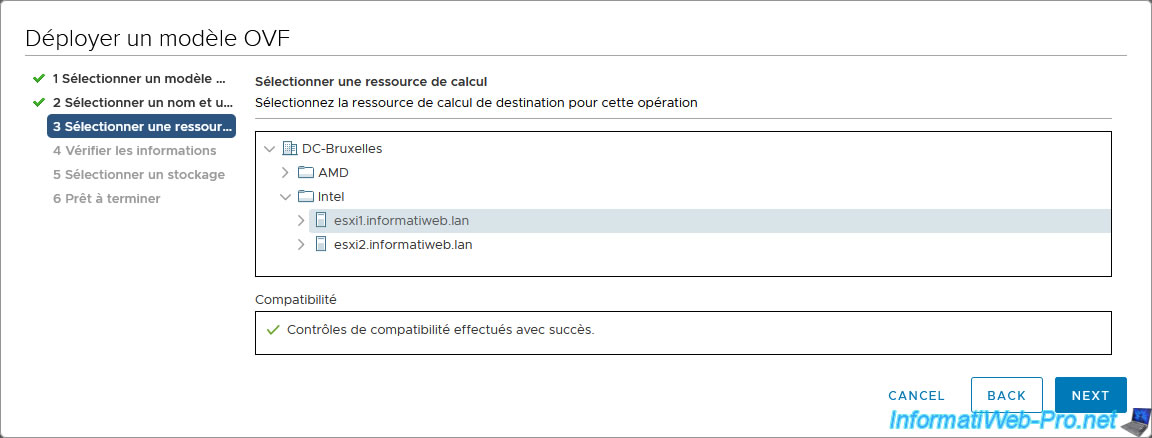
Select the compute resource (VMware ESXi host) where you want to run this vApp (and its VMs).
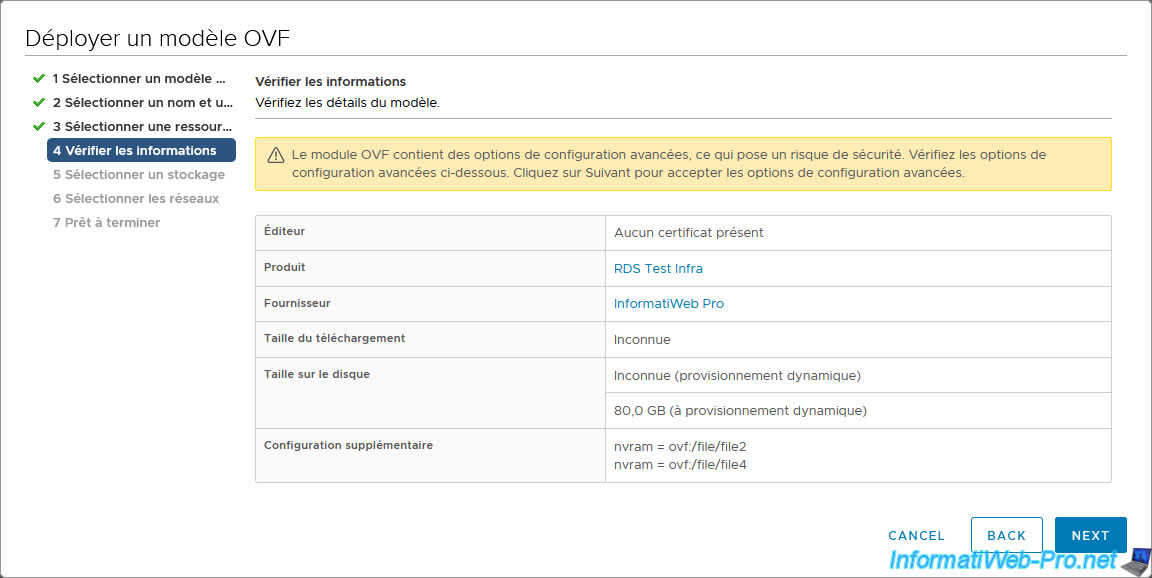
Information regarding the OVF template to import will appear.
If you added information via the "Details" tab of your vApp settings (as explained in step 1 of this tutorial), this information will appear here.
We therefore find in our case, the name of our product "RDS Test Infra" and the name of the supplier "InformatiWeb Pro".
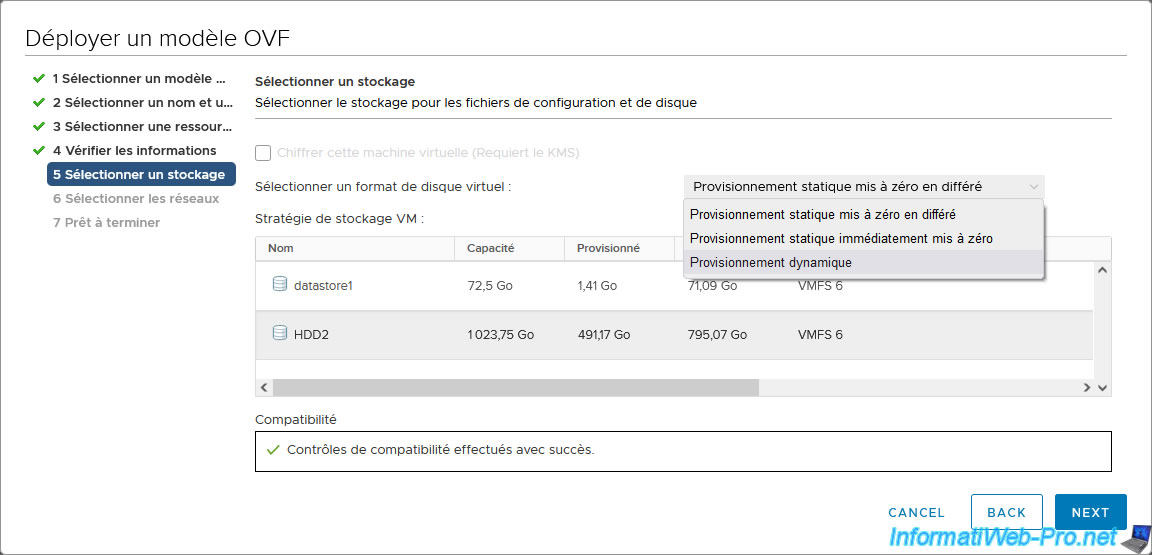
Select the datastore where you want to store your new vApp, then select the virtual disk format to use:
- Thick provision: to pre-allocate space on the database.
- Thin provision: to NOT pre-allocate this disk space and thus save disk space.
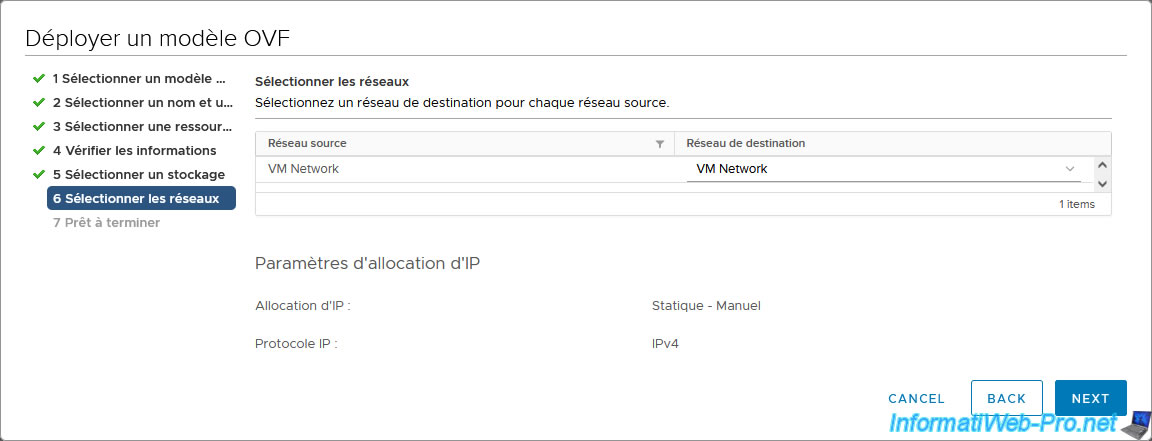
Select the virtual networks on your server to use for the virtual networks used by this vApp.
In our case, this is the default virtual network "VM Network".
A summary of the configuration of this OVF deployment appears.
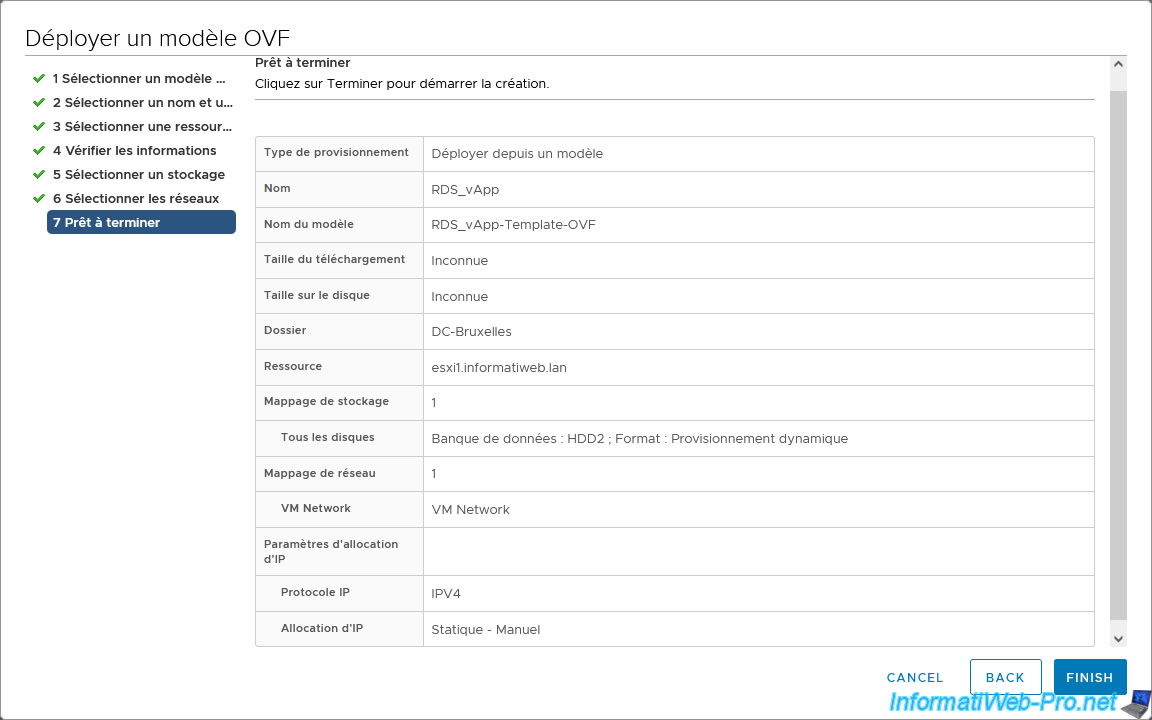
The deployment of the vApp from its OVF format starts and these tasks appear in the list of recent tasks:
- Deploy an OVF template
- Import an OVF module

However, in certain cases, it happens that the deployment of a vApp via the "vSphere Client" web interface fails for no apparent reason.
Which will show the error "OVF module deployment failed".
In our case, looking in the task history (via the menu -> Tasks), we could see that the error that occurred was "Invalid response code: 500".
Which normally happens when the imported OVF template contains references to some files with HTTP links. Source: VMware vSphere 6.5 Release Notes.
Which was not our case.
If the import also fails in your case and you can't find the answer on the Internet, use the "ovftool" tool to import this OVF model from the command line.
You will have a much better chance of it succeeding the first time.
Source : Failed to import OVF file from 6.5 to 6.7.

Share this tutorial
To see also
-

VMware 12/20/2024
VMware vSphere 6.7 - Clone vApps
-
VMware 10/4/2024
VMware vSphere 6.7 - Clone virtual machines
-
VMware 10/9/2024
VMware vSphere 6.7 - Clone virtual machines to a content library
-
VMware 10/11/2024
VMware vSphere 6.7 - Convert a Hyper-V virtual machine to a VMware VM
You must be logged in to post a comment