- VMware
- 11 October 2024 at 19:17 UTC
-

- 1/3

With VMware vCenter Converter Standalone, you can migrate virtual machines from a Hyper-V server running Windows Server to a VMware ESXi host via your VMware vCenter Server (VCSA).
In this tutorial, we used a Hyper-V server running Windows Server 2016, a host running VMware ESXi 6.7.0 u3 and a VMware vCenter Server (VCSA) 6.7.0 u3 server.
Note: if the certificate protecting the web client (VMware vSphere Client) of your VMware vCenter Server (VCSA) is not valid, an input/output error may occur during the conversion of your virtual machine .
In this case, try again by directly specifying the connection information of the desired remote VMware ESXi host rather than the connection information of your VMware vCenter Server (VCSA).
- Source virtual machine on Microsoft Hyper-V
- Convert a Hyper-V virtual machine to VMware ESXi format by connecting to a vCenter Server
- Uninstall VMware vCenter Converter Standalone Agent
- Install VMware Tools
- Solution for generation 2 imported virtual machines
- Delete conversion job
1. Source virtual machine on Microsoft Hyper-V
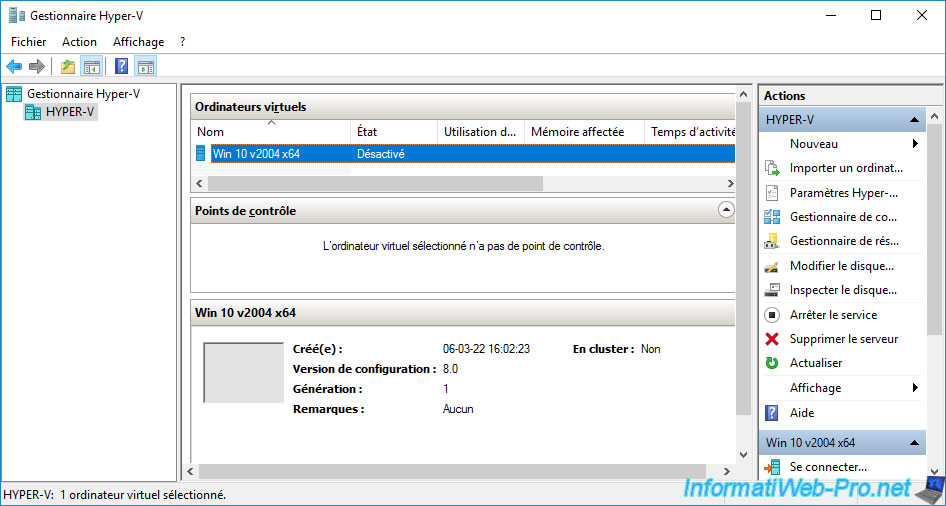
On our Hyper-V server running Windows Server 2016, we have a "Win 10 v2004 x64" virtual machine.
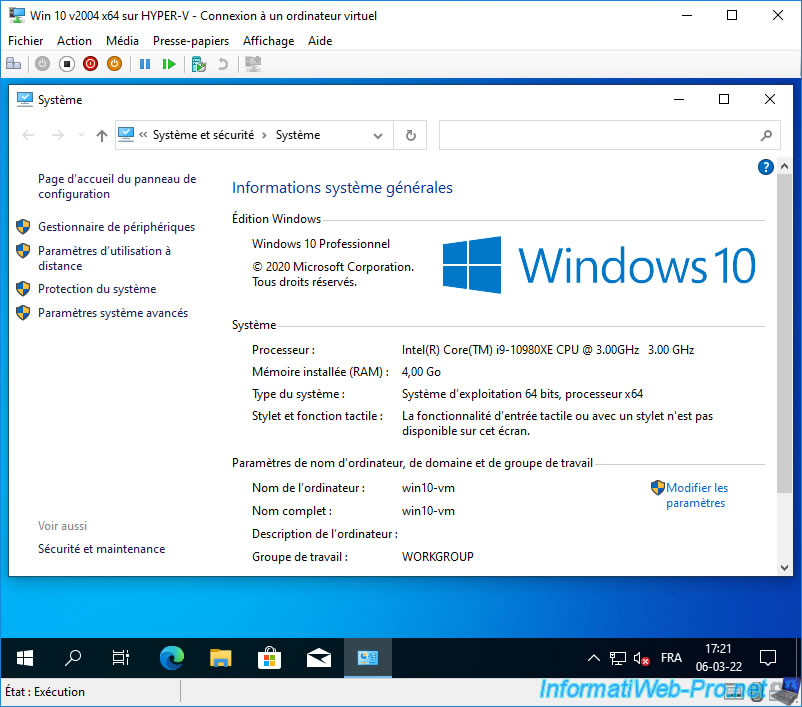
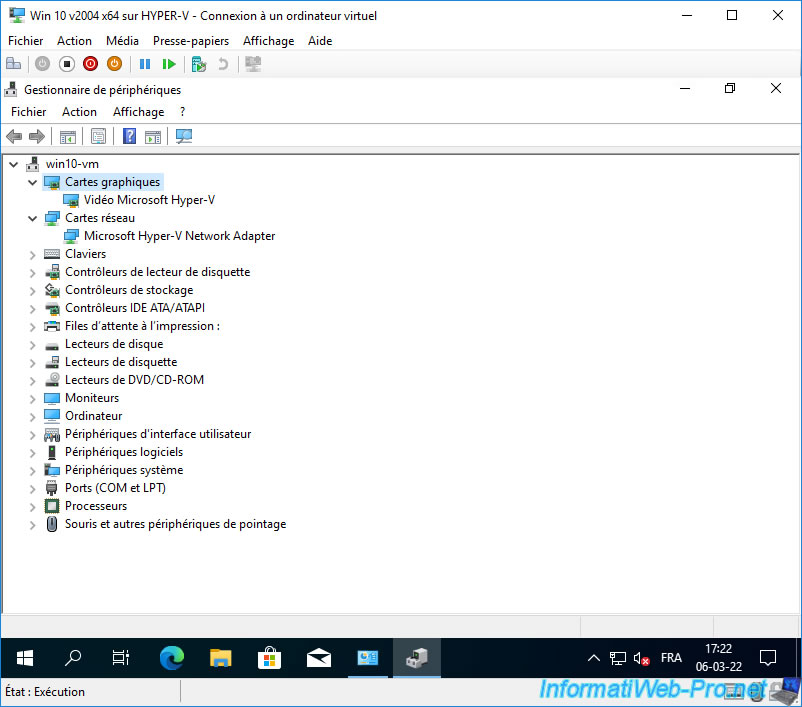
As you can see, this virtual computer running Windows 10 v2004 has a "Microsoft Hyper-V Video" virtual graphics card and a "Microsoft Hyper-V Network Adapter" network card.
Important : to be able to migrate a virtual machine from your Hyper-V server using VMware vCenter Server (VCSA), your virtual machine must be turned off (disabled state).
2. Install the converter and its agent
On the source computer from which you want to manage the conversion of this virtual machine, install the converter: VMware vCenter Converter Standalone.
In our case, we installed this converter on a computer running Windows 10.

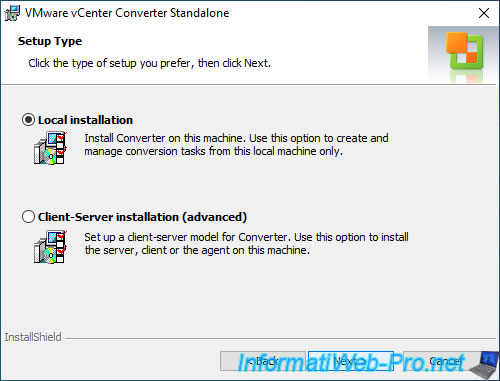
During installation, choose "Local installation”
If you installed the converter on a computer other than your Hyper-V server, we strongly recommend that you manually install the VMware vCenter Converter Standalone agent.
This will allow the converter to connect to your Hyper-V server without any problems.
To do this, on the computer where you installed the "VMware vCenter Converter Standalone" converter, go to the "C:\Program Files (x86)\VMware\VMware vCenter Converter Standalone" folder and retrieve the "VMware-Converter-Agent.exe" located there.
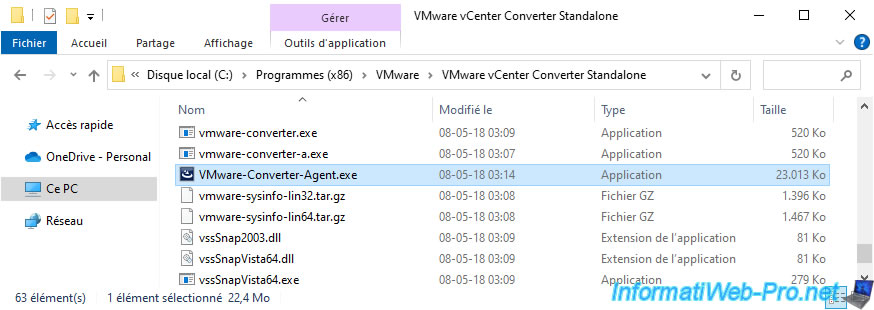
Transfer this installation file "VMware-Converter-Agent.exe” to your Hyper-V server and launch it.
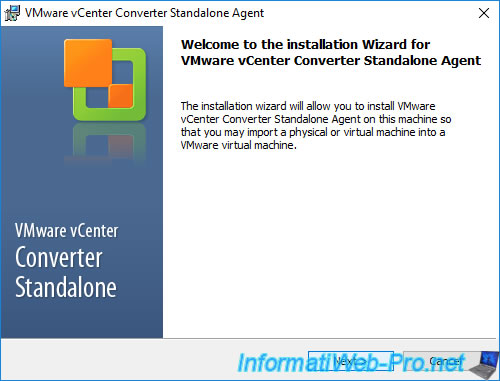
As you can see, it is: VMware vCenter Converter Standalone Agent.
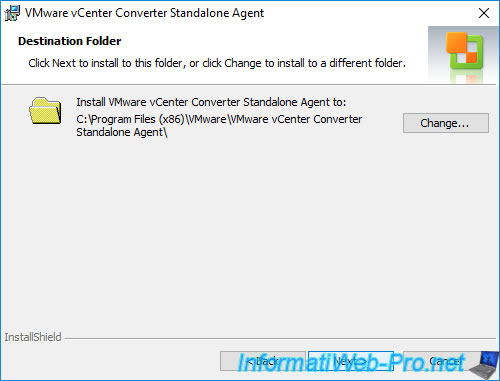
Leave the default installation folder : C:\Program Files (x86)\VMware\VMware vCenter Converter Standalone Agent.
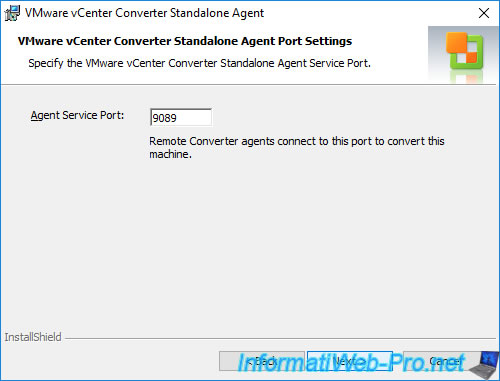
The port used by this agent is: 9089.
Click Install.
Wait while this agent installs on your Hyper-V server.
The agent has been installed.

3. Convert a Hyper-V virtual machine to VMware ESXi format by connecting to a vCenter Server
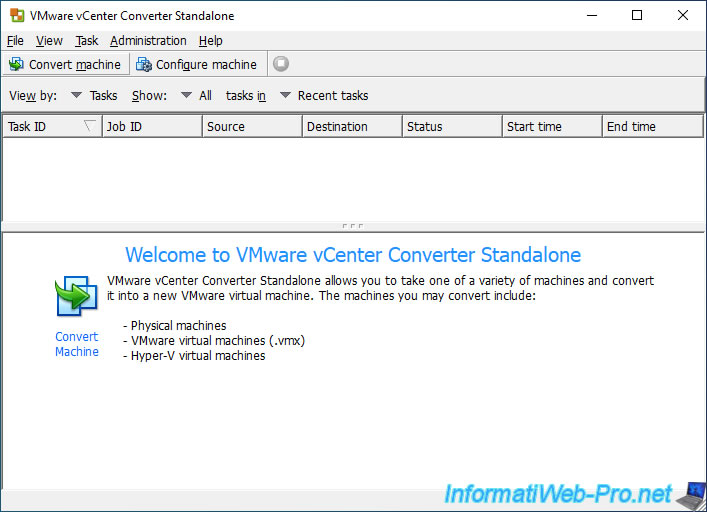
To convert a Hyper-V virtual machine to VMware ESXi format, launch the "VMware vCenter Converter Standalone" converter and click: Convert machine.
In the wizard that appears, select: Powered off, then: Hyper-V Server.
Next, provide the connection information to your Hyper-V server:
- Server: the IP address or name of your Hyper-V server
- User name: a user account with sufficient rights
- Password: his password
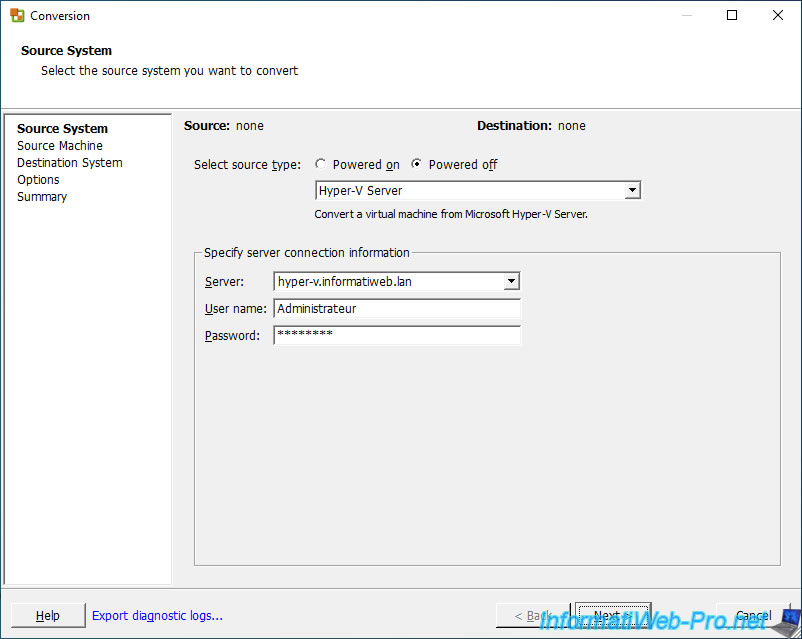
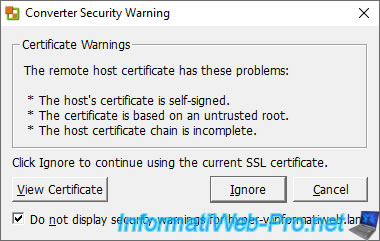
Ignore the warning about the certificate used by clicking Ignore.
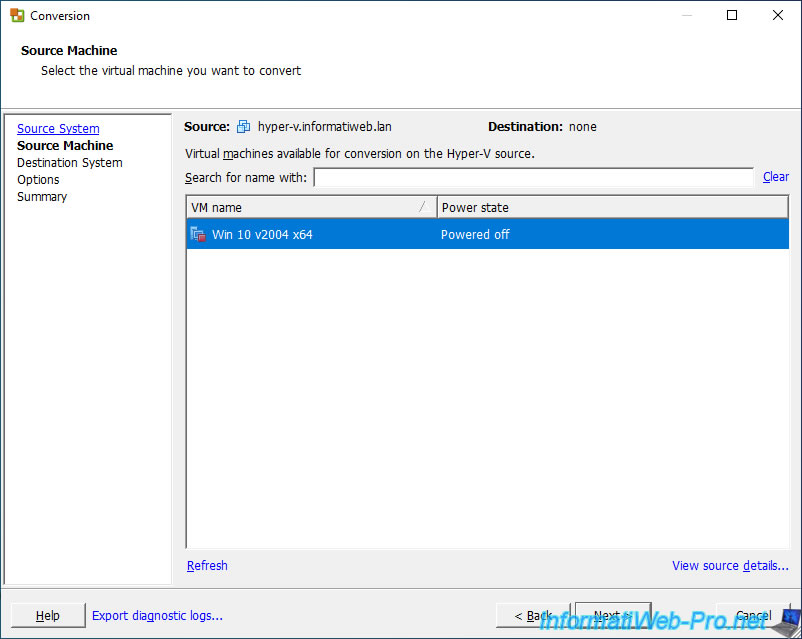
The list of virtual computers available on your Hyper-V server appears.
Note that VMware vCenter Converter Standalone only supports powered off virtual machines ("Powered off" state).
To get information about a virtual machine, select it and click the link: View source details.

Wait while information about it is retrieved.
Plain Text
Retrieving source machine information.
![]()
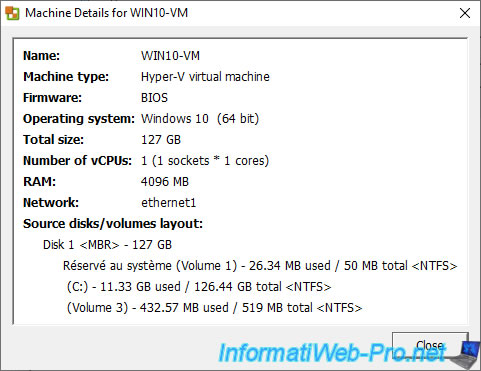
A "Machine Details for [virtual computer name]” window appears:
- Name: NETBIOS name defined in the guest operating system of this virtual machine.
- Machine type: machine type. In this case: Hyper-V virtual machine.
- Firmware: the firmware's type used. A BIOS (for generation 1 virtual machines) or EFI firmware (for generation 2 virtual machines).
- Operating system: name of the guest operating system installed in this virtual machine.
In our case: Windows 10 (64-bit). - Total size: total size of this computer.
In other words :
- the maximum size that this virtual computer can take on your datastore if you configure the virtual hard disks in dynamic provisioning via the converter.
- the fixed size that the new virtual machine will have if you use static provisioning via the converter. - Number of vCPUs: the number of "physical” processors (sockets) and processor cores (cores) allocated to this virtual computer.
- RAM: amount of random access memory (RAM) allocated to this virtual computer.
- Network: name of the network card of this virtual machine.
- Source disks/volumes layout: information about the virtual hard disks of this virtual machine.
The partition table used (MBR / GPT), the size (127 GB by default), the list of partitions found there with their letter, their size, the free space remaining on them and the file system which is used there.
Once the desired virtual machine is selected, click Next.
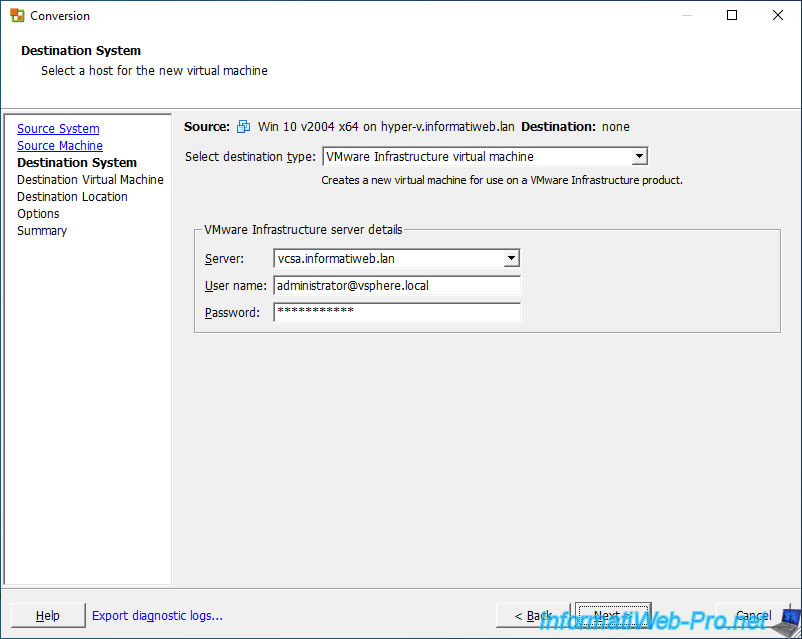
Select "VMware Infrastructure virtual machine" as the destination type and provide connection information to your VMware vCenter Server (VCSA):
- Server: IP address or domain name of your VMware vCenter Server (VCSA).
- User name: name of a user in your SSO domain (default: vsphere.local) with the necessary rights for creating virtual machines.
In our case, we will use the account created by default: administrator@vsphere.local. - Password: his password.
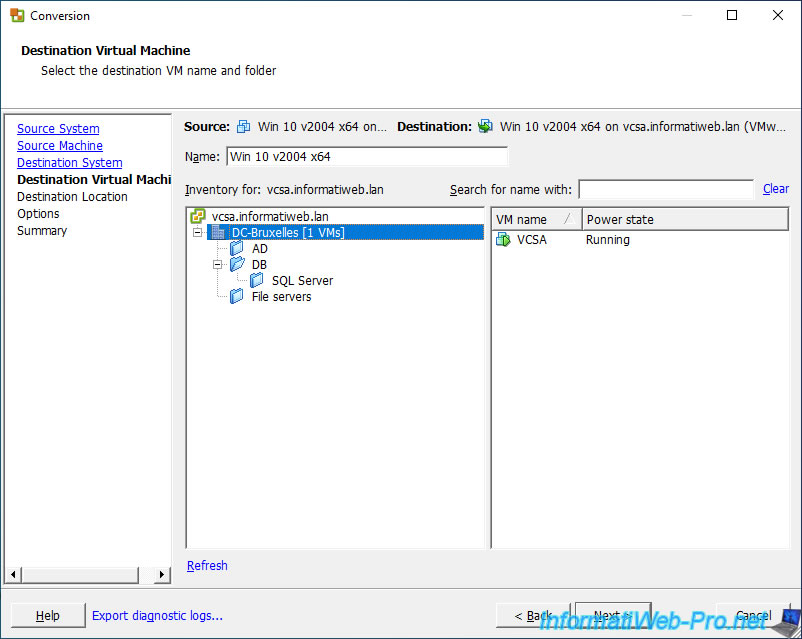
Once connected to your VMware vCenter Server (VCSA), your inventory will appear on the left with:
- the list of VMware vCenter Servers (VCSA) that you have access to via ELM mode (if applicable)
- the data centers located there (if applicable)
- the files found there (if applicable)
By selecting an item on the left, you will see the name of the virtual machines located there.
Which will allow you to specify a different name for the virtual machine that the converter will create for you by converting your Hyper-V virtual machine to a VMware virtual machine.
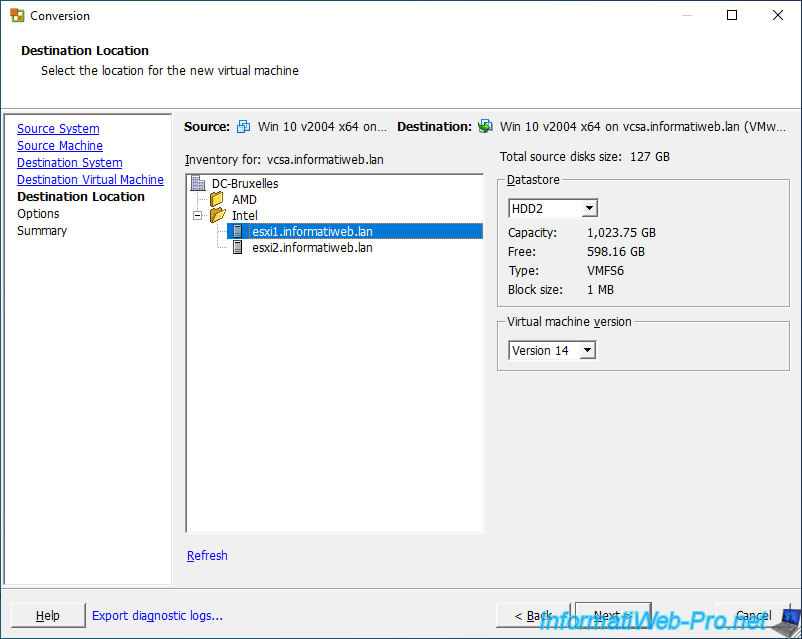
Select the VMware ESXi host that will be used to run your virtual machine, then select which datastore on that VMware ESXi host you want to store your new virtual machine on.
For the virtual machine version, leave version 14 selected by default which corresponds to VMware ESXi 6.7 and which will remain the latest version available since this converter will no longer be updated by VMware.
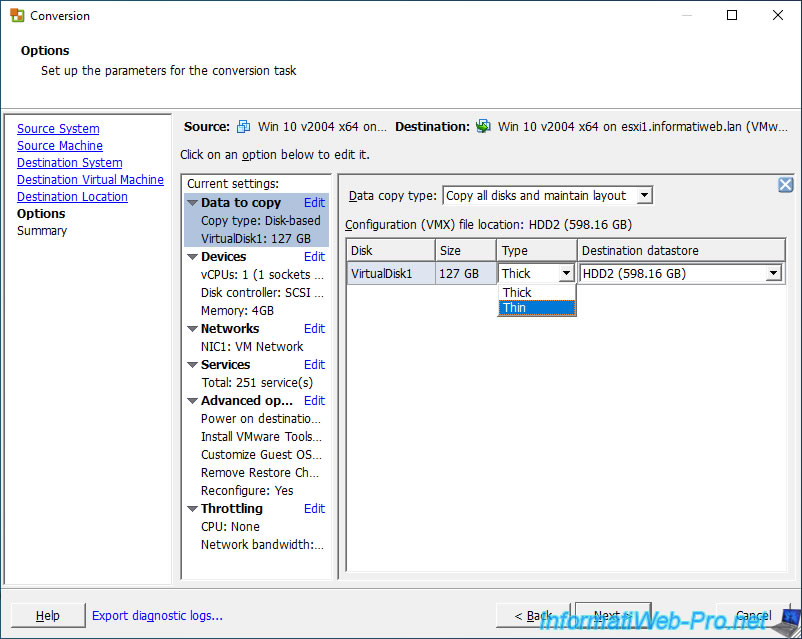
To change the provisioning type used by default for the virtual hard disks of your new virtual machine, click on the "Data to copy" block.
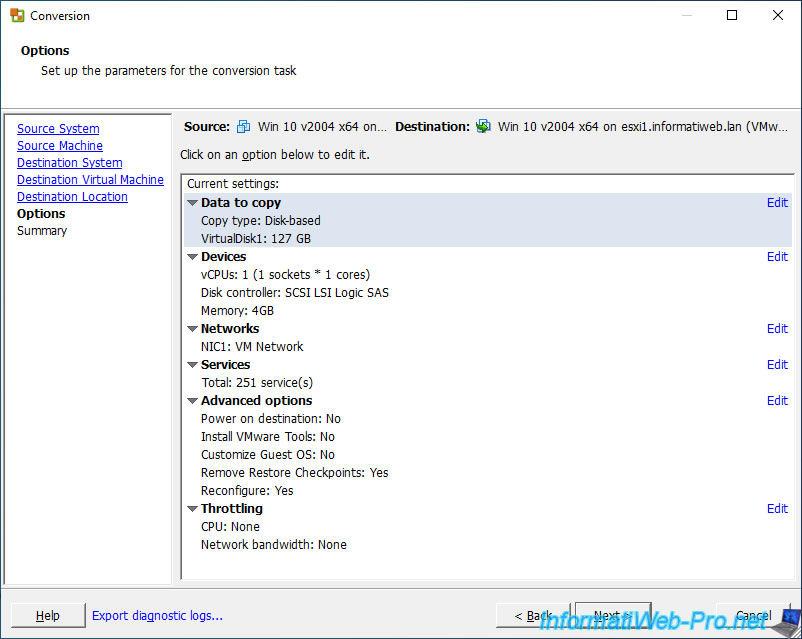
Then, select:
- Thin: to use thin provisioning. The virtual hard drive will only take up the space needed for the data it contains, and this will grow as you create files inside it.
- Thick: to use static provisioning. The size indicated here will be reserved directly on your datastore.
In our case, we selected "Thin" to use thin provisioning and thus save the disk space used.
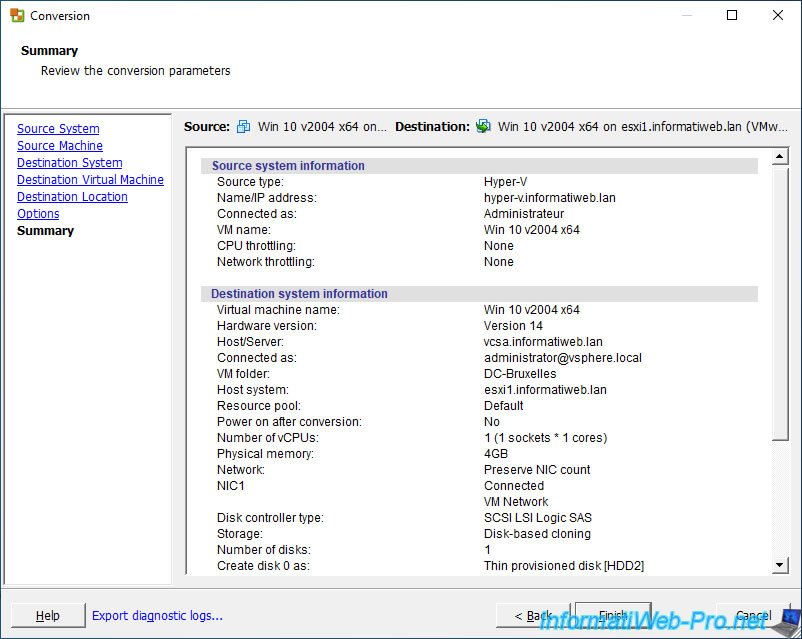
A summary of the different conversion parameters appears.
Wait while the conversion task is created.
Plain Text
Submitting job.
![]()
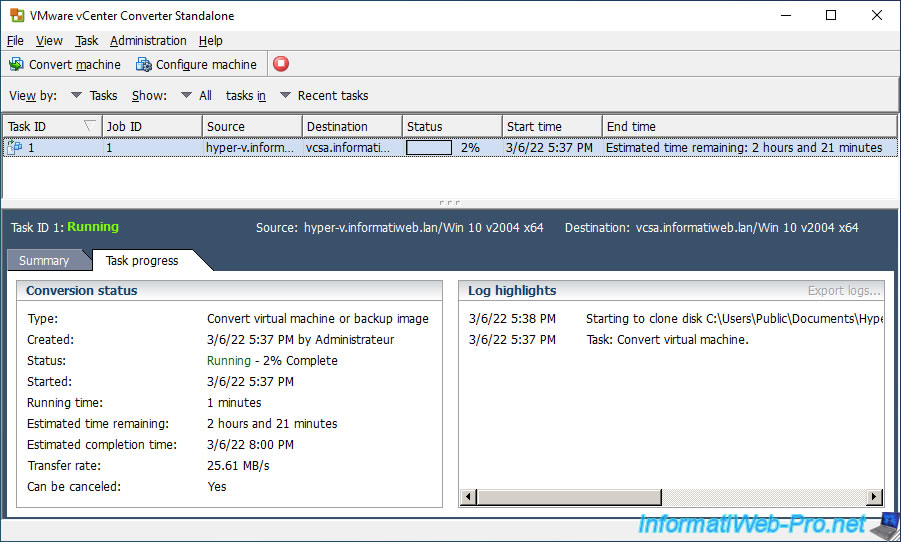
The conversion of your Hyper-V virtual machine starts, as well as the copying of its virtual hard disk.
Plain Text
Starting to clone disk C:\Users\Public\Documents\Hyper-V\Virtual Hard Disks\Win 10 v2004 x64.vhdx.
Task: Convert virtual machine.
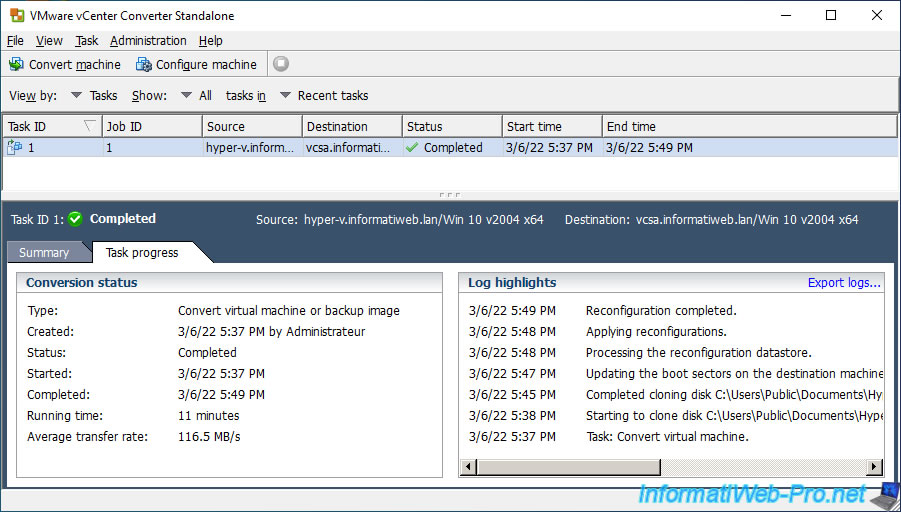
Once the conversion is complete, you will see that this converter has also made some reconfigurations so that your virtual machine can continue to boot correctly.
Plain Text
Reconfiguration completed.
Applying reconfigurations.
Processing the reconfiguration datastore.
Updating the boot sectors on the destination machine.
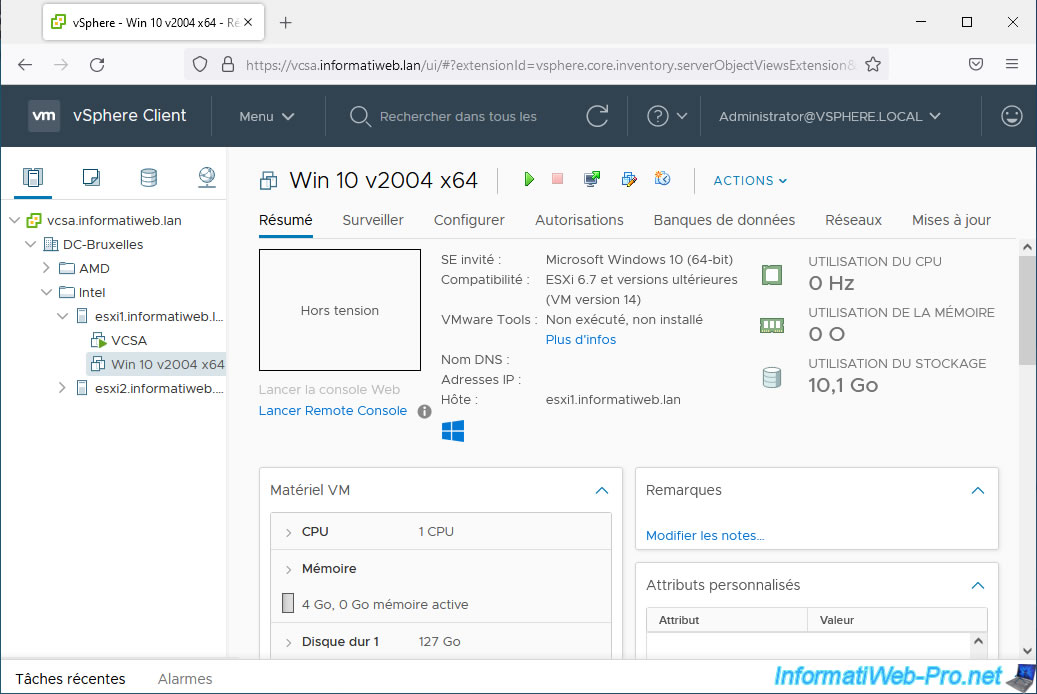
If you go to your VMware vCenter Server (VCSA), you will see your new virtual machine appear.
Share this tutorial
To see also
-

VMware 12/20/2024
VMware vSphere 6.7 - Clone vApps
-
VMware 10/4/2024
VMware vSphere 6.7 - Clone virtual machines
-
VMware 10/9/2024
VMware vSphere 6.7 - Clone virtual machines to a content library
-
VMware 12/13/2024
VMware vSphere 6.7 - Create a vApp
You must be logged in to post a comment