Convert a Hyper-V virtual machine to a VMware vSphere 6.7 virtual machine using VMware vCenter Converter Standalone
- VMware
- 11 October 2024 at 19:17 UTC
-

- 2/3

4. Uninstall VMware vCenter Converter Standalone Agent
If you manually installed the VMware vCenter Converter Standalone agent as we explained to you previously, you will need to uninstall it manually.
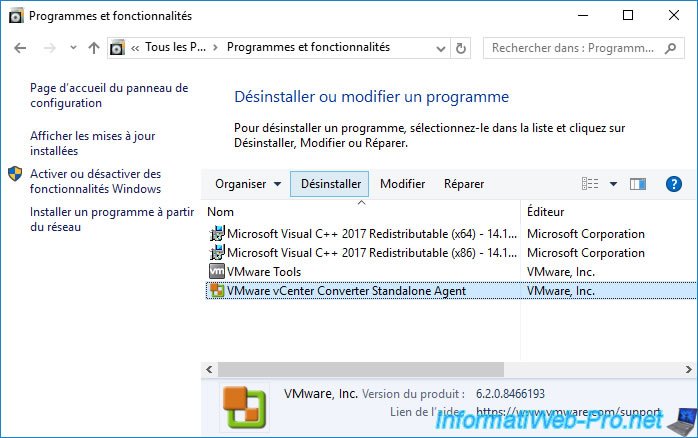
If you no longer need it, go to the list of programs installed on your Hyper-V server and uninstall the program named: VMware vCenter Converter Standalone Agent.
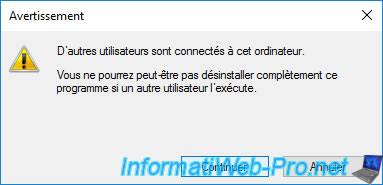
If a warning appears, click Continue.
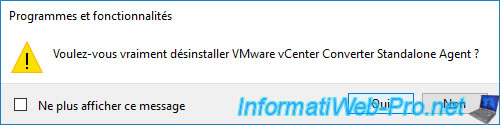
Confirm the uninstallation of VMware vCenter Converter Standalone Agent by clicking Yes.
Wait while the VMware vCenter Converter Standalone Agent is uninstalled.
Plain Text
Please wait while Windows configures VMware vCenter Converter Standalone.

VMware vCenter Converter Standalone Agent has been uninstalled.

5. Install VMware Tools
Start your new virtual machine.
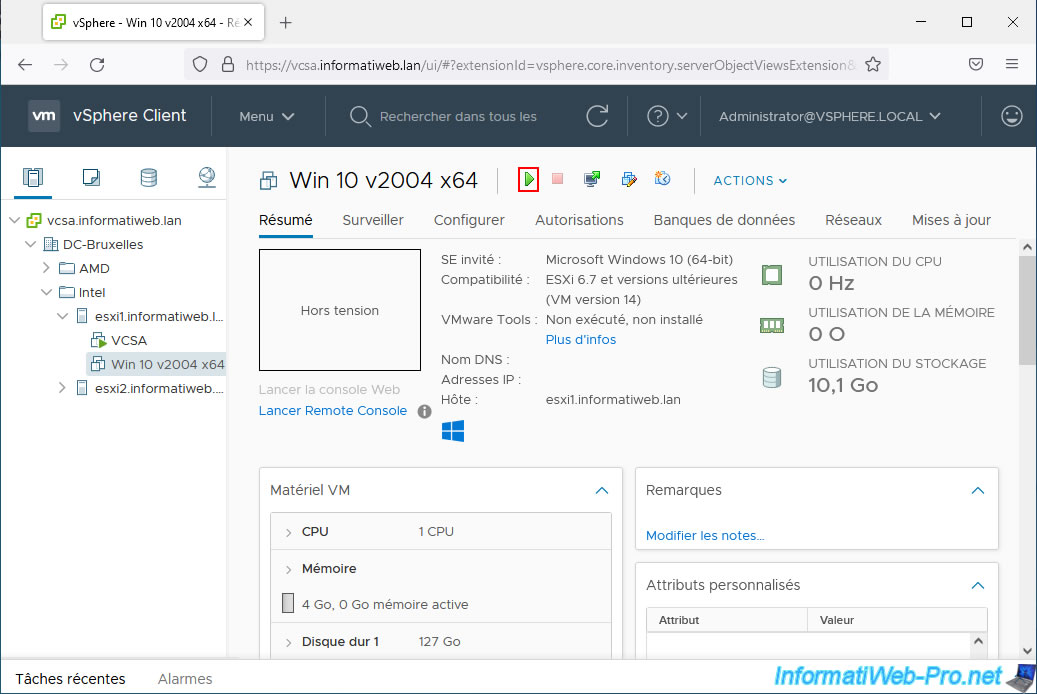
As you can see, VMware vSphere Client shows you a warning about VMware Tools:
Plain Text
A newer version of VMware Tools is available for this virtual machine.
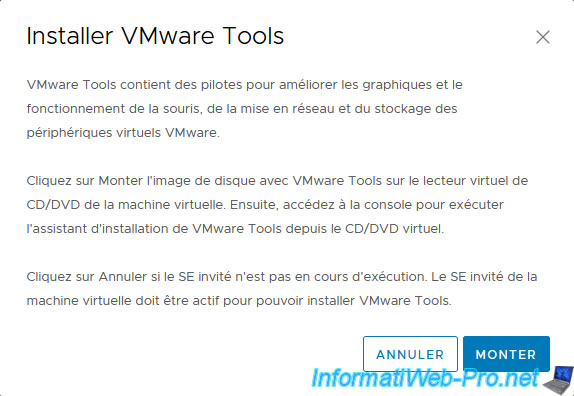
Click "Install VMware Tools" to insert the VMware Tools virtual CD into your virtual machine's CD/DVD drive.
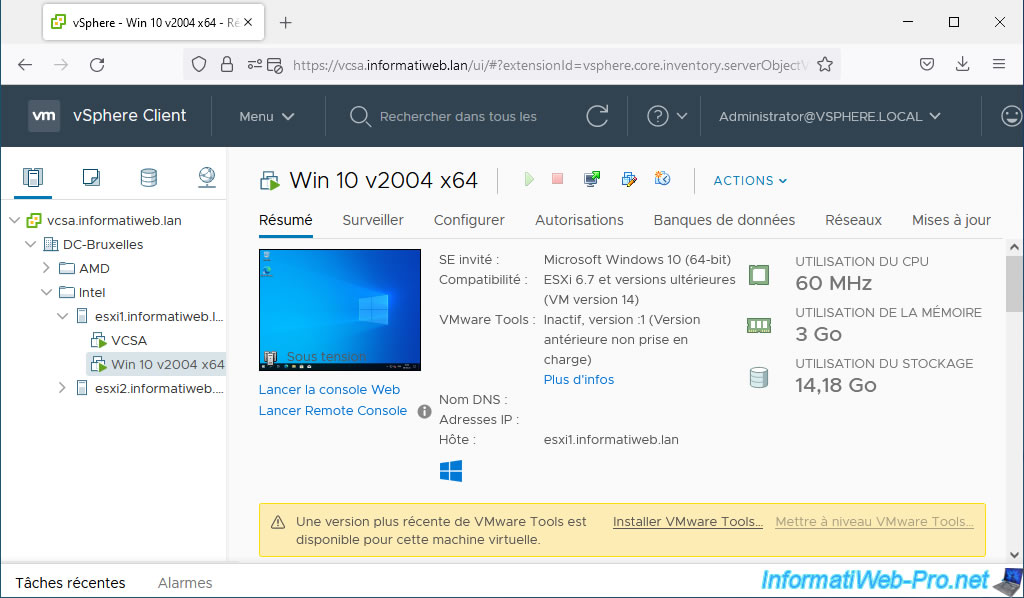
The VMware vSphere Client tells you that VMware Tools contains drivers to improve graphics and mouse operation, ... (but you already know that).
Confirm this action by clicking on: Move up.
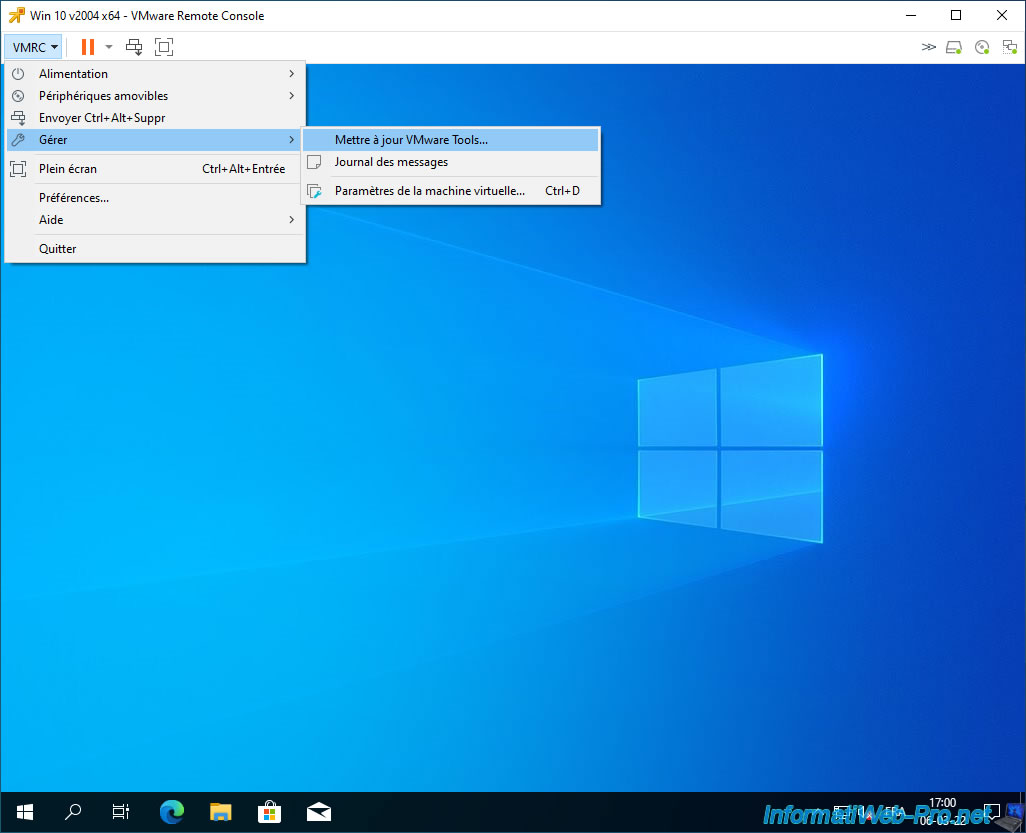
Otherwise, you can also insert the VMware Tools CD from your virtual machine console via VMware Remote Console (VMRC) by clicking on: VMRC -> Manage -> Update VMware Tools.
Warning : when you convert a virtual computer to a VMware virtual machine, you will quickly notice that the mouse does not work correctly.
Therefore, you will have to use the keyboard to launch the installation of VMware Tools in this virtual machine.
Once the VMware Tools are installed, the problem will be gone since the installed drivers will be the correct ones.
To get started, press the "Windows" key on your keyboard, type "explorer" and press Enter to open it.
Note: you can also use the keyboard shortcut "Windows + E” to open file explorer.
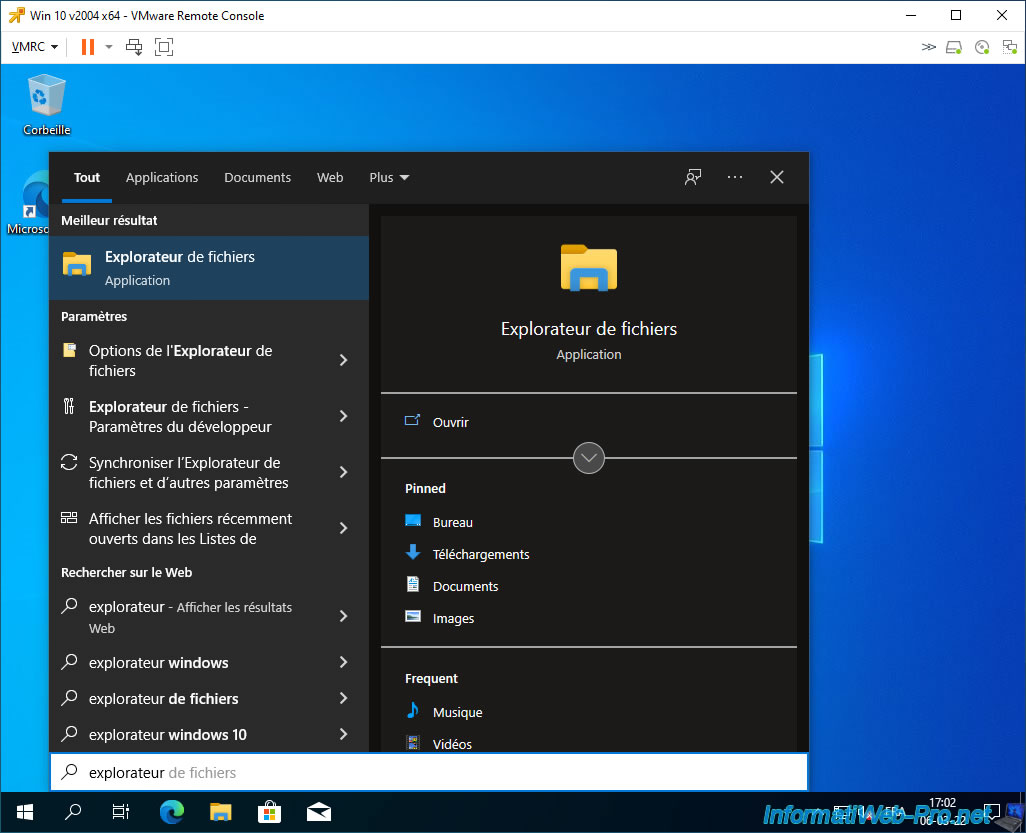
Use the "Tab" key (the double arrow on the left of the keyboard) to select the "Quick Access" option.
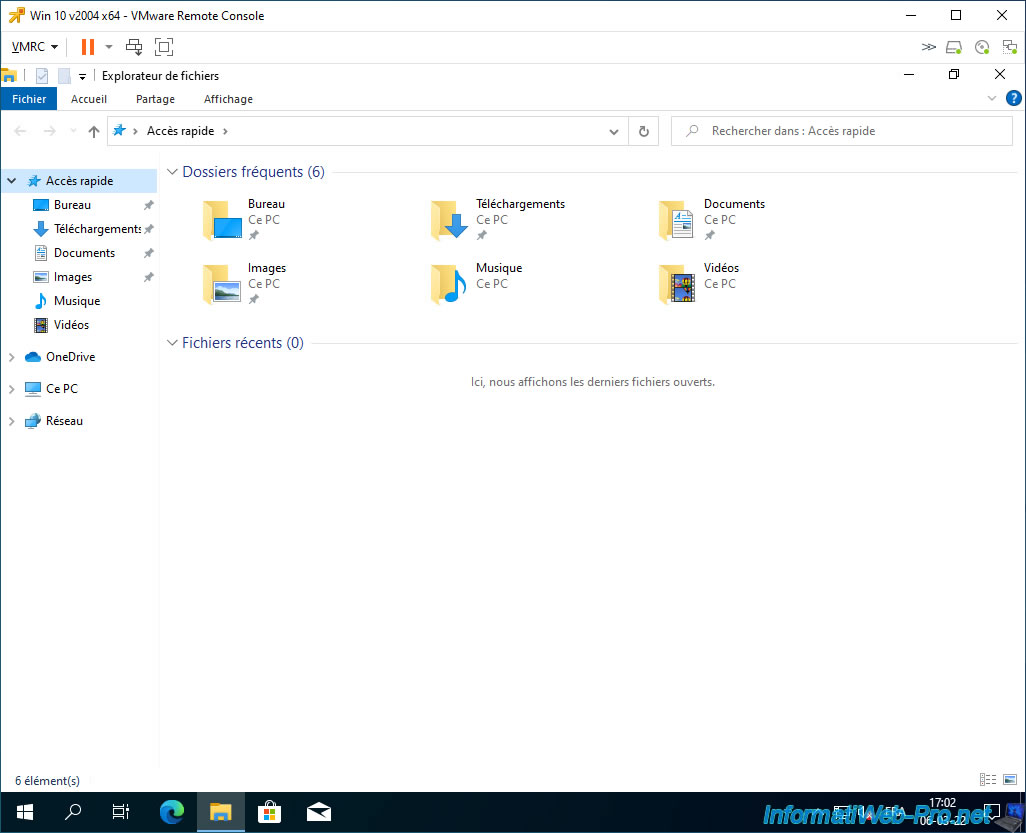
Then, go down to the "This PC” item with the "down” arrow on the keyboard and press "Enter” to refresh the right part of the window.
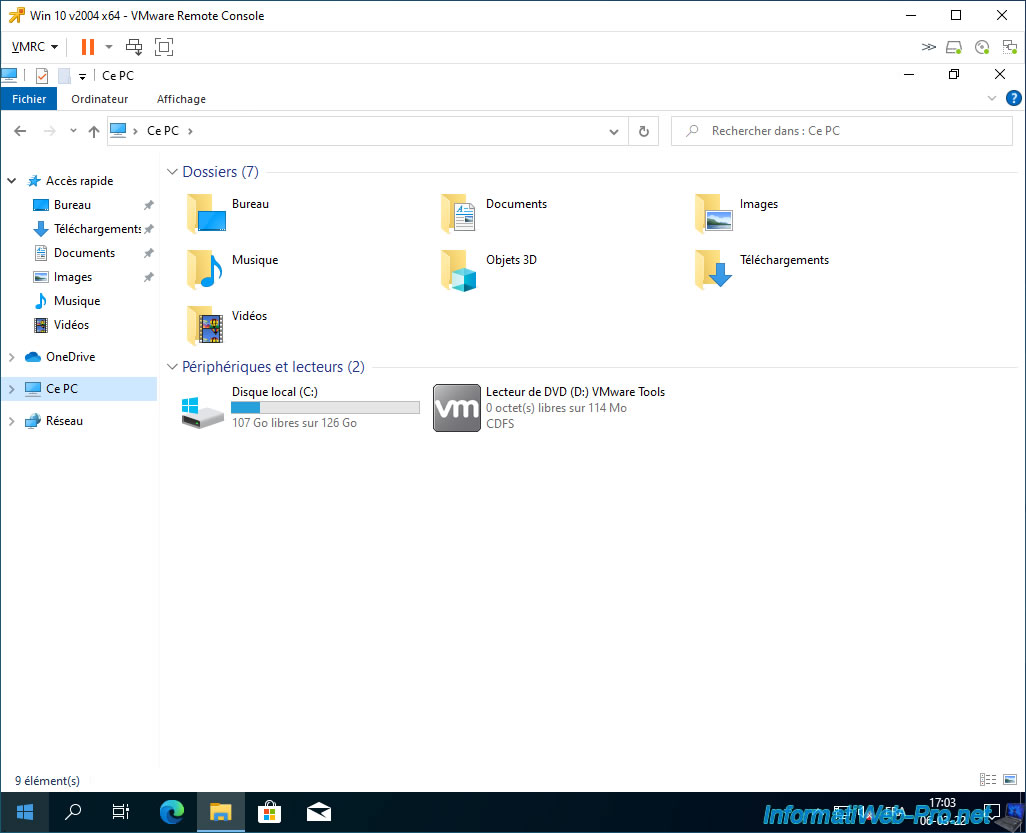
Next, use the "tab" key to select the "Desktop" item.

Next, use the arrow keys on your keyboard to select the DVD drive named "VMware Tools" and press Enter to begin installing VMware Tools.
Important : the DVD drive is only present in your VMware virtual machine if it was a generation 1 computer on your Hyper-V server.
If you had a generation 2 virtual machine, refer to the next step in this tutorial.

When you use a generation 1 virtual machine, Hyper-V connects it to an IDE controller.
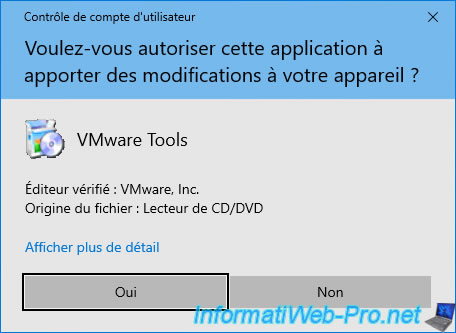
Confirm the installation of VMware Tools by selecting the answer "Yes" using the arrows on your keyboard, then validate by pressing Enter.
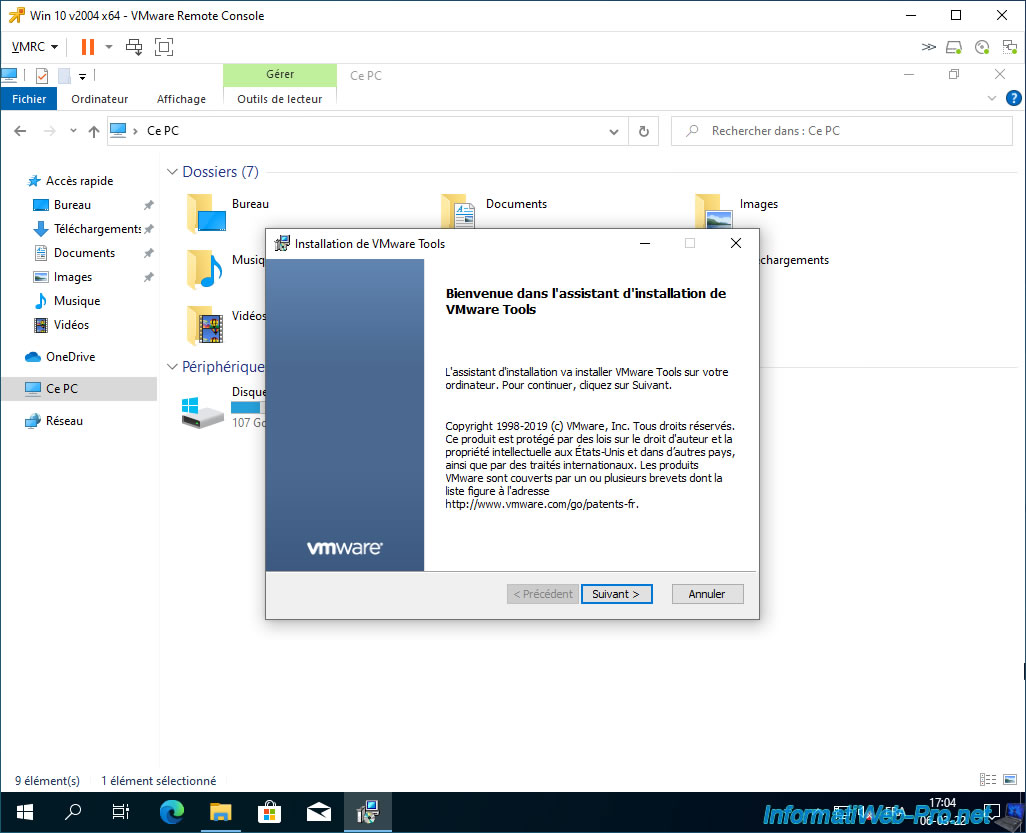
When the VMware Tools installation wizard appears.
Press Enter to begin the installation since the "Next" button is already selected by default.
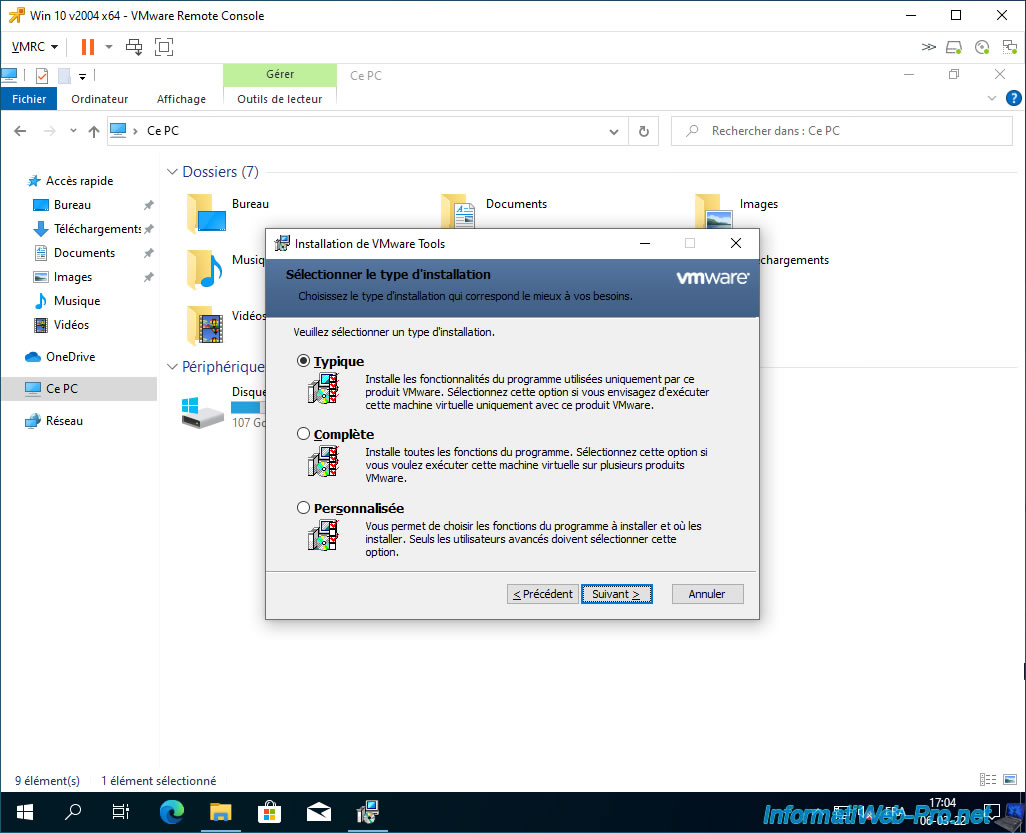
Select the "Next” button using the "tab” key and press Enter to proceed to the next step.
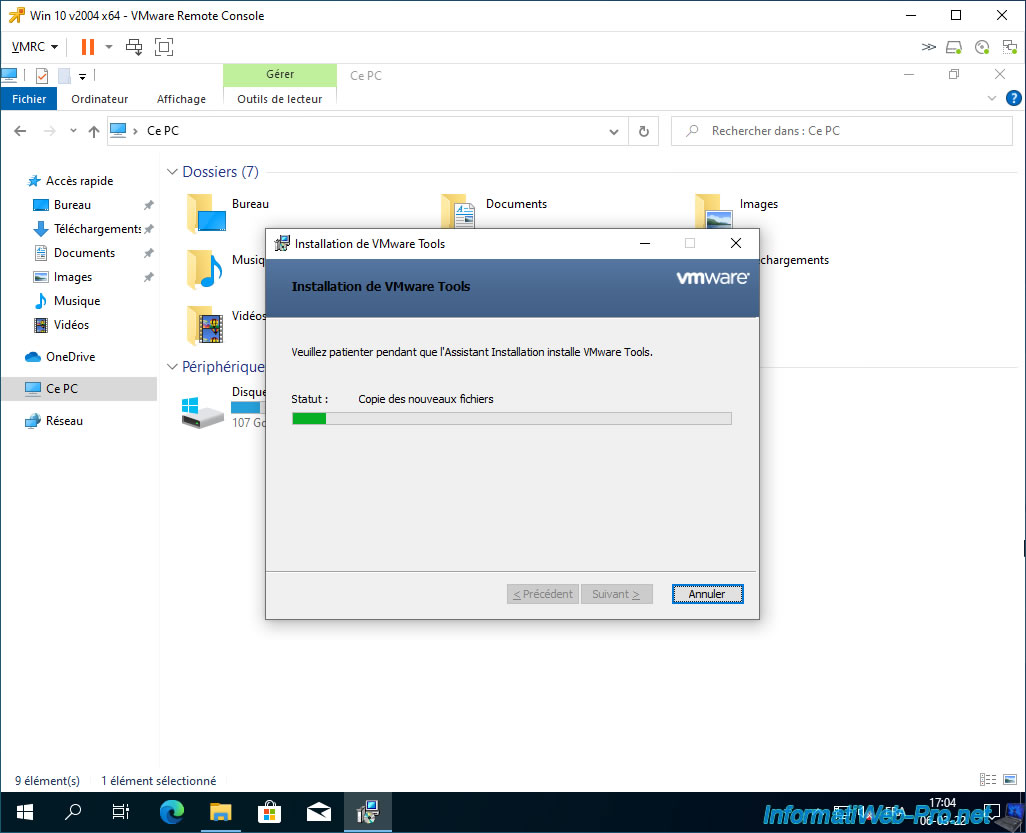
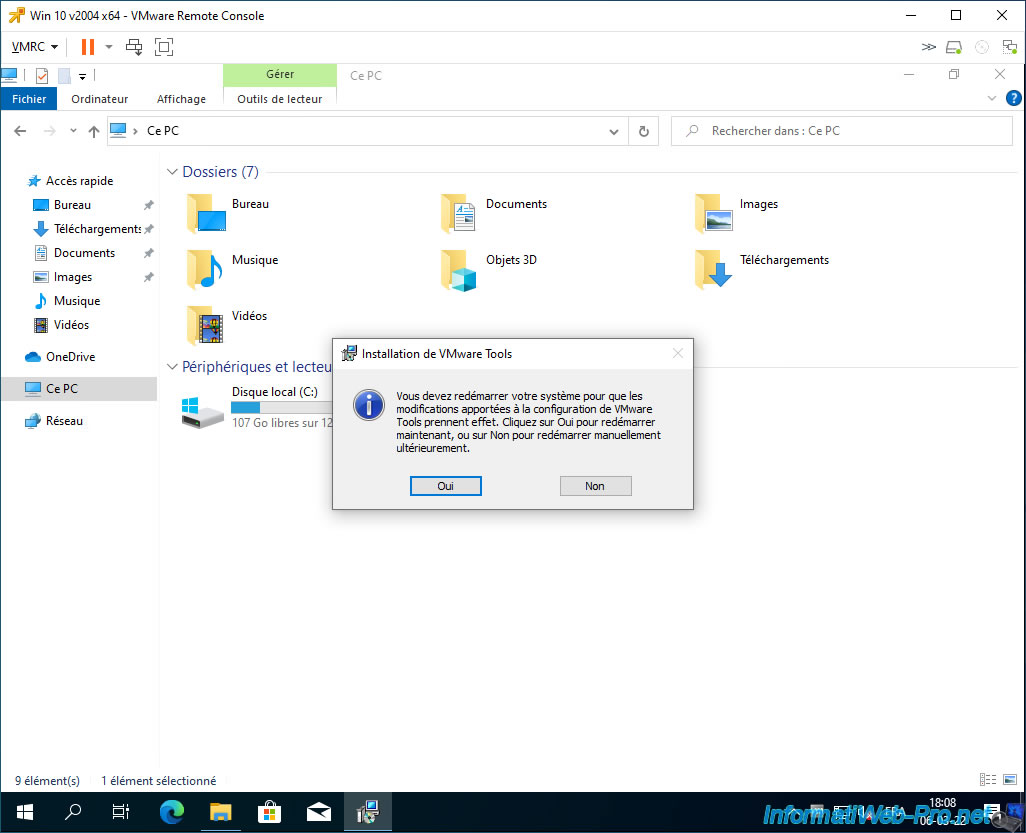
Wait while VMware Tools installs.
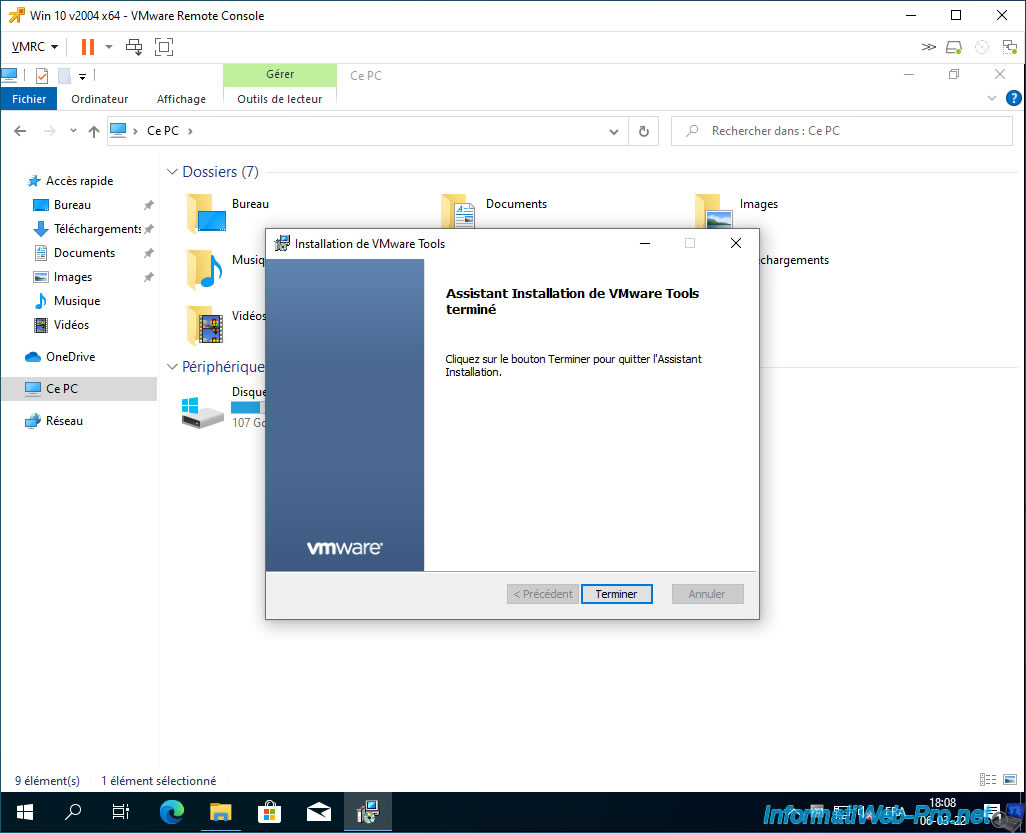
Once the VMware Tools installation is complete, press Enter to close this installation wizard.
Select the answer "Yes" and press Enter to restart your virtual machine.
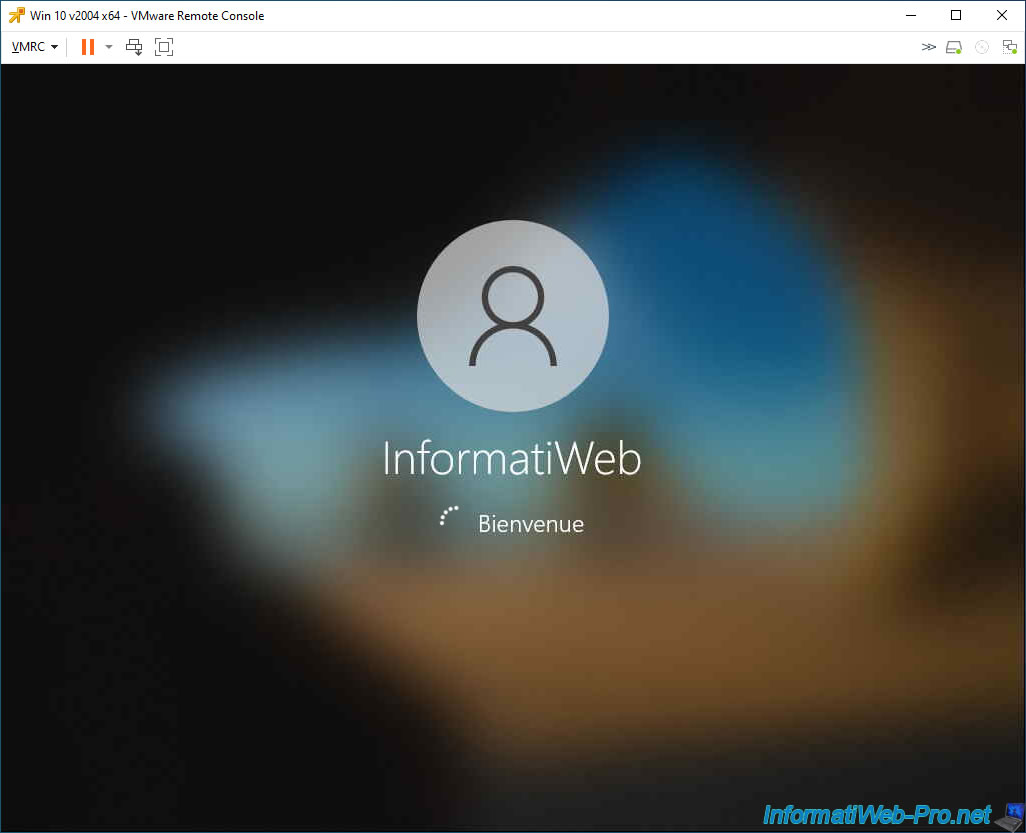
Wait while it restarts.

The session opens.
Now that the VMware Tools have been installed and the virtual machine has been restarted, everything is working fine (including the mouse).


Now that the VMware Tools are installed in your virtual machine, the corresponding warning has disappeared from the VMware vSphere Client.
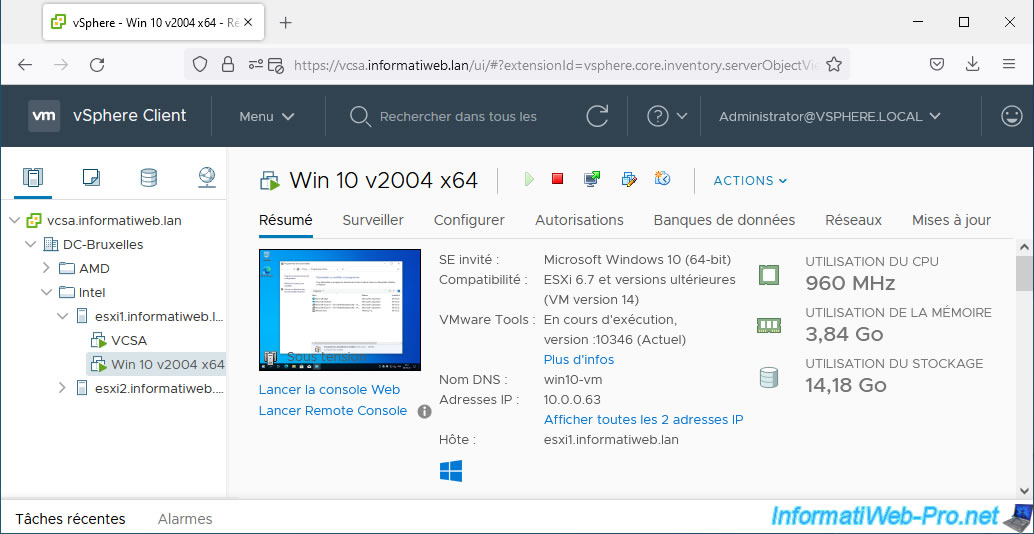
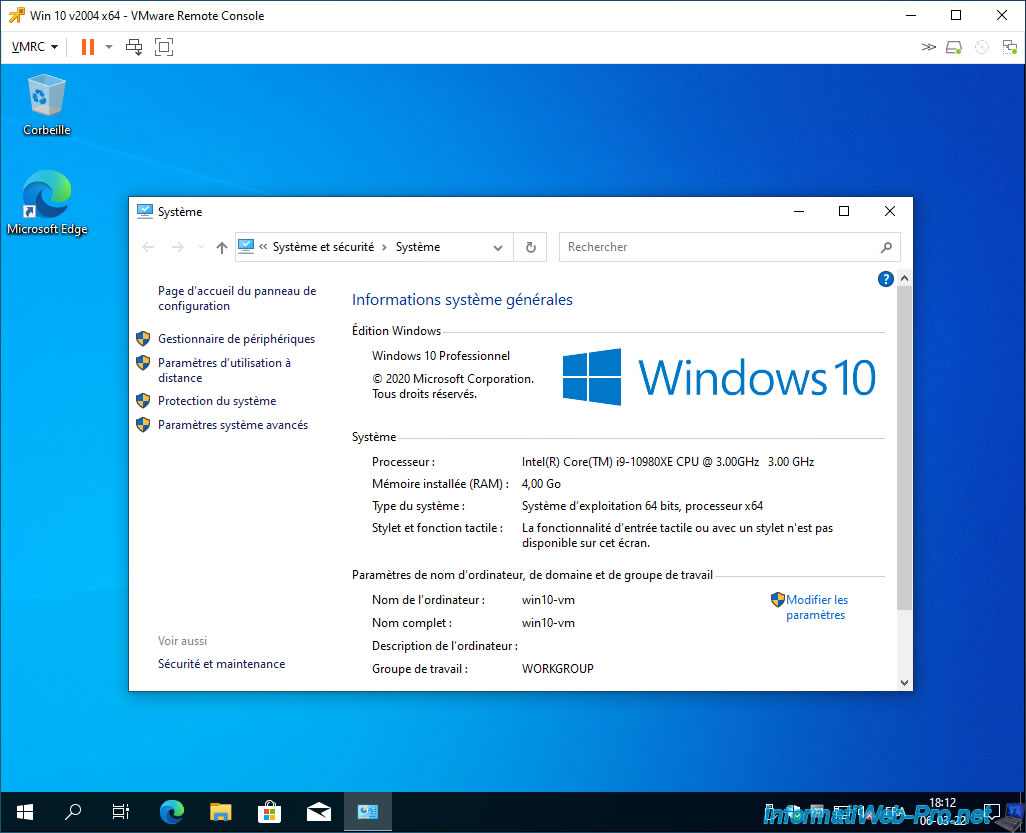
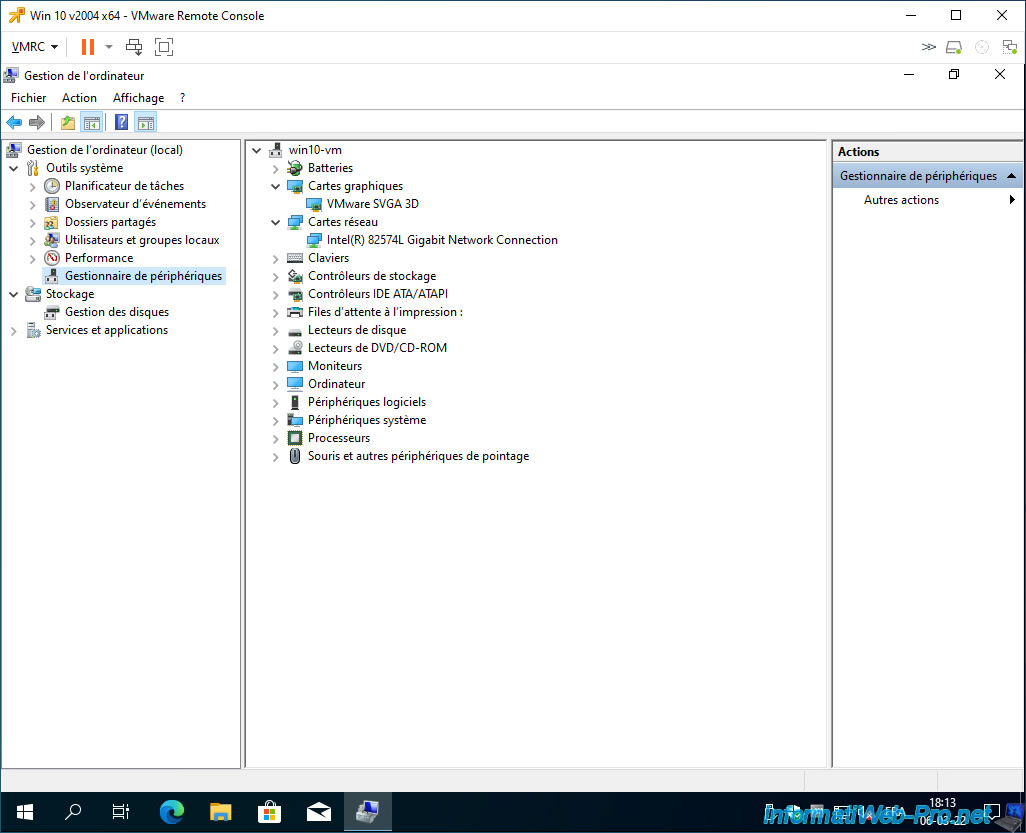
As you can see, our virtual machine is now using virtual hardware provided by VMware.
In this case, a "VMware SVGA 3D” graphics card and an "Intel(R) 82574L Gigabit Network Connection” virtual network card.
Share this tutorial
To see also
-

VMware 12/20/2024
VMware vSphere 6.7 - Clone vApps
-
VMware 10/4/2024
VMware vSphere 6.7 - Clone virtual machines
-
VMware 10/9/2024
VMware vSphere 6.7 - Clone virtual machines to a content library
-
VMware 12/13/2024
VMware vSphere 6.7 - Create a vApp
No comment