- VMware
- VMware vCenter Server (VCSA), VMware vSphere
- 02 August 2024 at 13:31 UTC
-

- 1/4
When you have a problem with your VMware ESXi host, your VMware vCenter Server (VCSA), one of your virtual machines, ... one of the reflexes is to take a look at the logs to try to find the cause of your problem.
Although it is possible to consult the logs of each server and/or the virtual machine concerned (if applicable), this can quickly become unmanageable if you have several VMware ESXI hosts, or even several VMware vCenter Server (VCSA) servers.
In addition, in the event of a crash of the server concerned, you will no longer have access to these logs.
Which can be problematic since VMware will need it if you want to contact their support.
In summary, in production, it is preferable to automatically transfer all the logs from your servers to one or more log servers dedicated for this purpose.
This way, all your logs will be in one place.
For this tutorial, we chose Sexilog which is easy to install (OVA format appliance) and which is a good free and open-source alternative to VMware Aria Operations for Logs (formerly VMware vRealize Log Insight).
Important : by default, Sexilog uses the HTTP protocol for its web interface.
If you want to secure access to the Sexilog web interface via HTTPS, then follow our tutorial "VMware vSphere 6.7 - Secure access to SexiLog (HTTPS)".
- View the logs of a VMware ESXi host
- View the logs of your VMware vCenter Server (VCSA)
- What is SexiLog and download of it
- Convert downloaded OVA file
- Deploy SexiLog from your VMware vCenter Server (or VCSA)
- SexiLog Console (SexiMenu)
- Redirect VMware ESXi logs
- Overview of VMware ESXi logs in SexiLog
- Redirect VMware vCenter Server (VCSA) logs
- VCSA logs misinterpreted by SexiLog
- Add VCSA support in SexiLog
- Overview of VMware vCenter Server (VCSA) logs in SexiLog
1. View the logs of a VMware ESXi host
To view the contents of the various logs of your VMware ESXi host, access its web interface, then go to the menu: Host -> Monitor -> Logs.
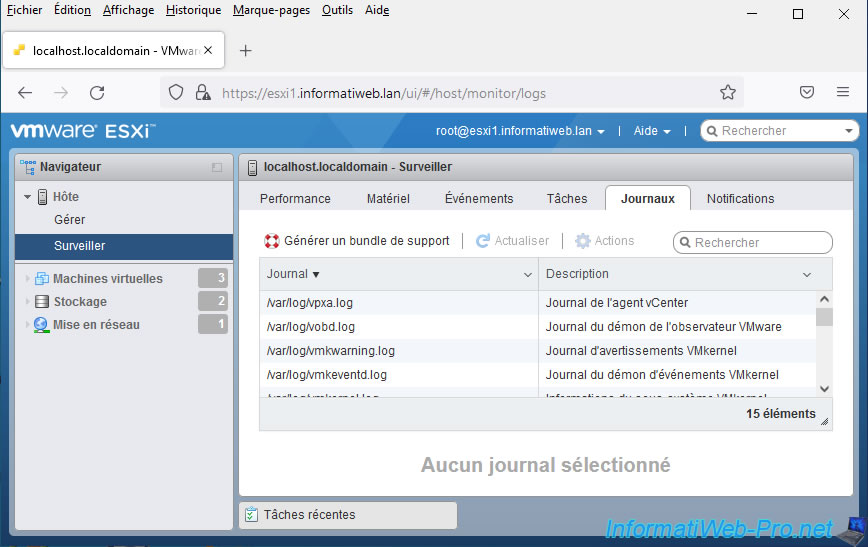
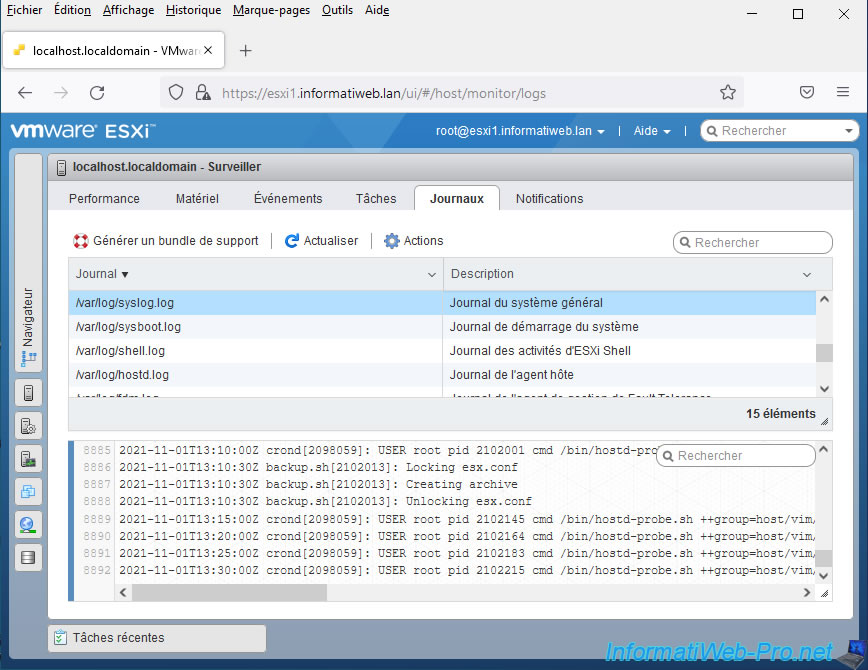
Next, select the desired ".log" file to view its contents.
Note that you could also connect by SSH to your VMware ESXi host and open the various ".log" files located in its "/var/log" folder.
2. View the logs of your VMware vCenter Server (VCSA)
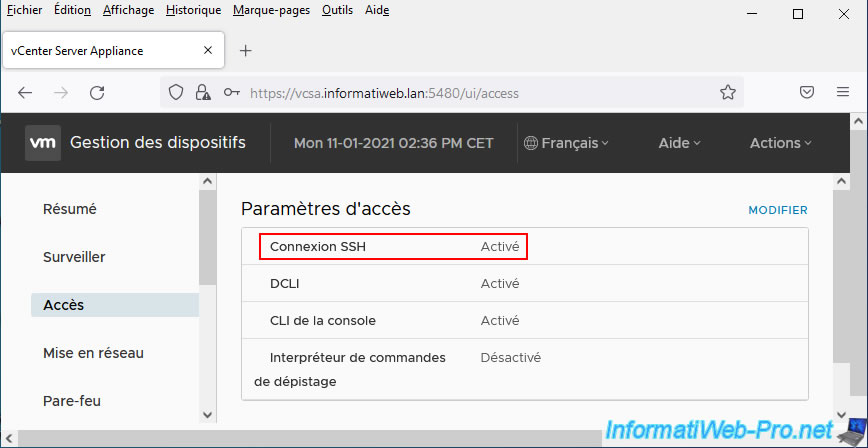
To view the logs of your VMware vCenter Server (VCSA), make sure that access via SSH is enabled on it.
Otherwise, refer to our tutorial: VMware vSphere 6.7 - Enable SSH protocol on VCSA.
Next, use your favorite SSH client.
On Windows you can use "PuTTY" if you want.
Connect to your VMware vCenter Server (VCSA) on port 22 (SSH).
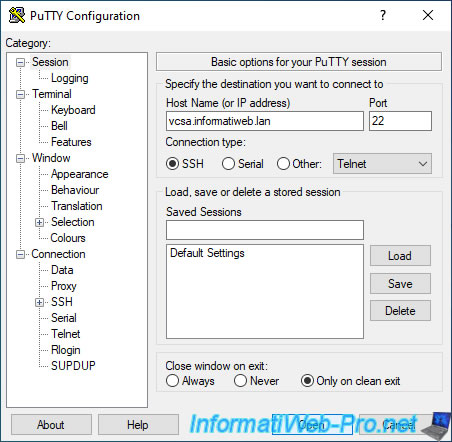
Log in as "root", then access the shell (bash) by simply typing:
Bash
shell
Indeed, by default, you will find yourself in the VCSA console and not in the Linux shell (bash).
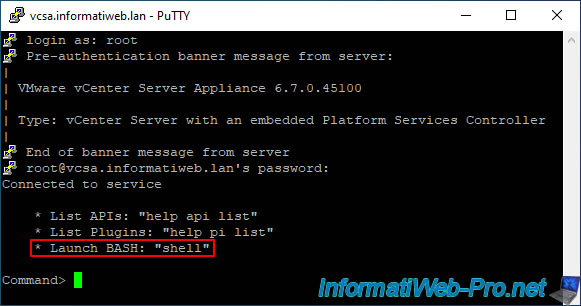
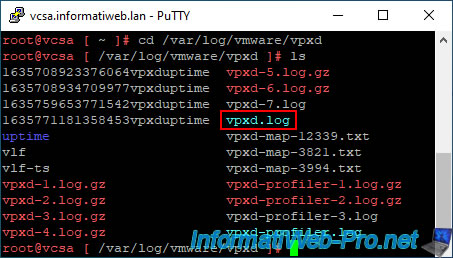
On your VCSA virtual appliance, you will find the log files in the "/var/log/vmware/vpxd" folder.
In this folder, you will also find a "vpxd.log" file.
Bash
cd /var/log/vmware/vpxd
ls
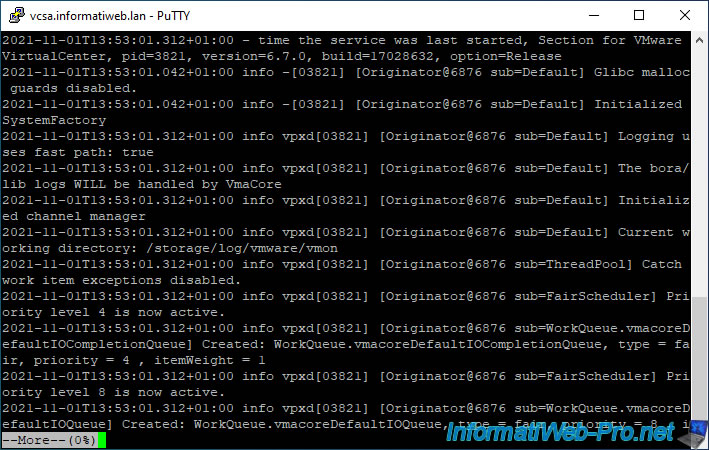
To display the contents of the "vpxd.log" file while being able to advance step by step in it (given its length), use this command:
Bash
more vpxd.log
Note: to close this file, press the "CTRL + C" keys.
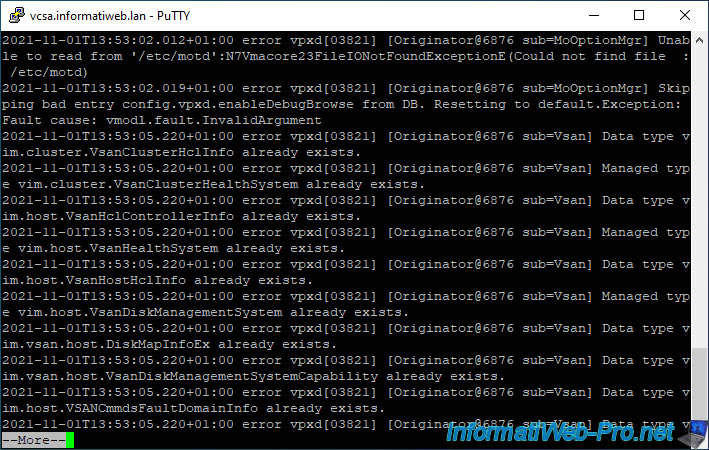
If you only want to see errors, which is useful in case of problems, use the "grep" command like this:
Bash
grep "error" vpxd.log | more
To properly close the SSH session, use the exit command twice:
- the first time to exit the bash shell and thus return to the VCSA console.
- the 2nd time to exit the VCSA console and therefore close your "PuTTY" window.
Bash
exit
exit
3. What is SexiLog and download of it
SexiLog is a free and open-source alternative to the VMware Aria Operations for Logs product and was created by 2 French people: Raphael SCHITZ and Frederic MARTIN.
These 2 authors are VMware vExpert and SexiLog specializes in collecting VMware infrastructure logs.
Which is therefore a big plus compared to other log collectors, such as Syslog-NG (to name another known one).
Pour télécharger SexiLog, allez sur le site officiel de celui-ci, puis dans l'onglet "QuickStart" disponible en haut de ce site.
Ensuite, cliquez sur le bouton de téléchargement "Download OVA appliance - v0.99g Ailuropoda".
To download SexiLog, go to its official website, then to the "QuickStart" tab available at the top of this site.
Then click on the download button "Download OVA appliance – v0.99g Ailuropoda".
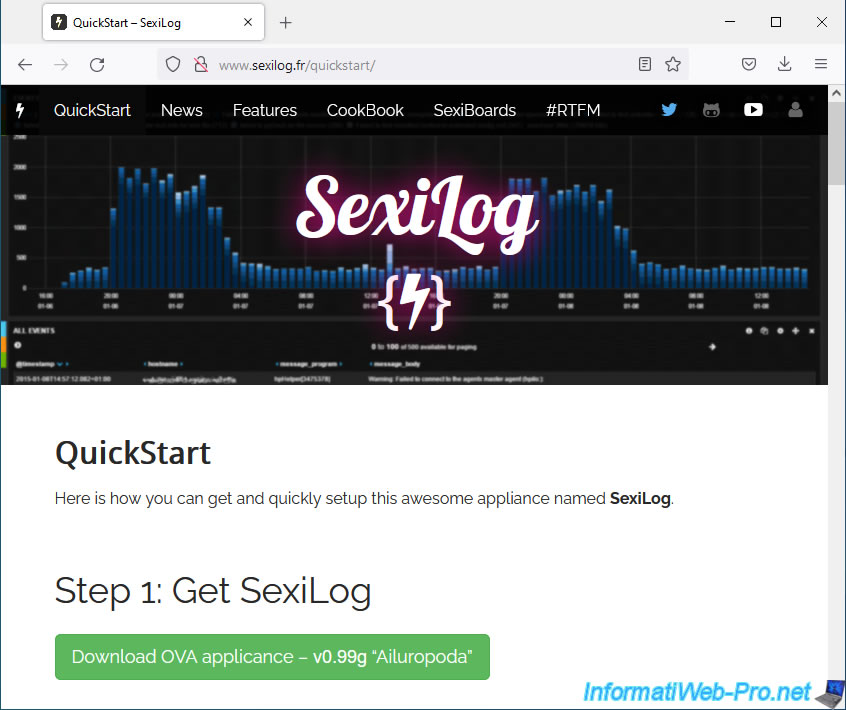
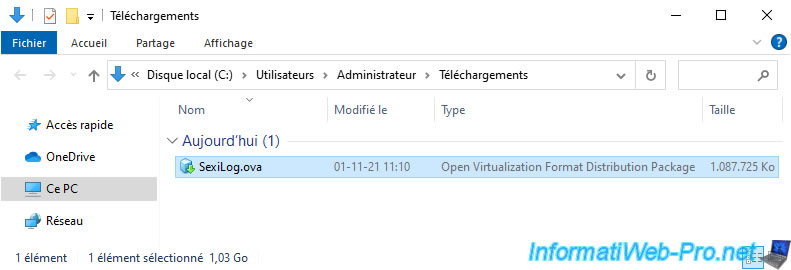
Once downloaded, you will see that the downloaded ova file is approximately 1 GB in size.
4. Convert downloaded OVA file
If you try to import this OVA file as is from a VMware ESXi host or from a VMware vCenter Server (VCSA), you will find that it will probably not work.
Indeed, the virtual hard disk (in ".vmdk" format) found in the downloaded ".ova" file is compressed (in ".gz" format in this case).
Which is not supported by VMware ESXi 6.7 and VMware vCenter Server (VCSA) 6.7 web clients.
Plain Text
The VM you are trying to deploy contains compressed disk images. Host Client is currently not able to deploy VMs that contain compressed disk images. Please consider using OVFTool or vCenter Server to deploy this VM.

For VMware vCenter Server, the error message will be:
Plain Text
OVF package with compressed disks is currently not supported for OVF import.
![]()
To fix this compressed virtual hard disk problem, simply download the free tool "VMware OVT Tool (ovftool)" and use the command below.
Source: OVF Package with compressed disks is currently not supported for OVF import (53260).
Bash
ovftool.exe C:\Users\Administrator\Downloads\SexiLog.ova C:\Users\Administrator\Downloads\SexiLog-new.ova
Which will display this:
Plain Text
Opening OVA source: C:\Users\Administrator\Downloads\SexiLog.ova
The manifest validates
Opening OVA target: C:\Users\Administrator\Downloads\SexiLog-new.ova
Writing OVA package: C:\Users\Administrator\Downloads\SexiLog-new.ova
Disk progress: 10%
Once the conversion is complete, the "Disk progress: xx" message will disappear and will be replaced by these messages:
Plain Text
Transfer Completed
Completed successfully
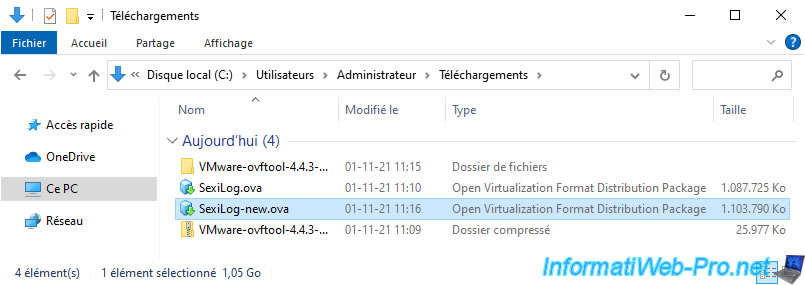
As you can see, the resulting ".ova" file will be slightly heavier than the original one.
5. Deploy SexiLog from your VMware vCenter Server (or VCSA)
To deploy the SexiLog virtual appliance using the downloaded and then converted ".ova" file (as explained previously), we recommend that you carry out the deployment from your VMware vCenter Server.
Indeed, if you attempt to deploy SexiLog on a VMware ESXi host that is not linked to a VMware vCenter Server, an error (UNEXPECTED INCONSISTENCY; RUN fsck MANUALLY) will occur when it starts and will prevent it to start.
In short, on your VMware vCenter Server (VCSA), right-click "Deploy OVF Template" on the data center or folder where you want to deploy SexiLog.
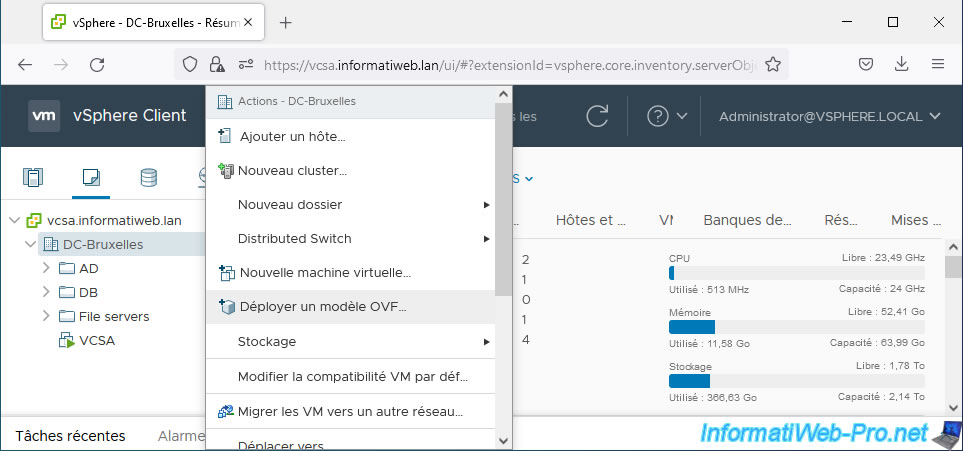
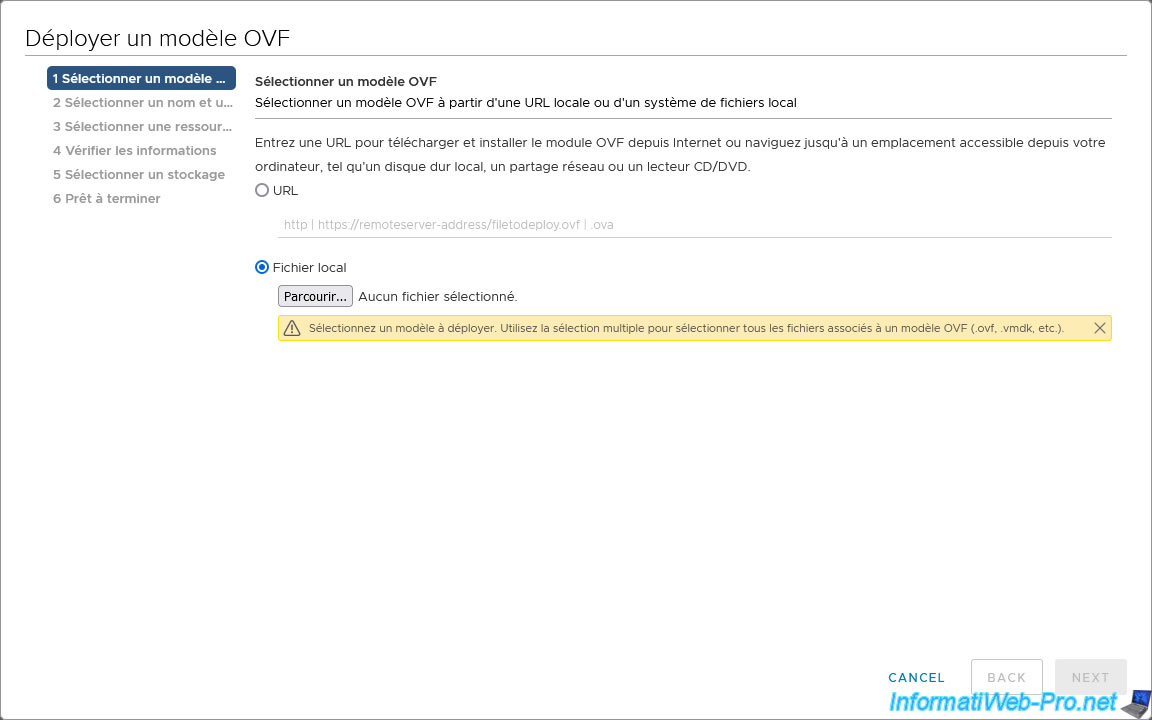
In the "Deploy OVF Template" wizard that appears, select "Local file" and click: Browse.
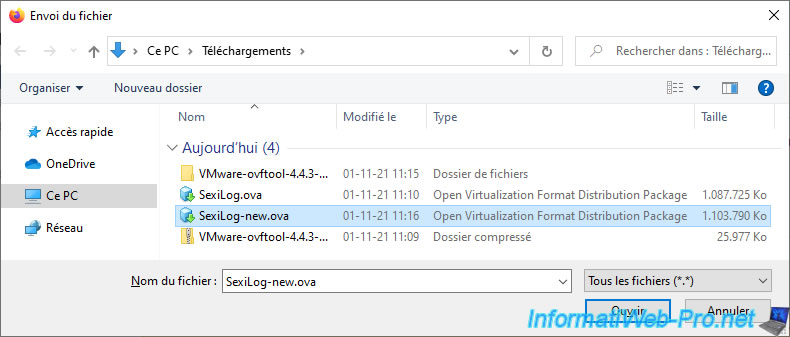
Select the previously converted ".ova" file from "SexiLog".
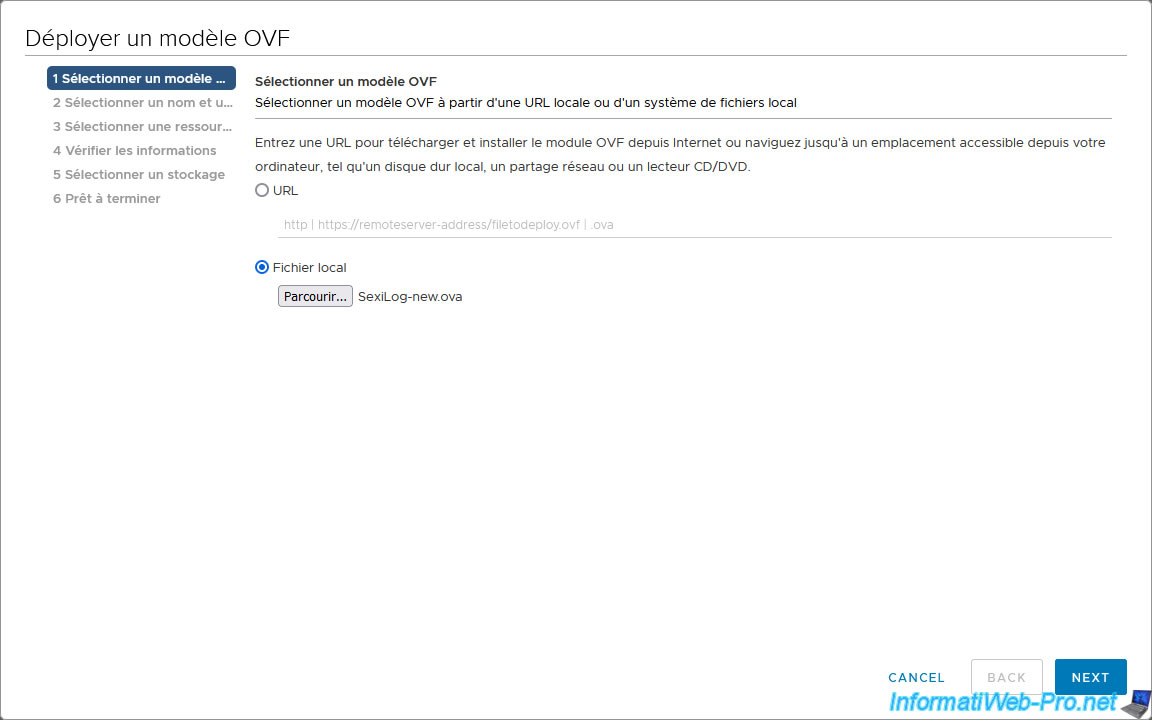
Once the ova file is downloaded, click Next.
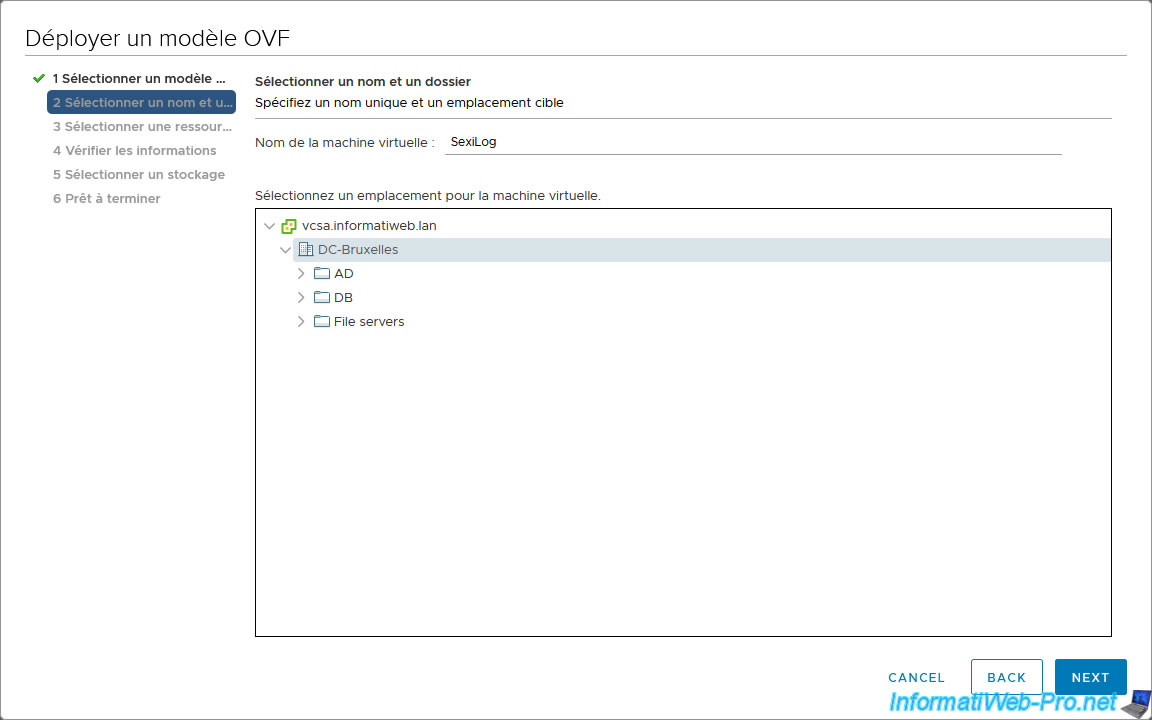
Select the location where you want to store this new virtual machine.
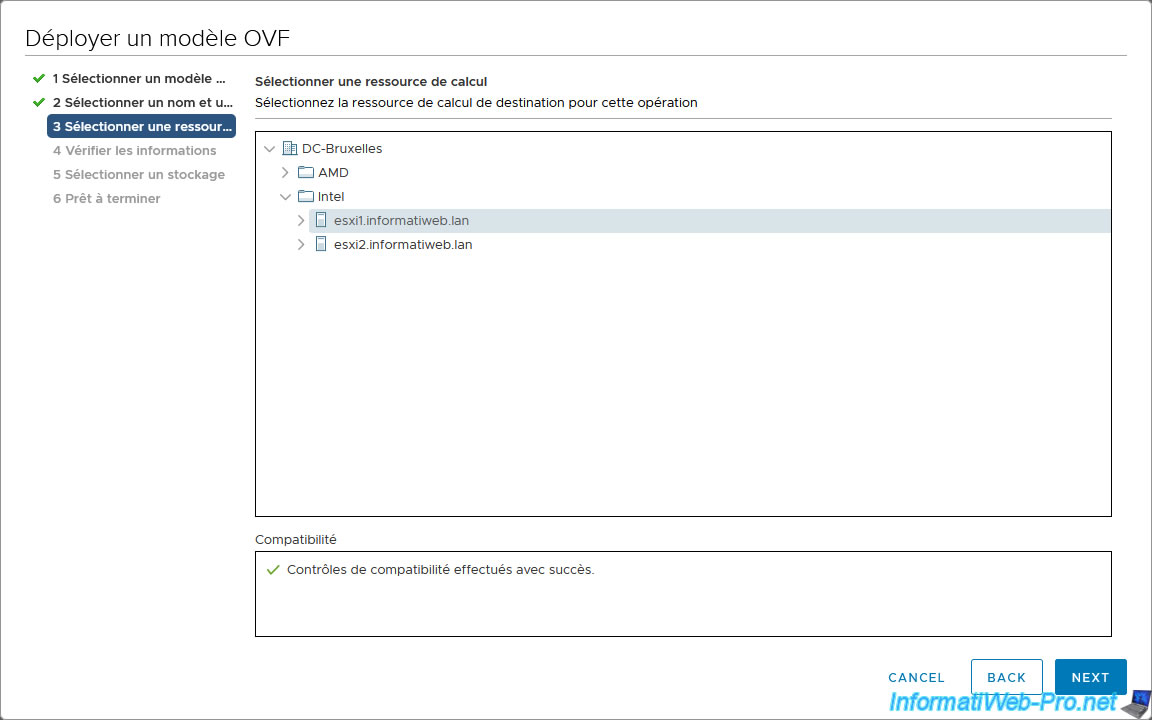
Select the compute resource where this new virtual machine should run.
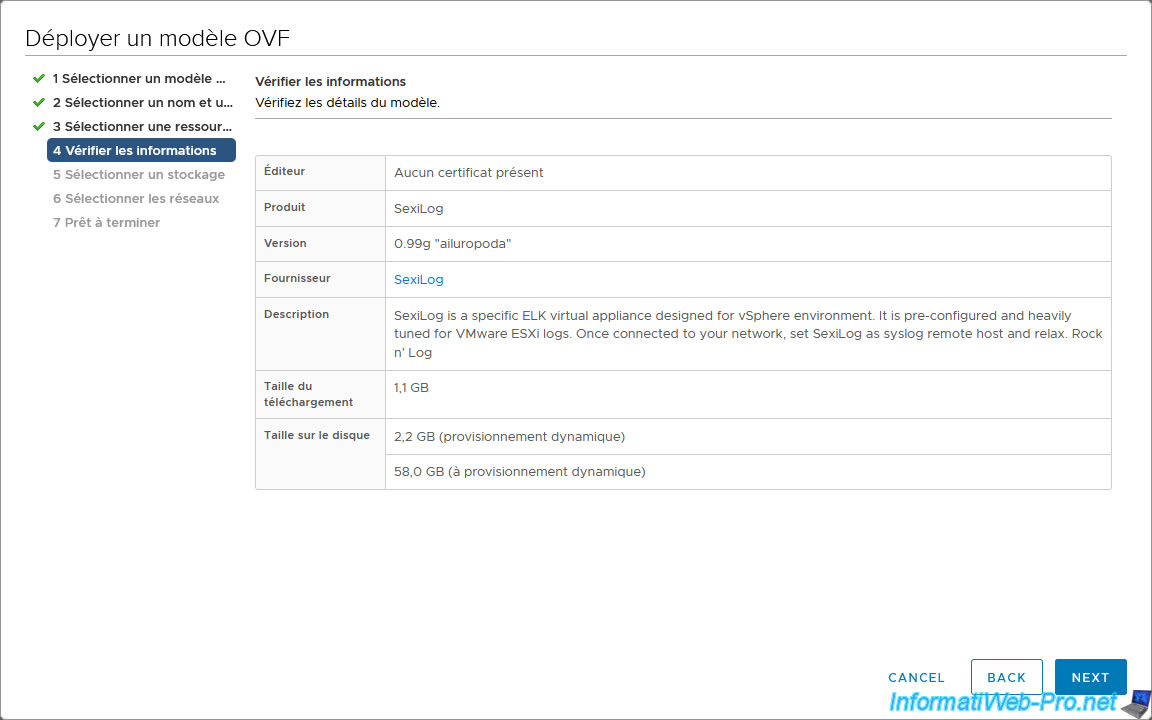
Information regarding the "SexiLog" virtual appliance to be imported is displayed:
- Product : SexiLog
- Version : 0.99g "ailuropoda"
- Vendor : SexiLog
- Description : SexiLog is a specific ELK virtual appliance designed for vSphere environment ...
- and more
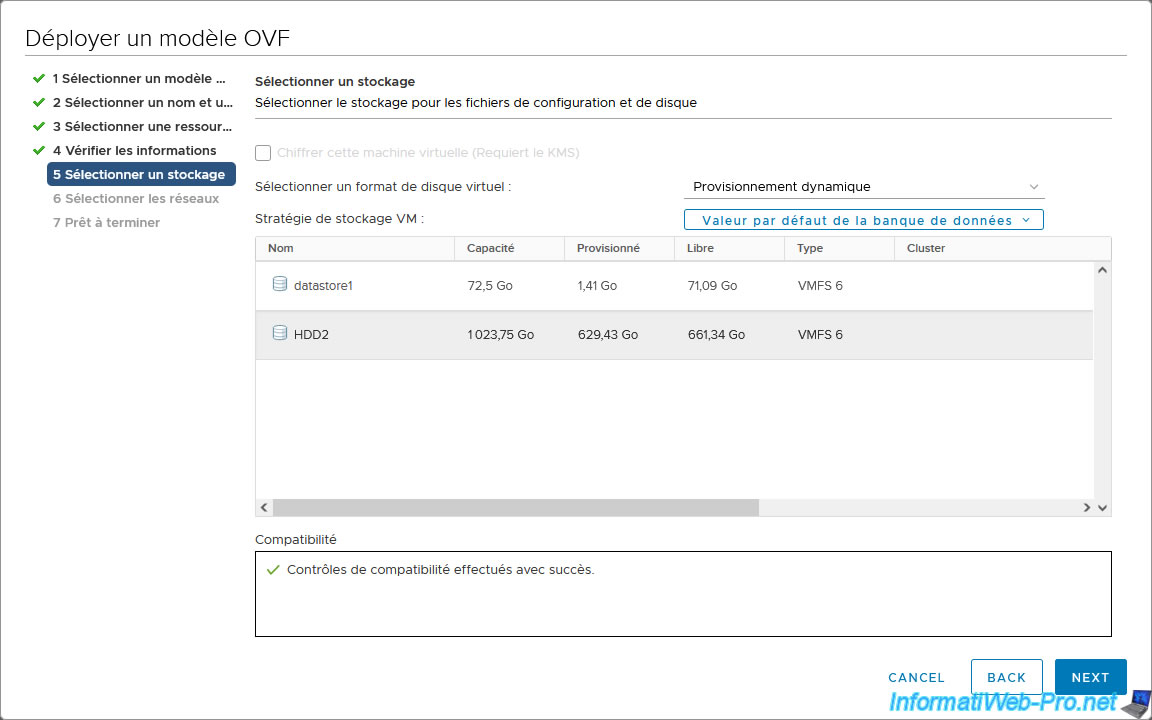
Select the storage (databank) where you want to store your "SexiLog" virtual appliance.
Then, select which type of provisioning you want to install.
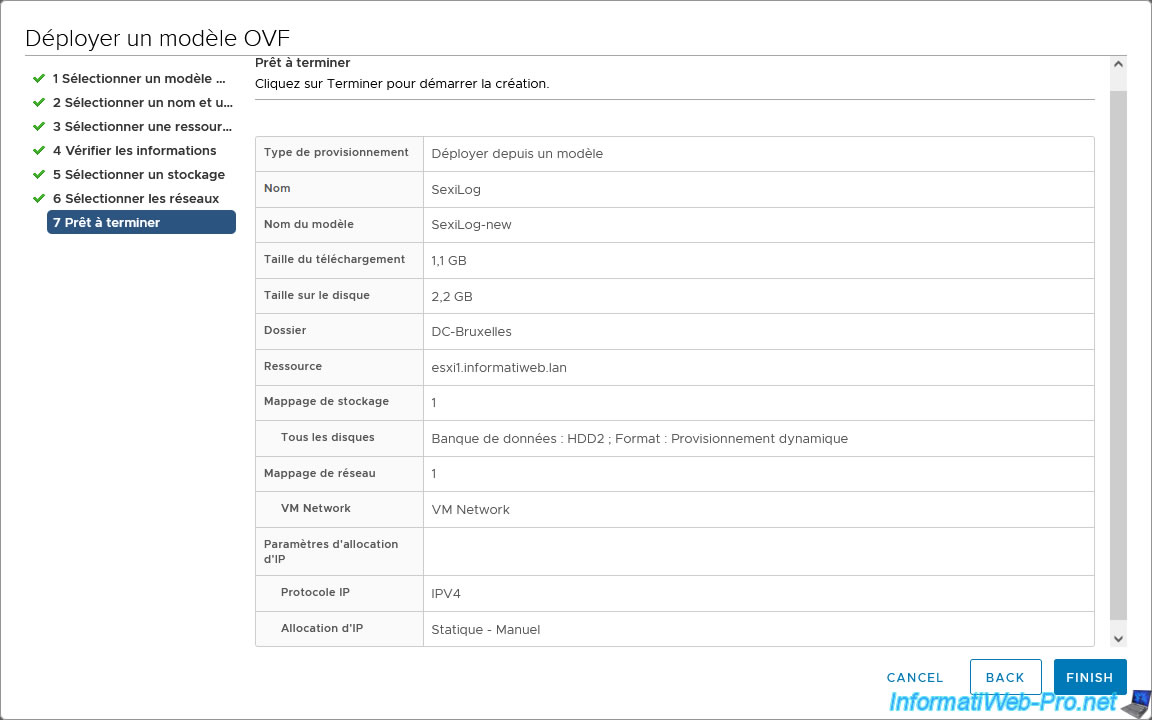
Warning : although the downloaded "SexiLog.ova" file is approximately 1 GB in size, the virtual hard drives are configured with a maximum size of 2.2 GB and 58 GB.
Which means SexiLog will take 60 GB of disk space if you use static provisioning.
But, only a little over 1 GB if you use thin provisioning.
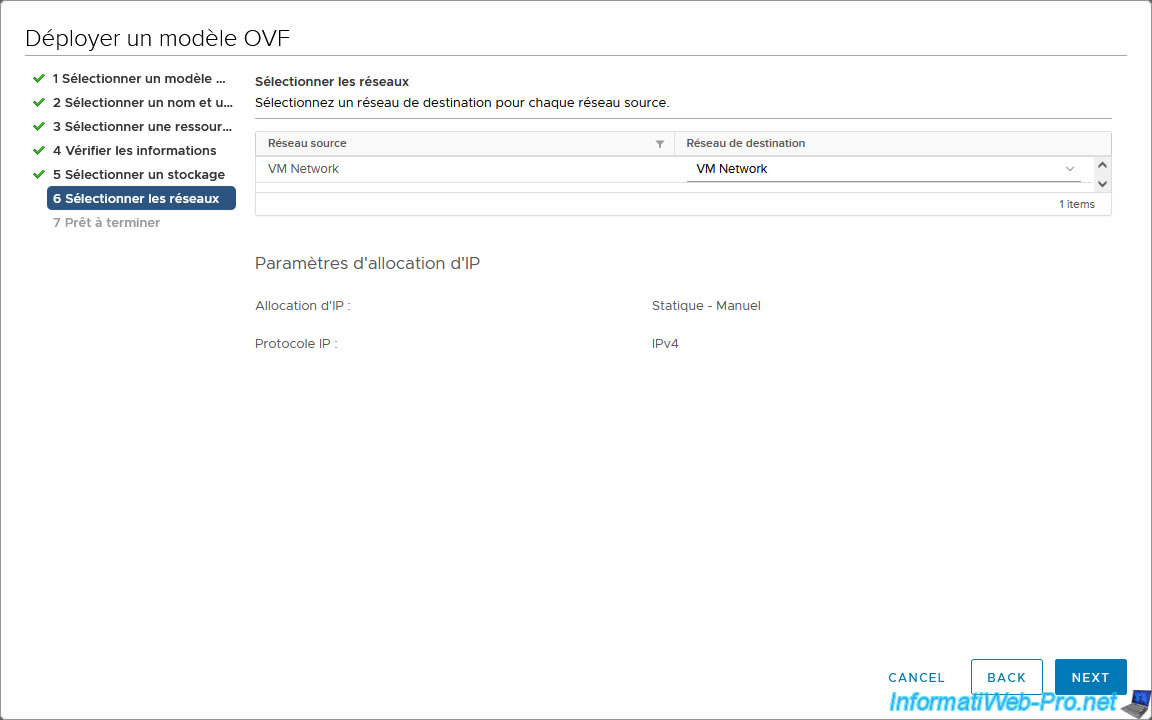
For networking, you only need the default network of your VMware ESXi host: VM Network.
A summary of the import wizard appears.
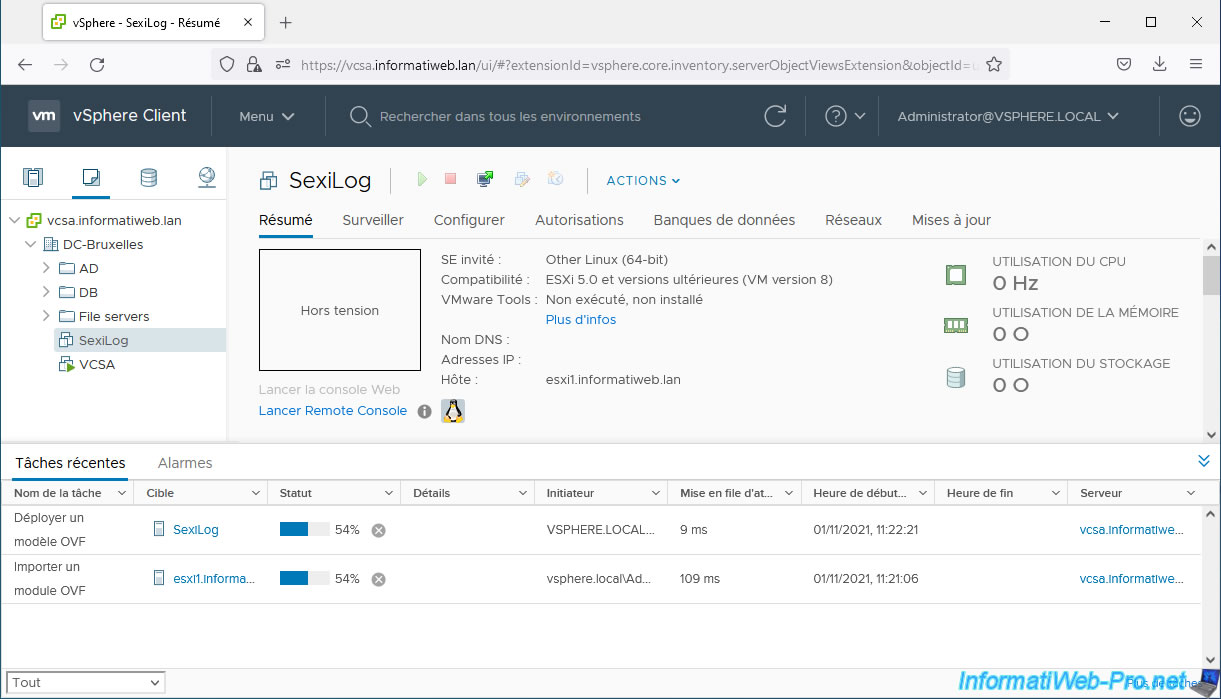
Wait while your "SexiLog" virtual appliance is deployed.
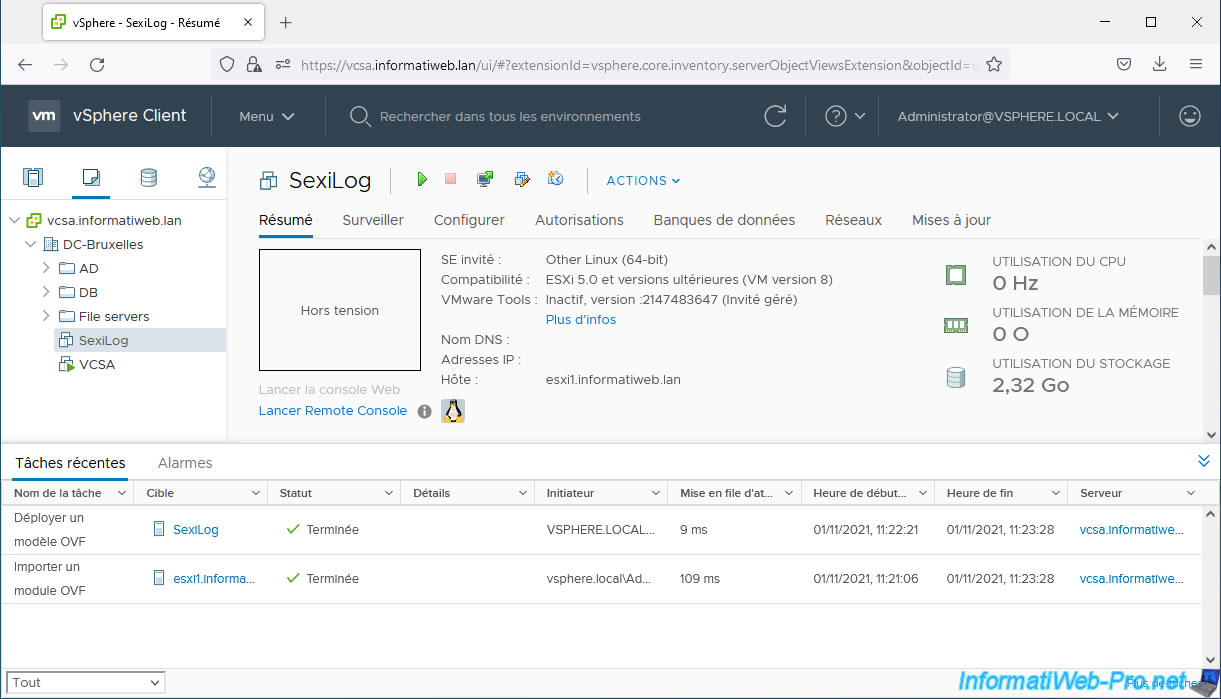
The "SexiLog" virtual appliance has been imported.
Share this tutorial
To see also
-

VMware 2/17/2023
VMware ESXi 6.7 - Configure your virtual machines settings
-
VMware 9/23/2022
VMware ESXi 6.7 - Make virtual machines unique
-
VMware 9/21/2022
VMware ESXi 7.0 / 6.7 - Clone virtual machines (without vCenter)
-
VMware 2/21/2024
VMware vSphere 6.7 - Deploy VCSA (vCenter Server Appliance)

You must be logged in to post a comment