- VMware
- 07 August 2024 at 08:11 UTC
-


Previously, we explained to you how to install, configure and use SexiLog to centralize all the logs of your VMwar vCenter Server (or VCSA) servers and your VMware ESXi hosts.
However, you probably noticed that the web interface was only accessible via the HTTP protocol (which is therefore not secure).
If you want to be able to access this web interface securely, you will need to slightly modify the configuration of the Node.js server used in this SexiLog virtual machine.
- SexiLog accessible via HTTP protocol (not secure)
- Add HTTPS support to SexiLog
- Create a DNS record for the SexiLog server
- SexiLog accessible via HTTPS protocol (secure)
1. SexiLog accessible via HTTP protocol (not secure)
Start the “SexiLog” virtual machine (if it is not already done).
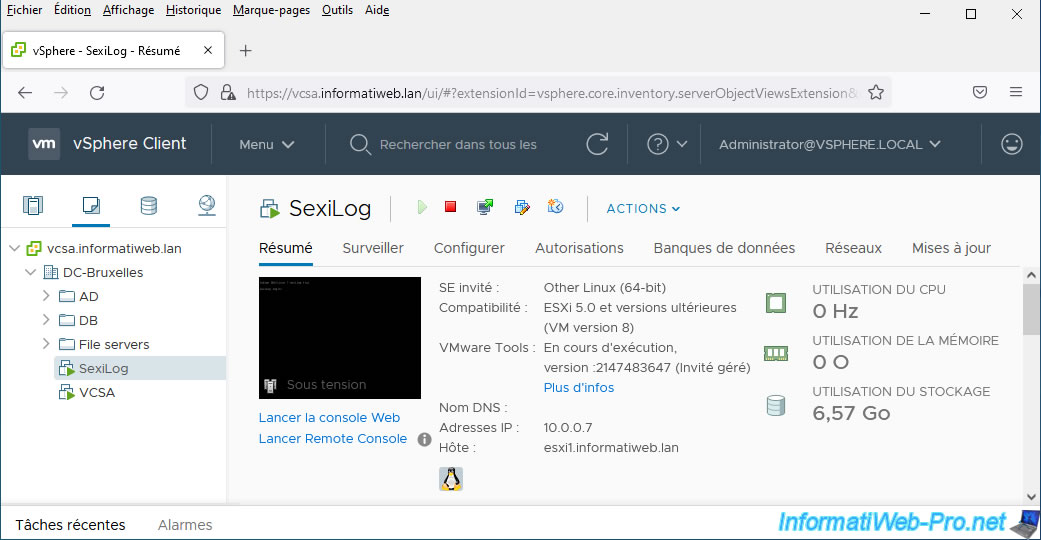
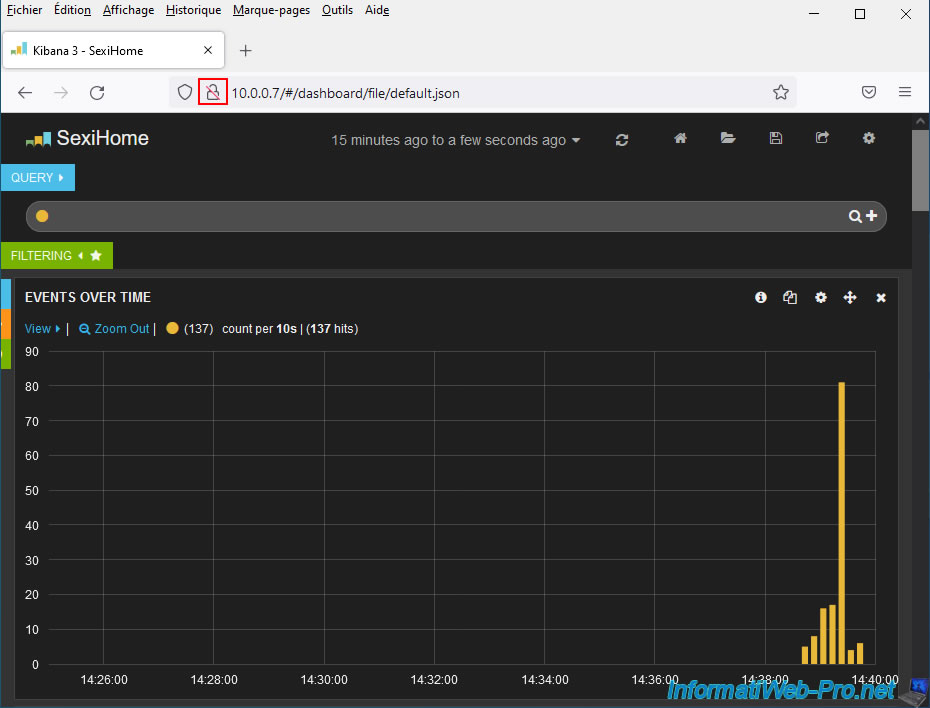
Then, access its web interface by typing its IP address in the address bar.
As expected, the HTTP protocol is used. Which means that all data will pass unencrypted through your network.
2. Add HTTPS support to SexiLog
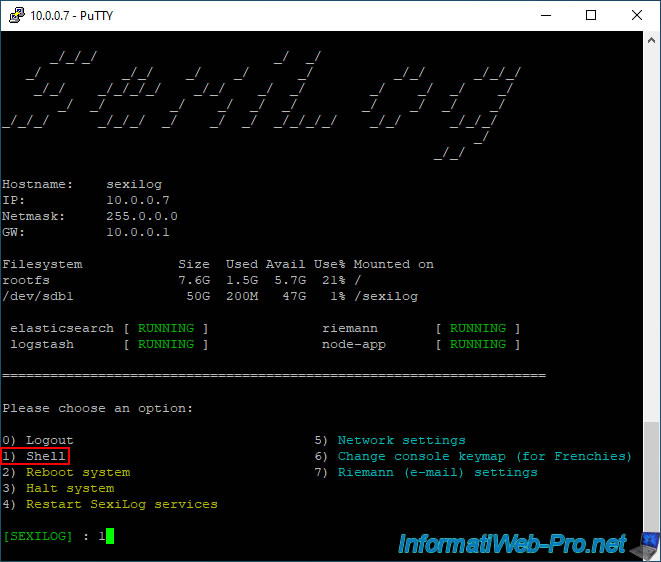
To add HTTPS support for the SexiLog web interface, connect to your SexiLog virtual machine using SSH (via PuTTY, for example).
As a reminder, the default identifiers are "root / Sex!Log".
The SexiMenu of SexiLog appears automatically.
Type 1 and press Enter to access the Linux Shell of your virtual machine.
Next, move to the Node.js server folder:
Bash
cd /usr/lib/node_modules/kibana-proxy/
To add HTTPS support, you must modify the "app.js" file located in the folder mentioned above:
Bash
vim app.js
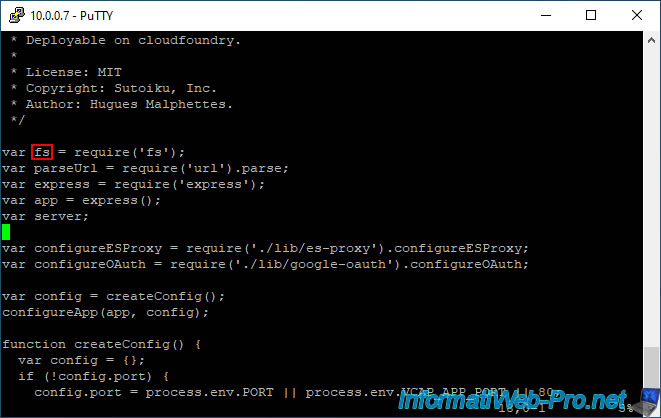
At the top of this "app.js" file, you will find a block with several variables (including the "fs" variable).
Move to where the small green rectangle is in the image below and press "i" to enter insert mode.
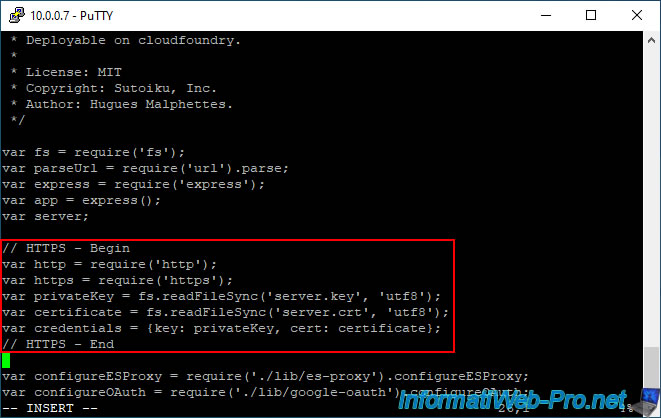
Paste these lines of code respecting the place where we pasted it.
The most important thing is that this piece of code is placed after the declaration of the "fs" variable on which it depends.
Plain Text
// HTTPS - Begin
var http = require('http');
var https = require('https');
var privateKey = fs.readFileSync('server.key', 'utf8');
var certificate = fs.readFileSync('server.crt', 'utf8');
var credentials = {key: privateKey, cert: certificate};
// HTTPS - End
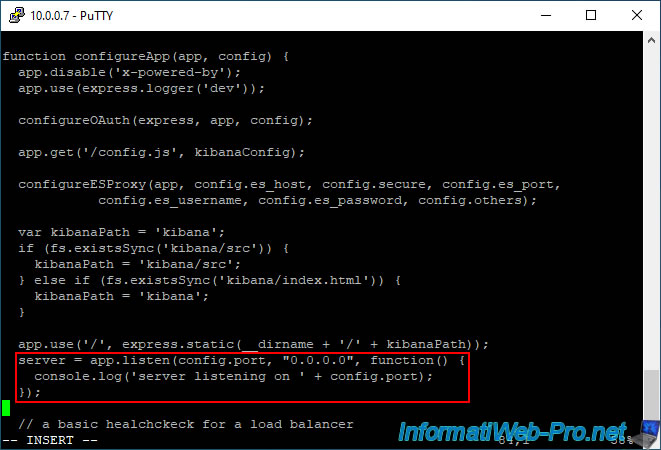
Then, a little further down, you will find the "configureApp" function which contains the creation of the web server in HTTP (boxed in red in the image below).
Comment on these 3 lines (boxed in red on the image) by adding "//" at the start of each line.
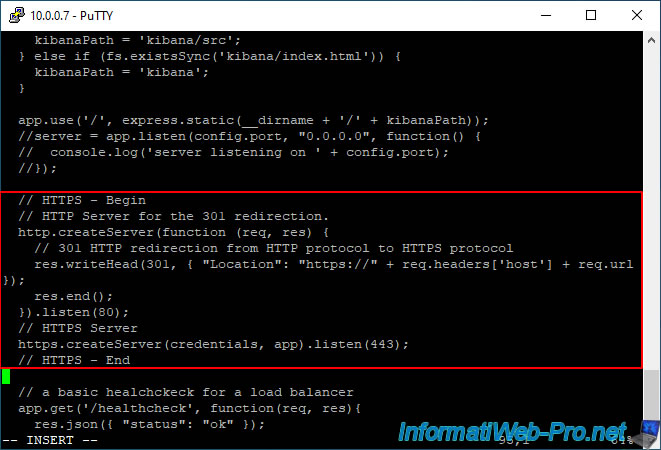
Then, add this after the 3 lines you just commented:
Plain Text
  // HTTPS - Begin
  // HTTP Server for the 301 redirection.
  http.createServer(function (req, res) {
    // 301 HTTP redirection from HTTP protocol to HTTPS protocol
    res.writeHead(301, { "Location": "https://" + req.headers['host'] + req.url });
    res.end();
  }).listen(80);
  // HTTPS Server
  https.createServer(credentials, app).listen(443);
  // HTTPS - End
As you will easily understand, this code allows you to:
- create a web server listening on port 80 (listen(80)) which will automatically redirect the user to the HTTPS version by responding with a status 301 whose destination URL is that indicated in the original HTTP version.
- create a web server listening on port 443 (listen(443)) which will provide secure access to the SexiLog web interface thanks to the certificate and the private key referenced previously and contained in a "credentials" variable.
Now press "Esc", then type ":wq" to exit this file saving the changes.
Make sure you are in the "/usr/lib/node_modules/kibana-proxy/" folder and generate a certificate request using the command.
Note that the validity (indicated via the "-days" parameter) here is 3650 days (10 years).
Bash
openssl req -x509 -newkey rsa:4096 -keyout server.key -out server.crt -days 3650
This command will ask you to enter a password twice (which you must invent) to protect the private key.
Plain Text
Generating a 4096 bit RSA private key
..................................................................++
...................................++
writing new private key to 'server.key'
Enter PEM pass phrase:
Verifying - Enter PEM pass phrase:
Next, you will need to indicate what information (if any) you want to add in the SSL certificate.
Warning : avoid accented or special characters to avoid display bugs when you try to display your certificate information.
Important : if you wish to use a valid certificate (from a certification authority recognized by your computers and/or servers), it is important to indicate the domain name you wish to use to access it.
In our case: sexilog.informatiweb.lan.
Plain Text
Country Name (2 letter code) [AU]:BE
State or Province Name (full name) [Some-State]:Liege
Locality Name (eg, city) []:
Organization Name (eg, company) [Internet Widgits Pty Ltd]:InformatiWeb Pro
Organizational Unit Name (eg, section) []:Virtualization
Common Name (e.g. server FQDN or YOUR name) []:sexilog.informatiweb.lan
Email Address []:
Once the certificate request has been created, generate the associated key using this command.
Bash
openssl rsa -in server.key -out server.key
Provide the password indicated previously and the RSA key will be created.
Plain Text
Enter pass phrase for server.key:
writing RSA key
Finally, restart the Node.js server by typing this command:
Bash
/etc/init.d/node-app restart --force
Plain Text
Stopping node app ...
Killing process 2932
Removing pid file
Node app stopped
Starting node app ...
Node app started with pid 3275
3. Create a DNS record for the SexiLog server
For the certificate to be considered valid, it is important that you access your SexiLog server using the domain name (common name) that you indicated when creating the certificate.
To do this, open the DNS manager of your local DNS server (in our case under Windows Server 2016).
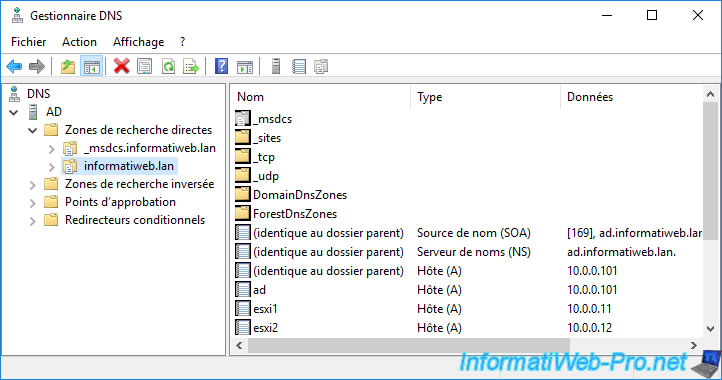
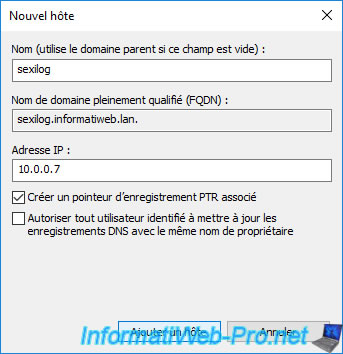
And create a new DNS type A record with "sexilog" as the subdomain and its IPv4 address in the "IP Address" box.
4. SexiLog accessible via HTTPS protocol (secure)
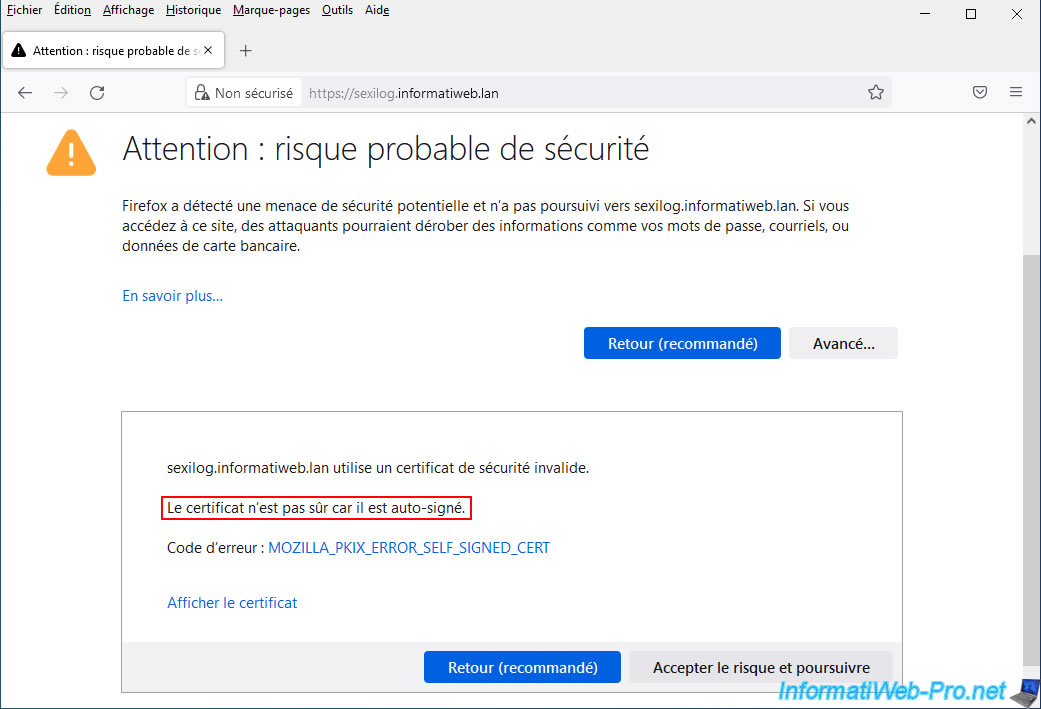
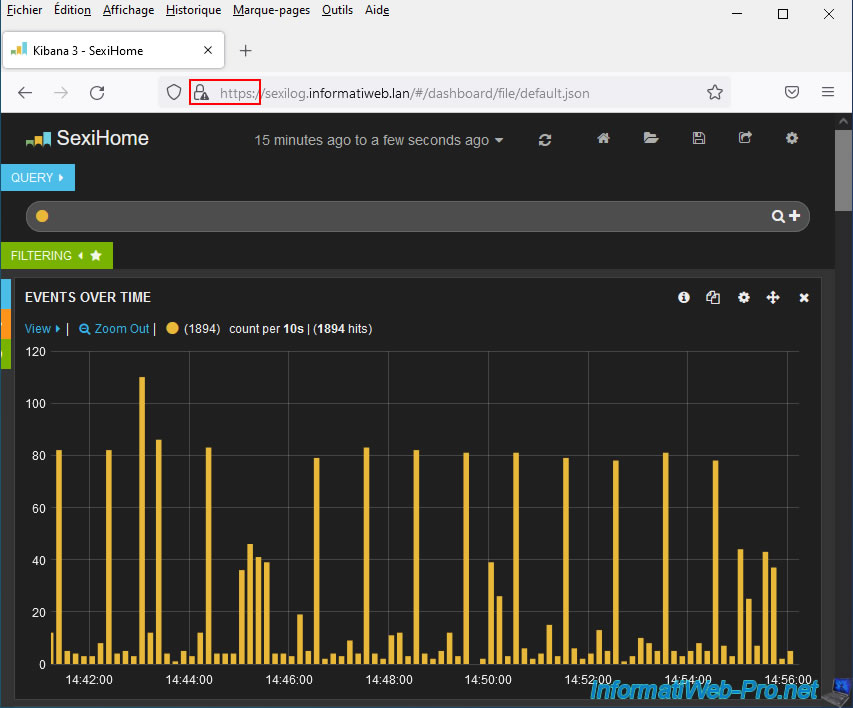
Access the web interface of your SexiLog server by typing the address: https://[domain name of it]/
If you generated the SSL certificate as explained in this tutorial, a security warning will appear since the generated certificate is self-signed.
However, this will prevent data from being sent unencrypted across the network. Then, nothing prevents you from replacing the SSL certificate used with a valid SSL certificate from, for example, your local certification authority.
Click "Advanced", then click: Accept the risk and continue.
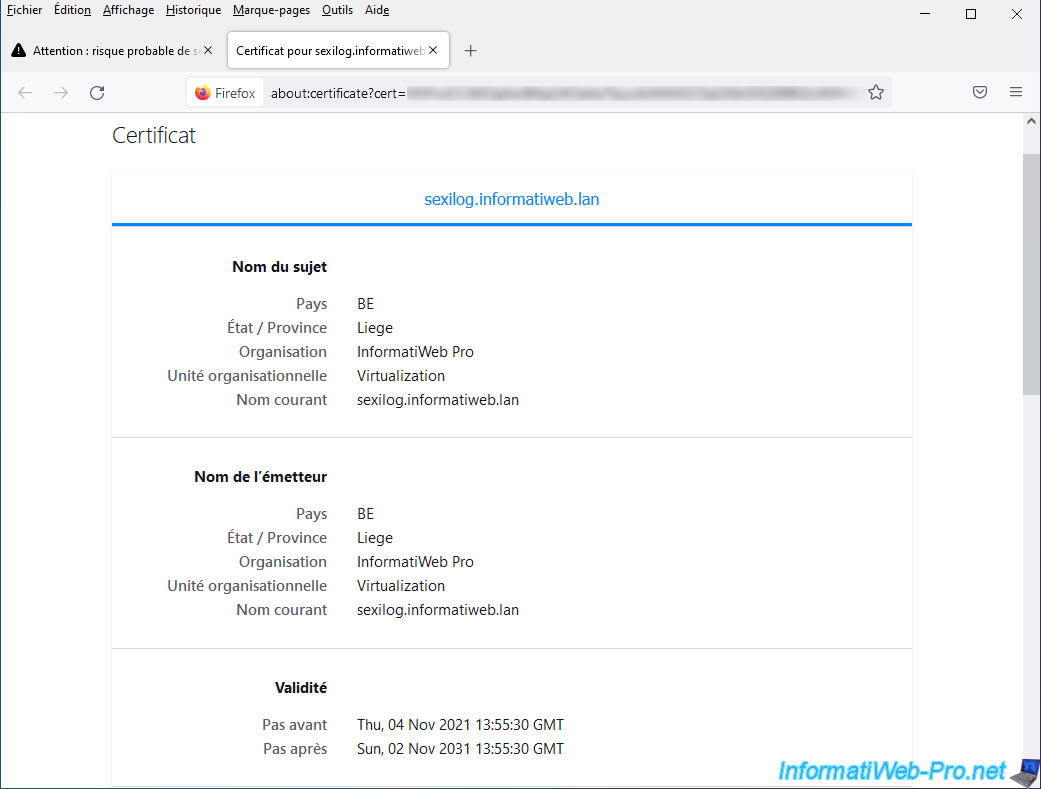
If you click the "View Certificate" link displayed below the security warning, you will be able to see the information you previously provided in your certificate request.
As you can see, the SexiLog web interface is now accessible via the HTTPS protocol.
Share this tutorial
To see also
-
VMware 8/21/2024
VMware vSphere 6.7 - Add a VMkernel interface
-
VMware 8/2/2024
VMware vSphere 6.7 - Collect logs with SexiLog
-
VMware 8/9/2024
VMware vSphere 6.7 - Collect logs with VMware Aria Operations for Logs
-

VMware 1/10/2025
VMware vSphere 6.7 - Create a LACP link (LAG)
You must be logged in to post a comment