- VMware
- 04 October 2024 at 07:47 UTC
-

- 1/5
As you probably know, the VMware ESXi web interface doesn't allow you to clone virtual machines.
To do this, you will need to link it to a VMware vCenter Server.
Note that all the possibilities described below will only create complete clones. Which means that the destination virtual machine will not depend on the source virtual machine.
If you want to create linked clones of virtual machines, this is possible through Horizon View Composer or by using the API: vSphere Web Services SDK Programming Guide - Linked Virtual Machines.
- Clone a Windows virtual machine
- Clone from a template
- Clone a virtual machine as a template
- Clone a Linux virtual machine
1. Clone a Windows virtual machine
1.1. Overview of source Windows virtual machine
As you can see, the NETBIOS name of the source virtual machine in Windows 10 is: DESKTOP-C8ETTT3.
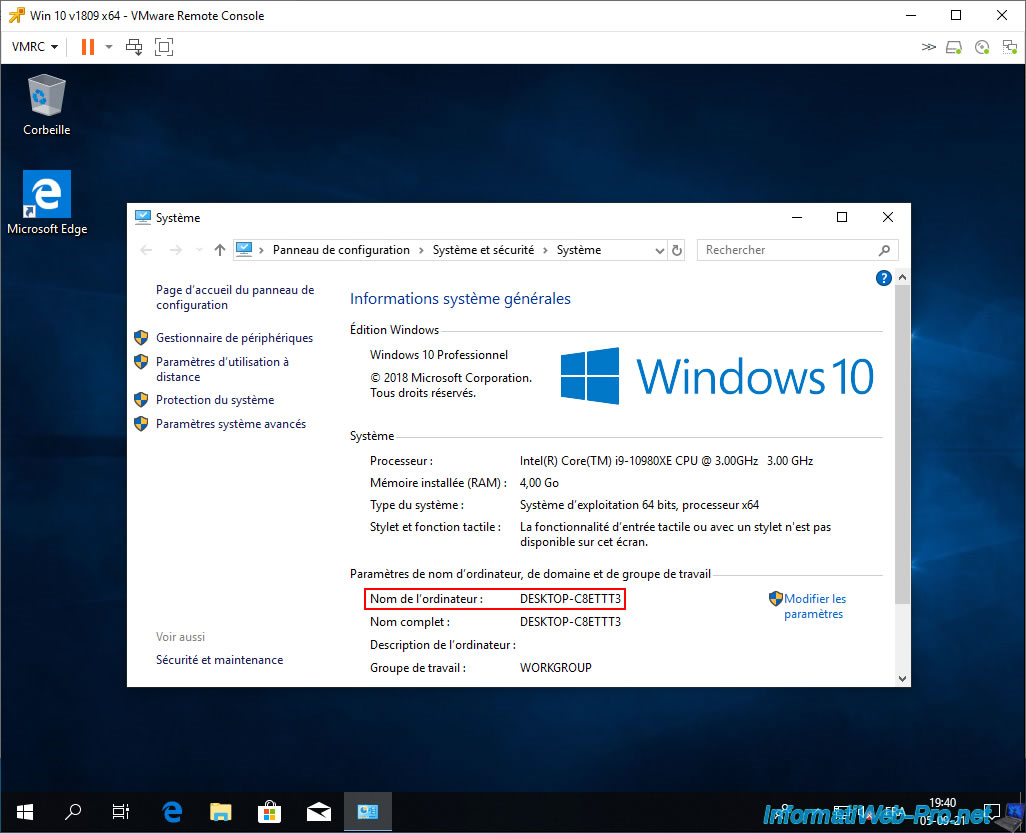
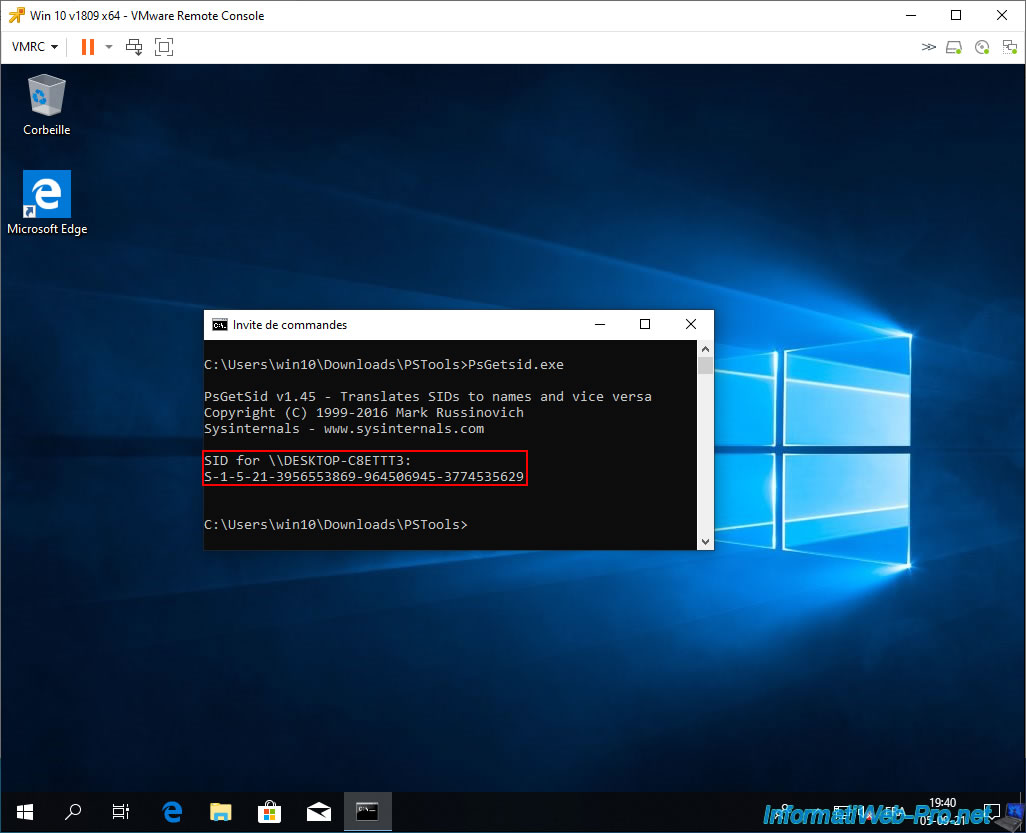
Note that on Windows and Windows Server, each client station and each virtual server has a security identifier (SID) which must be unique to avoid various problems.
It is therefore important to change this security identifier (SID) for each clone of the source virtual machine.
However, VMware offers to do this automatically using a VM customization specification.
1.2. Clone Windows virtual machine
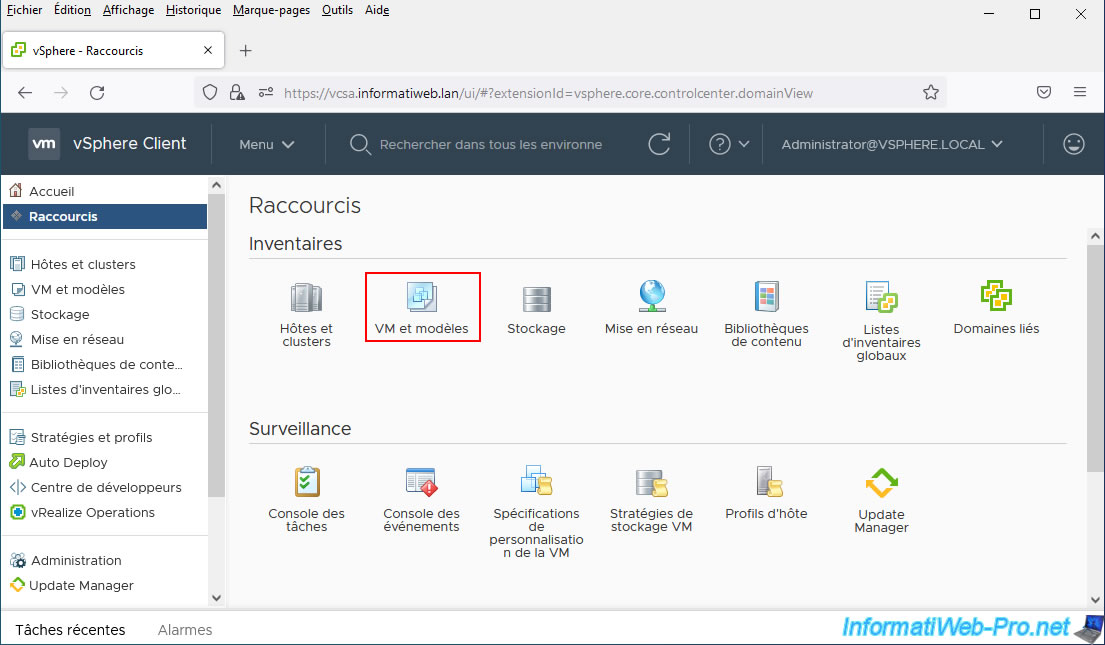
To clone a virtual machine, click on the "vSphere Client" logo and click: VMs and Templates.
Select the virtual machine to clone.
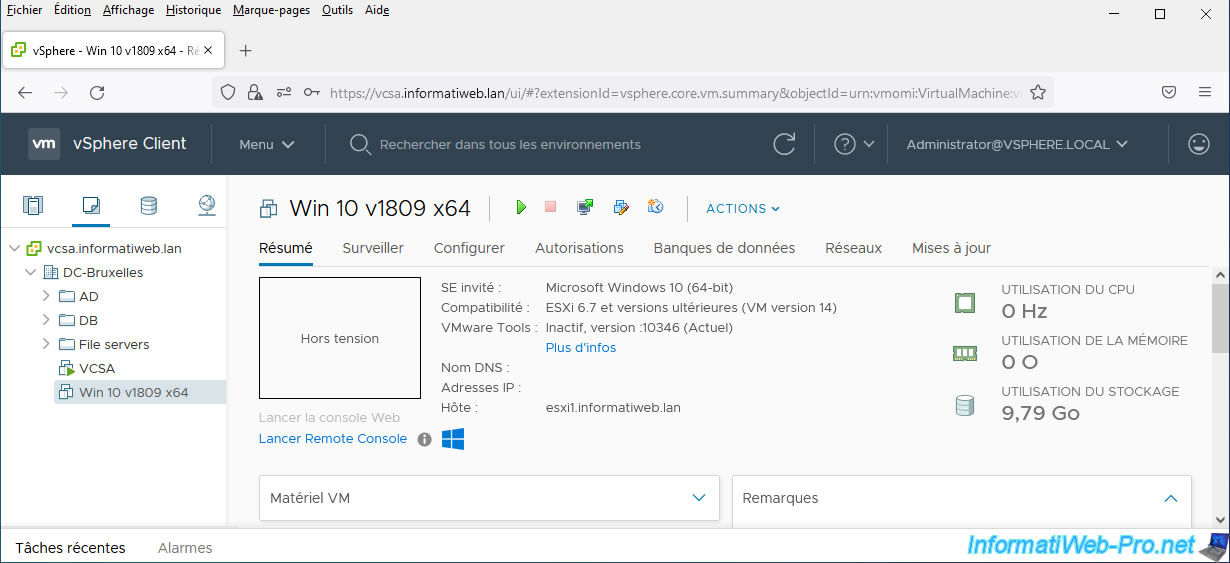
Then, right-click on the name of this virtual machine and click: Clone -> Clone to Virtual Machine.
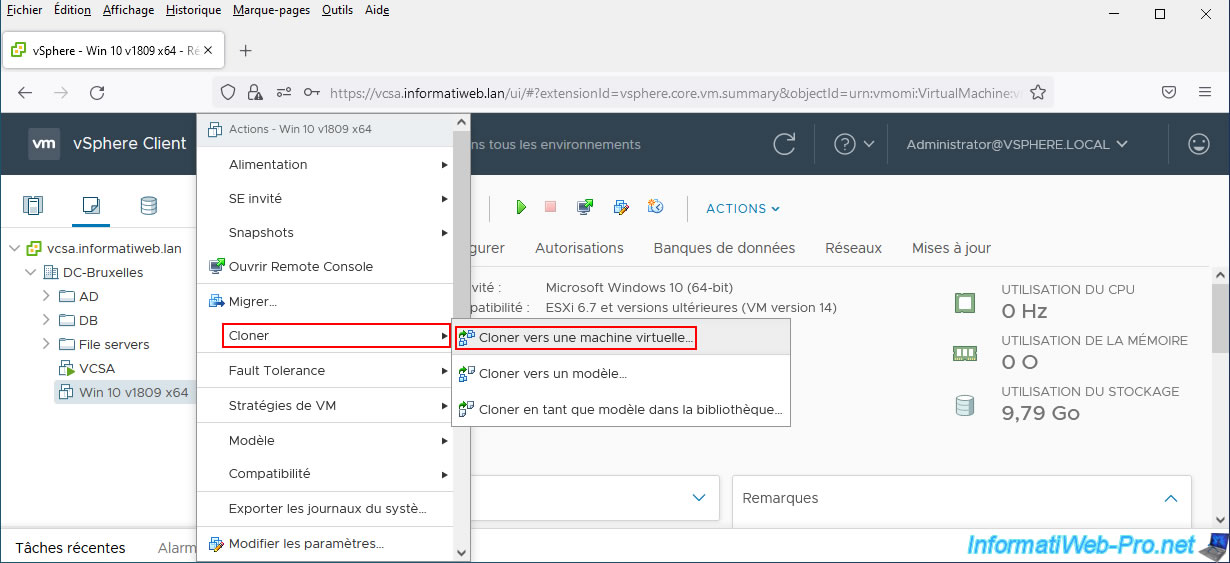
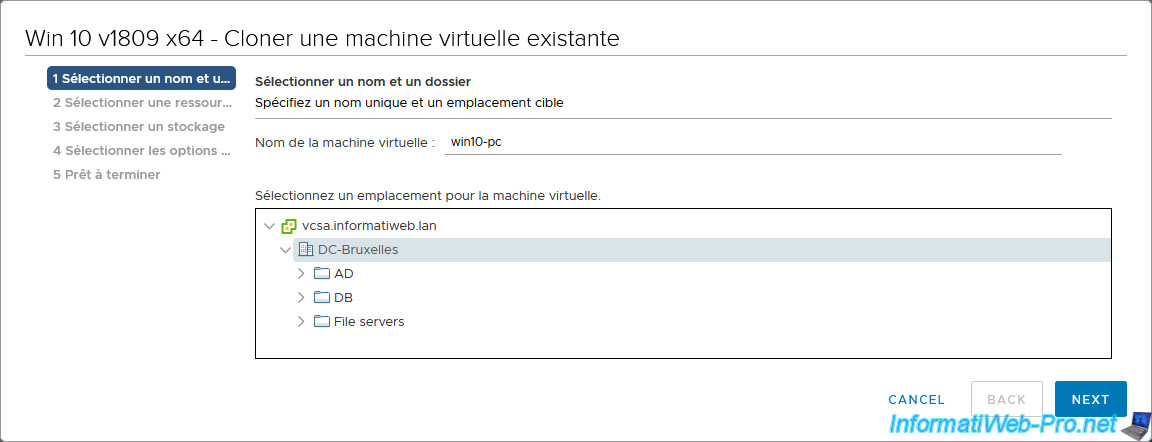
In the "Clone Existing Virtual Machine" wizard that appears, specify a name for the new virtual machine (copied from the source virtual machine) and select the location (data center or folder) where it should be stored.
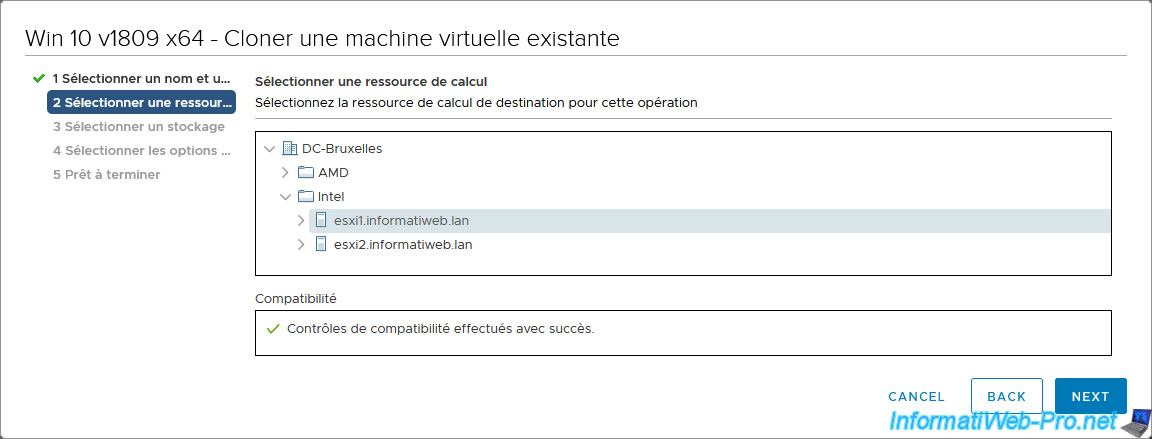
Select the compute resource (VMware ESXi hypervisor) that will be used to run this new virtual machine.
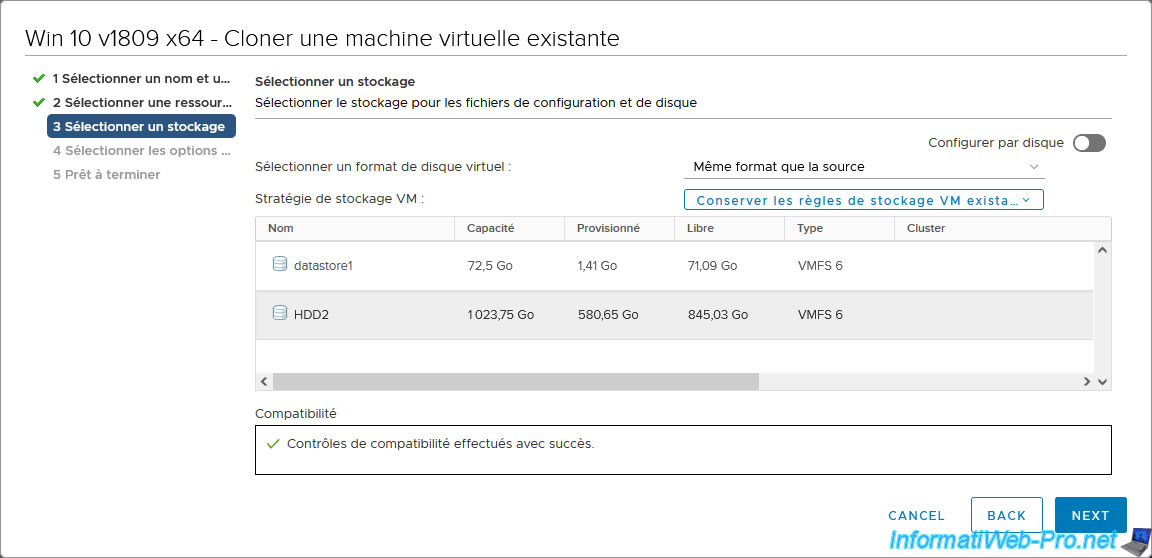
Select the datastore where to store this new virtual machine.
Note: by default, the virtual disk format (or in other words, its provisioning type) will be identical to that of the source virtual machine.
If you want to change it, select "Thin Provision" or "Static Provisioning" from the list instead of "Same format as source".
Select the desired clone options:
- Customize the operating system: allows you to personalize the name, network settings, change the SID (for Windows VMs), ... using a VM customization specification created beforehand.
- Customize this virtual machine's hardware: allows you to modify the virtual hardware for the copy of the virtual machine.
- Power on virtual machine after creation: allows you to automatically start the virtual machine after cloning the virtual machine is complete.
This option is useful when you want to customize the guest operating system of the virtual machine, because the customization process will start directly after cloning it.
Note that each "Customize..." option checked will add a step to this wizard.
Important : customizing the guest operating system (Windows) is only possible if:
- the latest available version of VMware Tools is installed in the source Windows virtual machine
- a customization specification for Windows operating systems has been previously created on your VMware vCenter Server

As you can see, enabling the first 2 "Customize..." options added 2 steps to this wizard.

If you checked the "Customize the operating system" box, the next step will be: Customize guest OS.
This step will allow you to customize the guest operating system in the destination virtual machine using a previously created VM customization specification.
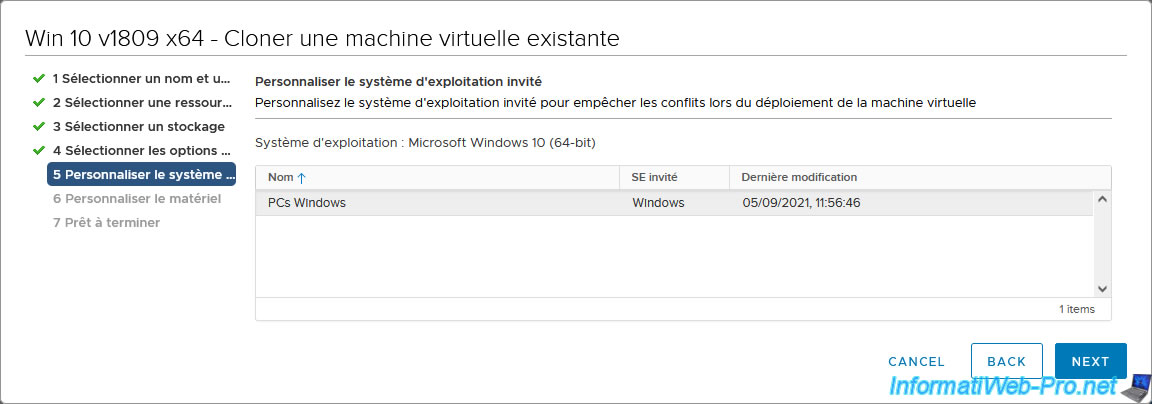
Then, if you have also checked the "Customize this virtual machine's hardware" box, the "Customize hardware" step will appear and allow you to adapt the number of processors, the amount of RAM, the size of the hard drive virtual, ... of the destination virtual machine.
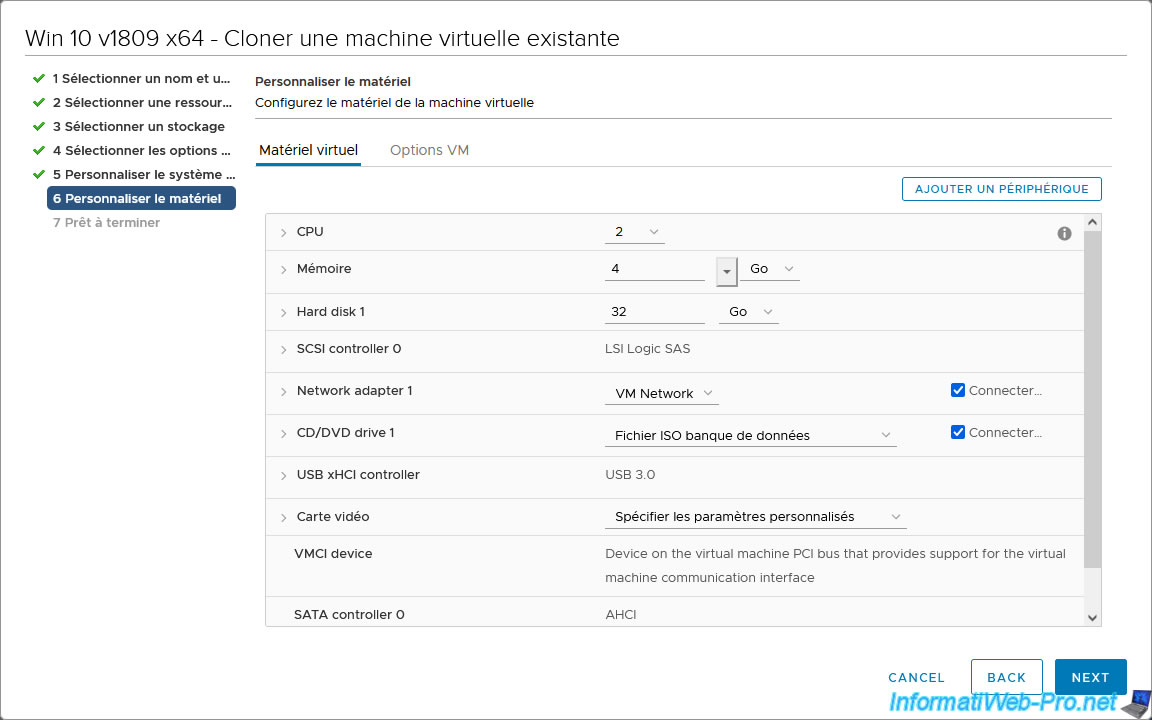
Finally, a summary (Ready to complete) will appear.
Click Finish.
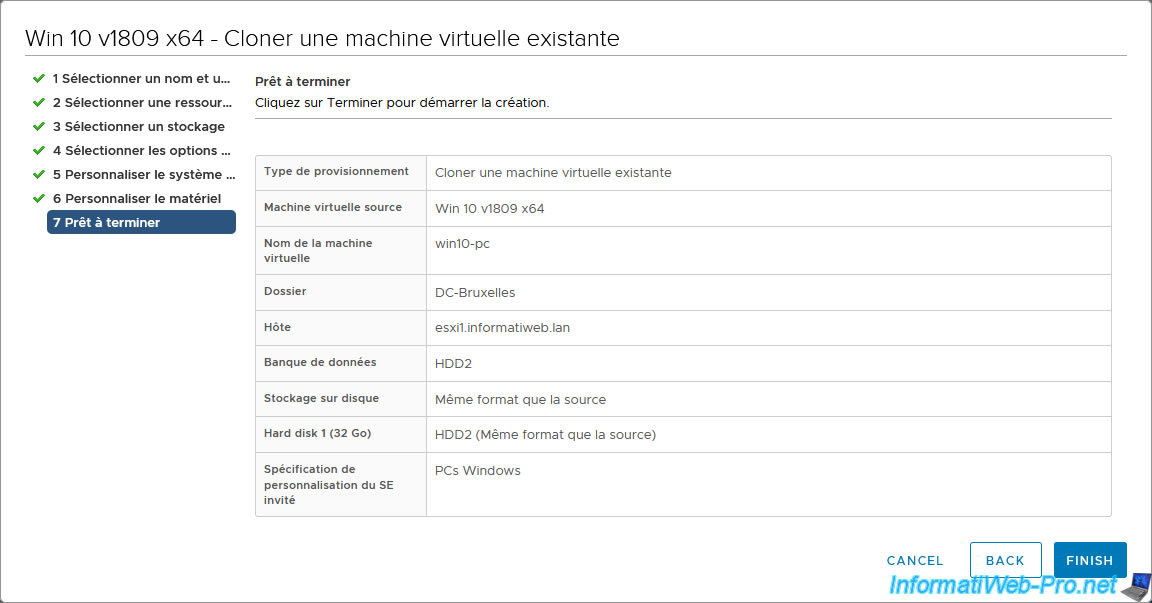
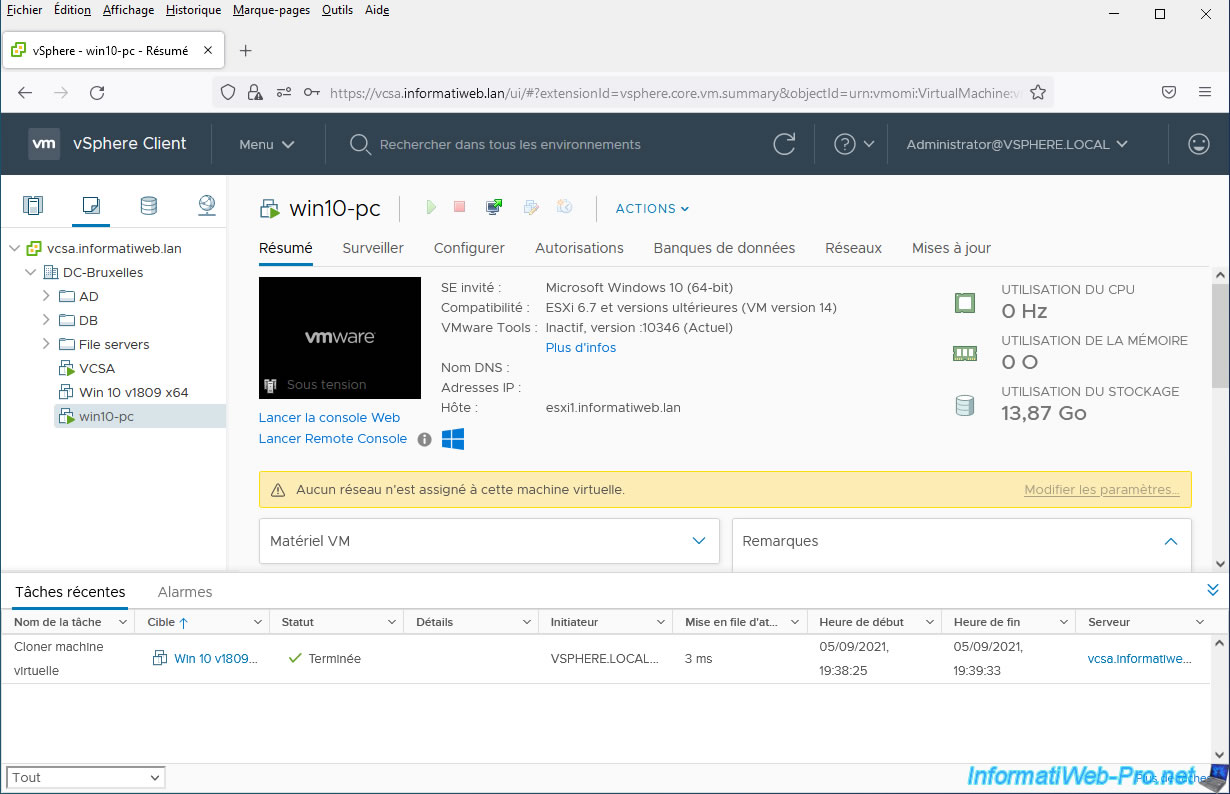
In the list of recent tasks available at the bottom of the page, you will see that the "Clone virtual machine" task is running.
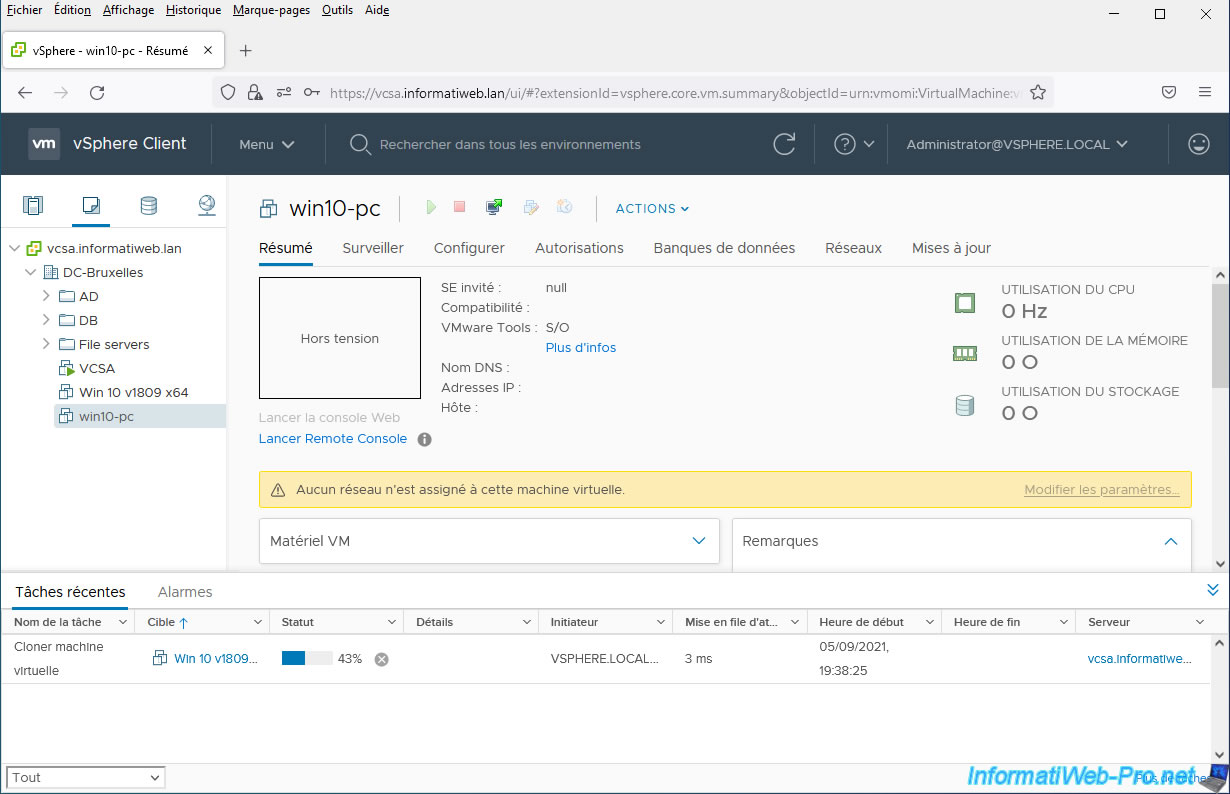
Once the cloning of the virtual machine is completed, the status of this "Clone virtual machine" task will be "Completed" and the destination virtual machine will start automatically (if you had checked the "Power on virtual machine after creation" box. in the clone wizard).
Share this tutorial
To see also
-

VMware 12/20/2024
VMware vSphere 6.7 - Clone vApps
-
VMware 10/9/2024
VMware vSphere 6.7 - Clone virtual machines to a content library
-
VMware 10/11/2024
VMware vSphere 6.7 - Convert a Hyper-V virtual machine to a VMware VM
-
VMware 12/13/2024
VMware vSphere 6.7 - Create a vApp

You must be logged in to post a comment