Clone virtual machines (as VMs or templates) on VMware vSphere 6.7
- VMware
- 04 October 2024 at 07:47 UTC
-

- 2/5

1.3. Preparing the Windows Virtual Machine
If you have enabled guest operating system customization in the "Clone Existing Virtual Machine" wizard, the customization will take place on the first boot of the cloned virtual machine.
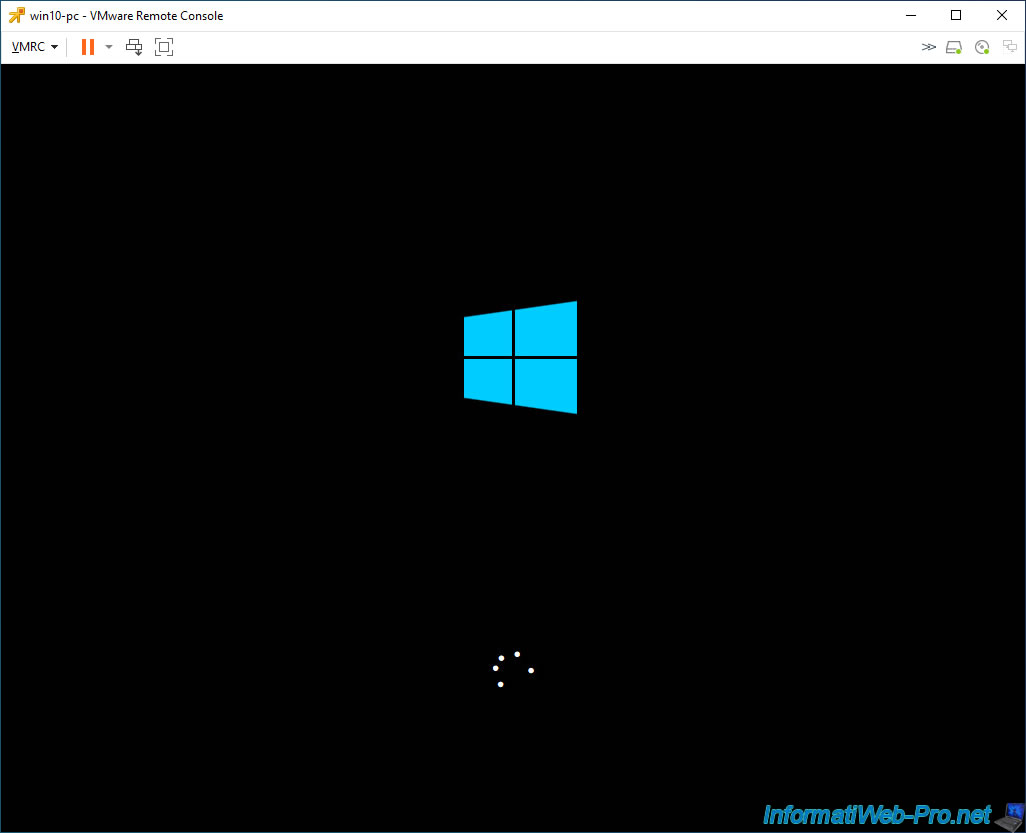
In this case, it is a virtual machine running Windows 10.
The Windows 10 loading logo appears.
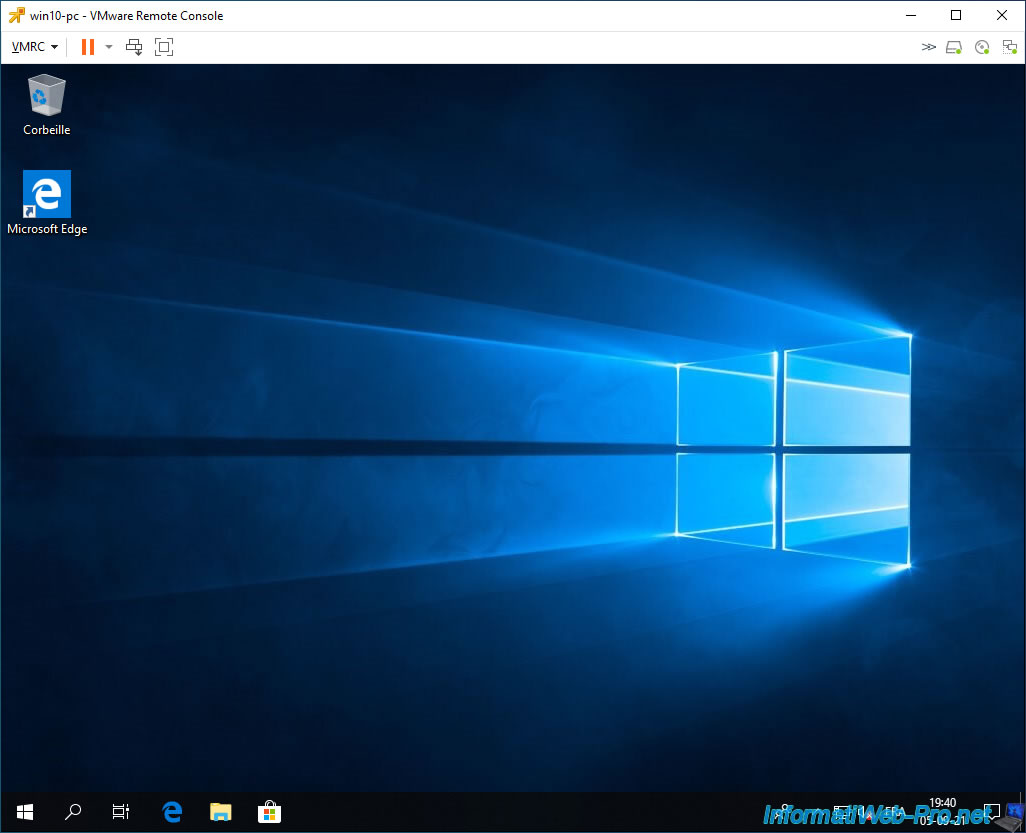
The Windows session opens.
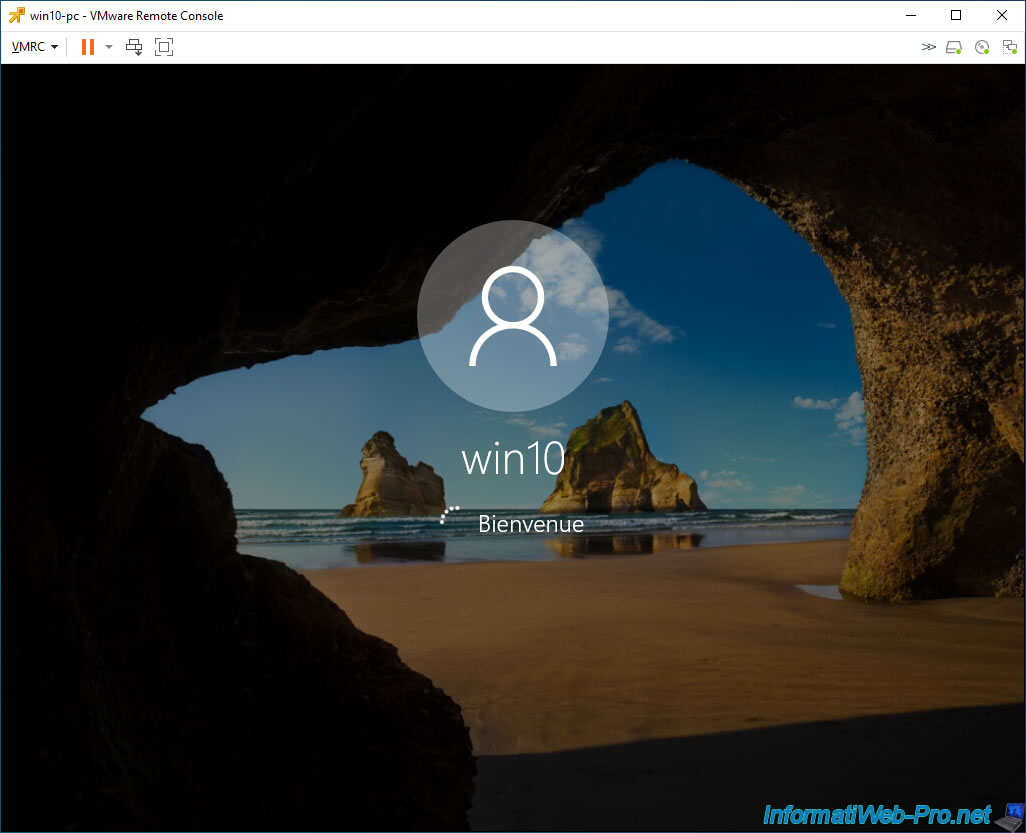
Windows 10 has started.
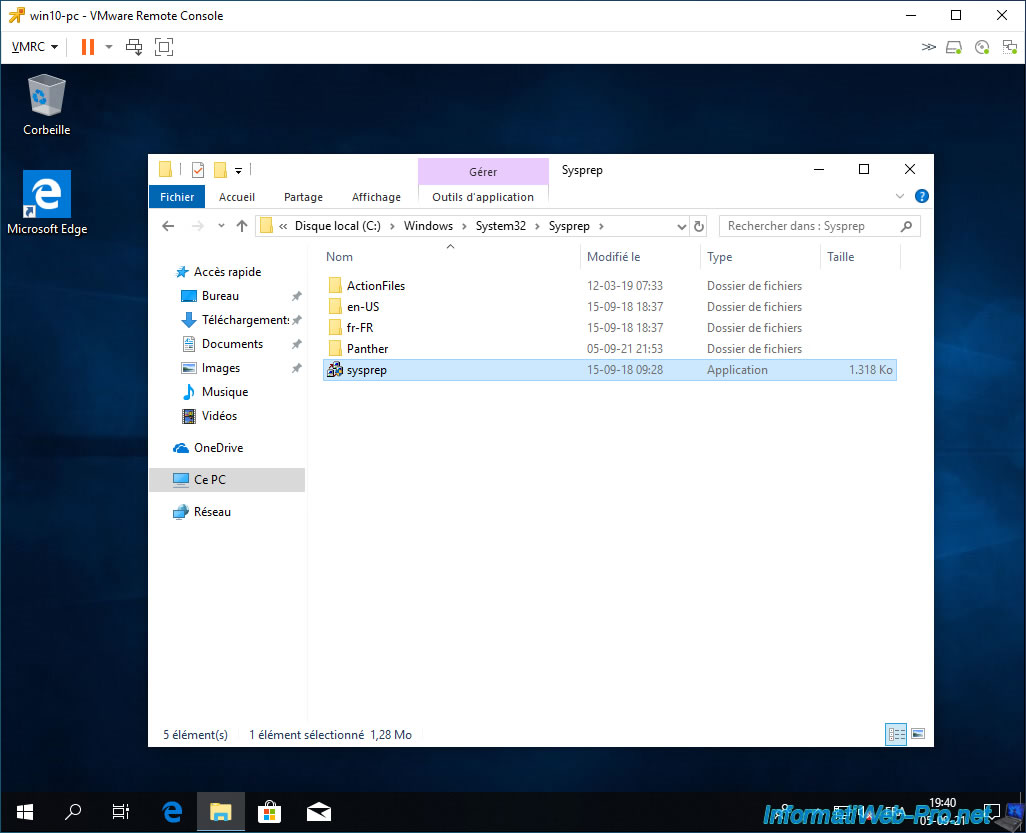
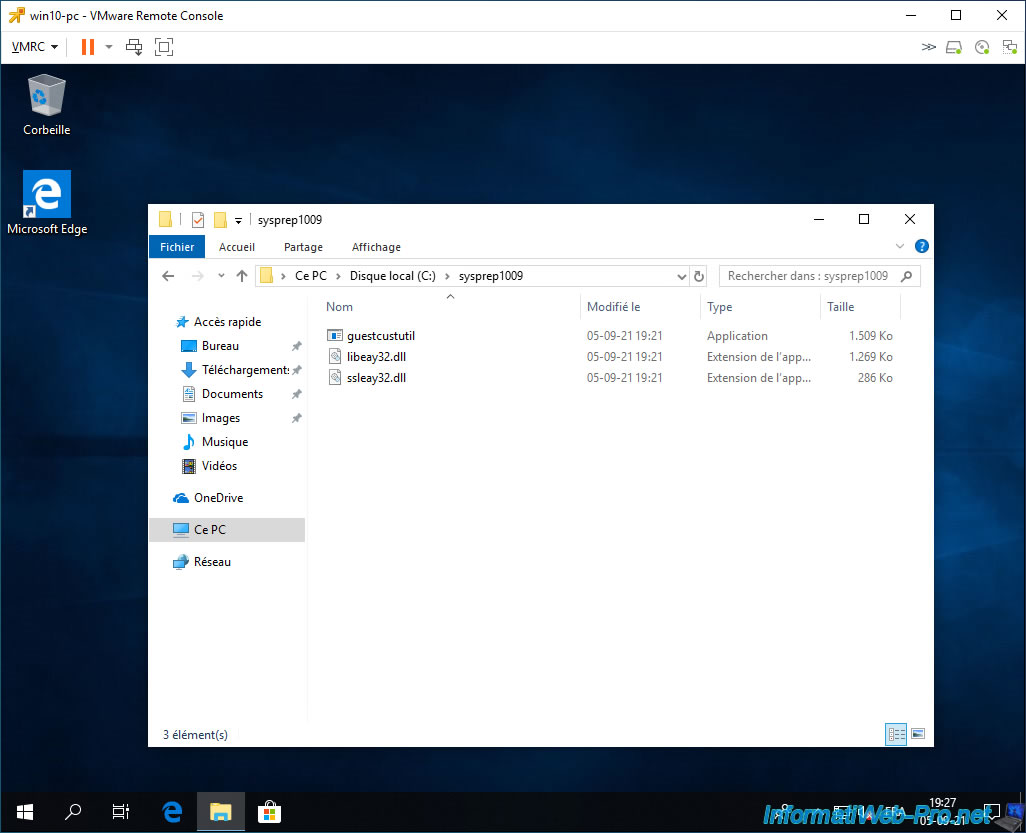
Now, since we had selected a VM customization specification while cloning our virtual machine, we can see that a "sysprep" folder appeared at the root of the guest OS "C" partition .
The "sysprep" tool integrated into Windows makes it possible to make a client station (on Windows) or a server (on Windows Server) unique on the network by generating a new security identifier (SID) for it (if you have enabled this option when creating your customization specification).
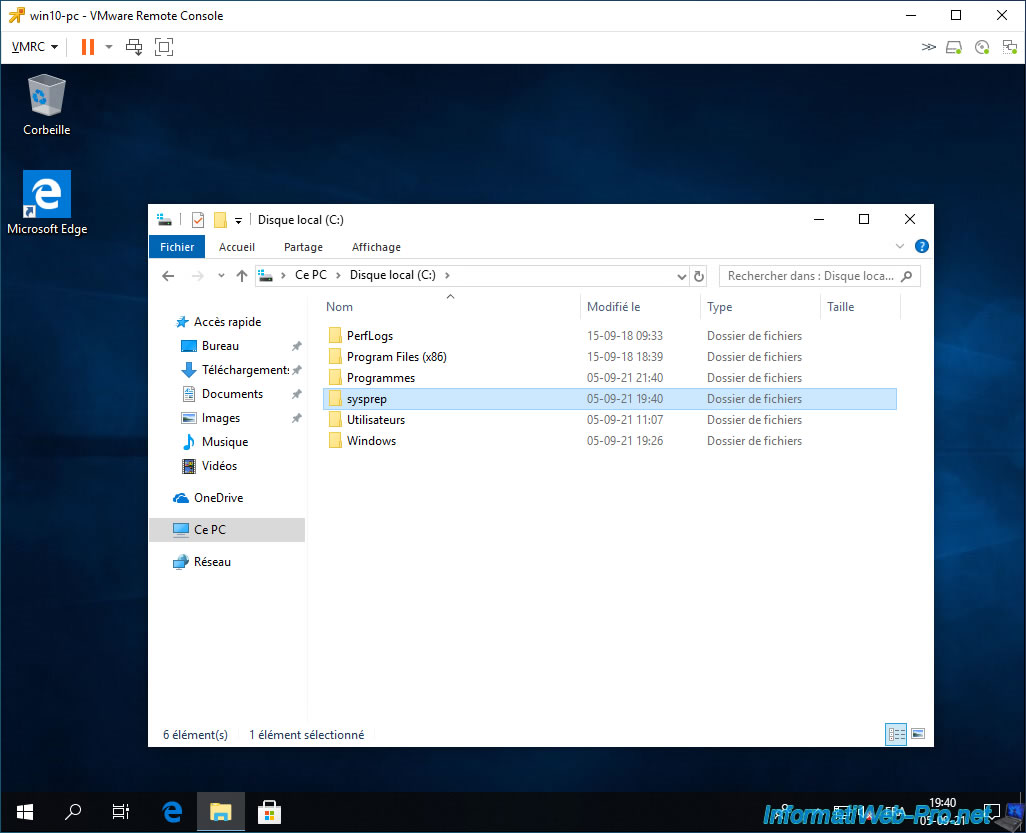
In this "sysprep" folder created by VMware, you will find several files, including 2 executable files which allow you to customize the guest operating system using the "sysprep.xml" configuration file located in the same directory.

To make your cloned virtual machine unique on the network, the "sysprep.exe" program built into Windows will be automatically launched in the background to generate a new security identifier (SID) for this virtual machine.
You can see this by opening Windows Task Manager.
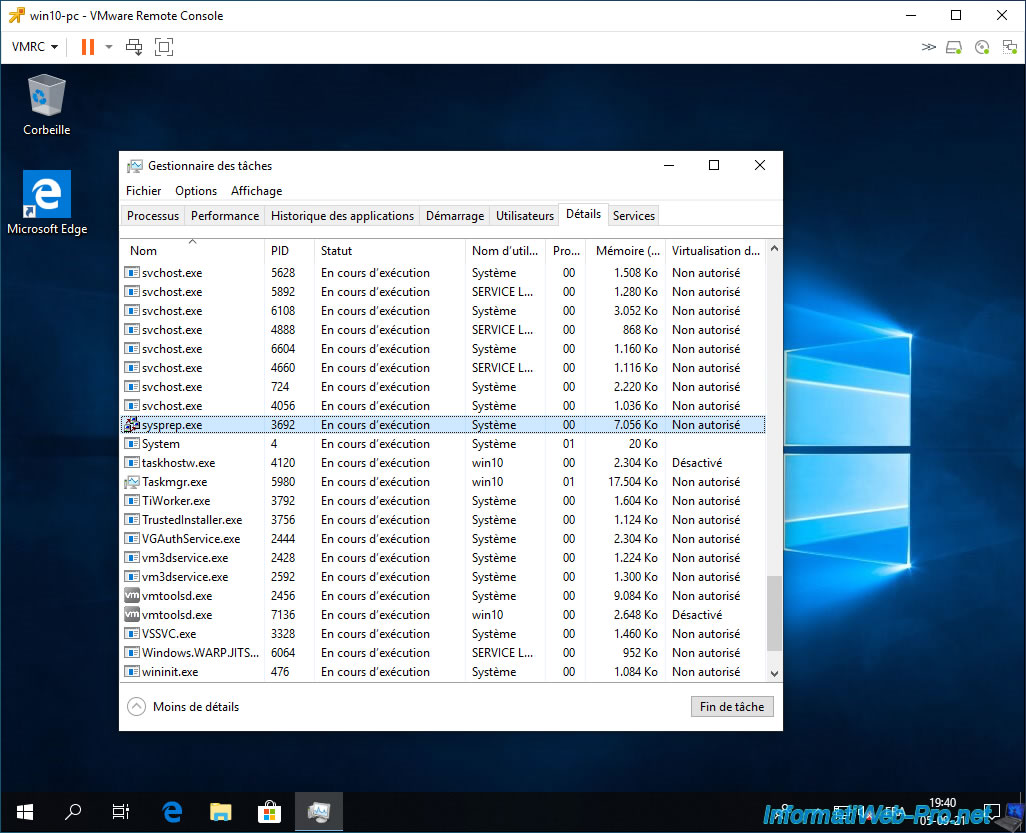
This program "sysprep.exe" is located by default in the folder: C:\Windows\System32\Sysprep.
Once the “sysprep.exe” program process is completed, Windows will restart automatically.
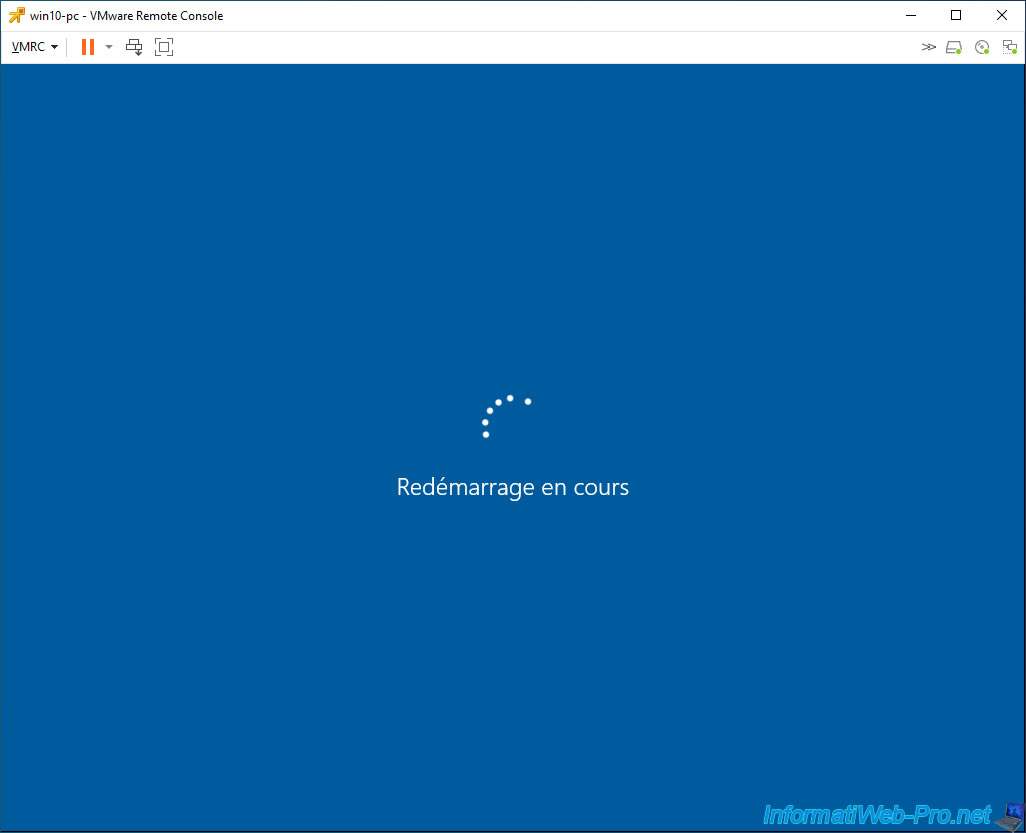
Then, the "Preparing" message will appear and Windows customization will begin.
This may take a few minutes.

While Windows is preparing, you may see the program "C:\sysprep\guestcustutil.exe" appear briefly and say:
Plain Text
Logging in C:/Windows/TEMP/vmware-imc/guestcust.log
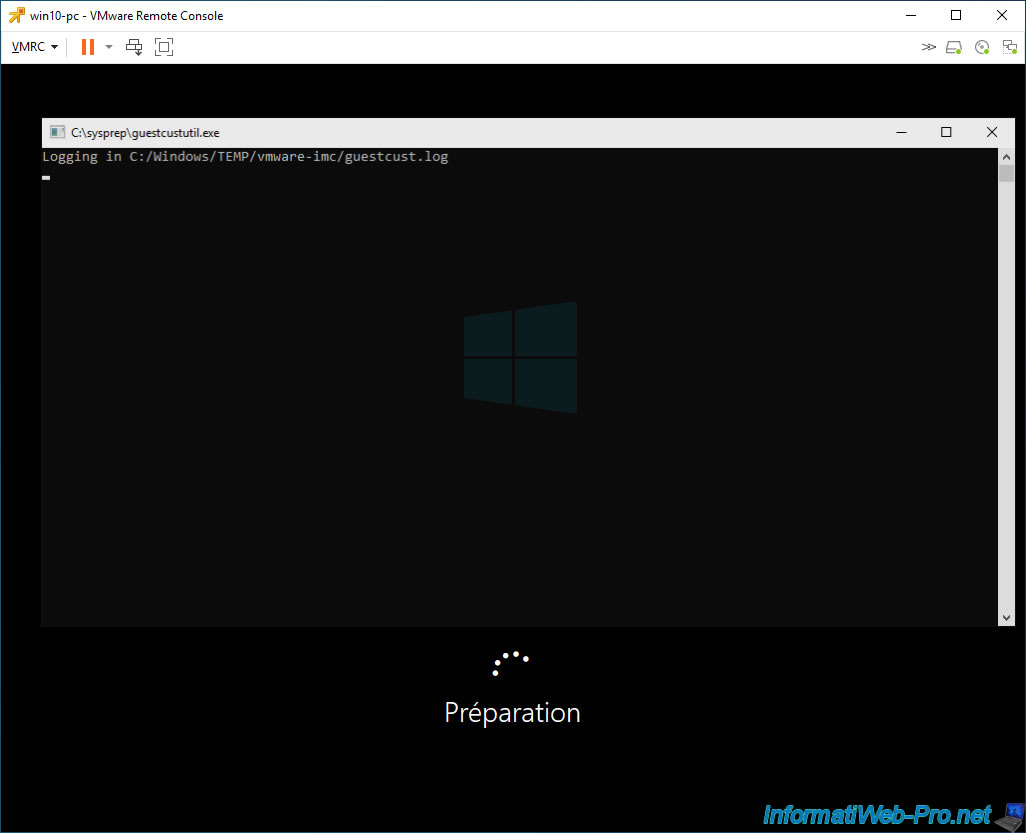
Windows preparation continues.

Once Windows preparation is complete, your Windows session will open again.

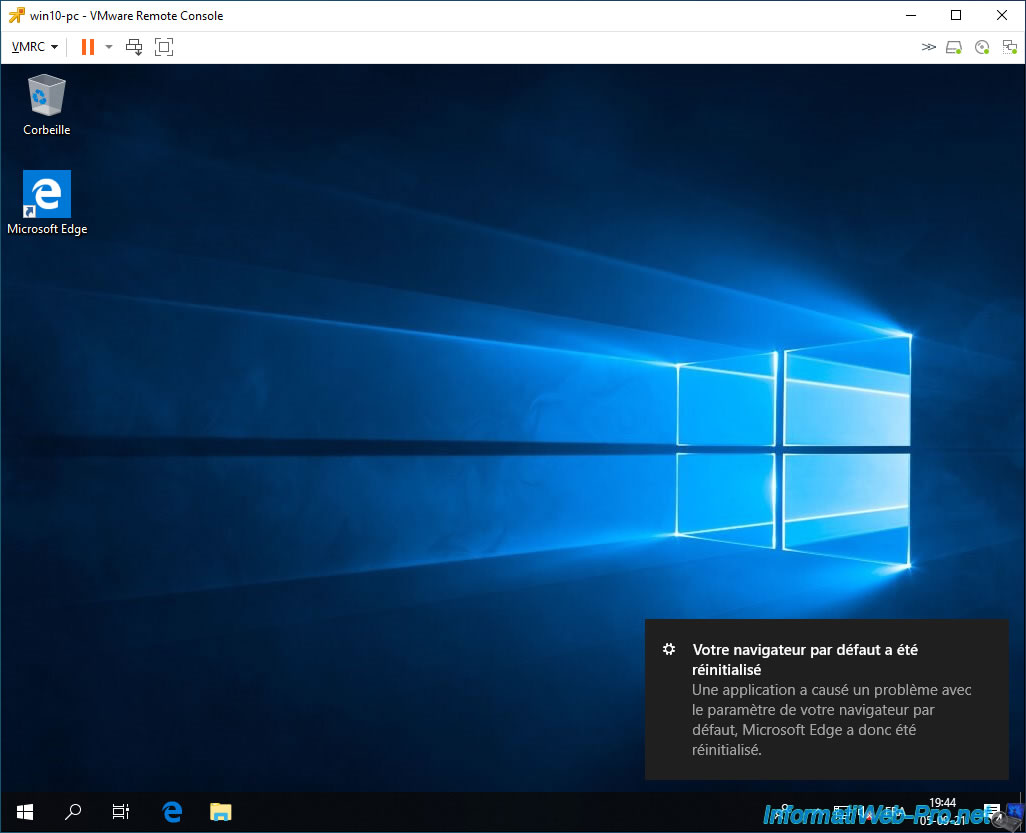
Note that running "sysprep.exe" in the background will have reset some settings.
Hence the notifications you may see depending on your version of Windows.
Once the customization is completed, the "sysprep" folder that was present at the root of the "C" partition of the guest operating system will be renamed automatically with a suffix consisting of numbers.

The contents of this "sysprepxxxx" folder will have changed slightly.
This folder will only disappear during the next restart of the Windows virtual machine.
1.4. Customizations made on Windows
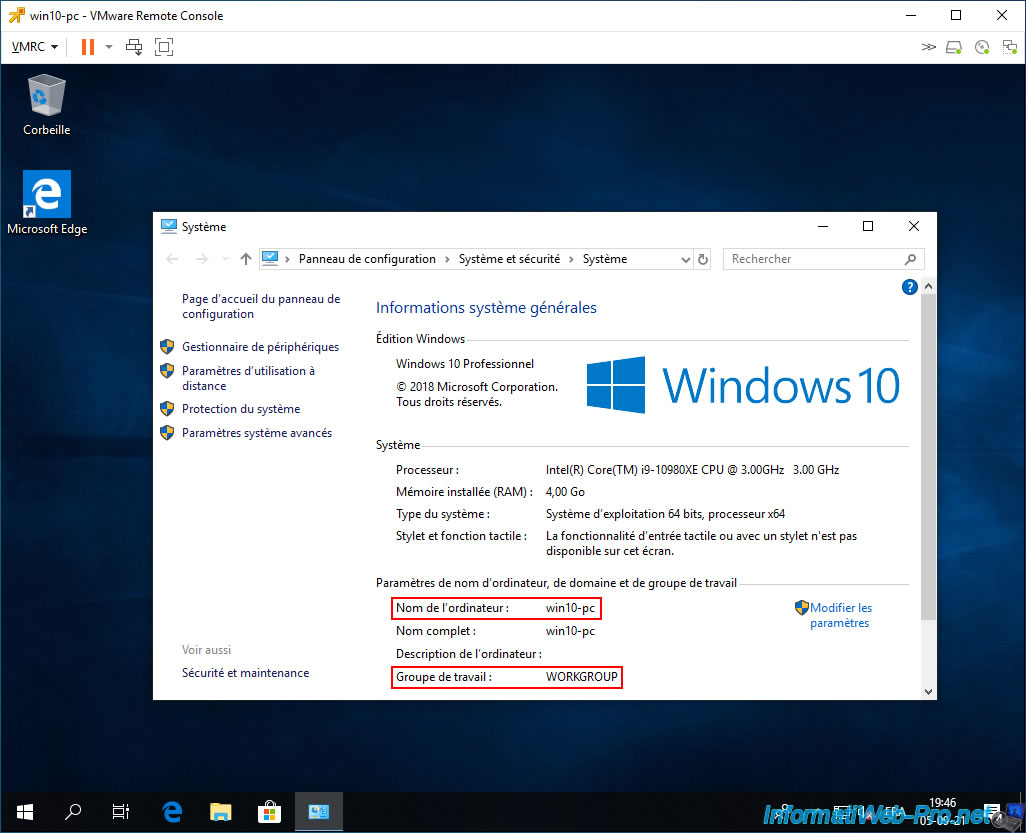
To begin, you will see that the PC name and the workgroup the virtual machine is a part of have changed.
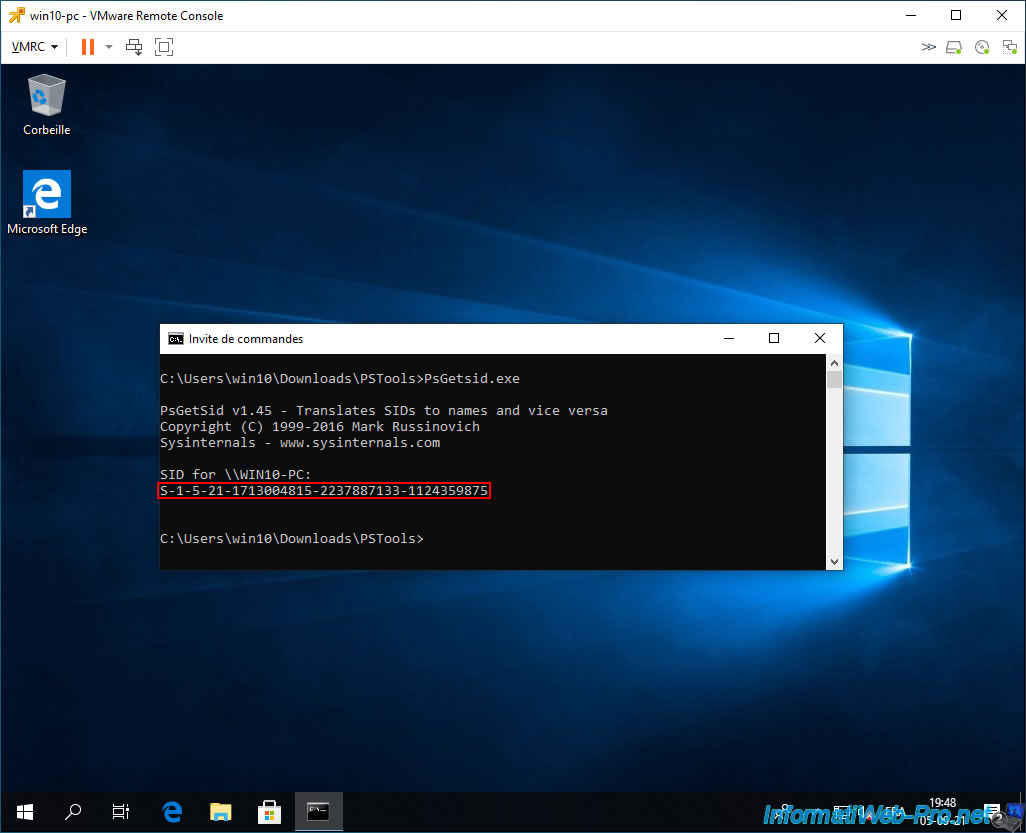
To find out the security identifier (SID) of the guest operating system, you can download the "PsGetSid" tool from Microsoft Sysinternals.
Launch a command prompt, move to the "PSTools" folder where the "PsGetsid.exe" program is located and type:
Batch
PsGetsid.exe
The security identifier (SID), as well as the name of your computer will be displayed:
Plain Text
SID for \\WIN10-PC:
S-1-5-21-1713004815-2237887133-1124359875
If you run this same program on the source virtual machine, you will see that this SID is different on the 2 virtual machines.
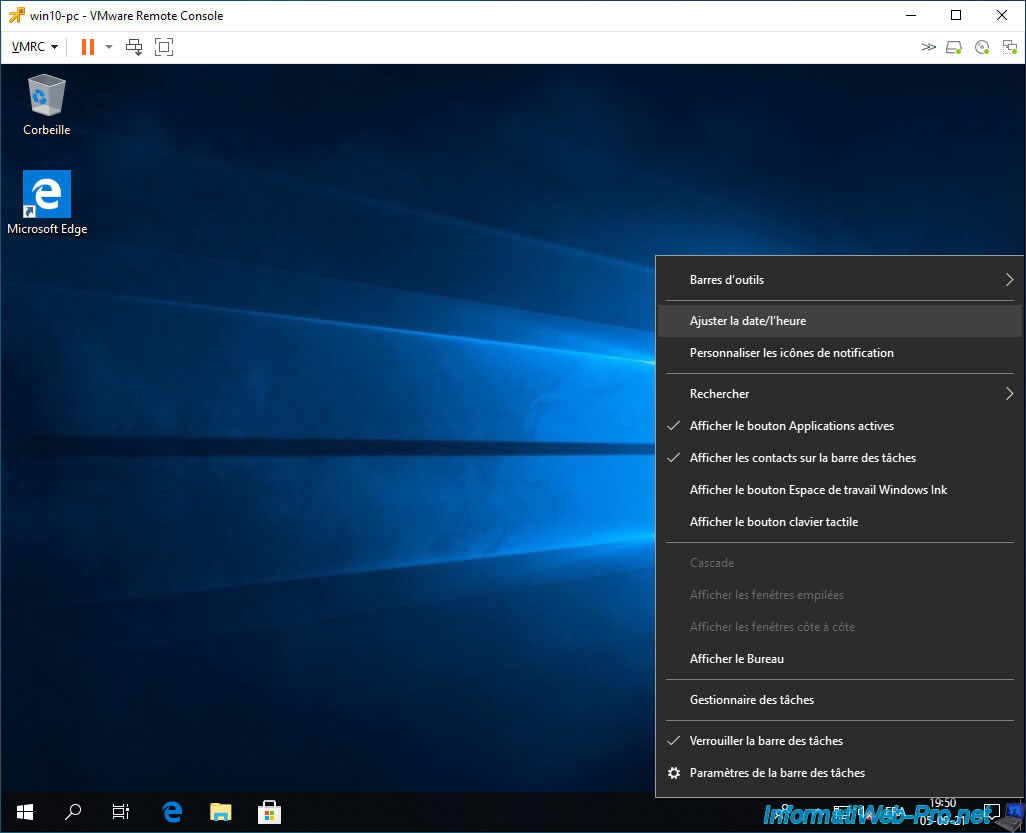
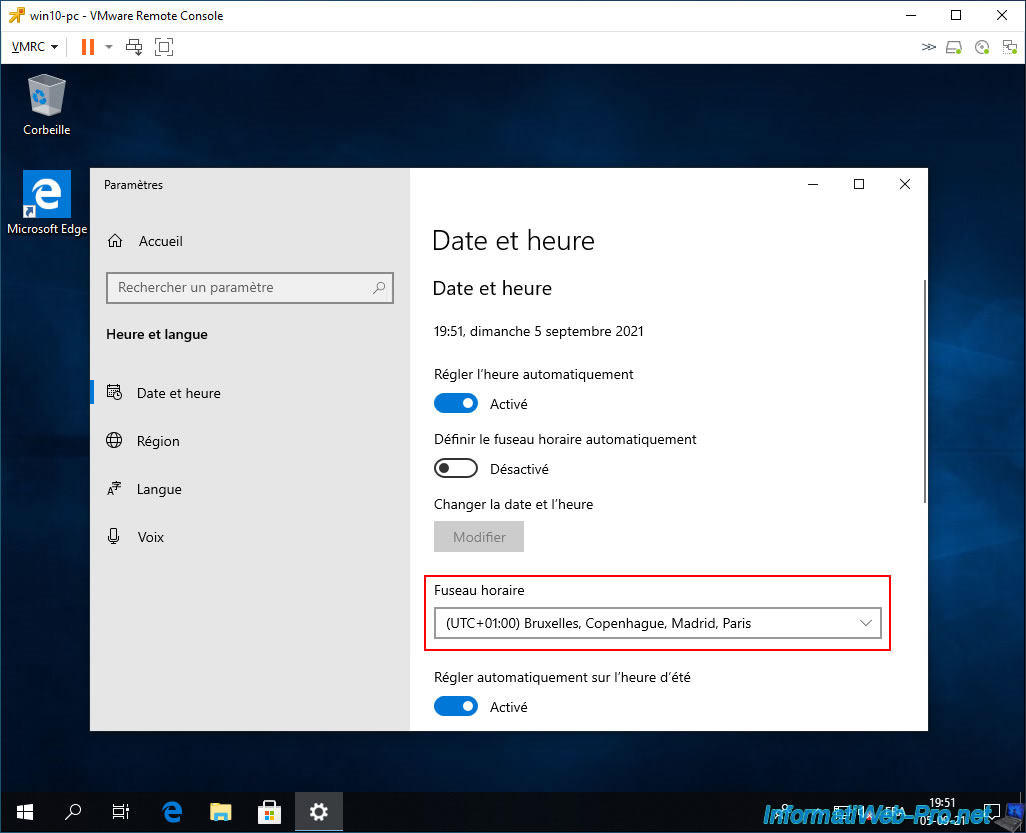
Among the options offered in the VM customization specifications, you will also find the choice of time zone.
In Windows 10, you can check this time zone change by right-clicking the time in the taskbar, then: Adjust date/time.
In the "Date and time" window that appears, you will find the time zone chosen when creating your VM customization specification.
Share this tutorial
To see also
-

VMware 12/20/2024
VMware vSphere 6.7 - Clone vApps
-

VMware 10/9/2024
VMware vSphere 6.7 - Clone virtual machines to a content library
-
VMware 10/11/2024
VMware vSphere 6.7 - Convert a Hyper-V virtual machine to a VMware VM
-
VMware 12/13/2024
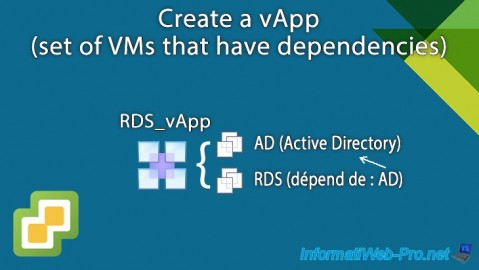
VMware vSphere 6.7 - Create a vApp
No comment