Fix PSOD issue with Fatal CPU mismatch error on ESXi 7.0.3
- VMware
- 05 November 2025 at 15:13 UTC
-

- 2/2

3.3. Permanently disable cpuUniformityHardCheckPanic check on VMware ESXi 7.0.3
To ensure VMware ESXi 7.0.3 continues to run on your processor, even if you restart your computer, you need to permanently add the previously used option to the VMware ESXi boot options.
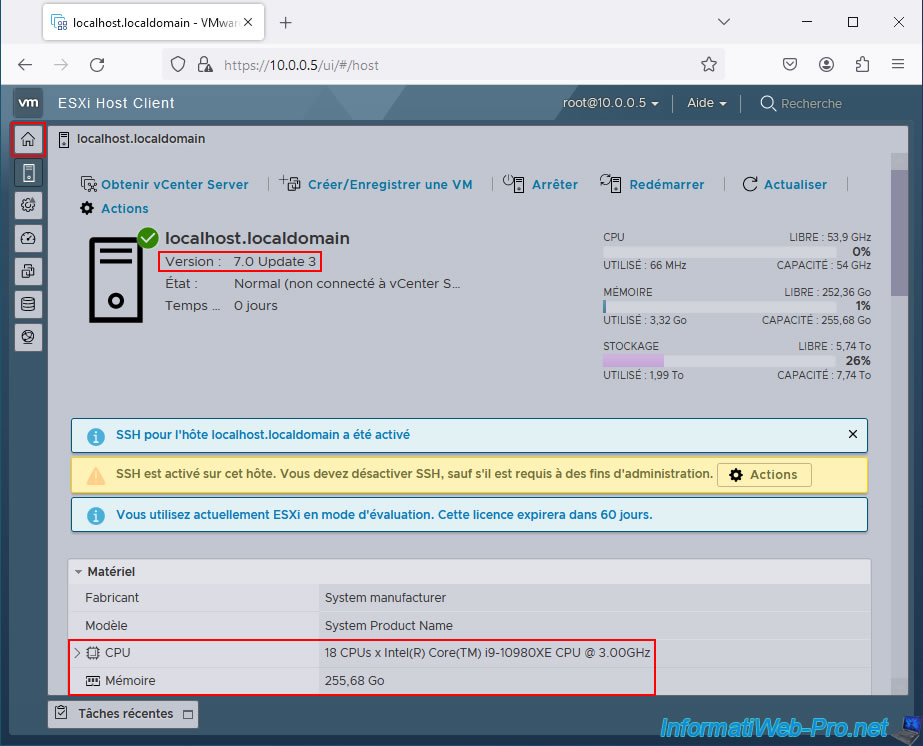
To do this, open the left menu by clicking the house icon.
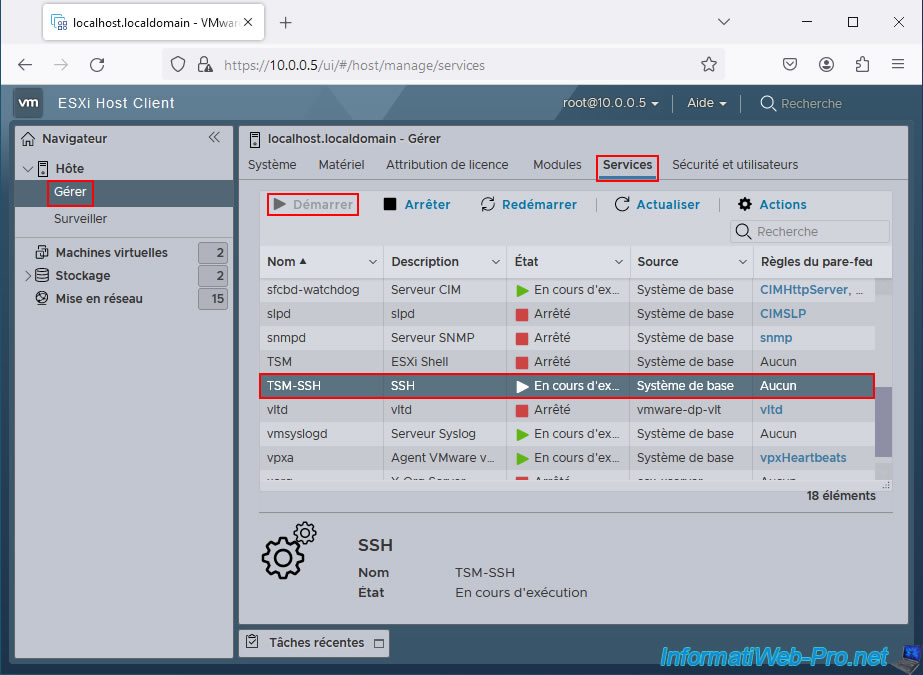
Then, go to "Host -> Manage -> Services" and start the "TSM-SSH" service.
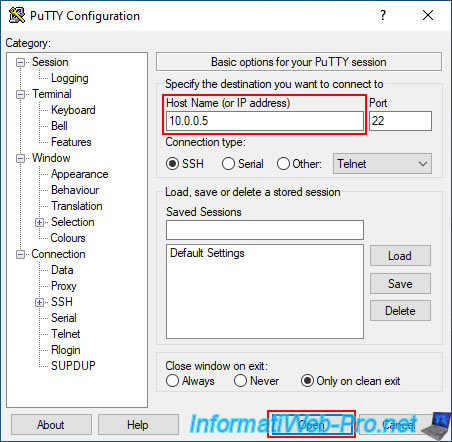
Download "PuTTY" as an SSH client, specify the IP address of your VMware ESXi 7.0.3 hypervisor and click: Open.
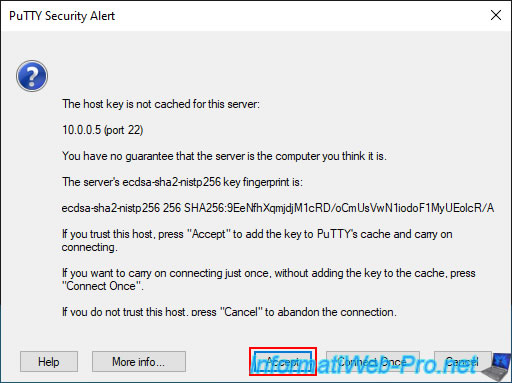
Click "Accept" for the security alert that appears.
Note: it's normal for this alert to appear the first time you log in to your VMware ESXi hypervisor.
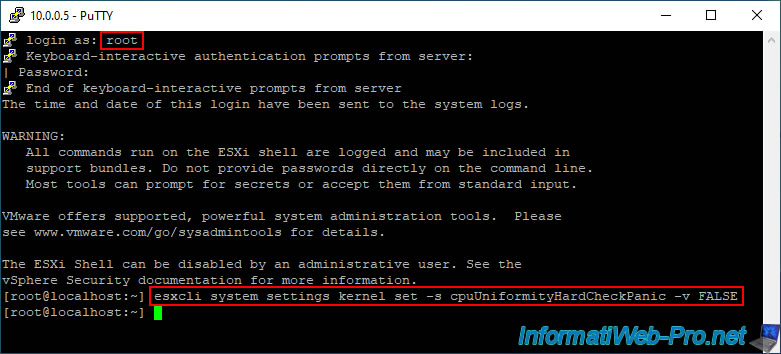
Log in as "root" and type the command below.
Plain Text
esxcli system settings kernel set -s cpuUniformityHardCheckPanic -v FALSE
Source : VMware ESXi: No Network Adapters - VMware Technology Network VMTN.
Restart your VMware ESXi 7.0.3 hypervisor.
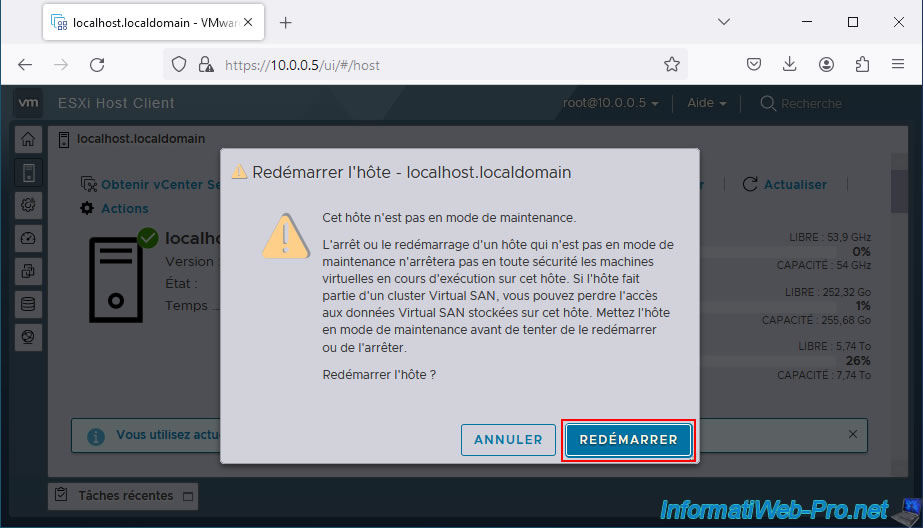
Please wait while it restarts.
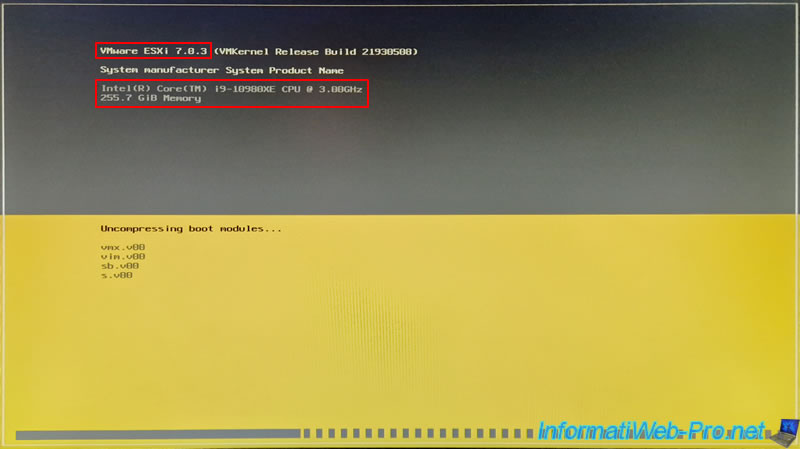
If you typed the above command correctly, VMware ESXi 7.0.3 will boot without any problems.

4. Disable Intel Speed Shift to avoid CPU mismatch error Intel Hardware-Controlled Performance States
4.1. Disable Intel Speed Shift in your motherboard's BIOS / UEFI firmware
If the feature cited by VMware ESXi in its Purple Screen of Death (PSOD) is "Intel Hardware-Controlled Performance States", you may be able to avoid this issue by simply disabling the "Intel Speed Shift Technology" feature in your motherboard's BIOS/UEFI firmware.
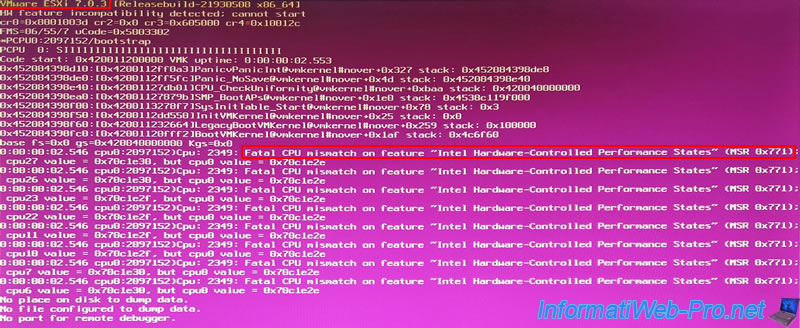
Plain Text
VMware ESXi 7.0.3 ...
...CPU_CheckUniformity#...
... Fatal CPU mismatch on feature "Intel Hardware-Controlled Performance States" (MSR 0x771).
Please note: The solution listed here only works if the feature displayed in your case is "Intel Hardware-Controlled Performance States."
Otherwise, use one of the generic solutions listed above.
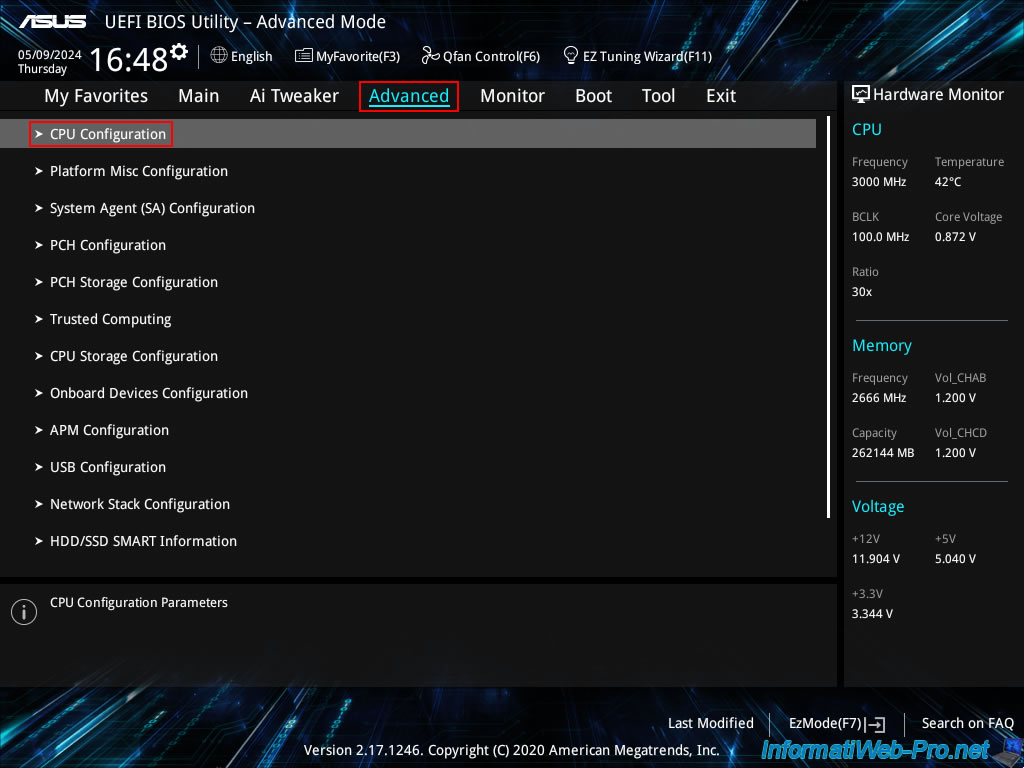
Press the "Del" or "Delete" key to enter your motherboard's BIOS / UEFI firmware and go to Advanced Mode.

For an ASUS motherboard, go to the "Advanced" tab, then click on: CPU Configuration.
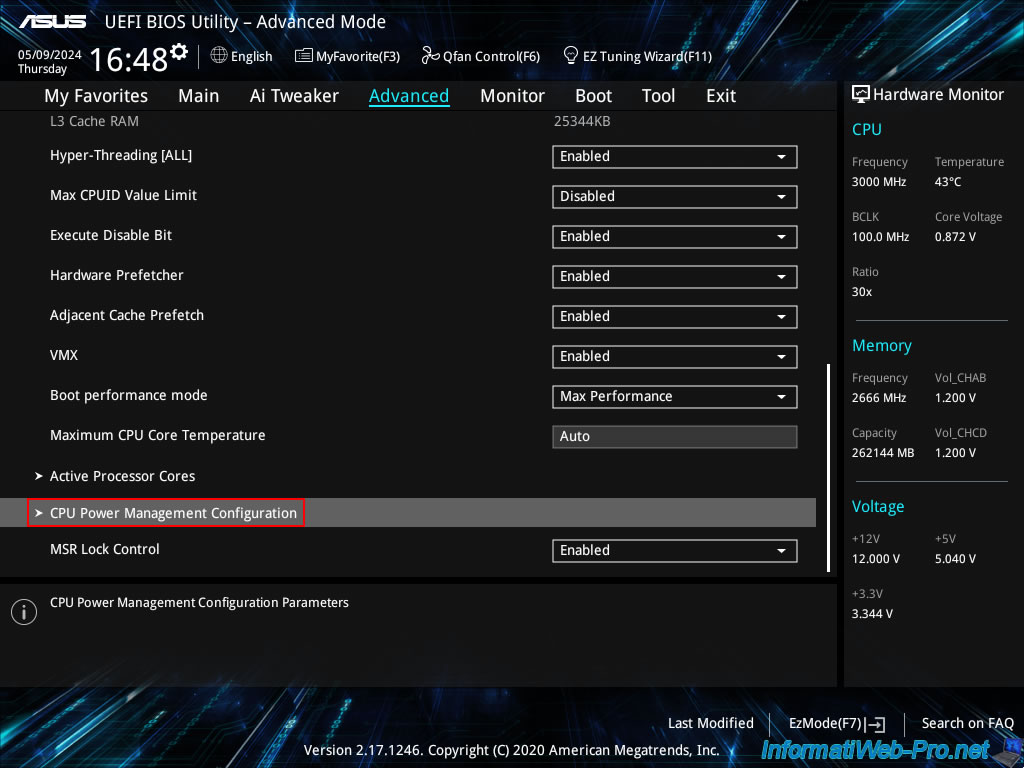
Then, go to: CPU Power Management Configuration.
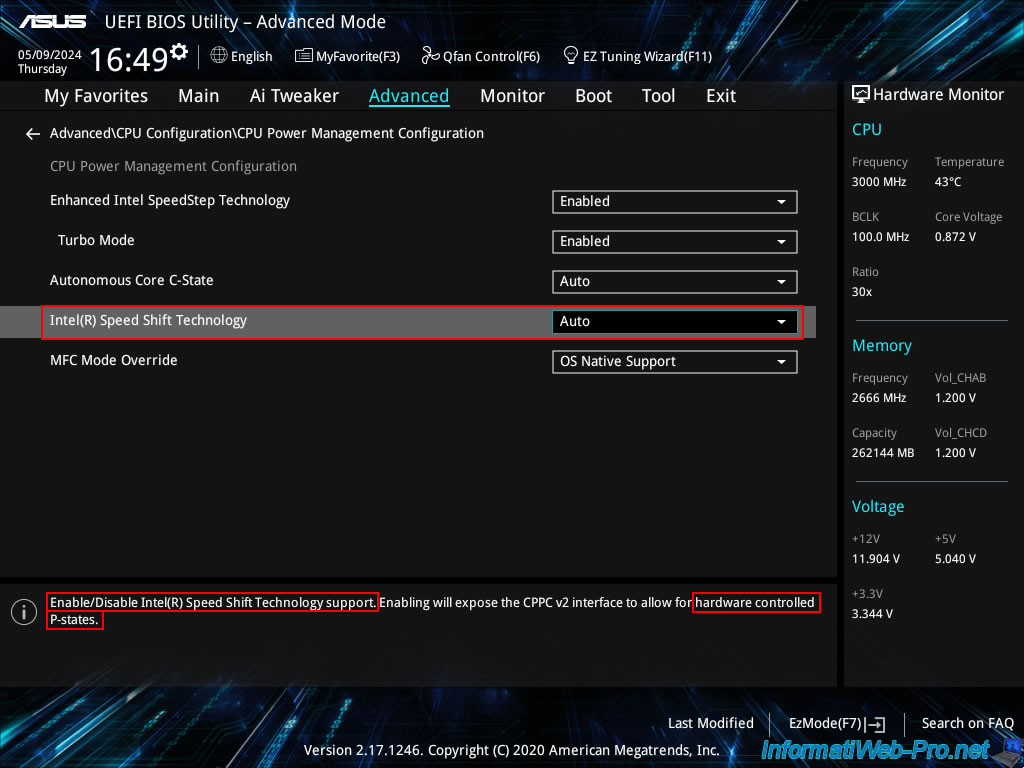
In this "CPU Power Management Configuration" section, if you select the "Intel(R) Speed Shift Technology" option, you will see that this option allows you to enable or disable support for "Intel(R) Speed Shift Technology."
You will also see that enabling this feature allows hardware-controlled "P-states."
This is very similar to the "Intel Hardware-Controlled Performance States" feature detected by VMware ESXi.
In short, the "Intel(R) Speed Shift" feature allows the hardware to control the processor frequency, and more specifically, its cores.
This apparently causes a difference between core 0 of the processor and other cores on the same processor, as it likely doesn't operate at the same frequency.
Disabling this feature allows all cores to operate identically, which solves the problem.
Note : "P" = performance.
Source : Intel® Speed Shift Technology - 004 - ID:655258 | Core™ Processors.
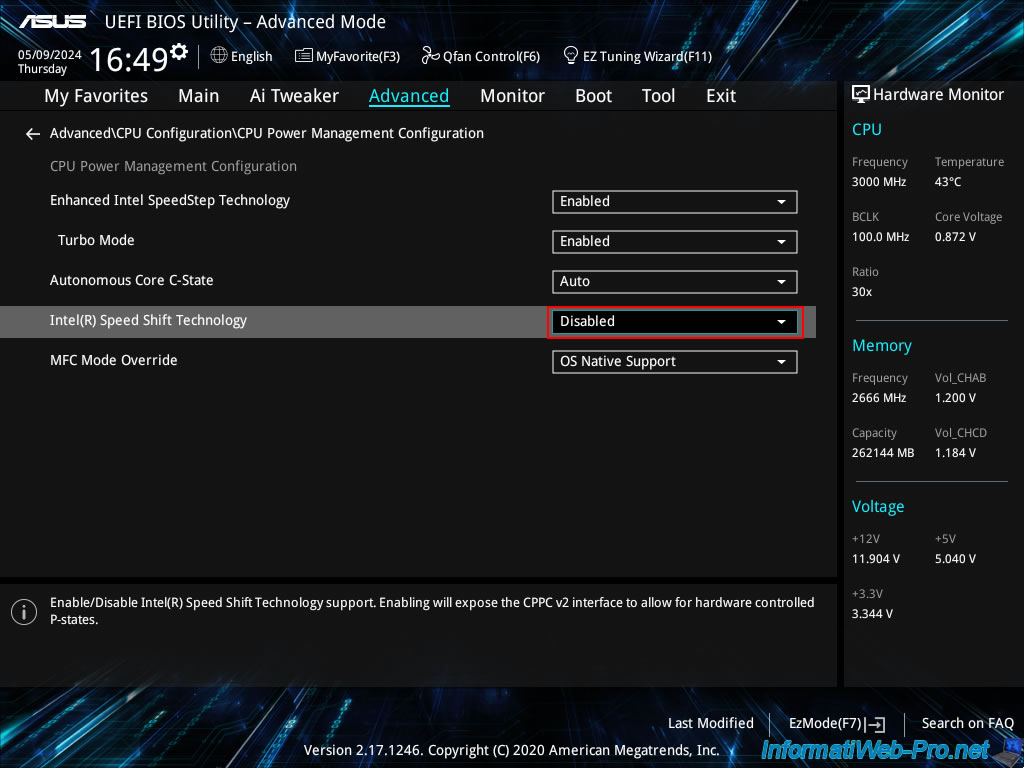
Select the value "Disabled" for this "Intel(R) Speed Shift Technology" setting.
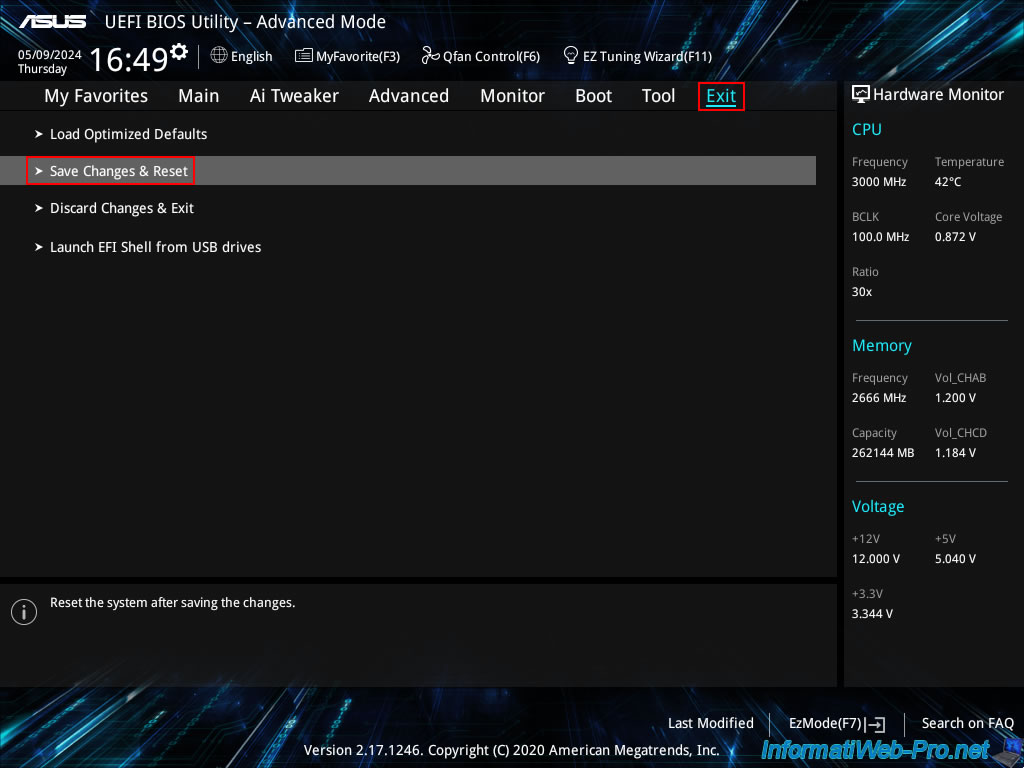
Now, go to the "Exit" tab and click on: Save Changes & Reset.
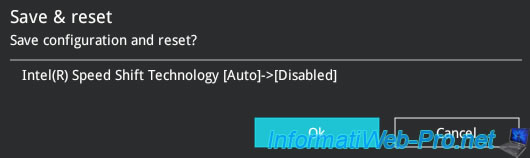
Confirm by clicking on "Ok".
4.2. Install VMware ESXi 7.0.3 (without Intel Speed Step Technology)
Once you've disabled the "Intel Speed Step Technology" feature in your motherboard's BIOS/UEFI firmware, you can simply install VMware ESXi 7.0.3 normally.
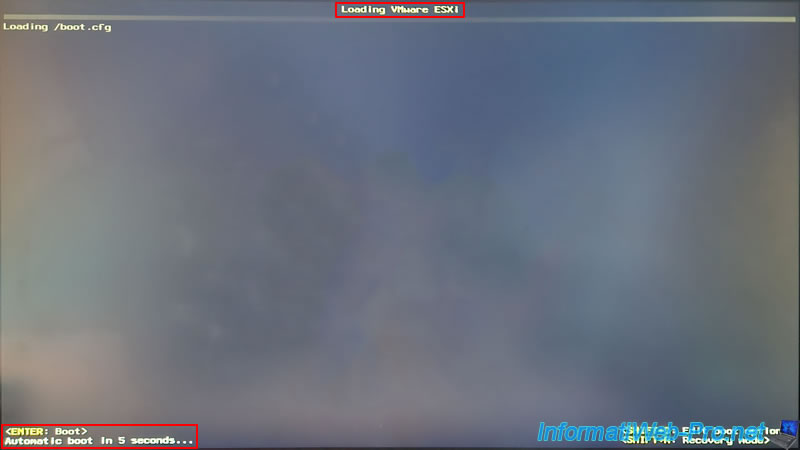
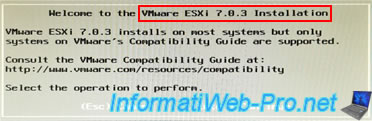
To do this, boot from the VMware ESXi 7.0.3 installation CD and press Enter.
The yellow and gray VMware ESXi 7.0.3 loading screen appears.
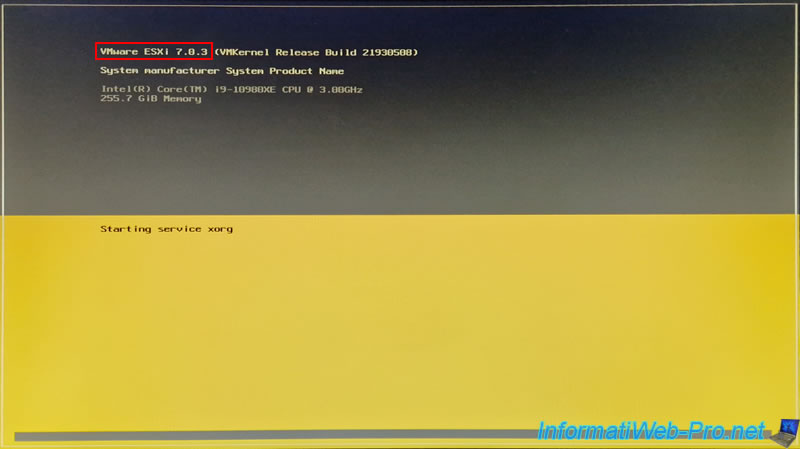
The VMware ESXi 7.0.3 installer appears without any issues and no Purple Screen of Death occurs.
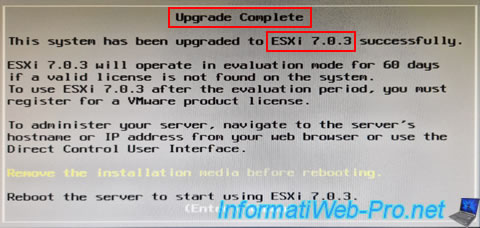
As expected, the installation of VMware ESXi 7.0.3 will succeed.
Share this tutorial
To see also
-

VMware 5/25/2022
VMware ESXi 6.0 - Install the VMware Host Client web client
-

VMware 5/27/2022
VMware ESXi 6.5 - Add a network driver in the installation ISO
-

VMware 1/27/2023
VMware ESXi 6.7 - Enable virtualization-based security (VBS)
-

VMware 12/2/2022
VMware ESXi 6.7 - Install and use the VMRC console on Linux
No comment