- VMware
- 10 February 2023 at 19:22 UTC
-

- 1/4

Since VMware ESXi 6.5.0, you can manage your VMware ESXi hypervisor, as well as its virtual machines from a web interface named "VMware Host Client".
1. Default certificate invalid
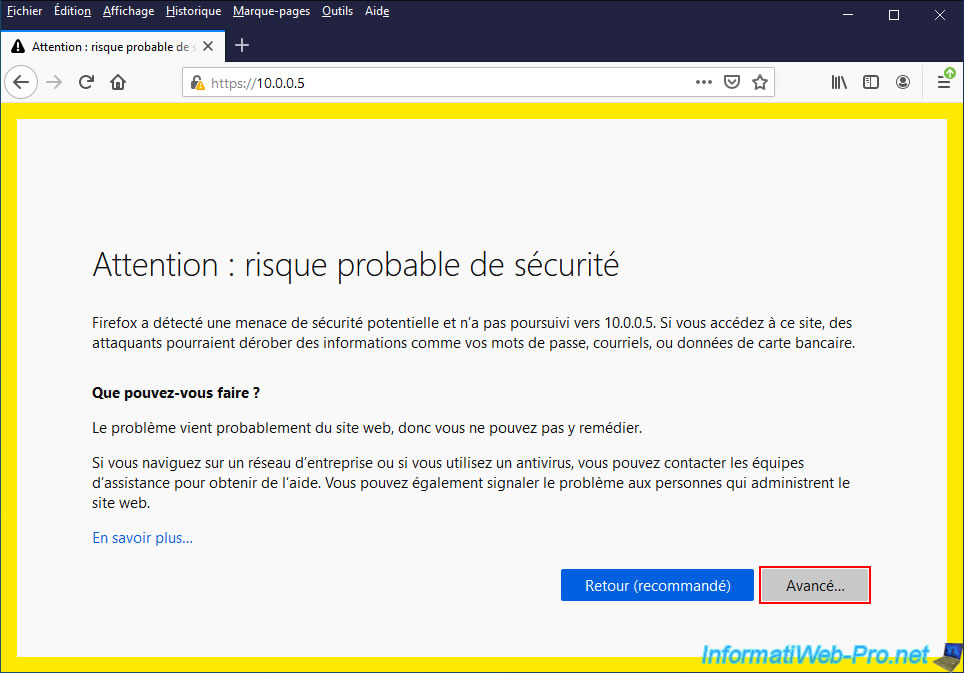
By default, the HTTPS protocol is configured to allow you to securely access your VMware ESXi hypervisor.
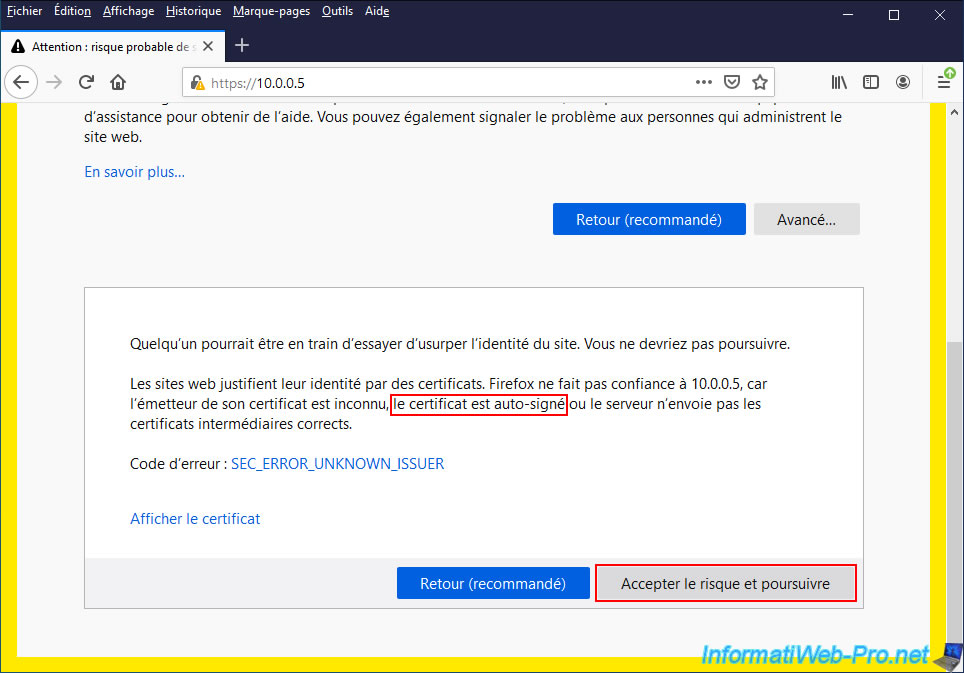
However, the certificate used by default is self-signed and it can't be valid when you access it through the IP address of your VMware ESXi hypervisor.
To ignore this warning, click : Advanced.
Then, click on "Accept the Risk and Continue".
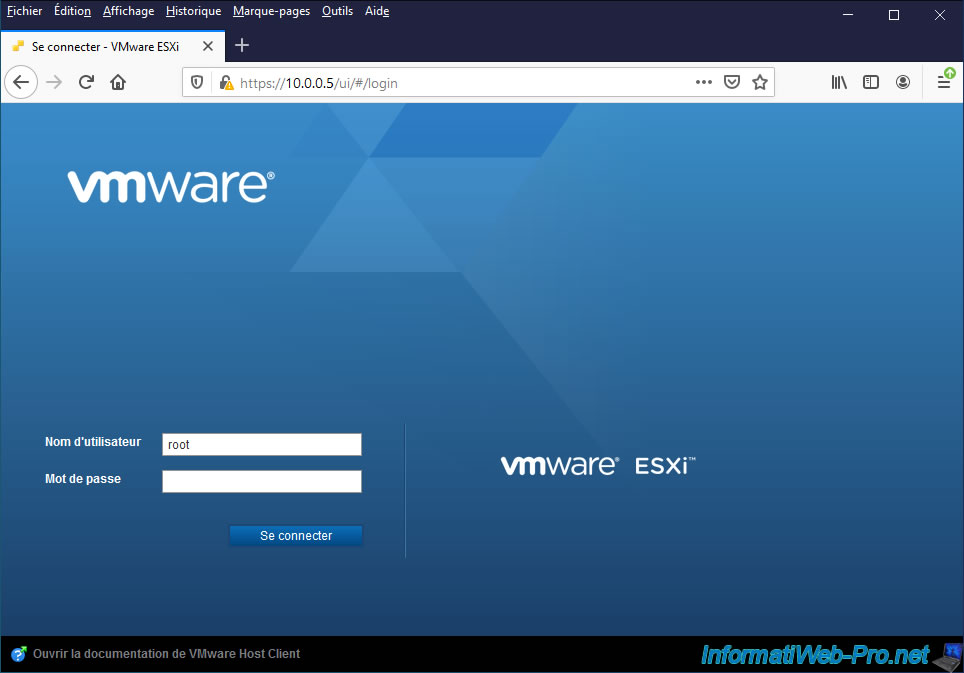
The login page of the "VMware Host Client" web interface of VMware ESXi appears.
Log in as root (for example).
2. Host
2.1. General informations
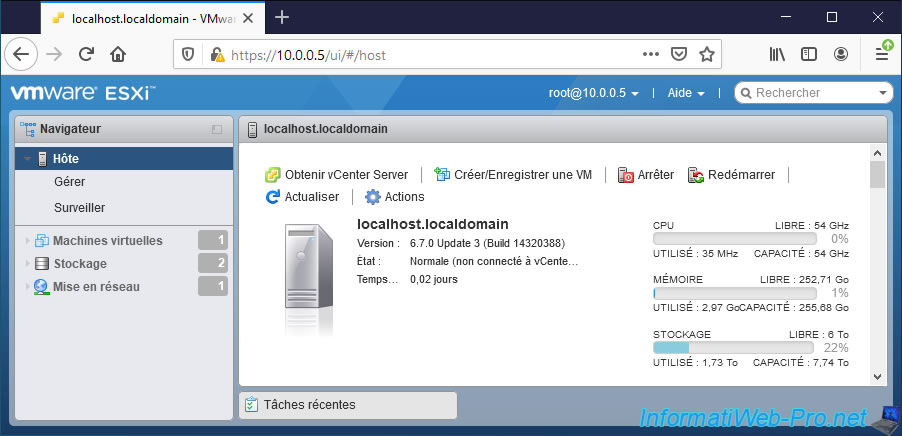
Once connected to this "VMware Host Client" web interface, you will be by default in the "Host" section thereof.
In this section, you will first see :
- the full name of your VMware ESXi hypervisor
- his version
- its status, as well as whether it's connected to a vCenter server or not
- its activity time = how long this server has been running
You will also see a summary regarding the usage of the various system resources :
- CPU (processor)
- Memory (RAM)
- Storage
Note that the capacity listed for CPU usage is the frequency of your physical processor multiplied by the number of physical processors.
Since we have an Intel i9-10980XE processor with a base frequency of 3 GHz and 18 physical cores, VMware ESXi tells us that our processor capacity is 54 GHz (3x18).
At the top of the page, in this "Host" section, you will find several quick access buttons allowing you to :
- get vCenter Server
- create/register VM
- cleanly shut down the server
- reboot the server properly
- refresh the information displayed on this page
- perform various common actions
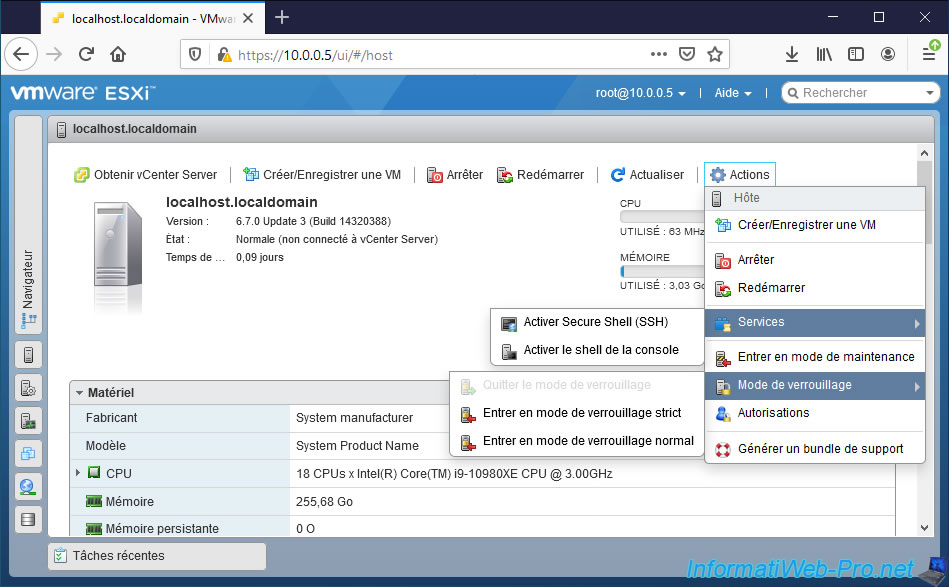
By clicking on the "Actions" button, you will be able to :
- Create/Register VM : create / register a virtual machine
- Shut down : correctly shut down the server
- Reboot : restart the server correctly
- Services :
- Enable Secure Shell (SSH) : enable or disable Secure Shell (SSH)
- Enable console shell : enable or disable the shell (ESXi shell) of the console (DCUI)
- Enter maintenance mode : put your hypervisor in maintenance mode, for example to be able to safely shut down your hypervisor
- Lockdown mode :
- Exit lockdown : disable lockdown mode.
- Enter strict lockdown : increase the security level of your VMware ESXi hypervisor by enabling lockdown mode. Thus, only users added as exceptional users will be able to directly access the VMware ESXi server.
- Enter normal lockdown : enable lock mode in normal mode instead of strict.
- Permissions : allows you to manage server users and assign roles to them.
- Generate support bundle : allows you to send a bundle with extensive system information to VMware support in the event of a problem.
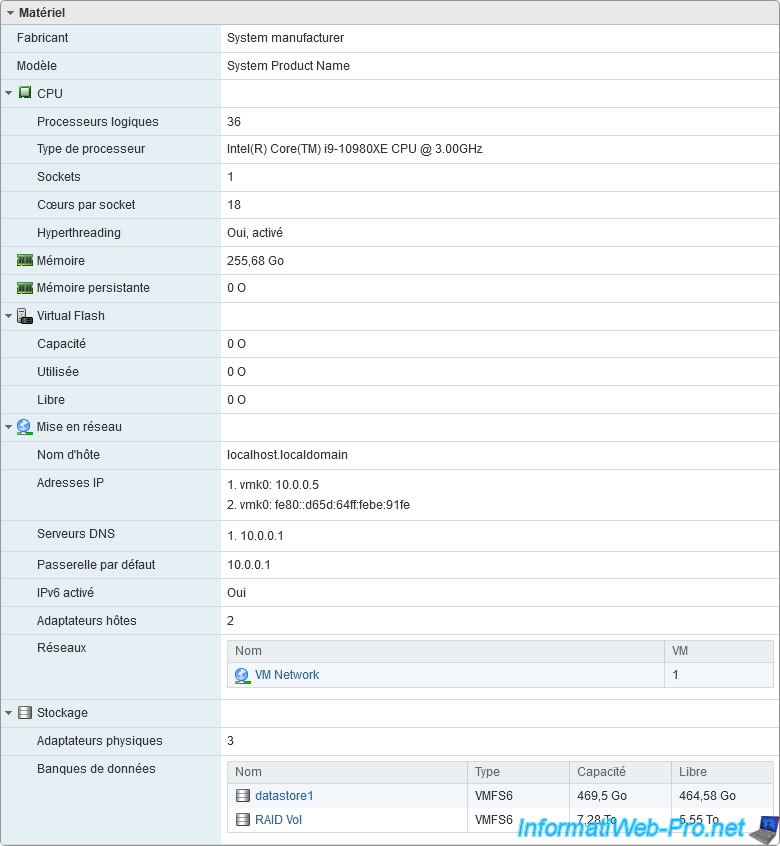
On this page, you will first find a "Hardware" section with :
- Manufacturer : the name of the manufacturer of your physical server or branded computer.
- Model : his model
- CPU :
- Logical processors : the number of logical cores composing your processor. In our case, 36 (18 physical cores x 2 thanks to hyperthreading).
Without hyperthreading, the number of logical processors will equal the number of physical cores.
With hyperthreading, the number of logical processors will be double the number of physical cores since each of them will be logically divided by 2.
Please note : although this has been valid for years, this is no longer the case with Generation 12 (Alder Lake) of Intel processors.
Indeed, they are now hybrid processors with performance cores (= 2 logical cores per physical core via hyperthreading) and "efficient" cores (= 1 logical core per physical core).
Source : Intel Unveils 12th Gen Intel Core, Launches World’s Best Gaming Processor, i9-12900K. - Processor type : brand, model and frequency of your processor.
In our case : Intel(R) Core(TM) i9-10980XE CPU @ 3.00 GHz. - Sockets : number of physical processors. Usually 1, but some server motherboards can support the addition of additional physical processors.
- Cores per socket : number of physical cores present in your processor.
- Hyperthreading : indicates whether hyperthreading is enabled. If your processor supports hyperthreading, this technology can simulate 2 logical cores per physical core.
When you enable hyperthreading in the BIOS of your motherboard, the number of logical processors will therefore be equal to twice the number of physical cores.
- Logical processors : the number of logical cores composing your processor. In our case, 36 (18 physical cores x 2 thanks to hyperthreading).
- Memory : amount of RAM present on the motherboard of your computer / server.
In our case : 256 GB. - Persistent Memory : very fast memory resembling RAM modules and being placed in the same place, but with the difference that this type of memory is not volatile.
To learn more, refer to our "VMware ESXi 6.7 - Use persistent memory (PMem) via NVDIMMs modules" tutorial. - Virtual flash : flash memory used as a cache
- Networking :
- Hostname : full name of your server
- IP addresses : IPv4 and/or IPv6 address(es) of your server
- DNS servers : IP address of the primary DNS server and alternate DNS server (if applicable) that your server is using
- Default gateway : IP address of the gateway (or router) allowing your server to access the Internet
- IPv6 enabled : indicates whether IPv6 is enabled or not
- Host adapters : number of physical network adapters (network ports) present in your computer or server
- Networks : list of virtual networks configured on your VMware ESXi server. By default, only the "VM Network" used by the virtual machines is displayed.
- Stockage :
- Physical adapters : the number of storage controllers present in your computer or server. In our case, VMware ESXi detects 3 controllers (1 RAID/HBA controller, 1 NVMe controller and an AHCI/SATA controller).
- Datastores : list of datastores configured on your VMware ESXi hypervisor.
For each datastore, you will see : its name, its type (file system used), its capacity and free space in it.
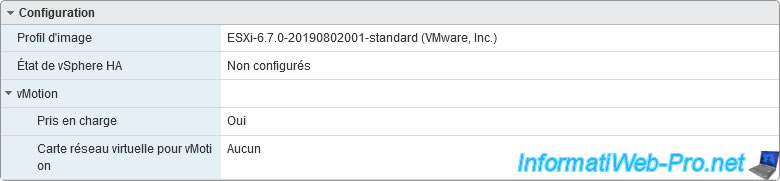
Below, you will find a "Configuration" section with :
- Image profile : the image profile used. Indeed, although you can easily install VMware ESXi from the official ISO file downloaded from the VMware site, you can also create custom image profiles with vSphere ESXi Image Builder and apply them to hosts provisioned with vSphere Auto Deploy.
- vSphere HA state : indicates whether or not high availability is configured for this VMware ESXi server
- vMotion :
- Supported : indicates whether or not vMotion is supported on your VMware ESXi hypervisor.
vMotion being the technology to migrate (move) hot a virtual machine from one VMware ESXi hypervisor to another. - Virtual NIC for vMotion : indicates which network adapters have been chosen for virtual machine migration (via vMotion) or "None" otherwise.
- Supported : indicates whether or not vMotion is supported on your VMware ESXi hypervisor.
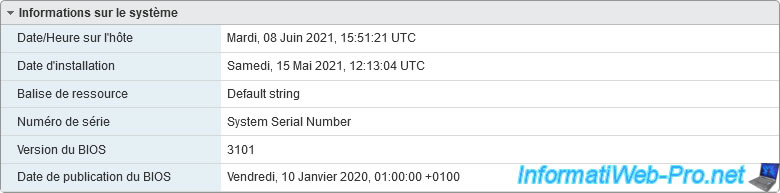
In the "System information" box still below, you will find :
- Date/time on host : the current date and time of your VMware ESXi hypervisor, as well as the corresponding time zone.
- Installation date : date / time when your VMware ESXi hypervisor was installed
- Asset tag : information
- Serial number : serial number of the physical server (if applicable)
- BIOS version : corresponds to the version of the BIOS or UEFI firmware of the motherboard of your computer or server
- BIOS release date : this BIOS or UEFI firmware release date
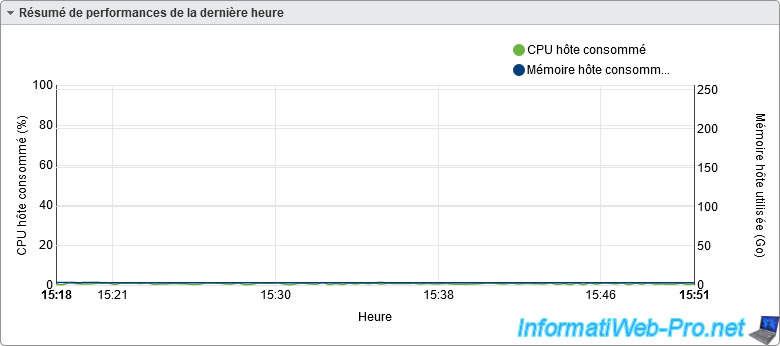
Finally, at the bottom of this page you will find a performance summary for the last hour with a graph allowing you to easily see the history of the use of processor (CPU) and memory (RAM).
2.2. Manage host
2.2.1. System
In the advanced settings you will find a long list of settings for which you can change the value if needed.
However, you shouldn't change them without knowing what you're doing. Indeed, this is especially useful in the event that you have a specific problem and a VMware KB indicates that you need to modify a specific setting.
Among the available advanced settings, you will find for example the advanced settings :
- Syslog.global.logHost : allows you to transfer the logs of your VMware ESXi hypervisor to a log collector (such as : Syslog-NG, SexiLog, ...).
- VMkernel.Boot.fakePMemPct : enables you to simulate persistent memory (PMem) on your VMware ESXi hypervisor for testing purposes only.
To do this, refer to our tutorial : VMware ESXi 6.7 - Use persistent memory (PMem) via NVDIMMs modules. - and more

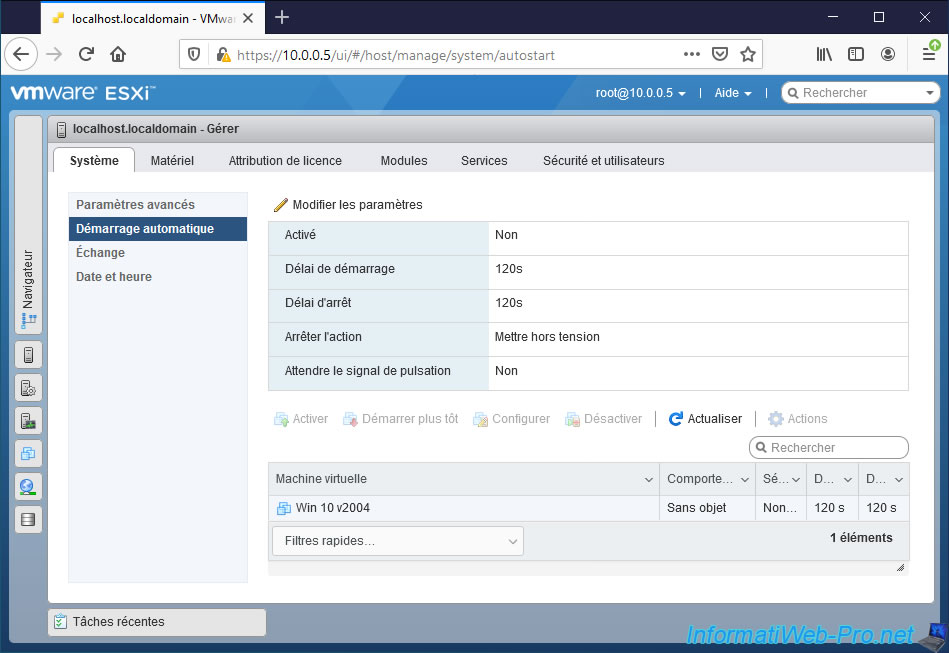
In the "Autostart" section, you can manage the automatic startup of your virtual machines when your VMware ESXi hypervisor starts.
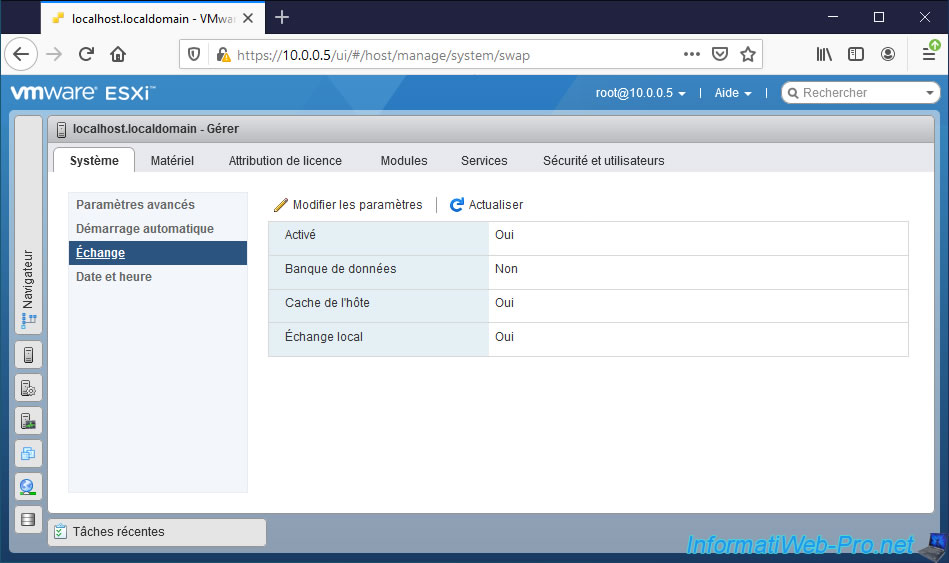
In "System -> Swap", you will be able to know :
- Enabled : whether VMware ESXi can use a swap file
- Datastore : in which datastore it will be created (if applicable)
- Host cache : whether host cache is enabled or not
- Local swap : whether the local cache is enabled or not
By clicking on "Edit settings", you can enable or disable each of these options and select or not the datastore to use (if you wish).
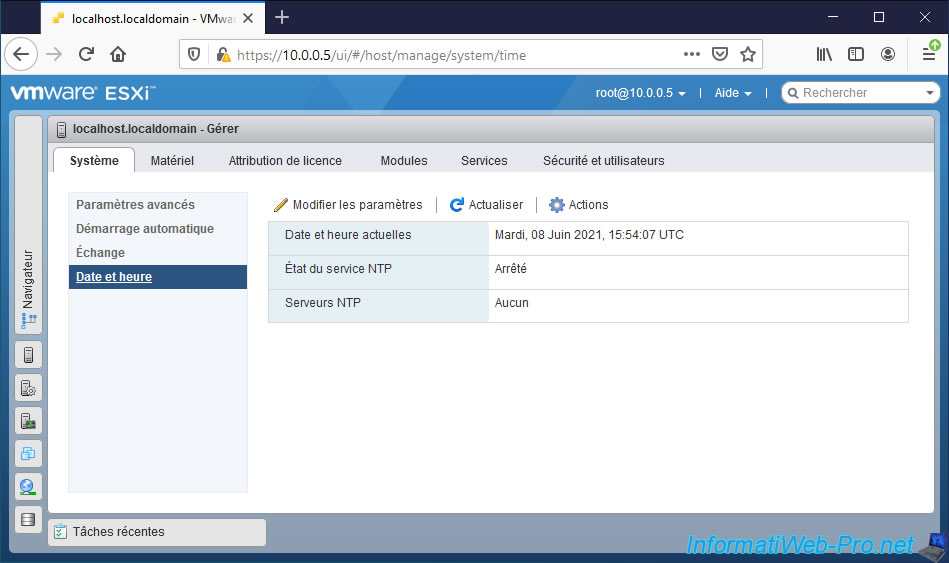
In "System -> Time & date", you can :
- Current date and time : find out the date, time and time zone currently used by your VMware ESXi hypervisor
- Status of the NTP service : find out if the "ntpd" (NTP) service is running or not
- NTP servers : know the IP address of the NTP server(s) used by your VMware ESXi hypervisor (if applicable).
By clicking on "Edit settings", you will be able to :
- Manually configure the date and time on this host
- Use the NTP protocol to automatically synchronize the date and time of your VMware ESXi server from the desired NTP server.
However, this also requires that the "ntpd" (NTP) service is running and that it's configured to start automatically when your VMware ESXi hypervisor starts up.
To synchronize the date and time of your VMware ESXi hypervisor with a time server (NTP), refer to our "VMware ESXi 6.7 - Synchronize the clock from a time server (NTP)" tutorial.
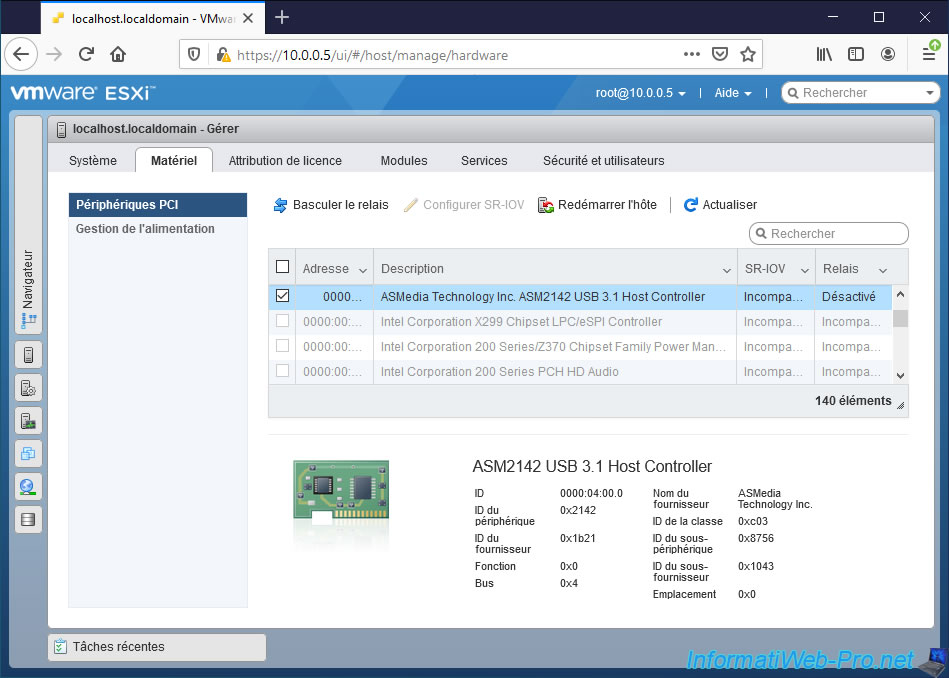
2.2.2. Hardware
In "Hardware -> PCI devices", you will find the list of your server's hardware.
For PCI devices shown in black, you can most often pass them to a virtual machine if you wish.
To learn more about PCI passthrough, refer to our "VMware ESXi 6.7 - PCI passthrough" tutorial.
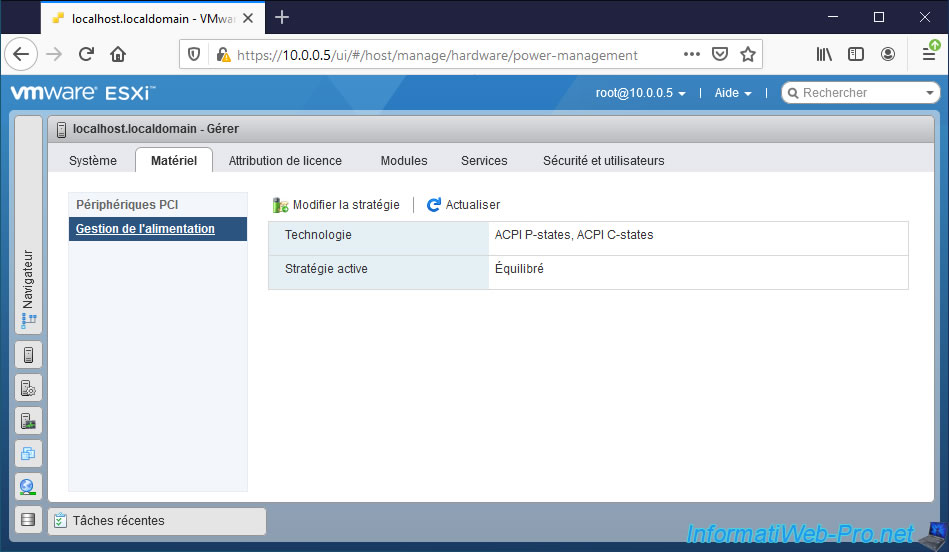
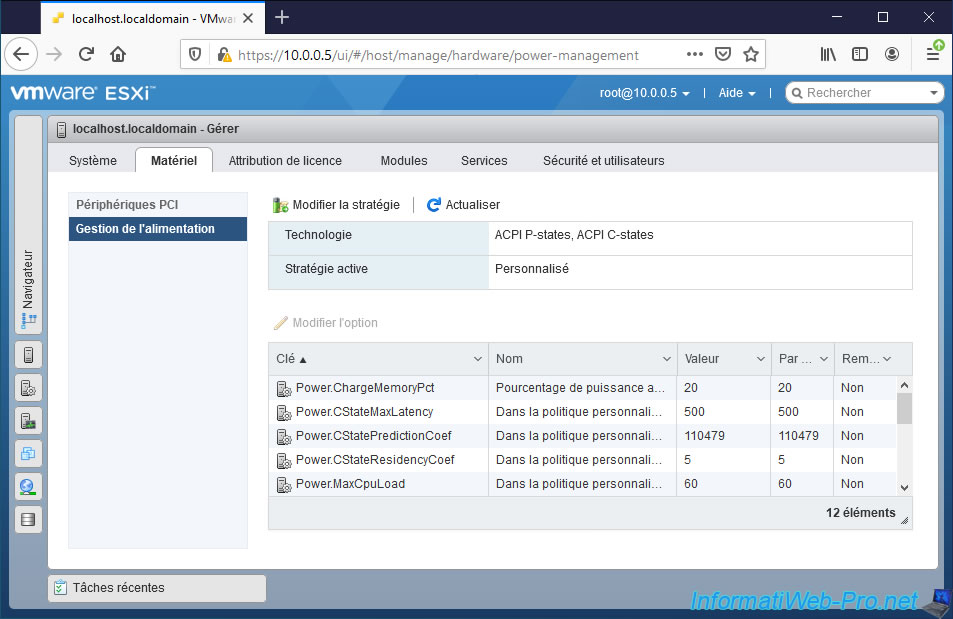
In "Hardware -> Power Management", you can find out :
- Technology : the power technology used. In our case : ACPI P-states, ACPI C-states.
- Active Policy : the power policy currently used by VMware ESXi.
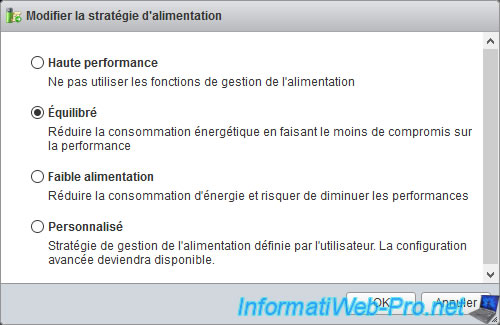
By clicking on "Change policy", you will have the choice between :
- High performance : no power management function will be used.
- Balanced : reduces power consumption without compromising the performance of your hypervisor.
- Low power : can also reduce energy consumption, but at the risk of reducing the performance of your hypervisor as well.
- Custom : provides access to advanced power management configuration.
If you have chosen the "Custom" power policy, you will have access to about ten settings allowing you to manage the power supply of your hypervisor.
Share this tutorial
To see also
-
VMware 4/14/2023
VMware ESXi 6.7 - Best practices for creating a VM
-
VMware 2/17/2023
VMware ESXi 6.7 - Configure your virtual machines settings
-
VMware 6/2/2023
VMware ESXi 6.7 - Connect a smart card reader to a VM
-
VMware 10/19/2022
VMware ESXi 6.7 - DirectPath I/O (PCI passthrough)
You must be logged in to post a comment