- VMware
- 07 October 2022 at 09:00 UTC
-


To update your VMware ESXi server, you can do it from the command line thanks to an offline bundle or thanks to the ISO file of the new version that you want to use.
In this tutorial, we will use the iso file of VMware ESXi 7.0 Update 2 to update our VMware ESXi 6.7.0 server to version 7.0 Update 2.
- Current version of VMware ESXi
- Check the compatibility of your hardware with the new version of VMware ESXi
- Configure BIOS boot order
- Upgrading VMware ESXi
- VMware ESXi updated
1. Current version of VMware ESXi
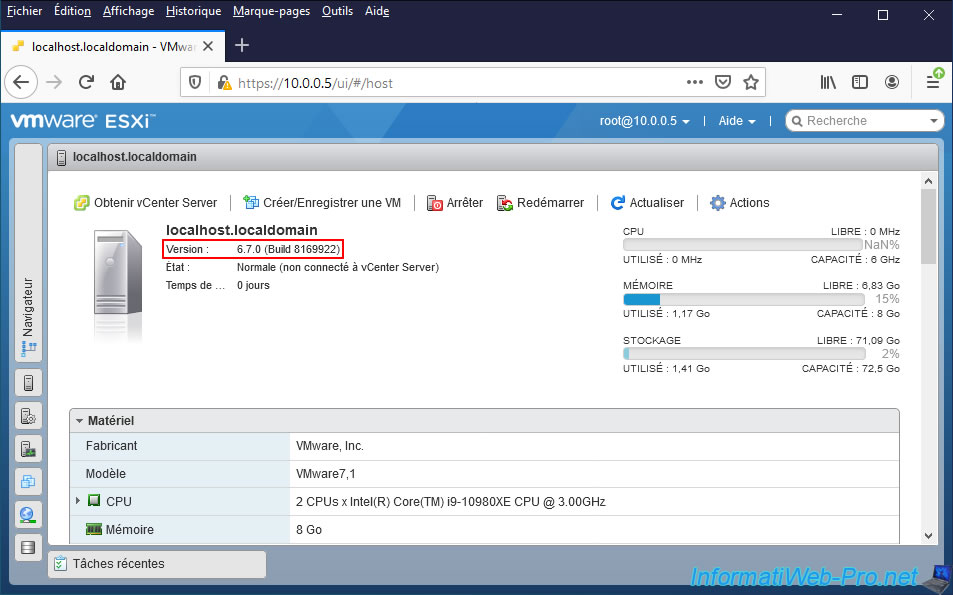
As you can see, currently, the version of our VMware ESXi server is 6.7.0.
2. Check the compatibility of your hardware with the new version of VMware ESXi
Before upgrading your VMware ESXi hypervisor to a more recent version in business, it's essential to verify that it's supported by your hardware.
To do this, go to the "VMware by Broadcom Compatibility Guide" page of the official Broadcom website.
Note that in business, it's very important to follow this compatibility information to be able to benefit from Broadcom support in the event of a problem.
However, in the case of a lab or a test environment, you can install the new version and it will work in the majority of cases.
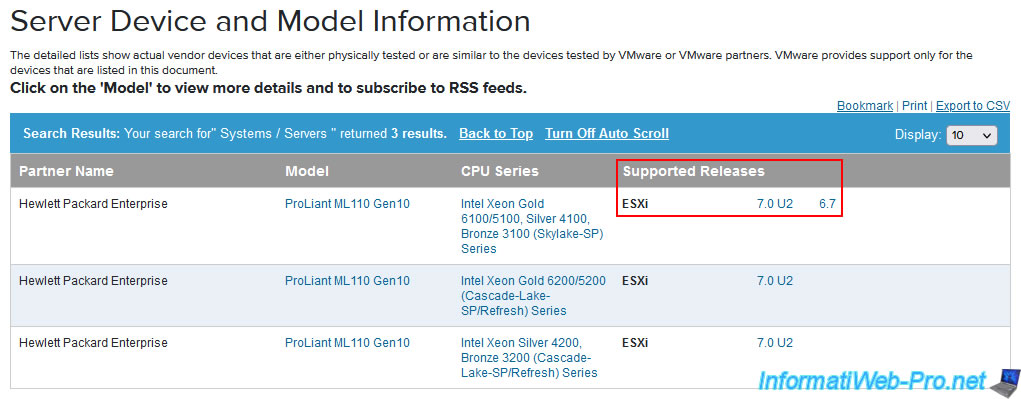
In this tutorial, we will take the example of the "ProLiant ML110 Gen10" server from HPE (Hewlett Packard Enterprise).
To verify that this server is compatible with ESXi 7.0 Update 2 that we want to install, we select :
- Product Release Version : ESXi 7.0 U2
- Partner Name : Hewlett Packard Enterprise
- Keyword : ML110
Then, click on the blue "Update and View Results" button.

In this case, VMware tells us that this server is compatible with versions 7.0 U2 and 6.7, if its processor (CPU) is : Intel Xeon Gold 6100/5100, Silver 4100, Bronze 3100 (Skylake-SP) Series.
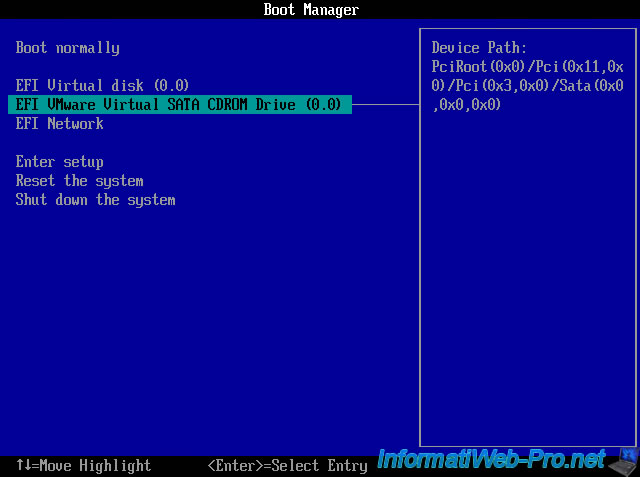
3. Configure BIOS boot order
Configure your server's BIOS to boot from its CD/DVD drive if there is one.
Otherwise, create a bootable USB key from the VMware ESXi ISO file and boot from it.
4. Upgrading VMware ESXi
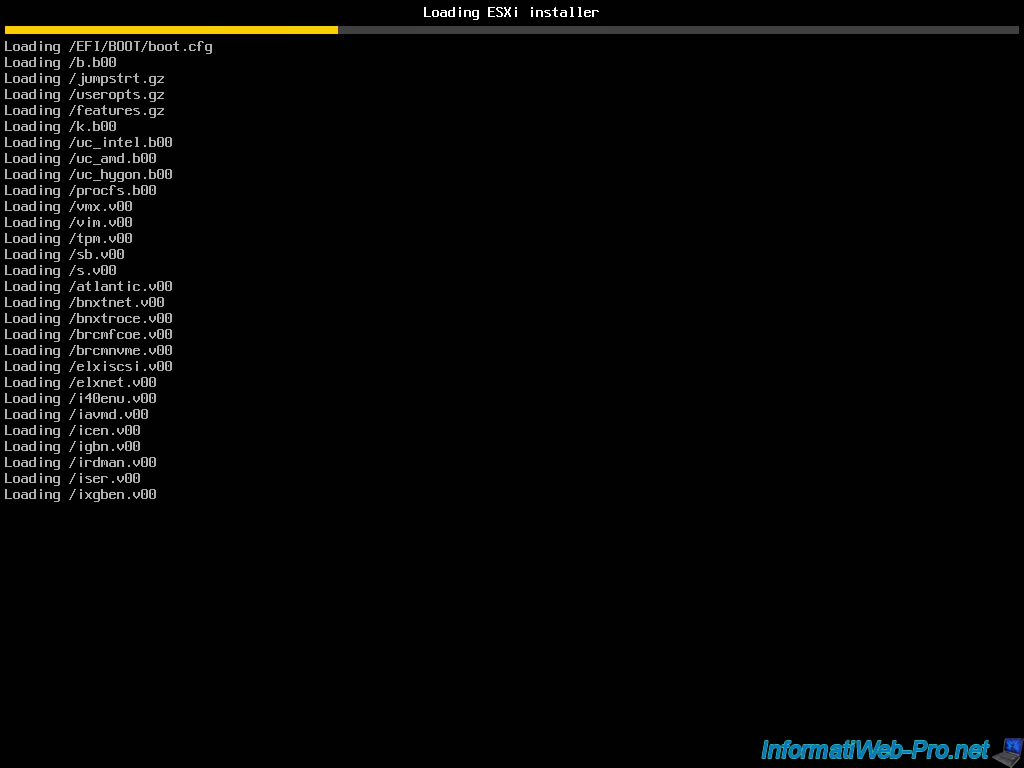
The VMware ESXi installer appears. Press Enter or wait 5 seconds.

Loading of the files begins.
The startup of the VMware ESXi installer continues.
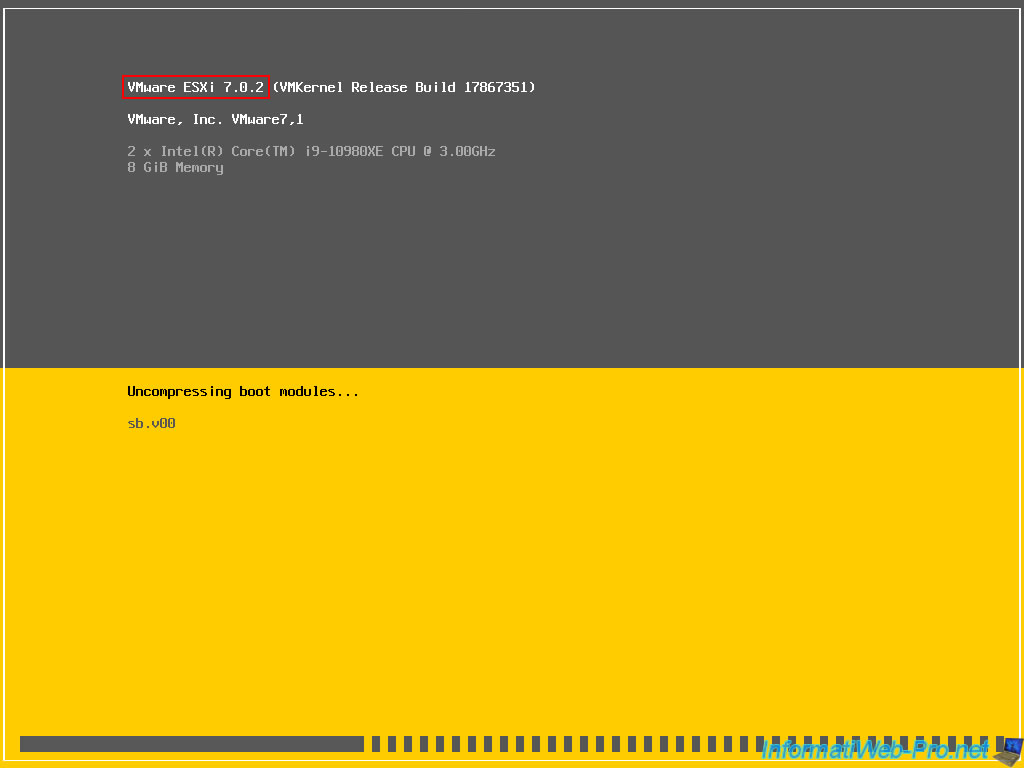
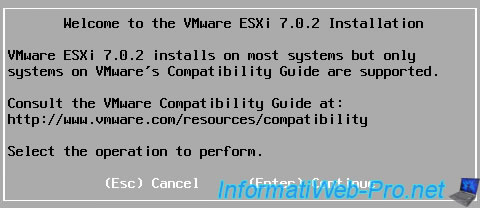
The VMware ESXi 7.0.2 installer appears.
Press Enter.
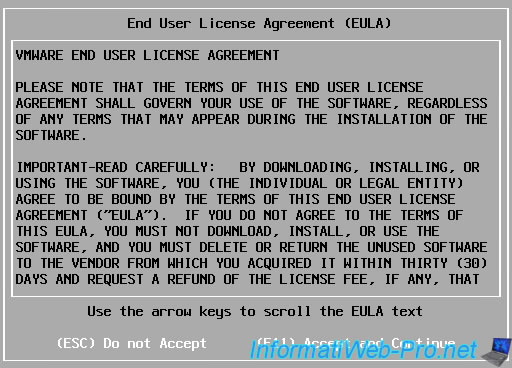
Accept the VMware ESXi license agreement by pressing F11.
Wait while your server is scanned.

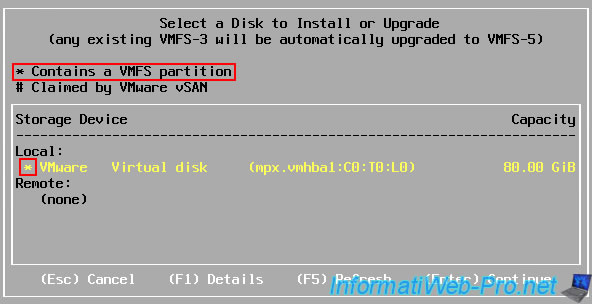
As expected, the VMware ESXi 7.0.2 installer will detect the presence of a VMFS partition on your physical disk.
Indeed, as indicated by the installer, the physical disks marked with an asterisk (*) contain a VMFS partition.
Select the physical disk where your old version of VMware ESXi is installed and press Enter.
The installer scans the selected disk.

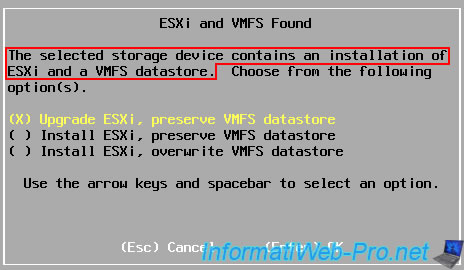
As expected, the installer will detect your installation of ESXi, as well as the VMFS datastore.
The installer therefore offers you 3 choices :
- Upgrade ESXi, preserve VMFS datastore : update the current installation of VMware ESXi while keeping its current settings and also keeping its VMFS datastore.
- Install ESXi, preserve VMFS datastore : reinstall VMware ESXi from scratch, but keeping the VMFS datastore.
- Install ESXi, overwrite VMFS datastore : clear the current installation of VMware ESXi, as well as the VMFS datastore, then cleanly install the new version of VMware ESXi and create a new VMFS datastore.
The installer will scan your system.

As shown here, the installer is configured to upgrade your system from ESXi 6.7.0 (in our case) to ESXi 7.0.2 (= 7.0 Update 2).
To start the upgrade, press F11.

The upgrade takes place.
Plain Text
Upgrading to ESXi 7.0.2.

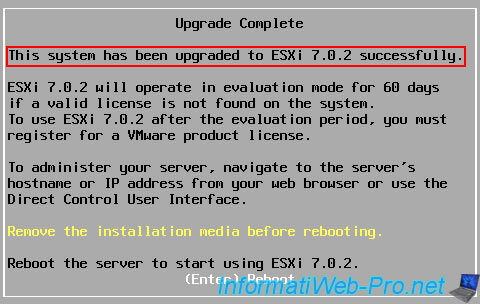
Once the upgrade is complete, you will see this message :
Plain Text
Upgrade Complete.
This system has been upgraded to ESXi 7.0.2 successfully.
As requested in yellow, remove the VMware ESXi installation CD and restart your server.
The "Rebooting Server" message appears for a few seconds.

5. VMware ESXi updated
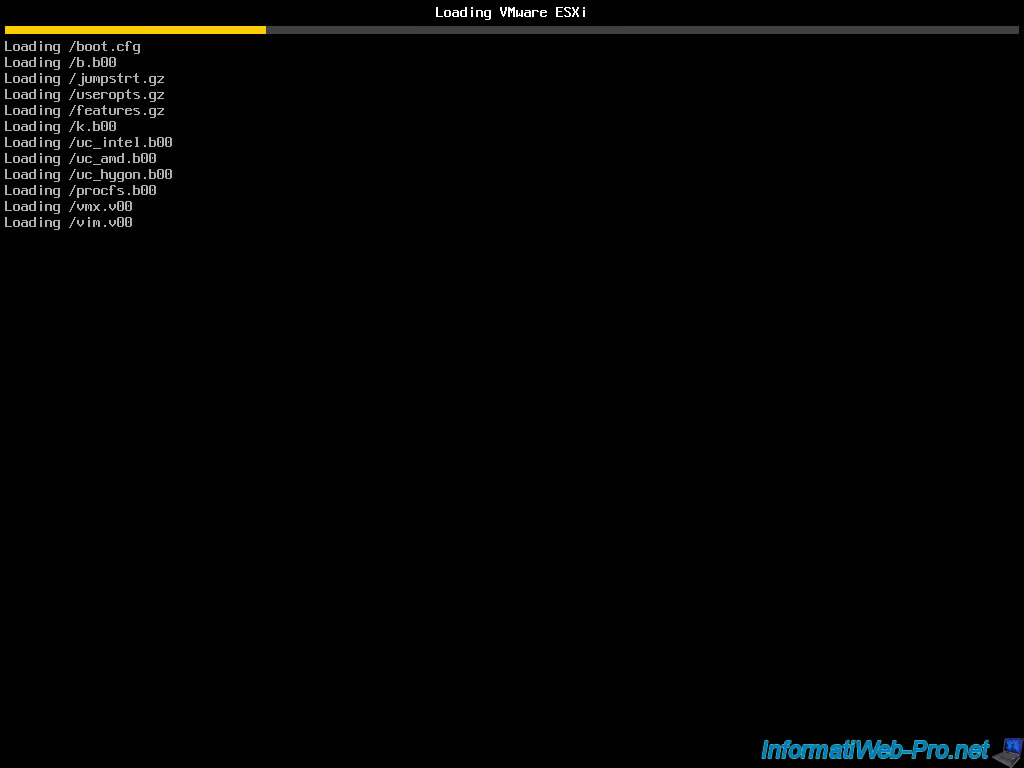
Your server restarts on its physical disk and the "Loading VMware ESXi" message appears.

VMware ESXi loads its files.
VMware ESXi startup continues.
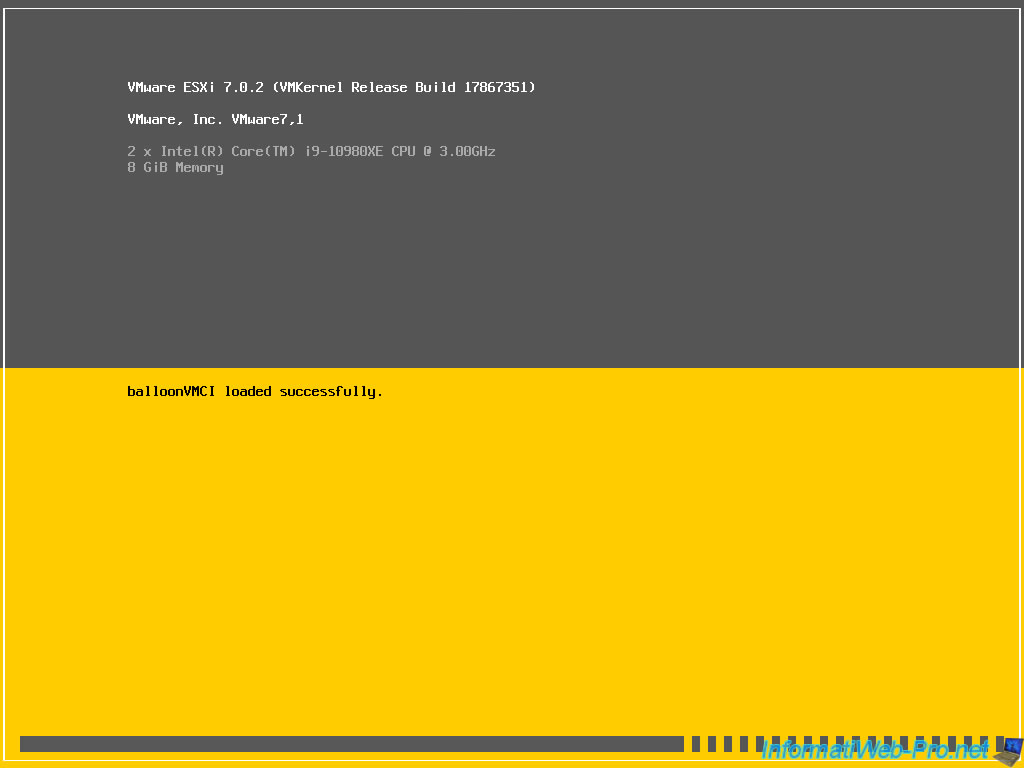
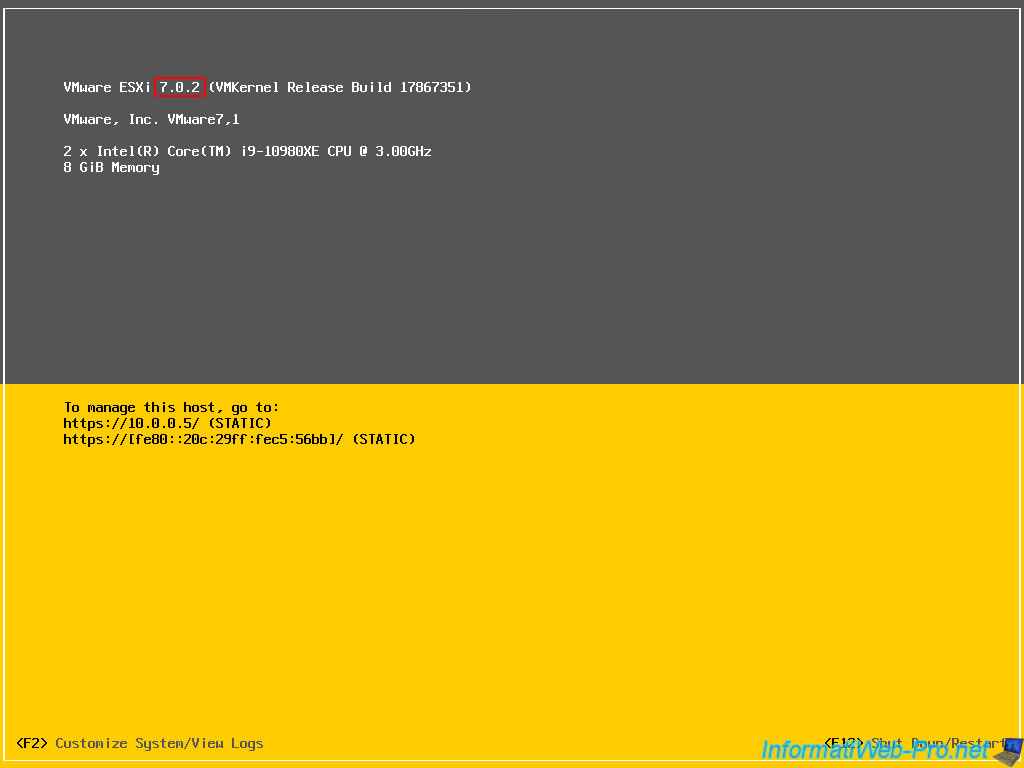
VMware ESXi is started.
As you can see at the top of the screen, we are now in version 7.0.2.
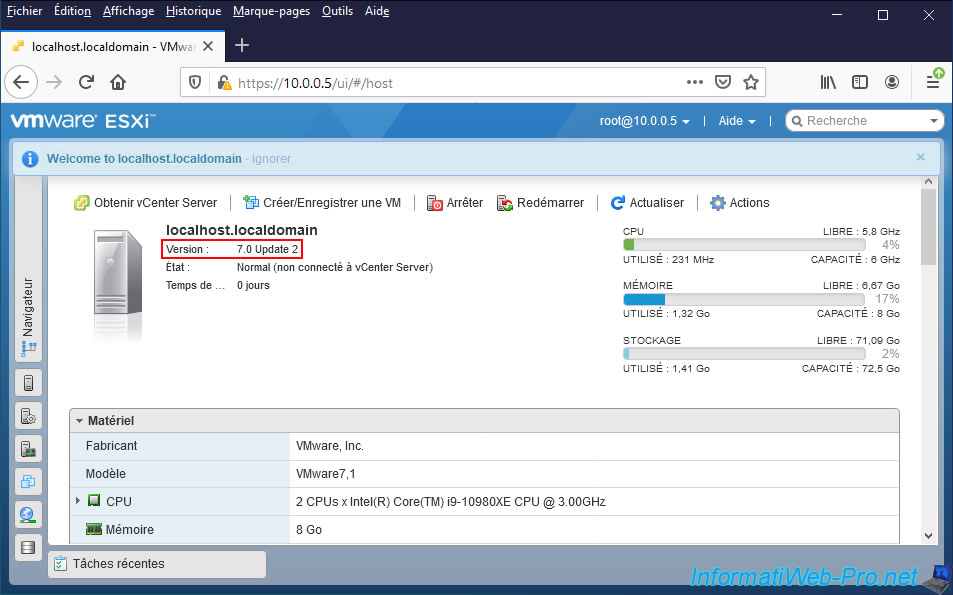
You will also be able to see this in its web interface.
As expected, this is version 7.0 Update 2 of VMware ESXi.
Share this tutorial
To see also
-

VMware 5/25/2022
VMware ESXi 6.0 - Install the VMware Host Client web client
-

VMware 5/27/2022
VMware ESXi 6.5 - Add a network driver in the installation ISO
-

VMware 1/27/2023
VMware ESXi 6.7 - Enable virtualization-based security (VBS)
-

VMware 12/2/2022
VMware ESXi 6.7 - Install and use the VMRC console on Linux
You must be logged in to post a comment